Besides beer, one thing most brewers have in common is their dislike of time spent cleaning. In order to get started, you’ll need to clean your fridge. If you found a fridge in good shape, you may have less work. I on the other hand found a fridge on Craigslist that was in a garage where the dude smoked. Yea, so this fridge smelled of smoke. Two weeks later, it’s subsided considerably.
This project requires a few inexpensive special tools, but will most likely take an entire weekend, lots of improvisation, some thorough cleaning and the cost of the fridge takes it to level 4.
Yes, I’m a father of two girls and I’m man enough to admit that I like the Disney movie Enchanted.
You’ll probably find it easier to clean if you remove the shelves, icemaker, drawers, etc.
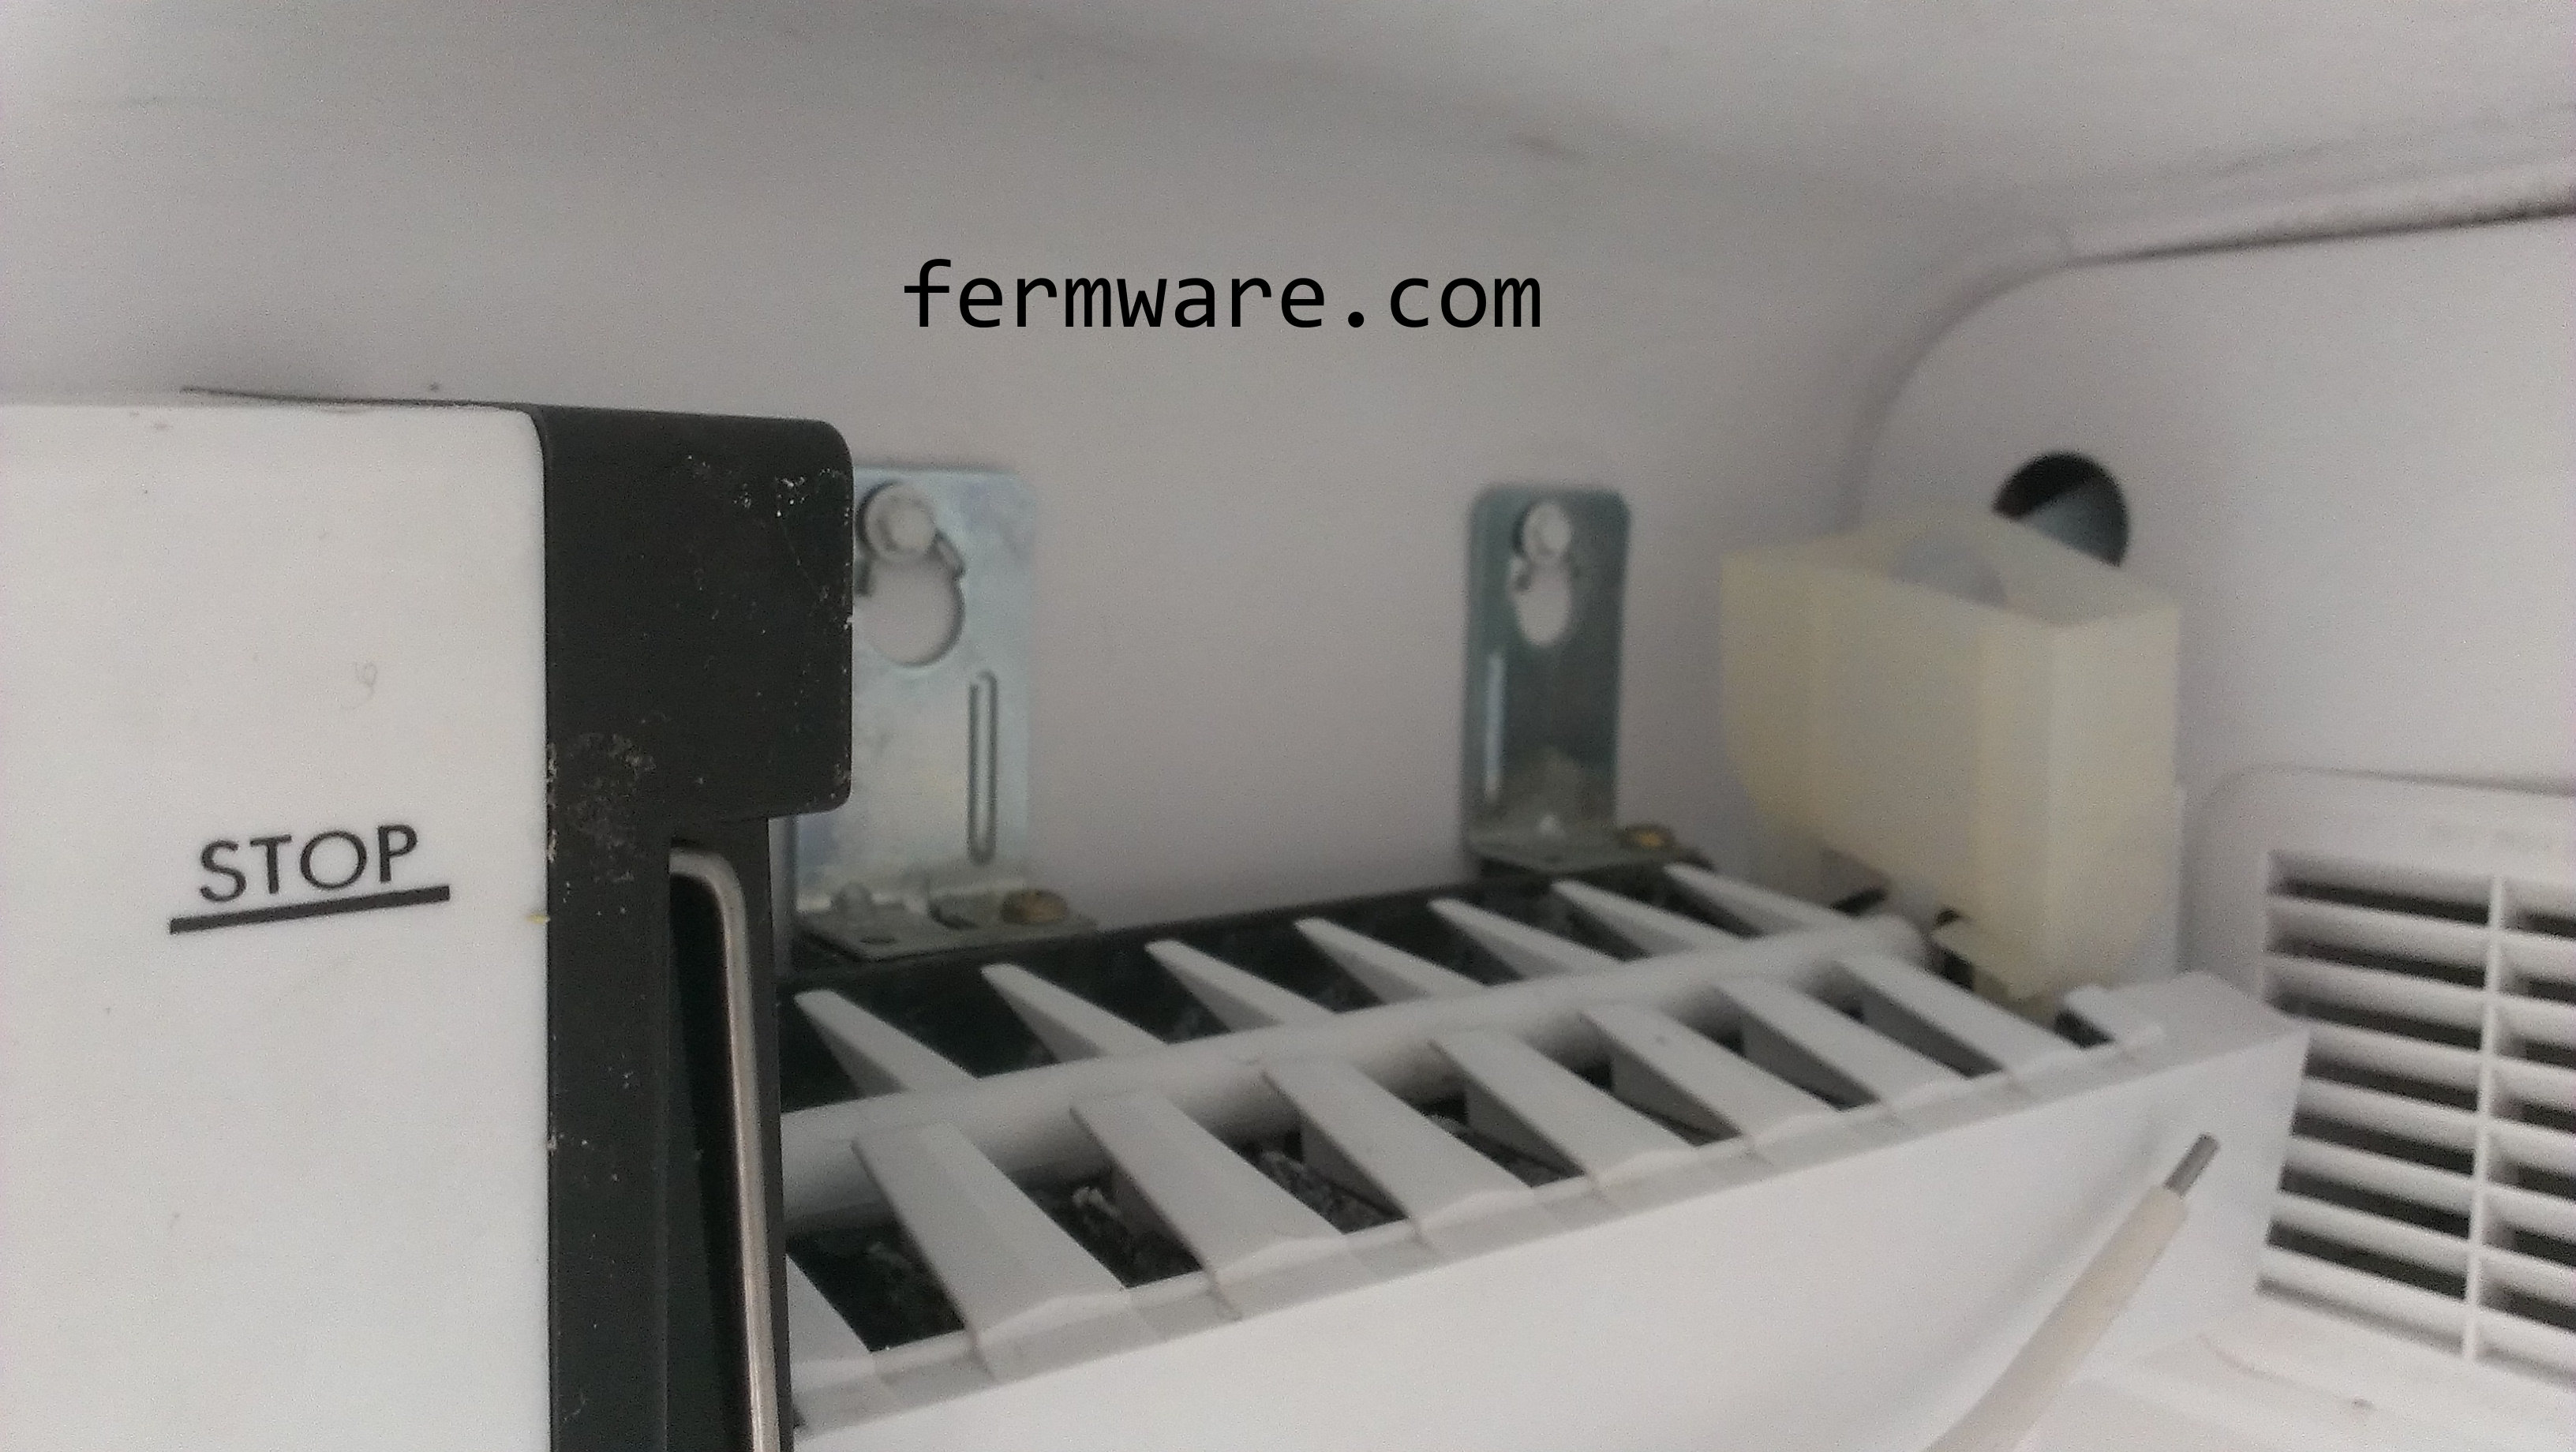
The icemaker will have two sheet metal screws that may have a hex head, philips or flat head slot in the top. Use the nut setter for this.
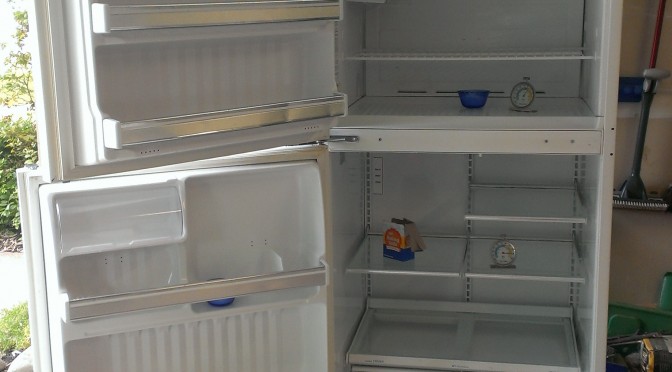
Shelving removed
I mixed up a bleach/water solution at a 1:10 ratio in a spray bottle to clean out the crevices in the disgustingly dirty seals.
I also realized during the cleanup that the biscuit/almond colored fridge I bought was actually white! Nice…
A vinegar/water solution is also pretty handy at removing most residue from the fridge and also seems to do a good job at removing odors.
After it was all cleaned up, I went ahead and put the shelves back in, because I didn’t want to leave them laying around the garage. I also put a few bowls of baking soda in there to let it run for a few days to get rid of any odors (unexpected delay). I also cranked the dials all the way to make sure it would get cold enough.
You know you’re a homebrewer when you have more refrigerators than people living in your house. As of the time of this post, we have a combination of 8 refrigerators and freezers of different sizes to go along with 5 human habitants.
Difficulty:
This project requires a few inexpensive special tools, but will most likely take an entire weekend, lots of improvisation, some thorough cleaning and the cost of the fridge takes it to level 4.
Affiliate Links
Cost:
It all depends on what materials, tools and fridge cost is, but I would peg the average cost of this project at about $200 (including a second hand fridge). I scored a fridge on Craigslist for $100. The value for the fridge size I got is typically between $100-150.
Disclaimer / Caution:
If you are using a new-ish refrigerator, just keep in mind that we’ll be permanently be modifying it, so if there is any existing warranty, it will most certainly be voided by this project.
This will be my 5th conversion of a refrigeration appliance into a fermentation support device. I started with my keezer, then converted two dorm fridges, followed by Lagerator III. The last one was taken over by my wife for her cake decorating business Tiffany Takes the Cake. Since I didn’t want to share the cake fridge with my fermenting lagers due to the potential of the cakes absorbing the sulfer odor of fermentation and the fact that I needed to manage the fermentation of seven 5-gallon batches of lager for our Strausstoberfest party, the need arose for yet another…
My initial pipe dream goal was to pull the guts from a cheap fridge and then fit them into a custom built cabinet meant to house many fermentation buckets, corny’s and anything you want to keep cool.
Time and the fact that I realized I could do it another way, convinced me to just find an ideal fridge on Craigslist and tear out the divider between the freezer and the fridge. I also modified the doors to be one large full length door.
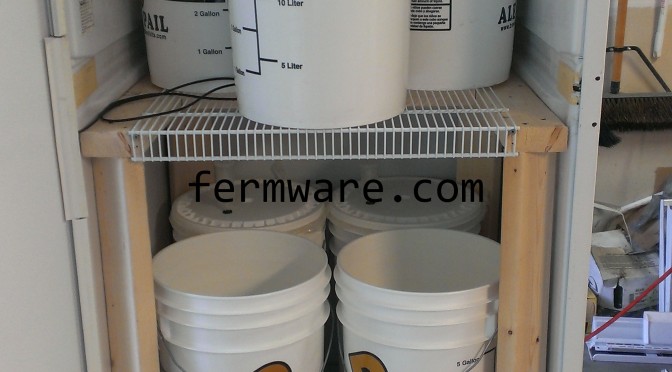
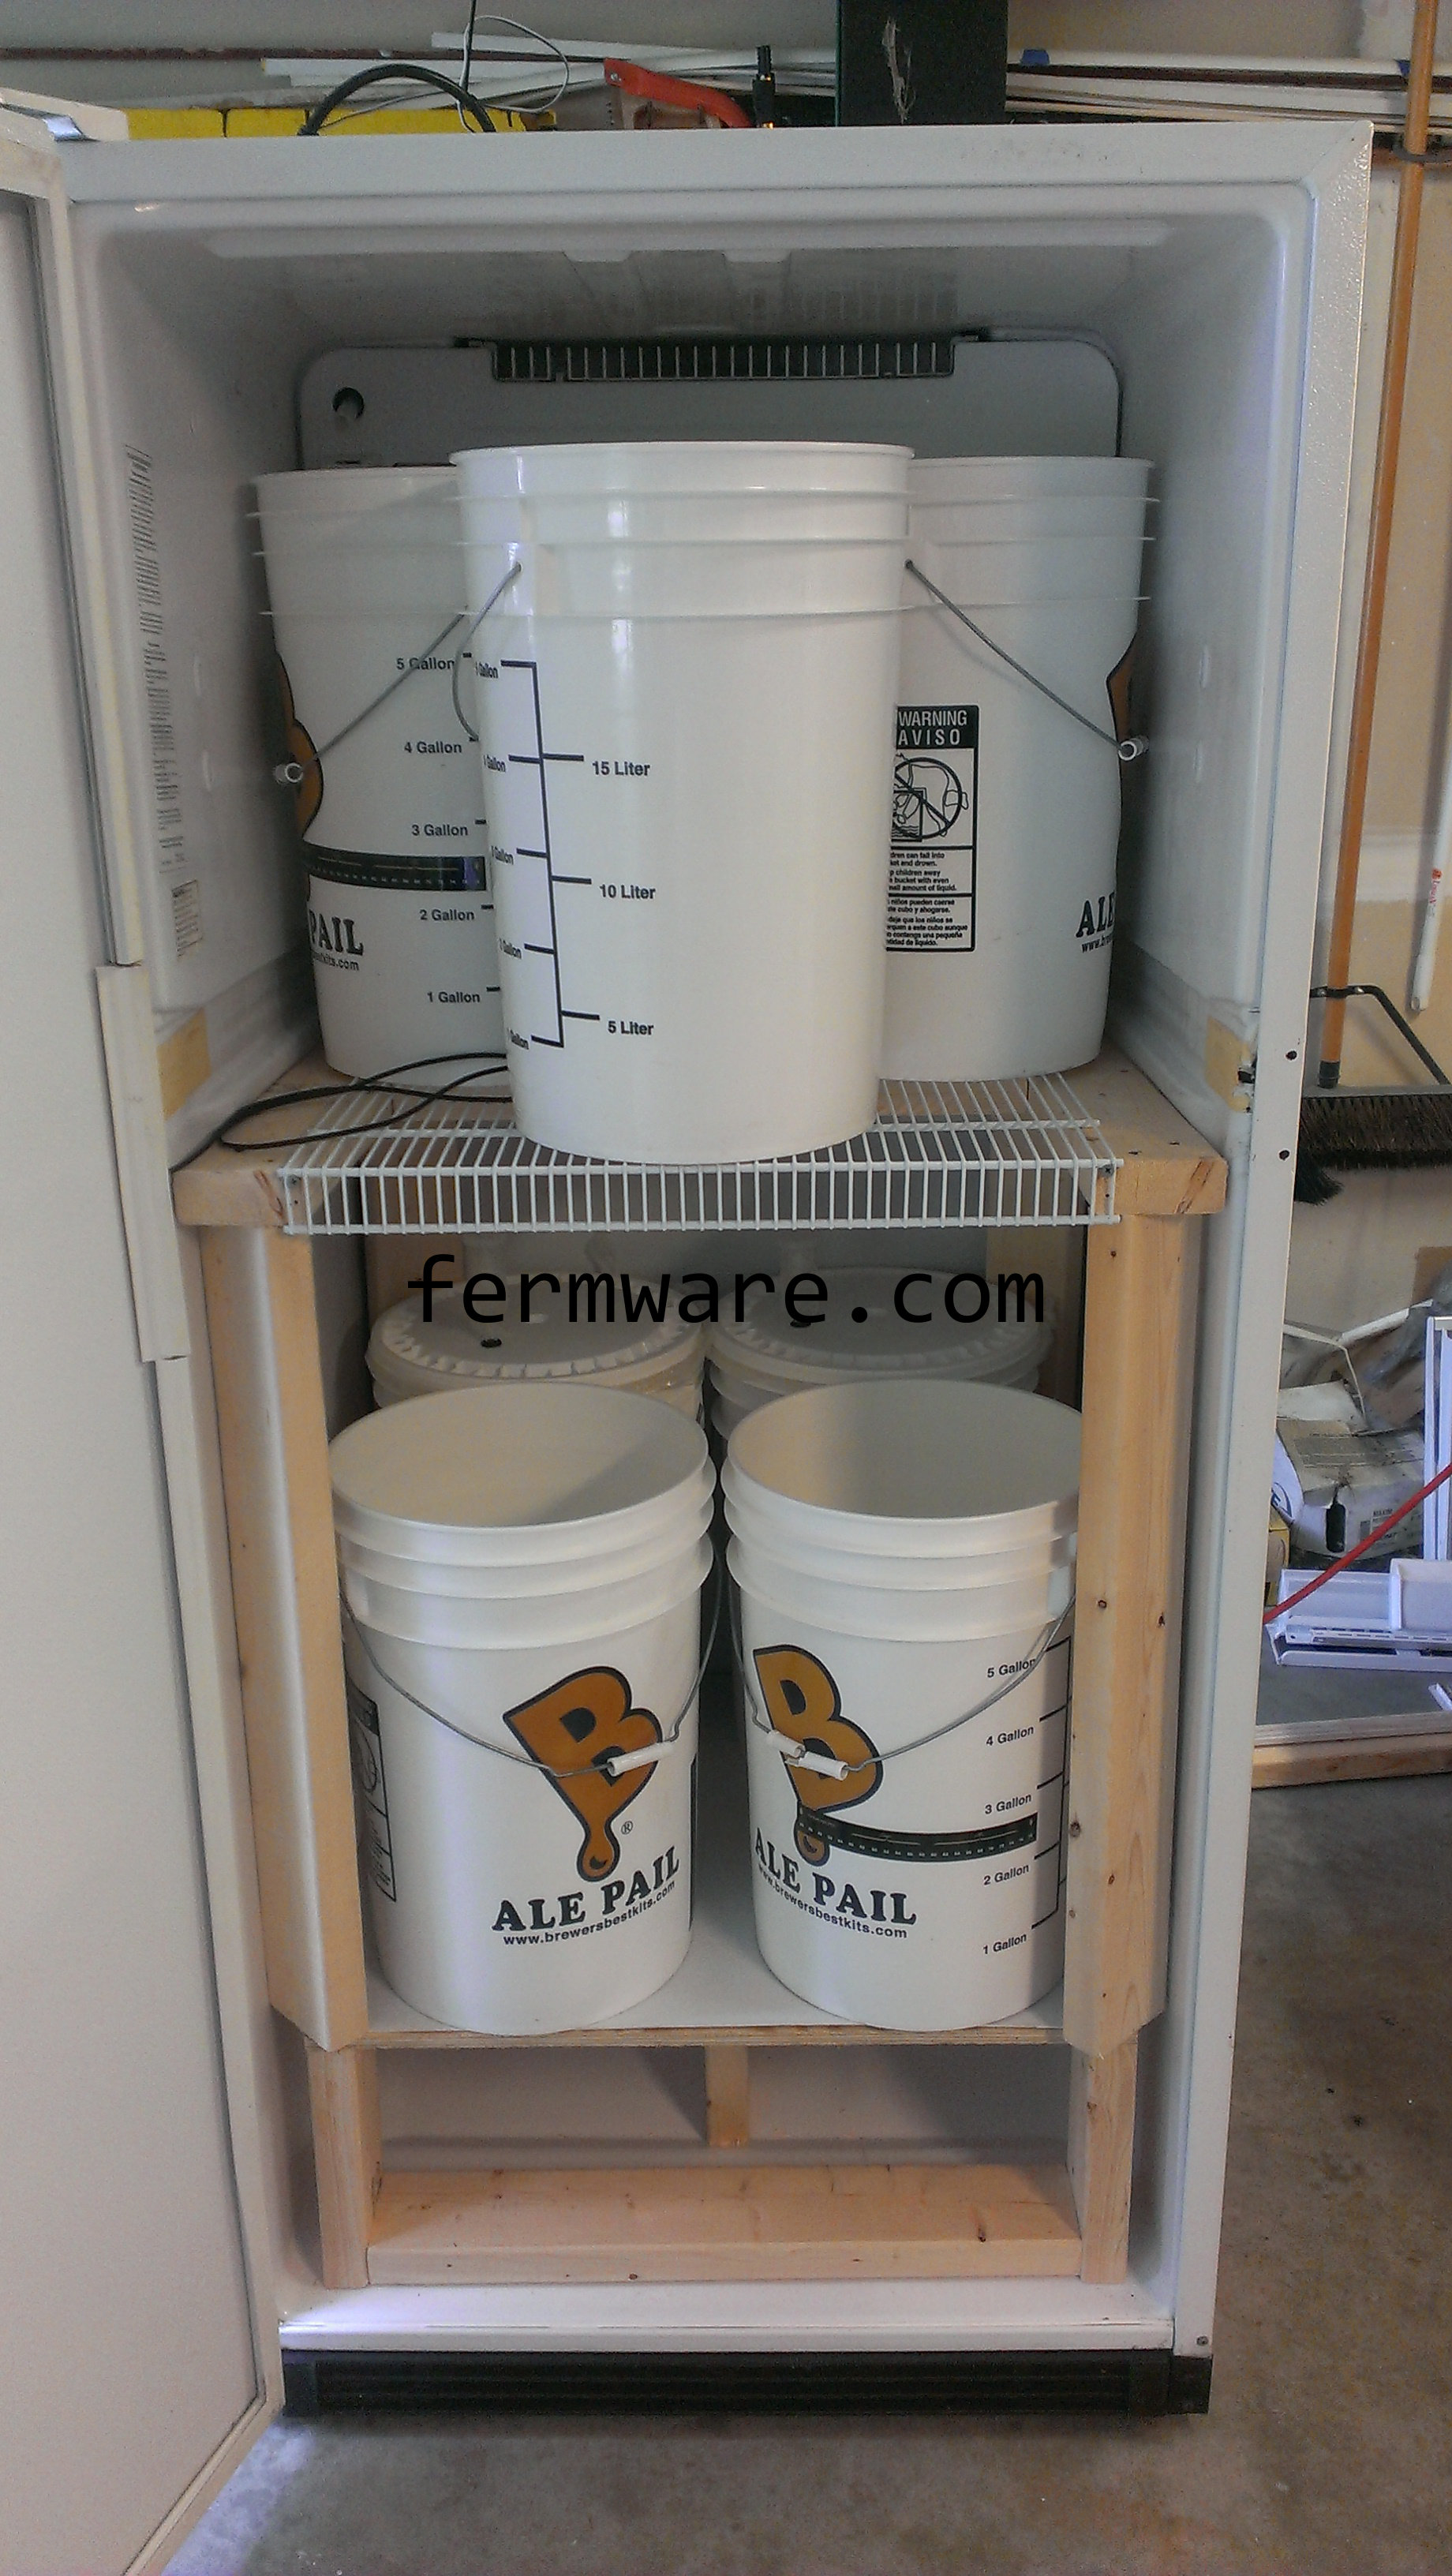
As this project sits currently, I can fit seven standard fermentation buckets in there at the same time, or the bottom shelf area is tall enough for a full size keg, corny’s and my large-ish 20# CO2 bottle with the regulator attached.
In this multi-part post, I’ll show you how my build went.
I also have not yet advanced the project to my ultimate goal of two separate temperature zones and some sort of BrewPi/remotely monitored and controlled setup. For now, it’s just a single chamber with one of my homebuilt Arduino based temperature controllers.
Tools Required (or to make the job easier):
I would recommend that any serious DIY’er has every single one of the tools recommended for this project. They are some of my most used tools.
hacksaw
set of assorted drill bits
miter saw
circular saw
handheld jig saw
hand drill
Less common, but equally important and useful tools:
A set of assorted screw, torx, hex, socket and screwdriver bits (all refrigerators are different). The set shown above is the exact set i have and it’s served me well (cars, refrigerators, toys, electronics, etc…)
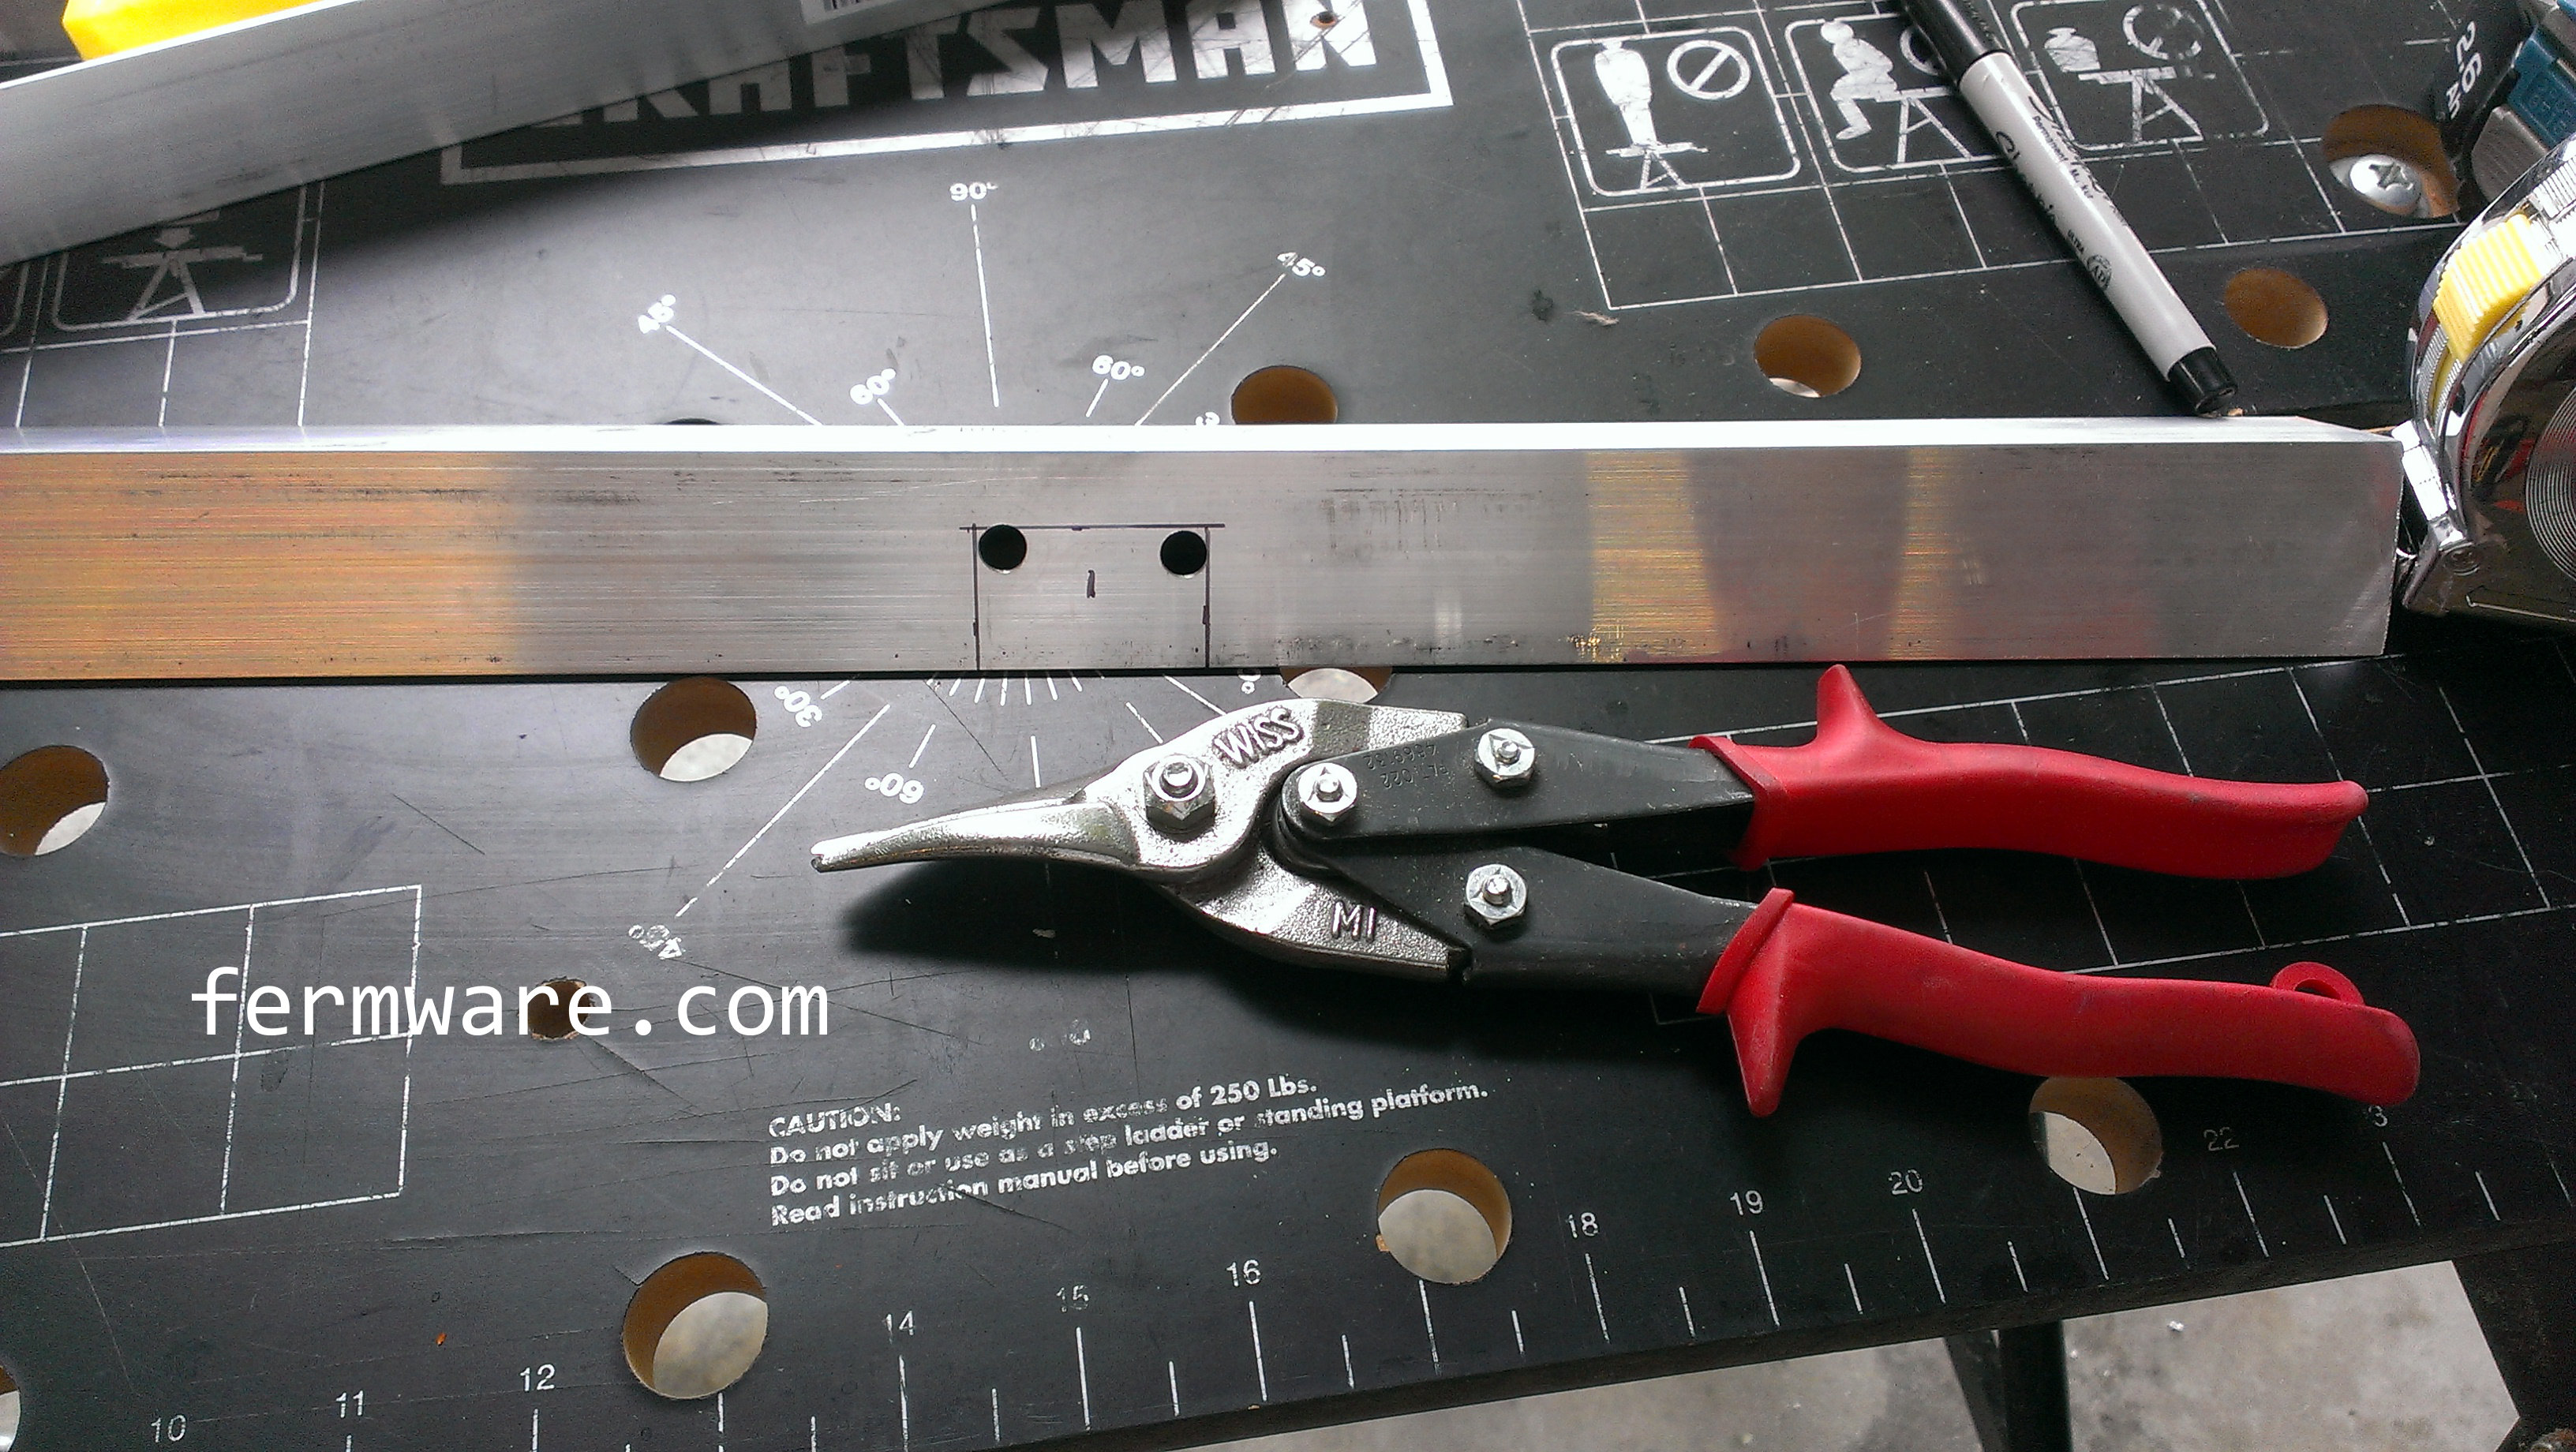
If you don’t have a pair already, go ahead and get a set of three. I was being cheap and only got one, but they some in sets of three that are optimized for cutting on different sides of material (left, right and center). They are extremely useful. In this project you’ll use them to cut the FRP board and the aluminum. They are made for cutting sheet metal, but I end up finding many uses for them.
I actually got this many years ago during a summer job prepping refrigerators for delivery. I can’t tell you how many times I’ve found a use for this little tool. This is a must in any handymans arsonal.
Pulling small nails out where a hammer would be cumbersome
Pulls staples out of the floor when converting from carpet to laminate or tile
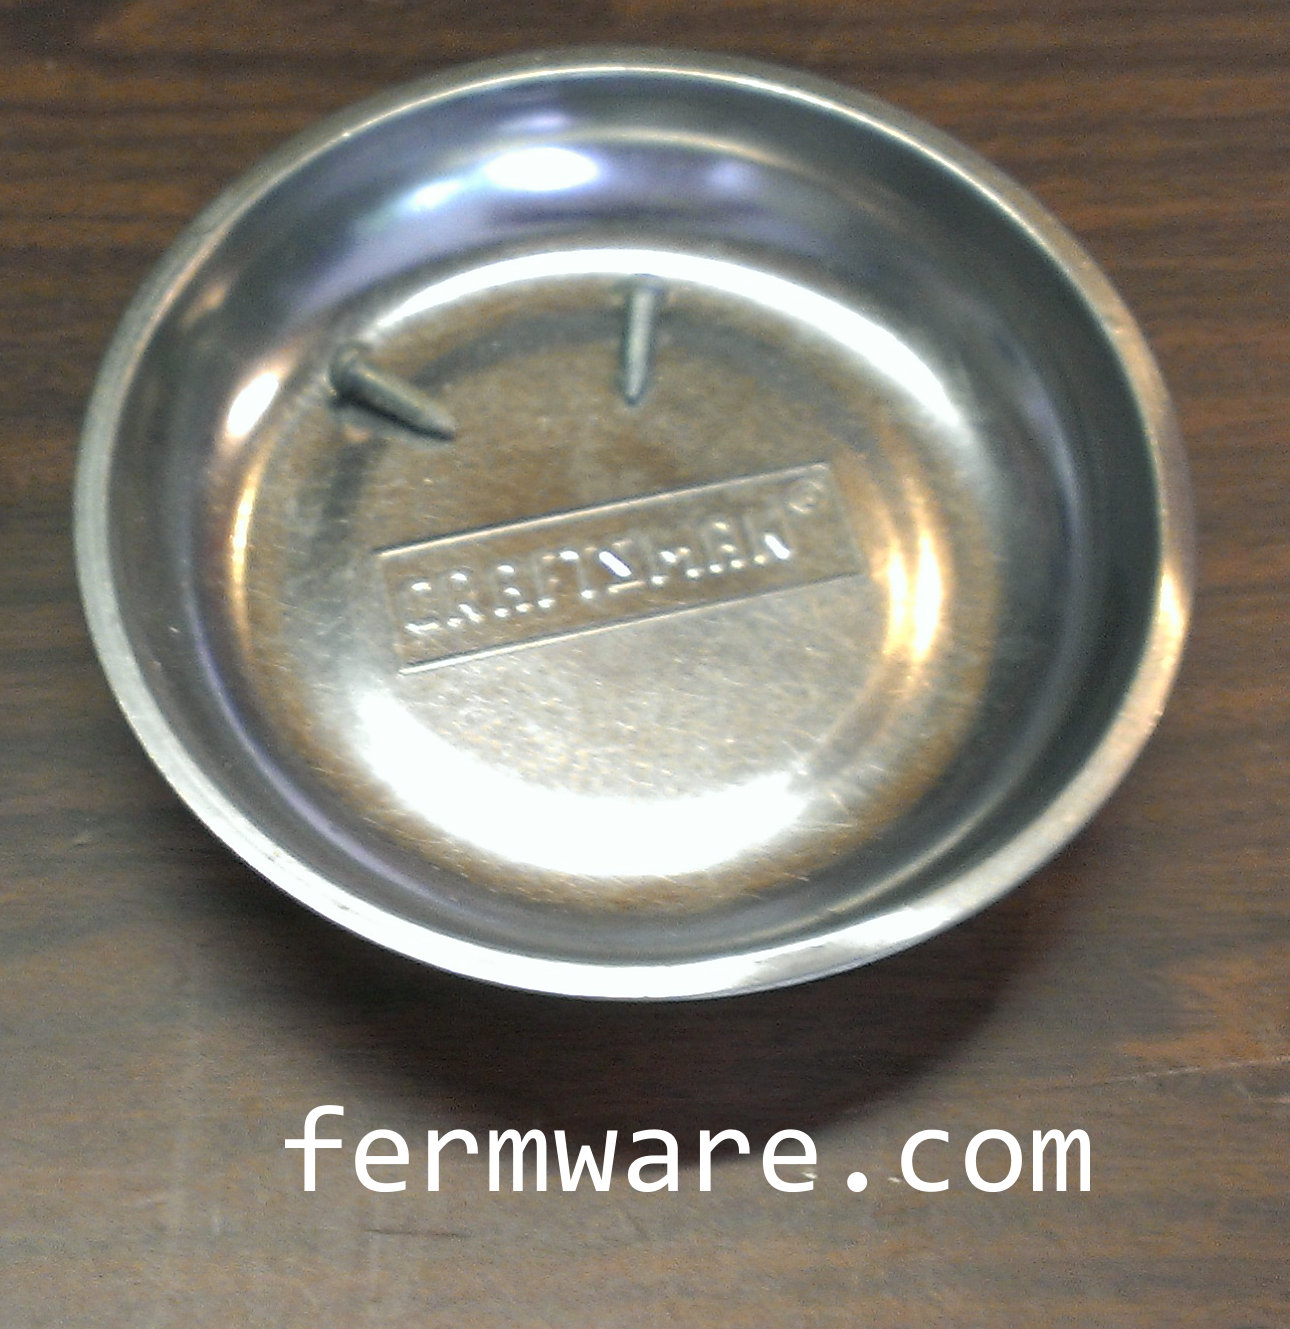
Also called “dog dishes” or “dog bowls”. For some reason, I hadn’t ever seen these until I worked in racing. I’ve got several in different shapes and sizes. They are durable metal bowls with a strong padded magnet on the bottom. The magnet serves two purposes. One, to keep steel fasteners contained in the bowl. Two, to serve as an attachment method to metal work surfaces. I get lots of use out of mine. If Ralphie’s Dad had one of these when changing the tire in A Christmas Story, he never would have gotten in trouble for saying “Ohhhhhh, Fuuuuddddggge!” These have saved me many times from chasing screws all over the garage and under shelves.
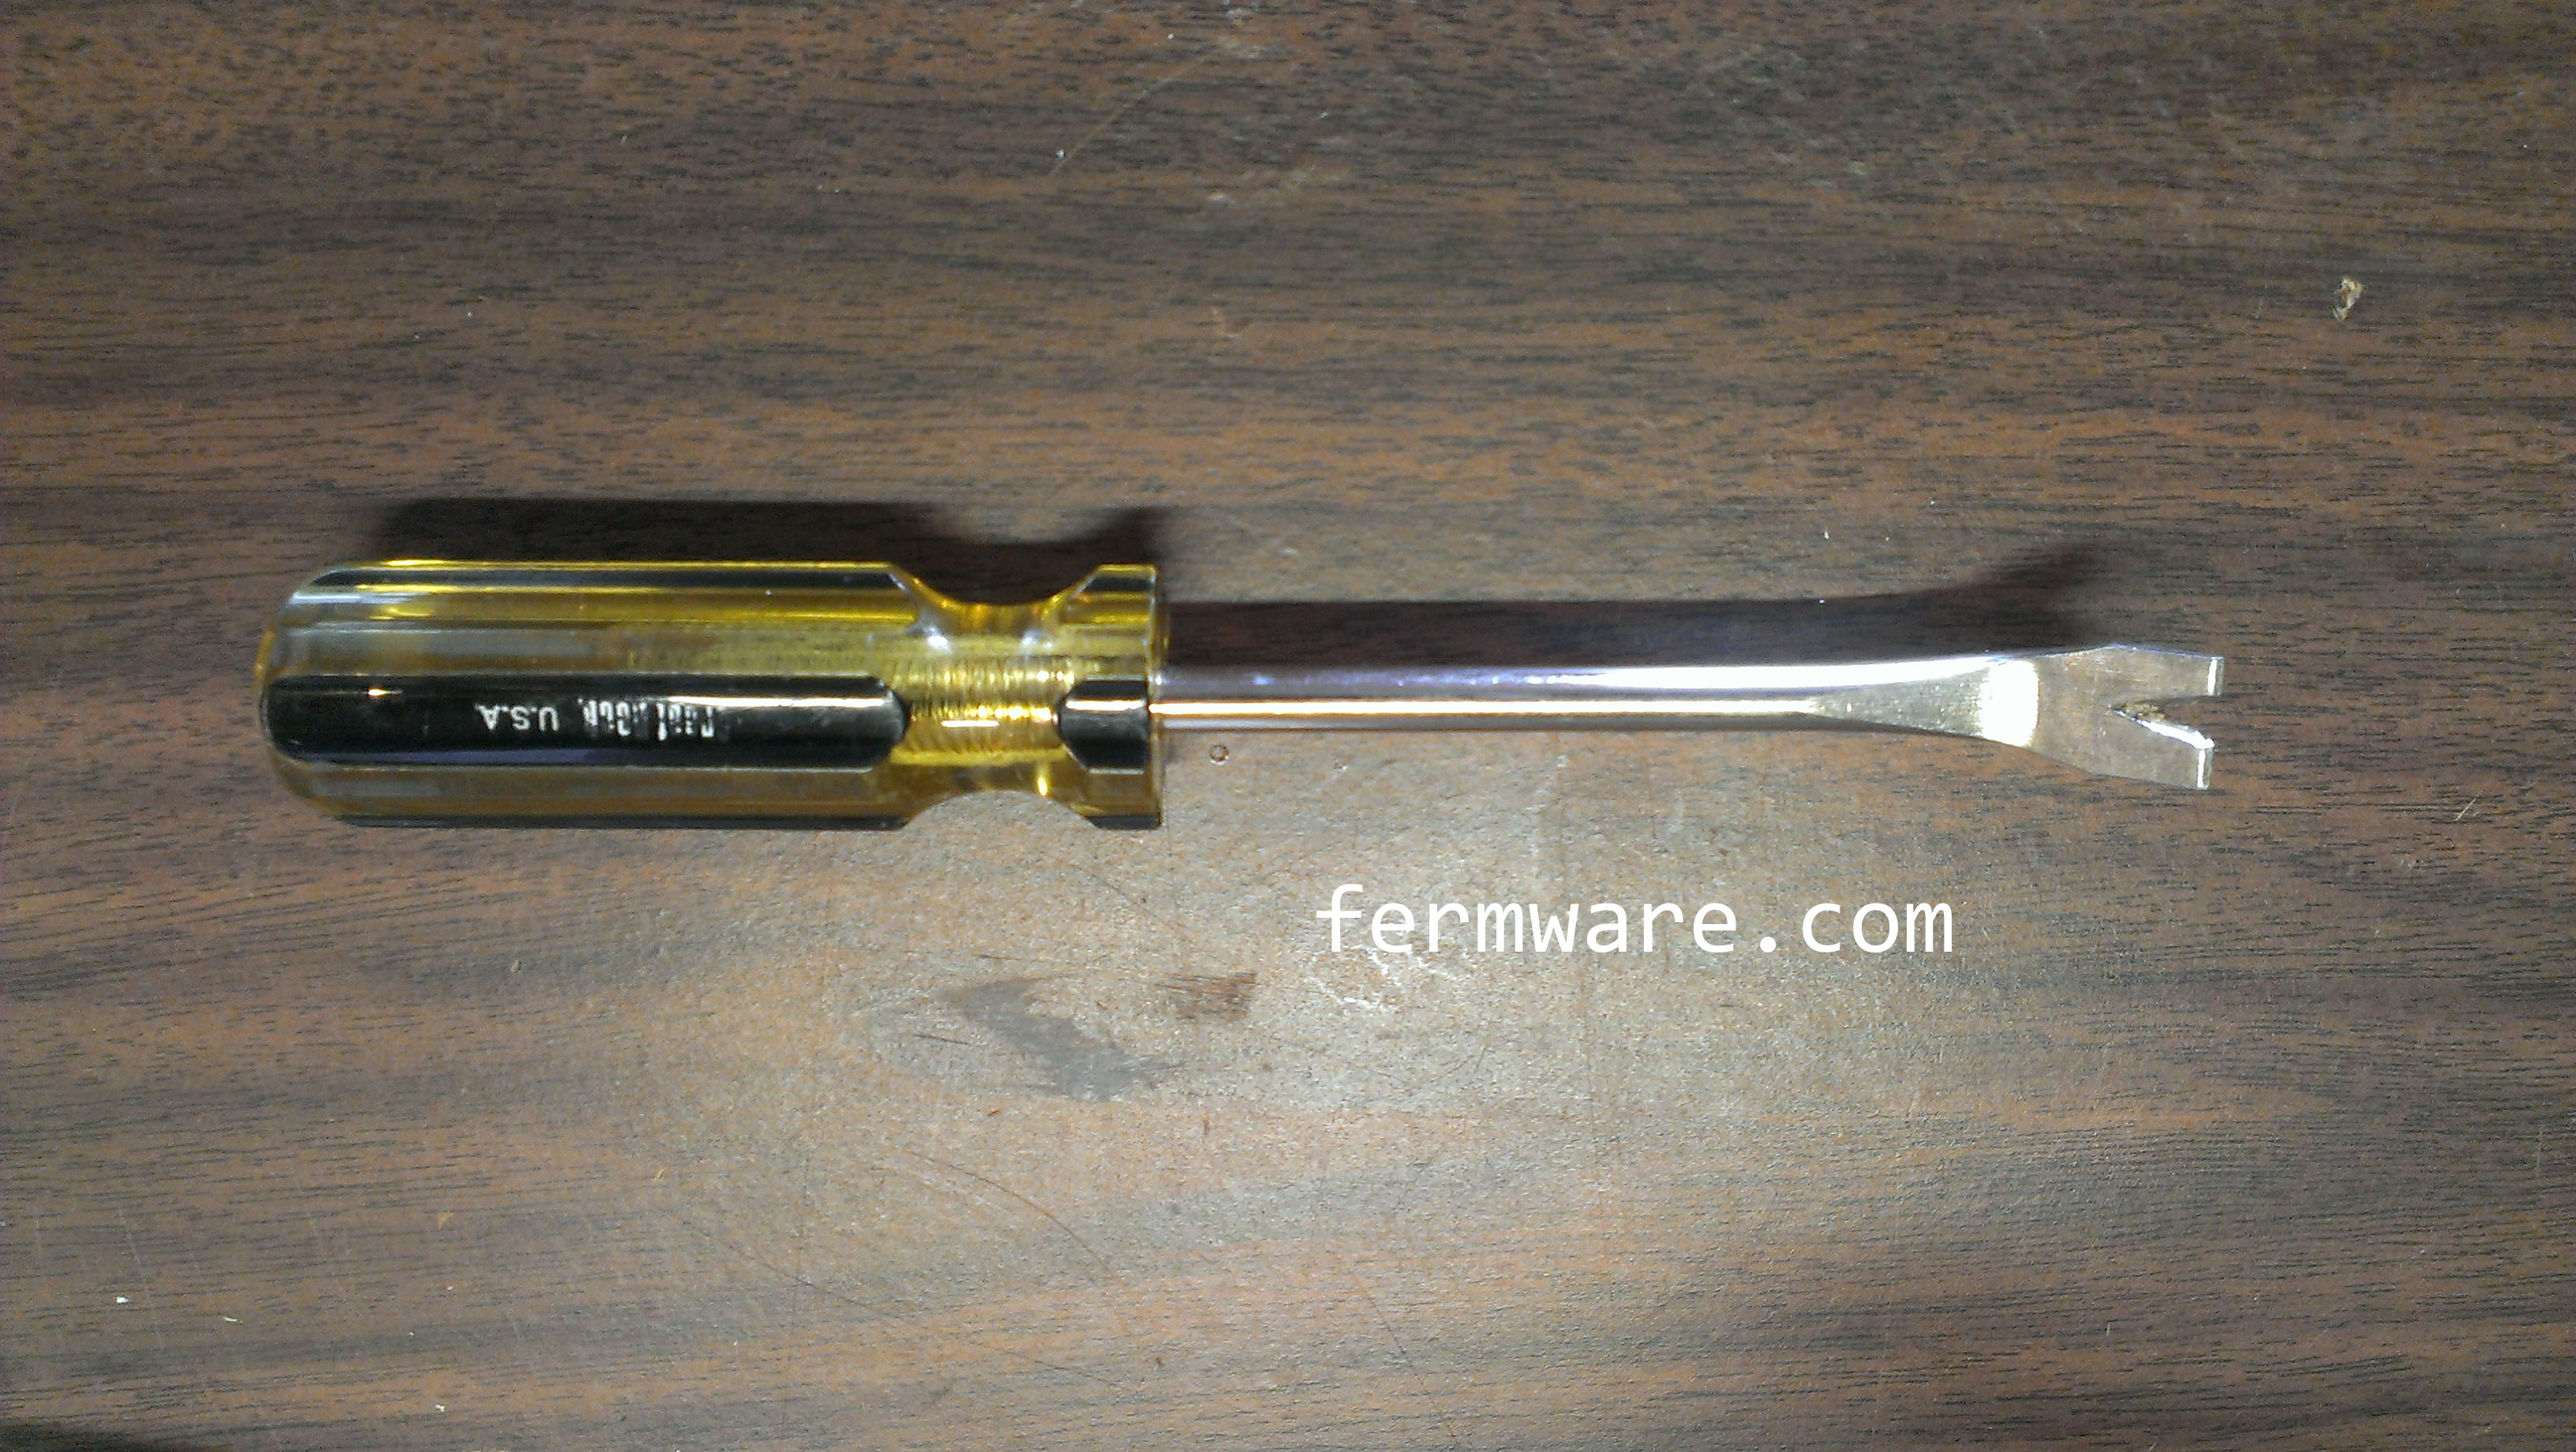
I can’t even remember where I obtained this, but they come in different sizes and have a magnet in the tip to hold on to screws. Why they insist on calling them “nut” setters is beyond me. This will be used to drive sheet metal screws into the fridge and most likely will be the hex size for most fasteners in the fridge.
Supplies Needed:
2×4 lumber to create support for shelves
Drywall screws (lots of them)
Plywood of your preference (I happened to have 1/2″ sitting around in just the size I needed)
Stain or some kind of waterproof sealant for the wood
duct tape : MacGyver :: 2×4’s and drywall screws : Me
FRP Board (approx $25 for a 4’x8′ sheet)
If you can find plain plastic sheet, fine. I just chose this because it seemed ideal for this project. It’s easy to clean up and the textured surface has less resistance when sliding my fermenting buckets around in the fridge. It’s just fiberglass and resin, so it won’t mold or mildew. This will be used to replace the inner surface of the doors as well as the covering for the shelf.
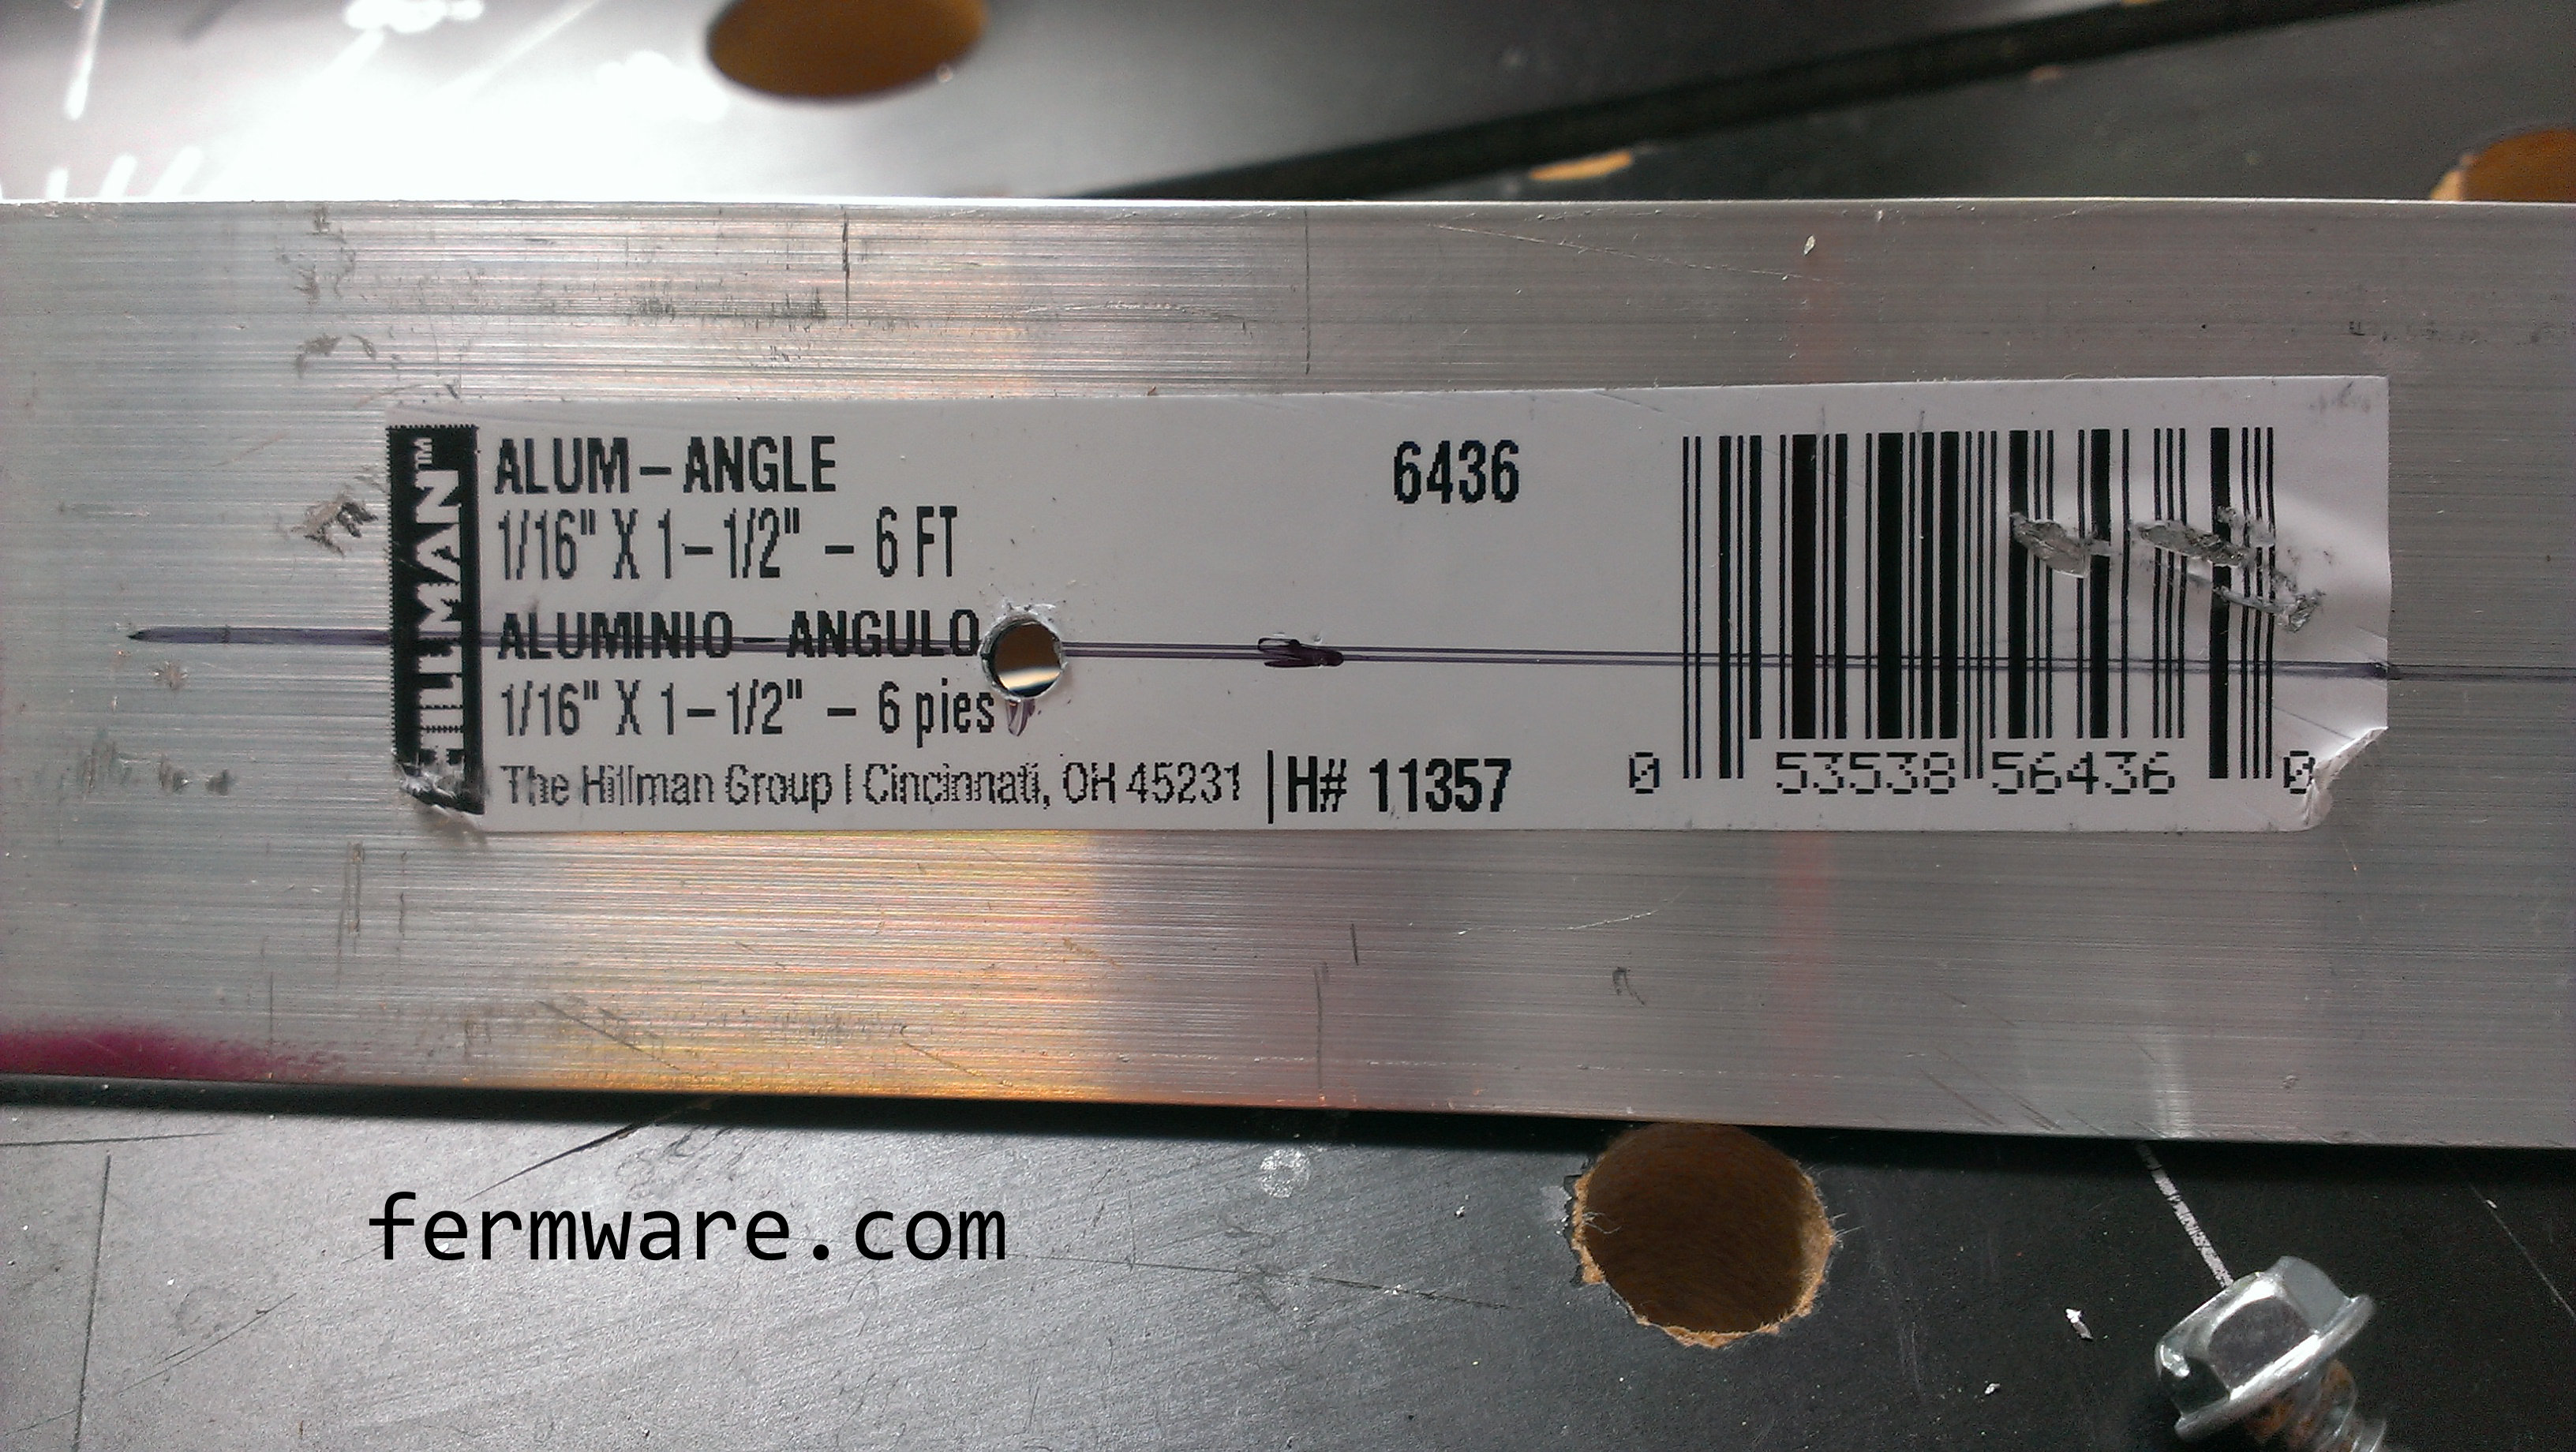
Aluminum Angle
You don’t have to get the exact size I purchased, but this happened to work out perfectly for my doors. I used this to connect the freezer door to the refrigerator door and make one giant door.
Sheet Metal Screws
These will be used to secure the aluminum angle to the doors to make a one piece door.
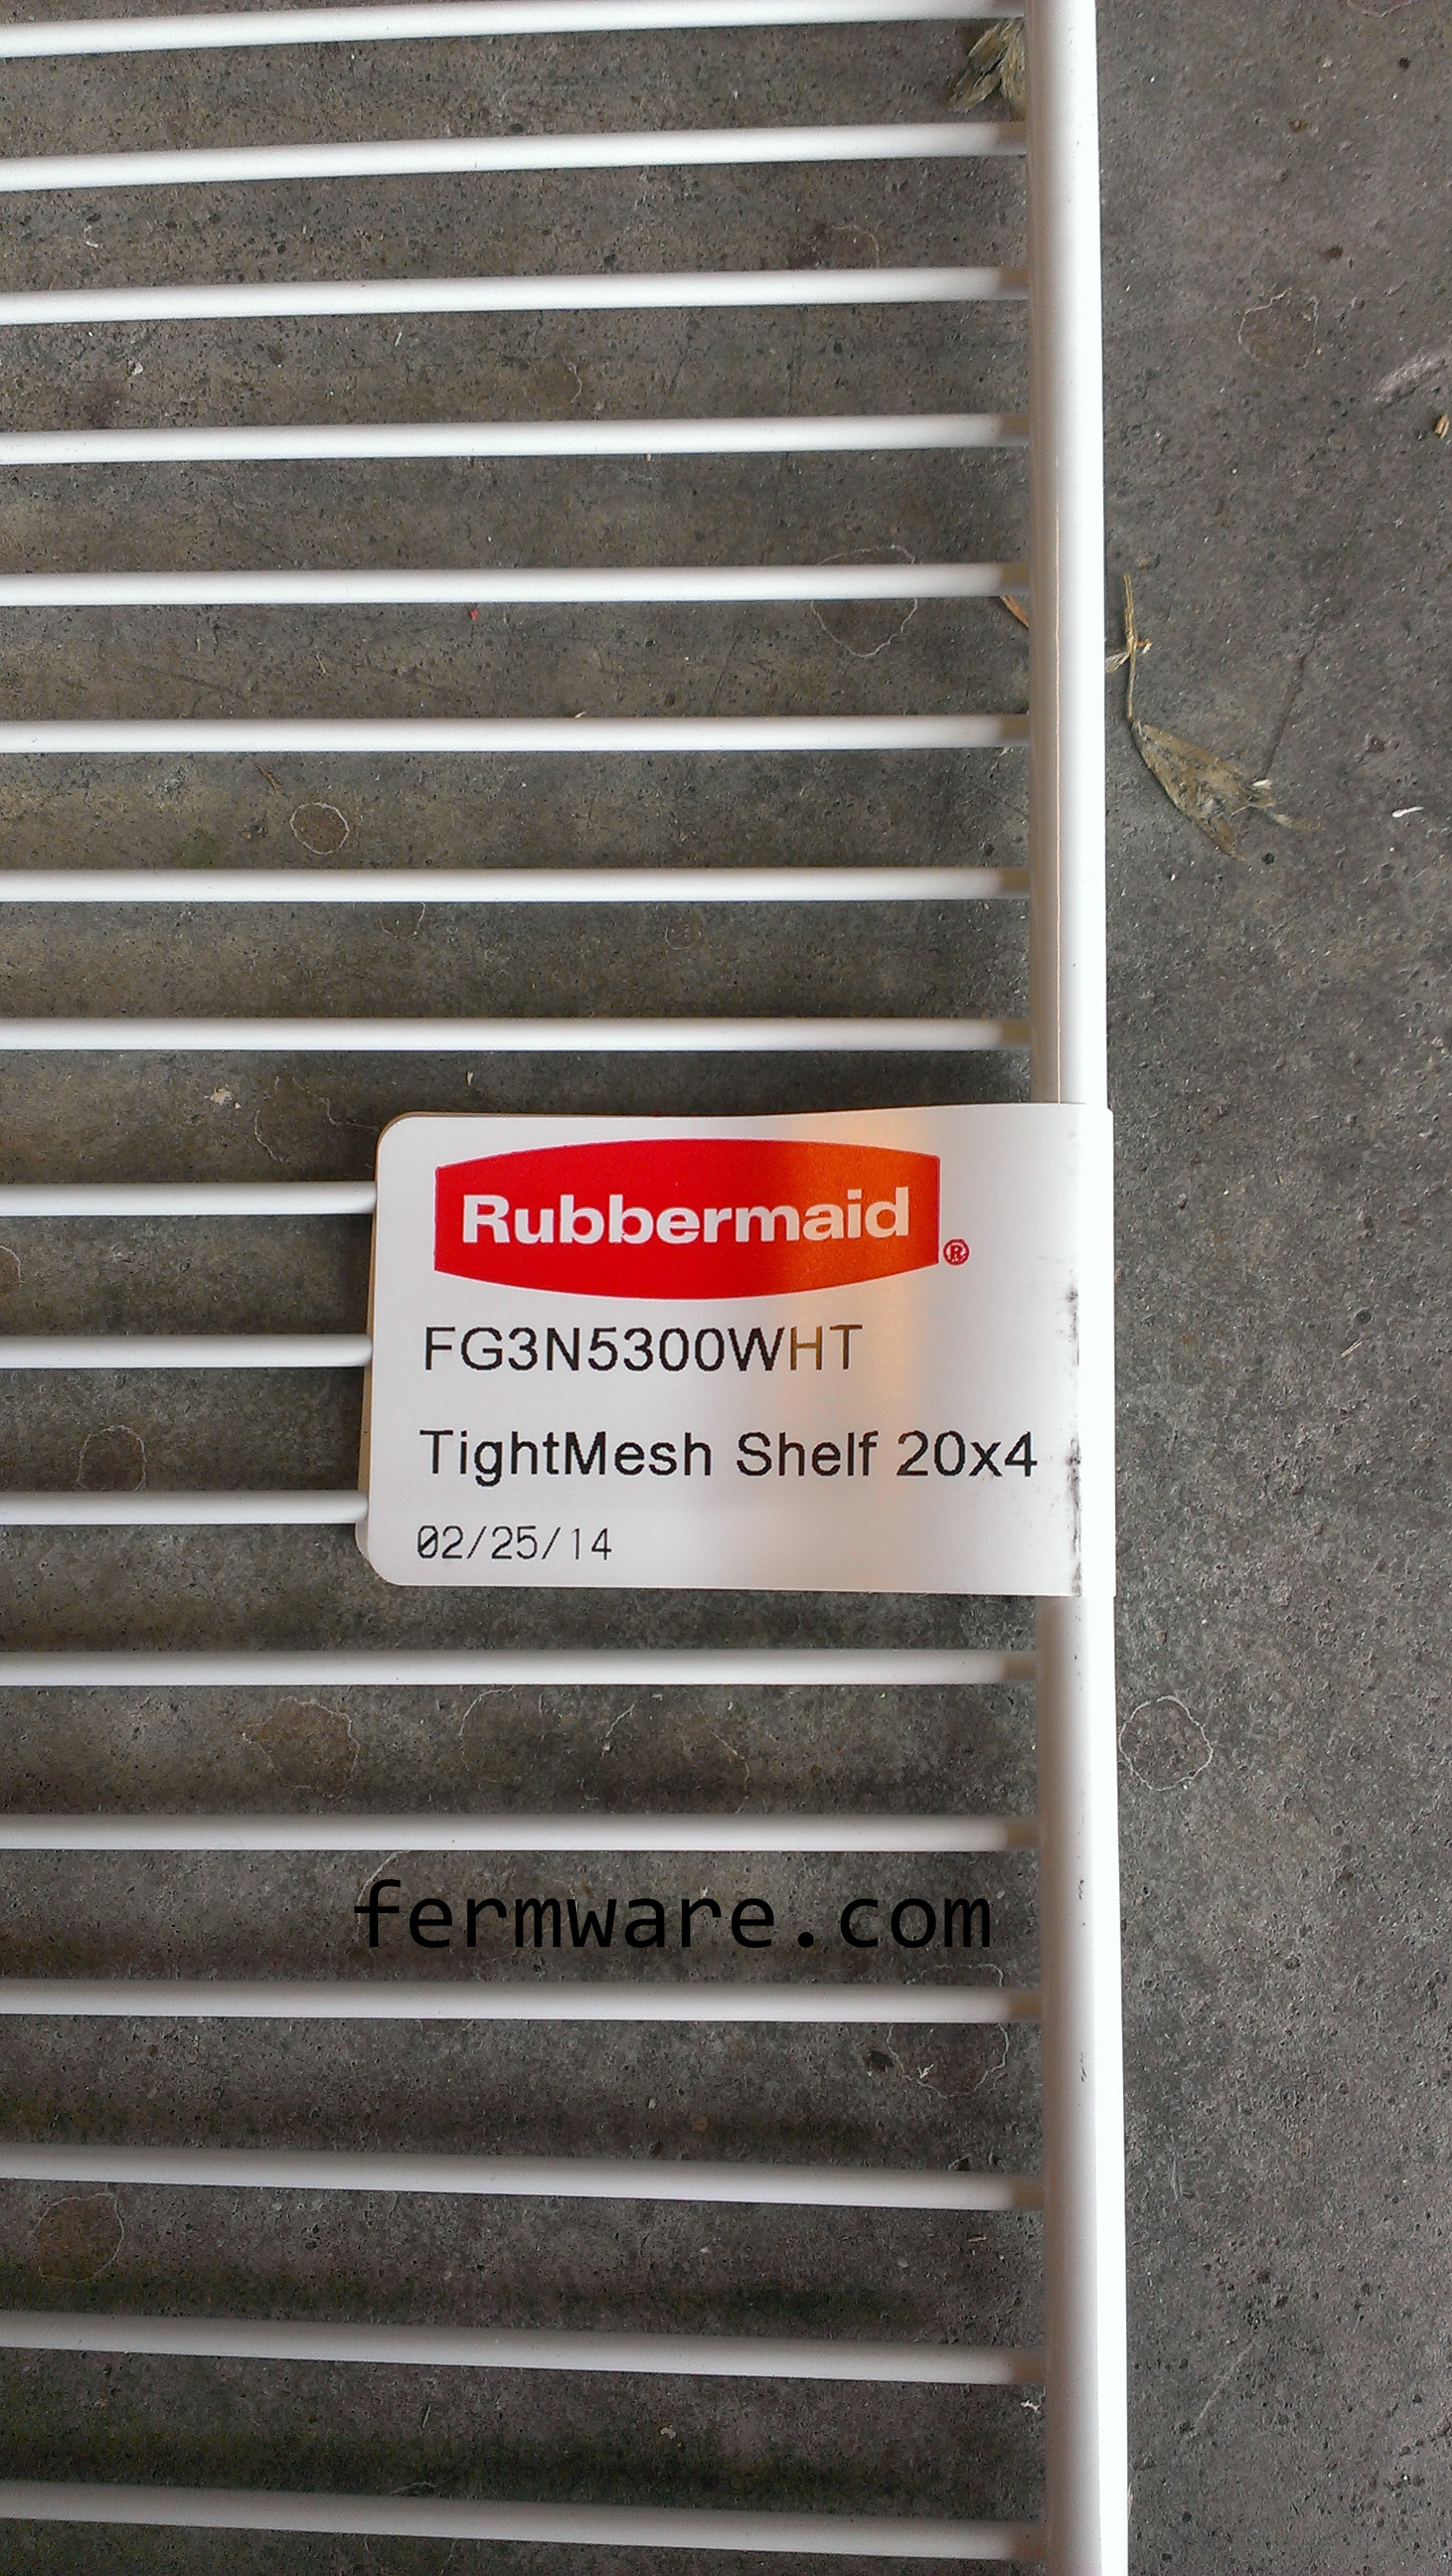
Wire Shelving
I used this on the previous lagering fridge (now used for cakes). It’s lasted over a year with no signs of rust. They are painted or have a thin rubberized coating, so they shoudn’t rust unless you scratch the covering off or possibly on the ends where you cut it. The piece I used was actually the other half of the full span shelving I used to make said prior lagering fridge.
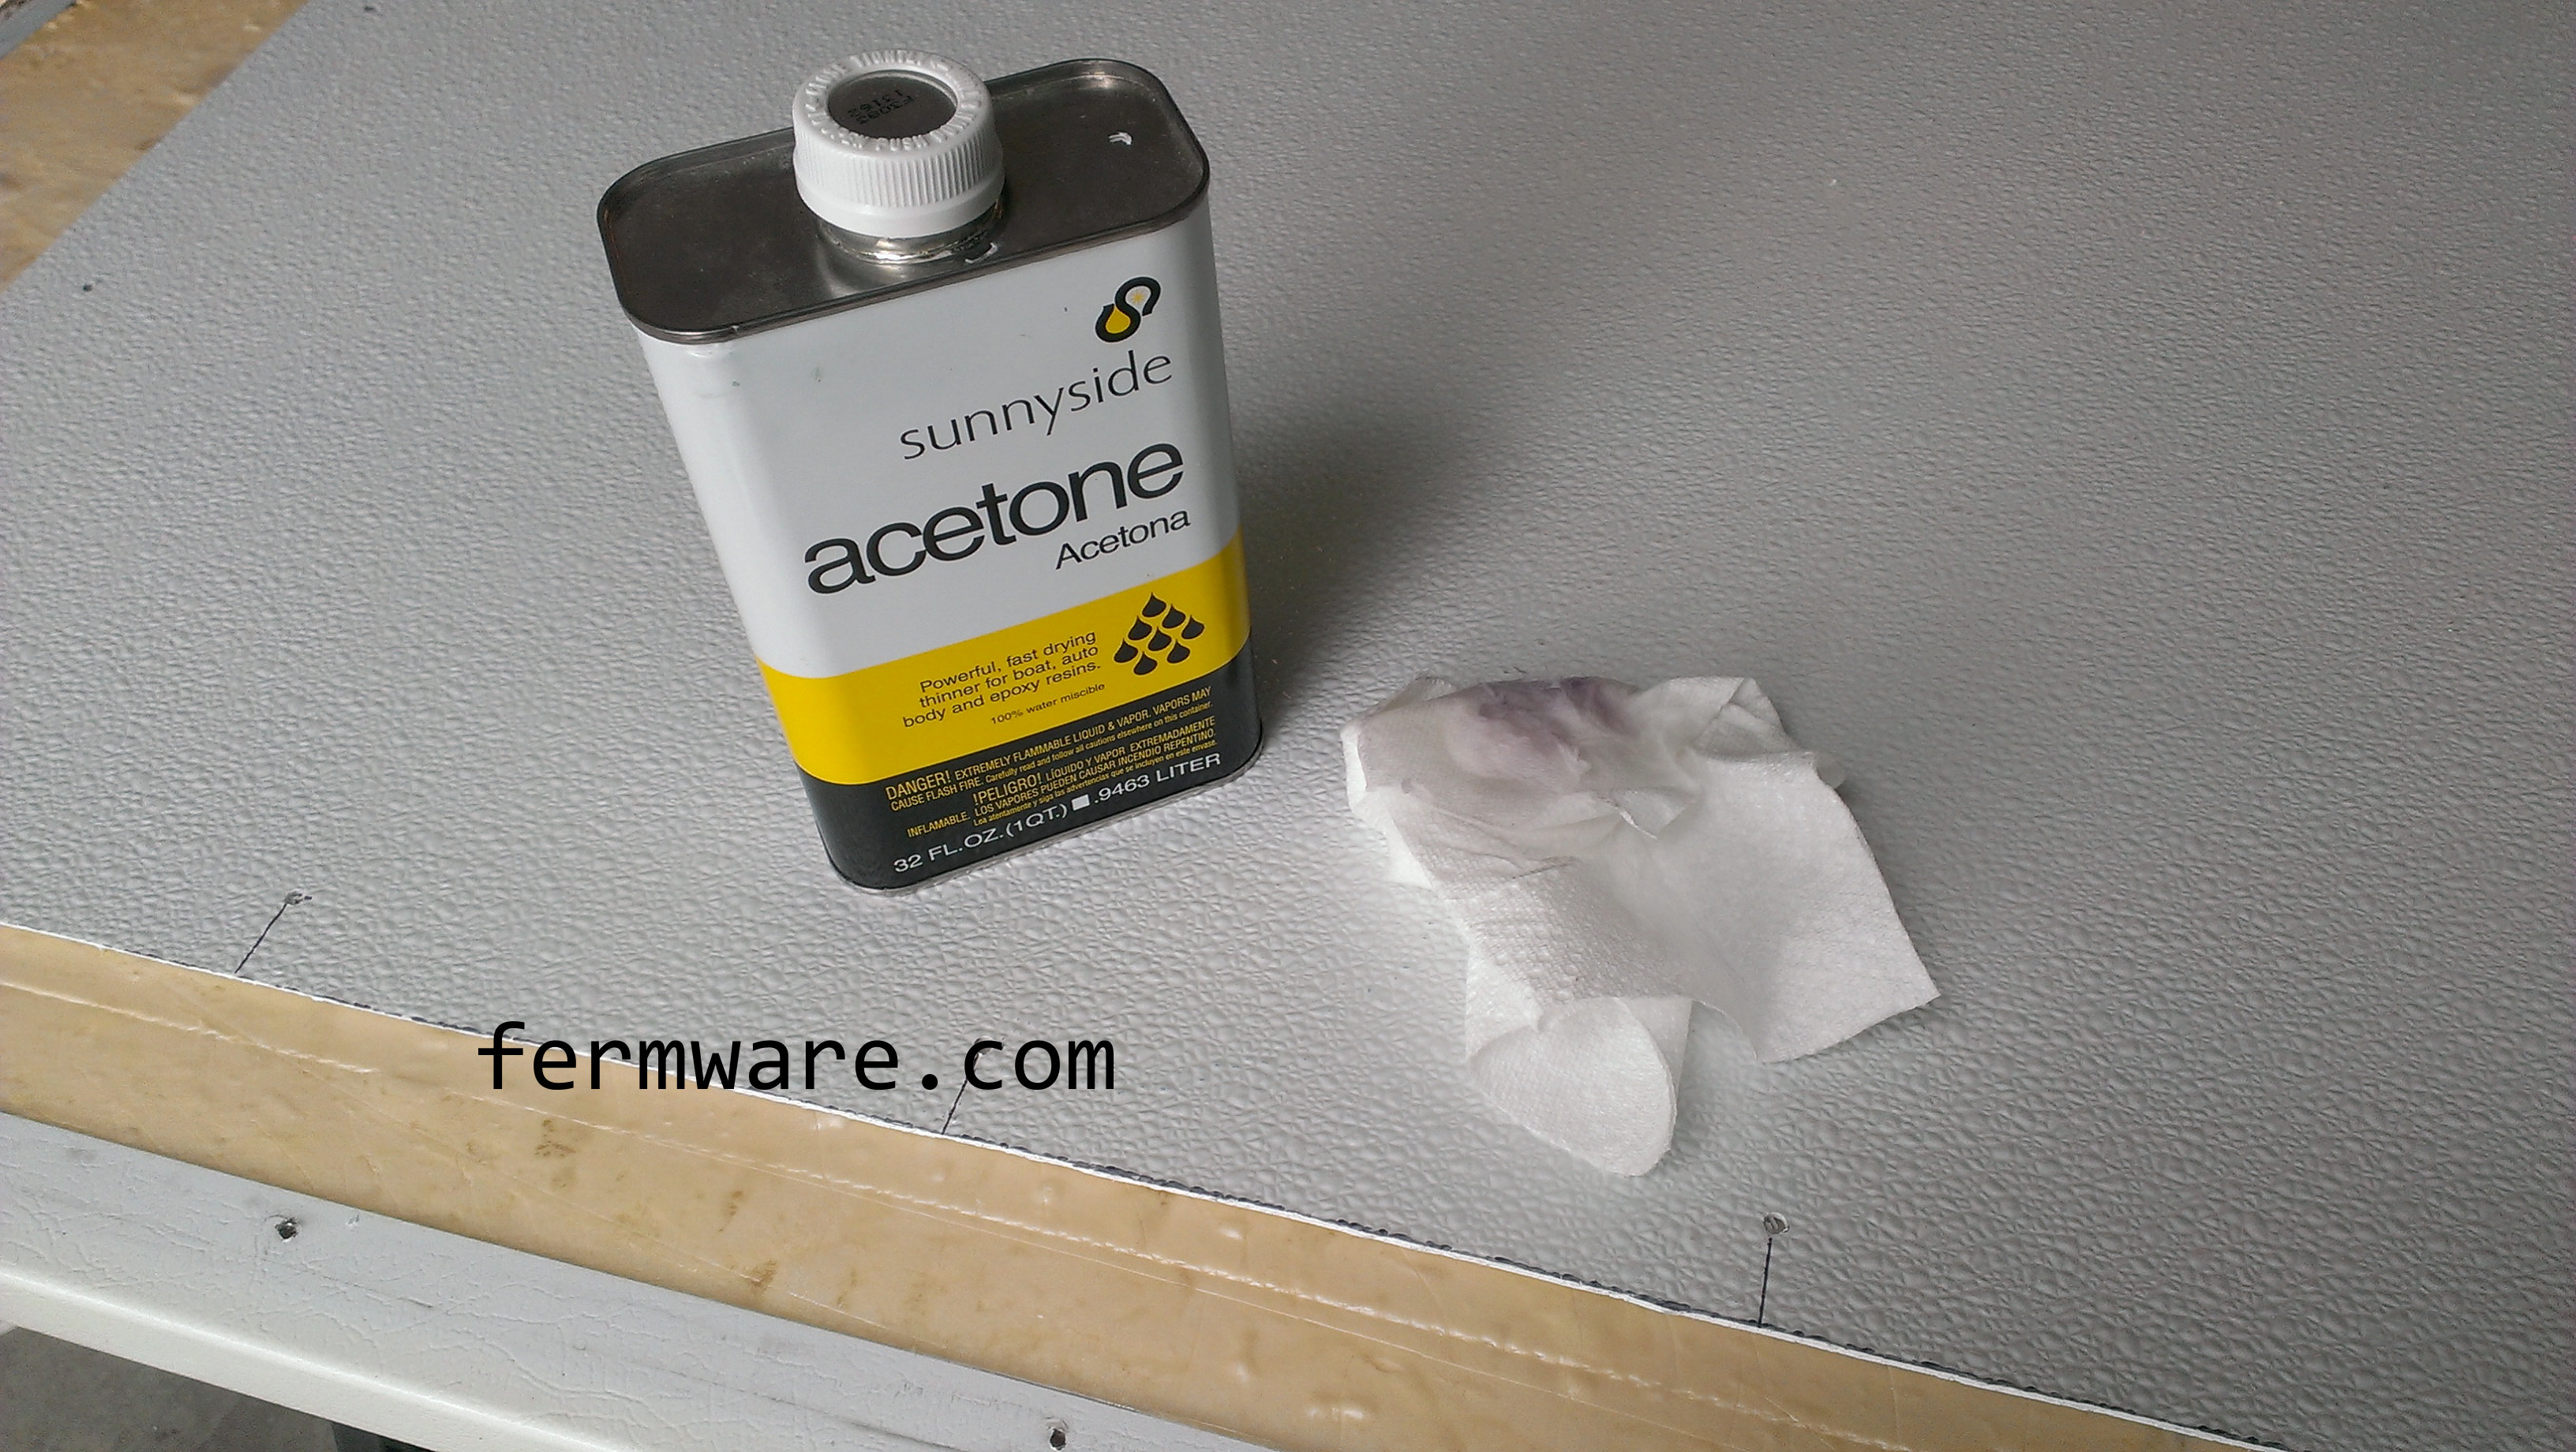
Acetone
You should have this around your garage anyway. It’s great to remove sharpie from glass or metal. It is a prime (if not sole) component of nail polish remover. It’s not lung or skin friendly, so make sure you wear gloves. In this project, you’ll use it to remove your sharpie markings from the FRP board where you cut. But be forewarned, acetone has a tendency to melt many kinds of plastic, so move quickly.
I use these all the time. The link in the title is to the ones I purchase all the time from Harbor Freight. They are a good value and are fairly durable. I prefer the blue gloves, simply because when you do get grease and dirt on your gloves, you can tell and know not to touch anything clean. Use these in this project when cleaning the fridge as well as when you are using the acetone. I also prefer nitrile over latex, because with the latex gloves you are left with hands smelling like balloons. Plus some people have or develop latex allergies.
This is part 6 in the series documenting how to create your own Homer Hopper. If you haven’t seen the introduction yet, please check it out. In this post, we’ll be finishing up with the assembly of all components and fitting the hopper assembly into the bucket.
*You’ll want a bench top unit so you can hold the hopper assembly with both hands while you shape it to fit in the bucket.
Material recommended:
You’ll need all of the pieces you’ve built thus far and the bolts and washers mentioned in the introduction post
4x 1/4-20 x 0.75″ length stainless socket head cap screws or hex head
4x washers for 1/4″ bolts ($1-$5 for screws and washers depending on where you shop) *You don’t have to use stainless for the screws or washers, I just got stainless so they didn’t rust while being stored outside in the garage.
How to do it:
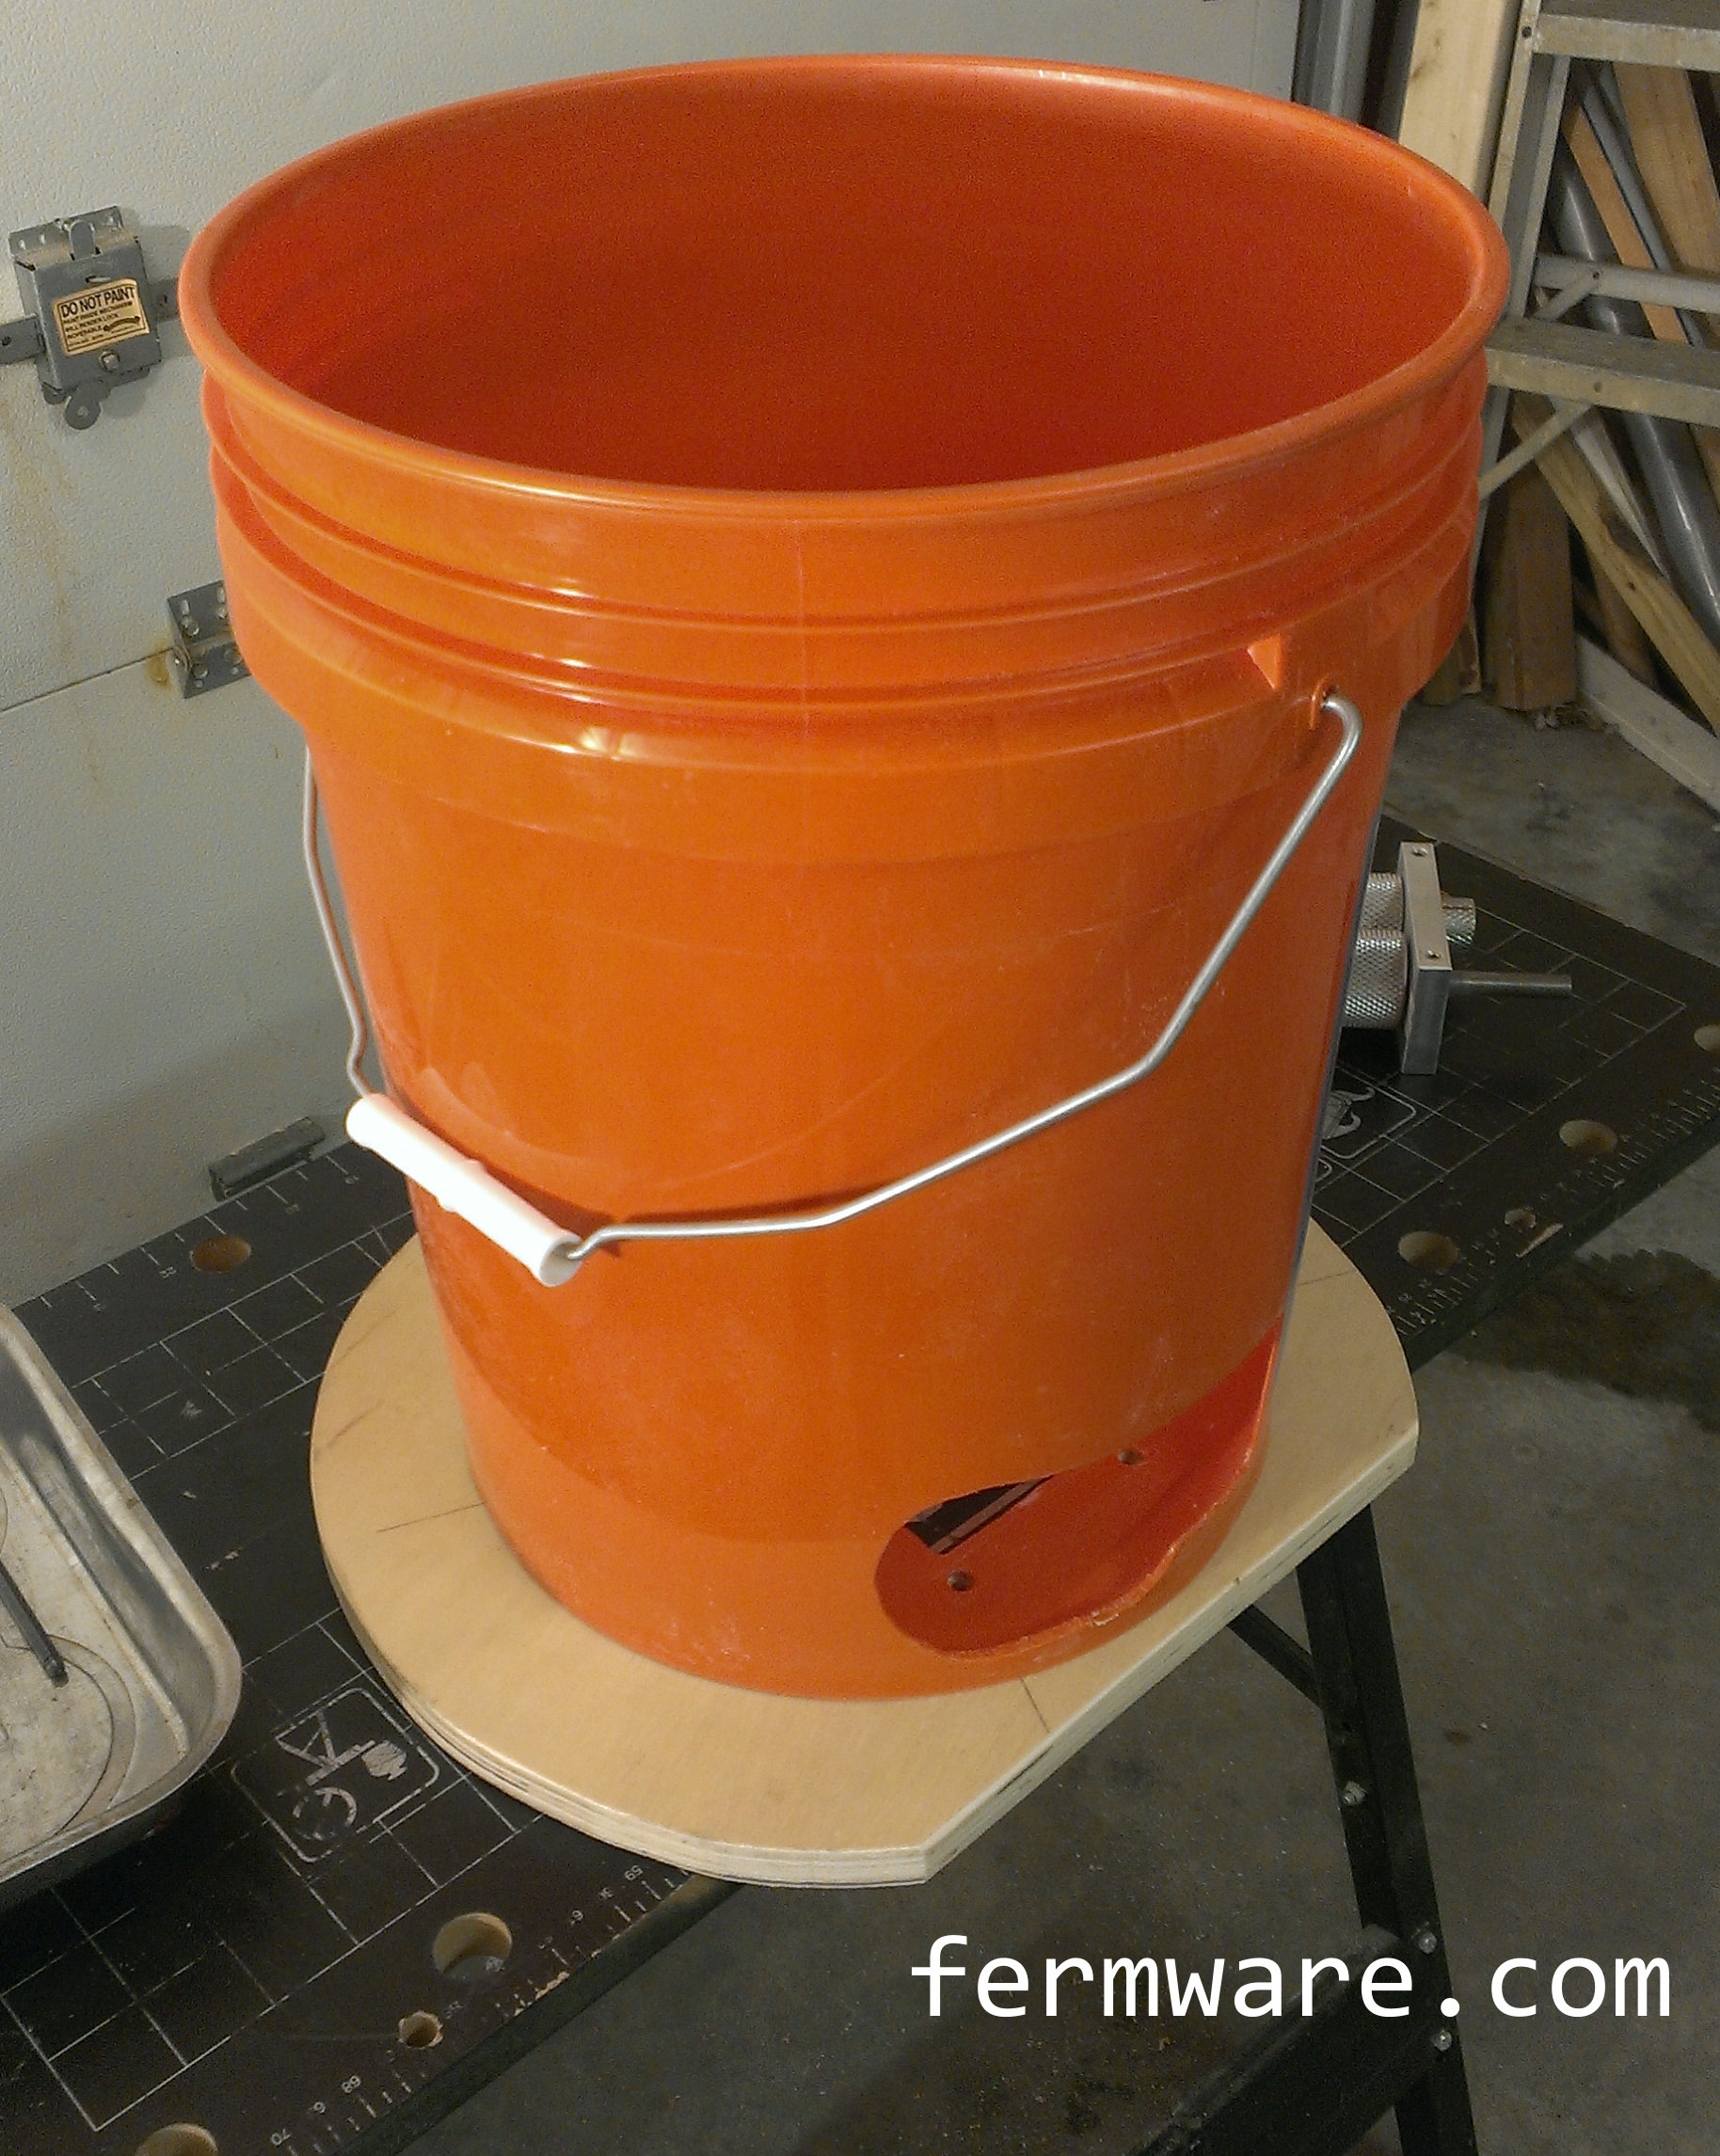
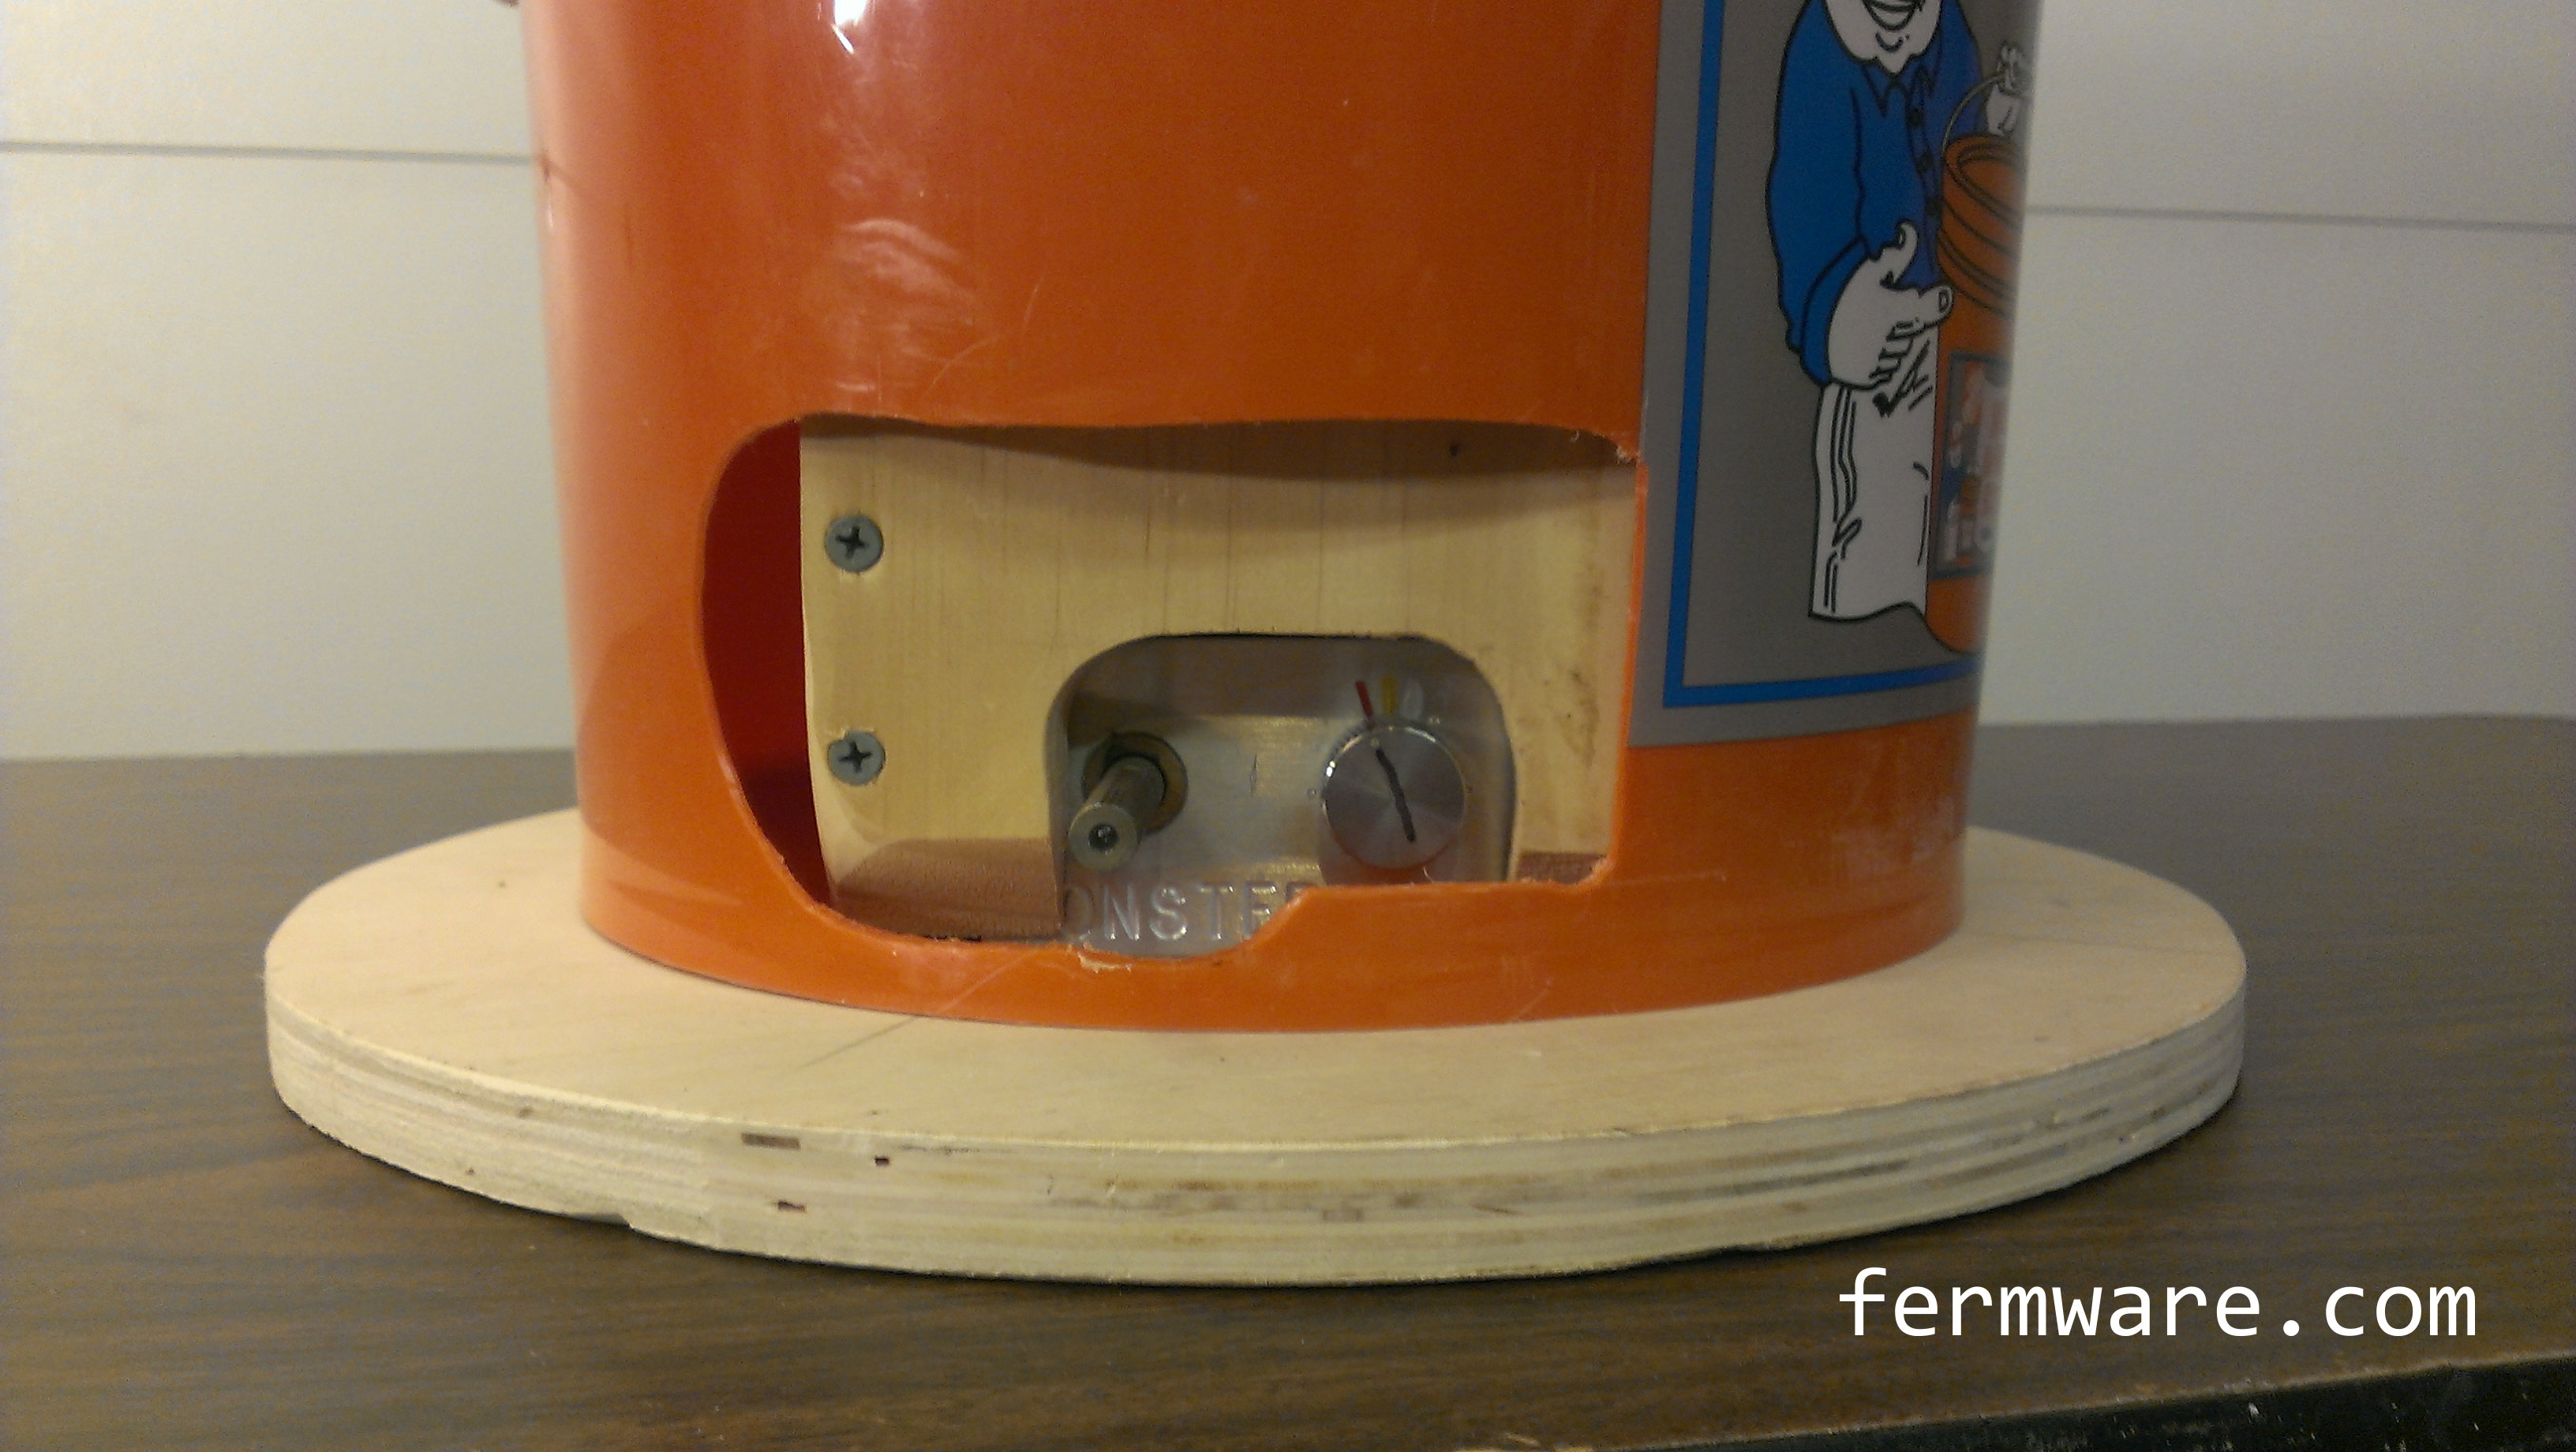
Go ahead and orient the bucket on the base.
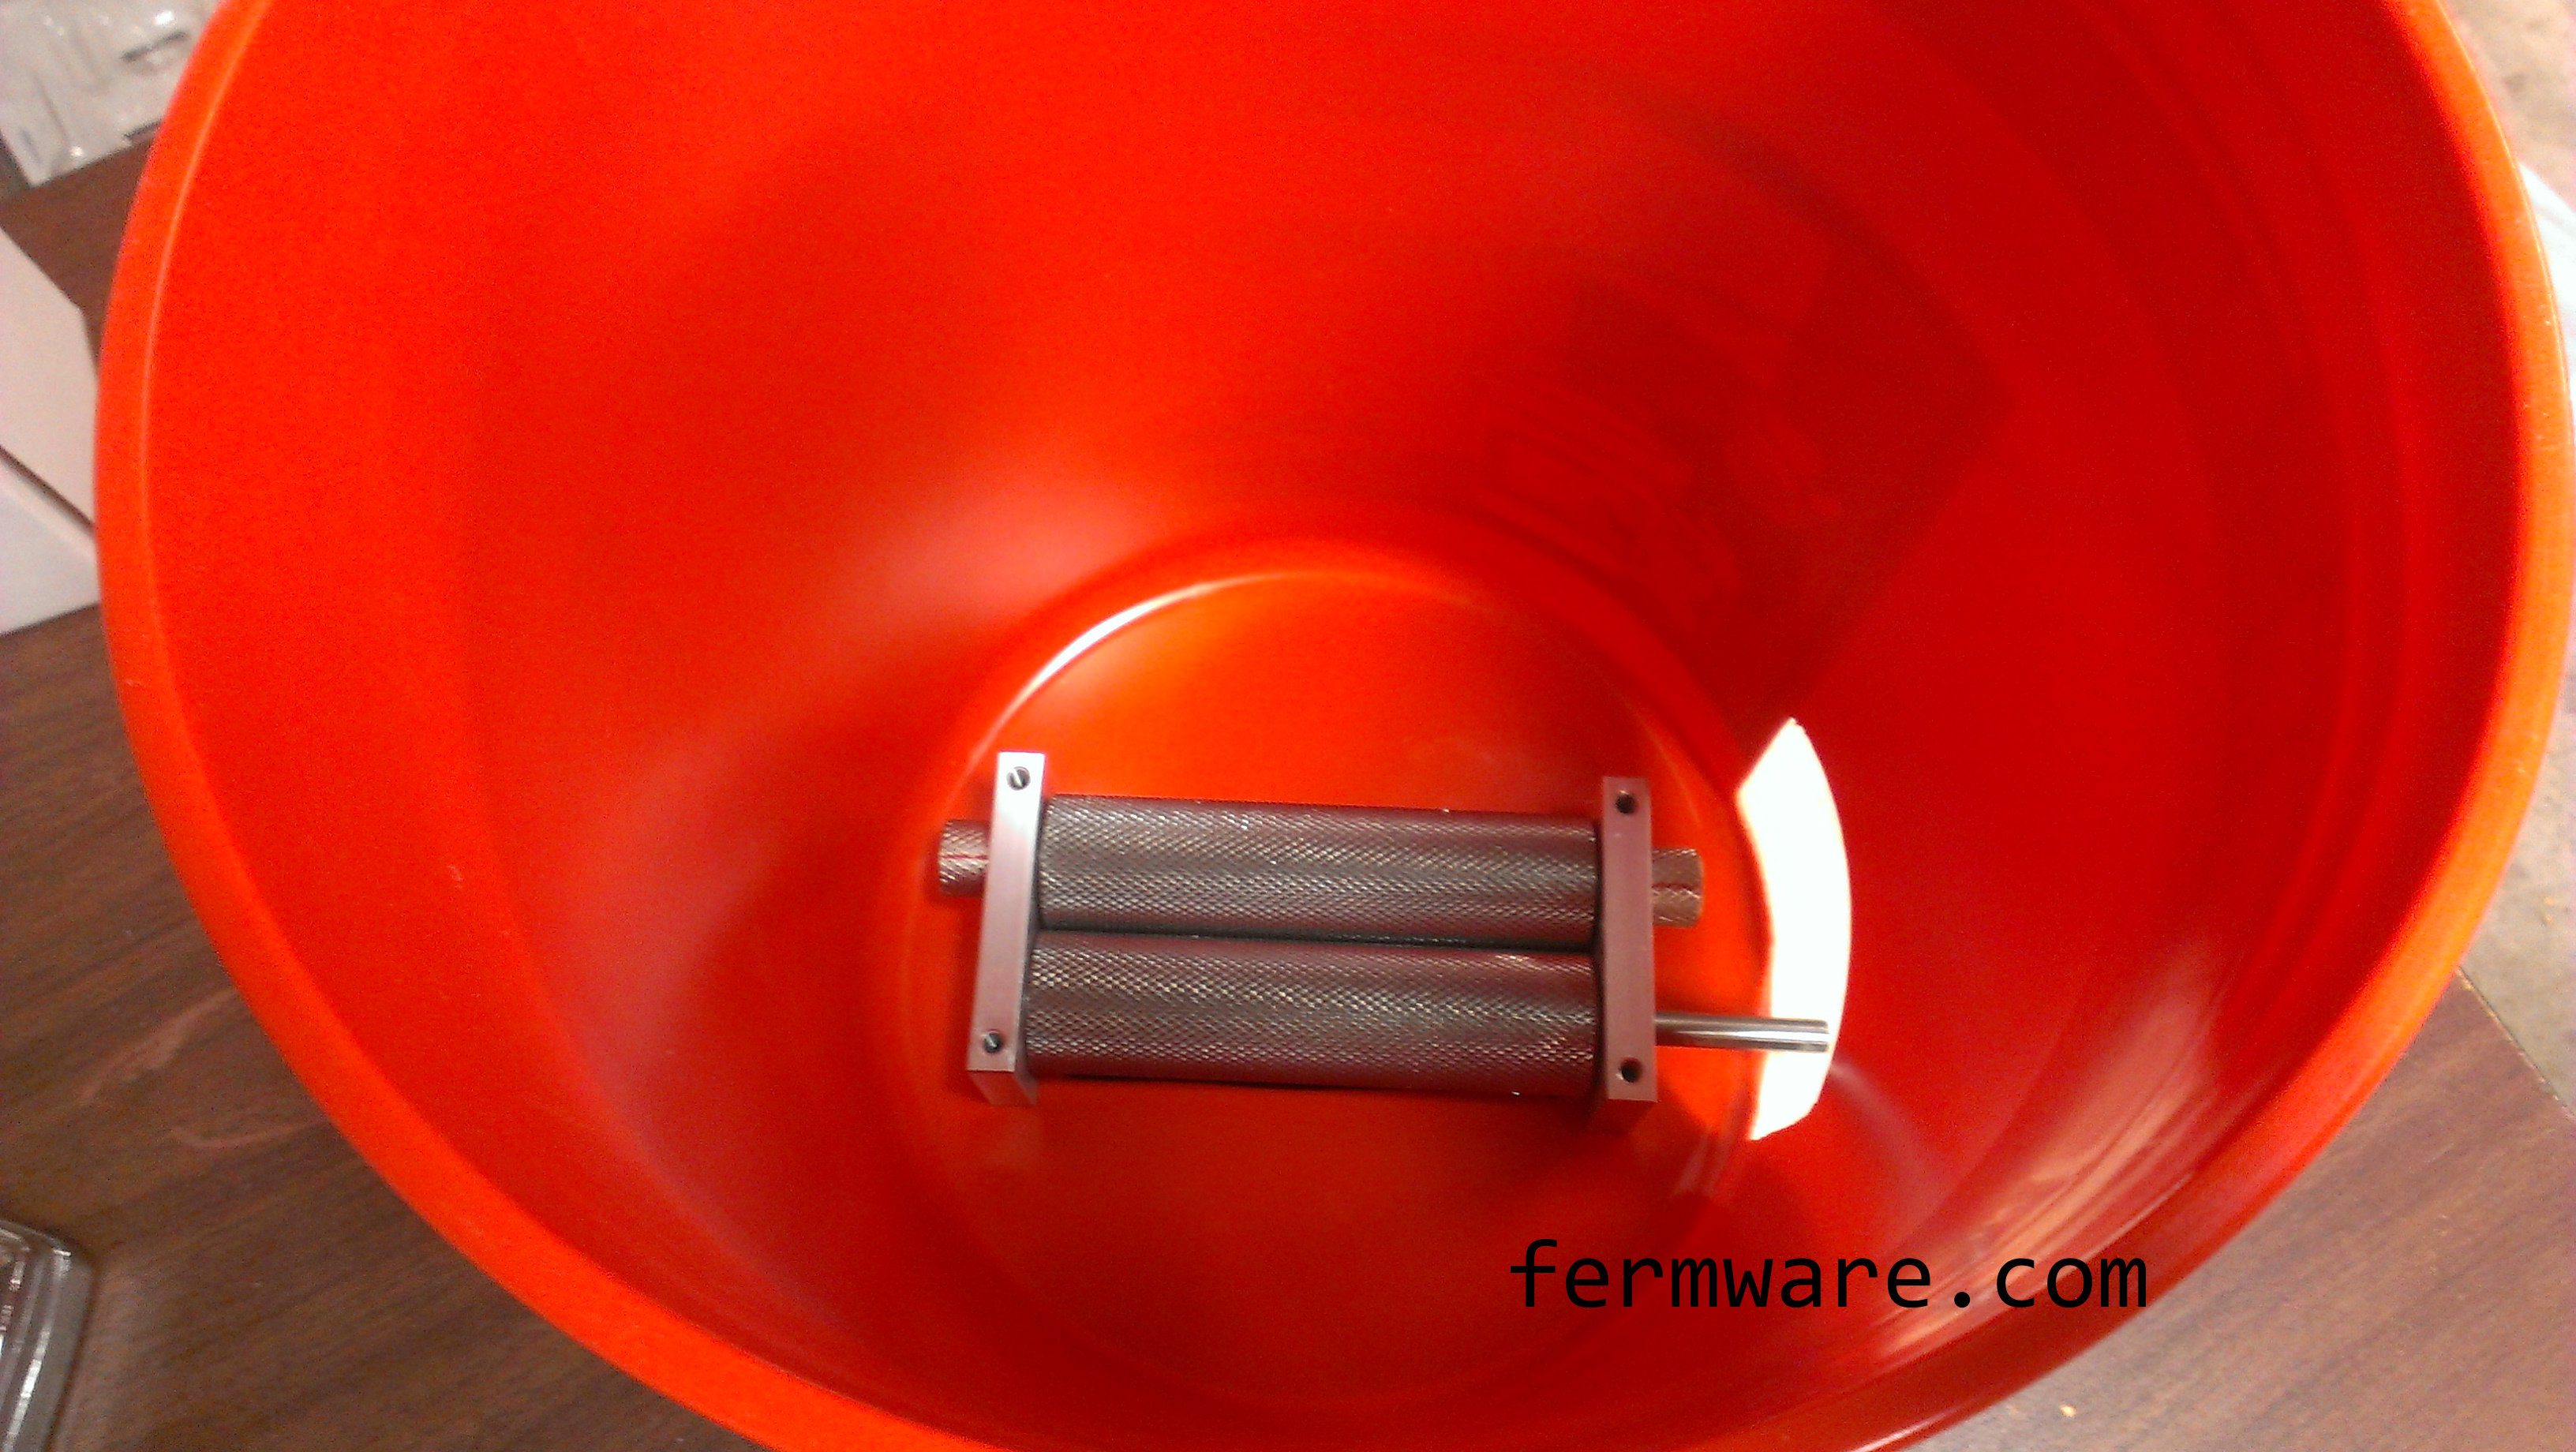
Then install the mill with the driveshaft sticking out the side window (obviously).
Then, secure the mill with the bolts going through the wooden base and bucket. Since your holes probably aren’t precision located, get each bolt started in each hole, then tighten them up.
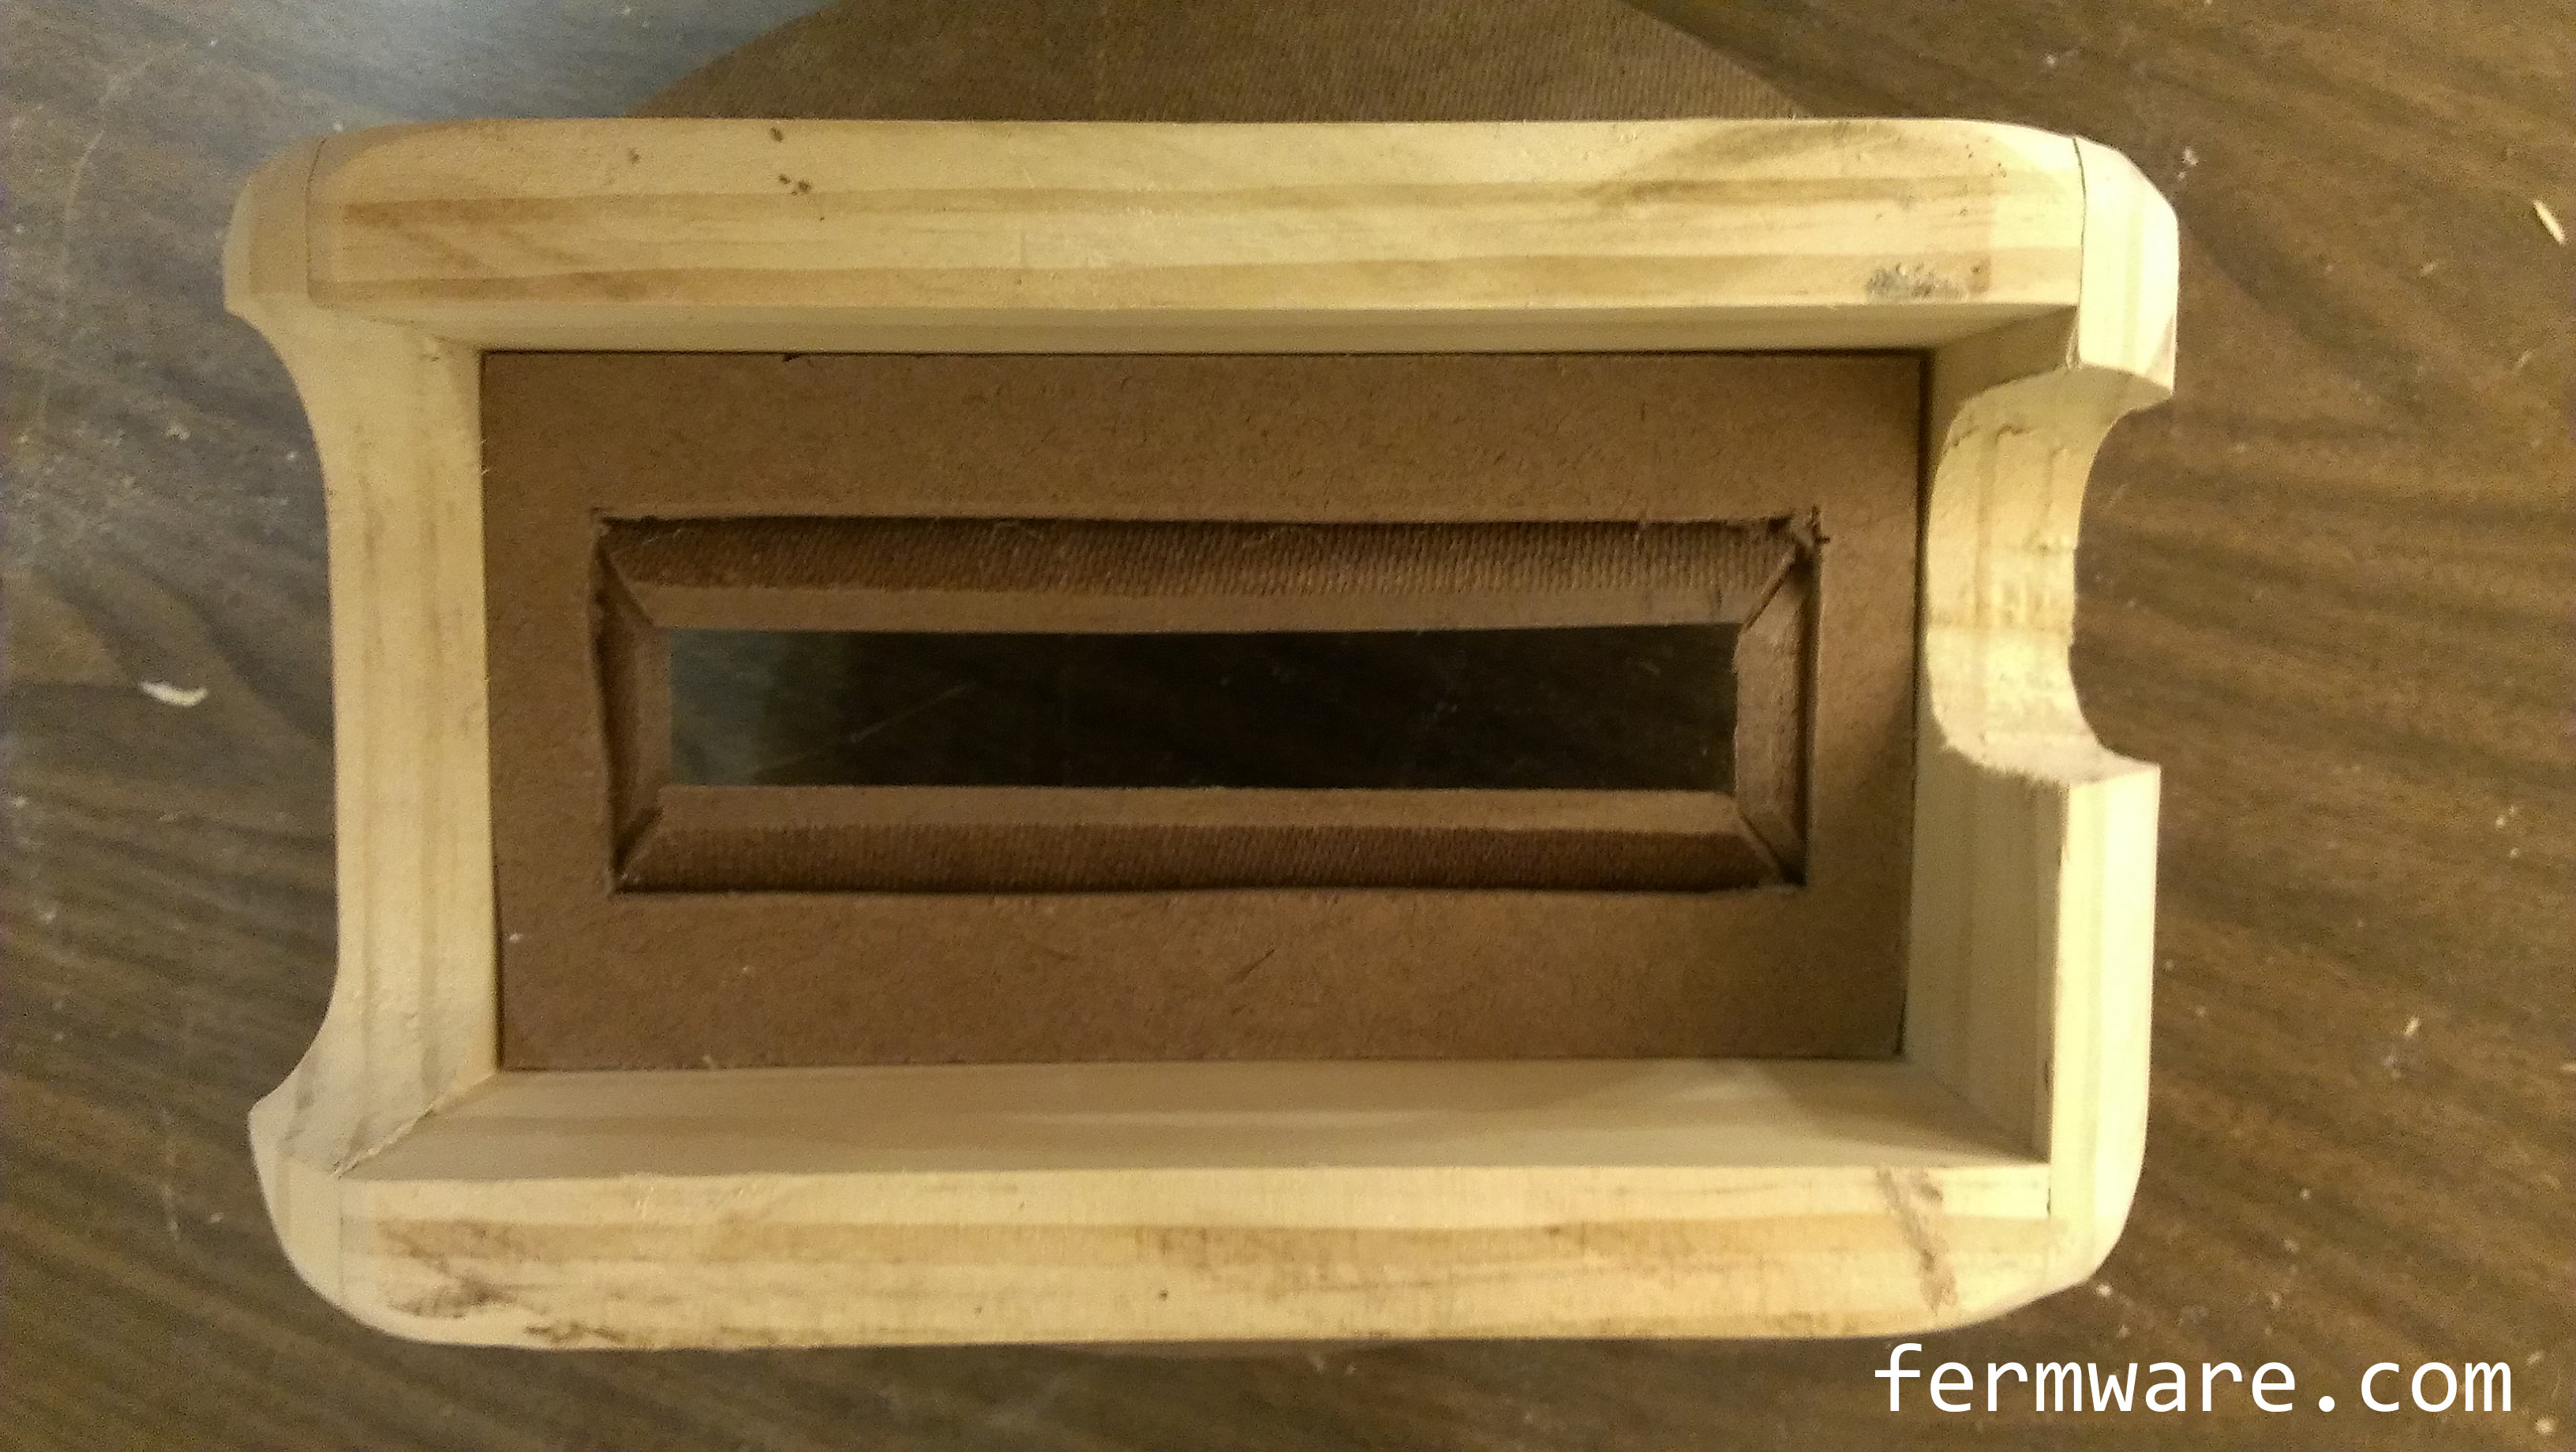
Shape the hopper panels
Keep dropping the hopper assembly into the bucket while sanding more material off of the tips of the panels until you get a nice fit. The angle will be almost perpendicular to the base, but with a slight draft.
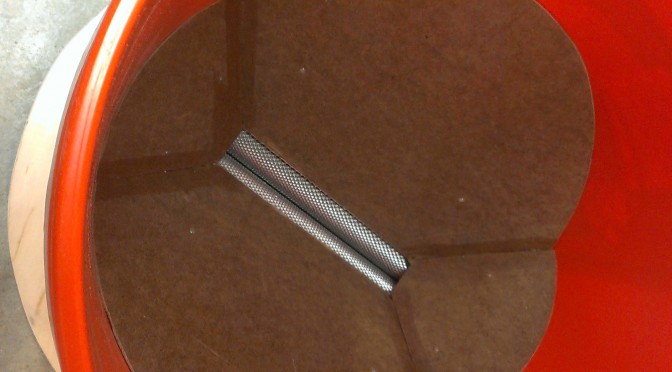
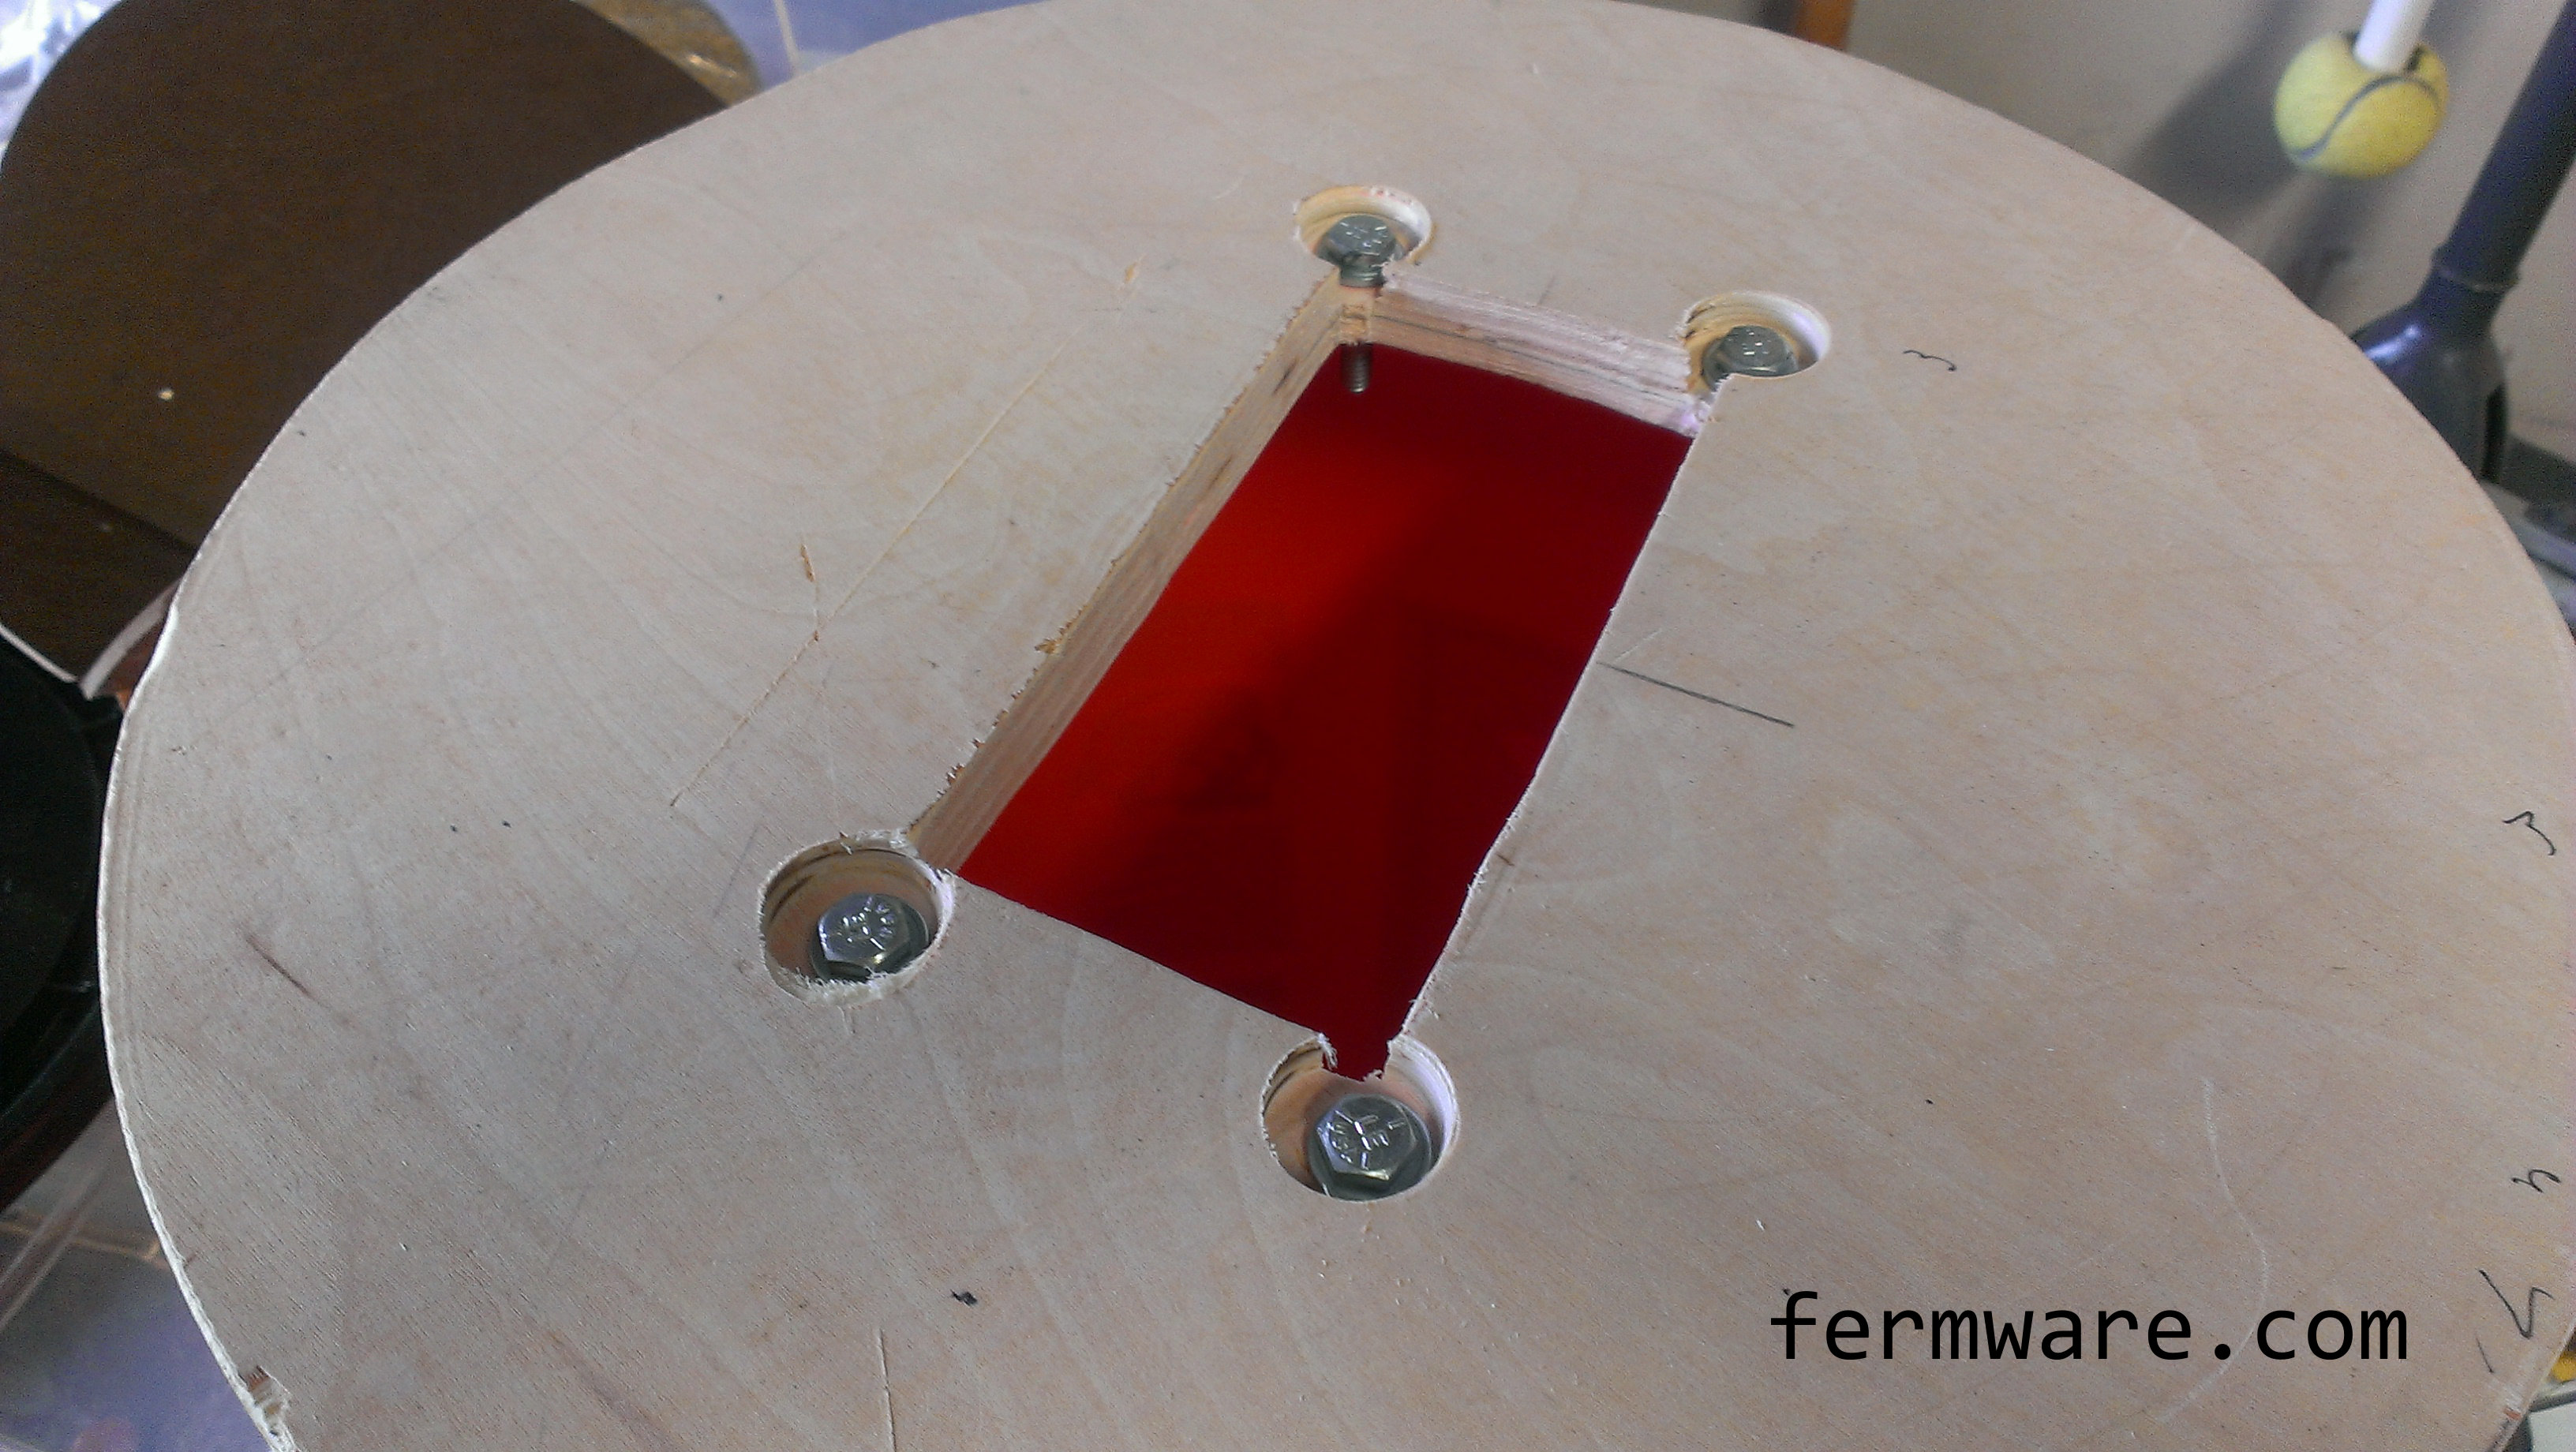
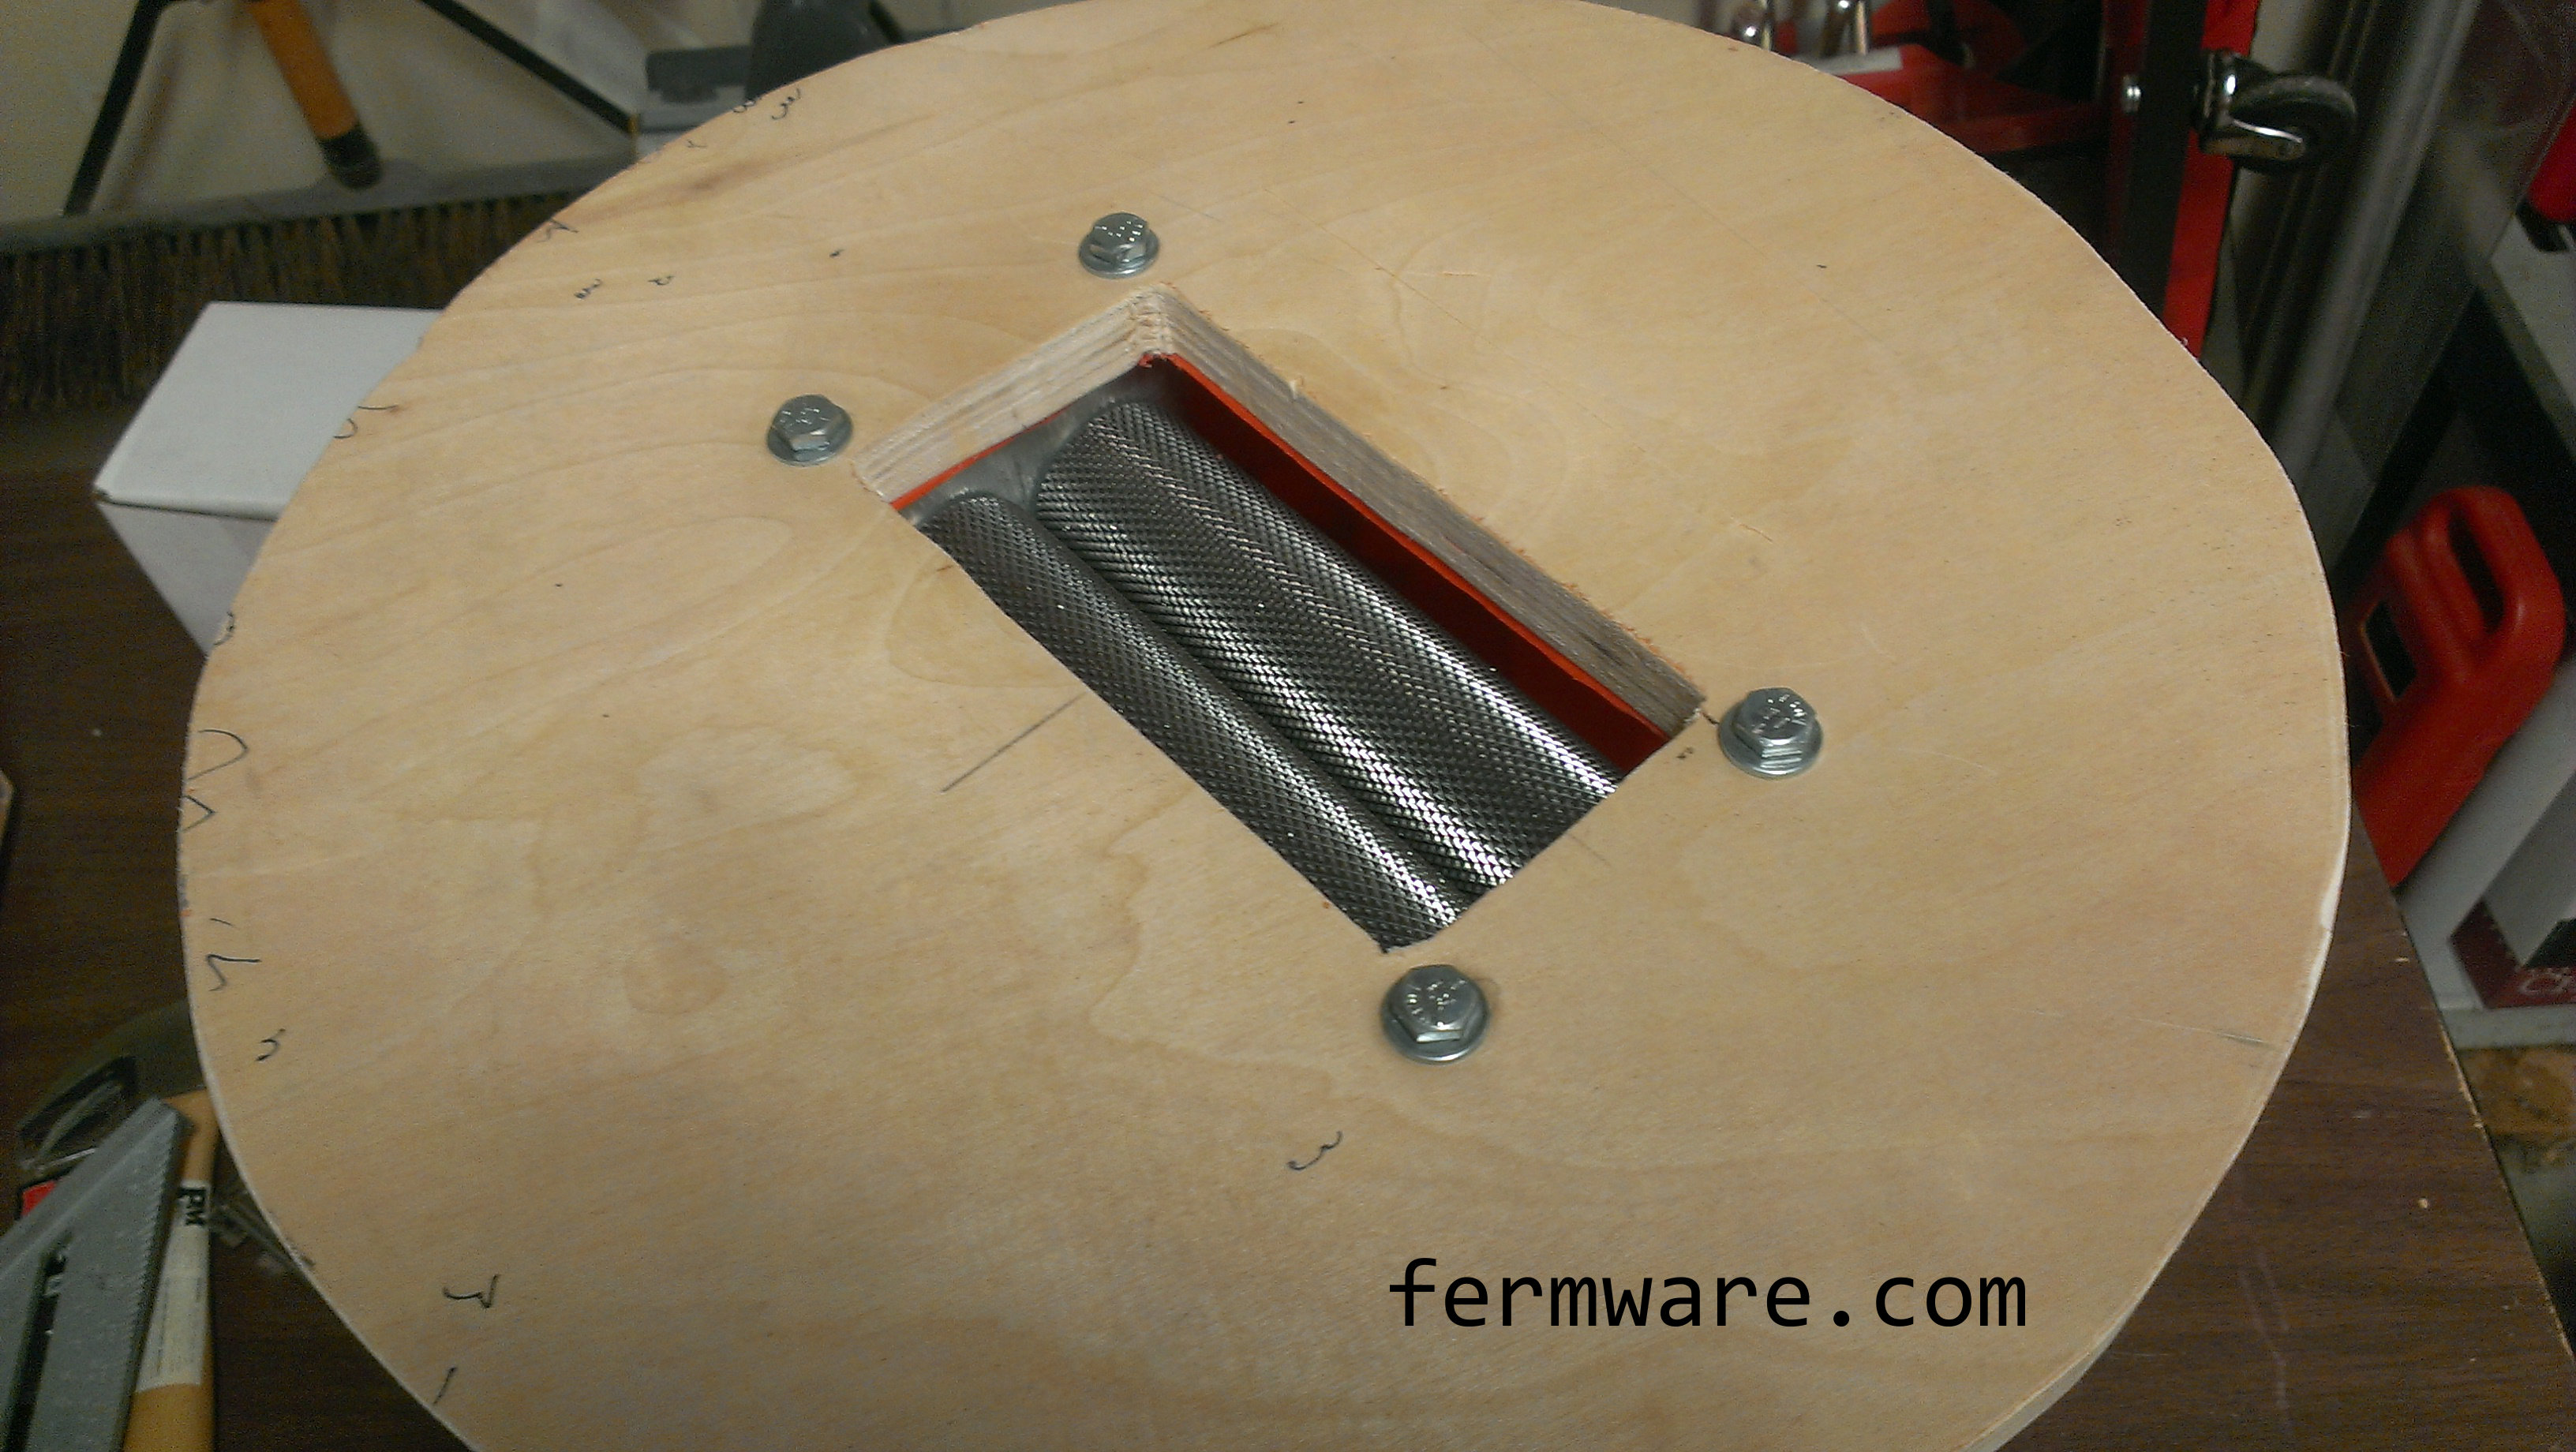
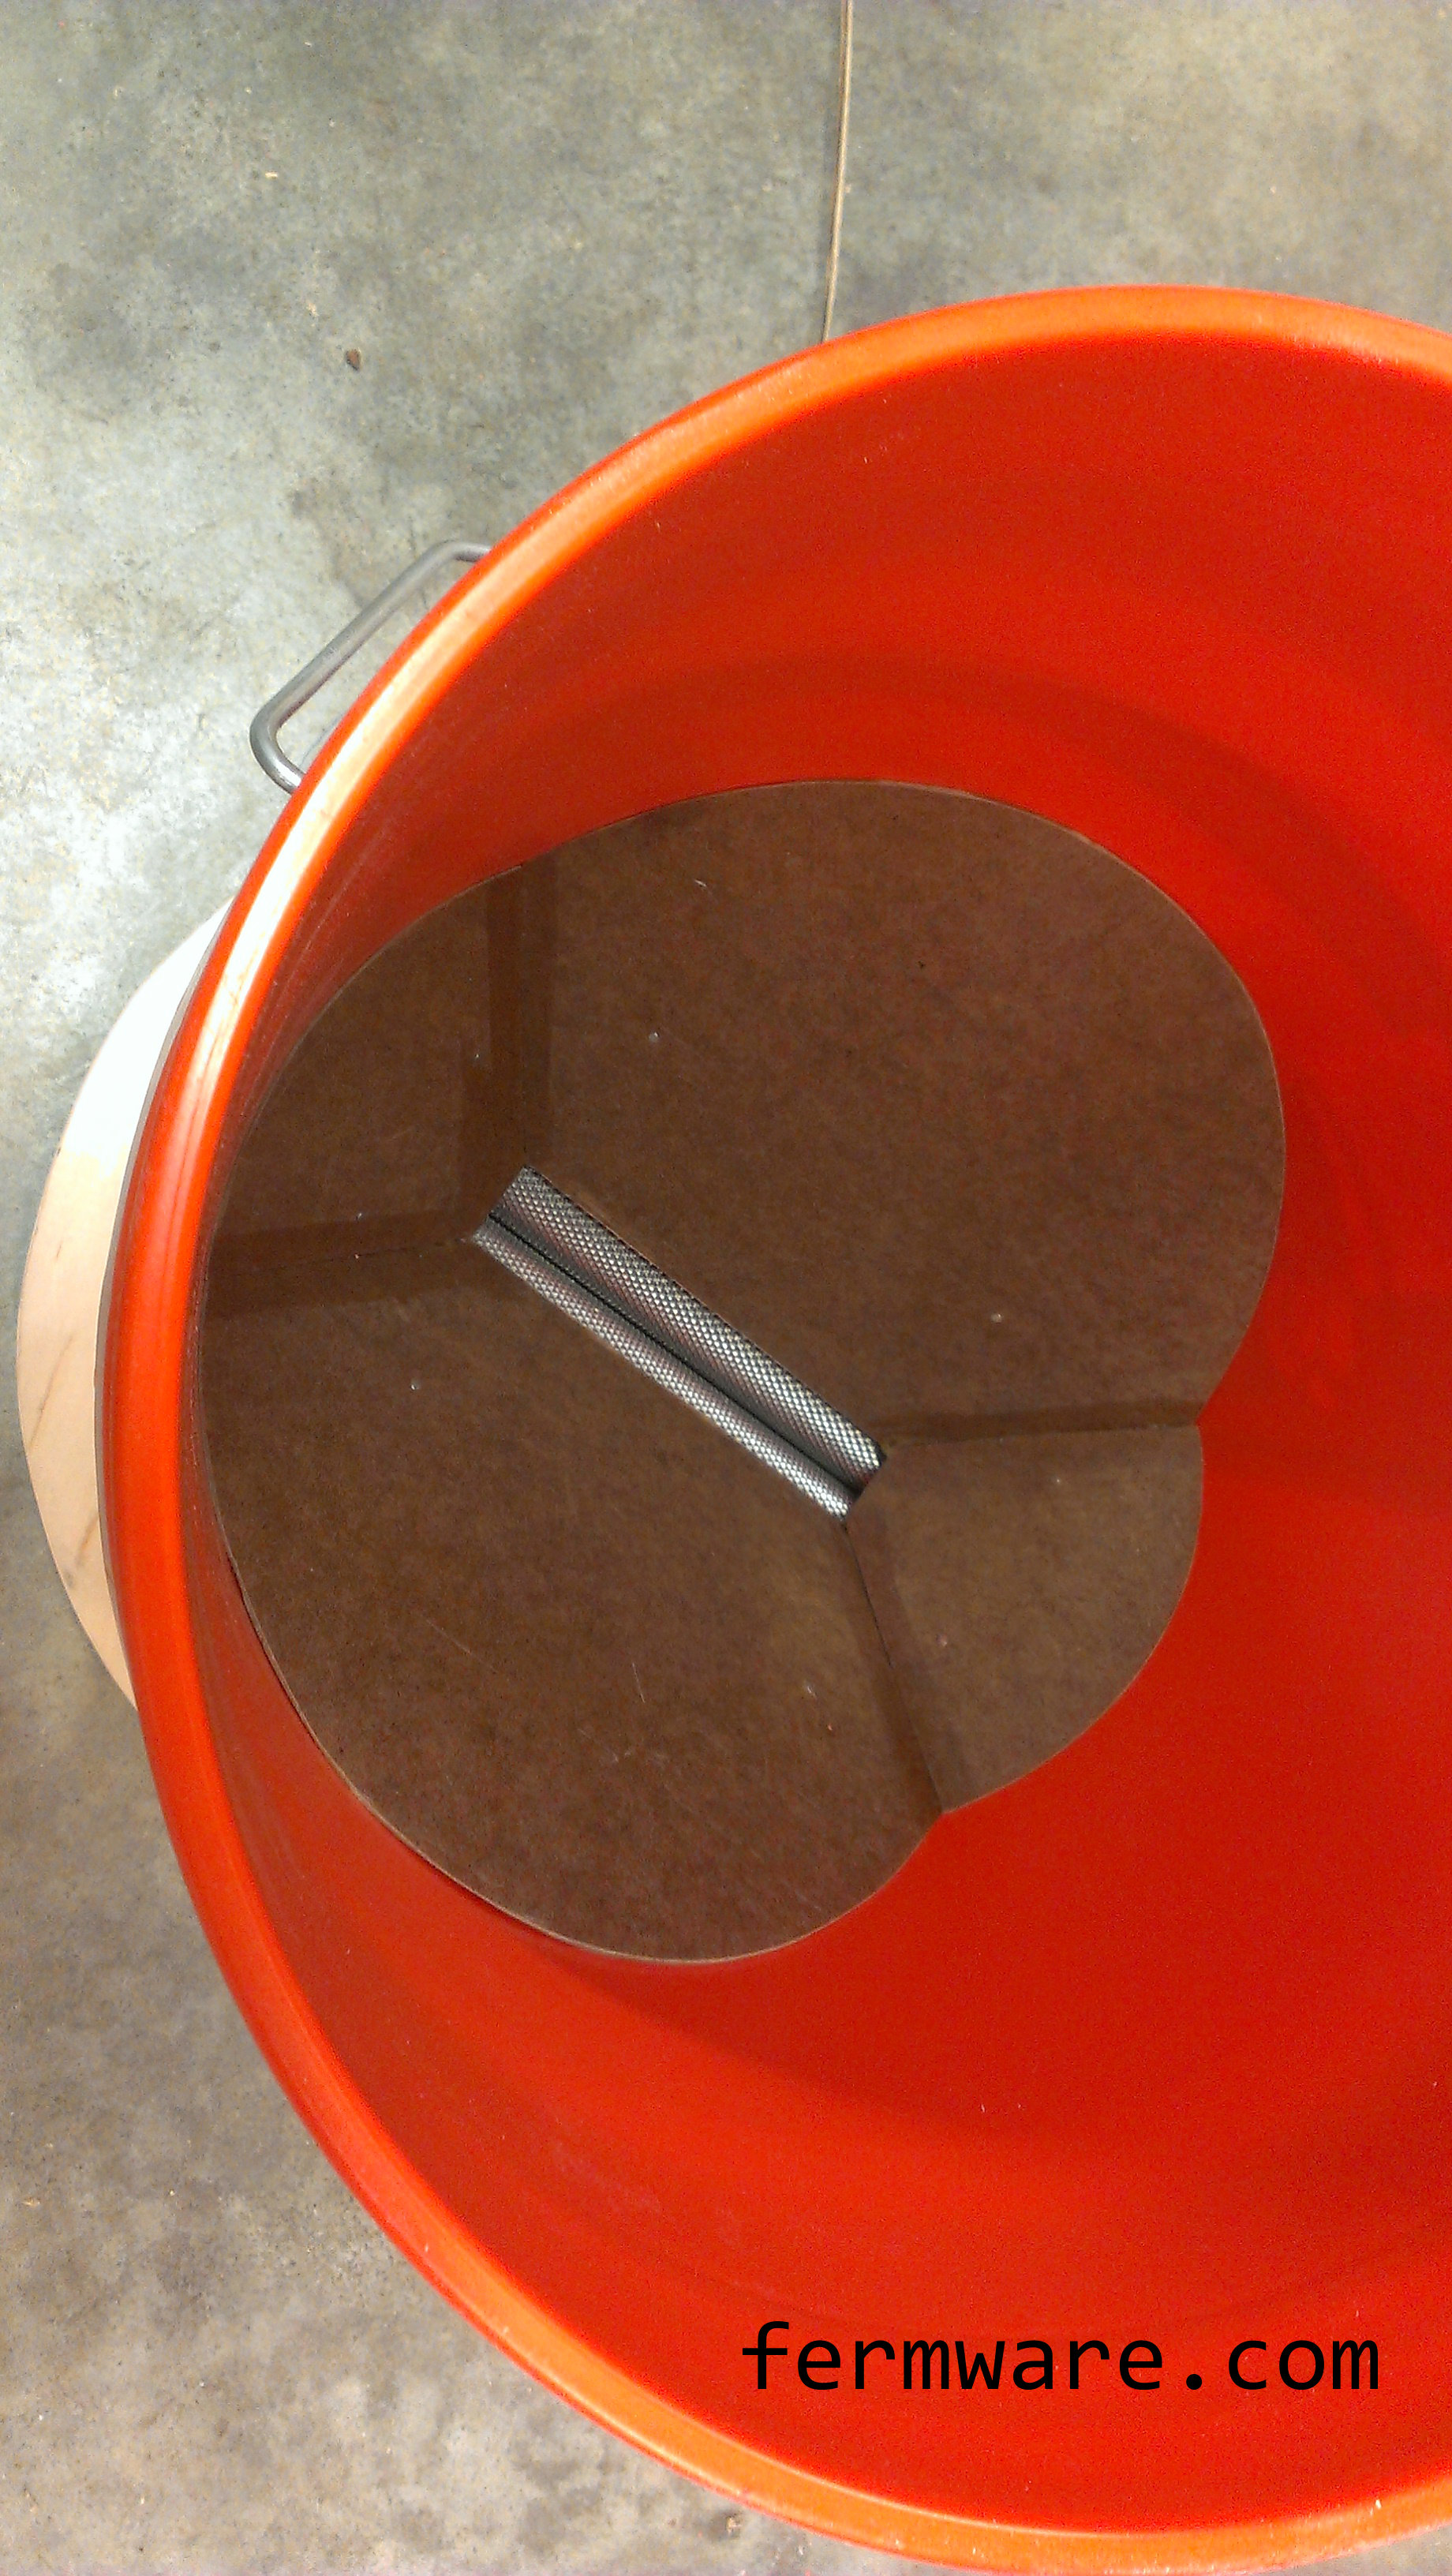
Once you have a nice fit with the panels, it’s time to start shaping the mill box to fit in the bucket. The bottom of the bucket has a radius all the way around the bottom, so you’ll need to shape the bottom corners until you can get it all to sit flat.
Your finished corners should look something like the picture above.
Keep shaping until the entire assembly sits completely flat on the bottom of the bucket.
Final steps
The last steps are to glue the seams in between the hopper panels (as in one of the above photos) and to glue the grain shield in place.
Wait for all glue to dry!!!!
The last thing you want is for wet glue to drip into your valuable grain mill or get into your grain.