Homer Hopper Part 4 – Mill Box
Difficulty: 
Time Required:
One morning or afternoon (For the entire project)
Background:
This is part 4 in the series documenting how to create your own Homer Hopper. If you haven’t seen the introduction yet, please check it out. In this post, we’ll be making the mill box.
Posts for this project:
Introduction
Part 2: Bucket Modifications
Part 3: Wooden Base
Part 4: Mill Box (this post)
Part 5: Funnel Panels
Part 6: Final Assembly
Part 7: CAD Drawings
Affiliate Links
Any links in this post or on this website may link to affiliates, which compensate this website for purchases. All links are provided to help the reader locate items mentioned or used in the post. As an Amazon Associate I earn from qualifying purchases.Tools required:
Jig saw Drill (optional) Table saw or miter saw (to cut the angles) Wood clamps (optional) Sanding device (belt sander, handheld, sandpaper)
Material recommended:
I started with some 3/4″ x 4″ pine I had from another project. You’ll need about 26-30″ worth. You’ll also want some wood glue or wood screws if you are too impatient for the glue to dry or don’t want to mess with clamps.
Link to CAD files & Templates
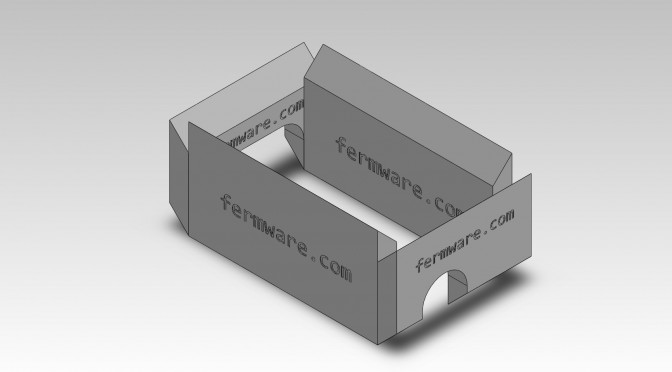
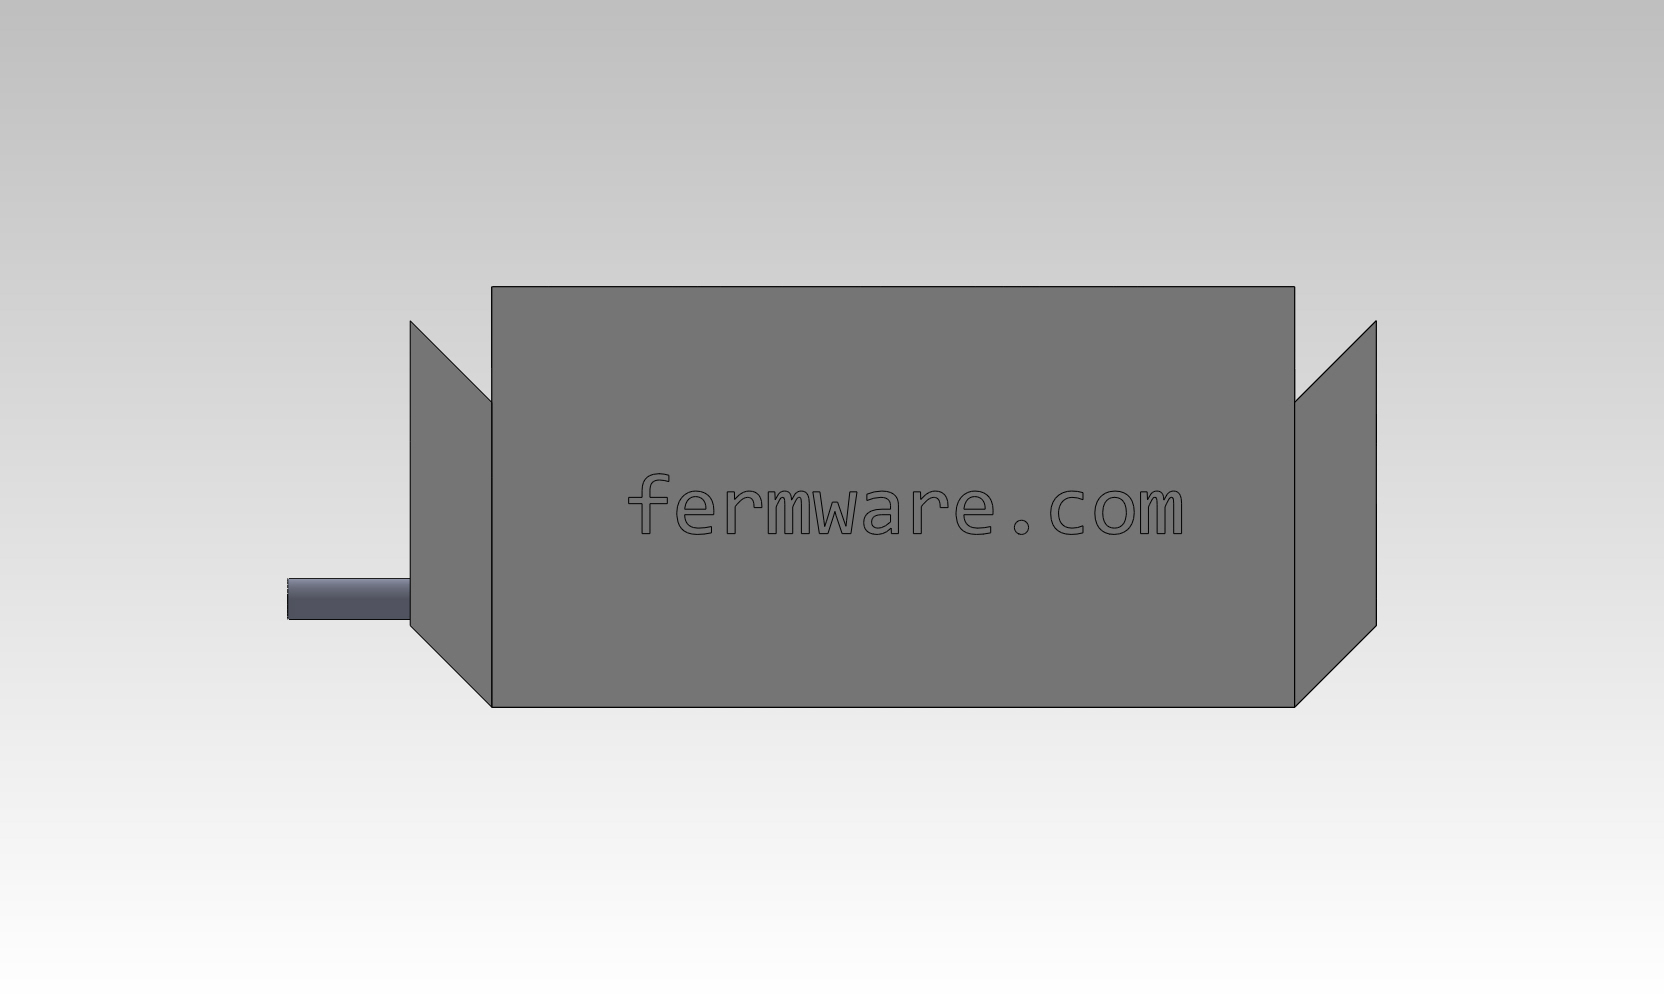
What we’re building here:

Video of the process:
COMING SOON!
How to do it:
You can print out the drawings or just use them for reference and measure out the old fashioned way. mill_box_adjust_side mill_box_drive_side mill_box_front_back Cut the wood to size. You’ll want to use a miter saw or table saw to cut the angles. The windows are obviously clearance for the adjustment knobs and the drive shaft.

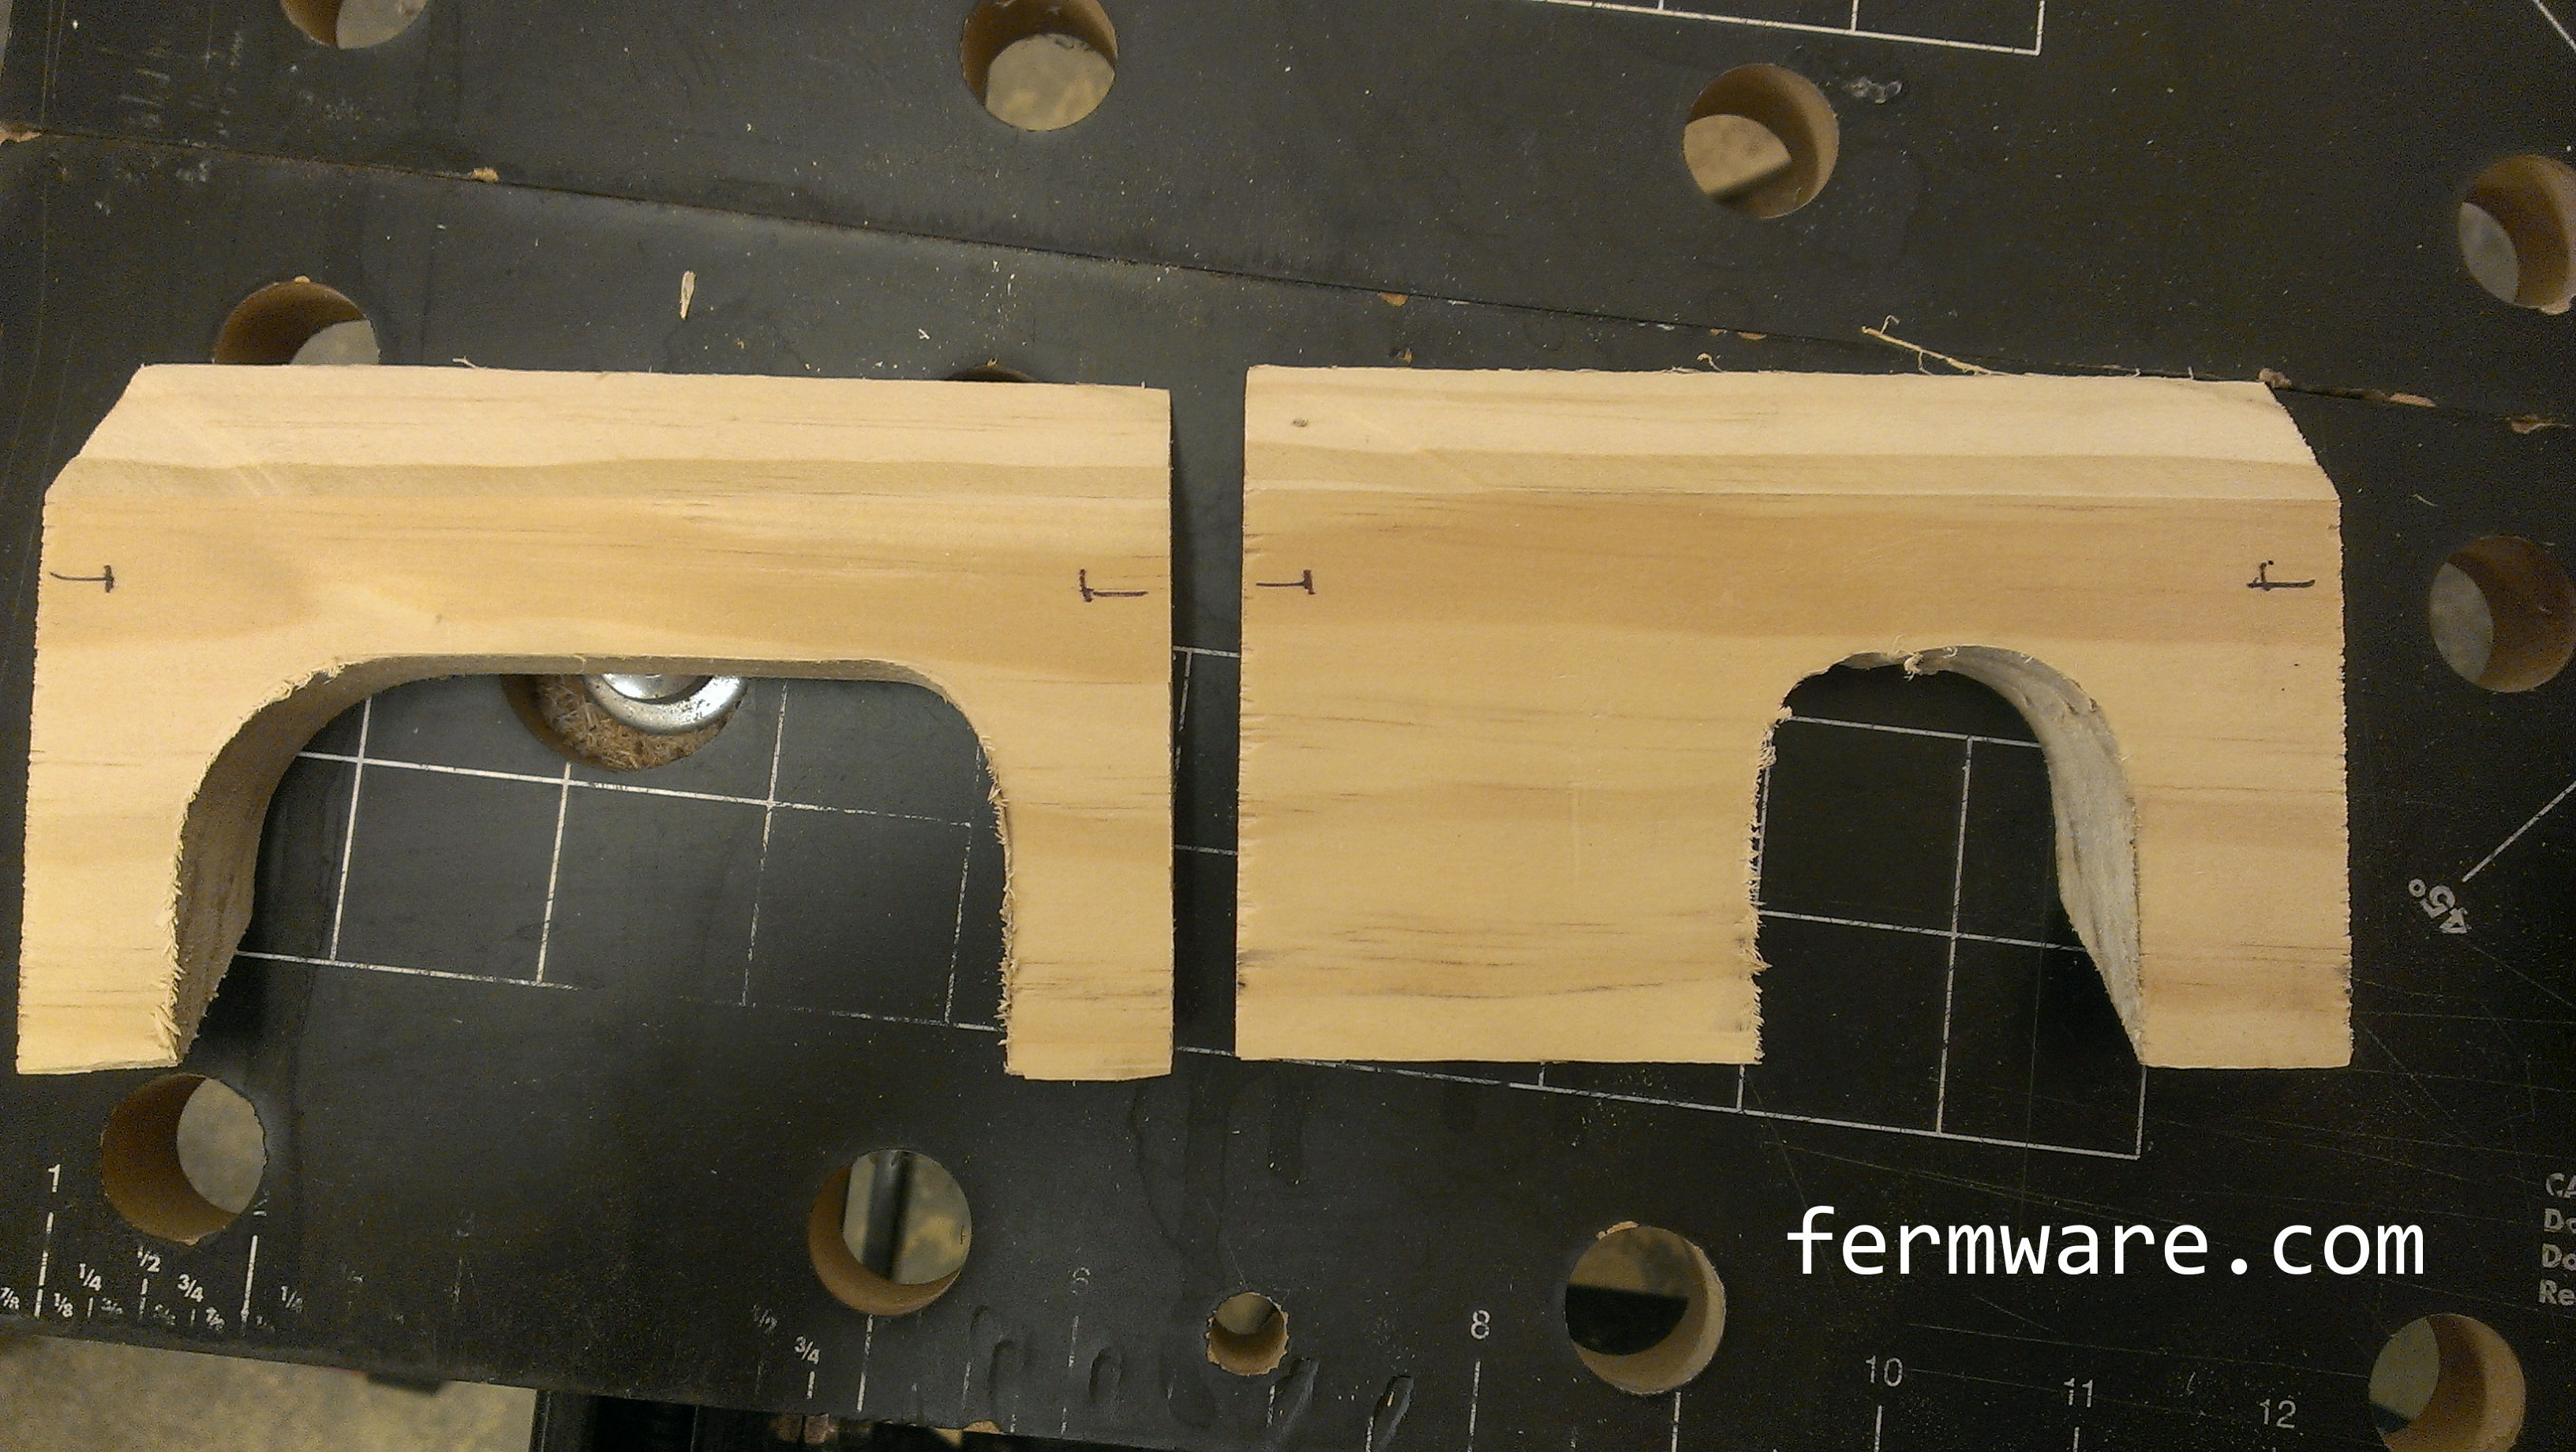
I pre-drilled holes so I could use some wood screws to hold it together while the glue dried.

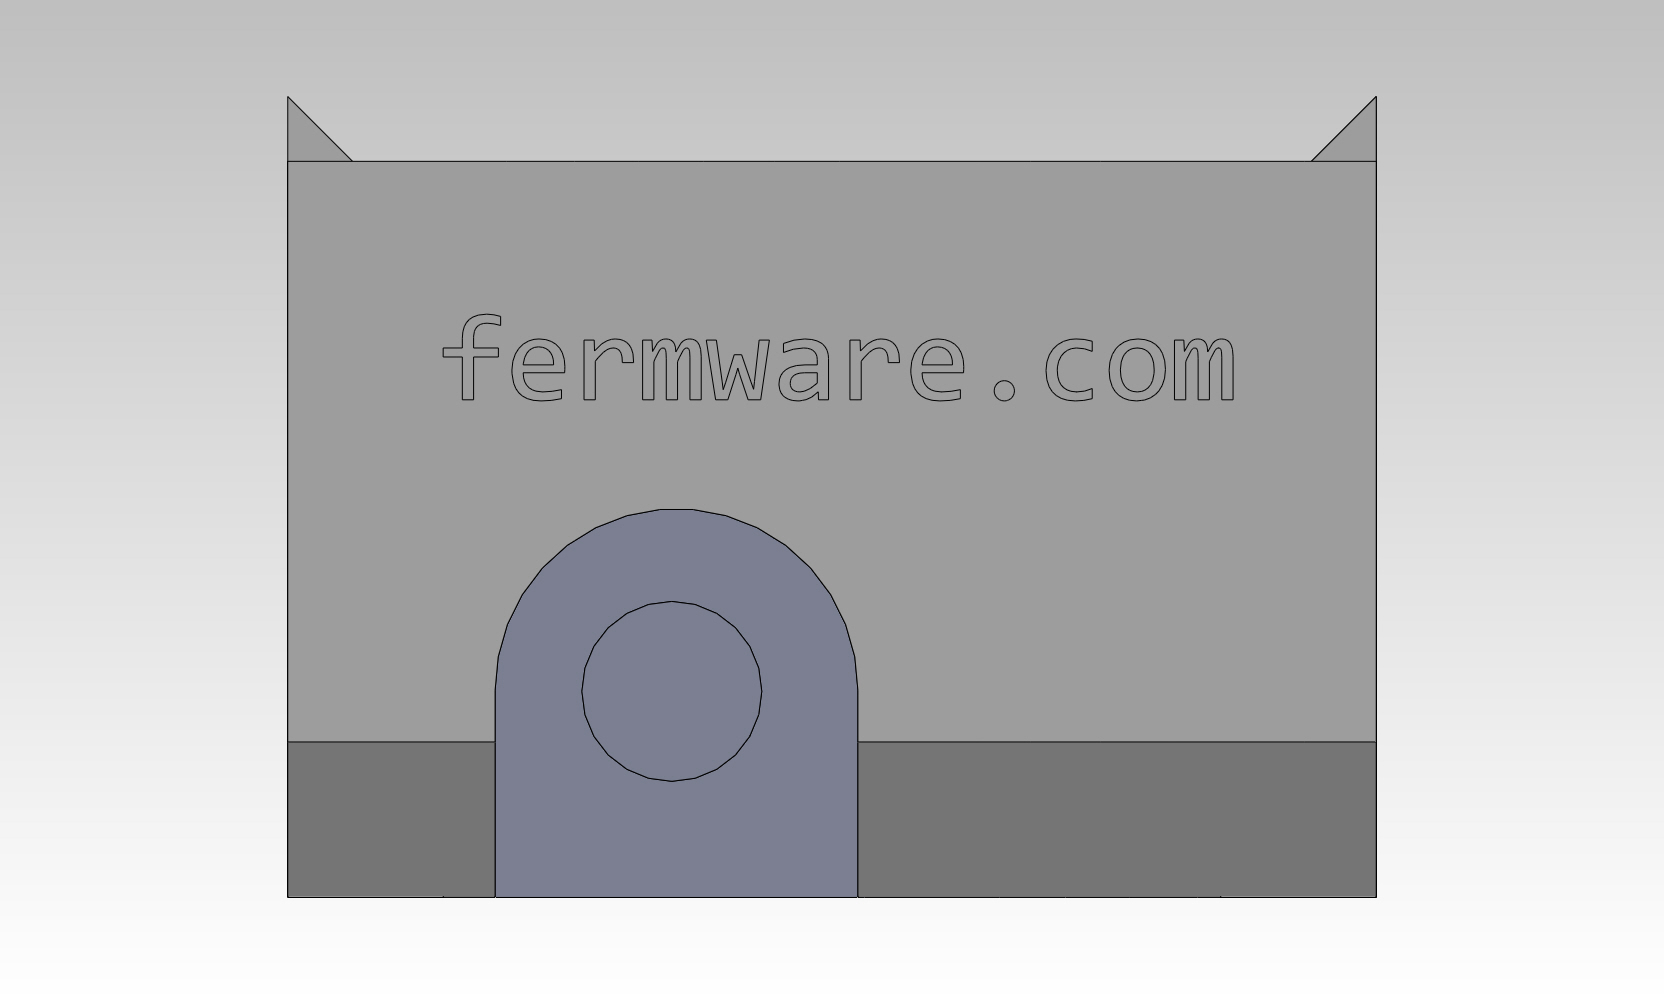
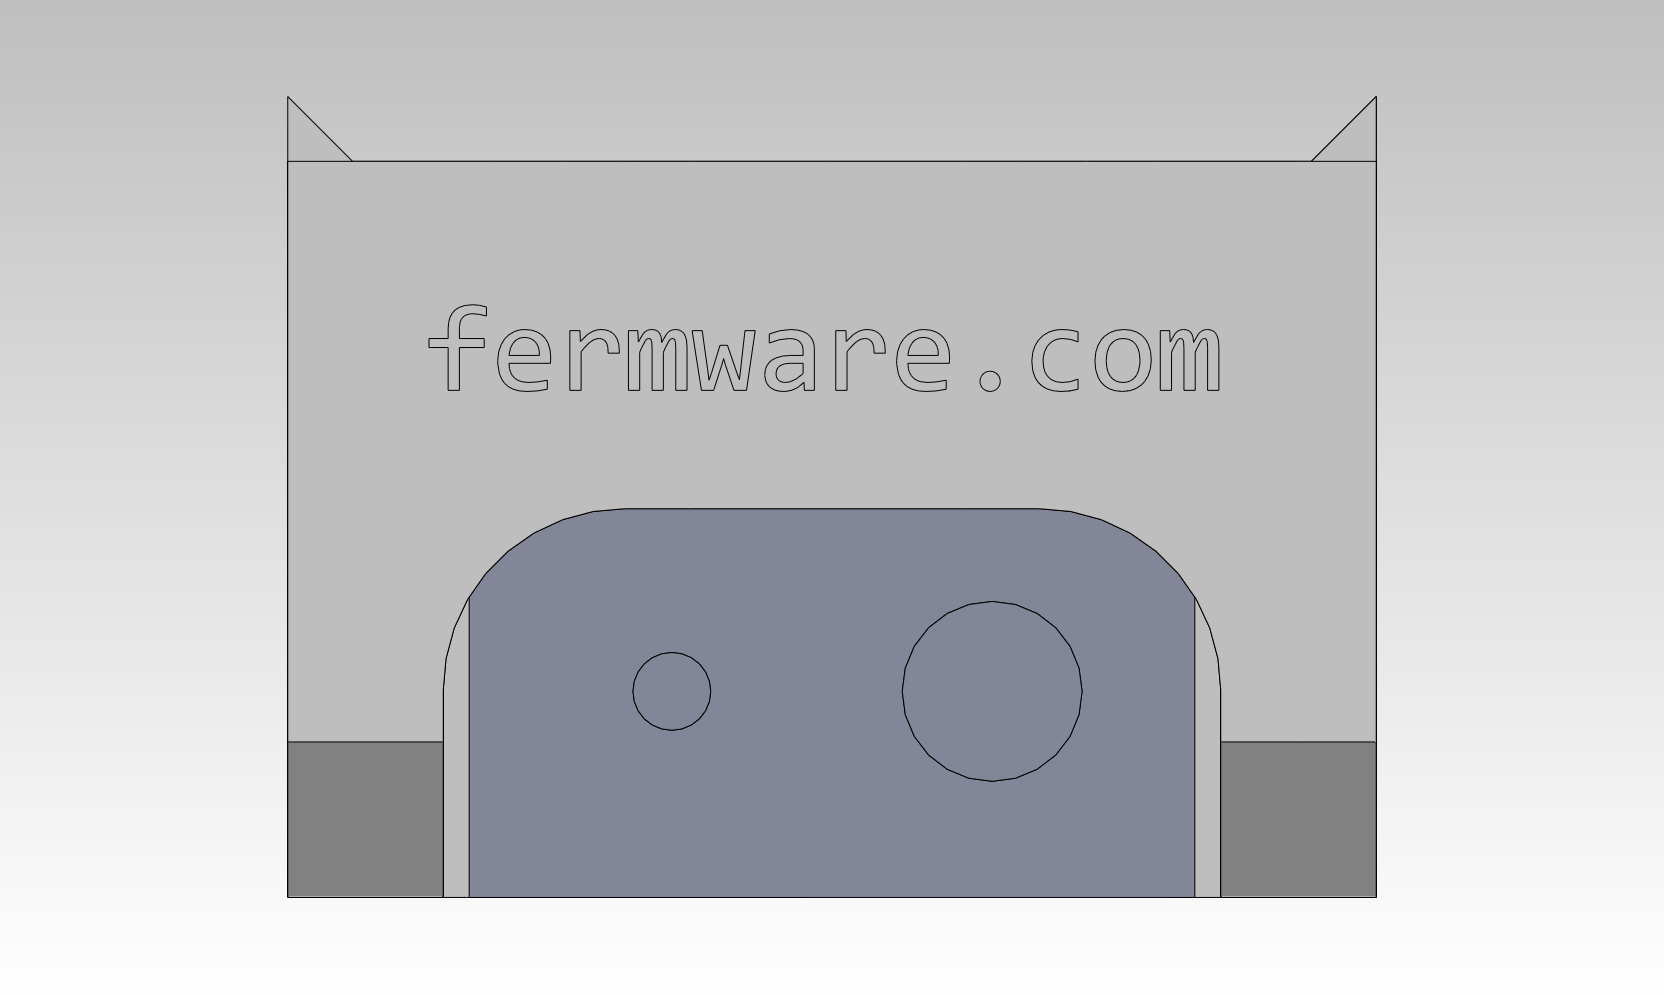
One thing you’ll notice is that with this mill box, it won’t fit over the thumb screws of the Monster Mill. I actually replaced the thumb screws with some set screws in order to minimize the external features. If you still like the thumb screws or you forgot or don’t have the set screws, you’ll need to cut clearance holes for them.
Up next…
Missed a post?
Introduction
Part 2: Bucket Modifications
Part 3: Wooden Base
Part 4: Mill Box (This post)
Part 5: Hopper Panels
Part 6: Final Assembly
Part 7: CAD Drawings
Thanks for your interest in this project!