Category Archives: Non-Beer

3D Printed Kombucha Tap Handles

Since introducing my 3D printed WBHY tap handles, I’ve had other requests for custom work.  This one required me to tap (no pun intended) into my artistic side.

This one in particular for the Pekoe Kombucha Bar in Toronto was pretty cool.

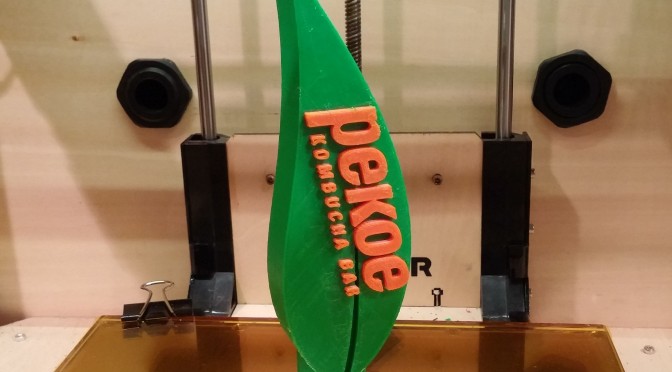
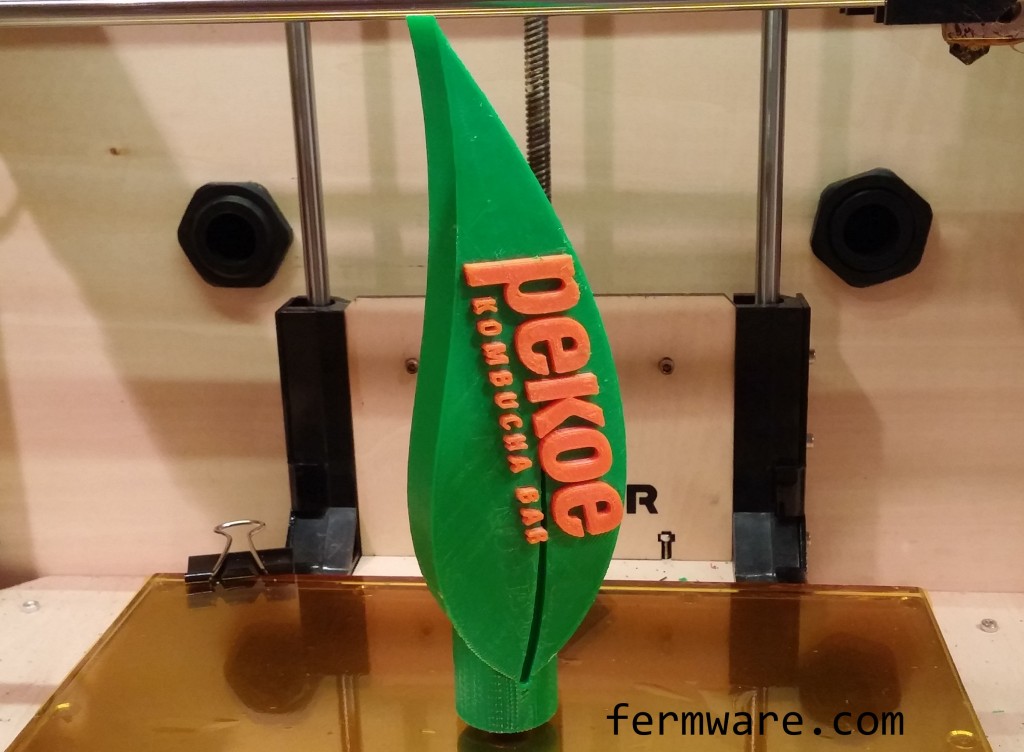
021-Kombucha Tap Handle - standard handle

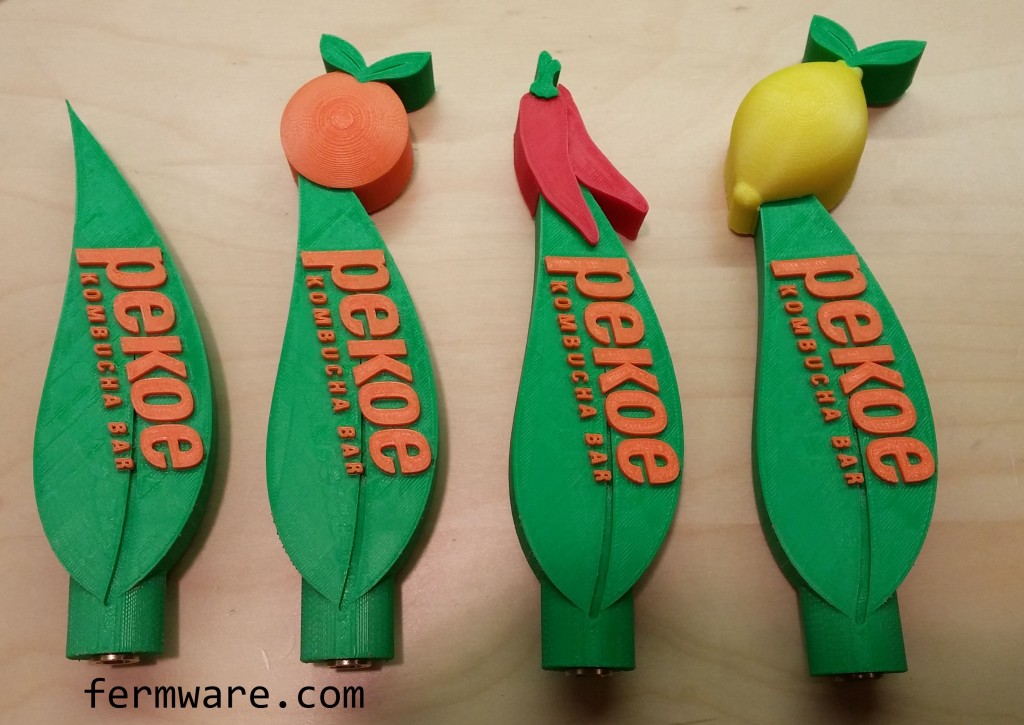
I made a standard tea leaf with their logo in two colors as well as alternate versions that had icon toppers that reflected the some of the various flavor offerings.

021-Kombucha Tap Handle - all handles

This summer (2015) Pekoe Kombucha Bar will be serving at Front Street Foods in Union Station in Toronto as part of the summer market.  If you are in the area, stop by and try some of their kombucha and see the tap handles in person.

Check the original 3D Printed Tap Handles thread for current info on purchasing a tap handle or getting the link to download files to print your own!

If you want to see other creations, check out my Gallery of Customer 3D Printed Tap Handles showing some of the tap handles already made for customers.


Merry Christmas and a Hoppy New Year!

It’s a cheesy title, but I couldn’t help it.  Many of you have seen the post on my 3D Printed Tap Handles and I’ve gotten an overwhelming amount of interest, which is precisely the reason I have not posted anything new in about a month.  In this post, I’m going to show my 3D printed Hop Cone Christmas Light Covers.

Difficulty: level_5

Due to the investment in a 3D printer and the amount of time it takes to get one dialed in and making parts, this one gets a high difficulty rating.

You also must posses some CAD design skills to generate the required files to send to the 3D printer.

Time Required:

For the print time only, my virtual hop farm takes about 8 hours to grow.  Much quicker than real hops.

Affiliate Links

Cost:

$300 to $3000 depending on how nice of a printer you want to get.

Required:

A 3D printer

Background

Recently, my printer has been running as much as the ideas in my head.  Having a 3D printer lets your imagination run wild and here I’m going to show you my latest brewing related creation, Hop Cone Christmas Light Covers.

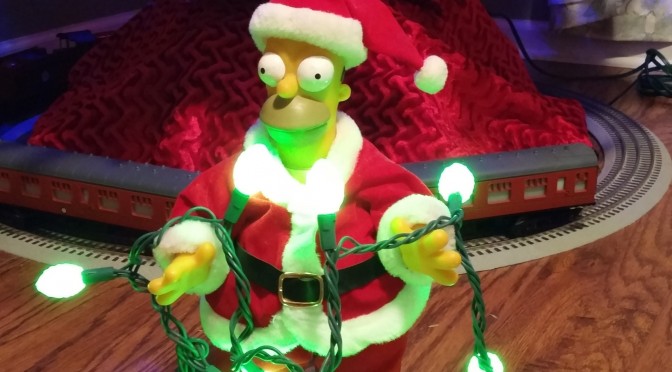
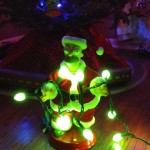
017-Homer with lights on in light

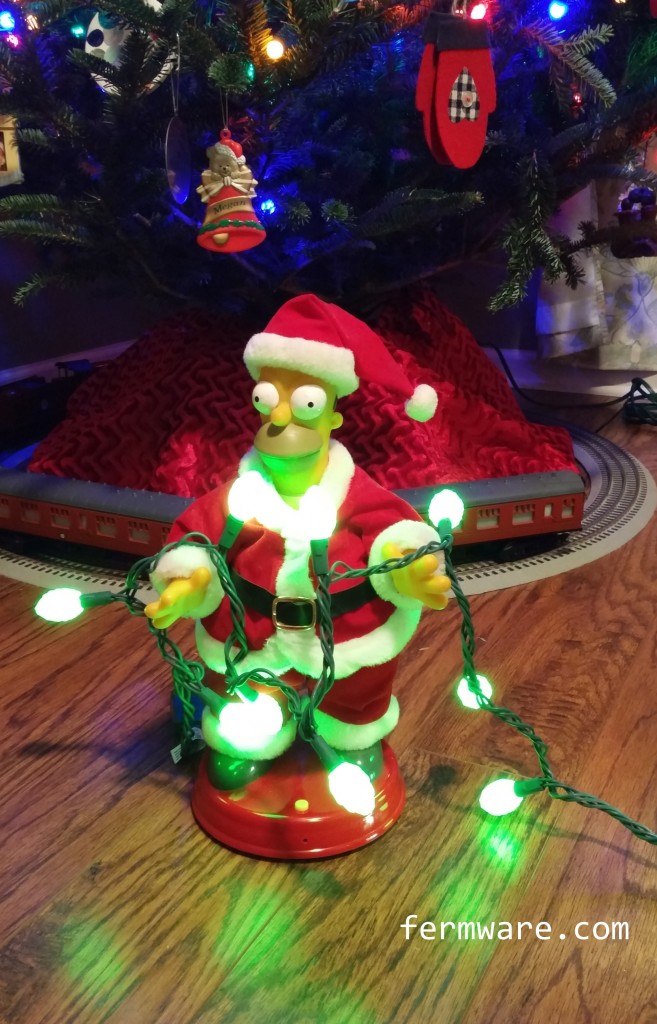
Yes, that’s my Homer Santa Claus.  It was a gift from a great friend many years ago and I still look forward to getting it out every year.  The camera failed to do the color justice when the lights are lit, but they glow a pretty standard green.

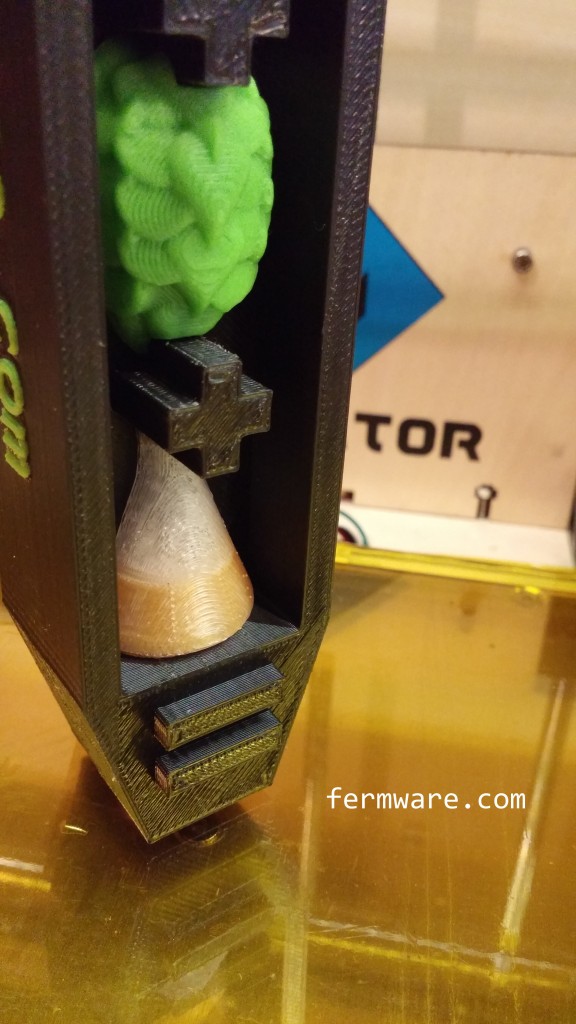
My latest revision to the 3D printed WBHY Tap Handles was printing translucent filament over some standard gold filament to create a flask that looks more like what you have when making starters on your stir plate.

016 - WBHY Handle v3 - yeast flask

With that checked off on my wish list, I thought it would be awesome if I could make some slip on covers for Christmas lights that looked like hop cones.  Then beer nerds everywhere will have a way to decorate their kegerator, keezer, bar, brewing area or even your beer Advent calendar.

Assembly and Design

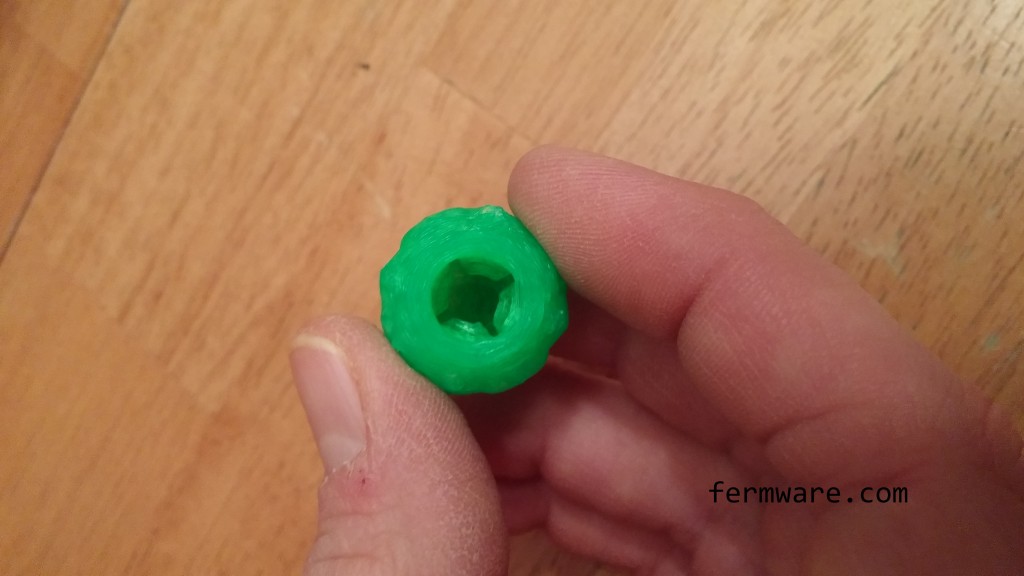
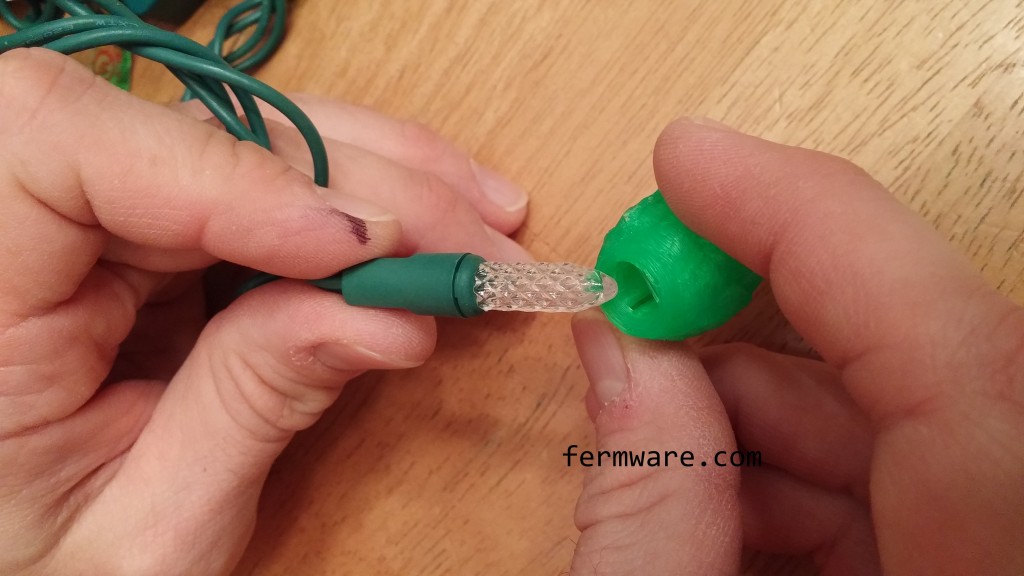
I started with the hop model I made for the tap handles, then hollowed it out and through a few iterations, I got the proper internal tabs to slide right over standard Christmas lights.

017-Into the hop

017-Inserting bulb into hop

Pretty simple really!

Here are some shots of the lights in different states with Homer modeling them.

In the light with the hop lights turned off

017-Homer with lights off in light

In the light with the hop lights turned on

017-Homer with lights on in light

In the dark with the hop lights turned on

017-Homer with lights on in dark

Growing the hops

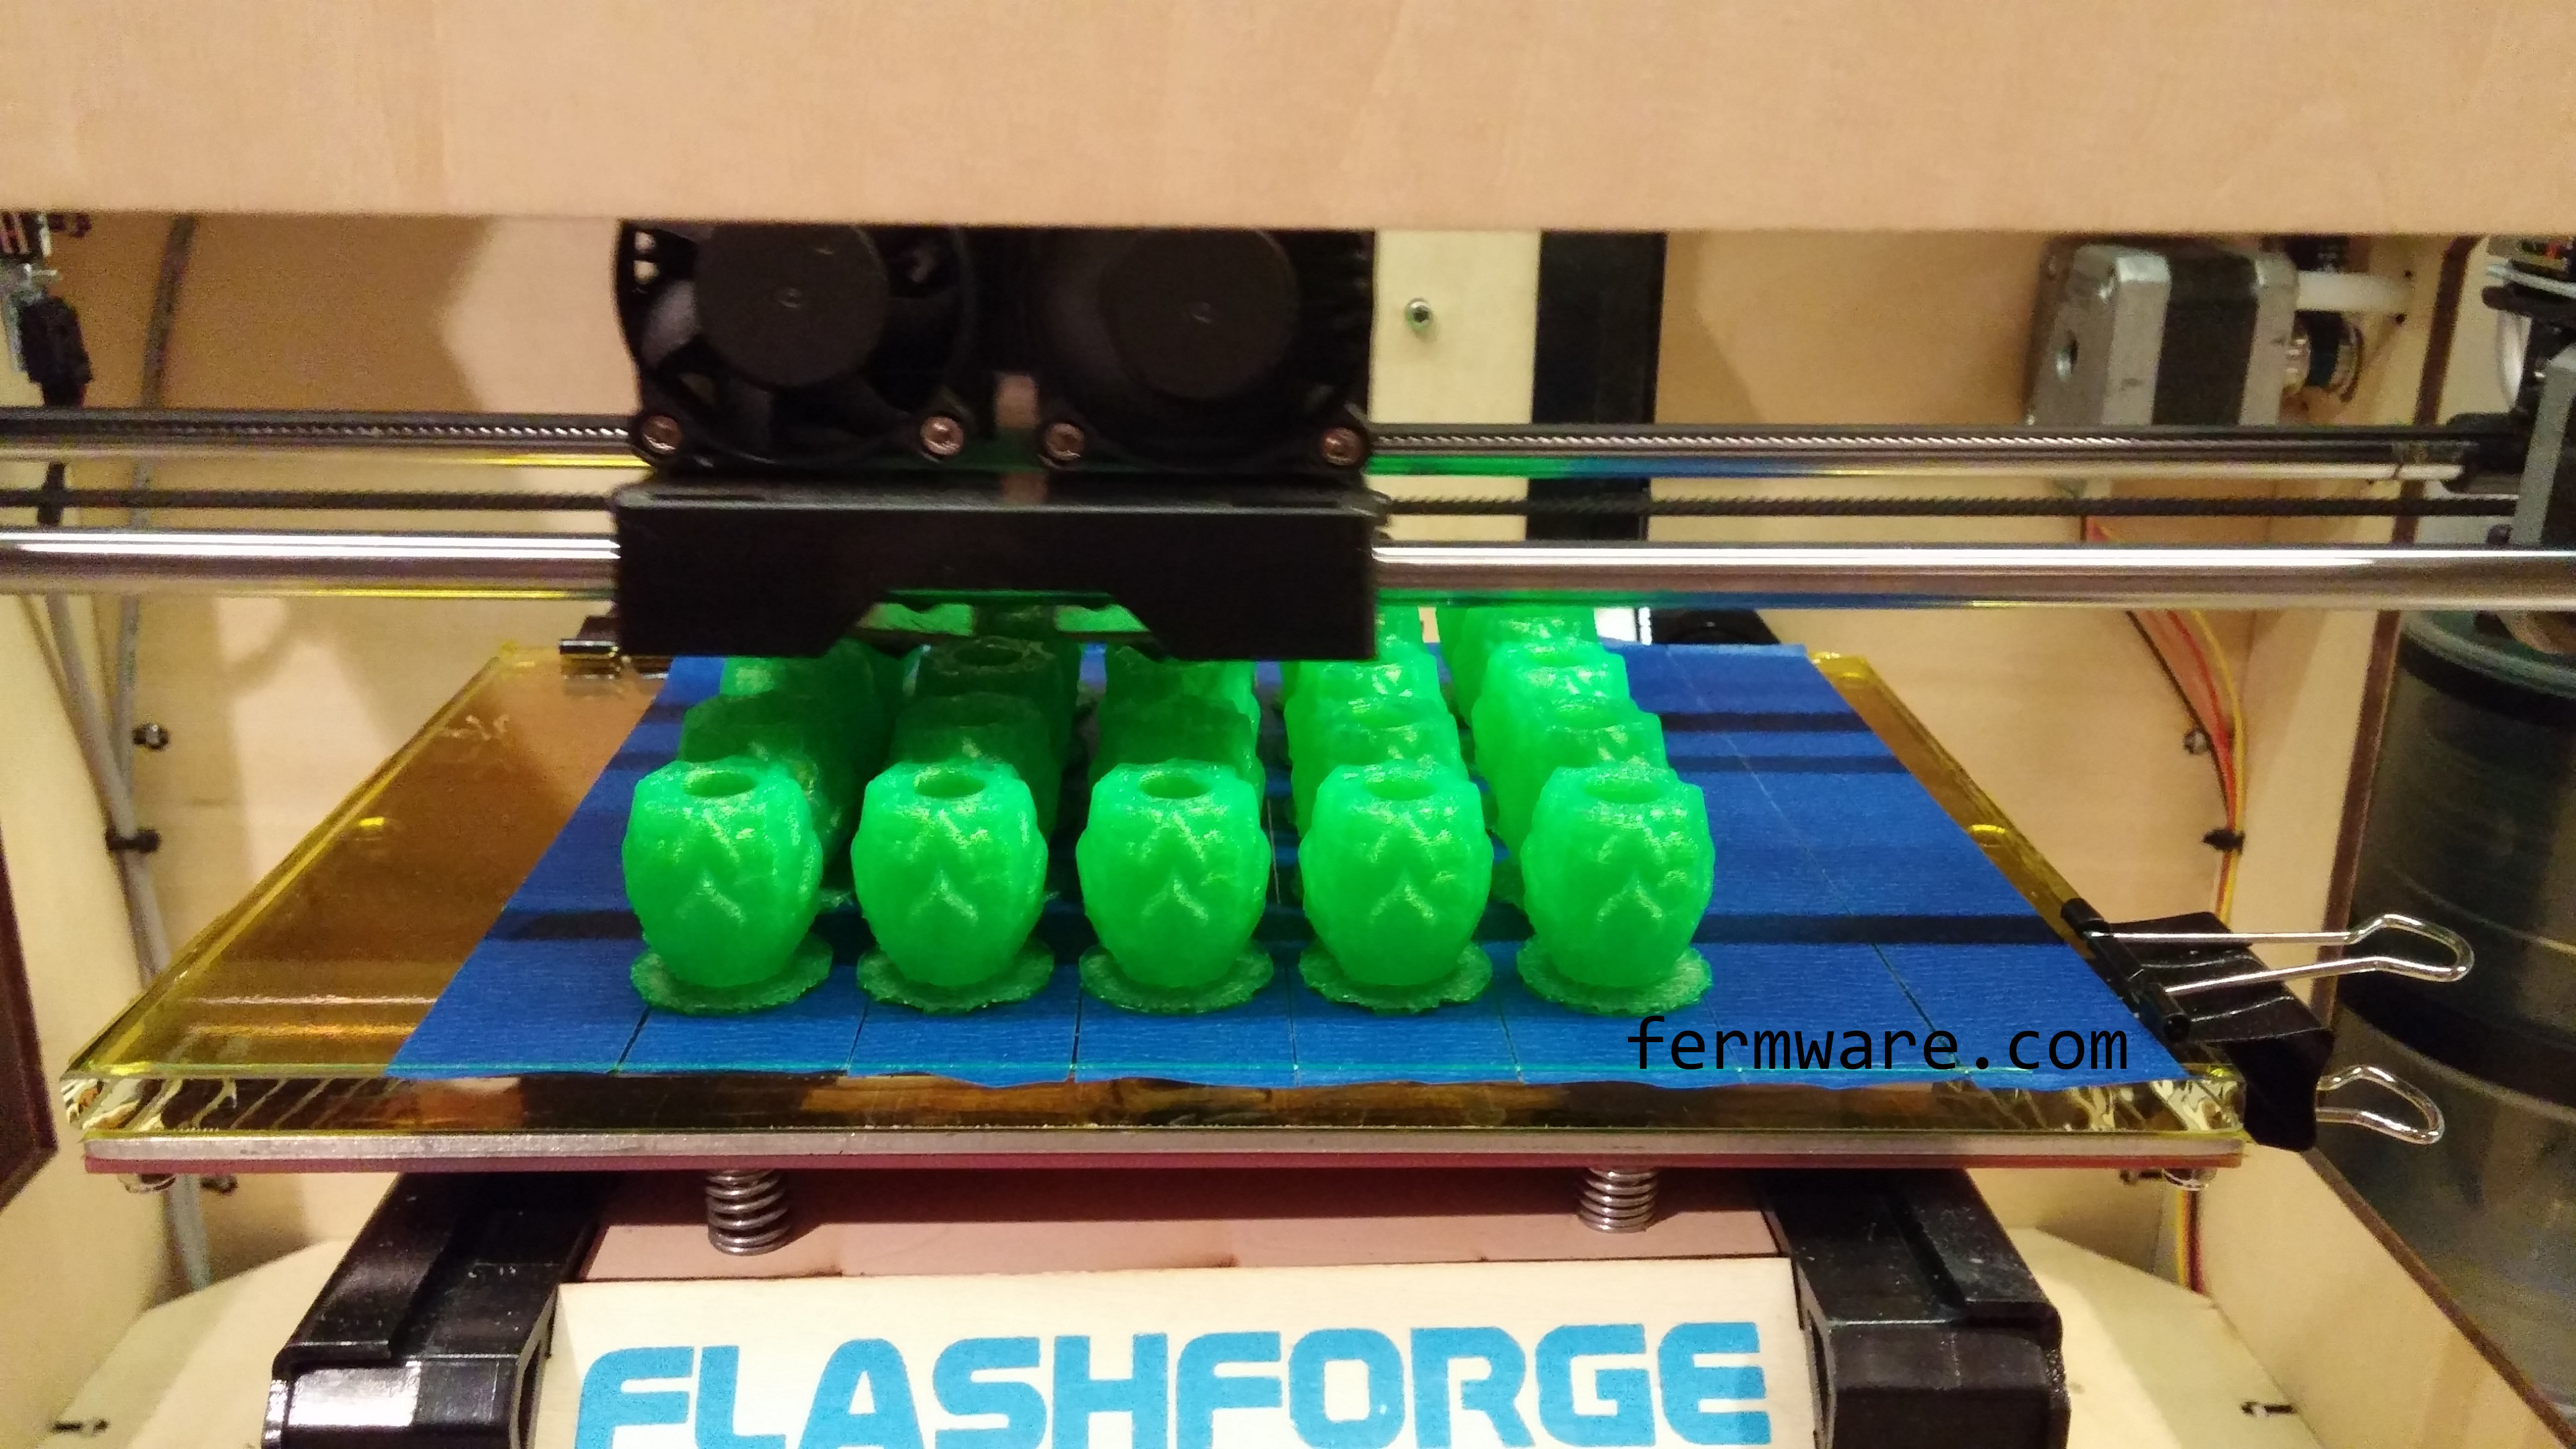
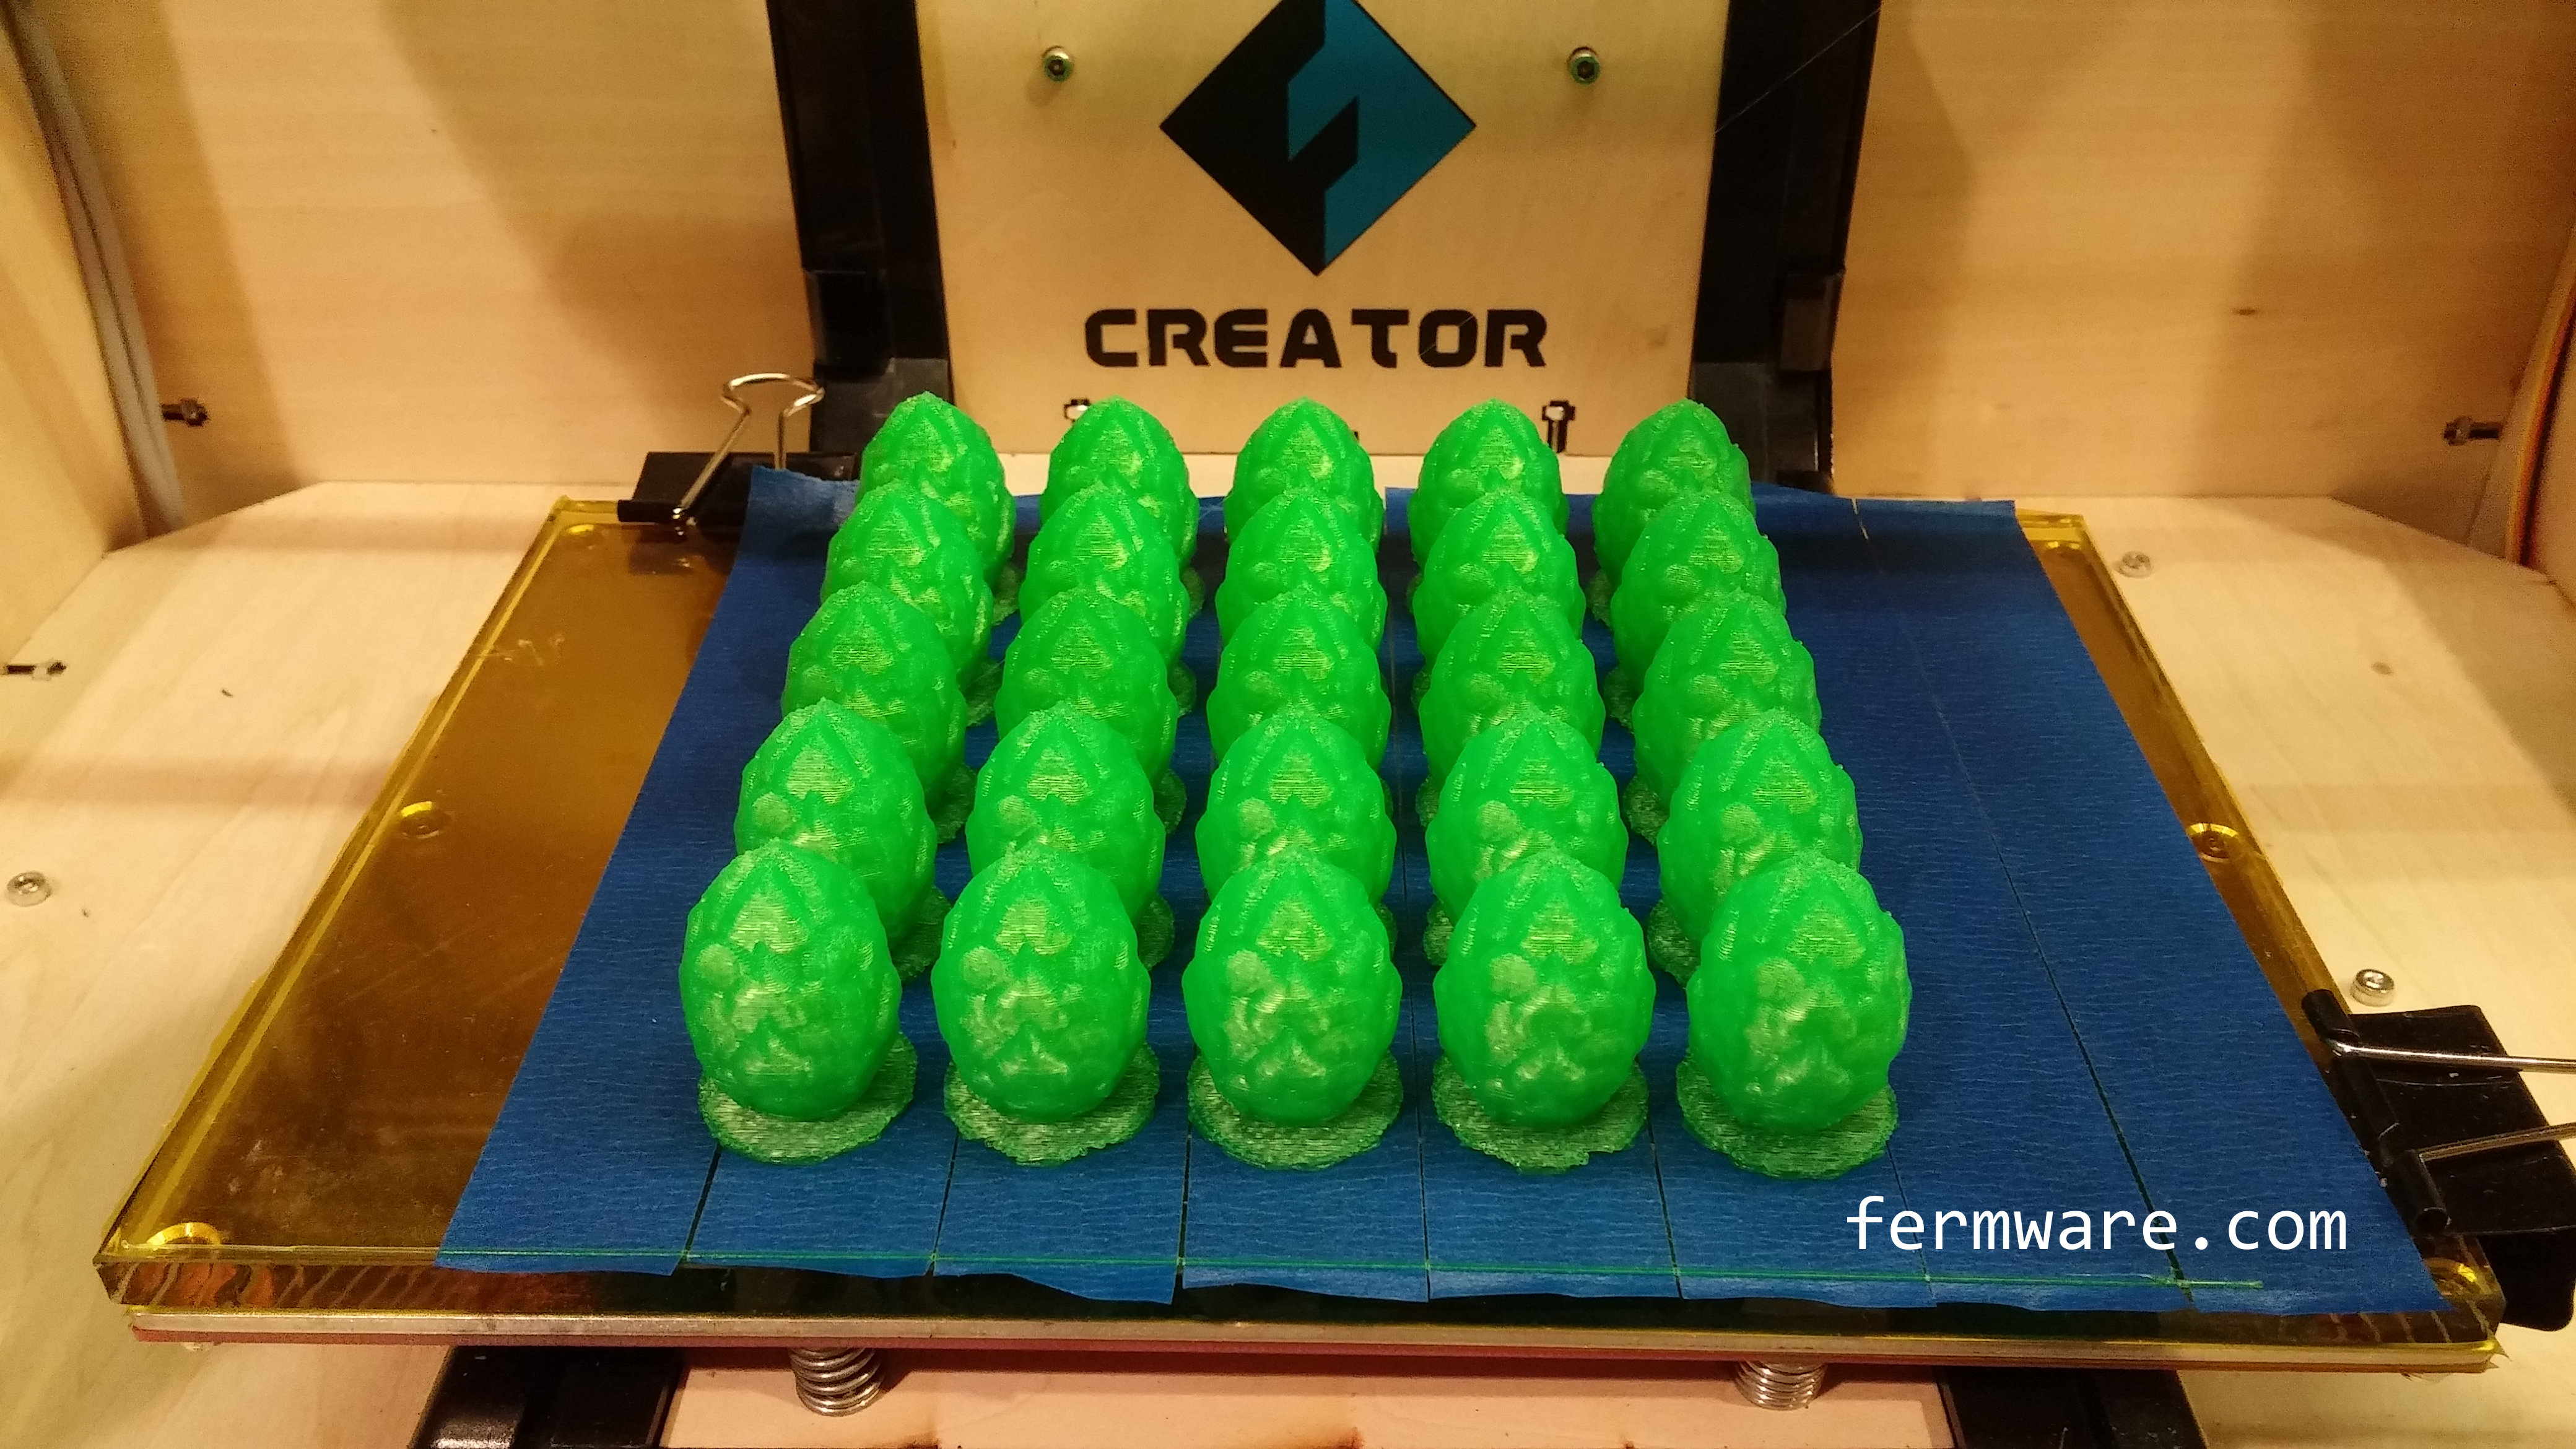
Don’t you wish you’d get this kind of yield overnight?

017-Hops Printing

017-Hops Finished

The material is a translucent green PLA.  I started with the basic recommendation of blue painters tape, but experimented and I can now just print right on the Kapton tape.  I’ll try to be bold next and print without the raft.

WarningSign

A WORD OF CAUTION!

I would recommend only using these on LED lights.  Standard incandescent lights do put off heat and I have NO idea what will happen after long term usage on those lights.  PLA melts at lower temperatures and could damage the lights or the lights themselves might overhead and burn your house down.  LED lights on the other hand, put off very little heat.  That’s one of the reason’s they are so efficient!

Want to build your own?

Here is the Thingiverse link so you can download and print your own.

http://www.thingiverse.com/thing:595362

Don’t have a printer and want to buy some?

I’m offering a printing service for those that don’t have a 3D printer and would like a to add these hop covers to their own lights.

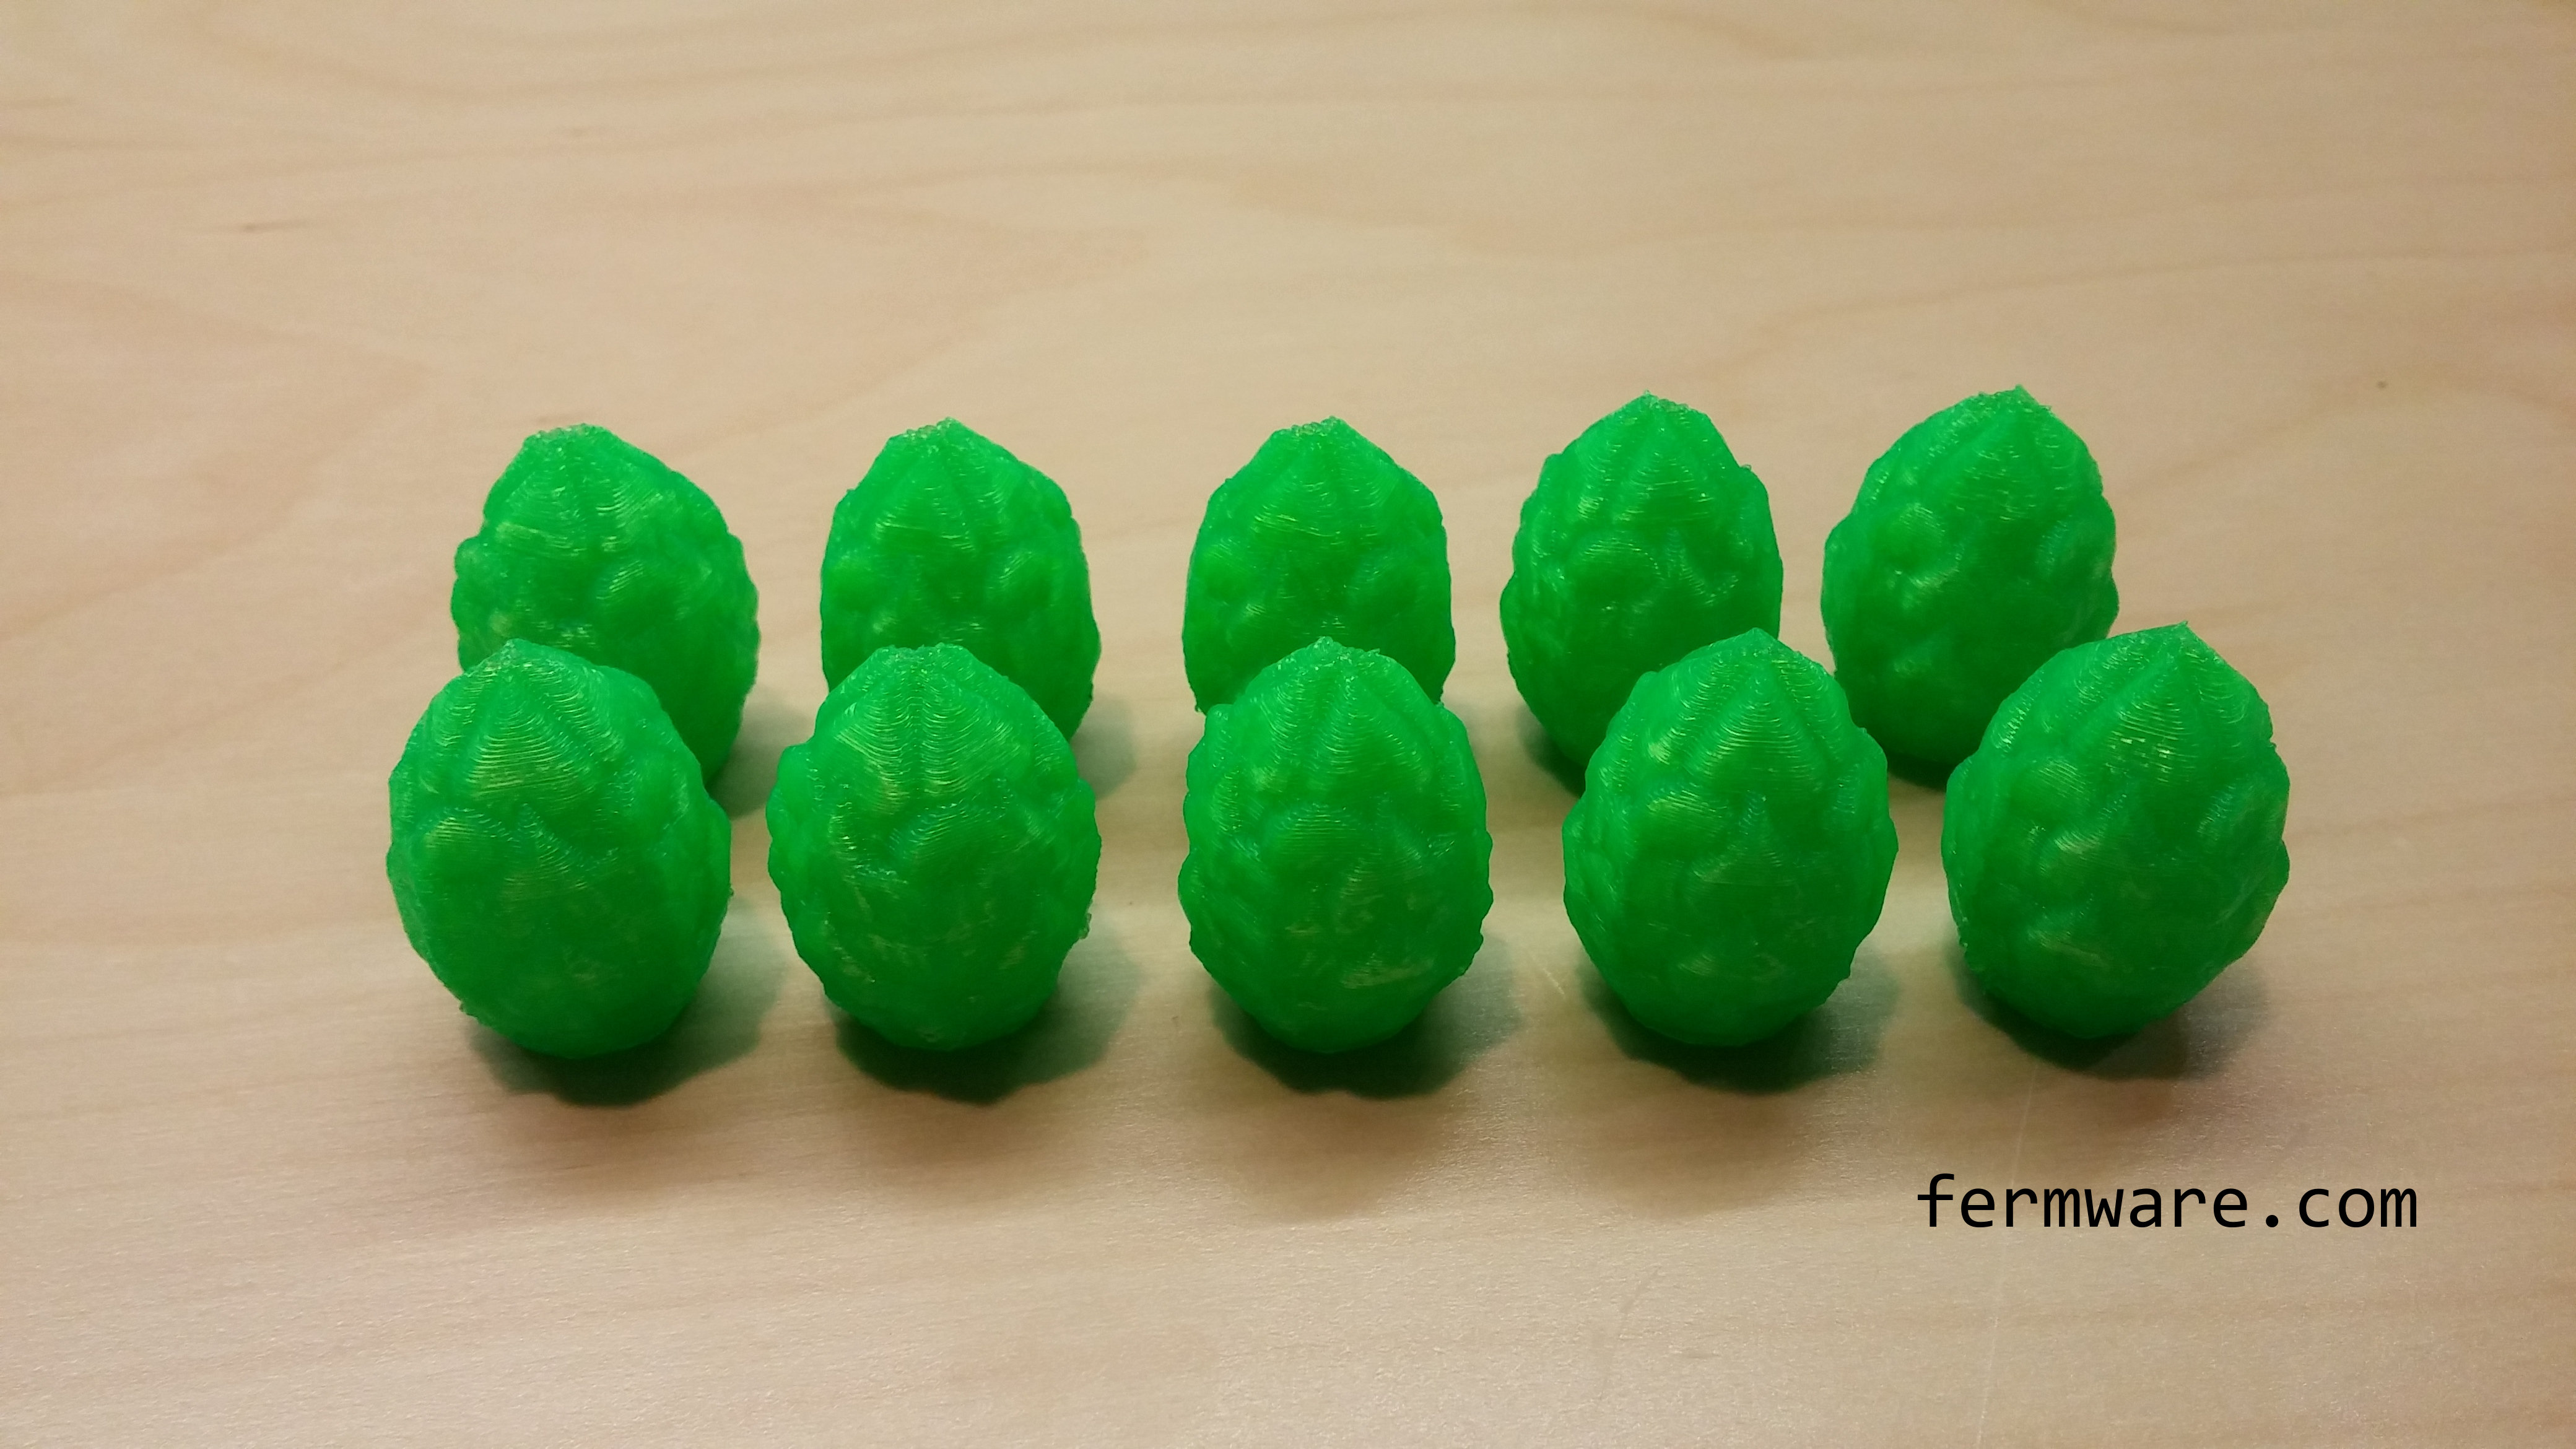
Everyone should understand what cosmetic quality one should expect from a 3D printed part and the pictures on this post I feel, do a sufficient job of it.  I will not do any finishing work on the hop lights.  I feel that the as-printed look is part of the charm of these parts.

Lead time from the date of order could be up to three weeks.  I realize most people will want them while their Christmas decorations are still up, so I’ll be going flat out to get them to everyone ASAP.  If you have a drop dead date to receive them, give me an entire week’s notice and I’ll let you know how my schedule is looking.  Do NOT order unless you are fine with the standard lead time or you’ve gotten confirmation from me on delivery.

Use the links below to purchase via PayPal.  Shipping to the US only at this price.  If you live outside the US, contact me through the contact link in the top menu bar of the site.

IMPORTANT: YOU MUST SUPPLY YOUR OWN LIGHTS!  THIS IS FOR THE LIGHT COVERS ONLY!!!

ALSO, I’ve only made available the covers for the most popular 7mm diameter “crystal” LED lights.  I tried these on a few different brands of lights.  These lights also seem to go by the size “M5”.  I’ve almost got the mounting for the smooth skinny LED lights (5mm diameter) worked out.  Although not recommended, the 5mm version will fit the standard incandescent Christmas lights that everyone had up until LED lights became the rage.

Those 2 are the only sizes I plan to release.


Quantity


*If you have Paypal purchase problems, let me know

Hoppy Holidays!

017-Group of 10 hops

DIY Locker Shelf

Do you need a locker shelf, but can’t stomach paying $15 for a flimsy shelf?  Well it’s back to school time here and my daughter needed a locker shelf, so I did what any Tim Taylor type would do and build one myself.
As I stated in my About – This Blog page, I would have some posts that were non-beer related.  Well this is one of them.
I made one last year for my daughter and it screwed together once inside the locker.  I had assumed that they would take them out of their lockers on the last day of school, but they surprised me and did it the day before and I felt like a jerk, because the teacher didn’t have a screwdriver to take the thing apart.  This year, I decided to go with a design that was tool-less.

Difficulty: level_2

If you are even a novice woodworker, this should be a piece of cake.  Actual work time was probably about 15 minutes.  Gathering materials and your tools will add whatever time it generally takes you.

Affiliate Links

Supplies Needed:

  • 48″ section of shelving
    • 11″ to 12″ is a typical depth
    • I used a melamine board, because I had it on hand, but any shelving material should do
  • Scrap strip of wood for some supports
    • Again, I had a piece that was 3/4″ x 3/4″, but I’ll let you decide
    • something on the order of 40″-44″ should be close enough
  • Wood or drywall screws
    • They need to be shorter than the stackup of your shelf and wood strip (you’ll see later what I mean)

Tools Needed:

  • Drill
    • I’ve got a Makita drill and driver kit that is used in 95% of any of my projects.  If you don’t have a set, you need to.  Bosch, Makita and DeWalt all make good stuff.  A drill is, well, a drill.  But I love the impact drivers.  They make it effortless to run screws into anything.
  • Tape measure
  • Circular Saw
  • Clamps (for securing the wood to your work surface when cutting)

The Build:

Alright, lets get to it.  Measure twice, cut once.  Right??

You should have the interior dimensions of the locker in hand.  Many schools provide this information on their website.  Ours were 13-1/2″ wide, by 11″ deep.  I went just a bit under on width at 13-3/8″.  You don’t want too much free play however, because if there is too much movement, the shelf could collapse on itself.  You’ll know how sturdy it is when you install it in the locker.  The 11″ standard shelf depth worked out well, but I still had to trim a little off due to the frame of the door.

To help you visualize how this is going to go together, here is what each corner will look like.  You can see that the uprights support the weight of the shelf.  Then the stops that are screwed to the shelf basically prevent the uprights from leaning in.  The interior wall of the locker prevents the uprights from falling out.  Easy right?
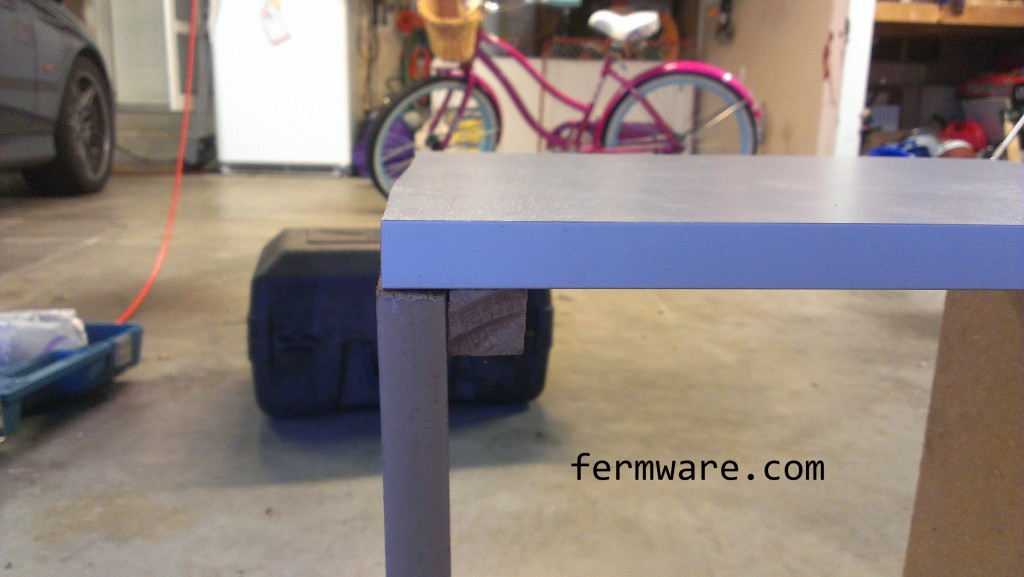
locker shelf - shelf - how it works

Cut the top shelf piece to length.

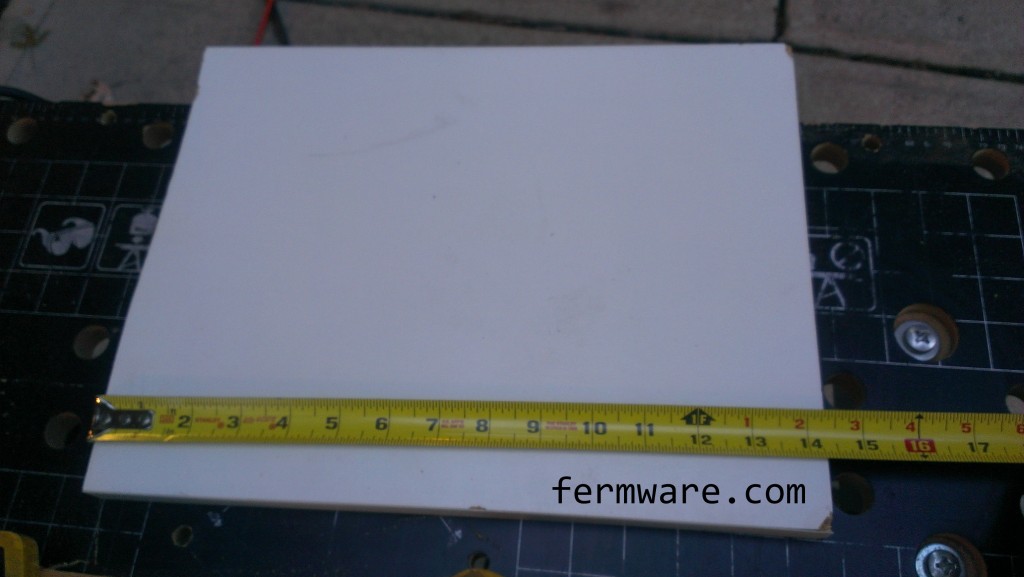
locker shelf - Measurement - width

Then decide how tall you want it.  If you got a 48″ section, you should have enough wood to make something around 16″ tall at the most.  That should be sufficient for most books and notebooks.  Remember your total height will be the length of each upright, plus the thickness of the shelf.  And the underneath height will be the length of the uprights.

Now cut the uprights, just as you did for the top.

Next will be the strips that keep the uprights from moving.  These should be shorter than the depth of the shelf.  They will be fastened to the shelf top with screws.  You’ll need two strips per shelf.  I’m building two shelves here (one for each daughter needing one), hence a total of 4.

Mark out a line approximately 1″ from each end and then eyeballing the center should be good enough.
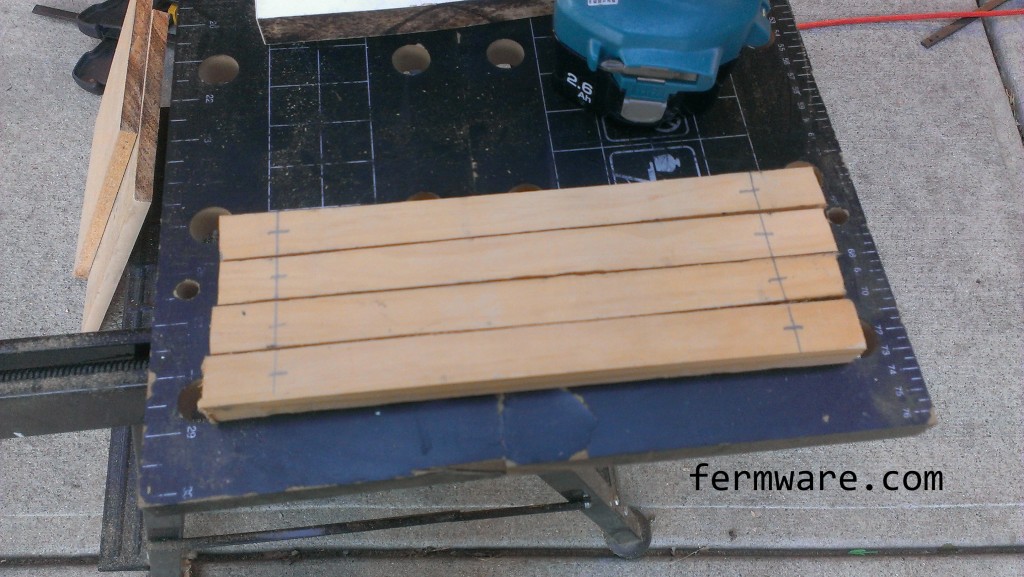
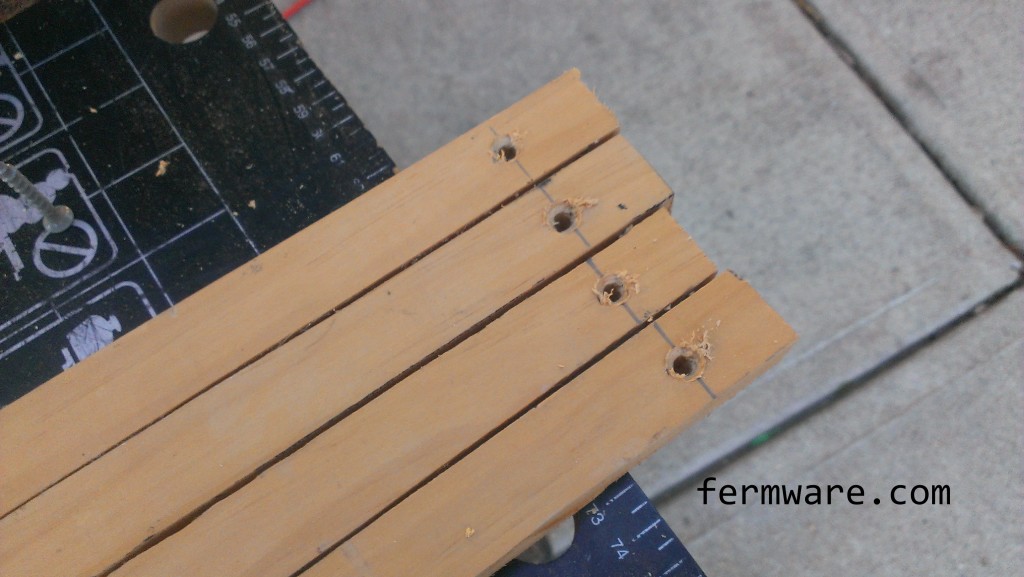
locker shelf - strips - marked for drilling

Pre-drill vs. Through Hole

You’ll want to drill “through holes” in the strips and “pre-drill” the shelf.

A through hole is just that, it allows the fastener to go through a material without actually gripping it and is larger than the major (or maximum) diameter of the fastener.

A pre-drill is used to reduce the risk of the wood splitting when you drive the screw in.  An appropriate pre-drill size for wood is right at the minor diameter or slightly under.  You can measure these dimensions if you have a pair of calipers, but I’m using my “eyechrometer” for these.

You can see below that the drill bit is slightly larger than the screw.  This is what I will use to drill the through holes in the wood support strips.
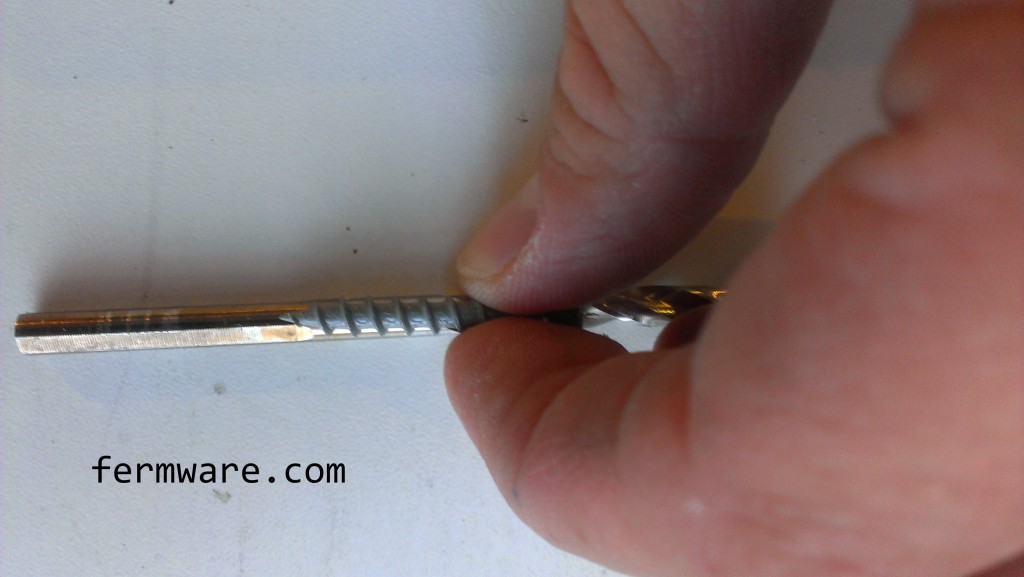
locker shelf - holes - predrill size

This next image shows selecting the pre-drill size for the shelf.  Notice that the drill diameter is approximately the same as the root diameter of the screw.
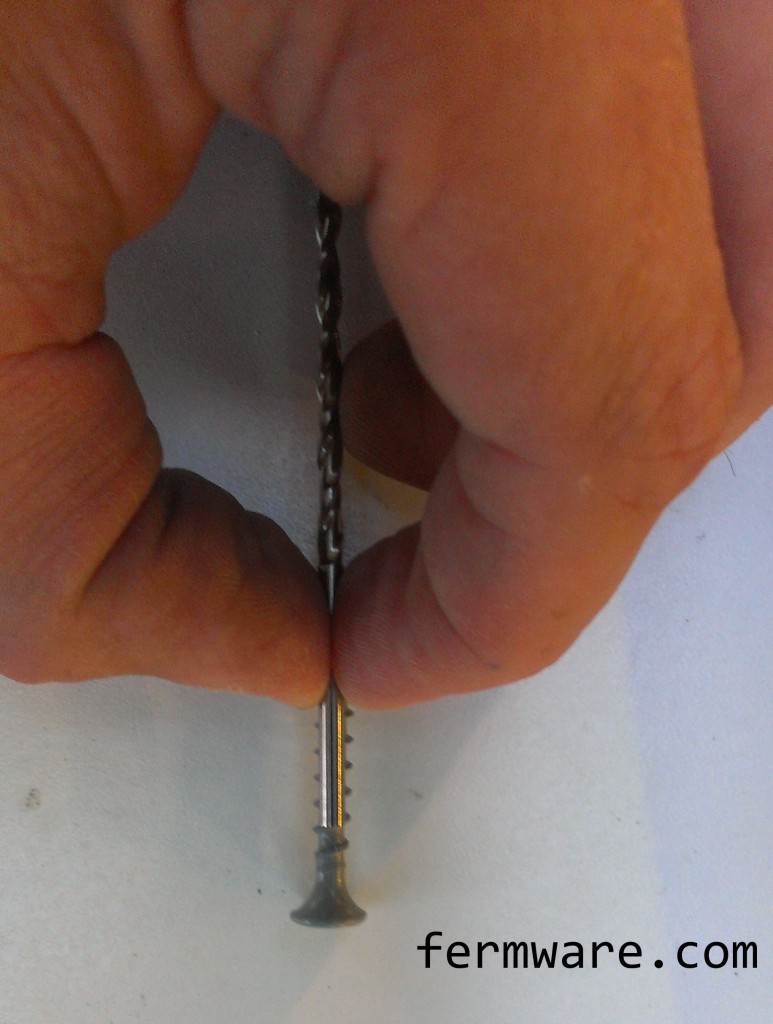
locker shelf - holes - through hole size

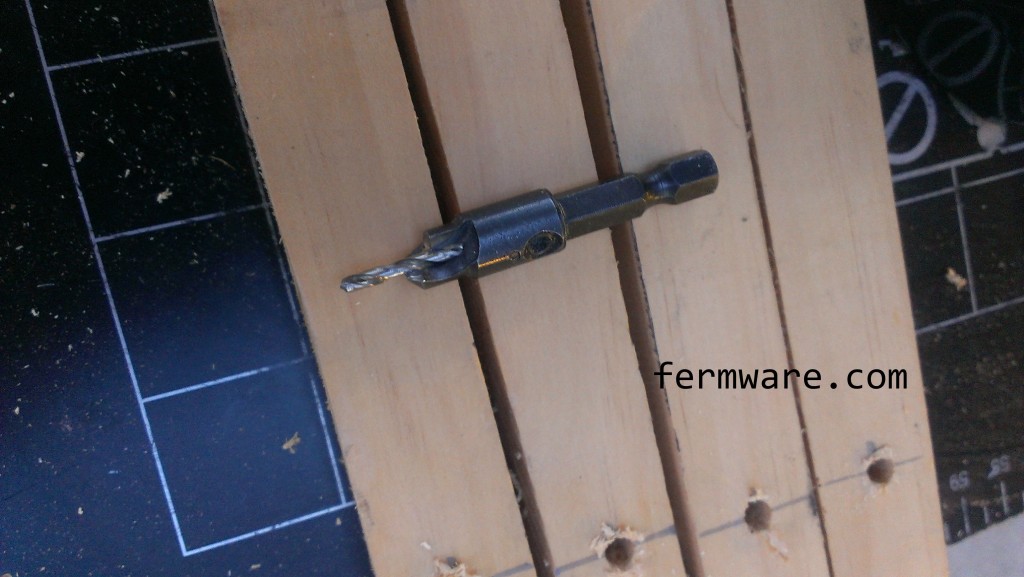
This next step is optional.  I used a counter-sink kit to allow the screws to sit flush with the top of the wood when fully secured.  Sometimes in harder woods, you’d end up splitting the wood if you ran the screws hard enough into the wood to make them flush.  They basically create a cone shape for the head of the fastener to sit in.
locker shelf - holes - countersink

See, nice pretty countersunk holes.

locker shelf - holes - countersinks completed

Now we need to pre-drill the shelf to attach the support strips.  You’ll need to measure the thickness of your upright.
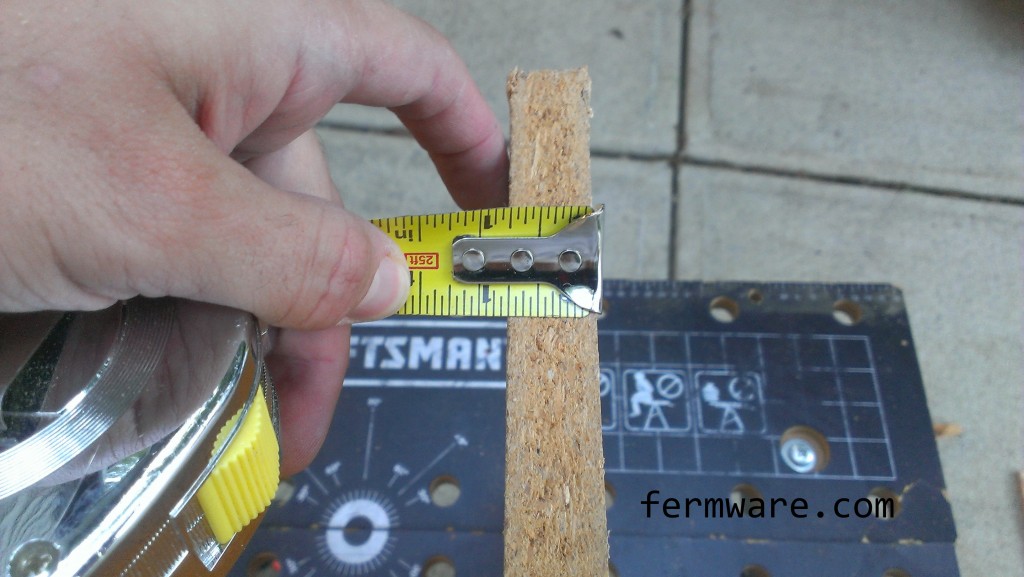
locker shelf - measurement - shelf thickness

Then use that measurement to determine the spacing from the edge of the shelf to the location of the support strip.
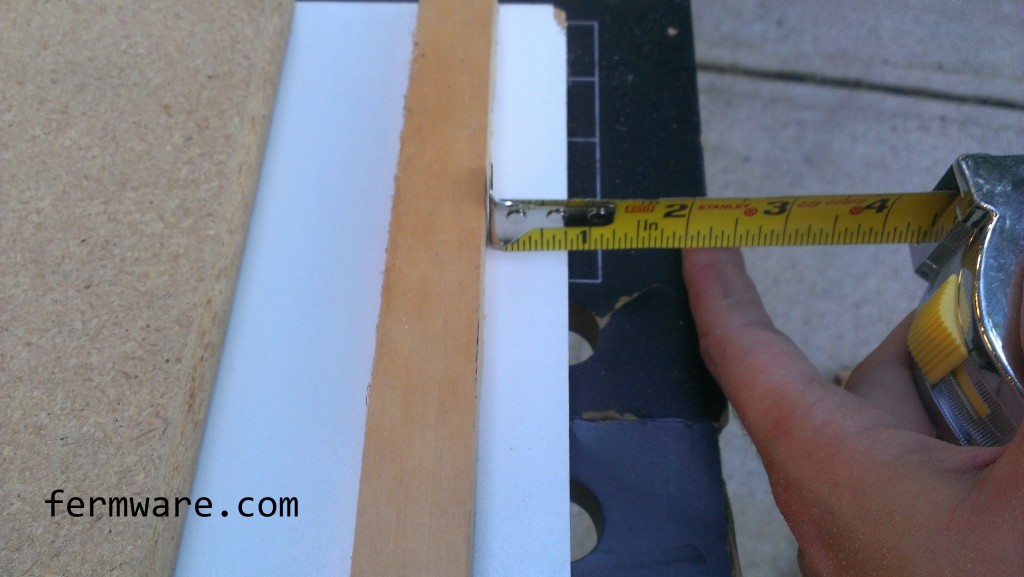
locker shelf - measurement - stop offset

Mark a line so you know if anything moves when you are drilling the holes.

You’ll need screws that are shorter than the thickness of the shelf and the support strips.
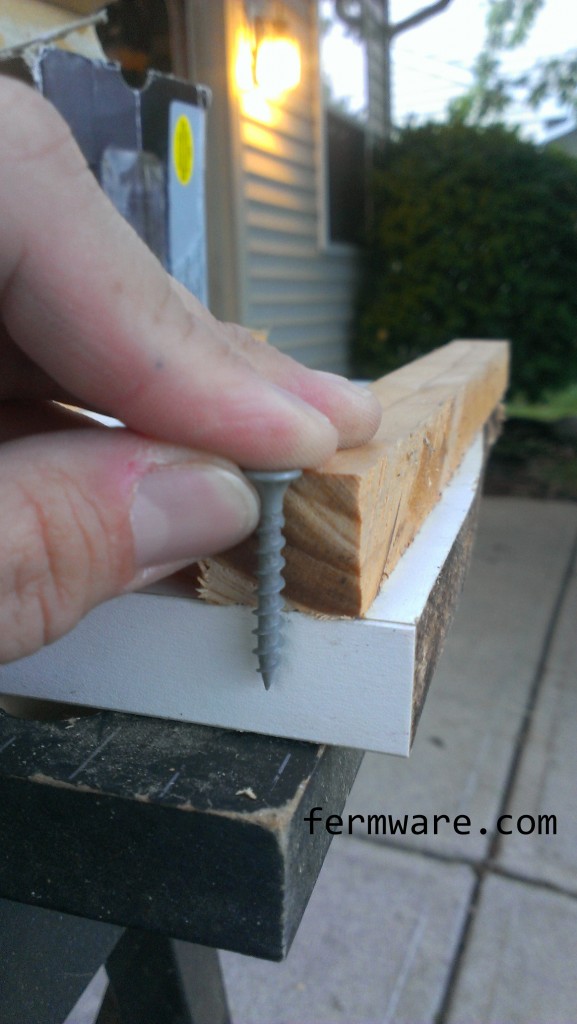
locker shelf - holes - evaluating depth

You’ll also want to be careful to not drill all the way through the shelf.  Pointy screws poking out tend to rip books and cut hands!  I’ll sometimes use a short section of masking tape wrapped around the drill bit to mark the proper depth of the drill bit.

locker shelf - holes - drill depth marker

Now take your pre-drill size and use the holes in the support strips as a location guide.
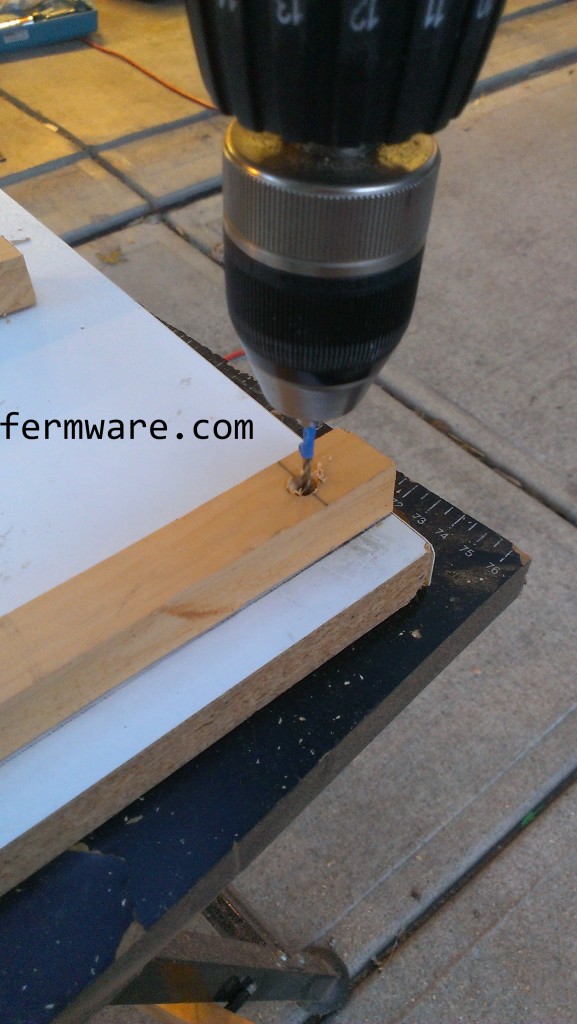
locker shelf - holes - drilling

Once you have everything pre-drilled, it’s time to secure them to the shelf.  Nice and flush!
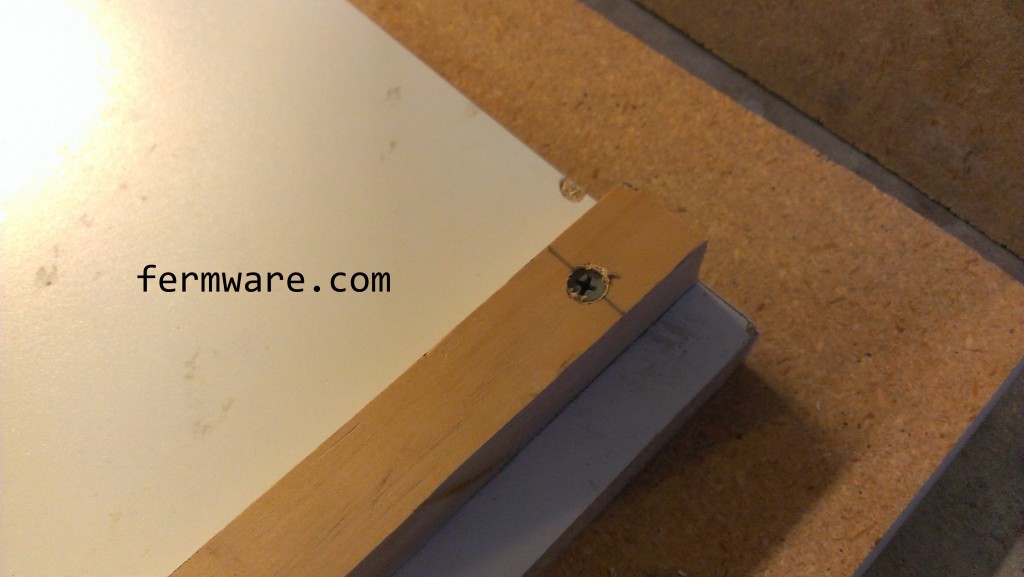
locker shelf - strips - attached and countersunk

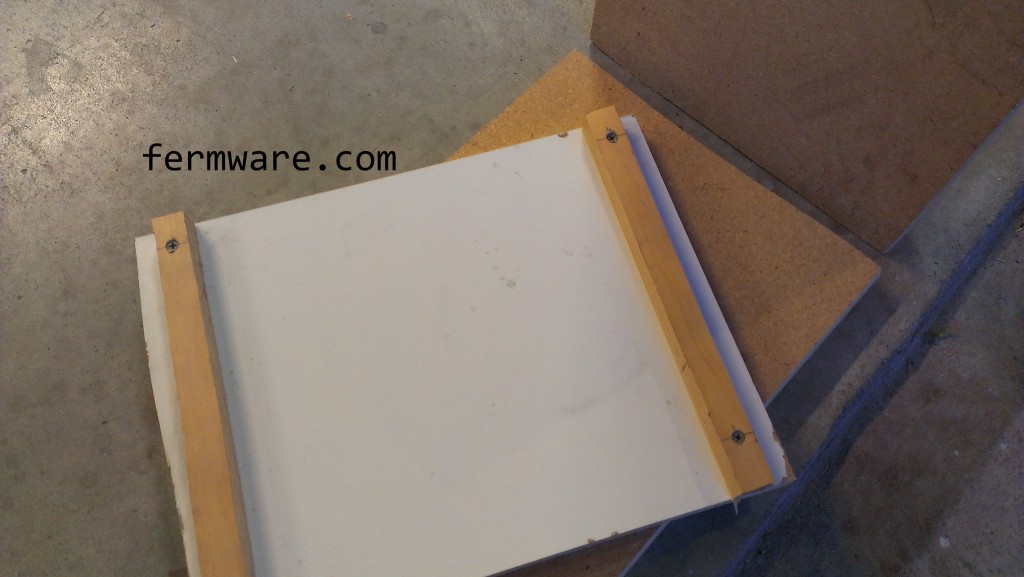
locker shelf - top - with strips attached

Here is the completed shelf sitting up against the screwed together version 1 from last school year.
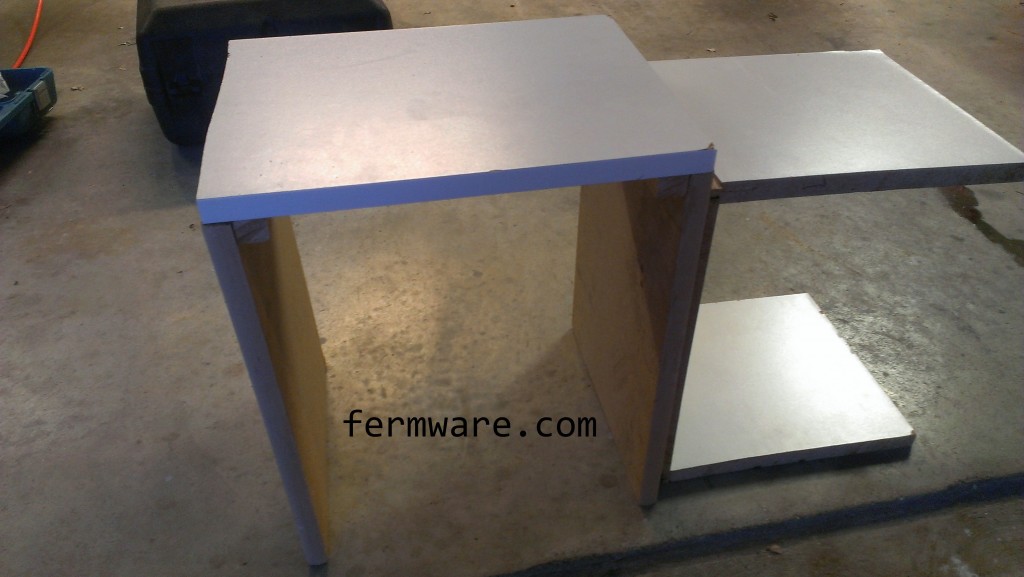
locker shelf - shelf - assembled and tested

Besides getting it to the locker, you’re DONE!

Getting it into the locker:

  • Set the uprights on the sides of the locker floor
  • Place the shelf on top, ensuring that the support strips fit in between the uprights

Not into brewing, but like to make stuff?  Check out these posts:

Making Belgian Candi Sugar
Rolling Deep Freezer Dolly

Are you curious about making your own beer and would like to learn more?   Try out a beginning brewing kit:

Choosing a Starting Brewing Kit