Grain Storage
Difficulty: 
Time Required:
As long as it takes you to replace a trash bag. Maybe more if you decide to nerd yourself out. Keep reading to the bottom if this is you.
Affiliate Links
Cost:
Less than $5 per bucket assembly.
Background:
So if you are serious about brewing and want to save money in the long run, you are most likely buying your most used grains in bulk. If you don’t want those savings to go to waste, you need to store the grains in a way that doesn’t degrade the quality of the grain.
Required:
5 Gallon bucket + lid of your choosing
food safe bag
“Let’s do this”:
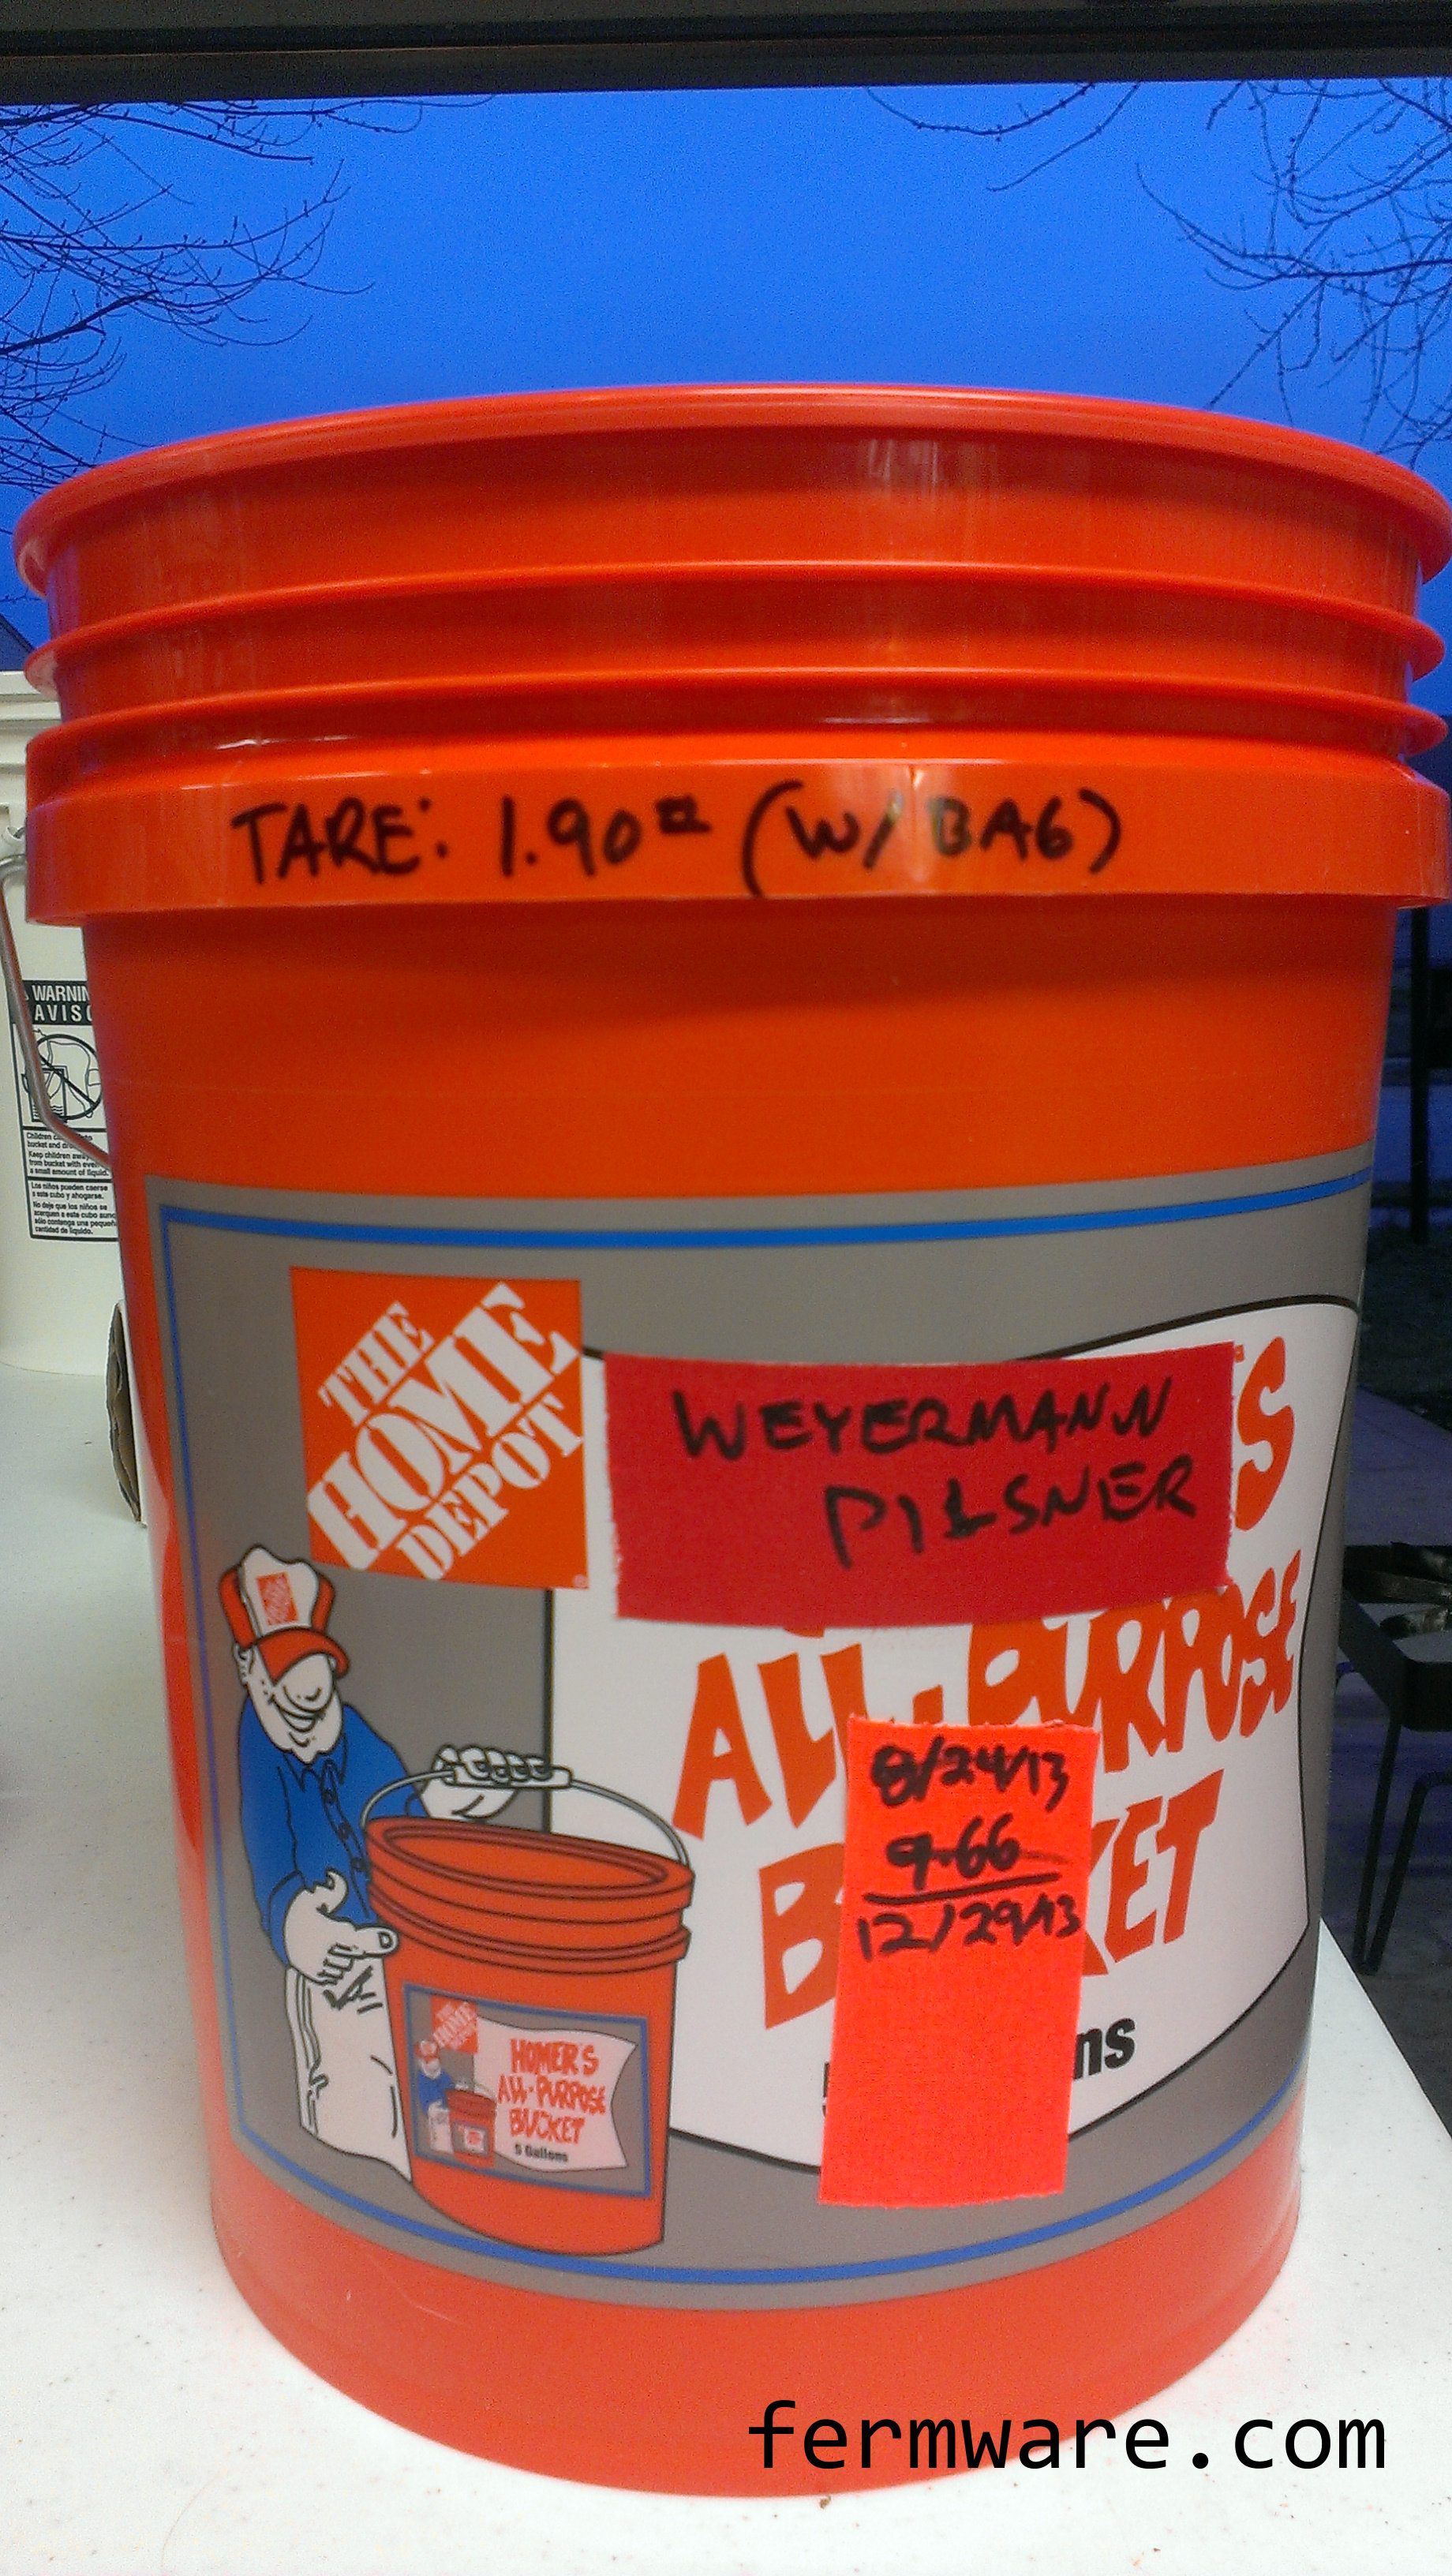
Whenever I choose a storage solution, I try to find something readily available where that exact same container can be purchased again at some later point in time. I arbitrarily chose Homer buckets from Home Depot. Maybe I fell for their marketing scheme of having them available everywhere you look in the store for a reasonable price, but hey, they work. So now, I just buy these buckets so everything matches.
What is convenient is that each bucket holds just about 25 pounds of grain. So what I usually do is buy the 50 pound bag of ‘Merican grain when I’m going to use it, then the remainder always fits in two buckets. The same goes for when I get the 55 pound bags of “Ferrin” grain.
So choose your bucket and then decide which lid you will use.
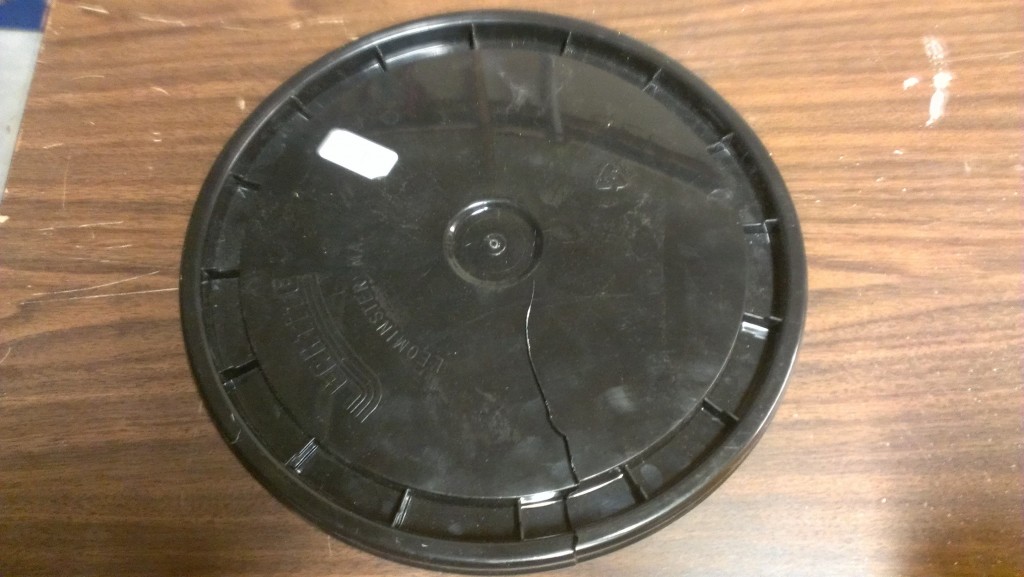
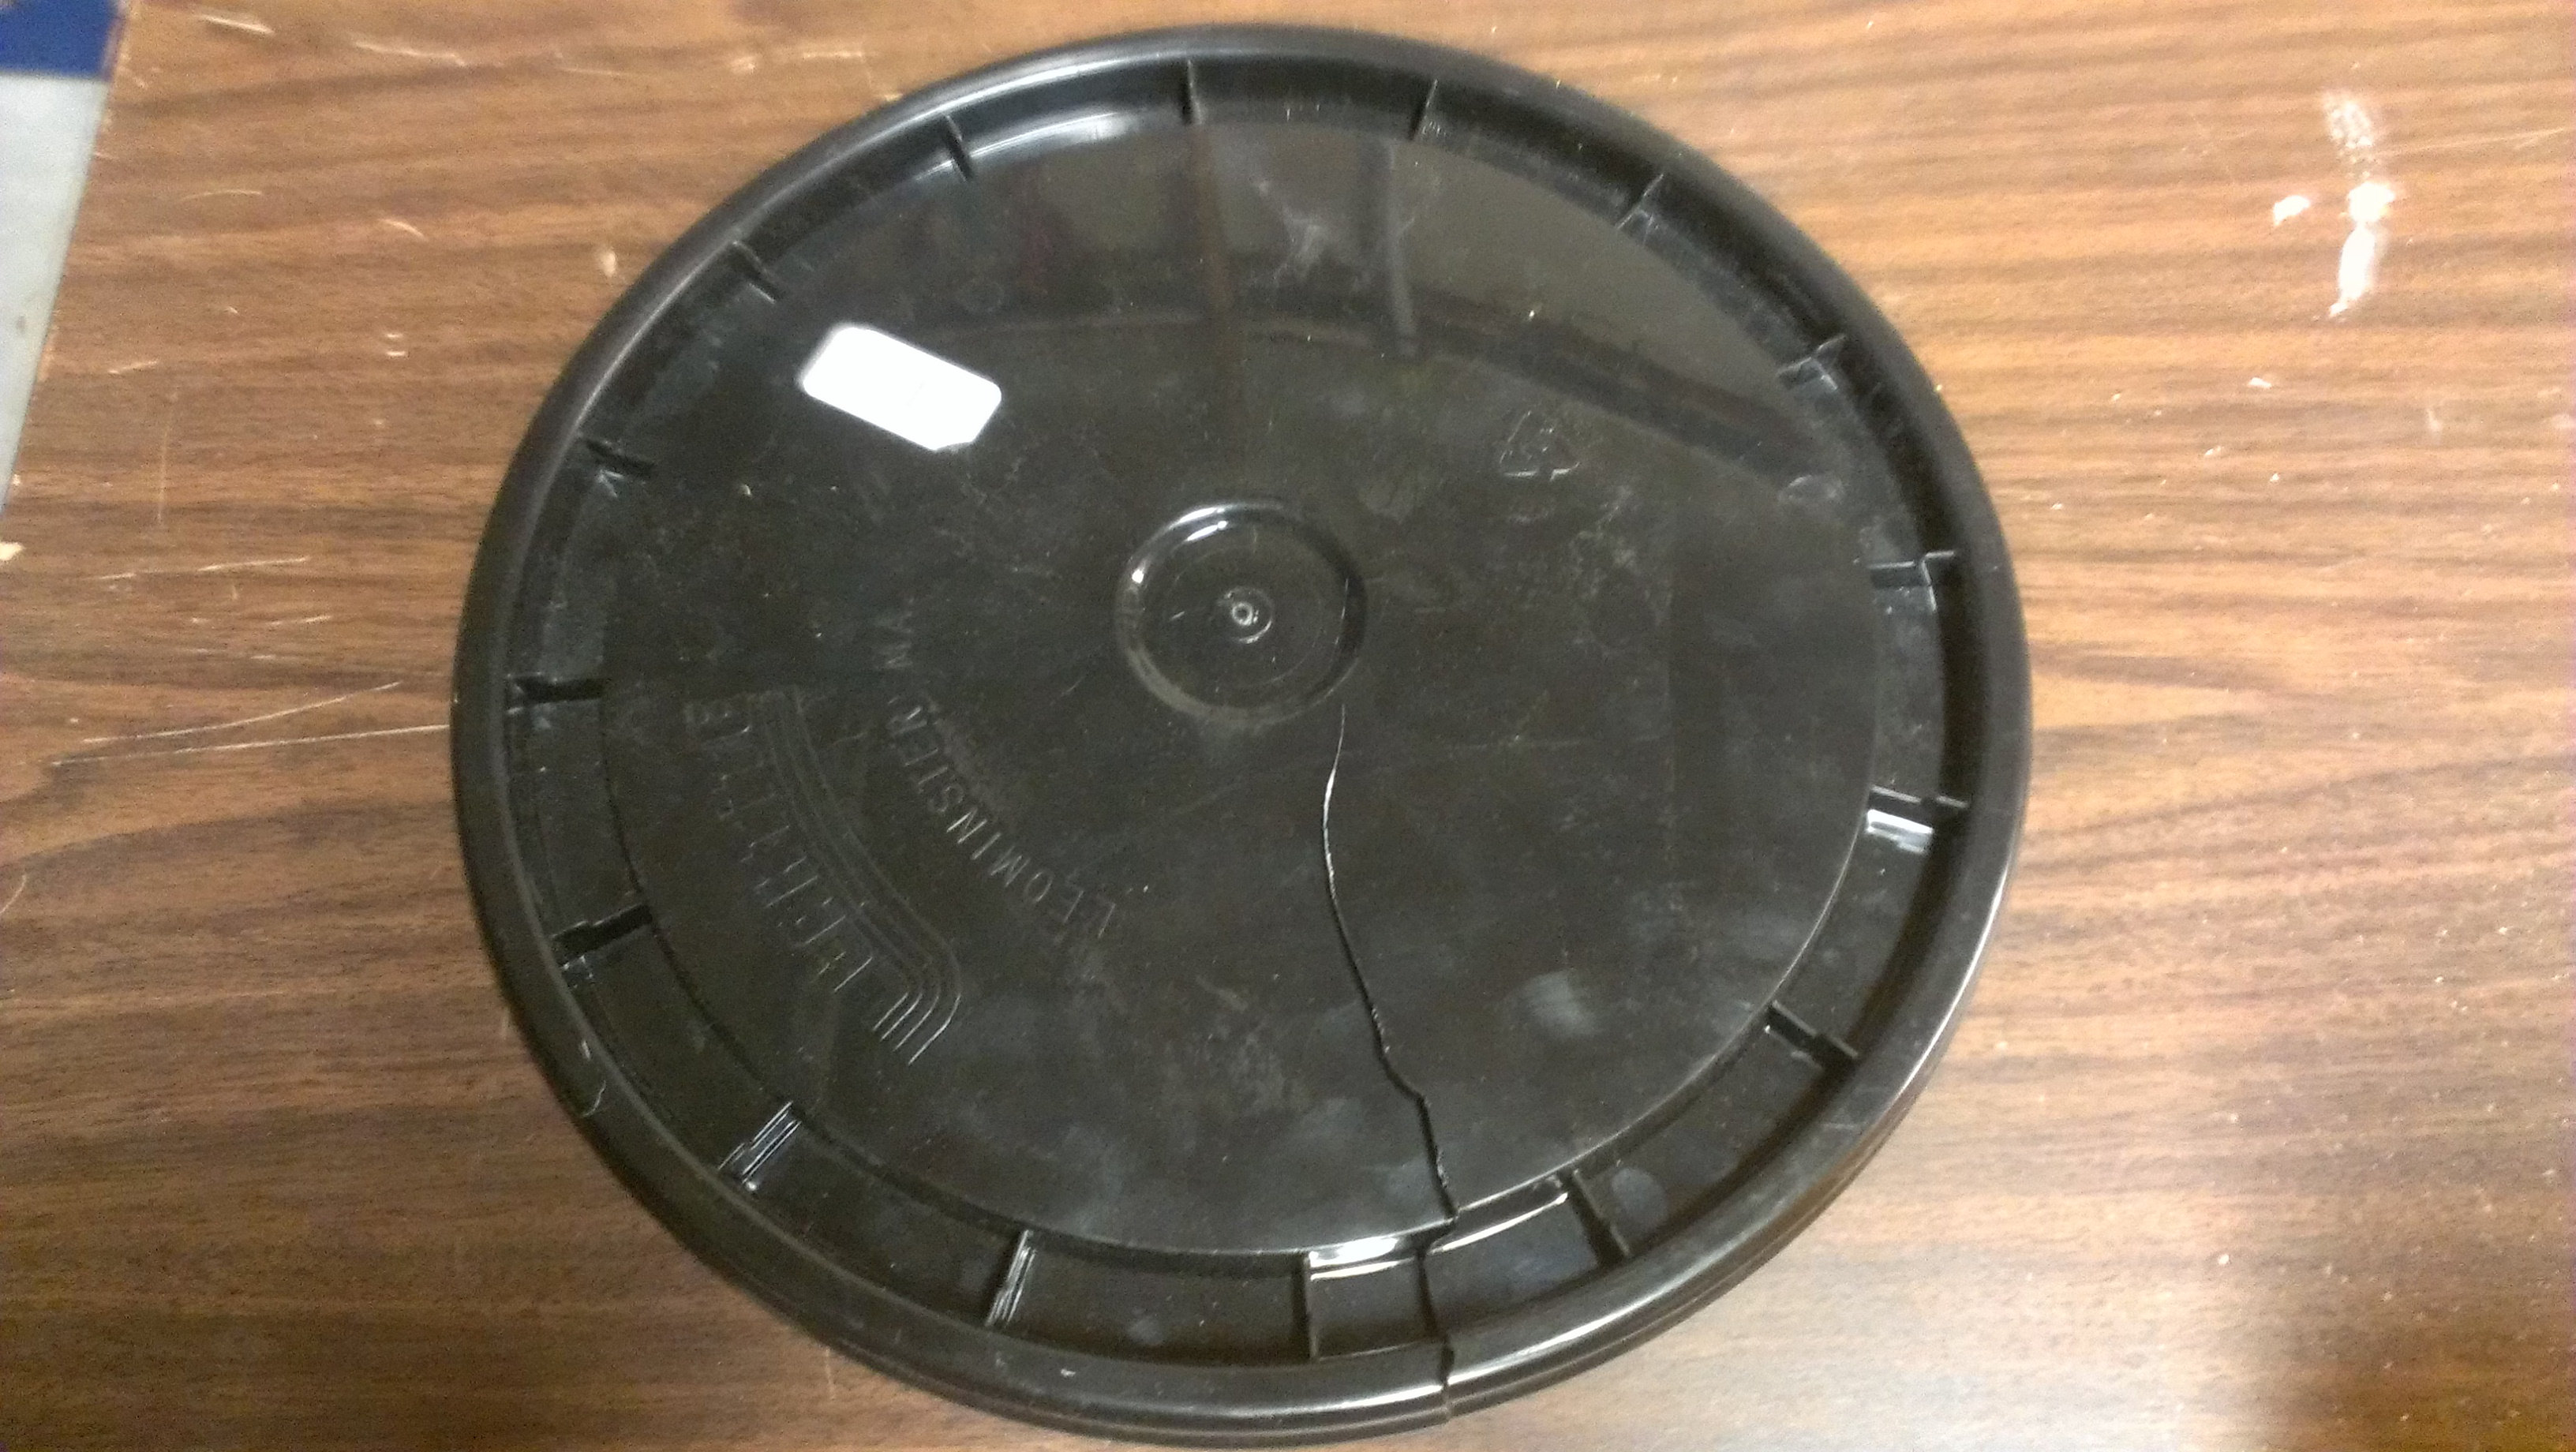
Do not buy these lids! They tempt you with the “easy removal” line, but upon the first or second removal of this lid, this will occur.

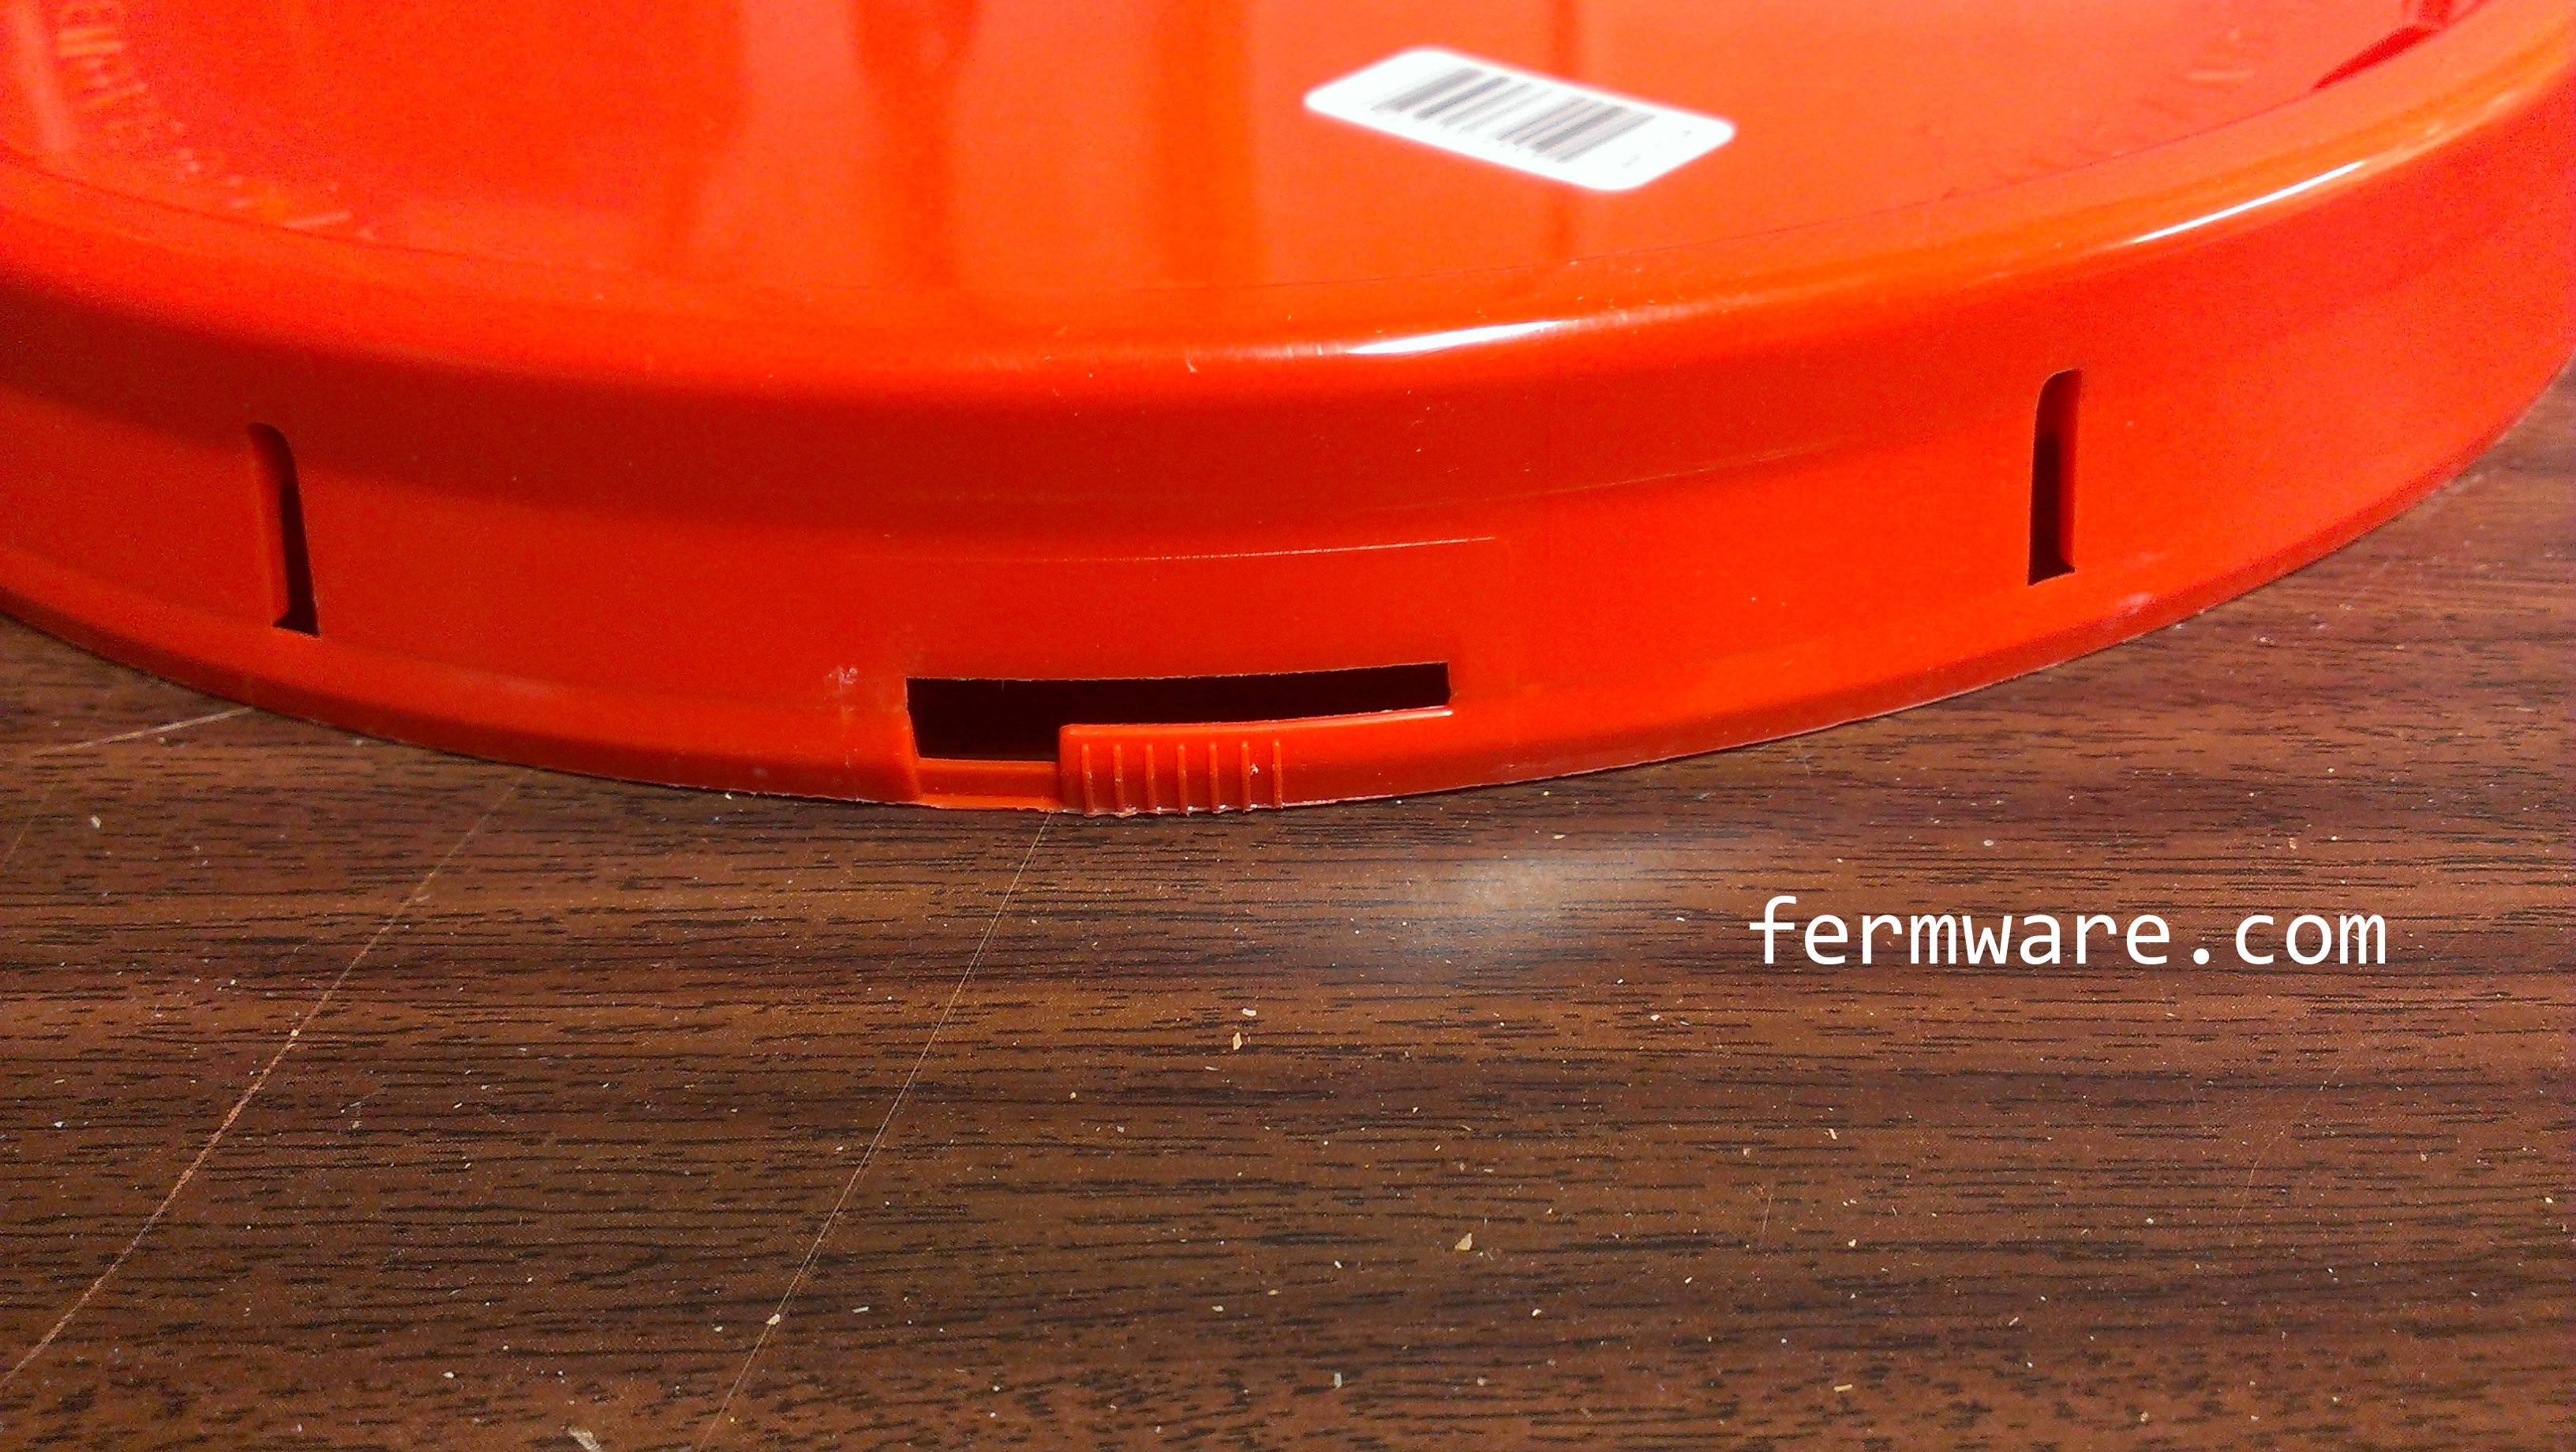
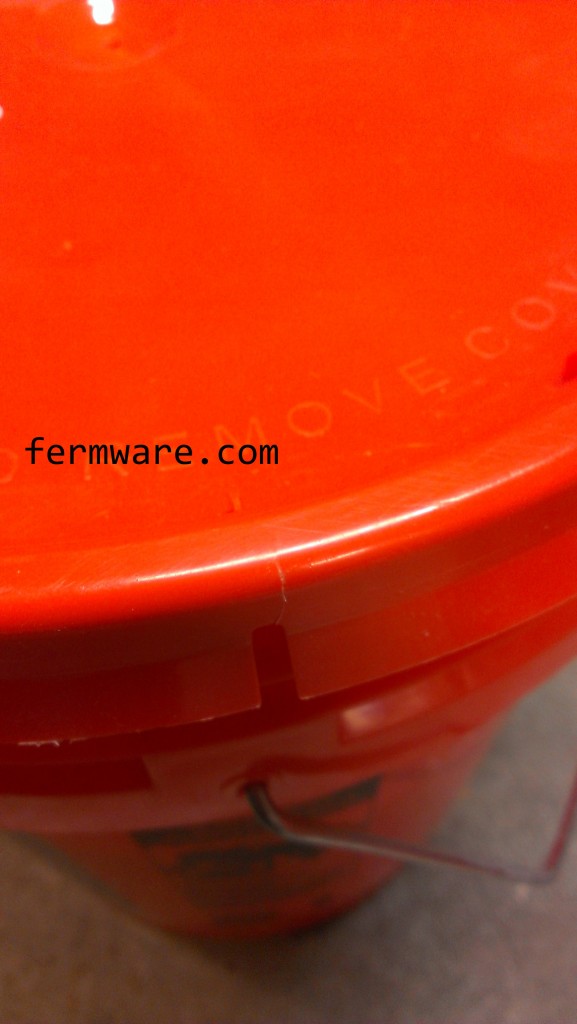
This is what I buy. They are a few cents more and in my opinion, worth so much more.

These lids have a rubber seal, which helps keep moisture out.

The lids do have this one time seal feature, but just go ahead and pull it off. If you are just the slightest bit careful, you can remove these lids over and over again.
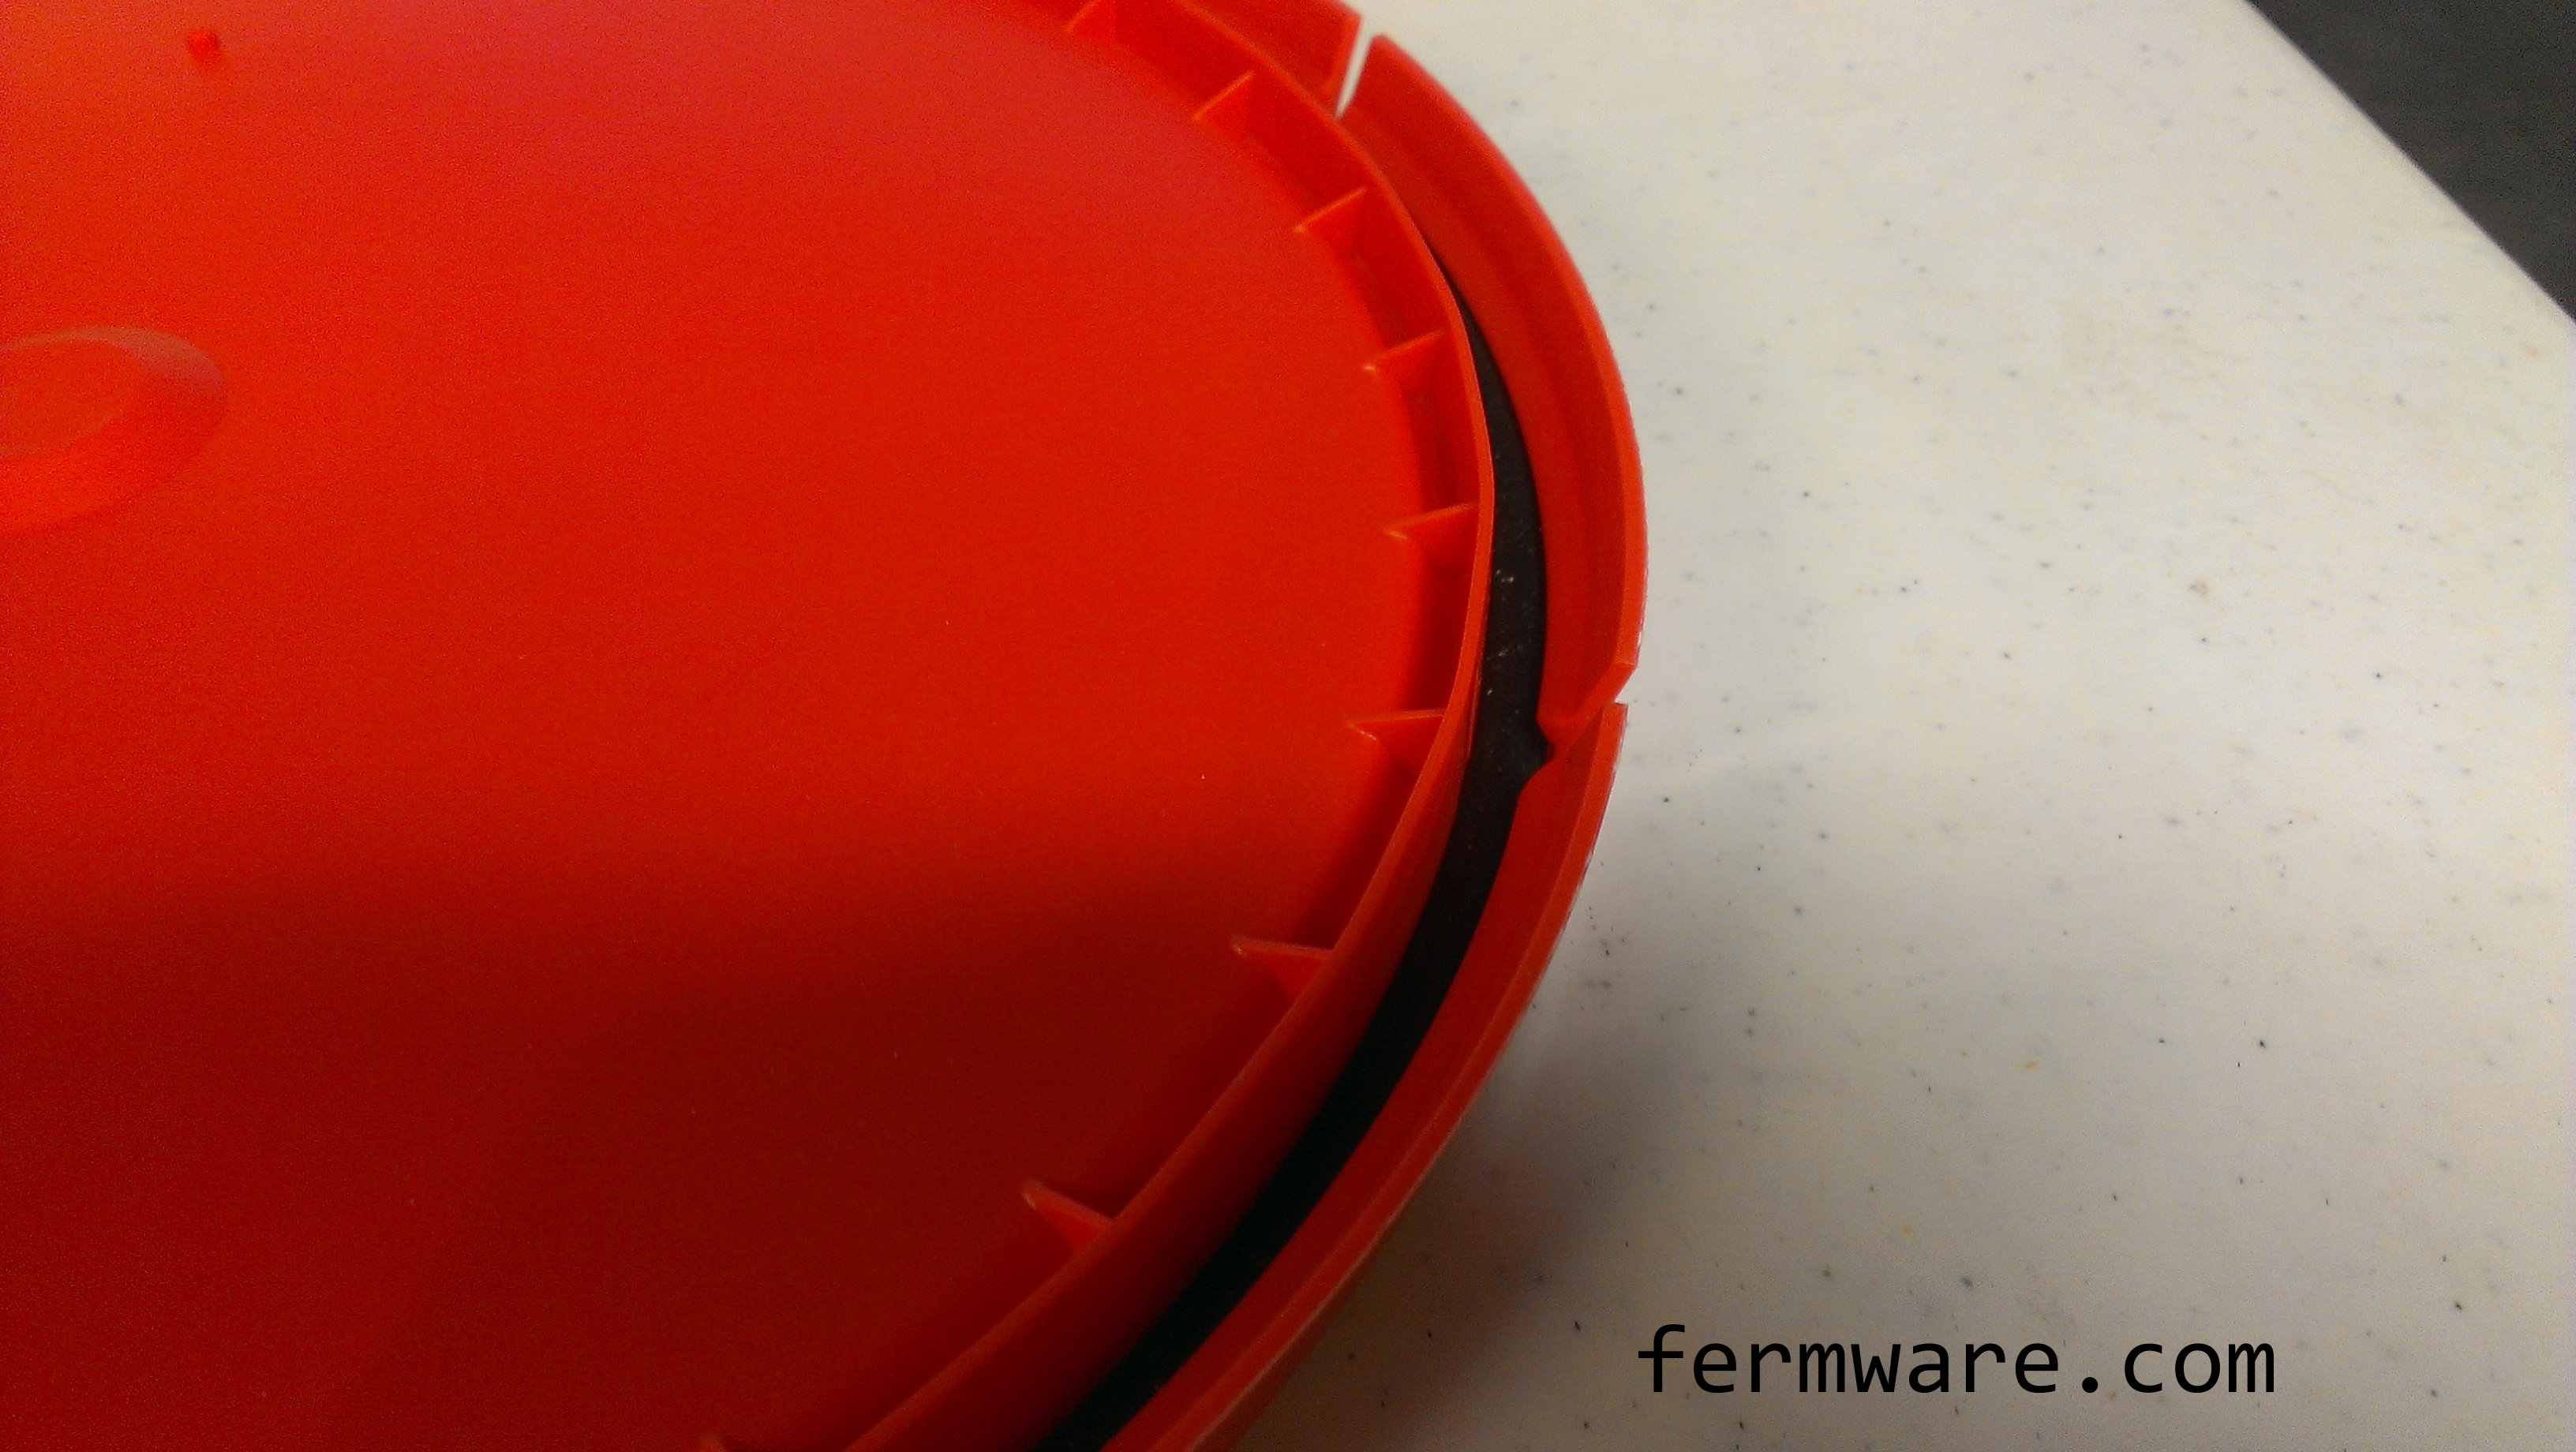
You might get a crack in the lid where the stress “reliever” is, but as long as it doesn’t go beyond the rubber seal, you should still be ok.
If you want the ultimate in awesomeness, go for the Gamma lids. I personally don’t use these for my grains, because the highest frequency I need to access my grains is every two weeks and I can cope with the standard lids. I do however use them for our bulk dog food storage and hay for our guinea pig, since we store them in the garage and we access them every day.
The Gamma lids are surprisingly decently well priced at Home Depot ($7-8).
Ok, enough about lids already!
Since it is mostly accepted that the plastic used in most 5 gallon buckets is not rated as food safe, lets just add another layer of protection.
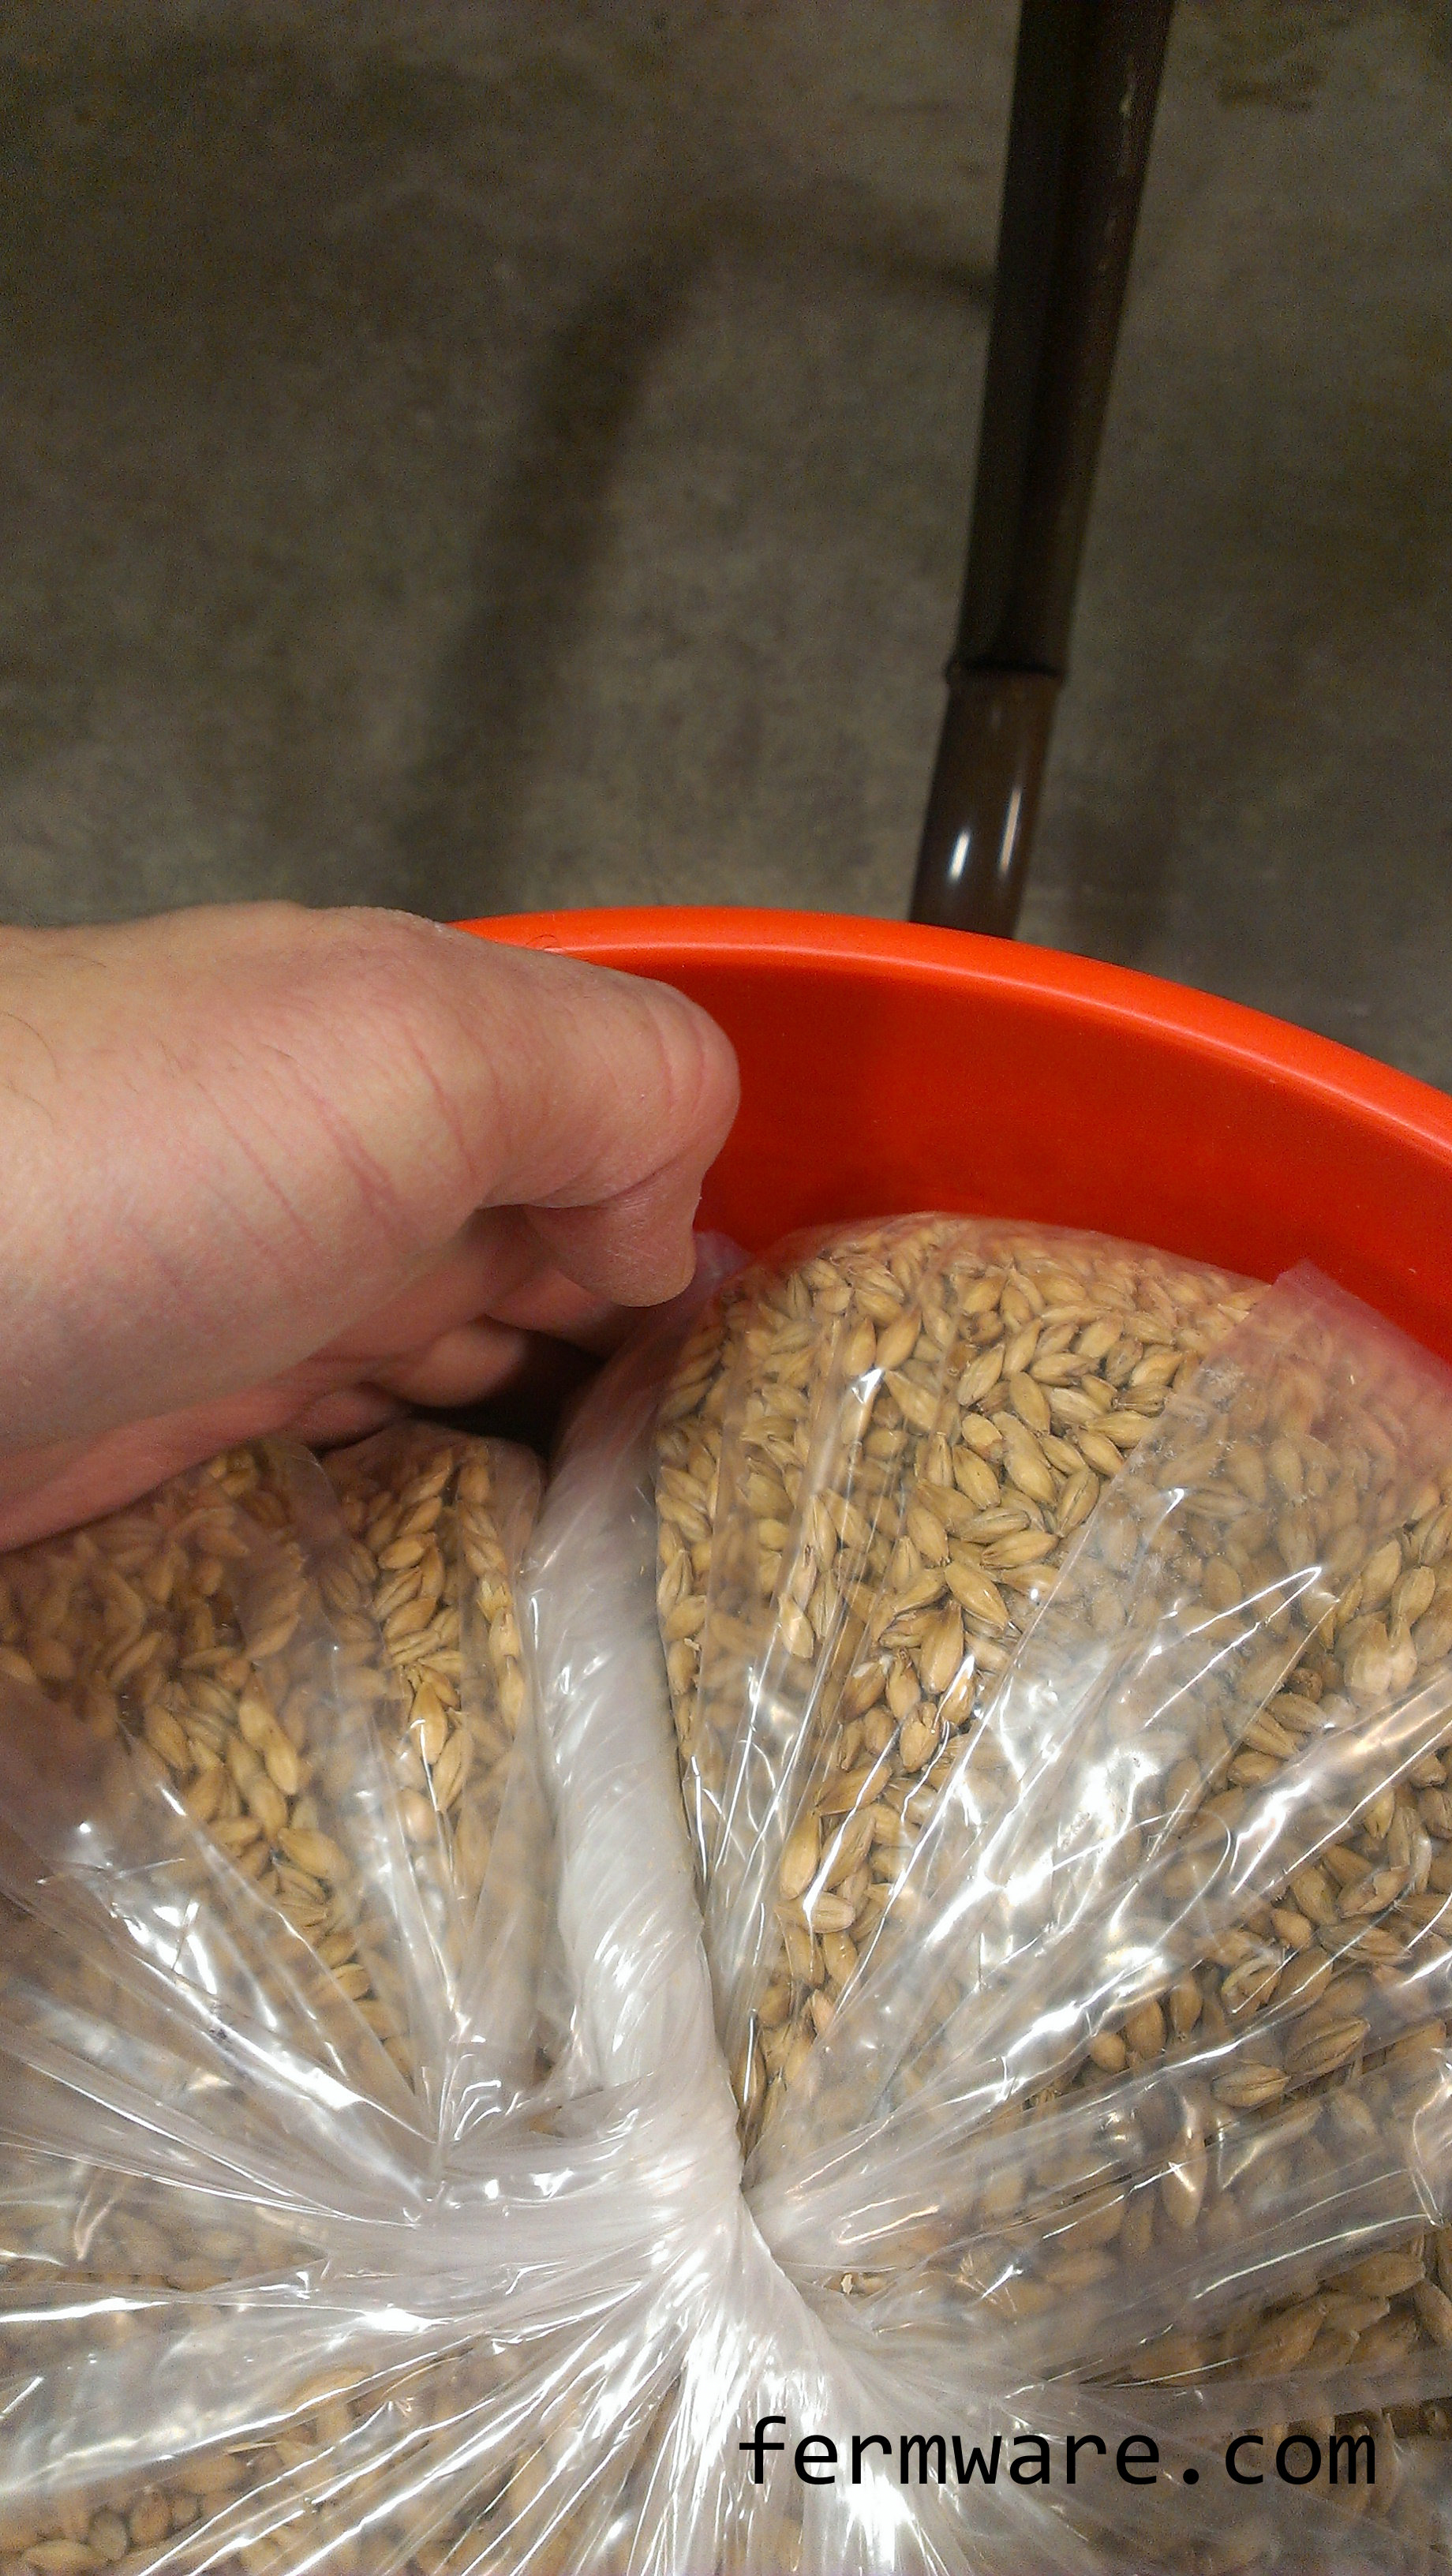
Once you have decided on your bucket / lid combo, just place a food safe plastic bag liner in the bucket. Reference my post on food safe bucket liners to get an idea on where to get these bags.

Not much to explain really. Put the bag in the bucket and pour your grains in.

I then twist the top of the bag and tuck it in the side of the bucket. Then just put your lid on.
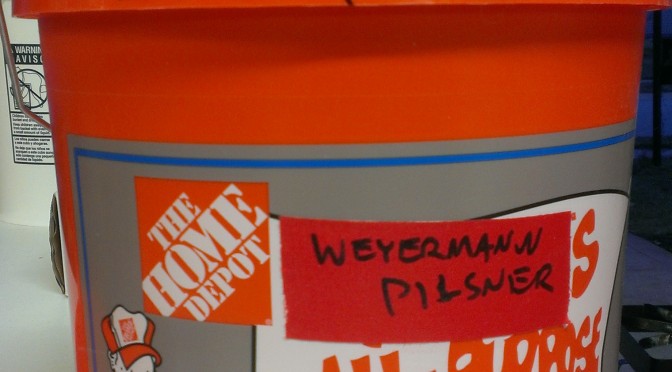
Labeling
Per my post on Easy Fermenter Labels, I just used gaffers tape to note the grain type and amount of grain in the bucket. See “Nerd Alert” at the end of this post to determine the amount of grain in the bucket.

Moisture control
Ok, so I admit, I had been using muslin bags filled with rice for “moisture control”. After some reading on the internet (so it must be true), I came to the conclusion that rice is a poor desiccant. I fell for the commonly held belief that it absorbed moisture because they use it in salt. Well, it seems that rice is used in salt shakers to prevent clumping. Sodium chloride is actually a better moisture absorber. It all makes sense now, because the container I store our ice melter in always has a pool of water on top. Now I just say (my opinion here) that if you won’t be using the grain within 3-6 months, you probably aren’t making the best of purchasing grain in bulk.
Nerd Alert!
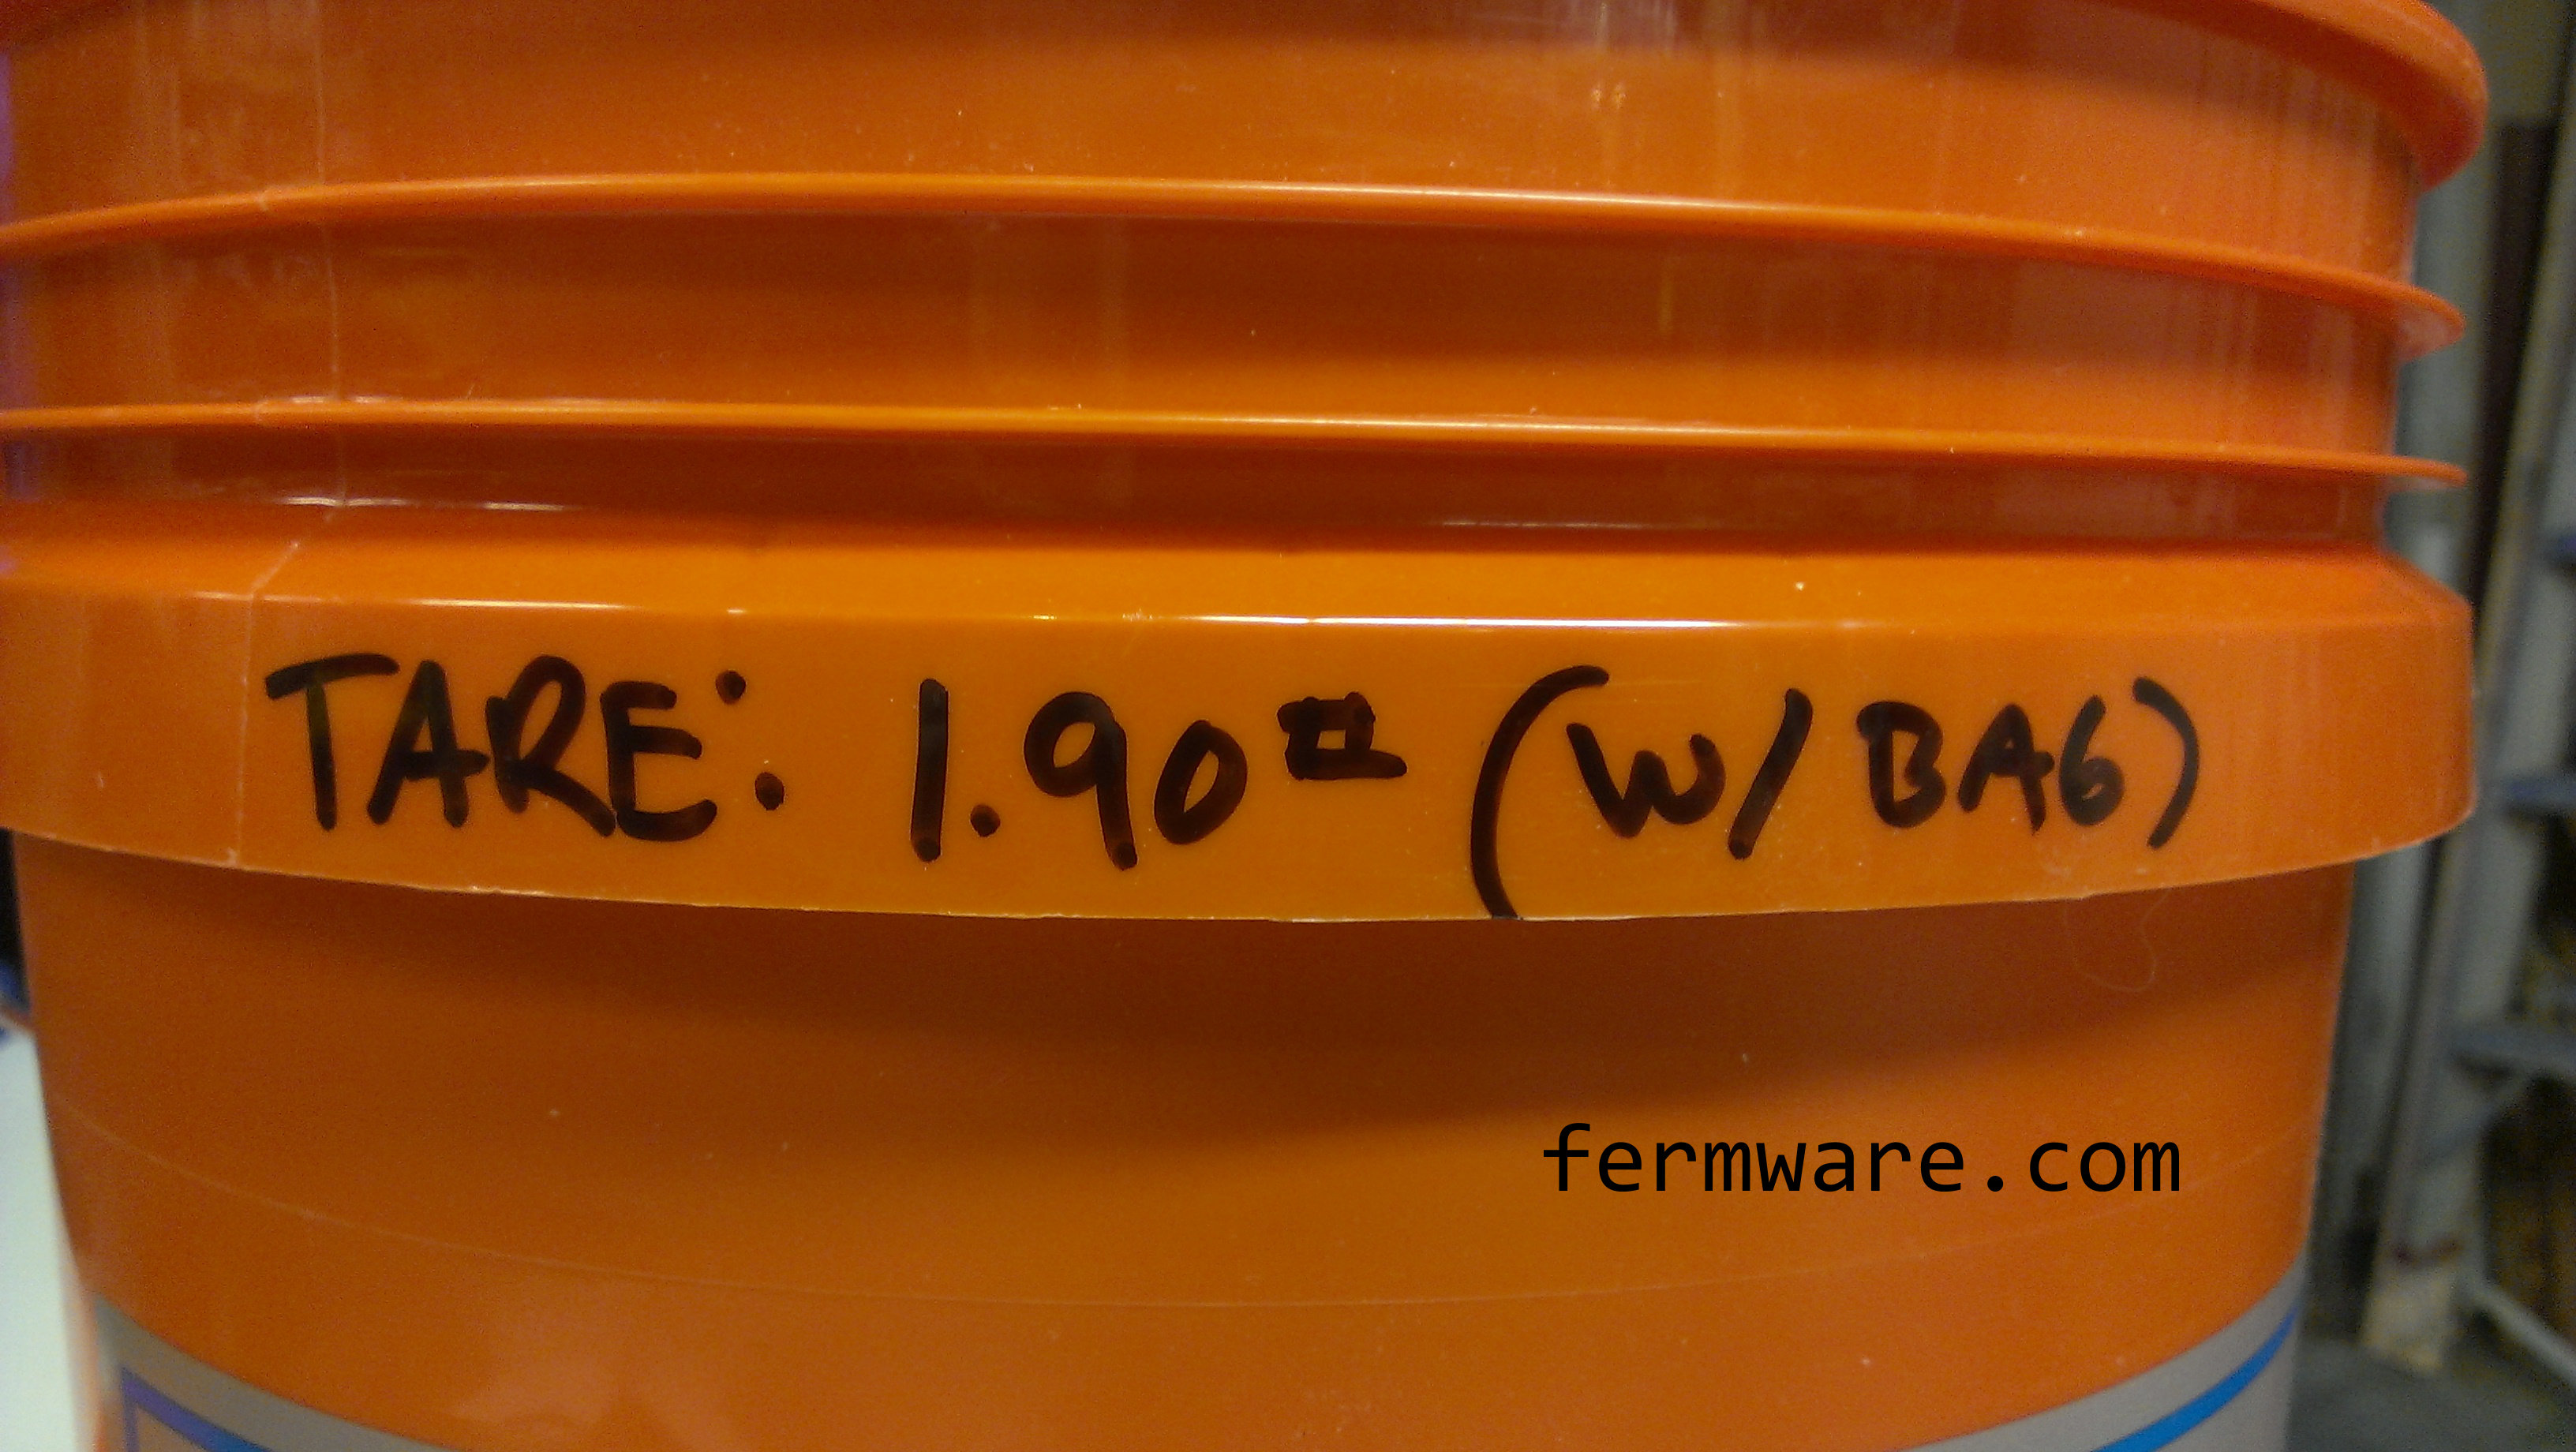
Ok, so if you aren’t using all of your grain at once, you’ll probably want to know how much grain you have left. What I do is weigh the bucket plus the bag liner before pouring the grain in. This is my tare weight. So whenever I need to know how much grain is left, I just weigh the grain bucket with the grain in it and subtract the tare weight.

I also note the date each time I weigh, because I know myself and I know that if I just put the weight on there, I will wonder if it was before or after a certain brew an then end up re-weighing the grain.

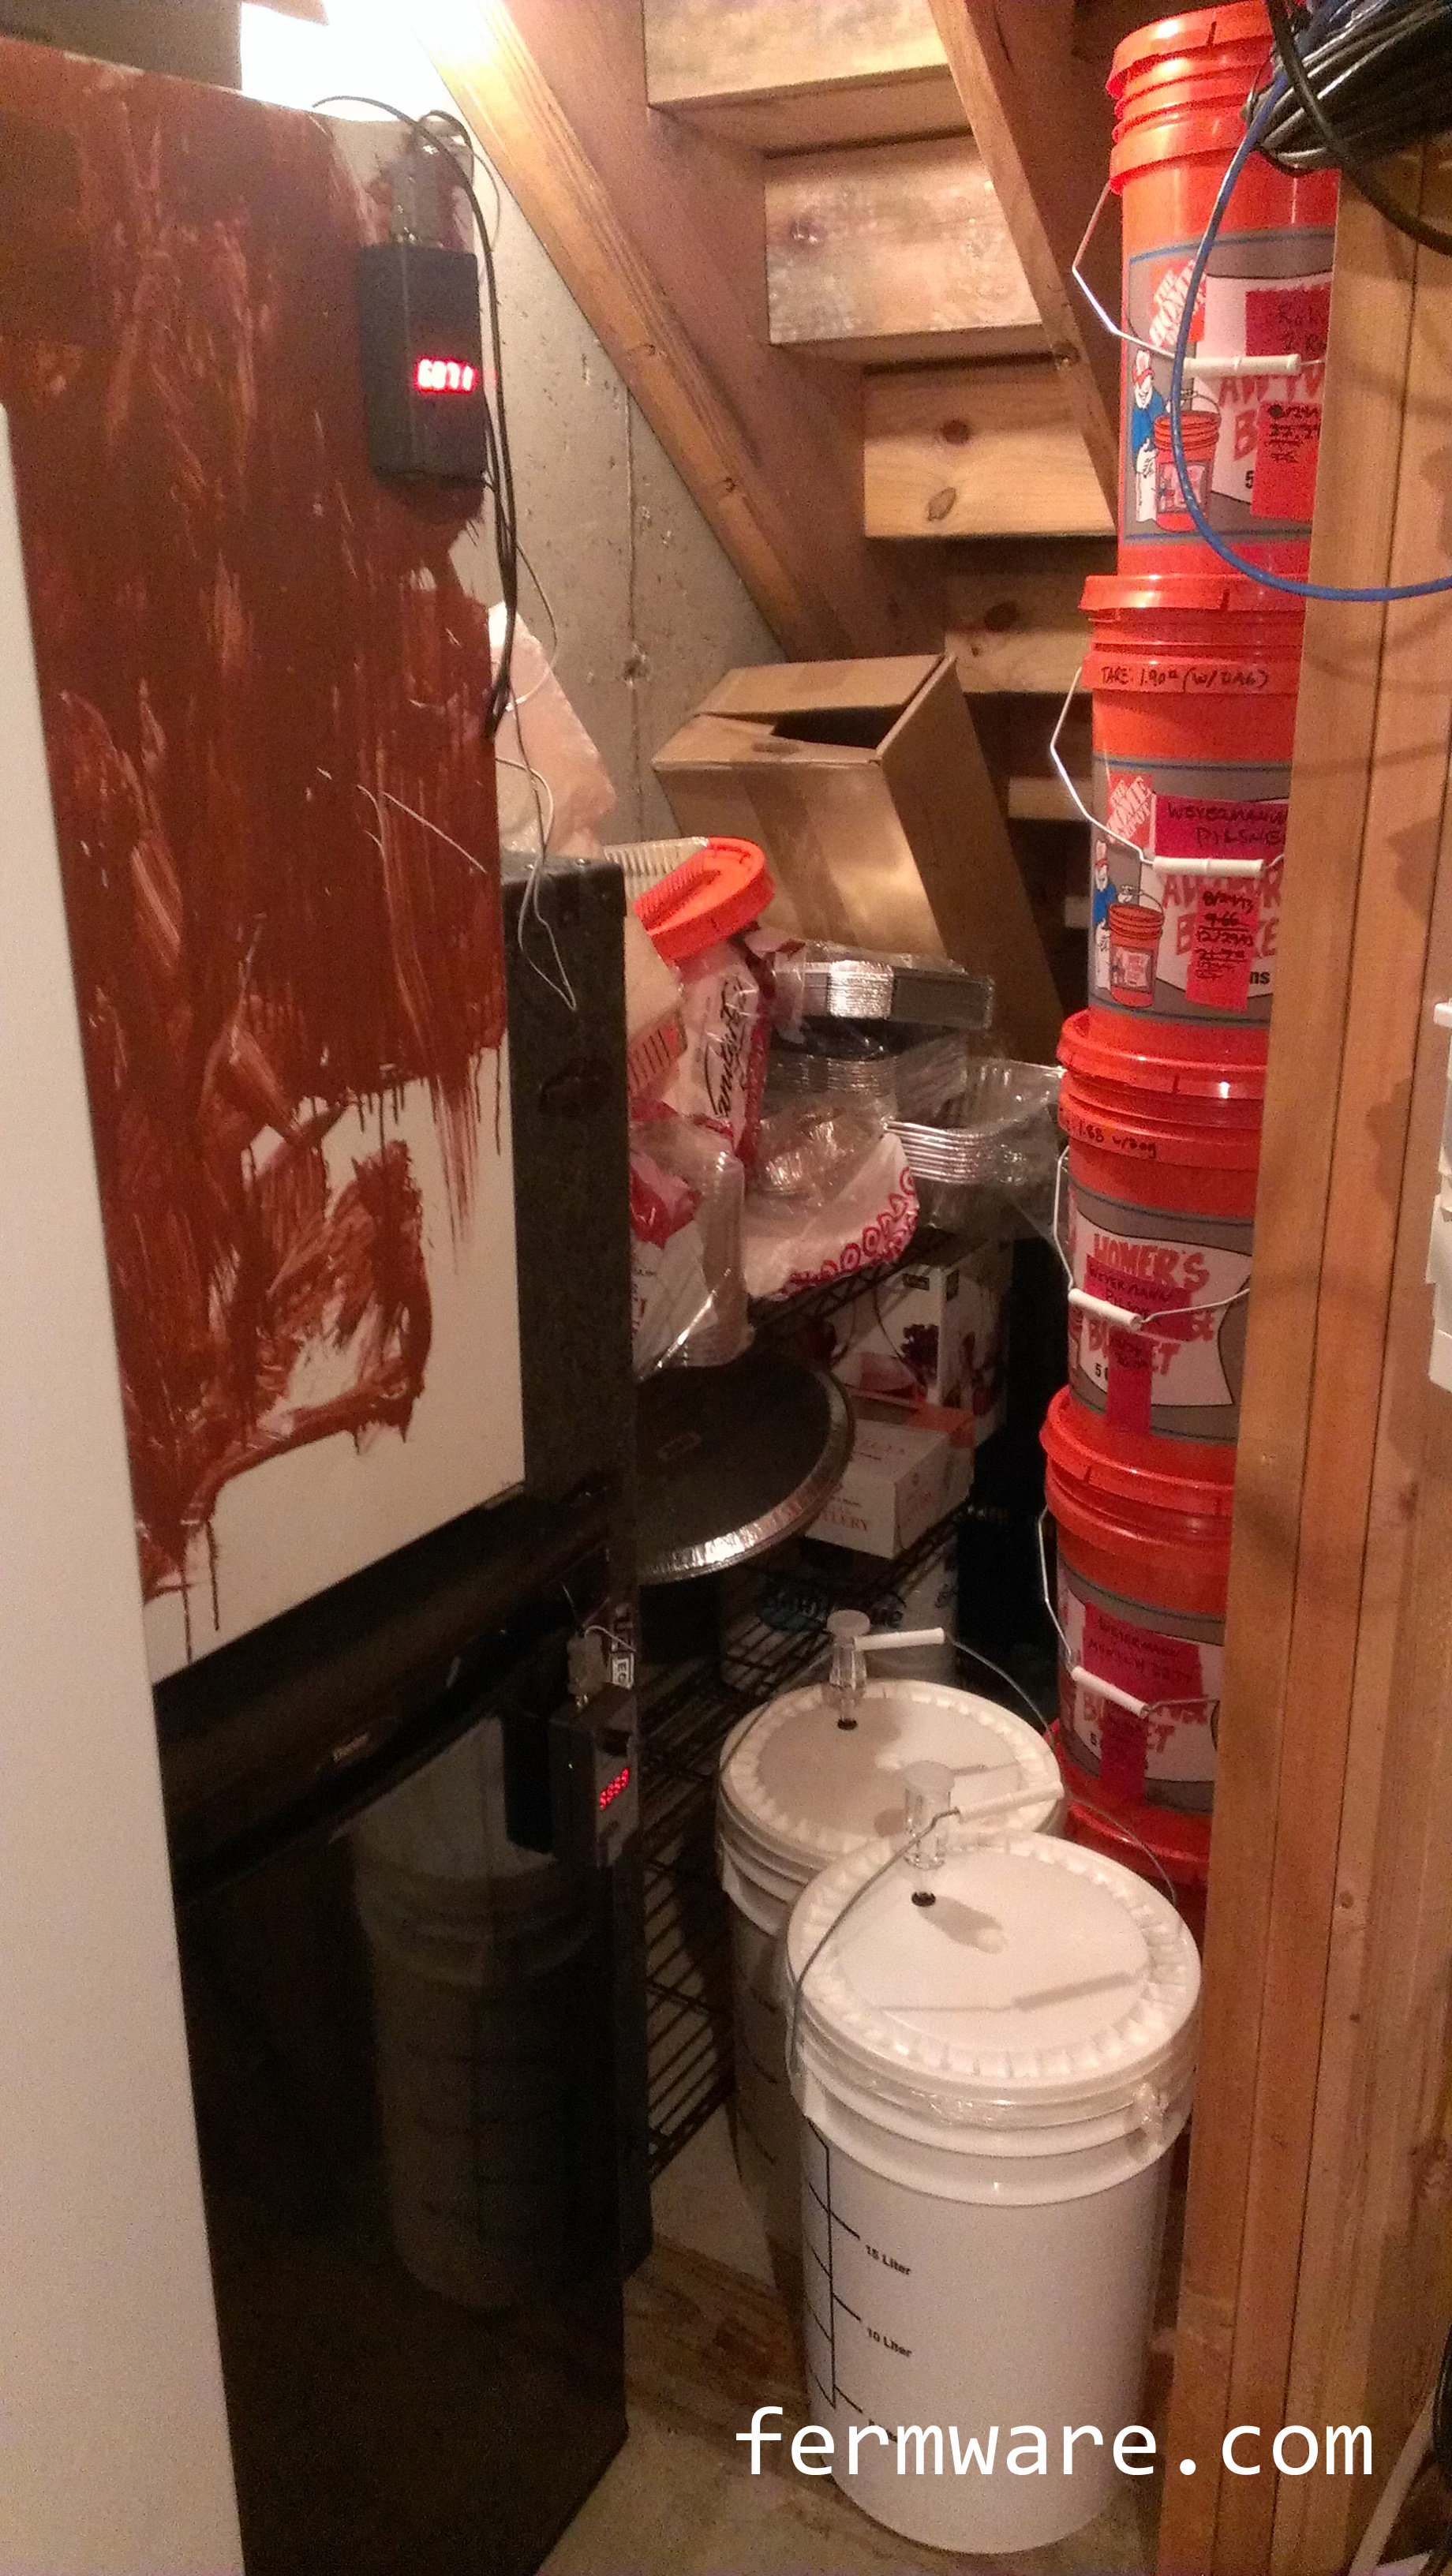
So here is “Fermentation Central” in my basement. Two batches of Cream Ale fermenting, next to my stack of grain storage buckets and my two dorm fridges converted to fermentation chambers. The top one is running intermittently (had since college) and the bottom one is facilitating a German Alt.