Refrigerator Conversion Part 4 – Door Modification

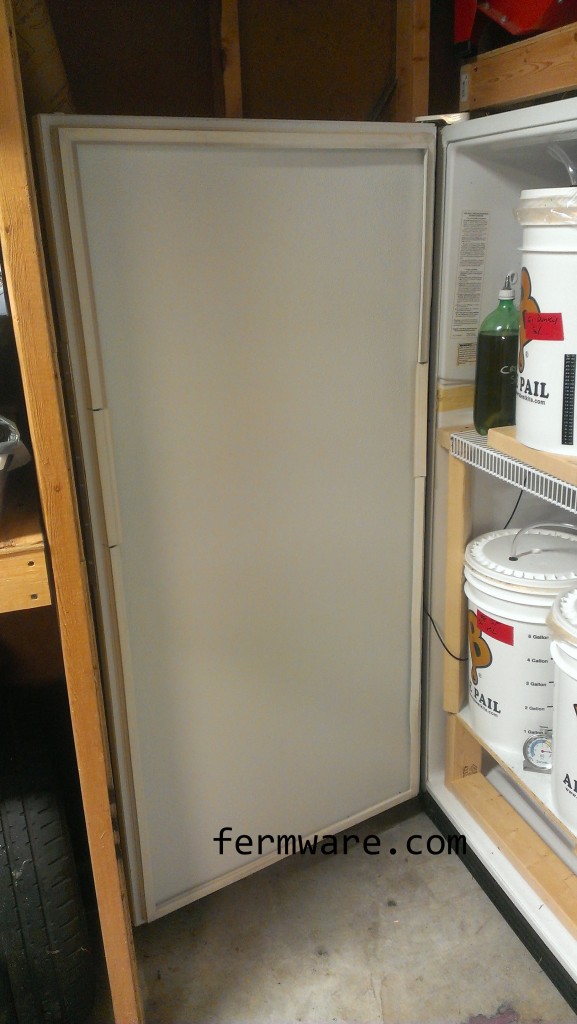
Now that we’ve broken it down, let’s build it back up!  Since the fermentation chamber is all one big cabinet, it is only appropriate that it has one big door.
If you missed the first post, start here: Part 1: Introduction
That post has a run down of most of the materials, tools and supplies needed for this project.

Difficulty: level_4

This project requires a few inexpensive special tools, but will most likely take an entire weekend, lots of improvisation, some thorough cleaning and the cost of the fridge takes it to level 4.

Posts for this Project:

Part 1: Introduction
Part 2: Clean up
Part 3: Disassembly
Part 4: Door modification (this post)
Part 5: Shelf building
Part 6: Finishing up and other observations

Affiliate Links

Door Modification

I wasn’t confident when taking the doors off that I would be able to align them well enough, so I made the brackets and drilled a few pilot holes before removing the doors completely.  In hindsight, measuring the gap would have been good enough.  Some of those pictures will be repeated here for clarity.

Bracket fabrication

You’ll need to make these first whether you do it with the doors still on the fridge or not.

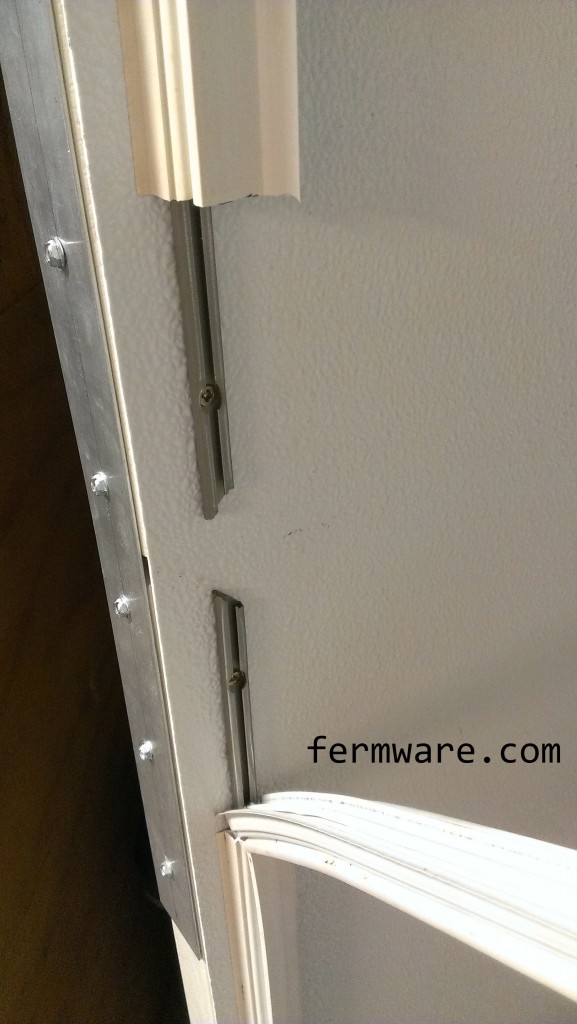
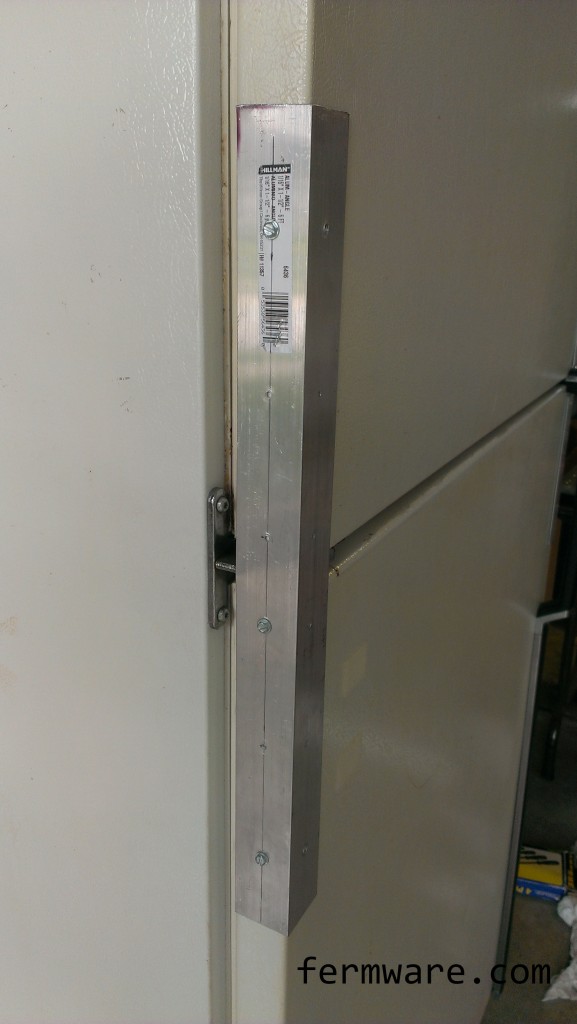
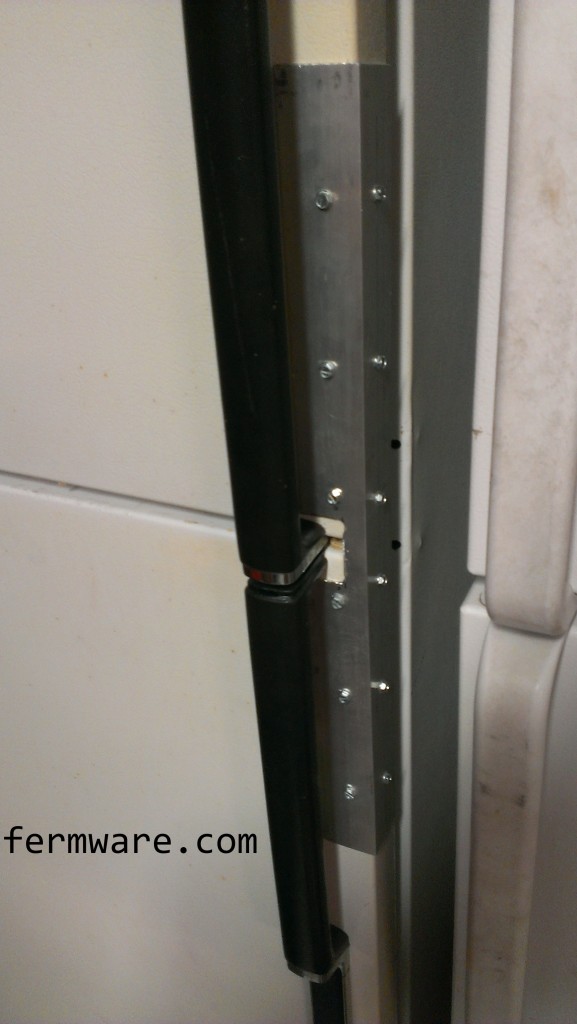
You could probably substitute something else, but when I turned around at the hardware store, this angled aluminum was right there and the light bulb went off.  You’ll use this to make some brackets that will rigidly fix both the refrigerator and freezer doors to each other.

support on hinge side

bracket for door handle

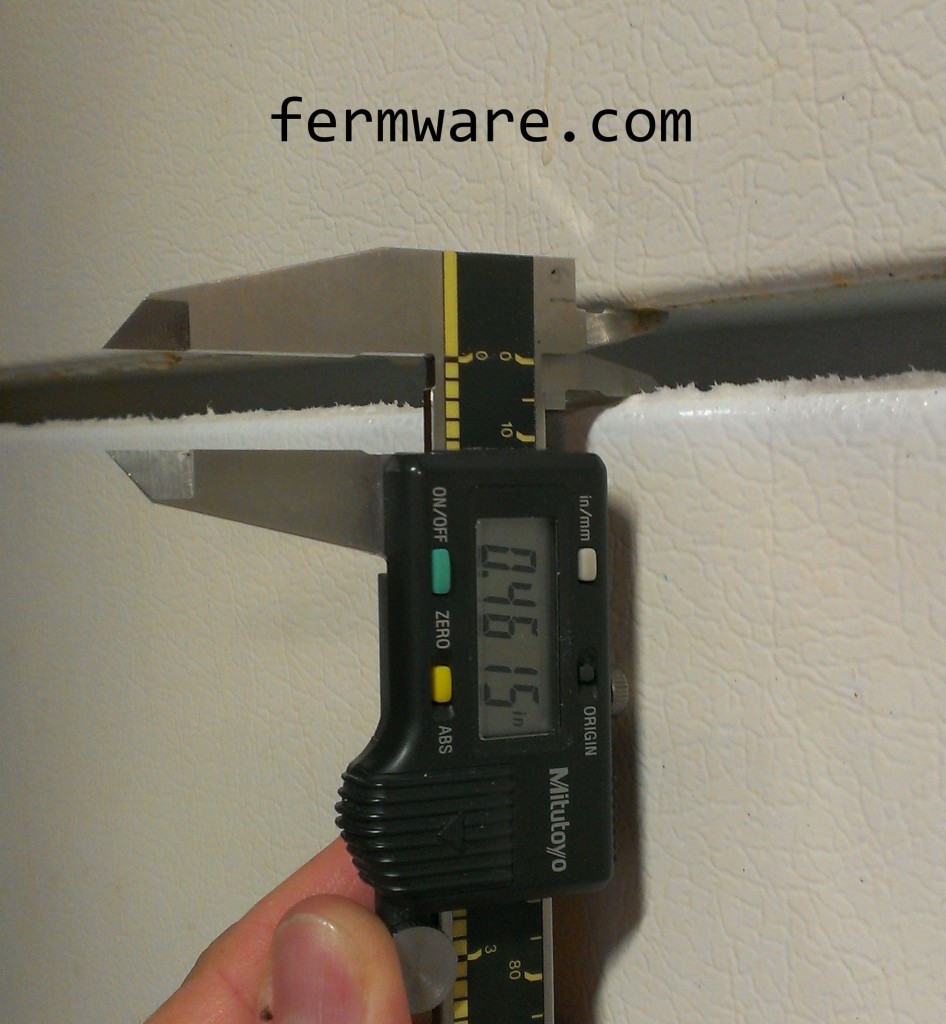
Measure the gap between the doors

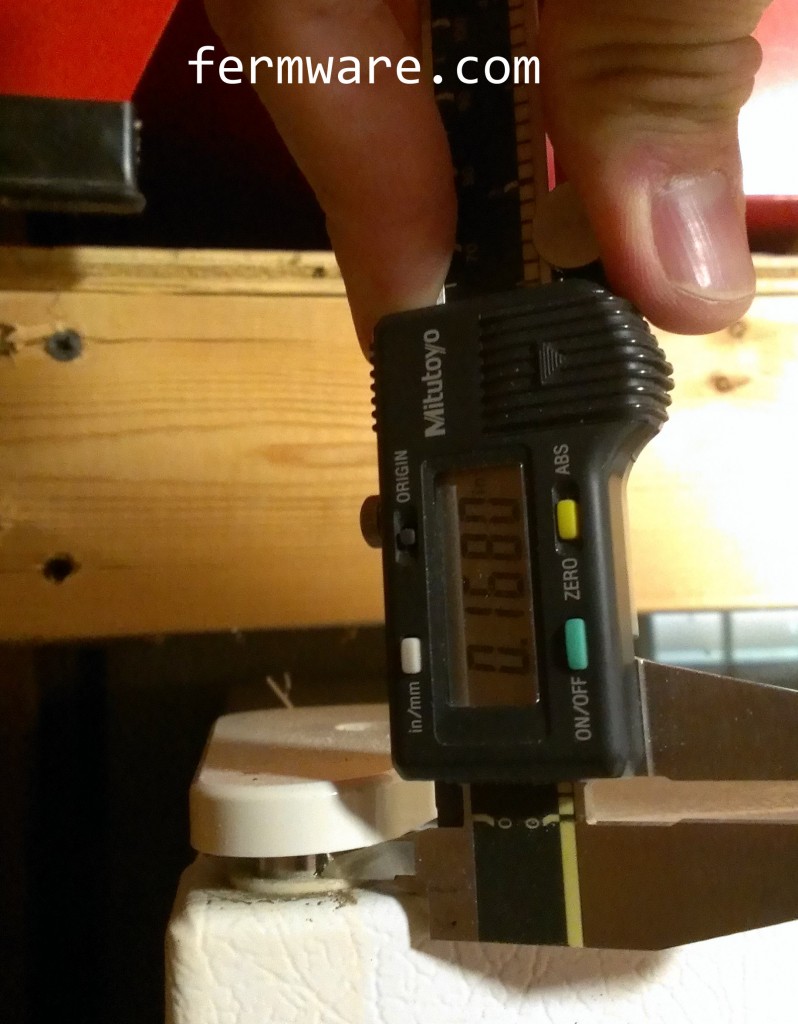
If upon disassembly, you just wanted to take the doors off, you’ll need to measure the gap first.  I used a pair of digital calipers to illustrate, but a tape measure will be accurate enough.

Measuring door gap

*Side note: If you are looking to buy a pair of calipers, the Mitutoyo 500-196 are by far the nicest I’ve used.  Fairly pricey, but high quality.

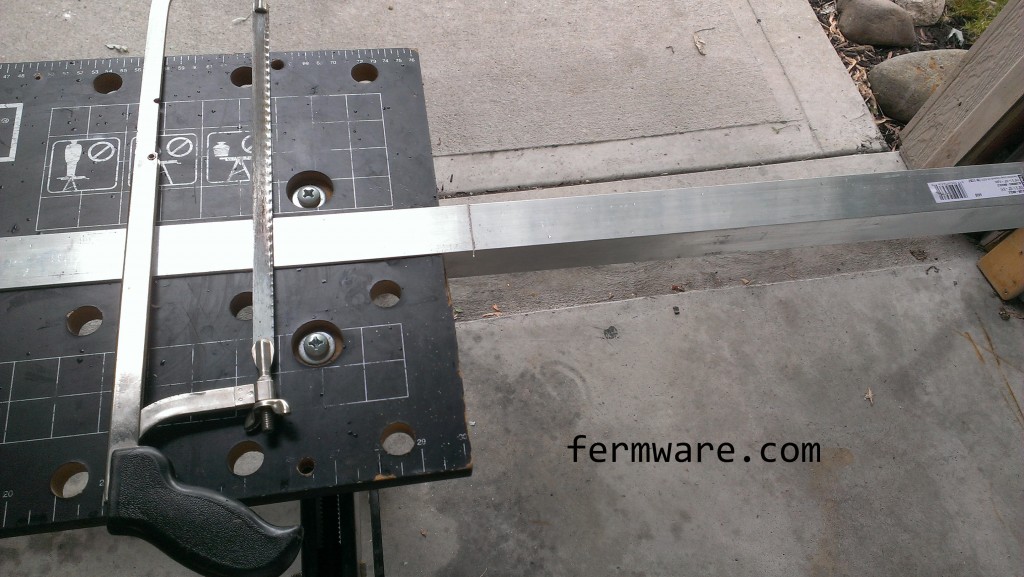
Cut aluminum angle to size

You’ll need one for each side of the door.  I chose to make mine about 20″ long.  A standard hack saw will do the job.

Cutting aluminum angle with hack saw

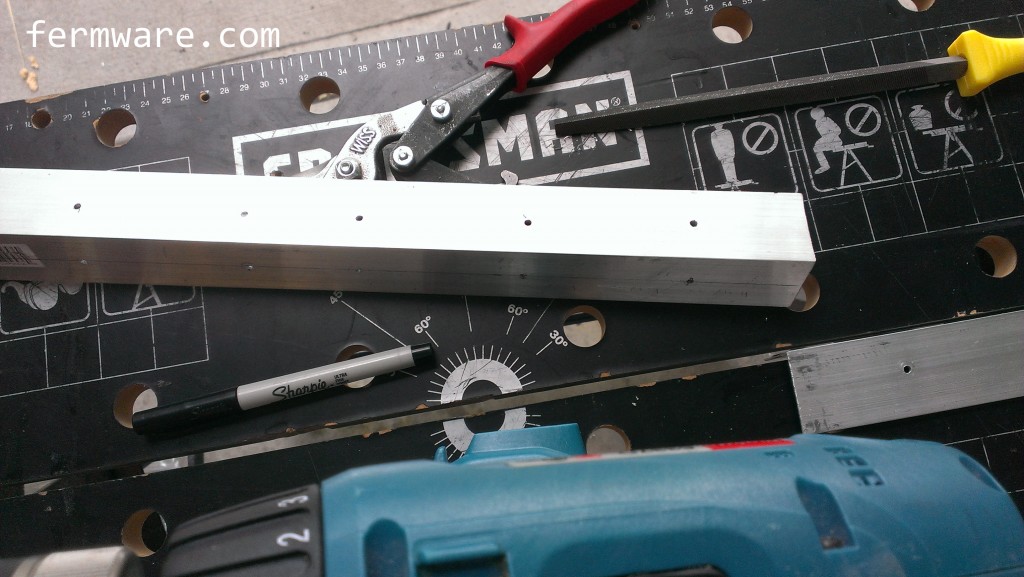
 Then drill the holes

pre-drill aluminum angle

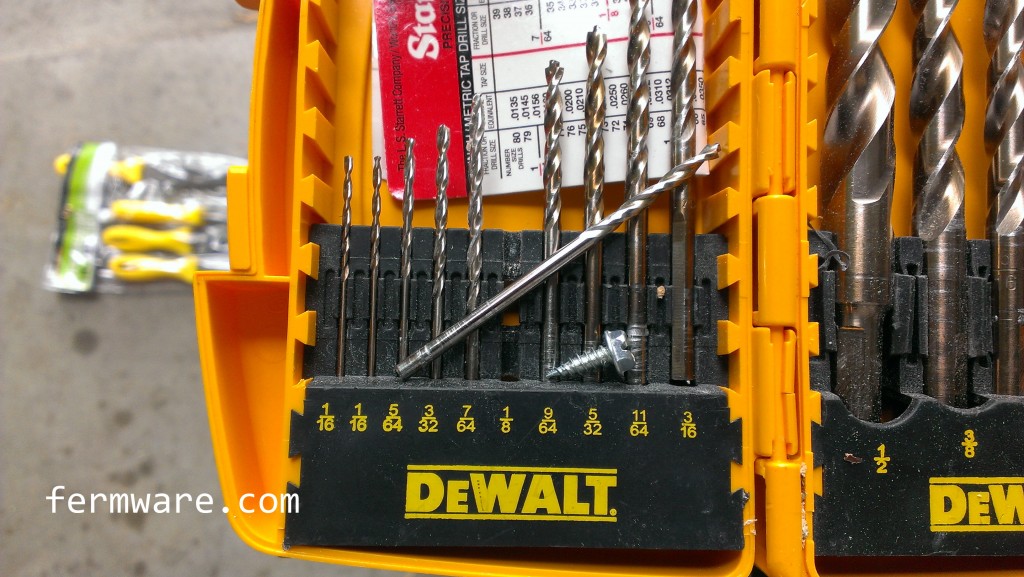
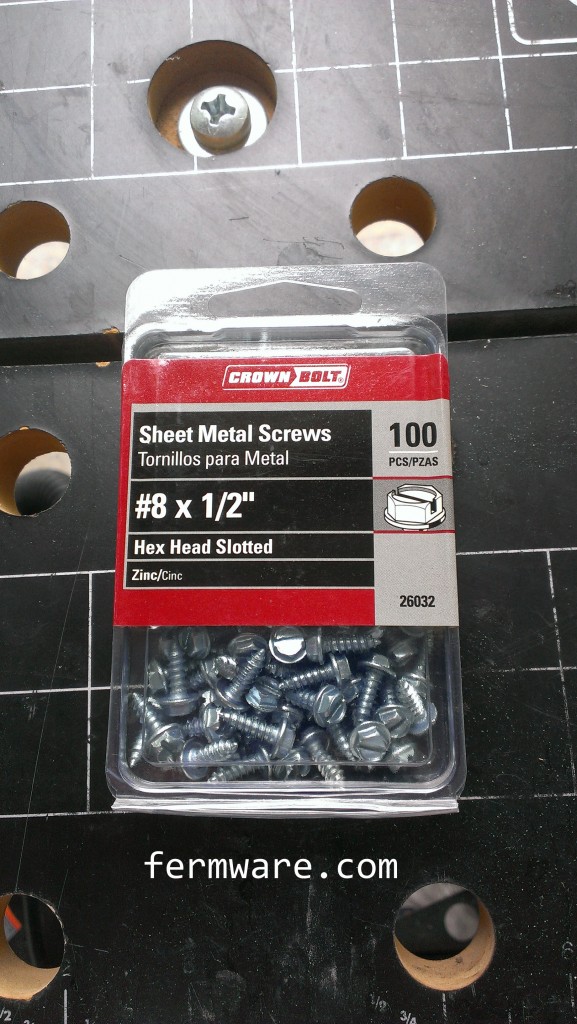
I used a 1/8″ drill bit to create through holes for the #8 sheet metal screws I was using.  DO NOT PRE-DRILL THE FRIDGE DOORS WITH THE DRILL BIT!

pre-drill for sheet metal screws

Supplies - Sheet metal screws

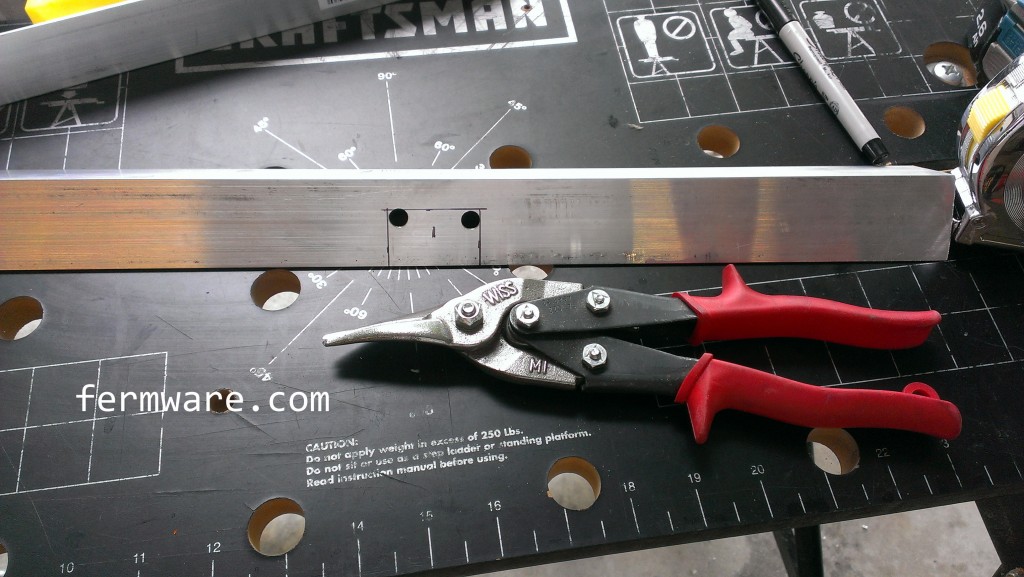
Cutout for handle side

Pre-drill some holes for the corners and then cut with the tin-snips.

Tools - Tin snips

notch for door handle

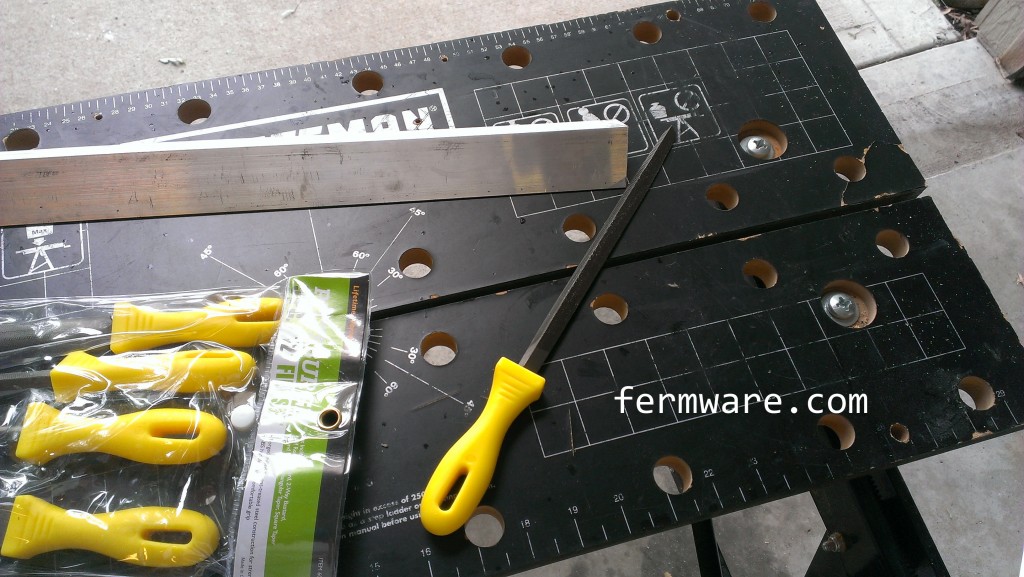
Use your file to clean up the cuts and remove any burrs.

Tools - File set

You can see in one of the first pictures, that I pre-mounted them to the doors with just a few screws so that I would have the holes properly located.

Door Construction

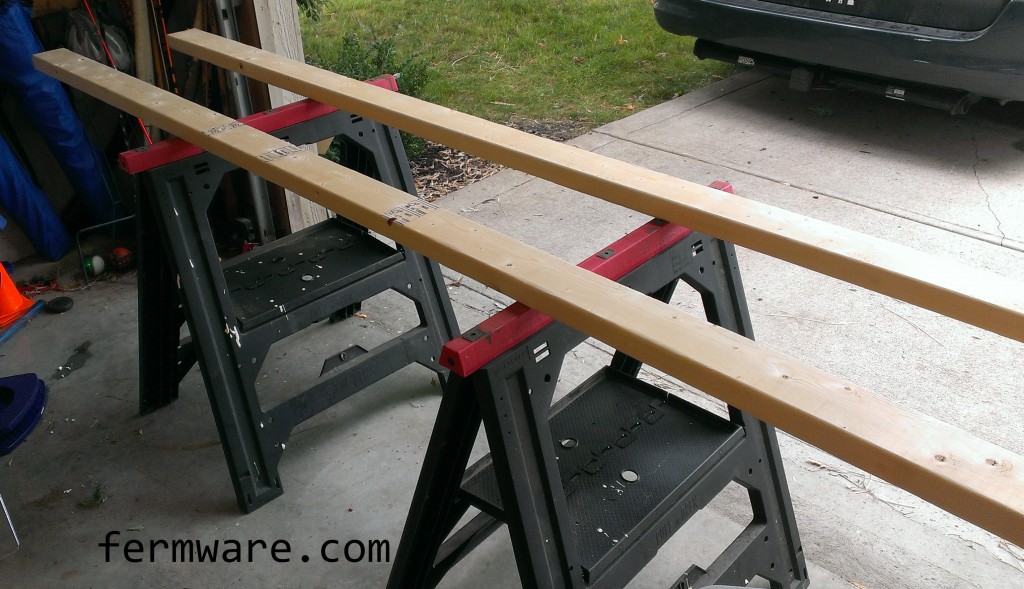
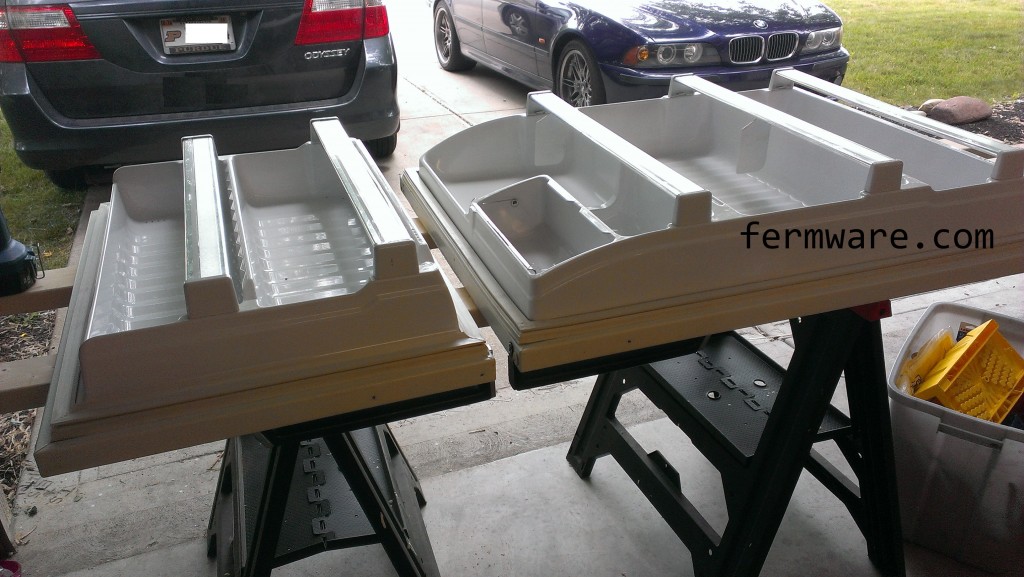
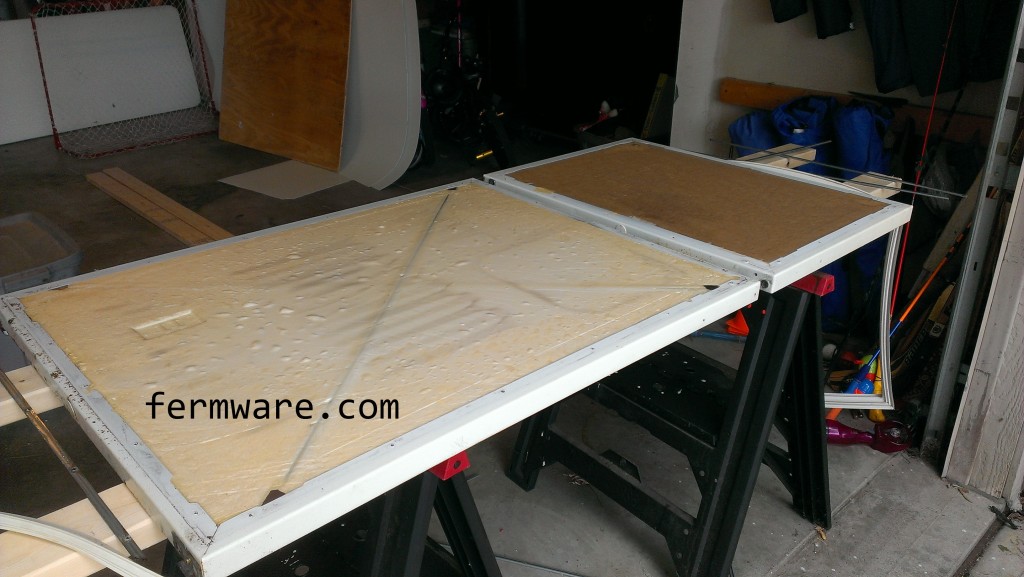
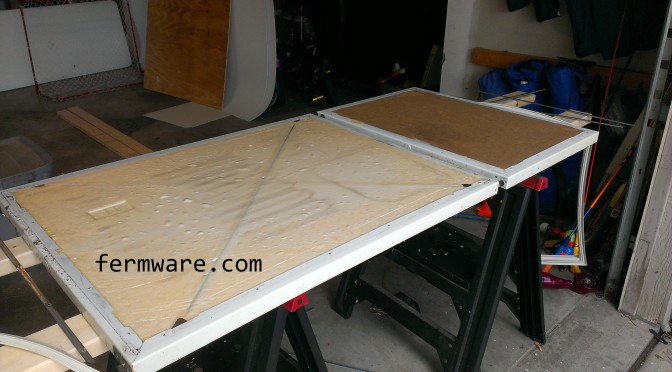
Now it’s time to get the door put back together.  Take both doors and set them up on a table.  I just laid some 2x4s (my favorite) across some saw horses.

2x4 supports for door

doors aligned

I went ahead and removed the door hinge support plate, since it was unnecessary at this point.

removal of freezer door support

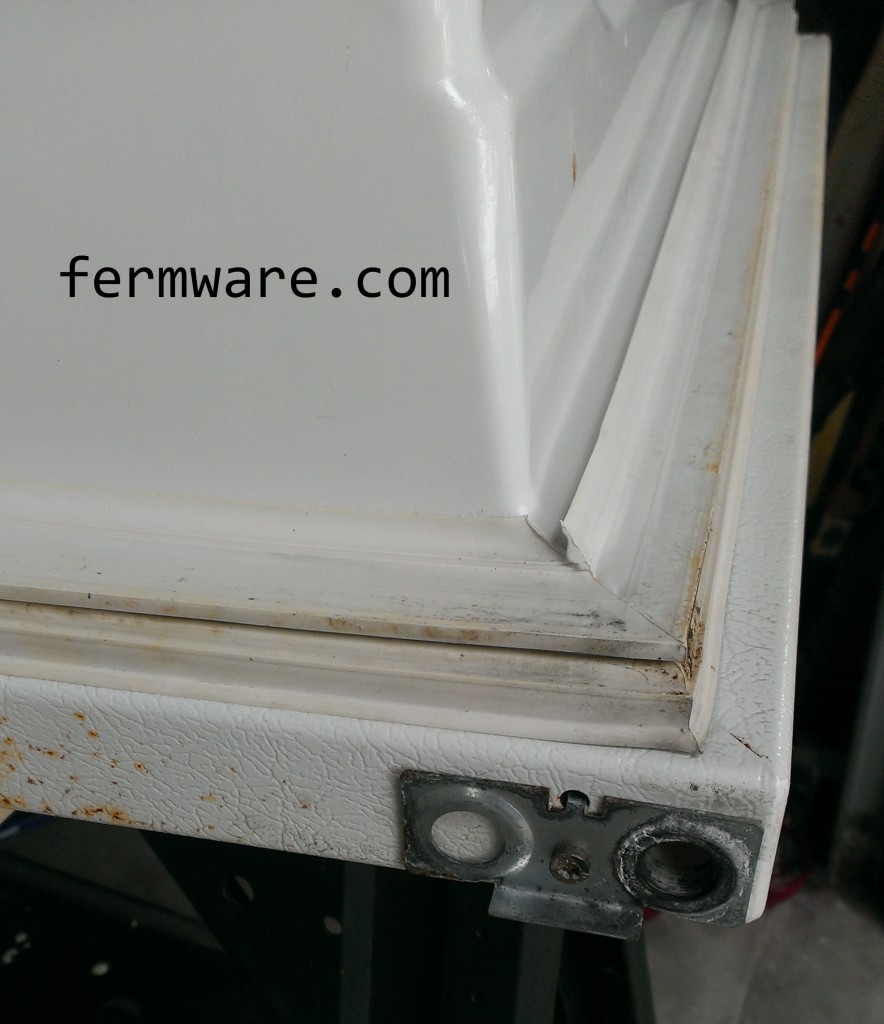
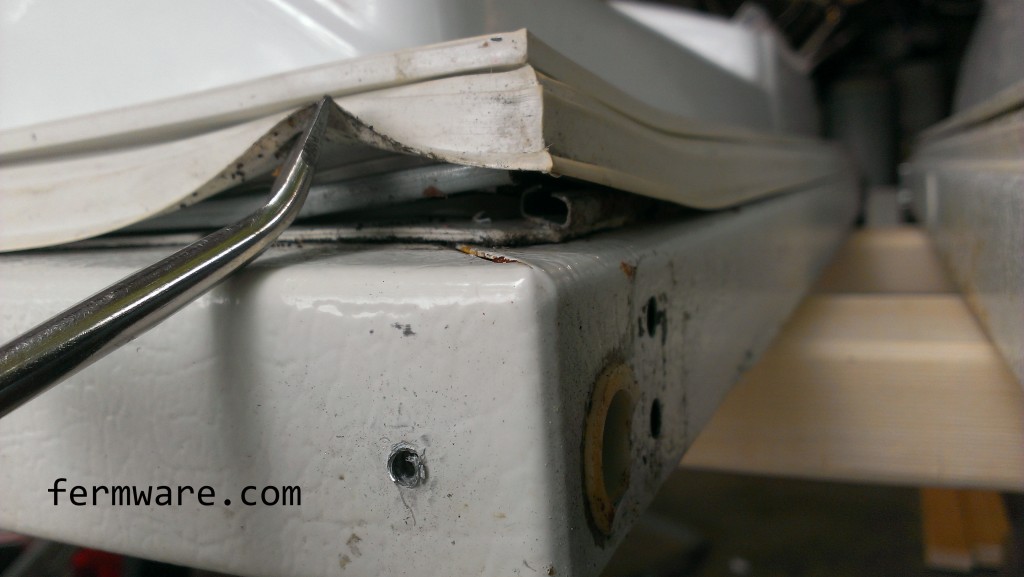
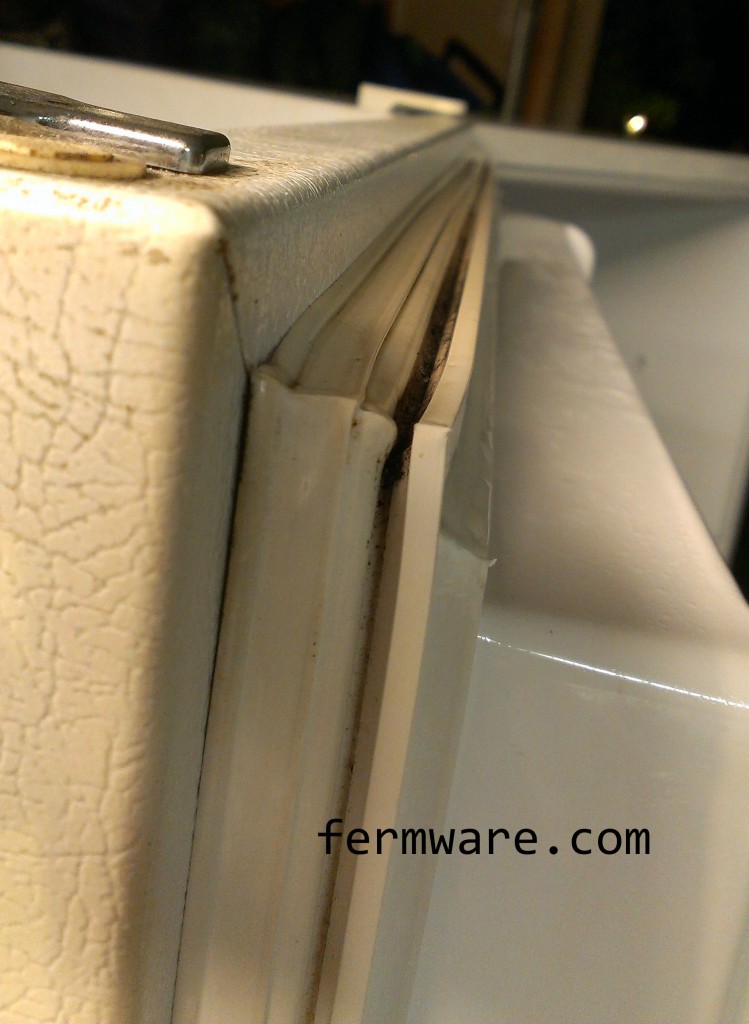
Unless you want to keep them, you’ll need to remove the door panels.  This will maximize the space inside the fridge.  Each fridge is different.  You’ll want to poke around the magnetic seal to find out how yours is connected.  Previous fridges I’ve worked on have all had screws run right through the seal that held the panels on.  The seals on this fridge however were held into place by some channels that ran the perimeter of the door.  I discovered more awesome dirtiness when I removed them.

removal of disgusting seals


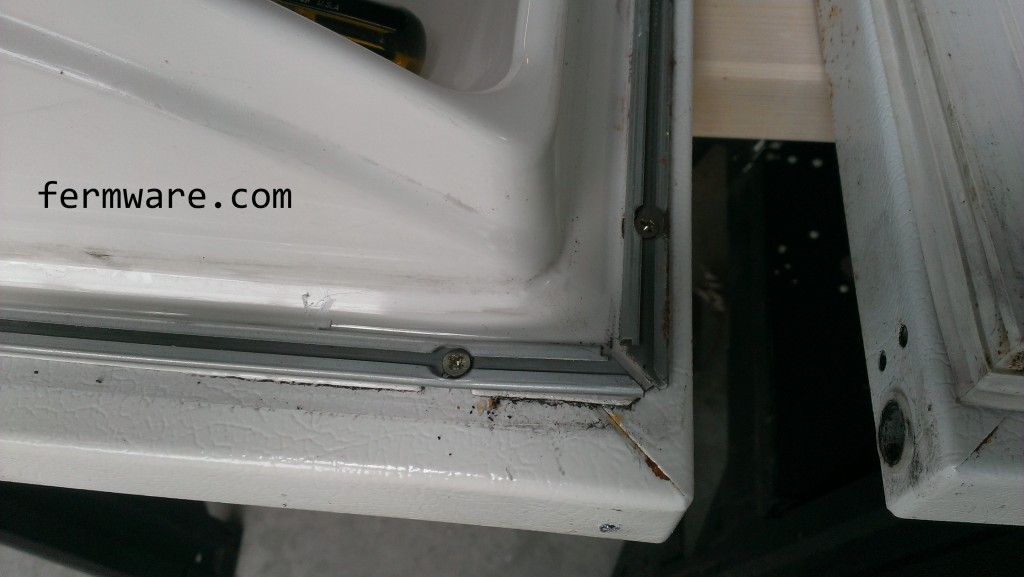
There are screws holding the channels to the door.  Go ahead and remove all of them.

channels for seals


Once the channels are all removed the door panels should come right off with no resistance.

removing panels

panels removed


The foam in the door of the last fridge I took apart was contoured for more insulation and I had to cut it down (requires patience), but with this fridge, it was nice and flat.

This is also a good time to go ahead and attach the door brackets.  Remember to align the doors by the distance you measured before removing them from the refrigerator cabinet.

pre-drill aluminum angle

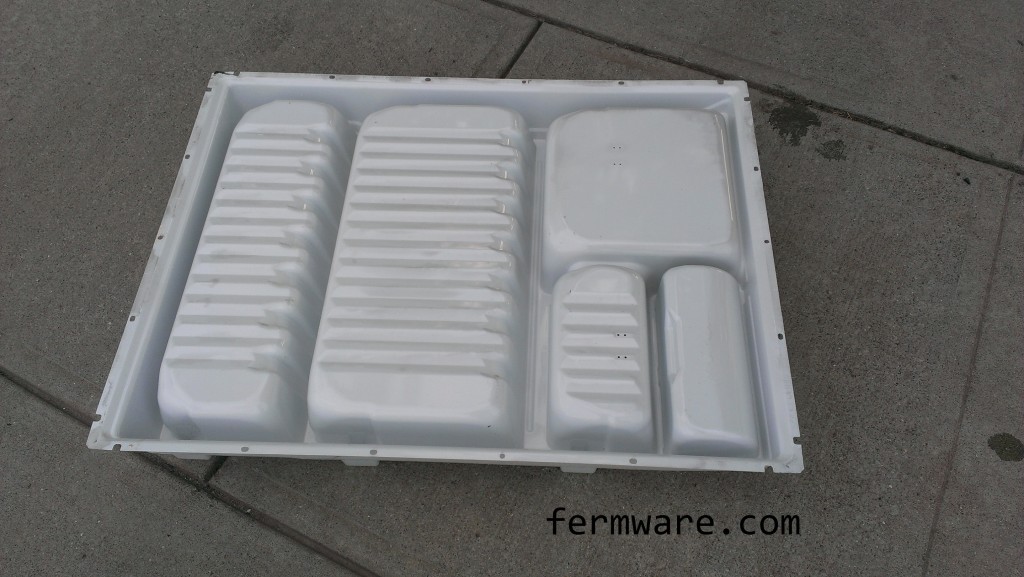
Here is what the other side of the panels look like if you are interested.

back side of fridge door

backside of freezer door

Cutting the new interior panel

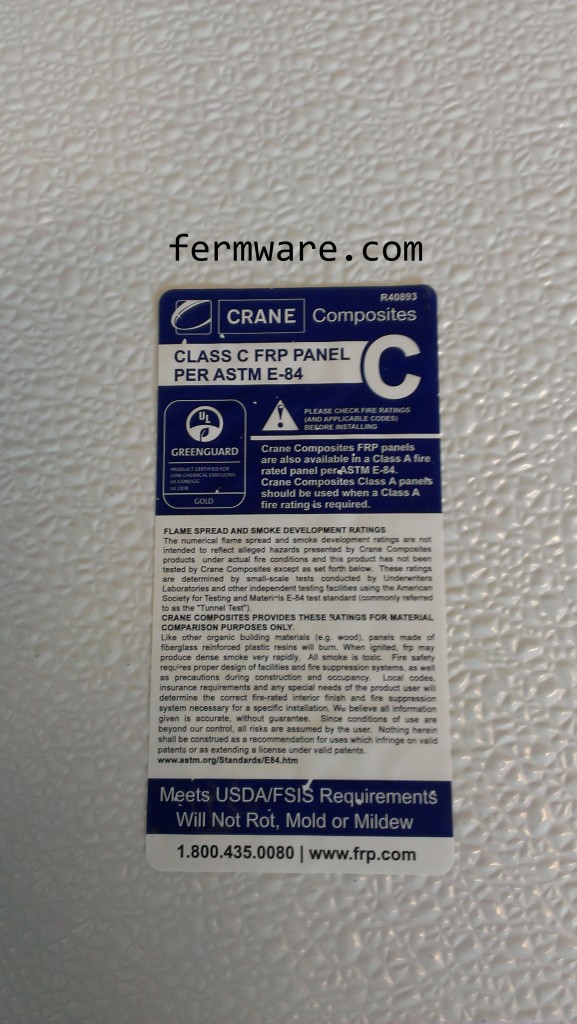
You’ll need the FRP panel for this step.  Alternately you could use a large sheet of plastic.  Just pick something that won’t harbor mold easily.  The FRP label specifically states that we’ll be good with using it.

Supplies - FRP Board

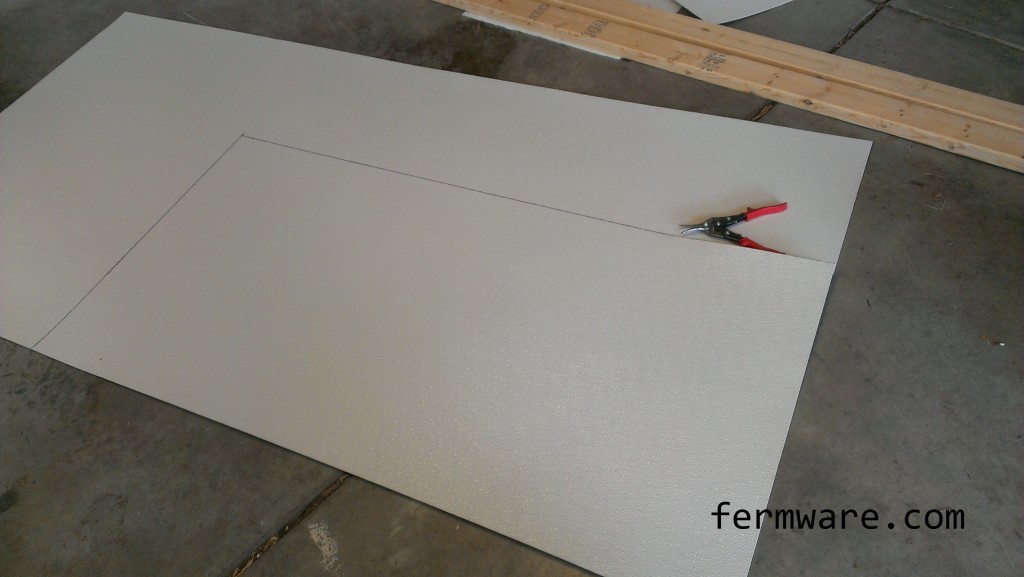
There are various methods of cutting this stuff posted on the internet.  Perhaps someone reading this will have a better tip, but the best one I read was using “tin snips” or aviation shears.

Tools - Tin snips

You want the panel to be smaller than the overall dimensions of the door, but big enough so that when you re-attach the seals and/or channels, you won’t crack the panel.  I just went around about 1/8″ less than the outside dimensions of the doors.  Lay out your dimensions as square as you can get them.  I simply used my large carpenters square.

lines laid out on FRP

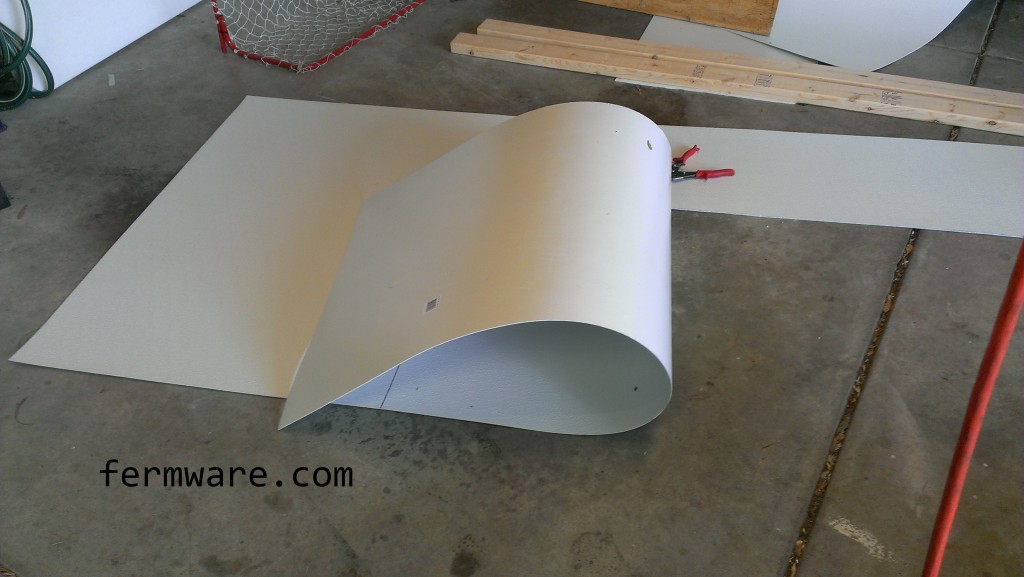
When cutting, it is helpful to curl the panel as you go.  In my experience, this really helps to prevent cracking the panel along the cut.  You may want to choose a small section and practice cutting.

curl while cutting FRP

Now that the panel is cut to size, you’ll want to drill some through holes for the screws.  If you don’t pre-drill holes, you’ll have a heck of a time and you run the risk of cracking the panel.  Use your most clever method of transferring the hole locations from the fridge to the newly created panel.  I moved the panel to align at each set of holes and transferred the hole location with a small carpenters square.  You can probably go a little oversize on this to allow for inaccuracy, but not too much.

transferring holes to FRP

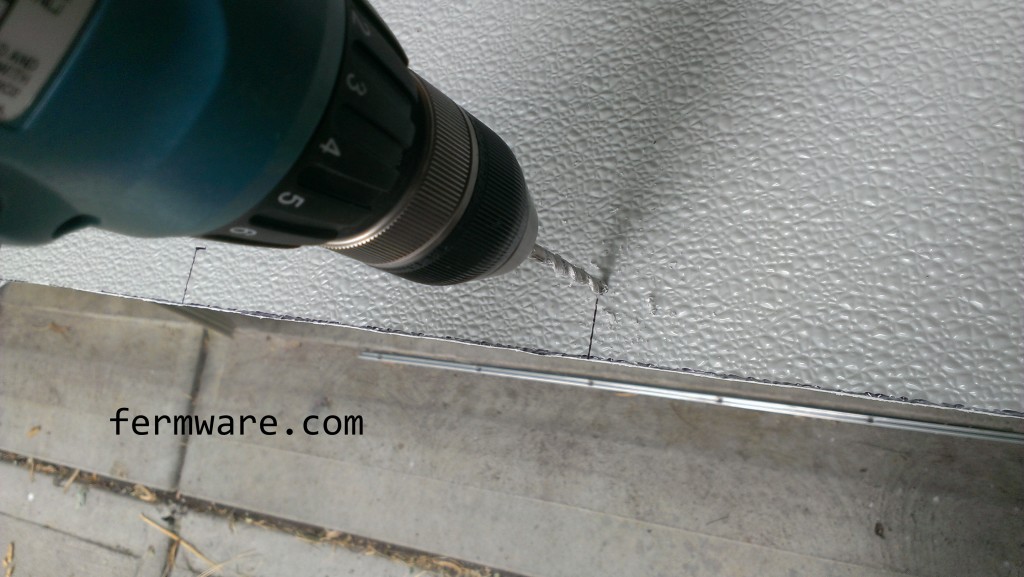
When drilling, DO NOT drill with the fridge doors underneath.  Just overhang the panel slightly and drill through.

drilling holes in FRP

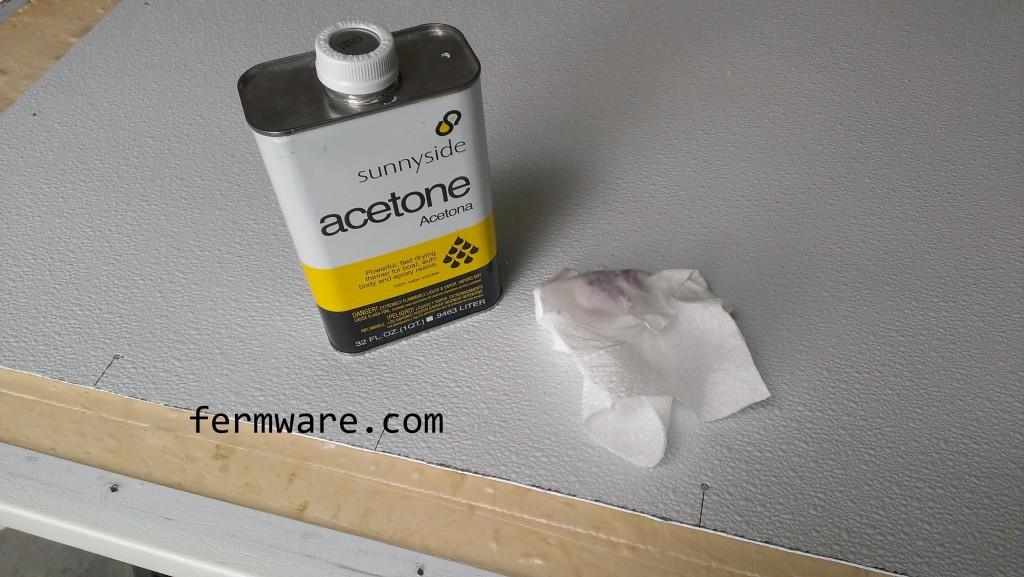
You can clean the marks on the FRP panel with acetone.  Be careful however.  Acetone likes to melt plastic.

Supplies - Acetone

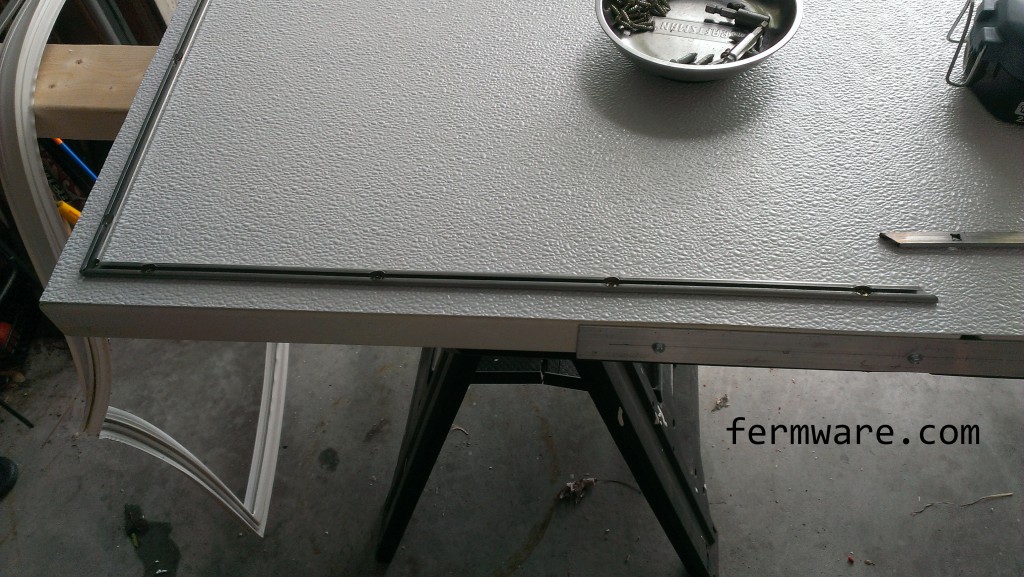
Once all of the holes are drilled, you should be ready to re-install the channels.  You may find that as careful as you were, some of the holes won’t line up.

re-attaching channel for seals

You’ll then need to cut the unnecessary portion of the seal.

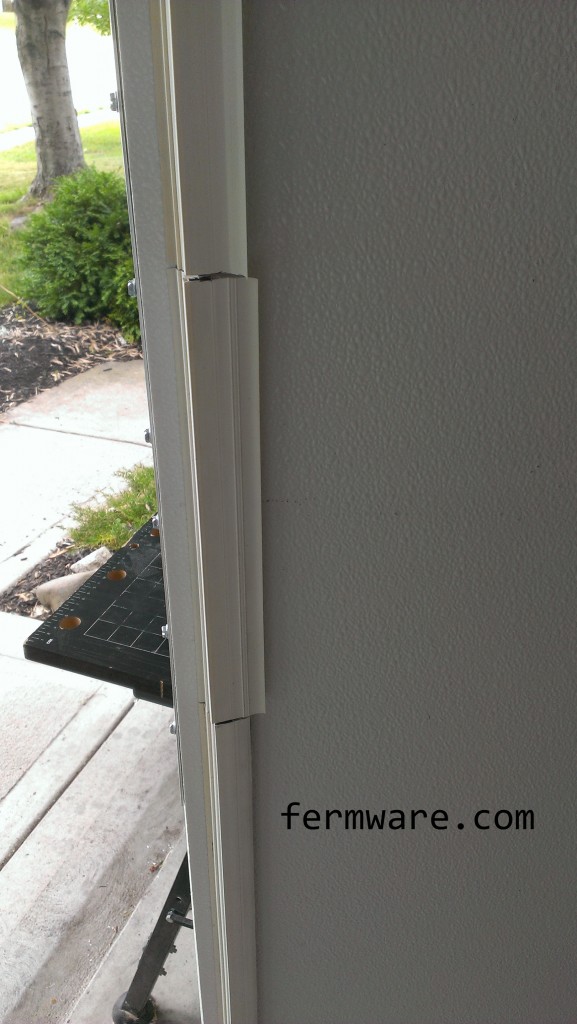
If your door is like this one, you will have a gap between where the freezer door and refrigerator doors were.  You can go all out and trim a piece of the unused channel to span this gap, or you could just cut a shorter piece to bridge the gap.

door seal installation

intermediate seal

It doesn’t look pretty now, but I’ve got to get on with planning my big brew.  I’ll get back to doing it up properly later.

full seals on door

You can re-install the door now, or wait until after the next step of making the shelves.

Up next…

Shelf Building

Posts for this Project:

Part 1: Introduction
Part 2: Clean up
Part 3: Disassembly
Part 4: Door modification (This Post)
Part 5: Shelf building
Part 6: Finishing up and other observations


Refrigerator Conversion Part 3 – Disassembly

All right, got your fridge, supplies, tools and some time?  Let’s take something apart!!  This project took me down memory lane to a summer in college, where I worked for my then future Father-in-Law preparing refrigerators at an appliance store for delivery.  It was second shift and I didn’t like that I missed out on some fun with my friends, but looking back on it, it probably kept me out of trouble.
If you missed the first post, start here: Part 1: Introduction

Difficulty: level_4

This project requires a few inexpensive special tools, but will most likely take an entire weekend, lots of improvisation, some thorough cleaning and the cost of the fridge takes it to level 4.

Posts for this Project:

Part 1: Introduction
Part 2: Clean up
Part 3: Disassembly (This Post)
Part 4: Door modification
Part 5: Shelf building
Part 6: Finishing up and other observations
Affiliate Links

Disassembly

If there is one thing I like just as much as building stuff, it’s taking things apart.  This is where you’ll need a good assortment of drill bits.  All refrigerators have different types of fasteners.  Again, it should be obvious, but your warranty will most certainly be voided after this project is completed.

Measurement of door gap

For the merging of the freezer and refrigerator compartment doors, you could either take the step of making the brackets before you take the fridge completely apart, or measure the gap between the two doors before you take them off.  Since I was shooting from the hip, I made the brackets first to make sure everything would line up.  In hindsight, with careful measurement, you can take everything apart and then build the door.  You’ll just need this measurement first to space the doors properly when joining them later.

Measuring door gap

This picture shows me measuring the door with a pair of calipers, but a tape measure would suffice.  See next picture.

freeplay in doors

As you can see here, there is considerable gap in the hinges of the door.  I measured 0.168″ (over 1/8″).  So that is all the accuracy you need in your measurement.

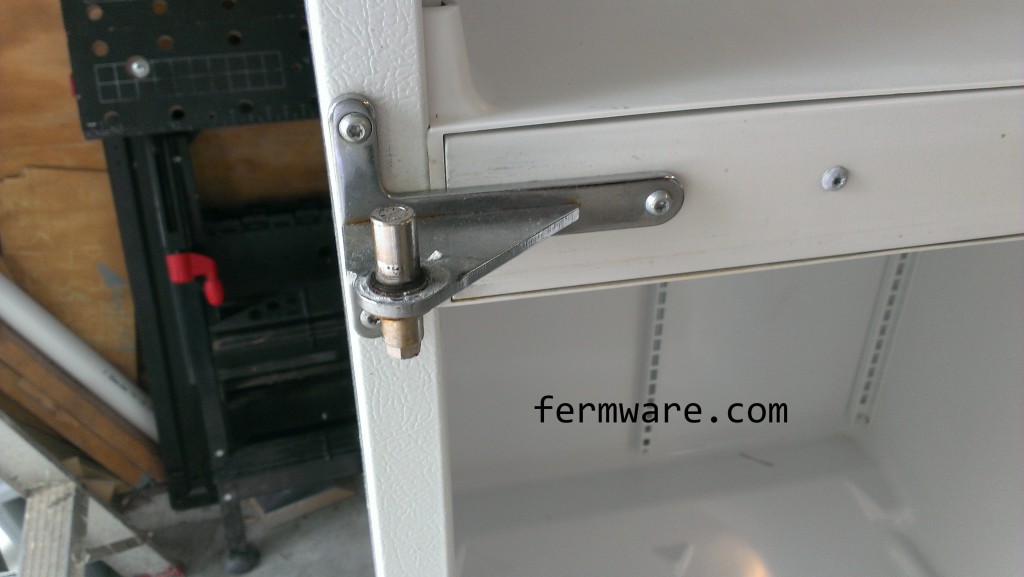
Door hinge removal

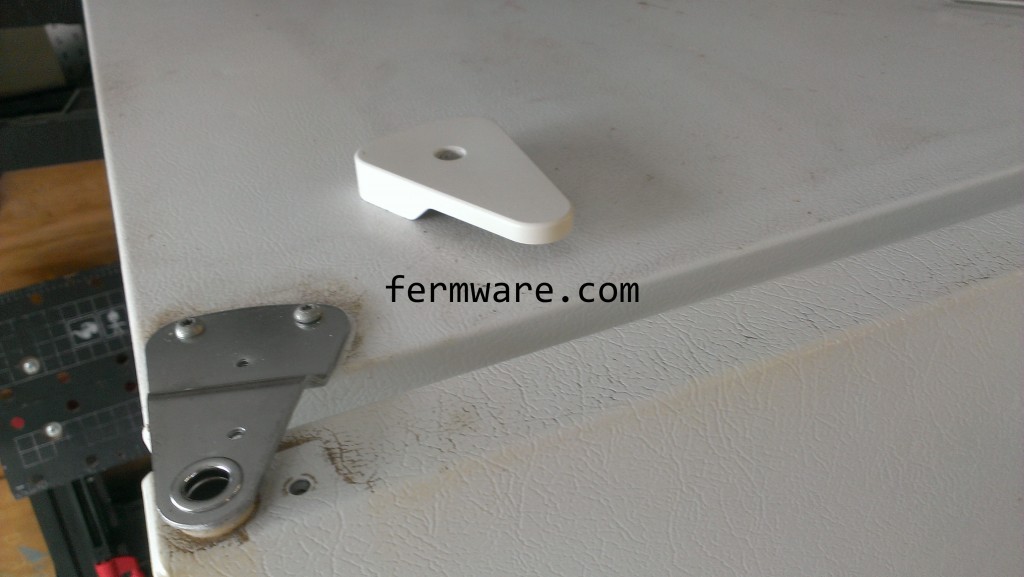
You’ll start with the top hinge for the freezer door.  There will most likely be a decorative cover over the top hinge that may just be clipped on or held on with a screw.

top hinge cover

hinge cover removed

Remove the screws holding the hinge to the refrigerator.  The magnetic seals on the door may hold the door in place, but be prepared for it to fall.

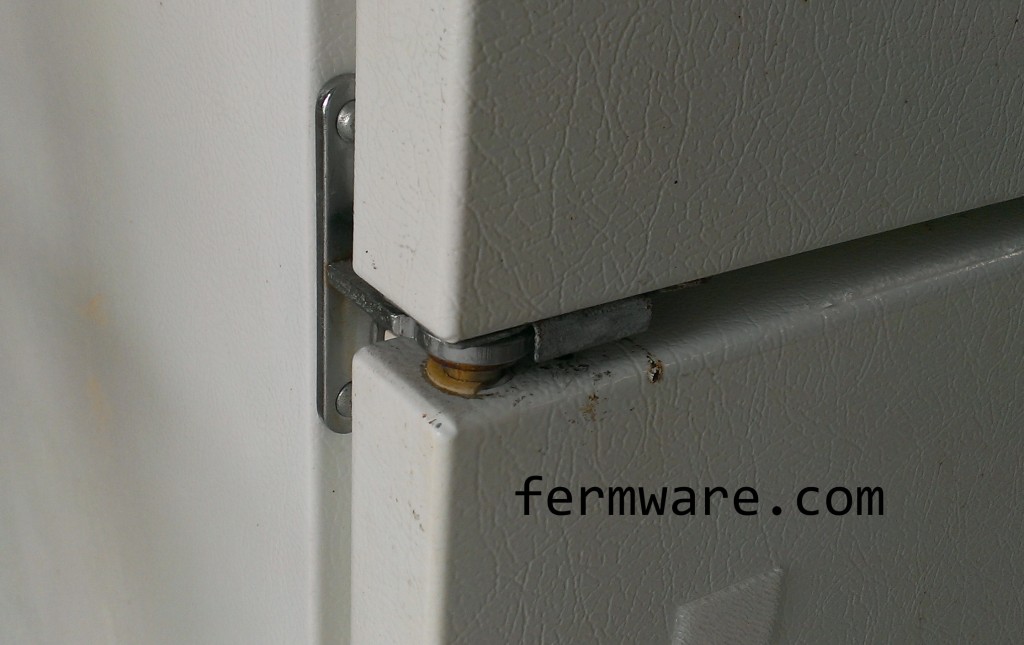
center hinge - with doors

On some refrigerators, the center hinge may be intelligently designed and allow you to remove it next.  My fridge was not one of these, so I had to remove the bottom hinge next.

holding door with foot

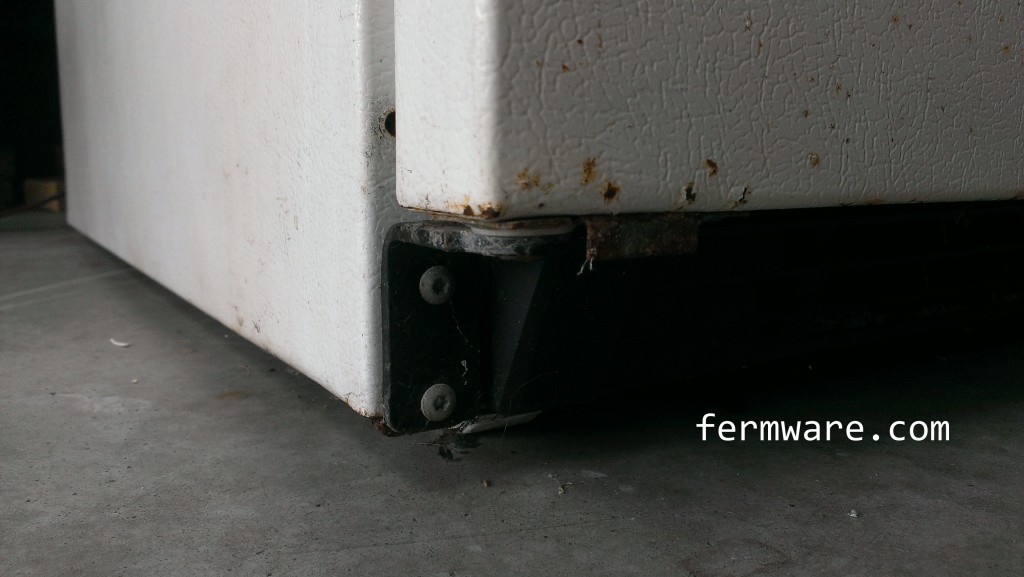
Due to my awesome dexterity, I was able to hold the refrigerator door with one foot, while I removed the screws and hinge from the bottom of the door.

bottom hinge

Now to the center hinge.

center hinge

With both doors removed, I was able to get to the screws holding the hinge to the refrigerator.  Some refrigerators may have hex head screws that you can get to from the side with a wrench or they may have slotted holes that allow you to swing it out of place.

A little bit of luck

The next part of the process is where I completely lucked out.  I was prepared to get out a death wheel / rotary tool / whatever you want to call it to remove the divider between the refrigerator and freezer compartments.  As it turns out, it was a matter of some screws and disconnecting a wiring harness.

WarningSign

If your fridge divider is molded into the cabinet, proceed with caution.  There could be refrigerant lines running through this section, which when cut, will render your refrigerator completely useless.  I found out the hard way on a previous refrigerator that there can even be refrigerant lines in the sides.  I was attempting to install a latch on a door and got a surprise stream of refrigerant blowing out of the freshly drilled hole.  Anyway, let’s move on…

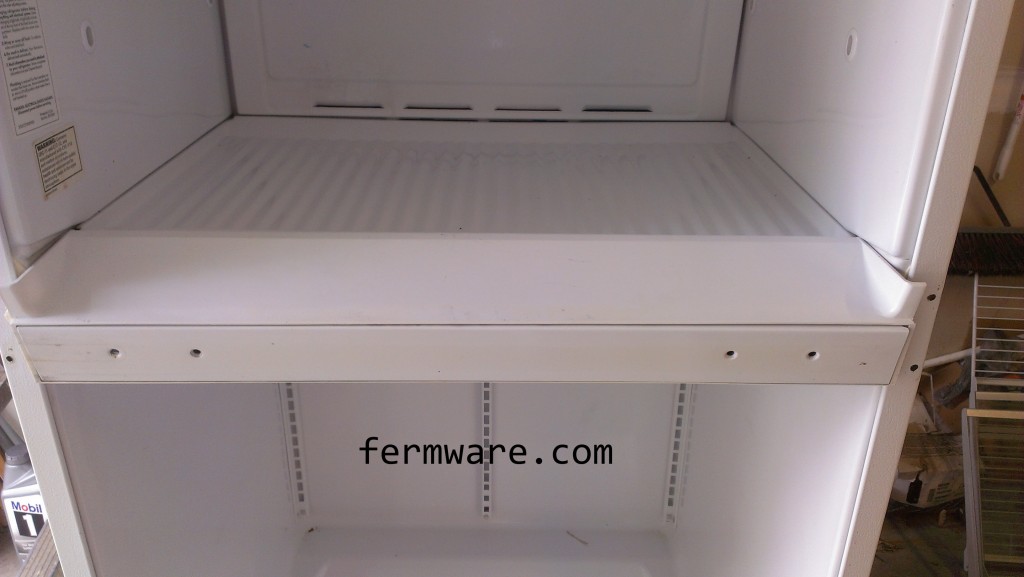
divider cover

Remove all remaining screws from the front fascia, and gently remove.  There was a connector for some reason in this fascia.  I’m not sure what is was for, but instead of ripping it out, I disconnected it and removed the panel.

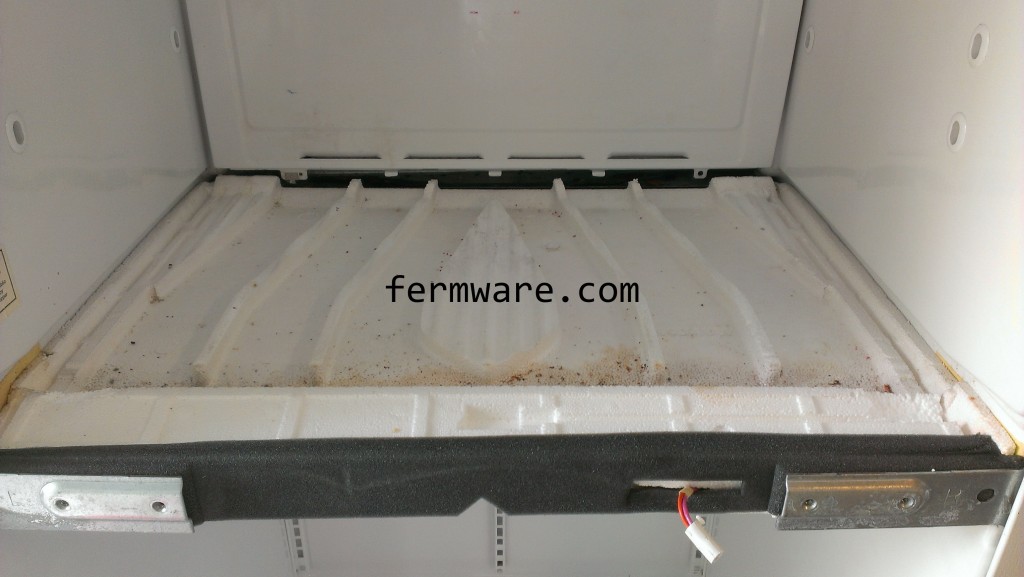
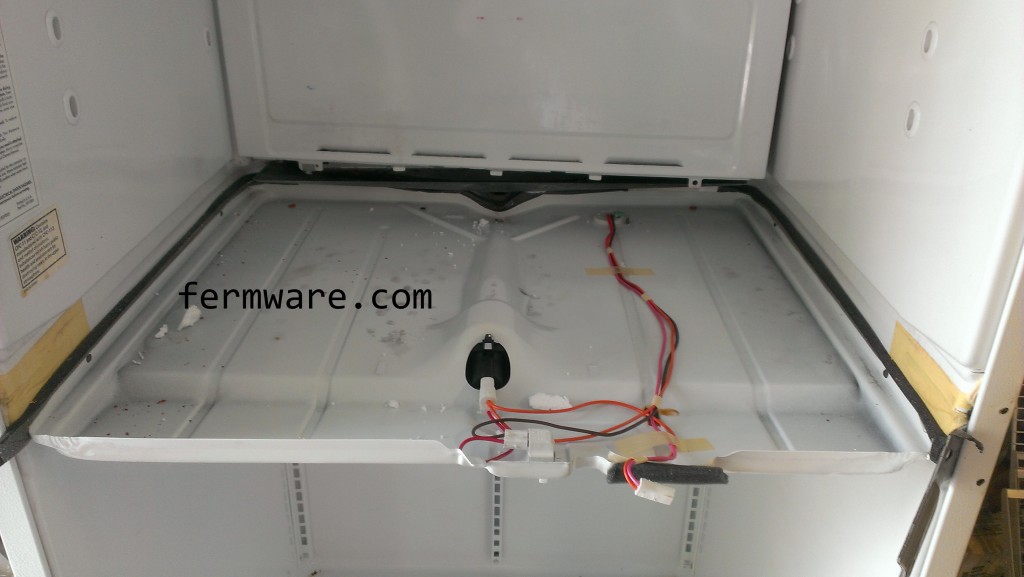
freezer bottom panel

This is what face me next.  Just a piece of molded styrofoam.  I was really expecting to see something more daunting.  Instead I found bits of cat food.

hinge support removal

I then proceeded to remove the backup plates for the hinges.  The left side plate pivoted right out without much effort.  We’ll get to the right side in a bit.

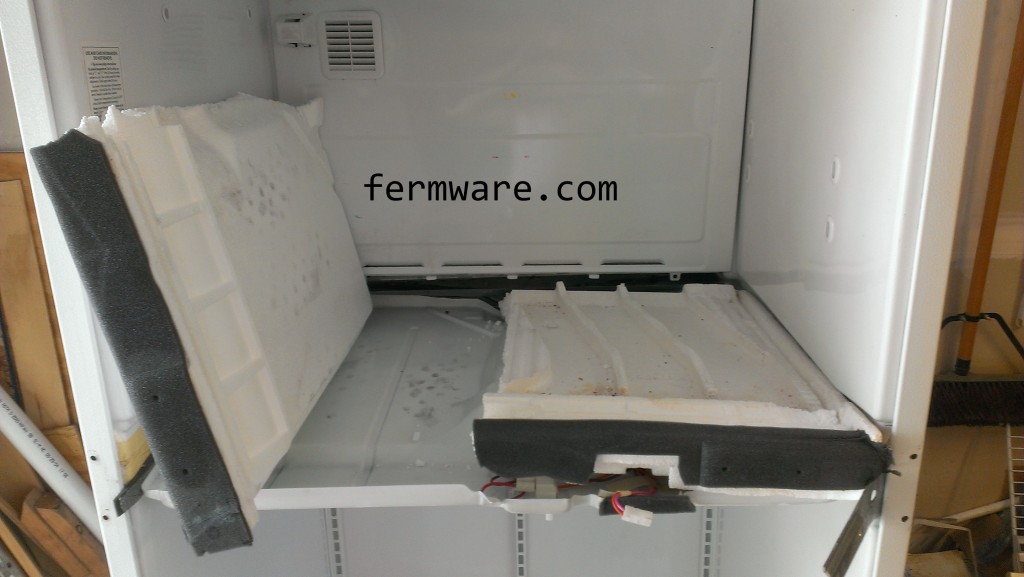
removal of insulation

I just popped the styrofoam in half to remove it, which exposed the final metal panel and a wiring harness.

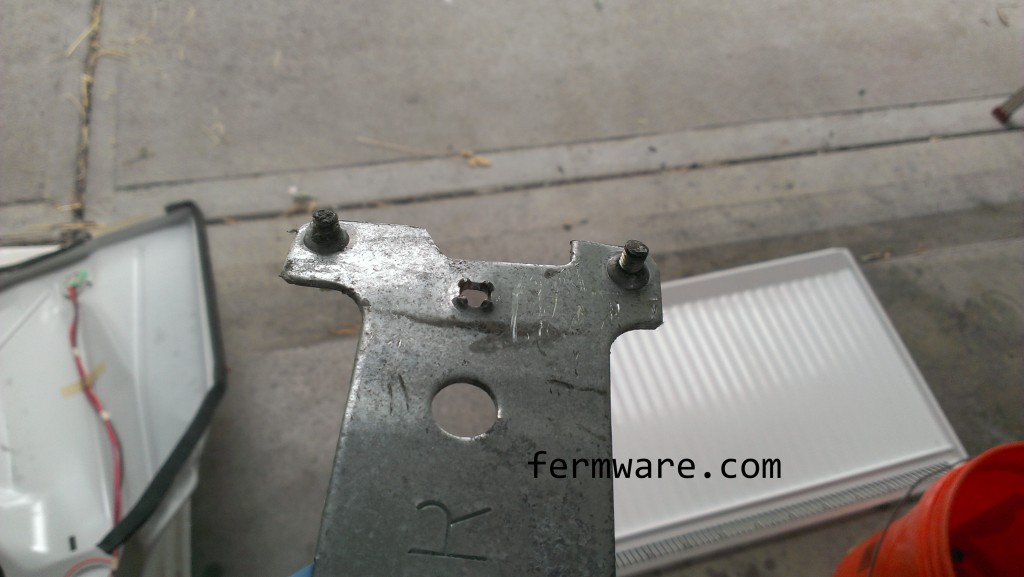
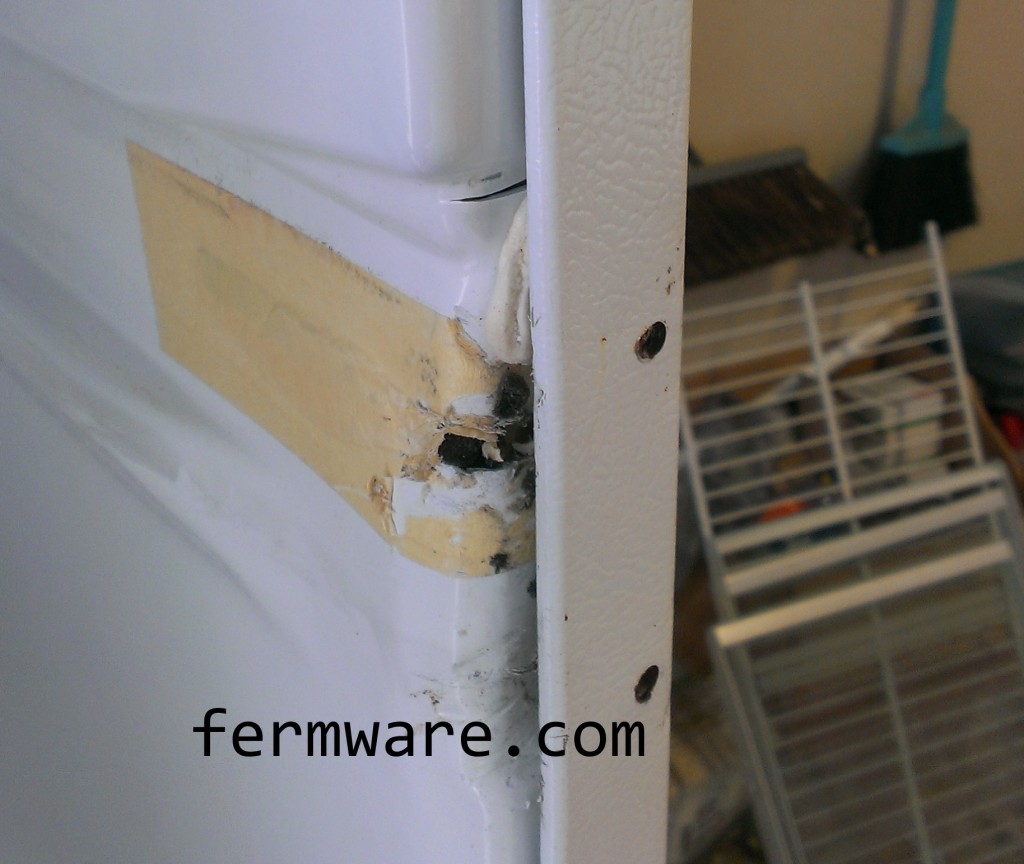
broken screw heads

So I got the right side backing plate removed.  It was not coming out easily and I found out why.  Somewhere along this refrigerator’s lifetime, someone broke the heads off the screws.

damage from support removal

I had to use a pry bar to bend the plastic liner and metal skin enough to pull the backing plate out.

metal divider

Do be observant of where the wiring plugs into before you pull the metal panel out.

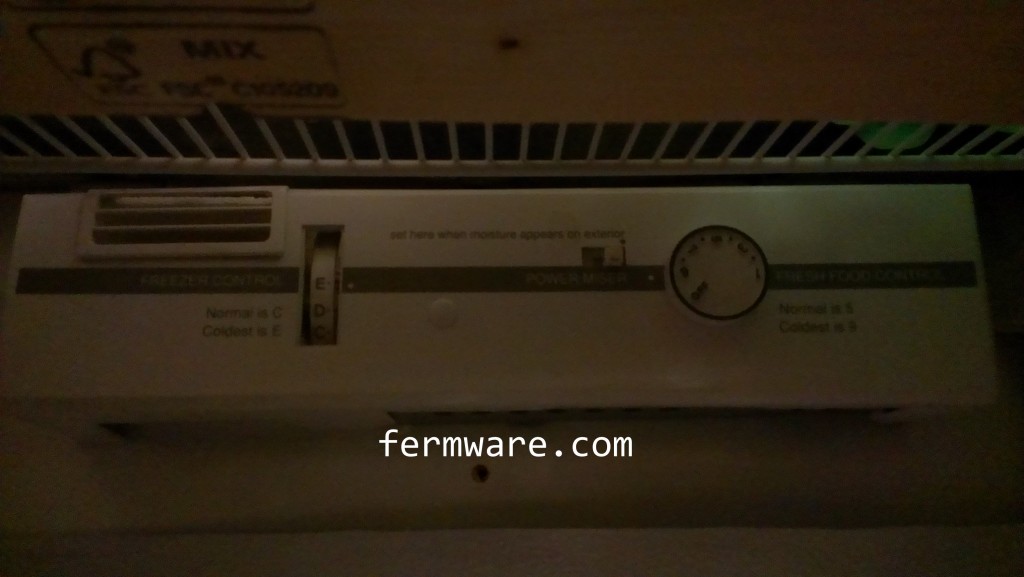
control panel

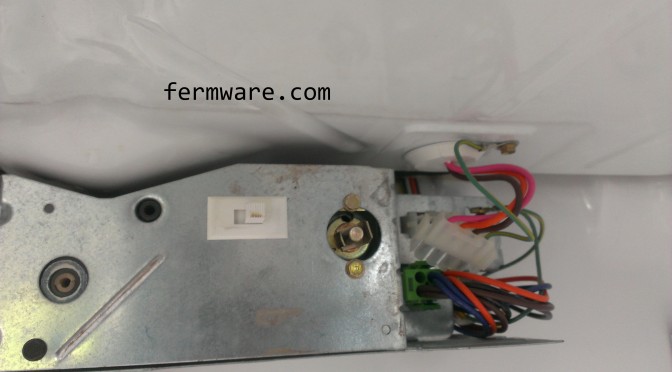
Mine went to the main control panel inside the fridge.  I thought I had pictures, but I just had to pull the knob out and there was a screw on the left side of the panel.  After removing those, the panel just came right off.

connector for door wiring harness

You can see the wiring harness connector removed in this picture.

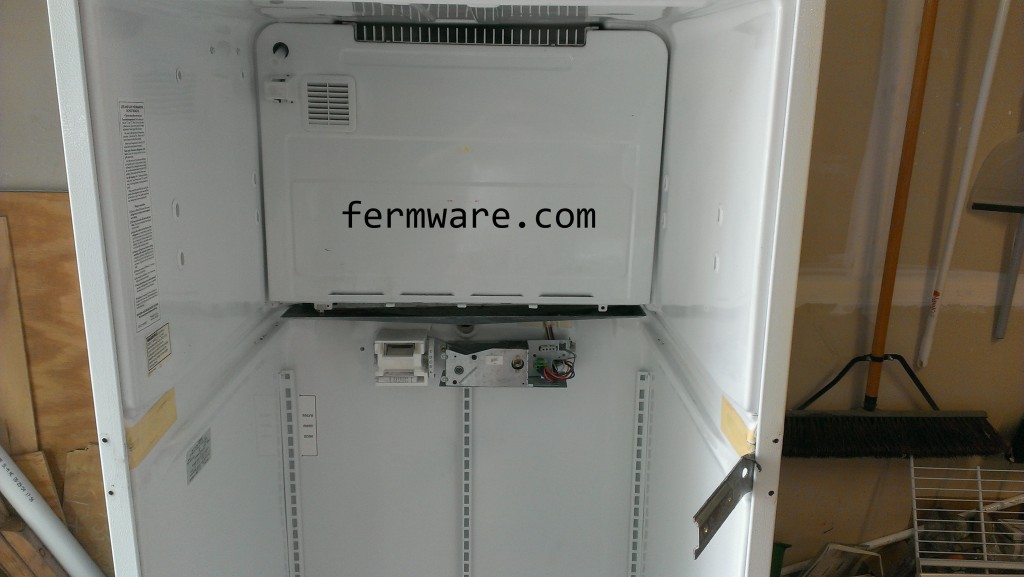
metal panel divider removed

Since I wasn’t going to put this fridge back together ever again, I just bent the panel to remove it.

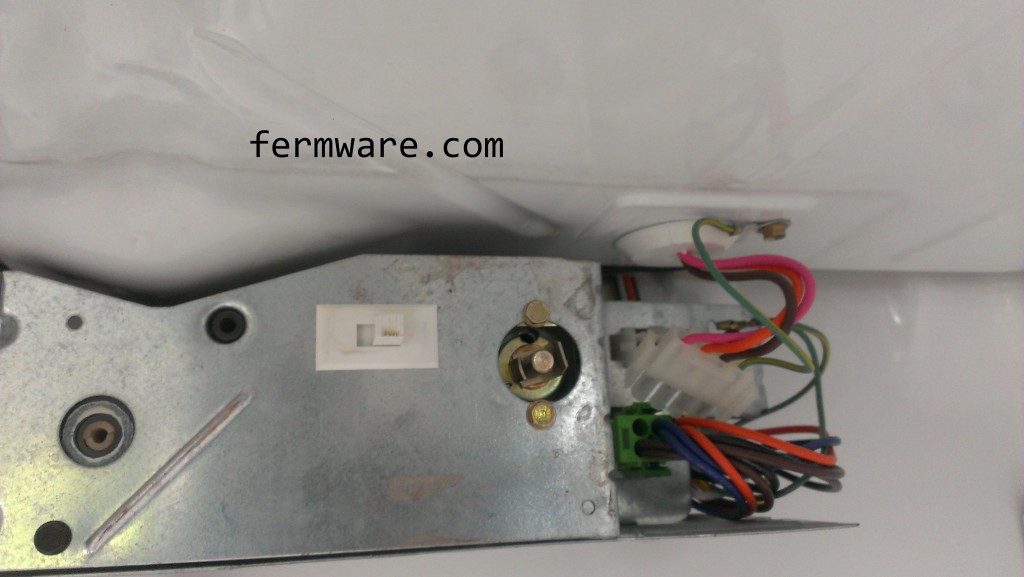
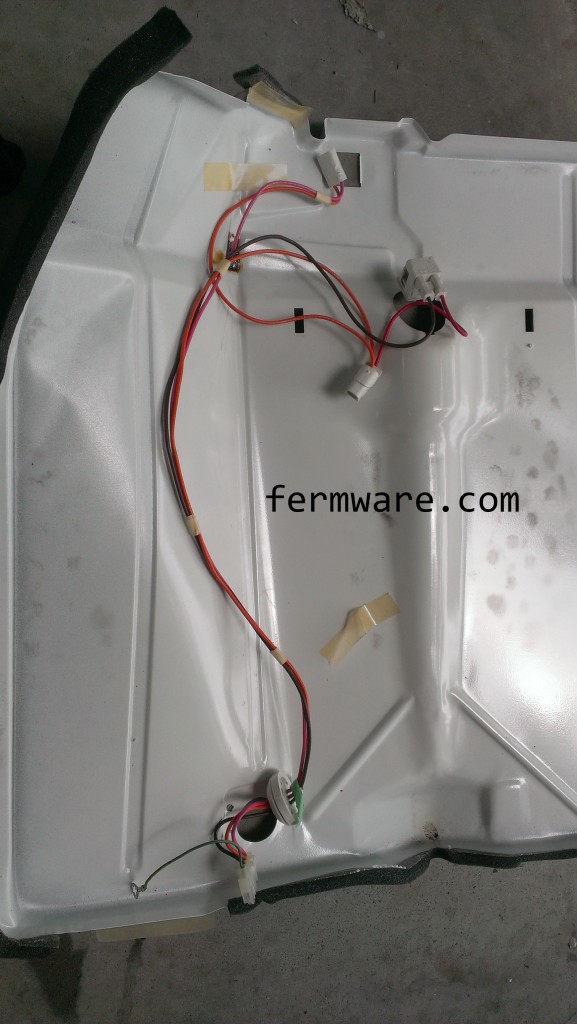
light and switch wiring harness

I did however, choose to remove the wiring harness from the panel and hold onto it just in case.  I had an idea that I might possibly want to use this harness to somehow use it for a heating lamp at some point in the future.

Everything removed….

all one cabinet

Well except for that pesky backing plate that I already showed as removed.

Just Because

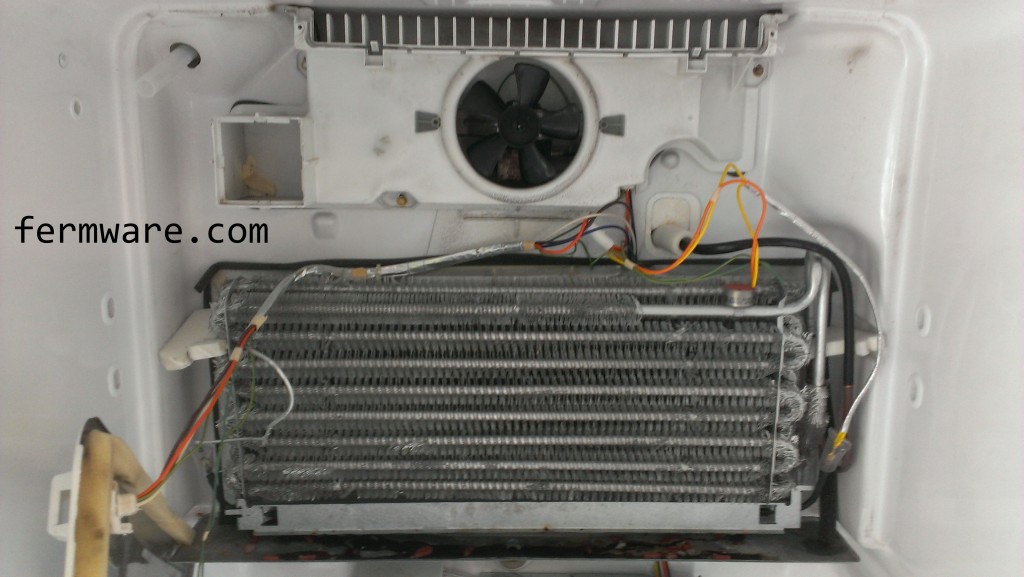
refrigerator guts

I was curious, so I just had to see what was behind the panel.  Well here is what was behind it.  I went ahead and cleaned what I could a little more to give me peace of mind.

You can see here that a refrigerator is really just a freezer that bleeds cool air to the refrigerator cabinet.

Up next…

Door modification

Posts for this Project:

Part 1: Introduction
Part 2: Clean up
Part 3: Disassembly (This post)
Part 4: Door modification
Part 5: Shelf building
Part 6: Finishing up and other observations
Refrigerator Conversion Part 2 – Clean Up

Besides beer, one thing most brewers have in common is their dislike of time spent cleaning.  In order to get started, you’ll need to clean your fridge.  If you found a fridge in good shape, you may have less work.  I on the other hand found a fridge on Craigslist that was in a garage where the dude smoked.  Yea, so this fridge smelled of smoke. Two weeks later, it’s subsided considerably.

If you missed the first post, start here: Part 1: Introduction

Difficulty: level_4

This project requires a few inexpensive special tools, but will most likely take an entire weekend, lots of improvisation, some thorough cleaning and the cost of the fridge takes it to level 4.

Posts for this Project:

Part 1: Introduction
Part 2: Clean up (This Post)
Part 3: Disassembly
Part 4: Door modification
Part 5: Shelf building
Part 6: Finishing up and other observations
Affiliate Links
Clean up time

Yes, I’m a father of two girls and I’m man enough to admit that I like the Disney movie Enchanted.

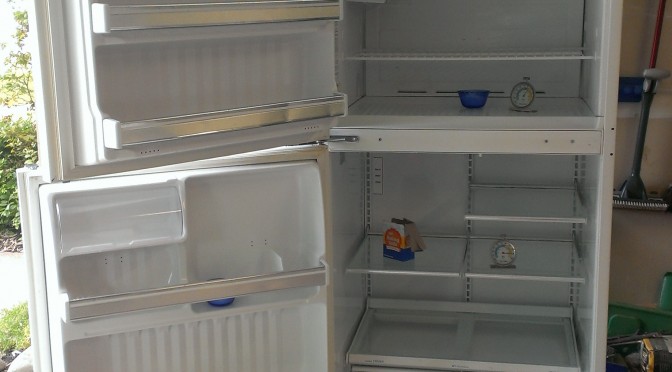
You’ll probably find it easier to clean if you remove the shelves, icemaker, drawers, etc.

icemaker removal

The icemaker will have two sheet metal screws that may have a hex head, philips or flat head slot in the top.  Use the nut setter for this.

fridge shelving


Shelving removed

Dirty Seals

I mixed up a bleach/water solution at a 1:10 ratio in a spray bottle to clean out the crevices in the disgustingly dirty seals.

I also realized during the cleanup that the biscuit/almond colored fridge I bought was actually white!  Nice…

A vinegar/water solution is also pretty handy at removing most residue from the fridge and also seems to do a good job at removing odors.

Ready for Disassembly

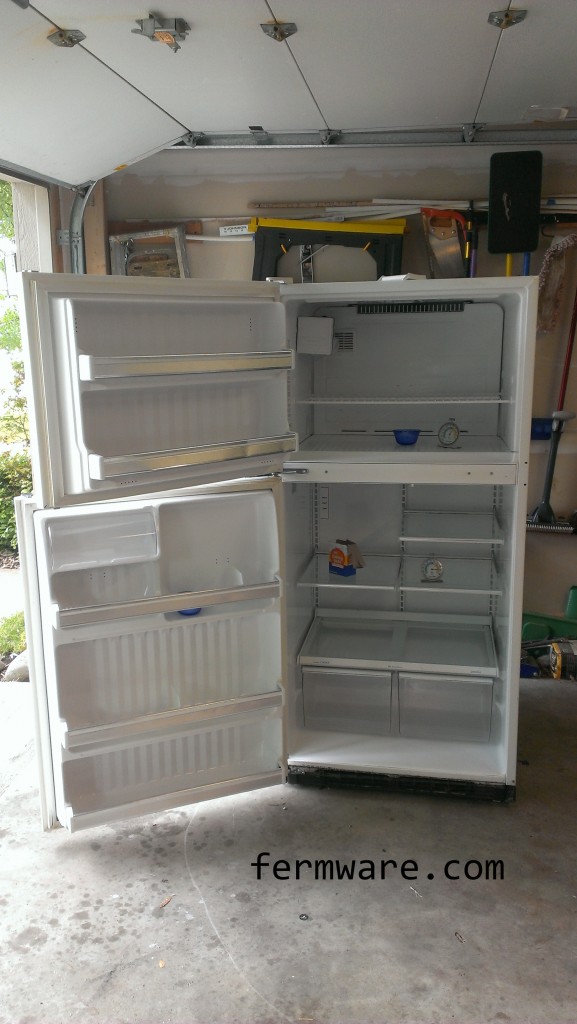
After it was all cleaned up, I went ahead and put the shelves back in, because I didn’t want to leave them laying around the garage.  I also put a few bowls of baking soda in there to let it run for a few days to get rid of any odors (unexpected delay).  I also cranked the dials all the way to make sure it would get cold enough.

Up next…

Disassembly

Posts for this Project:

Part 1: Introduction
Part 2: Clean up (this post)
Part 3: Disassembly
Part 4: Door modification
Part 5: Shelf building
Part 6: Finishing up and other observations