Difficulty: 
This project requires a few inexpensive special tools, but will most likely take an entire weekend, lots of improvisation, some thorough cleaning and the cost of the fridge takes it to level 4.
Posts for this Project:
Part 1: Introduction
Part 2: Clean up
Part 3: Disassembly
Part 4: Door modification (this post)
Part 5: Shelf building
Part 6: Finishing up and other observations
Affiliate Links
Door Modification
I wasn’t confident when taking the doors off that I would be able to align them well enough, so I made the brackets and drilled a few pilot holes before removing the doors completely. In hindsight, measuring the gap would have been good enough. Some of those pictures will be repeated here for clarity.
Bracket fabrication
You’ll need to make these first whether you do it with the doors still on the fridge or not.
You could probably substitute something else, but when I turned around at the hardware store, this angled aluminum was right there and the light bulb went off. You’ll use this to make some brackets that will rigidly fix both the refrigerator and freezer doors to each other.


Measure the gap between the doors
If upon disassembly, you just wanted to take the doors off, you’ll need to measure the gap first. I used a pair of digital calipers to illustrate, but a tape measure will be accurate enough.

*Side note: If you are looking to buy a pair of calipers, the Mitutoyo 500-196 are by far the nicest I’ve used. Fairly pricey, but high quality.
Cut aluminum angle to size
You’ll need one for each side of the door. I chose to make mine about 20″ long. A standard hack saw will do the job.

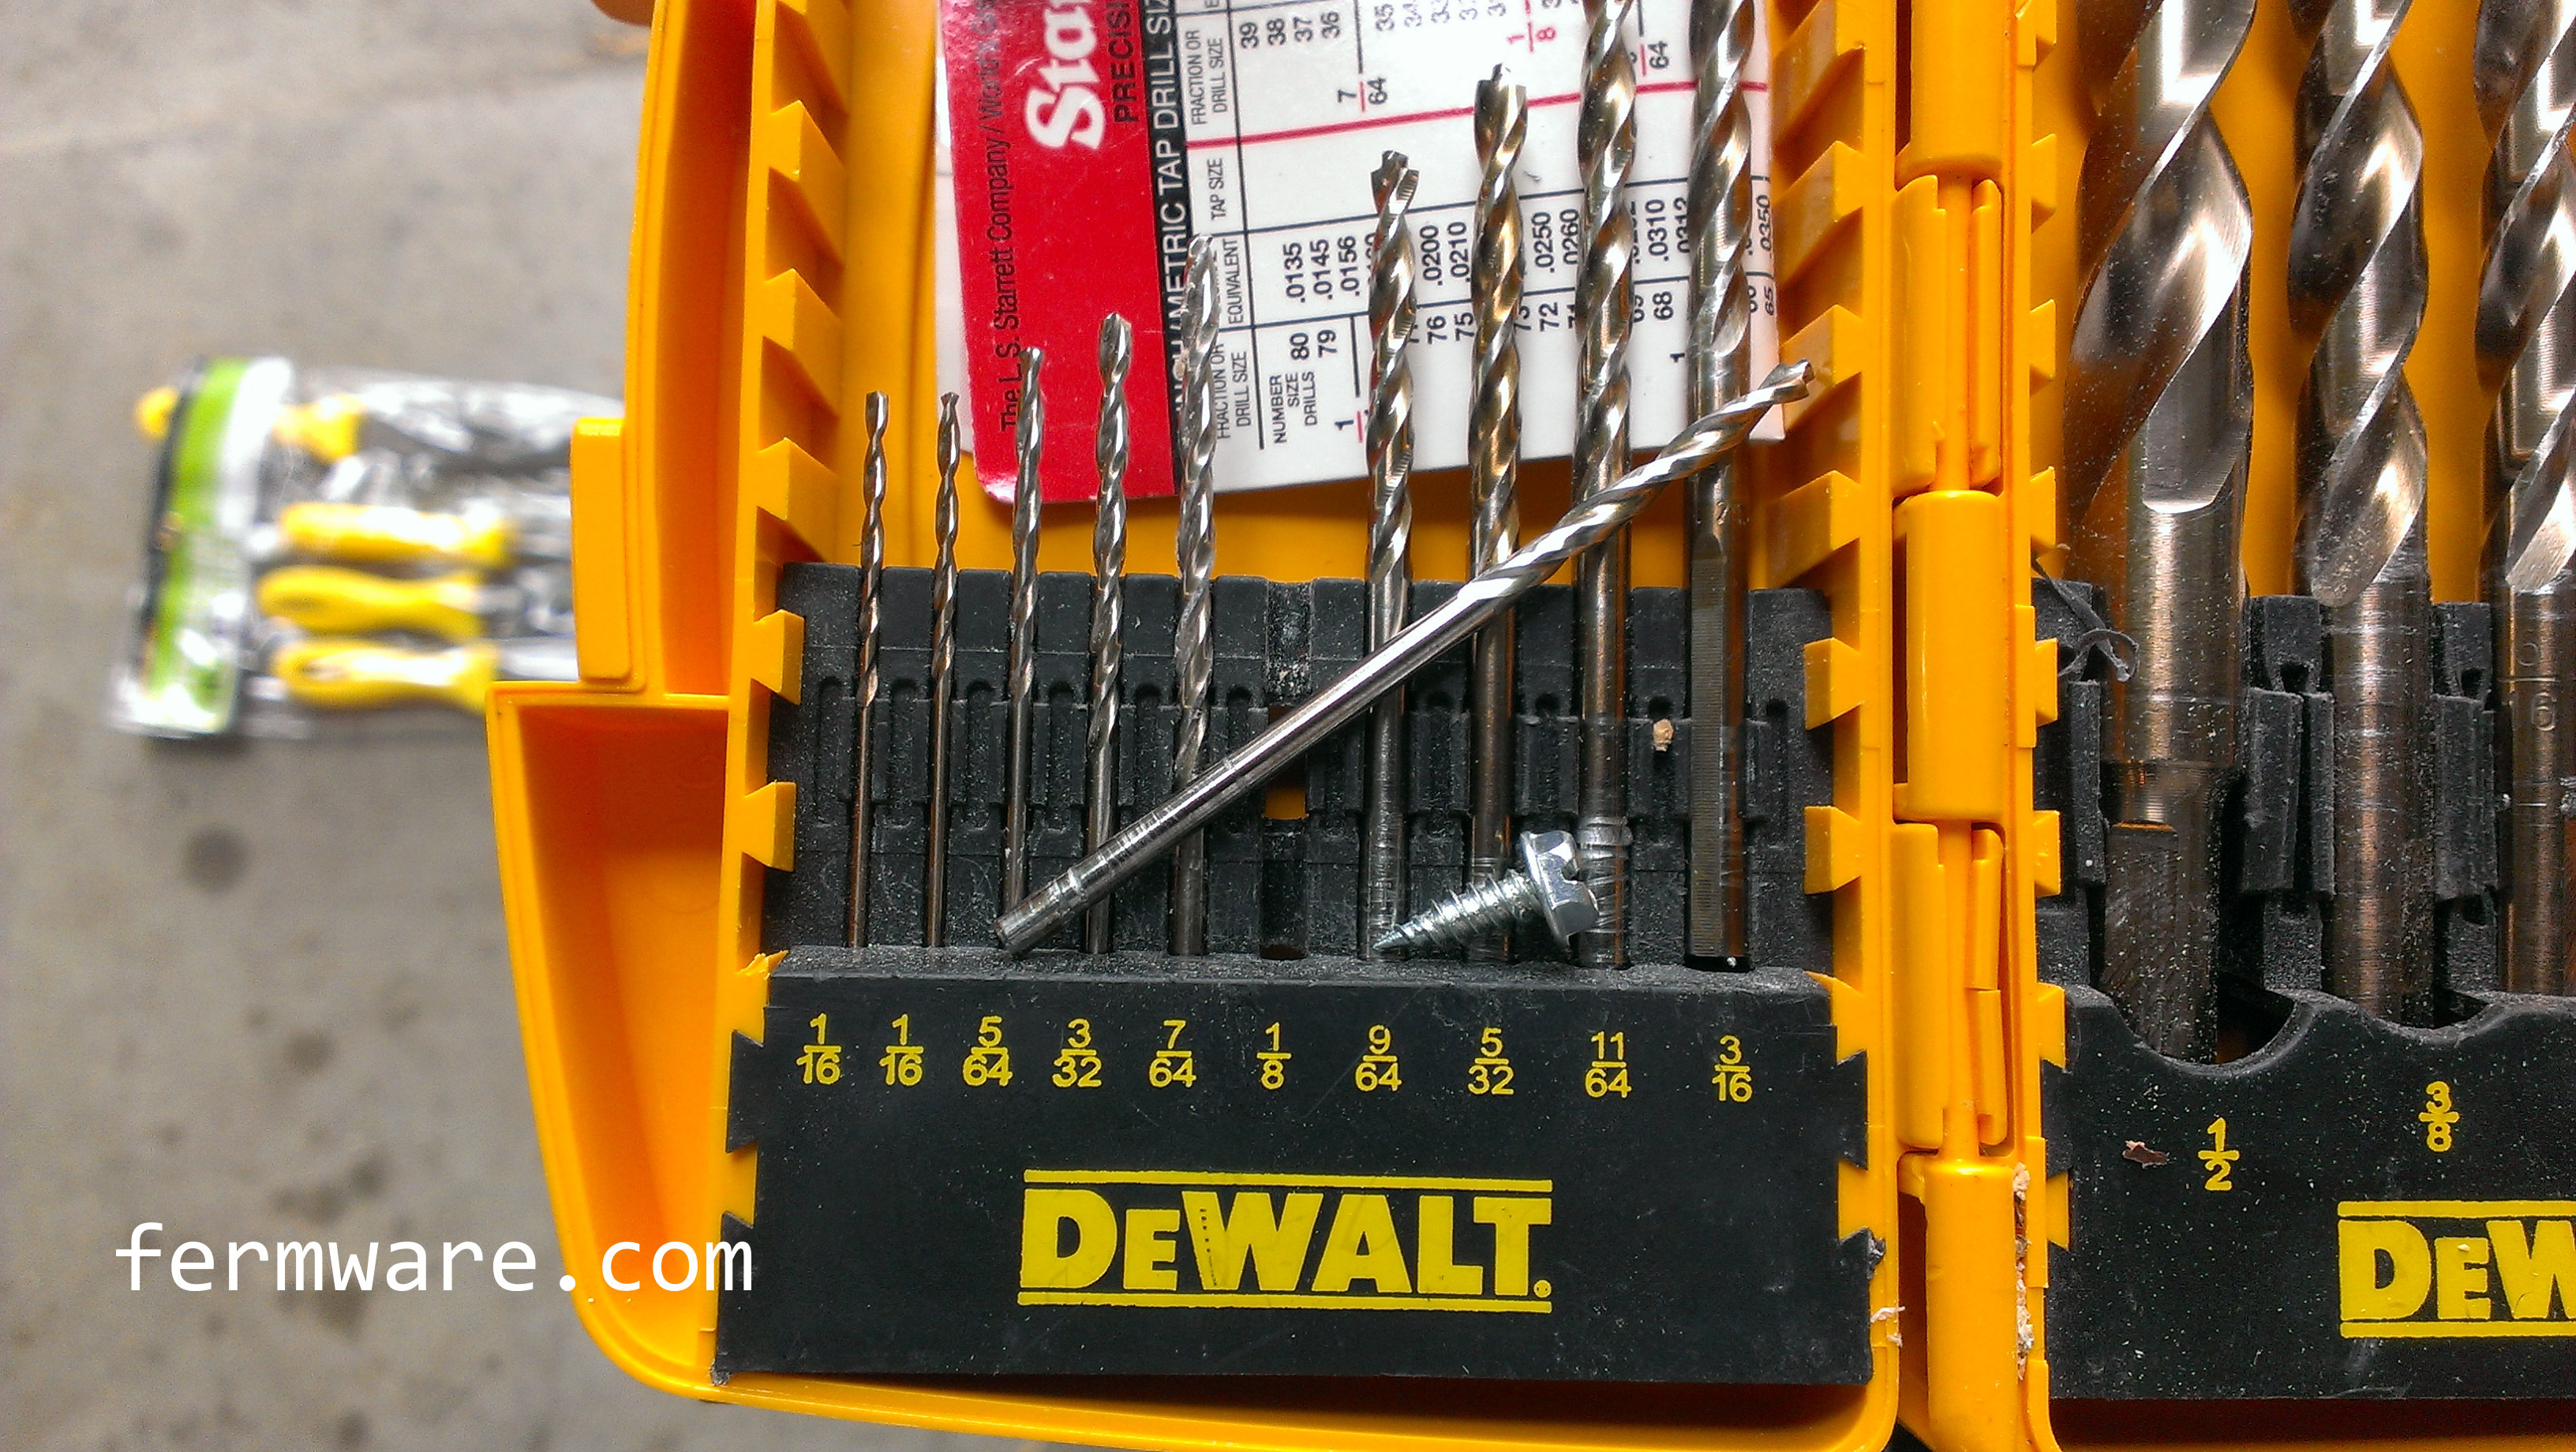
Then drill the holes

I used a 1/8″ drill bit to create through holes for the #8 sheet metal screws I was using. DO NOT PRE-DRILL THE FRIDGE DOORS WITH THE DRILL BIT!

Cutout for handle side
Pre-drill some holes for the corners and then cut with the tin-snips.

Use your file to clean up the cuts and remove any burrs.

You can see in one of the first pictures, that I pre-mounted them to the doors with just a few screws so that I would have the holes properly located.
Door Construction
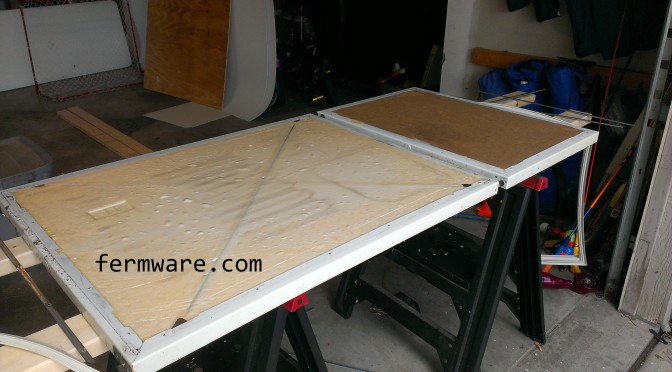
Now it’s time to get the door put back together. Take both doors and set them up on a table. I just laid some 2x4s (my favorite) across some saw horses.


I went ahead and removed the door hinge support plate, since it was unnecessary at this point.
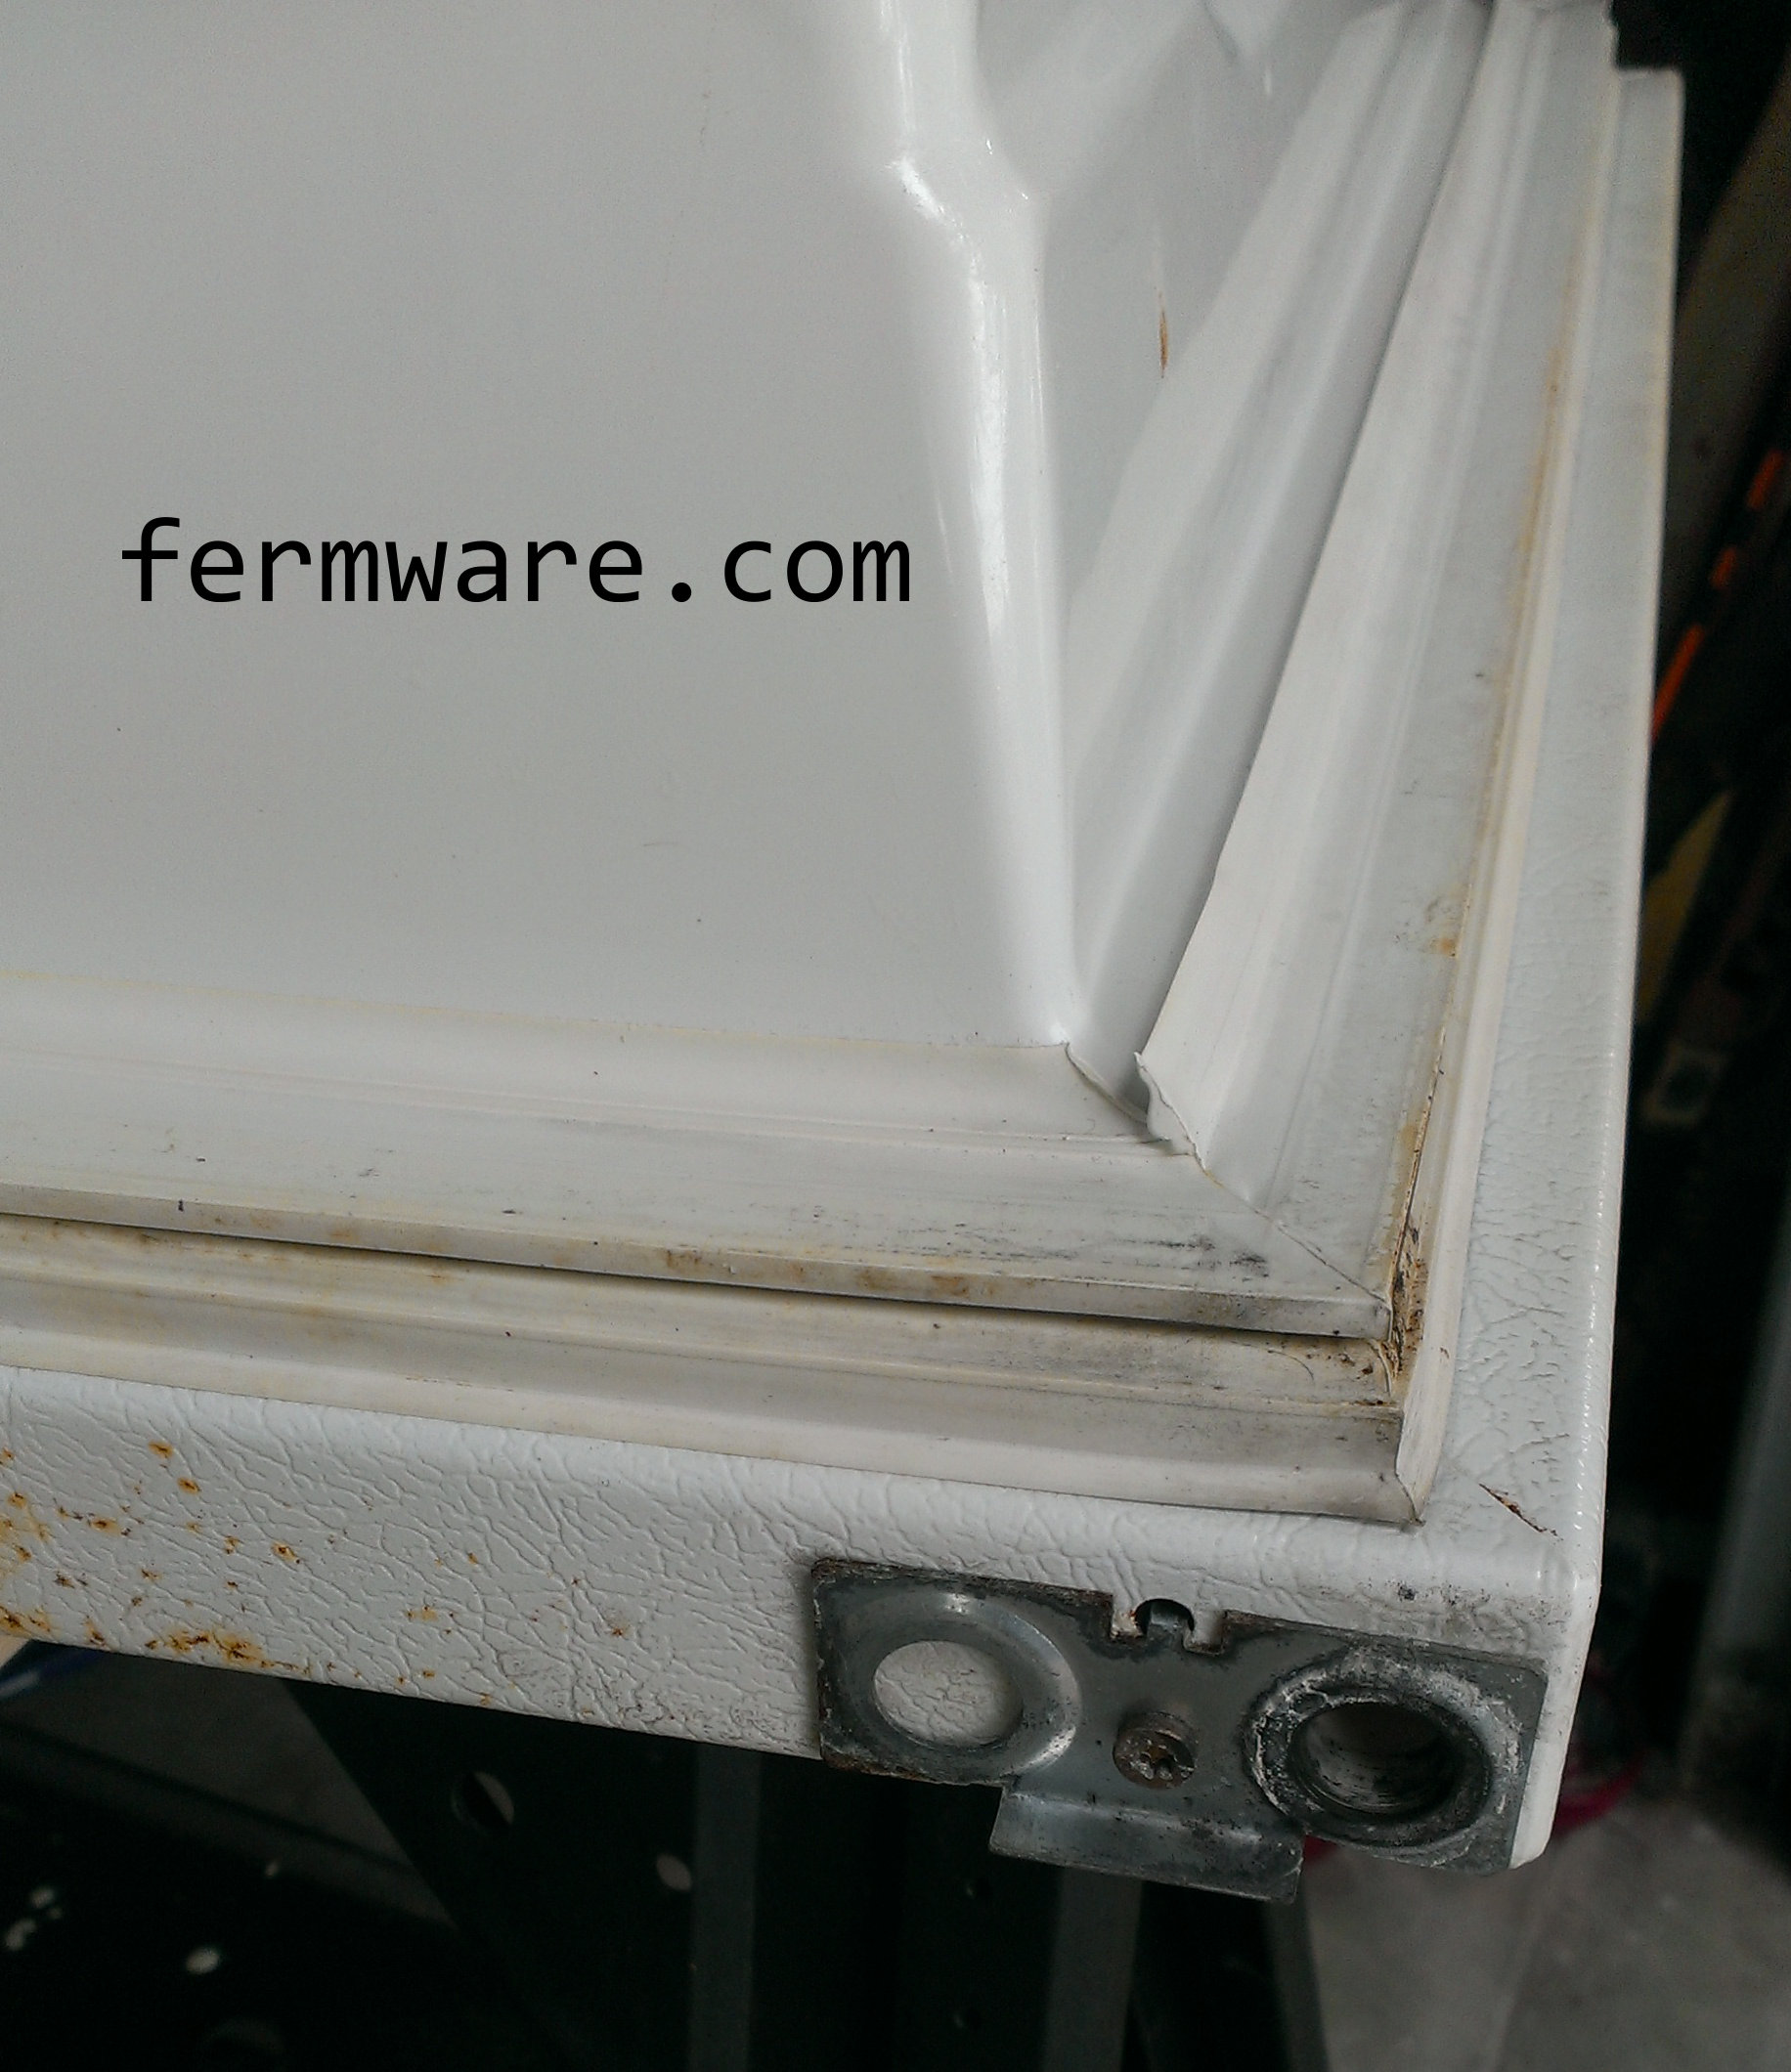
Unless you want to keep them, you’ll need to remove the door panels. This will maximize the space inside the fridge. Each fridge is different. You’ll want to poke around the magnetic seal to find out how yours is connected. Previous fridges I’ve worked on have all had screws run right through the seal that held the panels on. The seals on this fridge however were held into place by some channels that ran the perimeter of the door. I discovered more awesome dirtiness when I removed them.

There are screws holding the channels to the door. Go ahead and remove all of them.
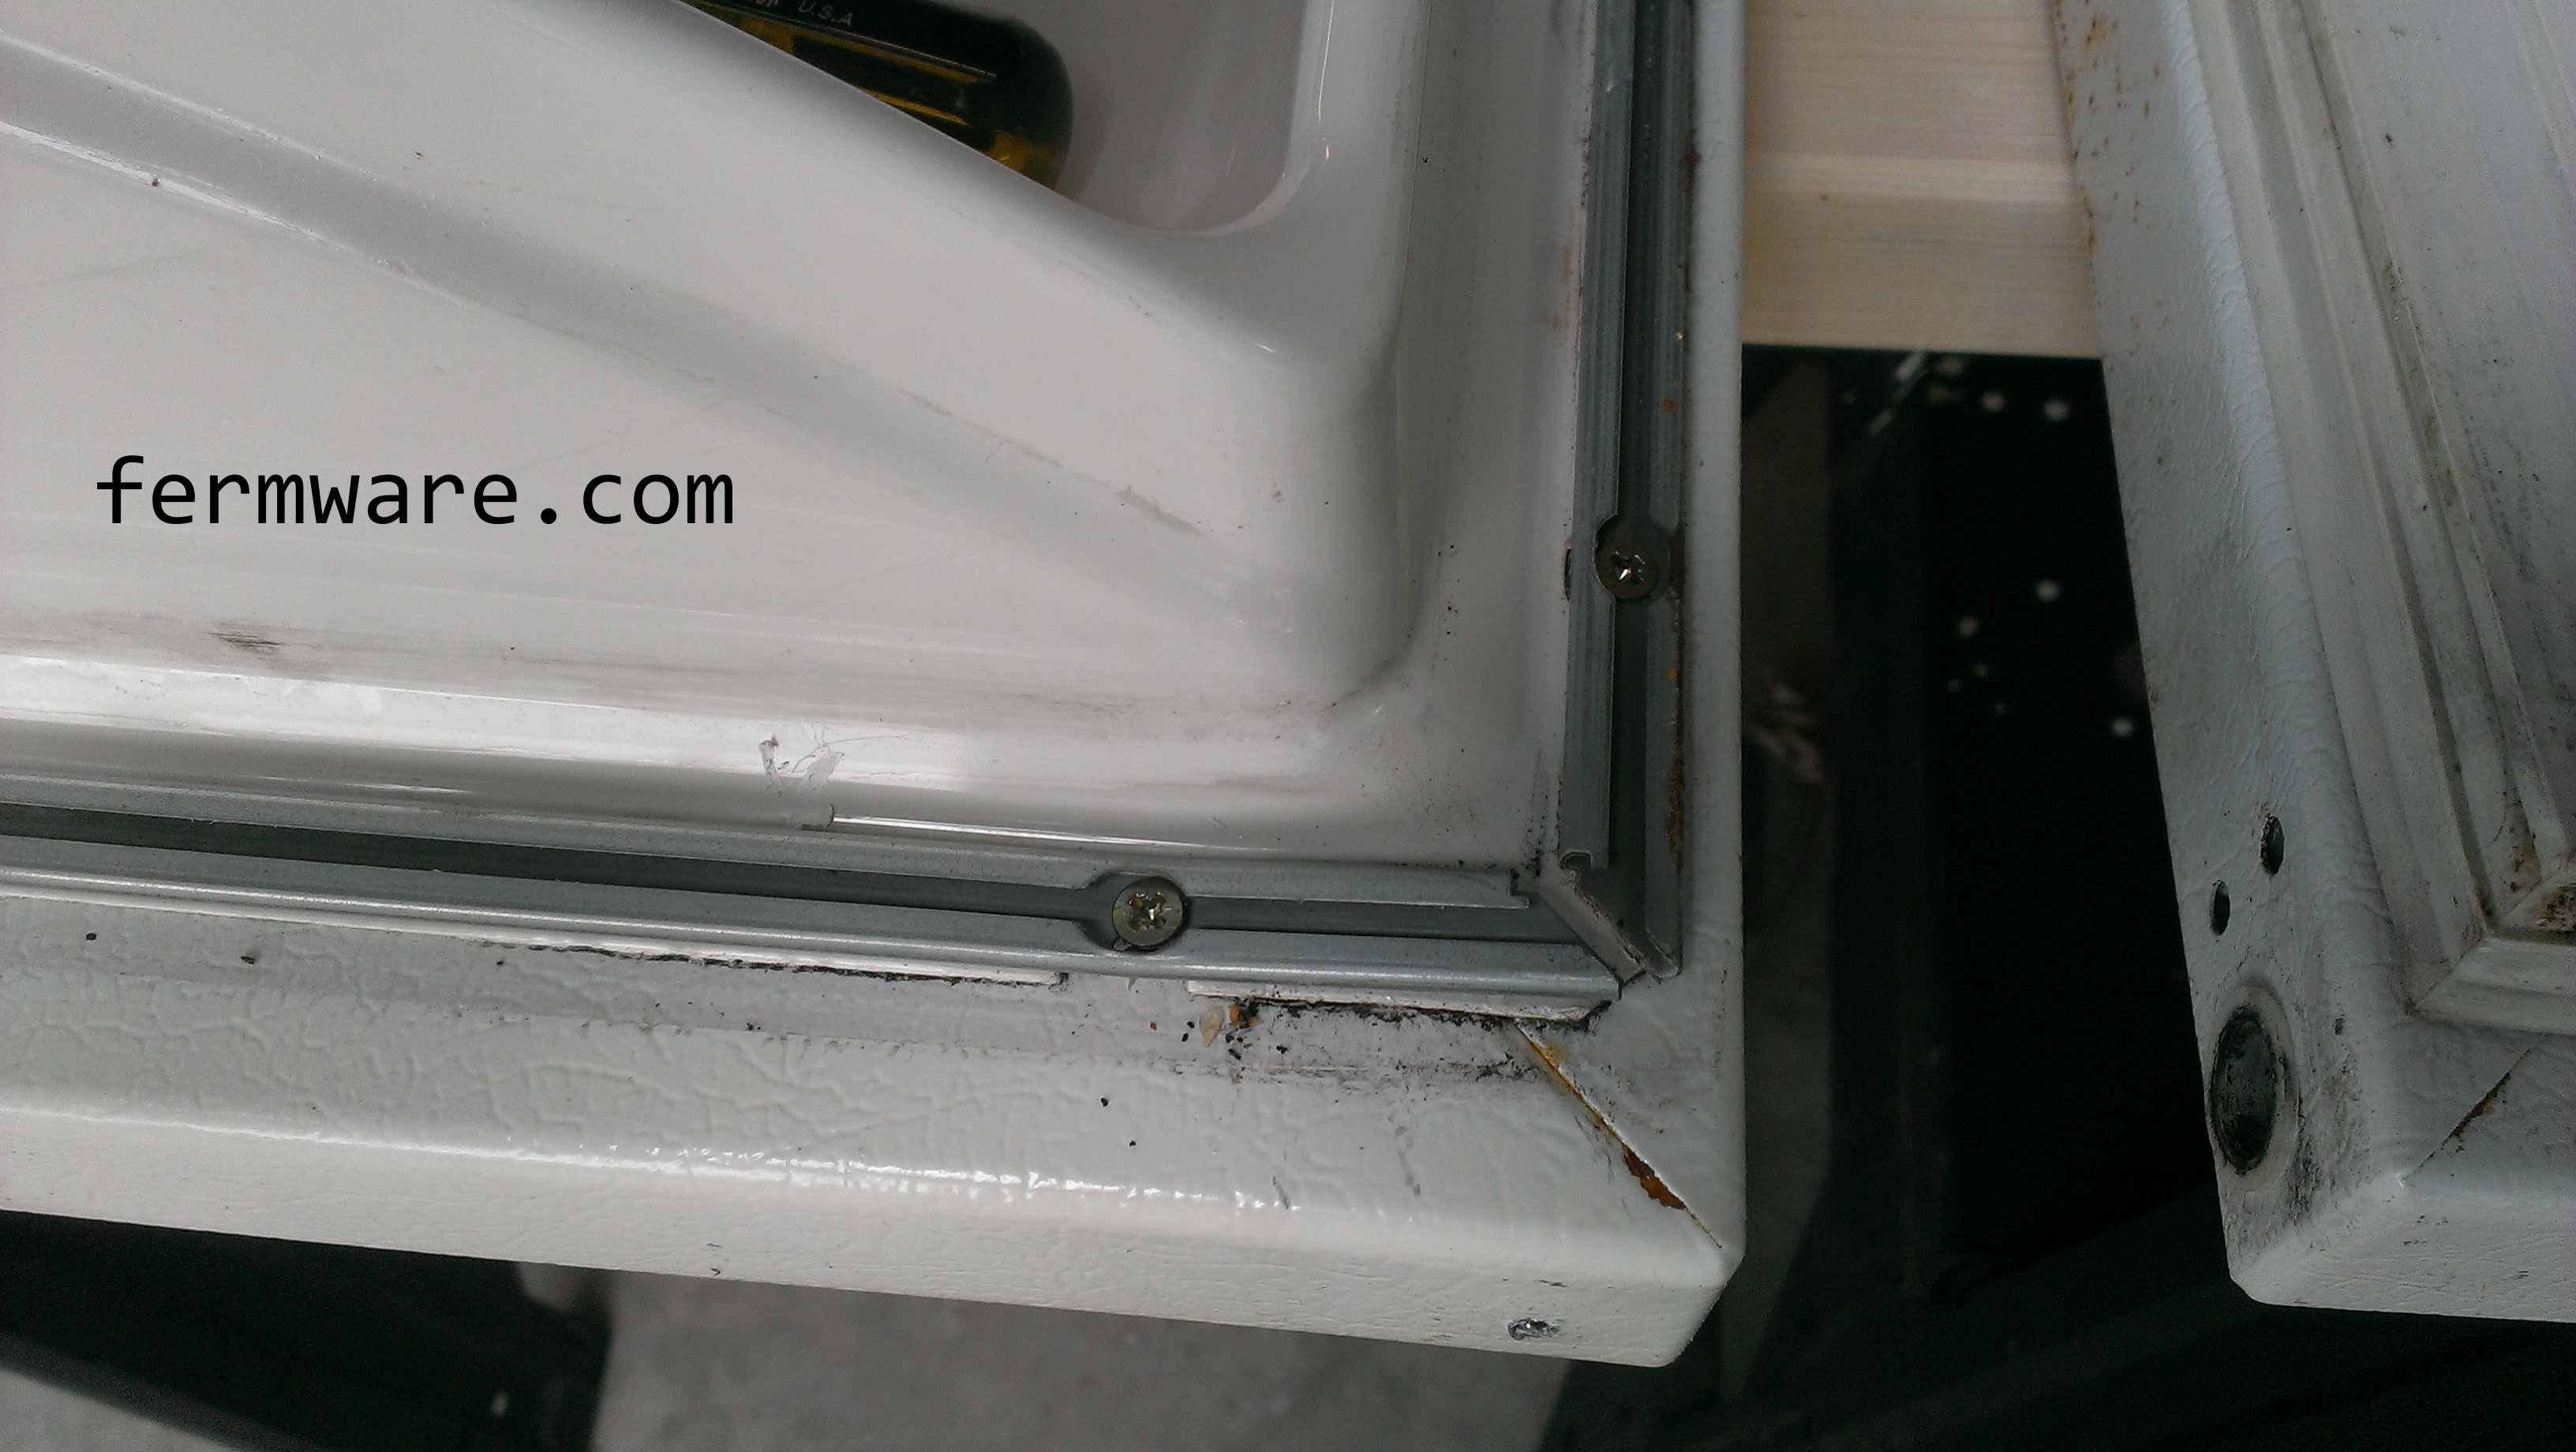
Once the channels are all removed the door panels should come right off with no resistance.
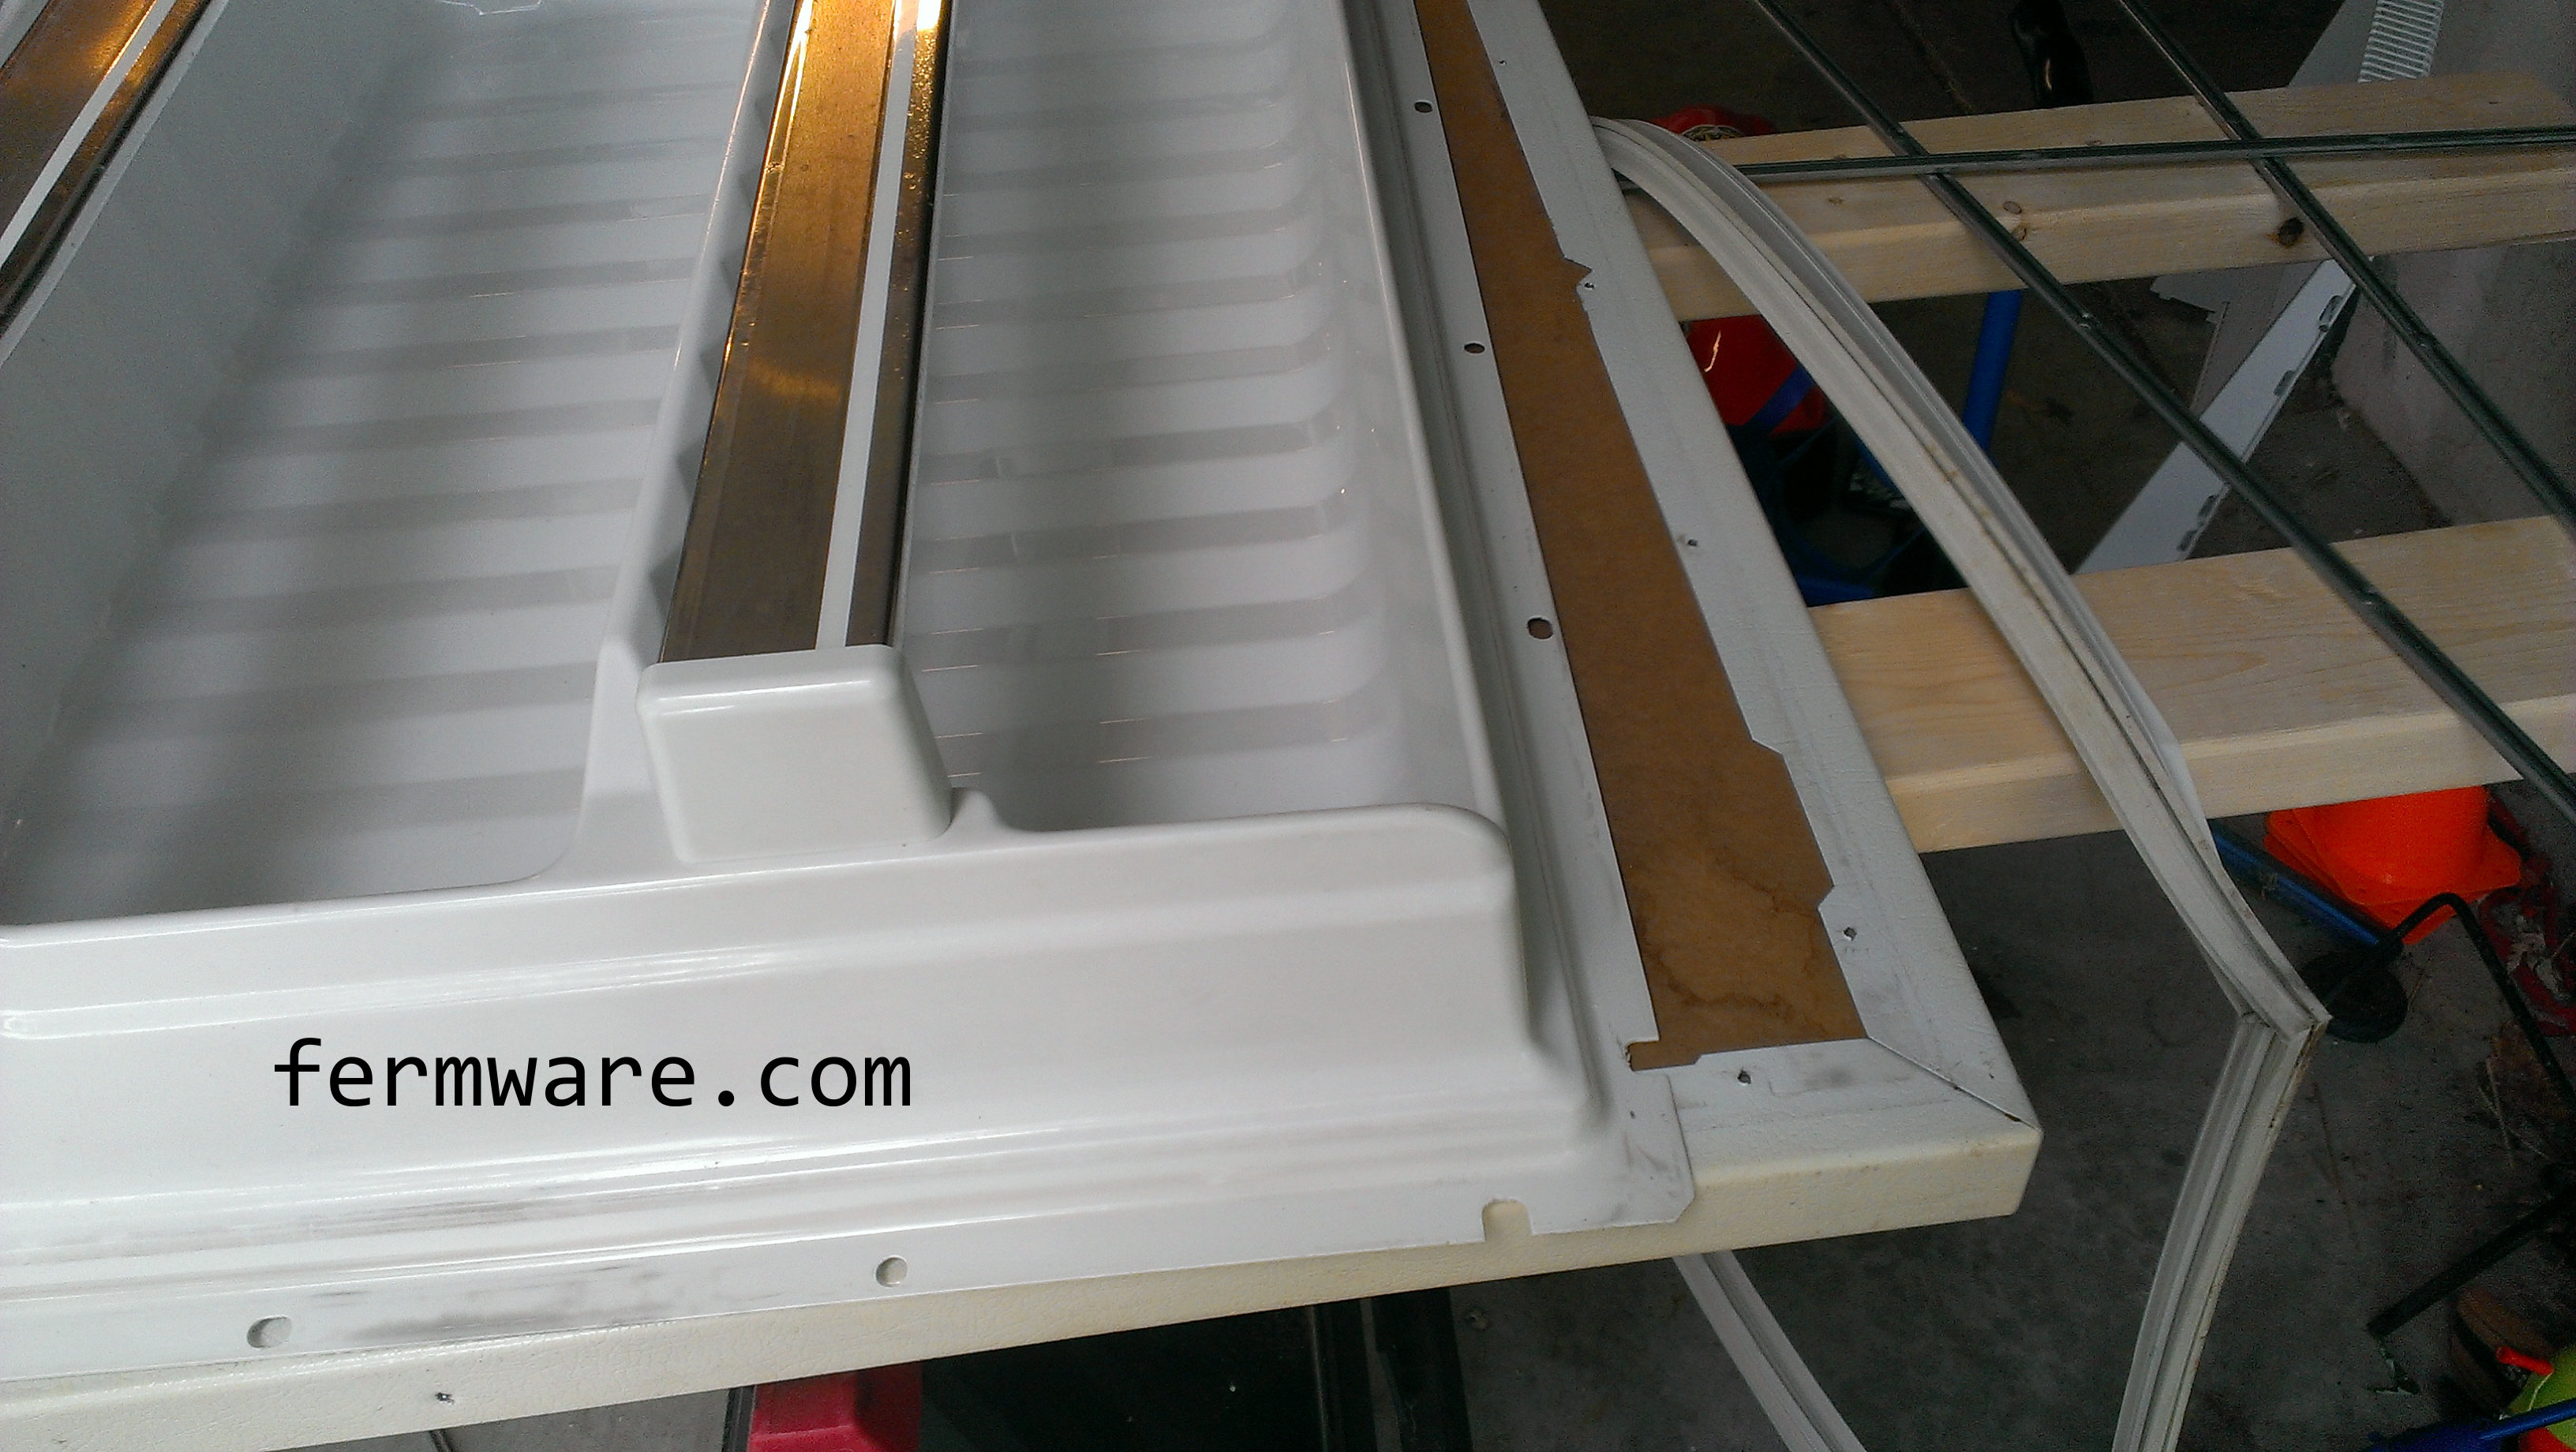

The foam in the door of the last fridge I took apart was contoured for more insulation and I had to cut it down (requires patience), but with this fridge, it was nice and flat.
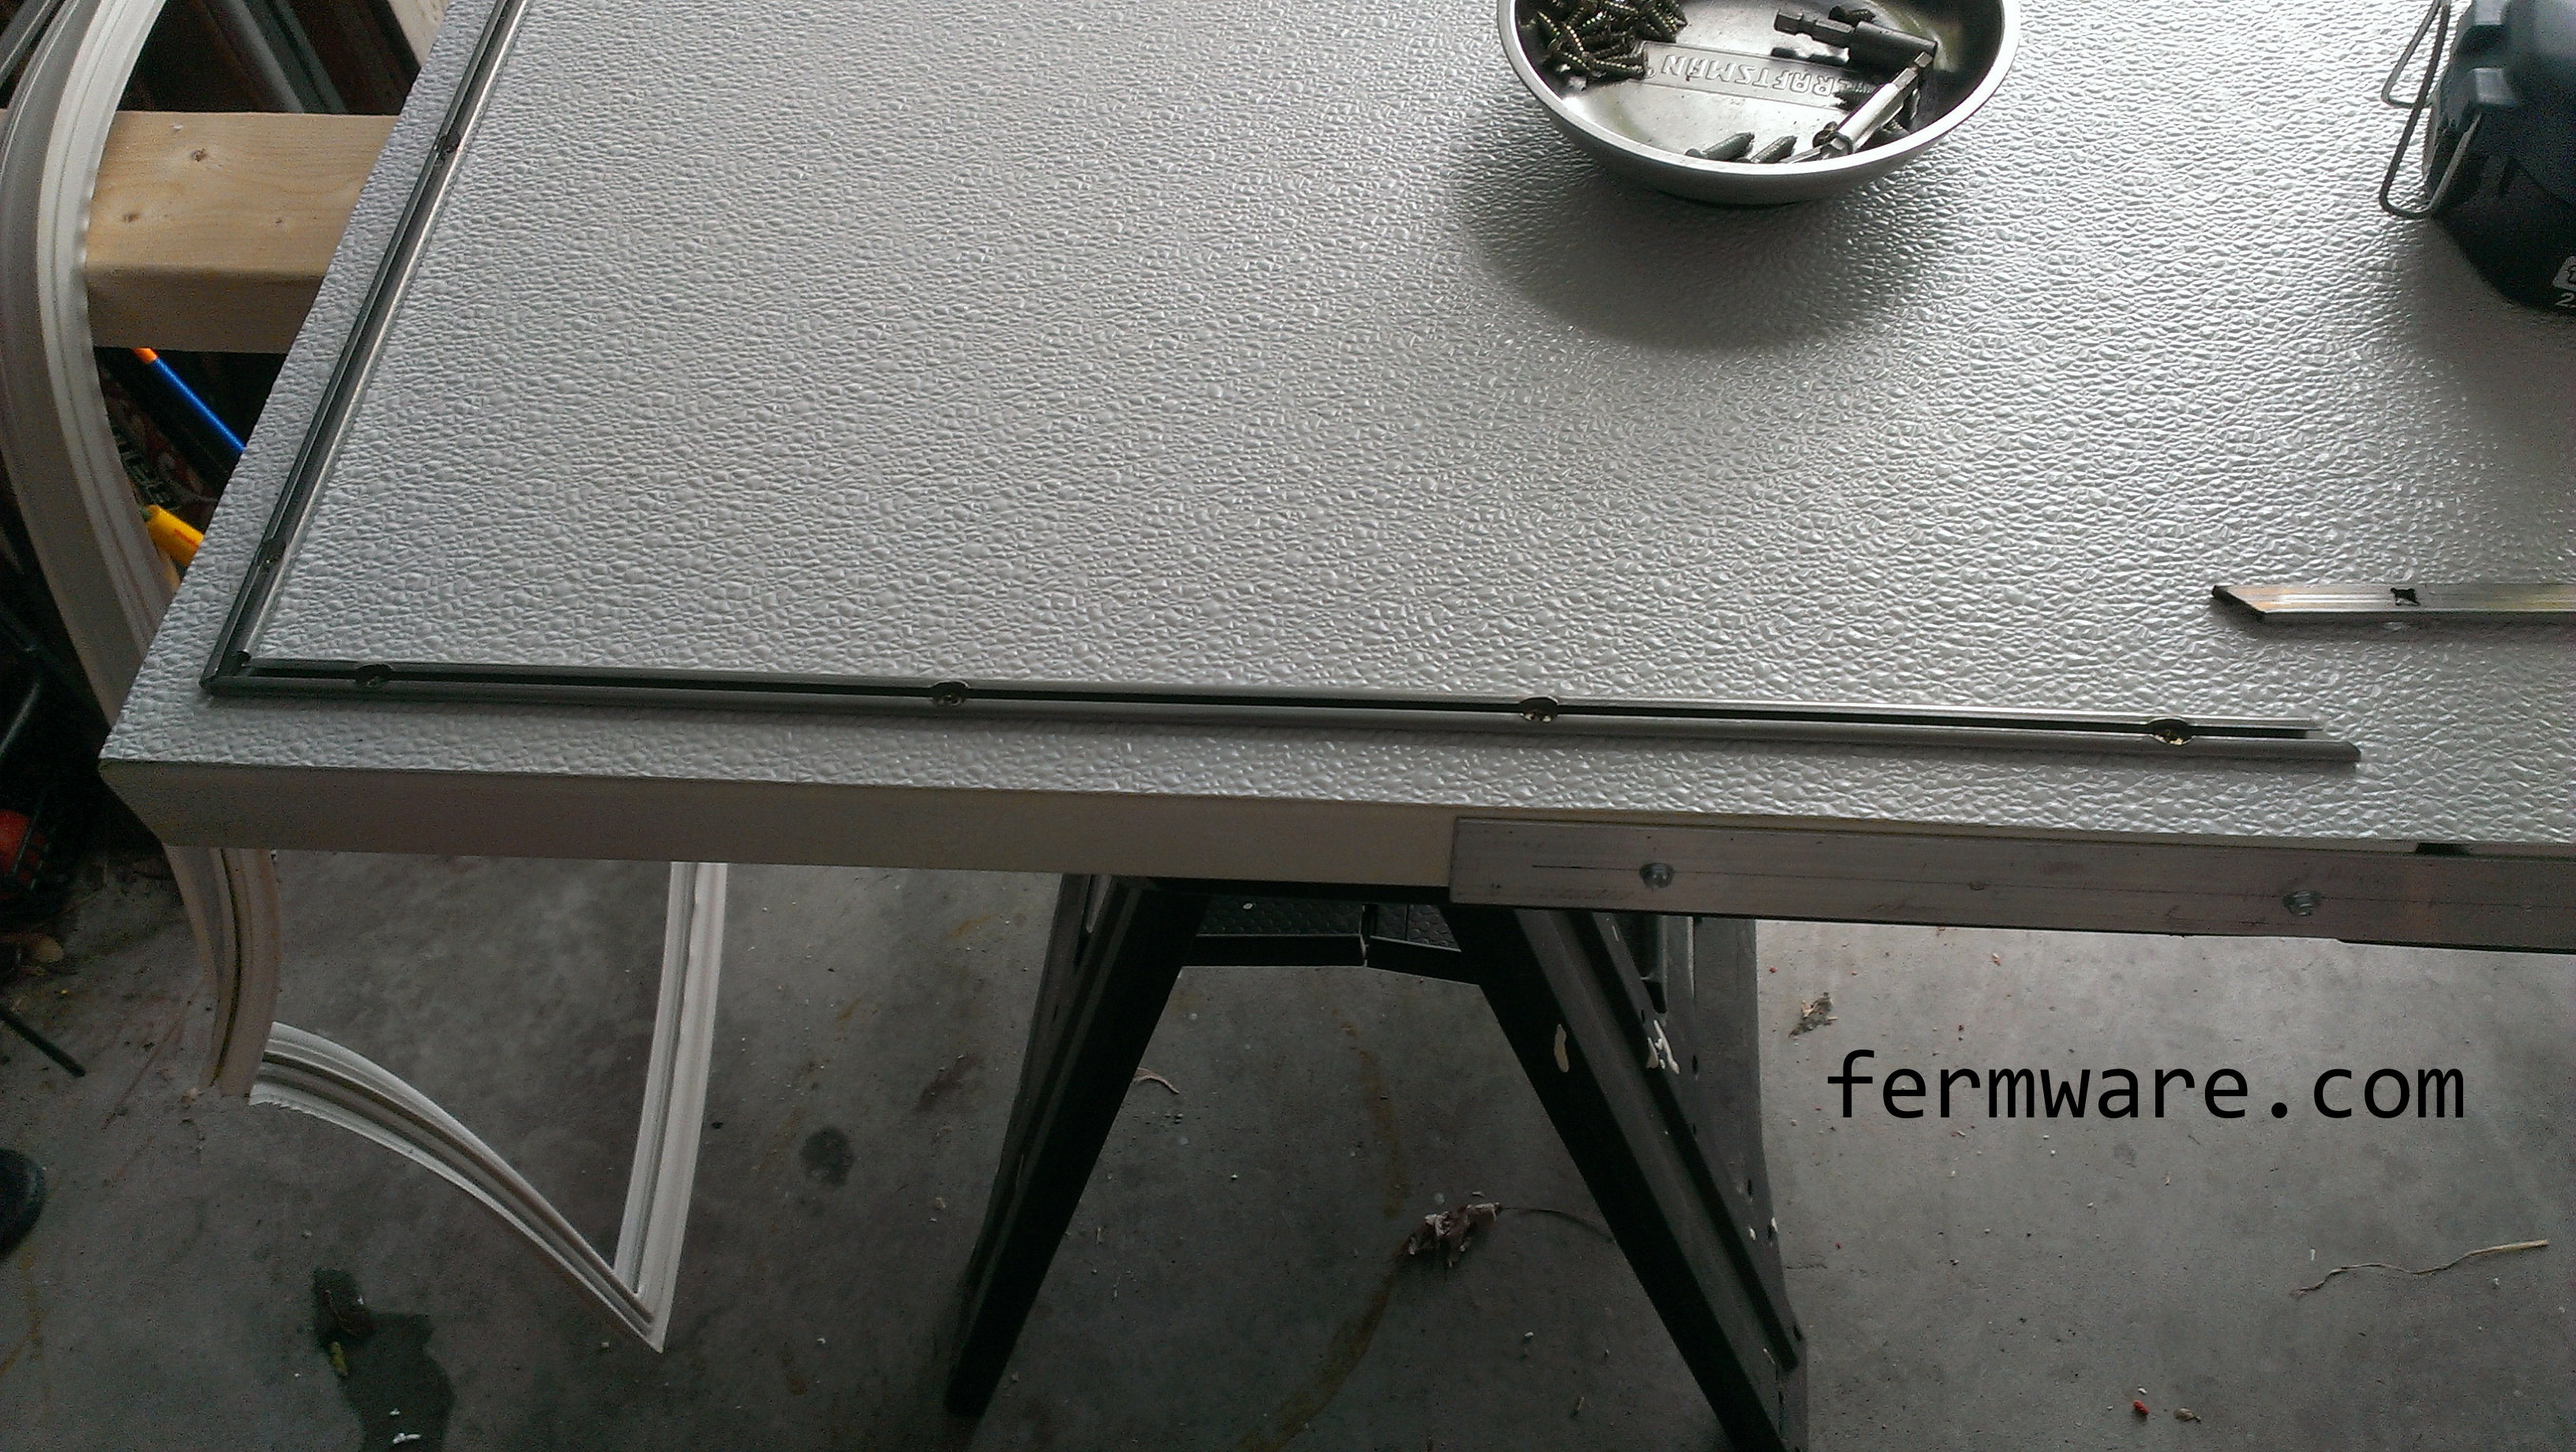
This is also a good time to go ahead and attach the door brackets. Remember to align the doors by the distance you measured before removing them from the refrigerator cabinet.
Here is what the other side of the panels look like if you are interested.


Cutting the new interior panel
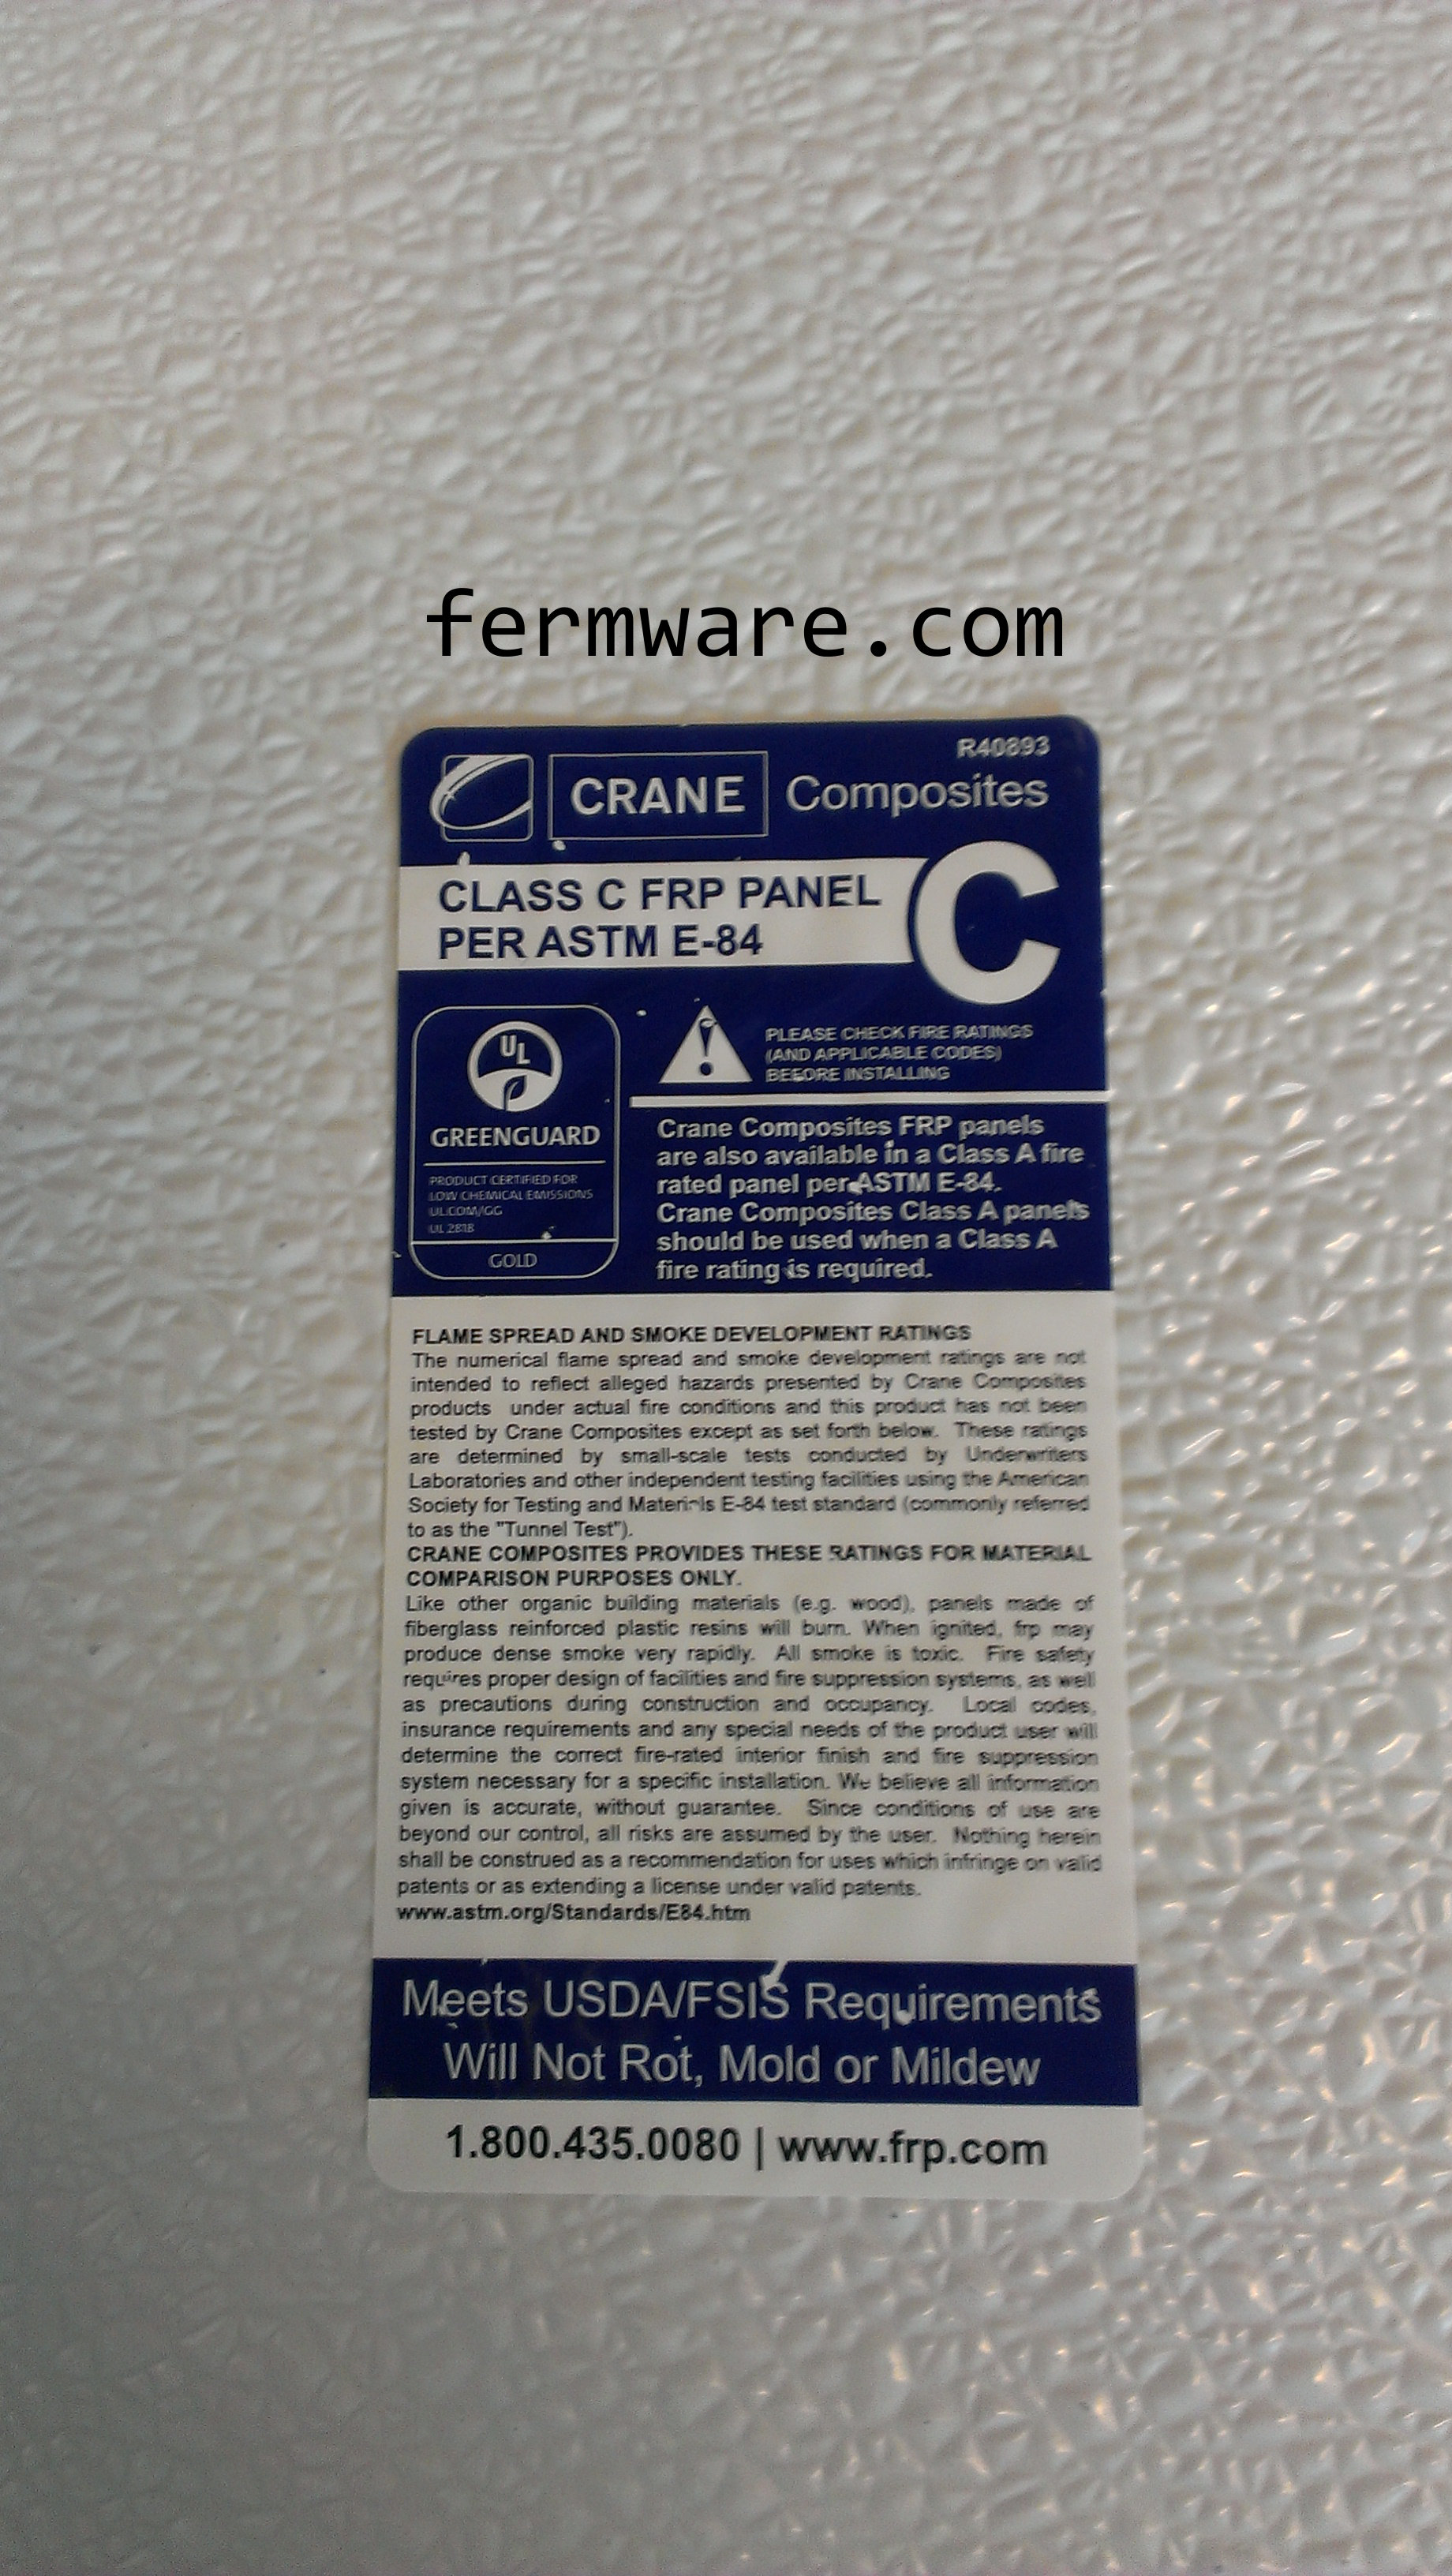
You’ll need the FRP panel for this step. Alternately you could use a large sheet of plastic. Just pick something that won’t harbor mold easily. The FRP label specifically states that we’ll be good with using it.
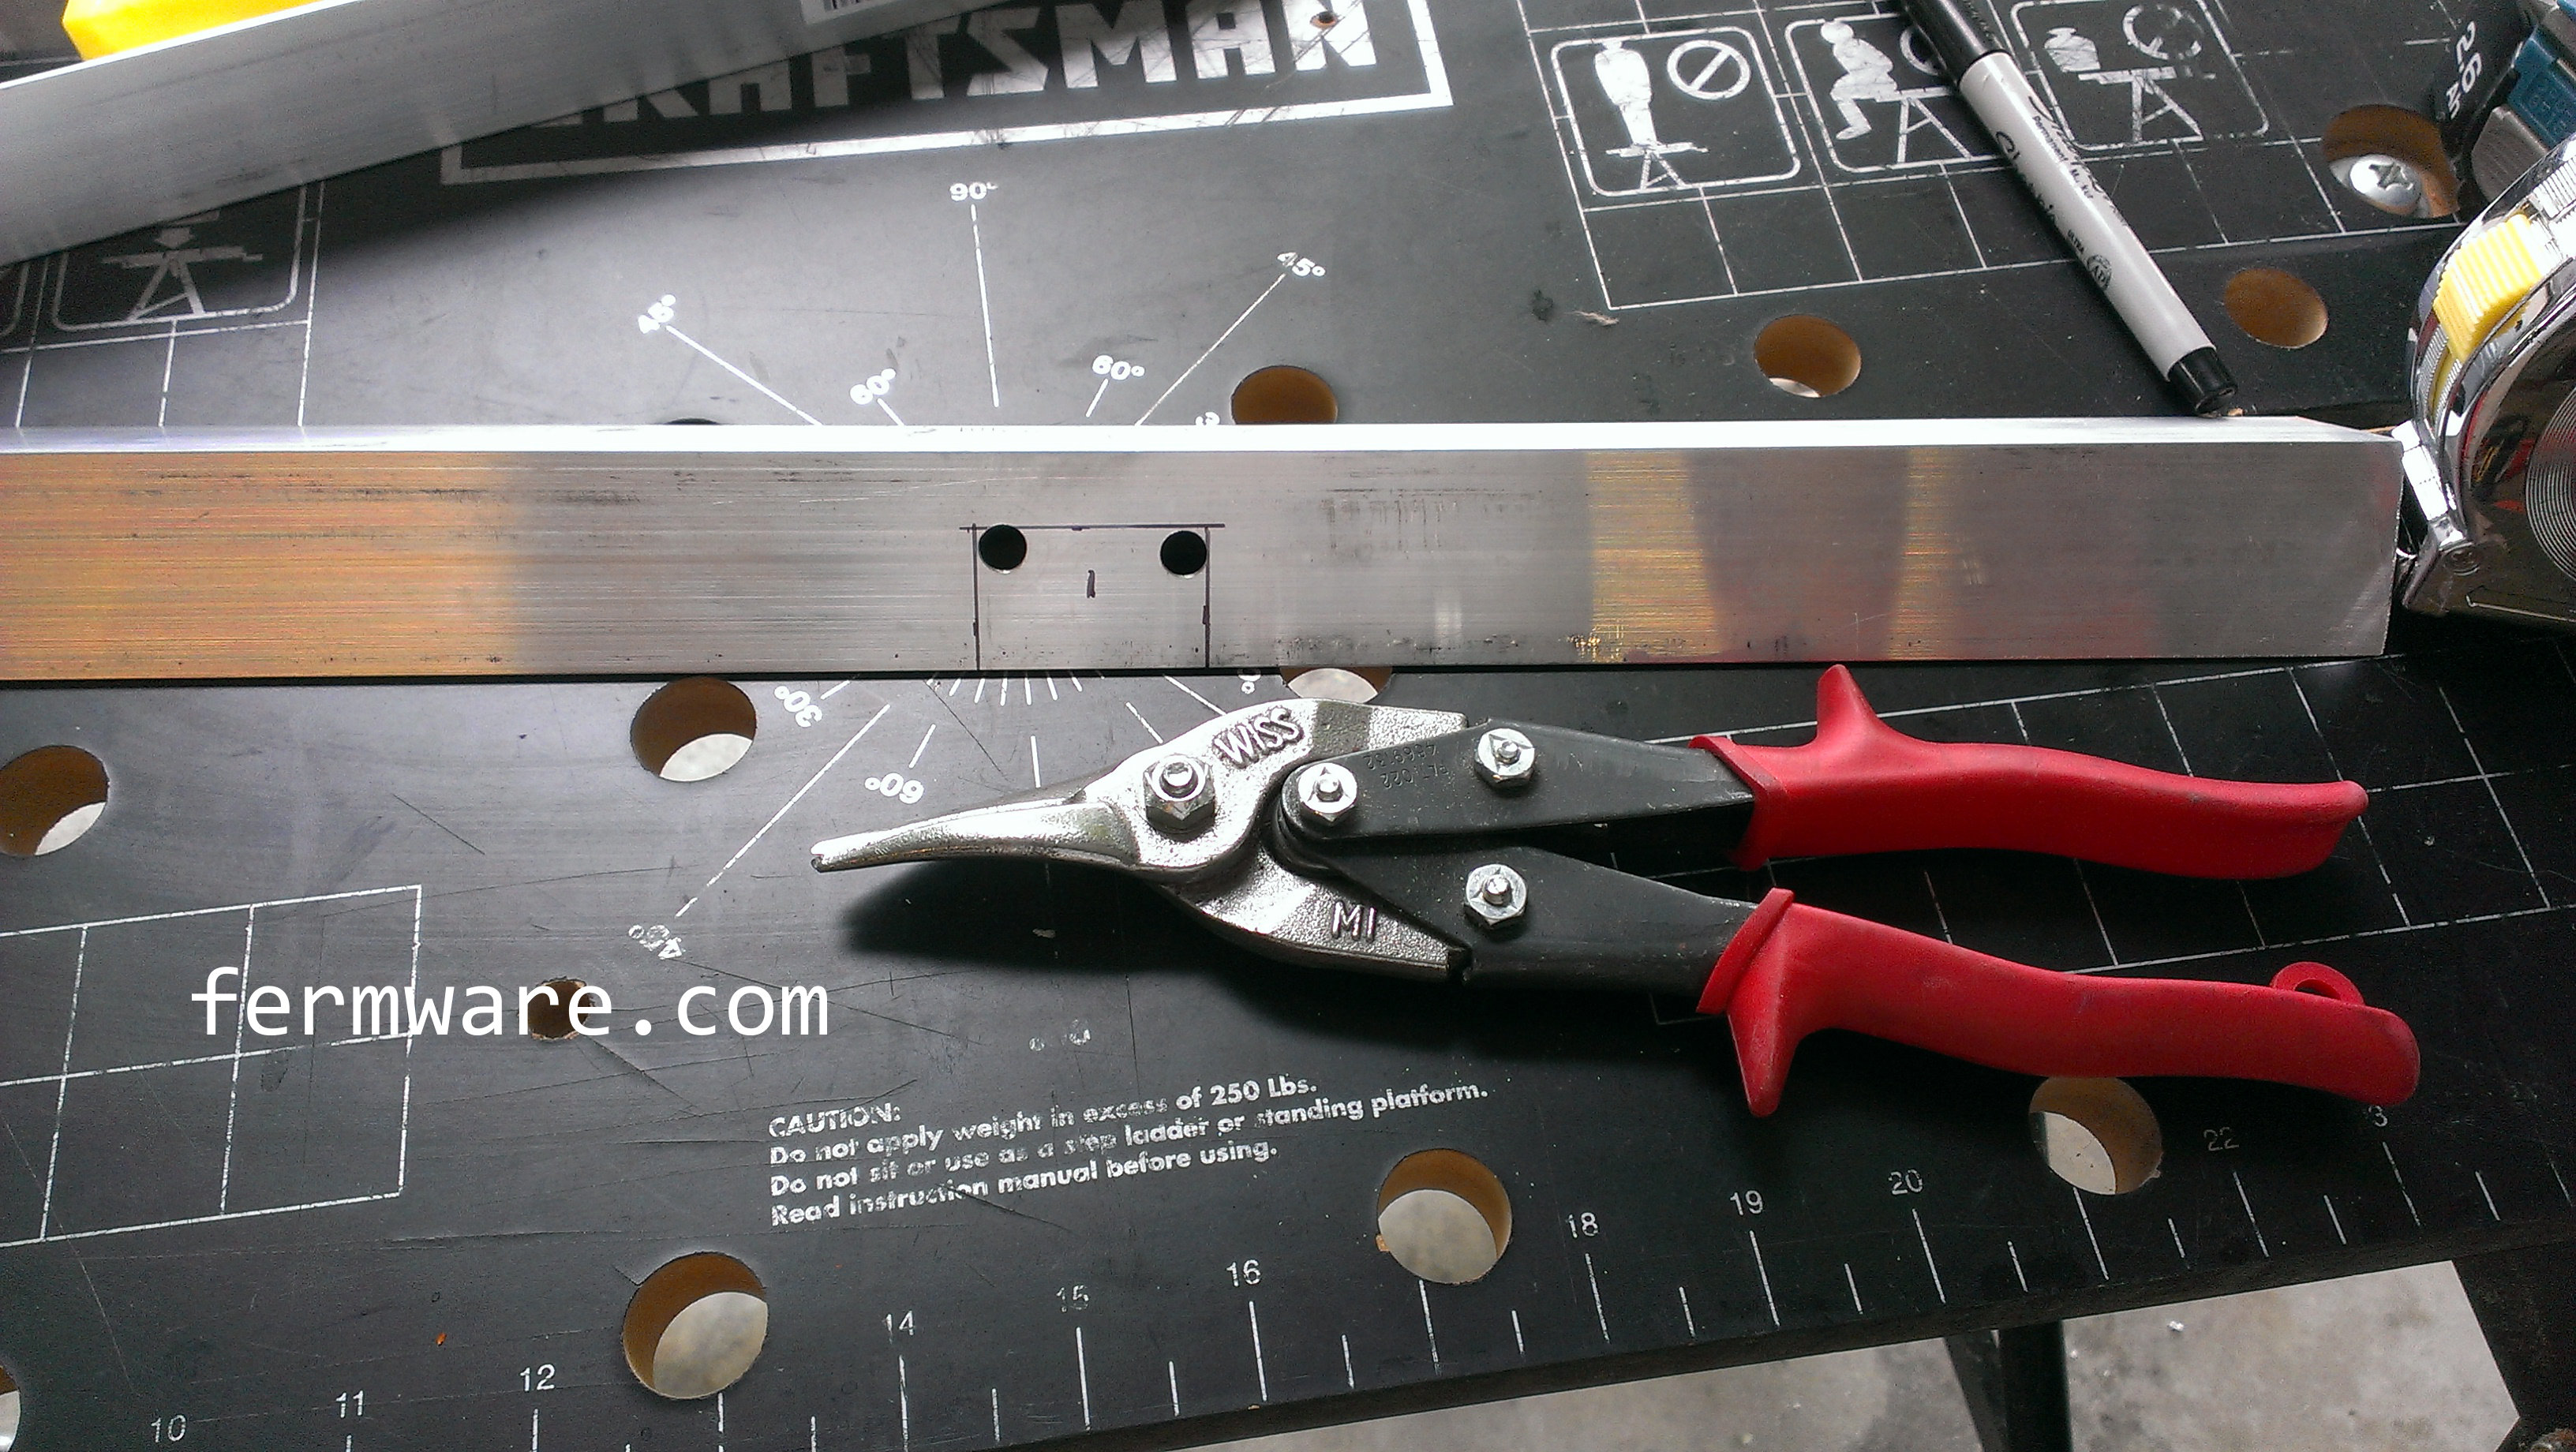
There are various methods of cutting this stuff posted on the internet. Perhaps someone reading this will have a better tip, but the best one I read was using “tin snips” or aviation shears.
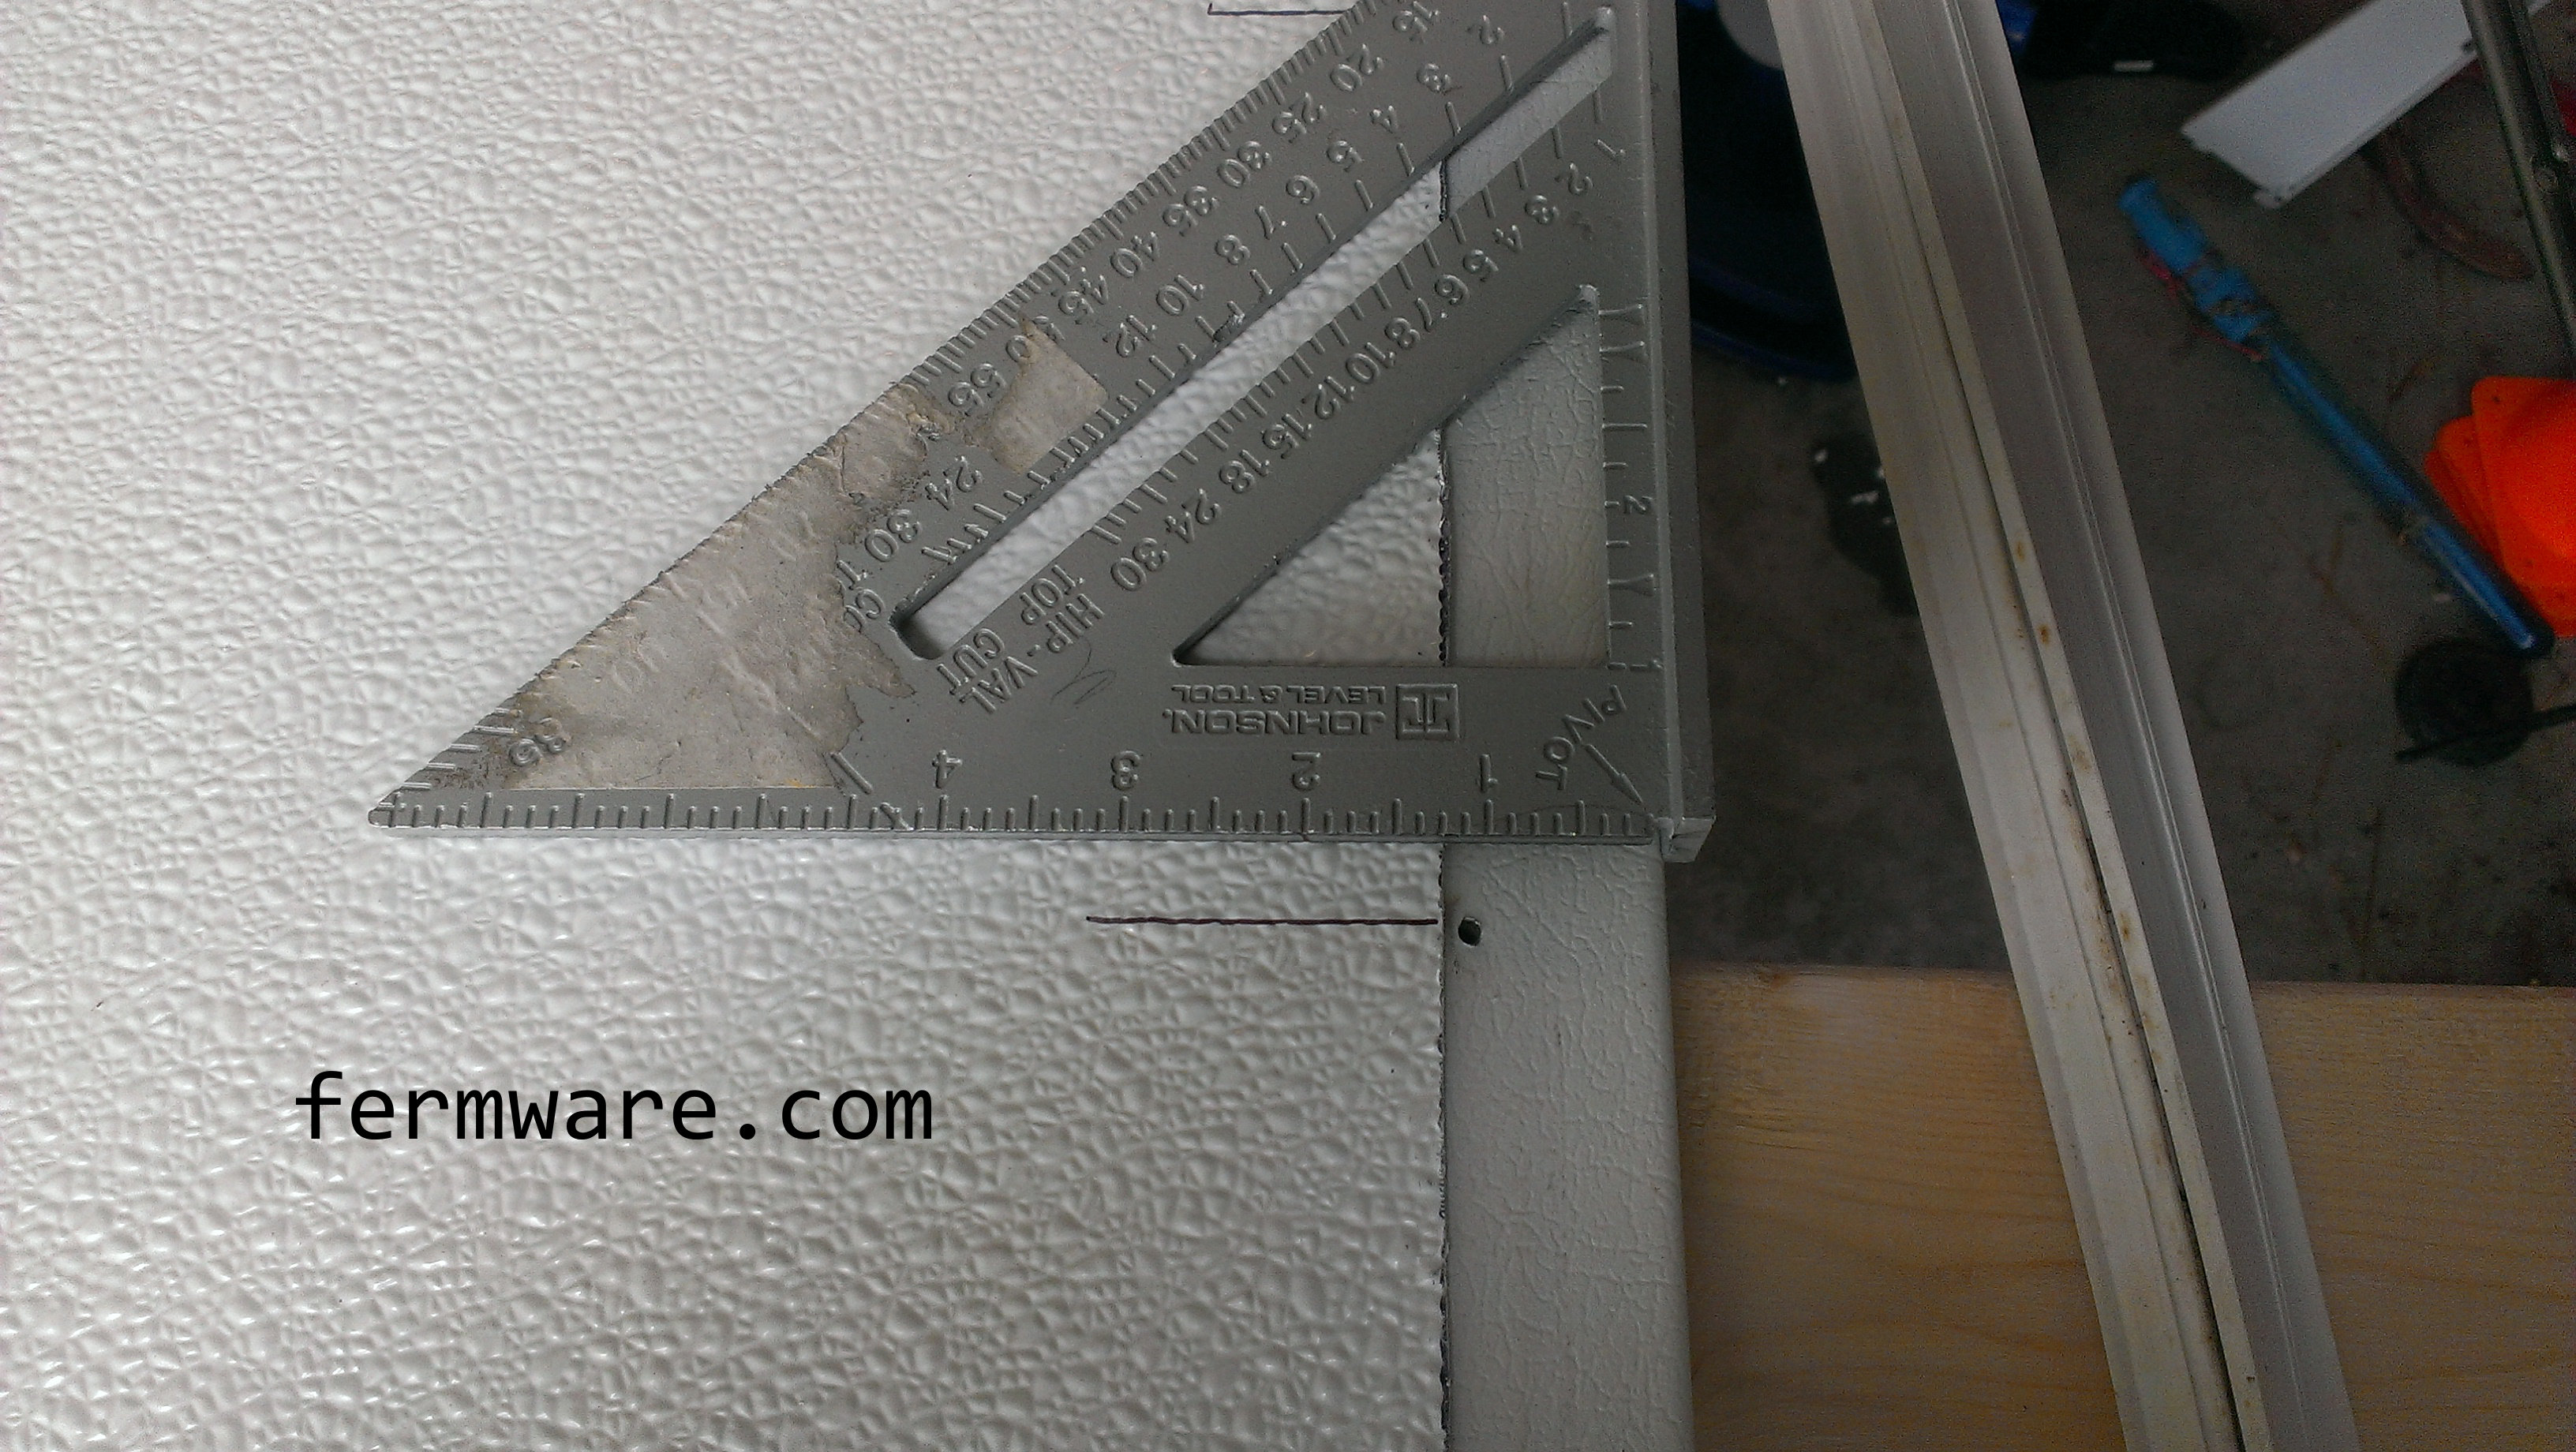
You want the panel to be smaller than the overall dimensions of the door, but big enough so that when you re-attach the seals and/or channels, you won’t crack the panel. I just went around about 1/8″ less than the outside dimensions of the doors. Lay out your dimensions as square as you can get them. I simply used my large carpenters square.

When cutting, it is helpful to curl the panel as you go. In my experience, this really helps to prevent cracking the panel along the cut. You may want to choose a small section and practice cutting.

Now that the panel is cut to size, you’ll want to drill some through holes for the screws. If you don’t pre-drill holes, you’ll have a heck of a time and you run the risk of cracking the panel. Use your most clever method of transferring the hole locations from the fridge to the newly created panel. I moved the panel to align at each set of holes and transferred the hole location with a small carpenters square. You can probably go a little oversize on this to allow for inaccuracy, but not too much.
When drilling, DO NOT drill with the fridge doors underneath. Just overhang the panel slightly and drill through.

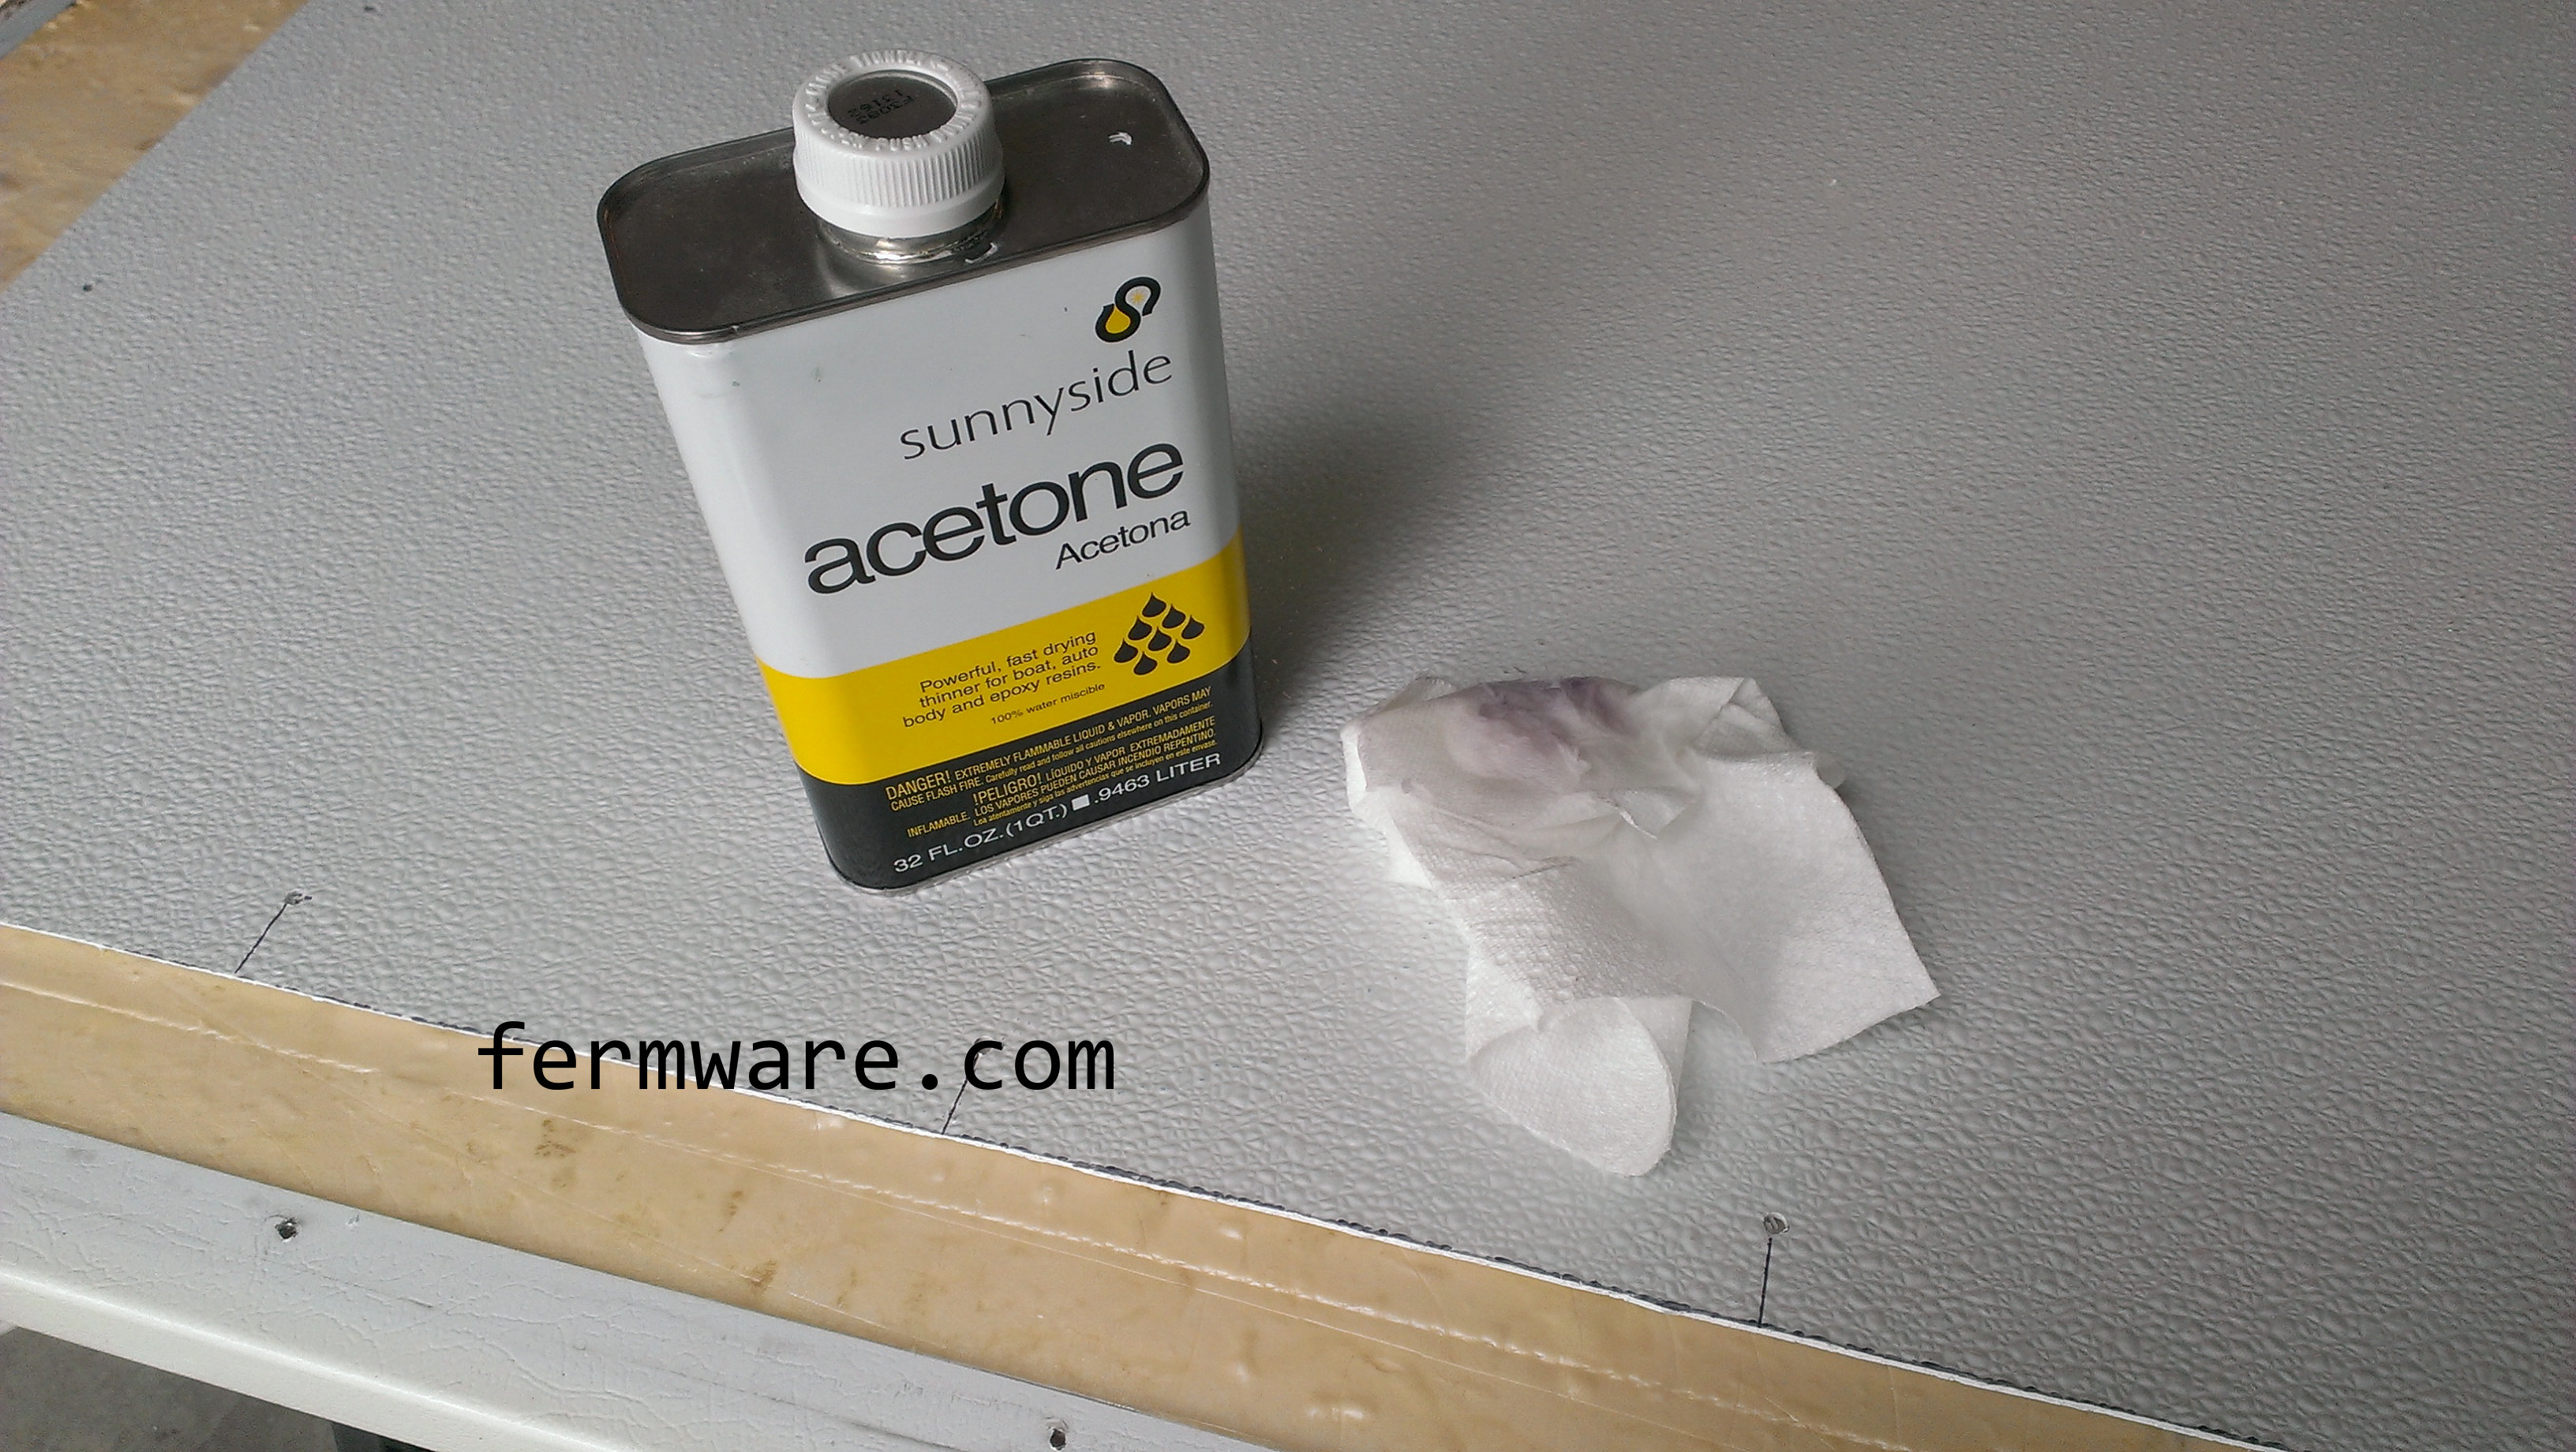
You can clean the marks on the FRP panel with acetone. Be careful however. Acetone likes to melt plastic.
Once all of the holes are drilled, you should be ready to re-install the channels. You may find that as careful as you were, some of the holes won’t line up.
You’ll then need to cut the unnecessary portion of the seal.
If your door is like this one, you will have a gap between where the freezer door and refrigerator doors were. You can go all out and trim a piece of the unused channel to span this gap, or you could just cut a shorter piece to bridge the gap.


It doesn’t look pretty now, but I’ve got to get on with planning my big brew. I’ll get back to doing it up properly later.
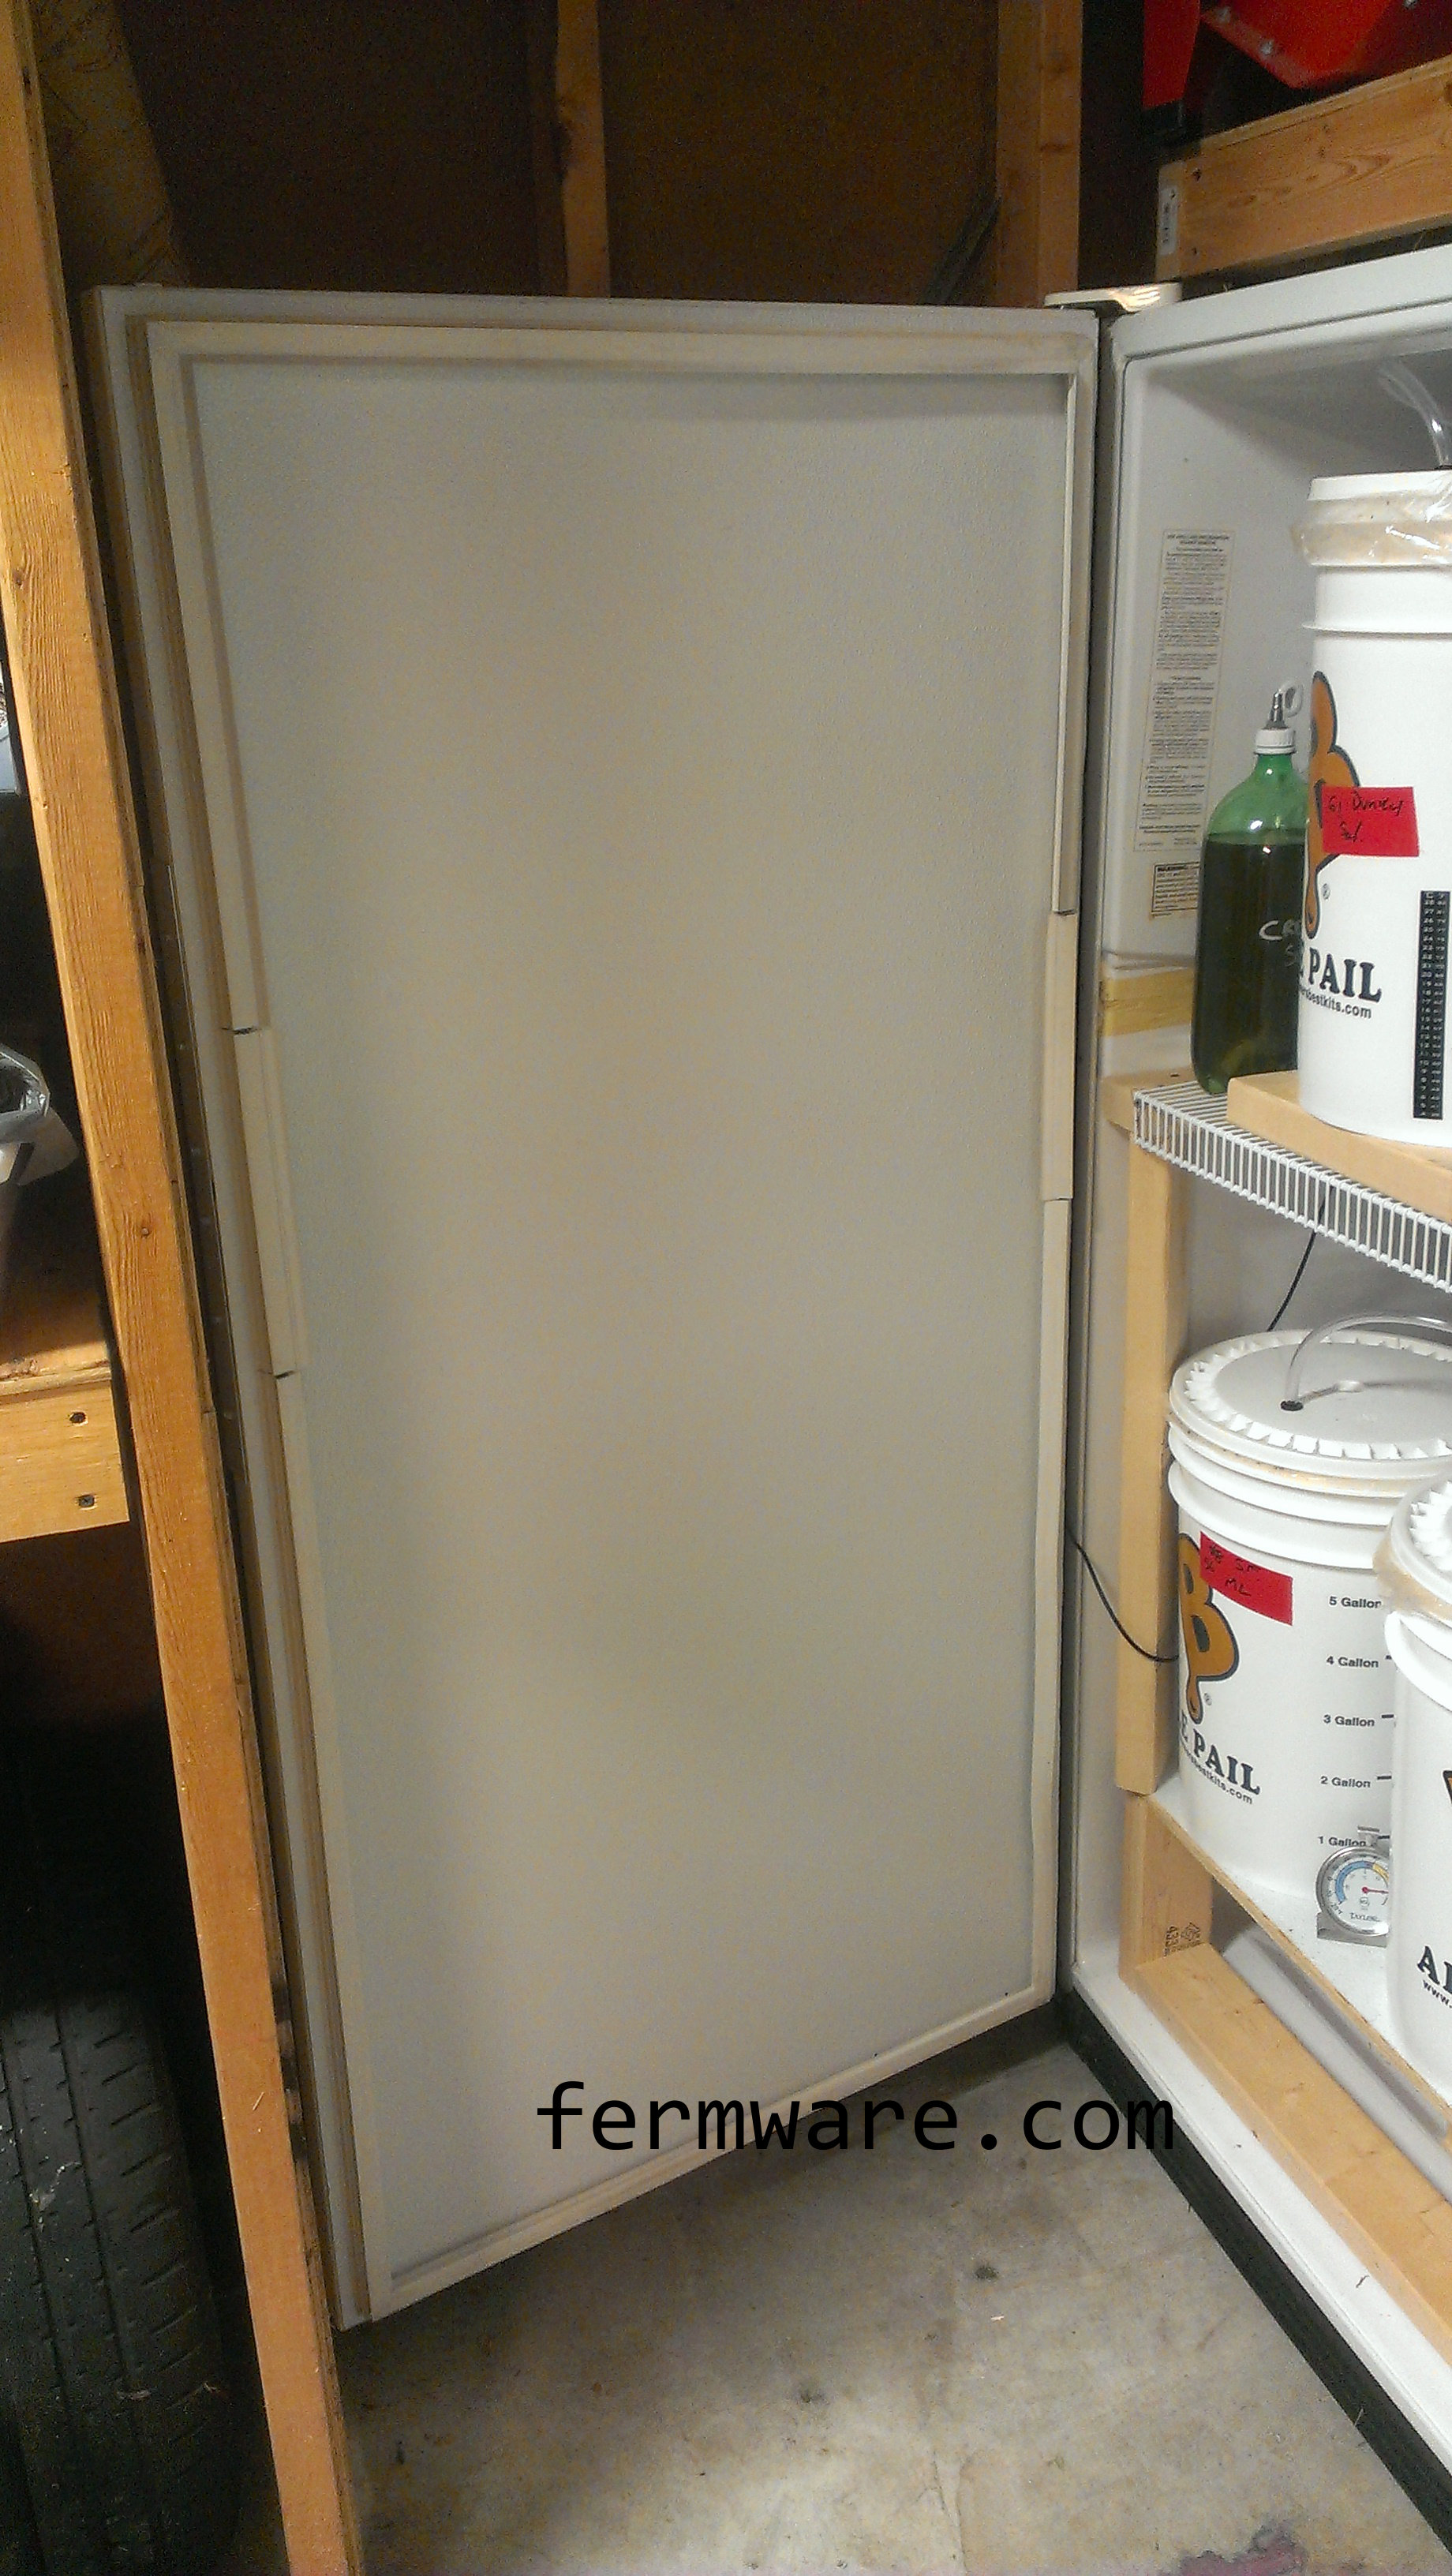
You can re-install the door now, or wait until after the next step of making the shelves.
Up next…
Posts for this Project:
Part 1: Introduction
Part 2: Clean up
Part 3: Disassembly
Part 4: Door modification (This Post)
Part 5: Shelf building
Part 6: Finishing up and other observations