Category Archives: Equipment Storage

Mein Bierwagen Part 6 – Storage of the Bierwagen

The party is over and now you’ve got this gigantic Bierwagen sitting in your garage.  Where am I going to put this?  This post will show you my solution and maybe help you on where to put yours.

Difficulty: level_3

This project just requires some basic building skills, but you might need some help getting the keezer onto the Bierwagen.

Posts for this Project:

Part 1: Introduction
Part 2: Building of the frame
Part 3: Bicycle wheel attachment
Part 4: Getting the keezer onto the Bierwagen
Part 5: Keezer collar
Part 6: Storage of the Bierwagen (this post)

Affiliate Links

Overview:

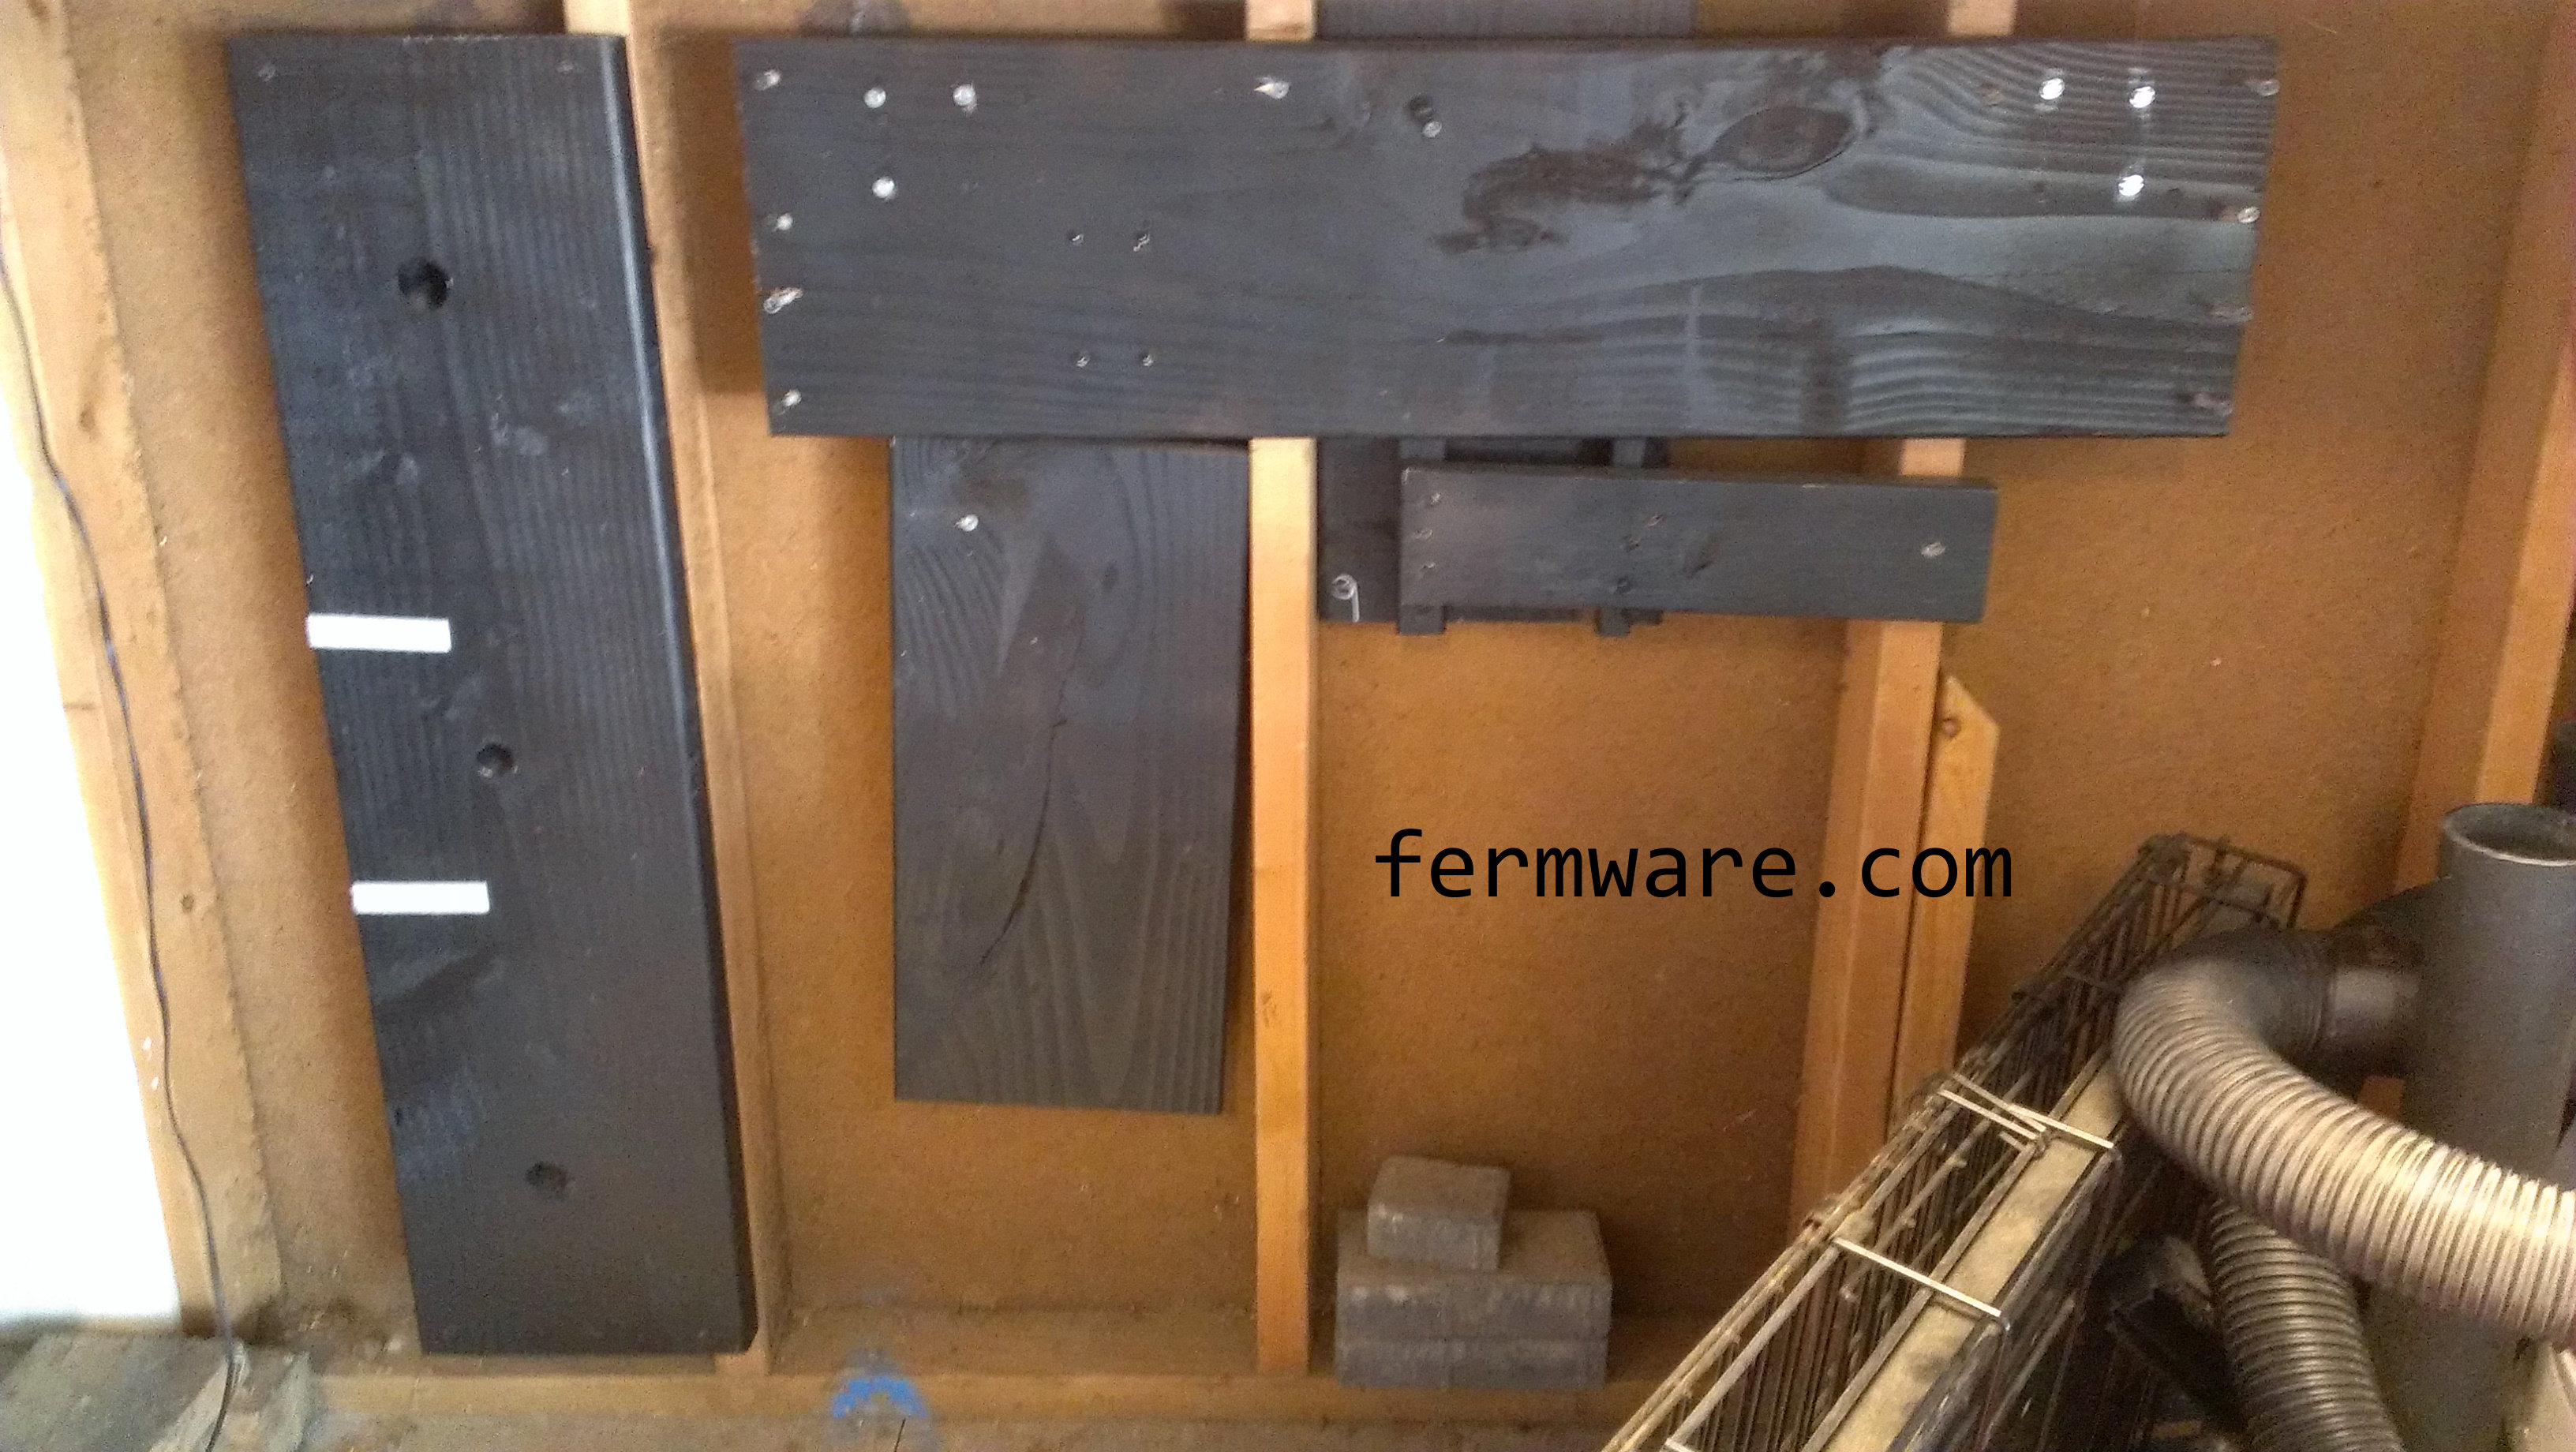
At first I was thinking I would completely disassemble the Bierwagen into it’s independent pieces, but then I’d have to reassemble it again next year.  The thing is huge, so I’ve got to put it somewhere and I am not parking outside and scraping ice this winter.  I thought about a few different options, but settled on storing under my deck.  All I would have to do is remove the panels and then I’d have a nice little nook to slide it into.

What to do:

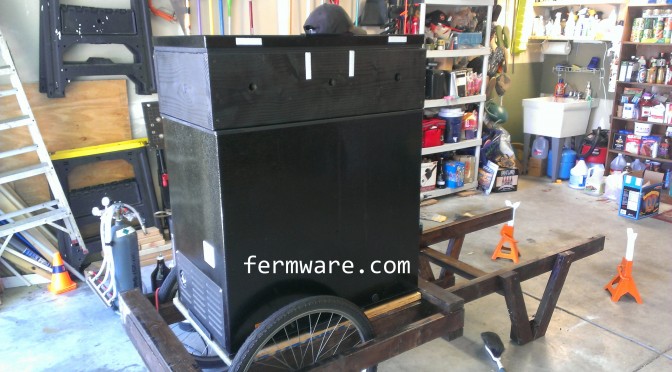
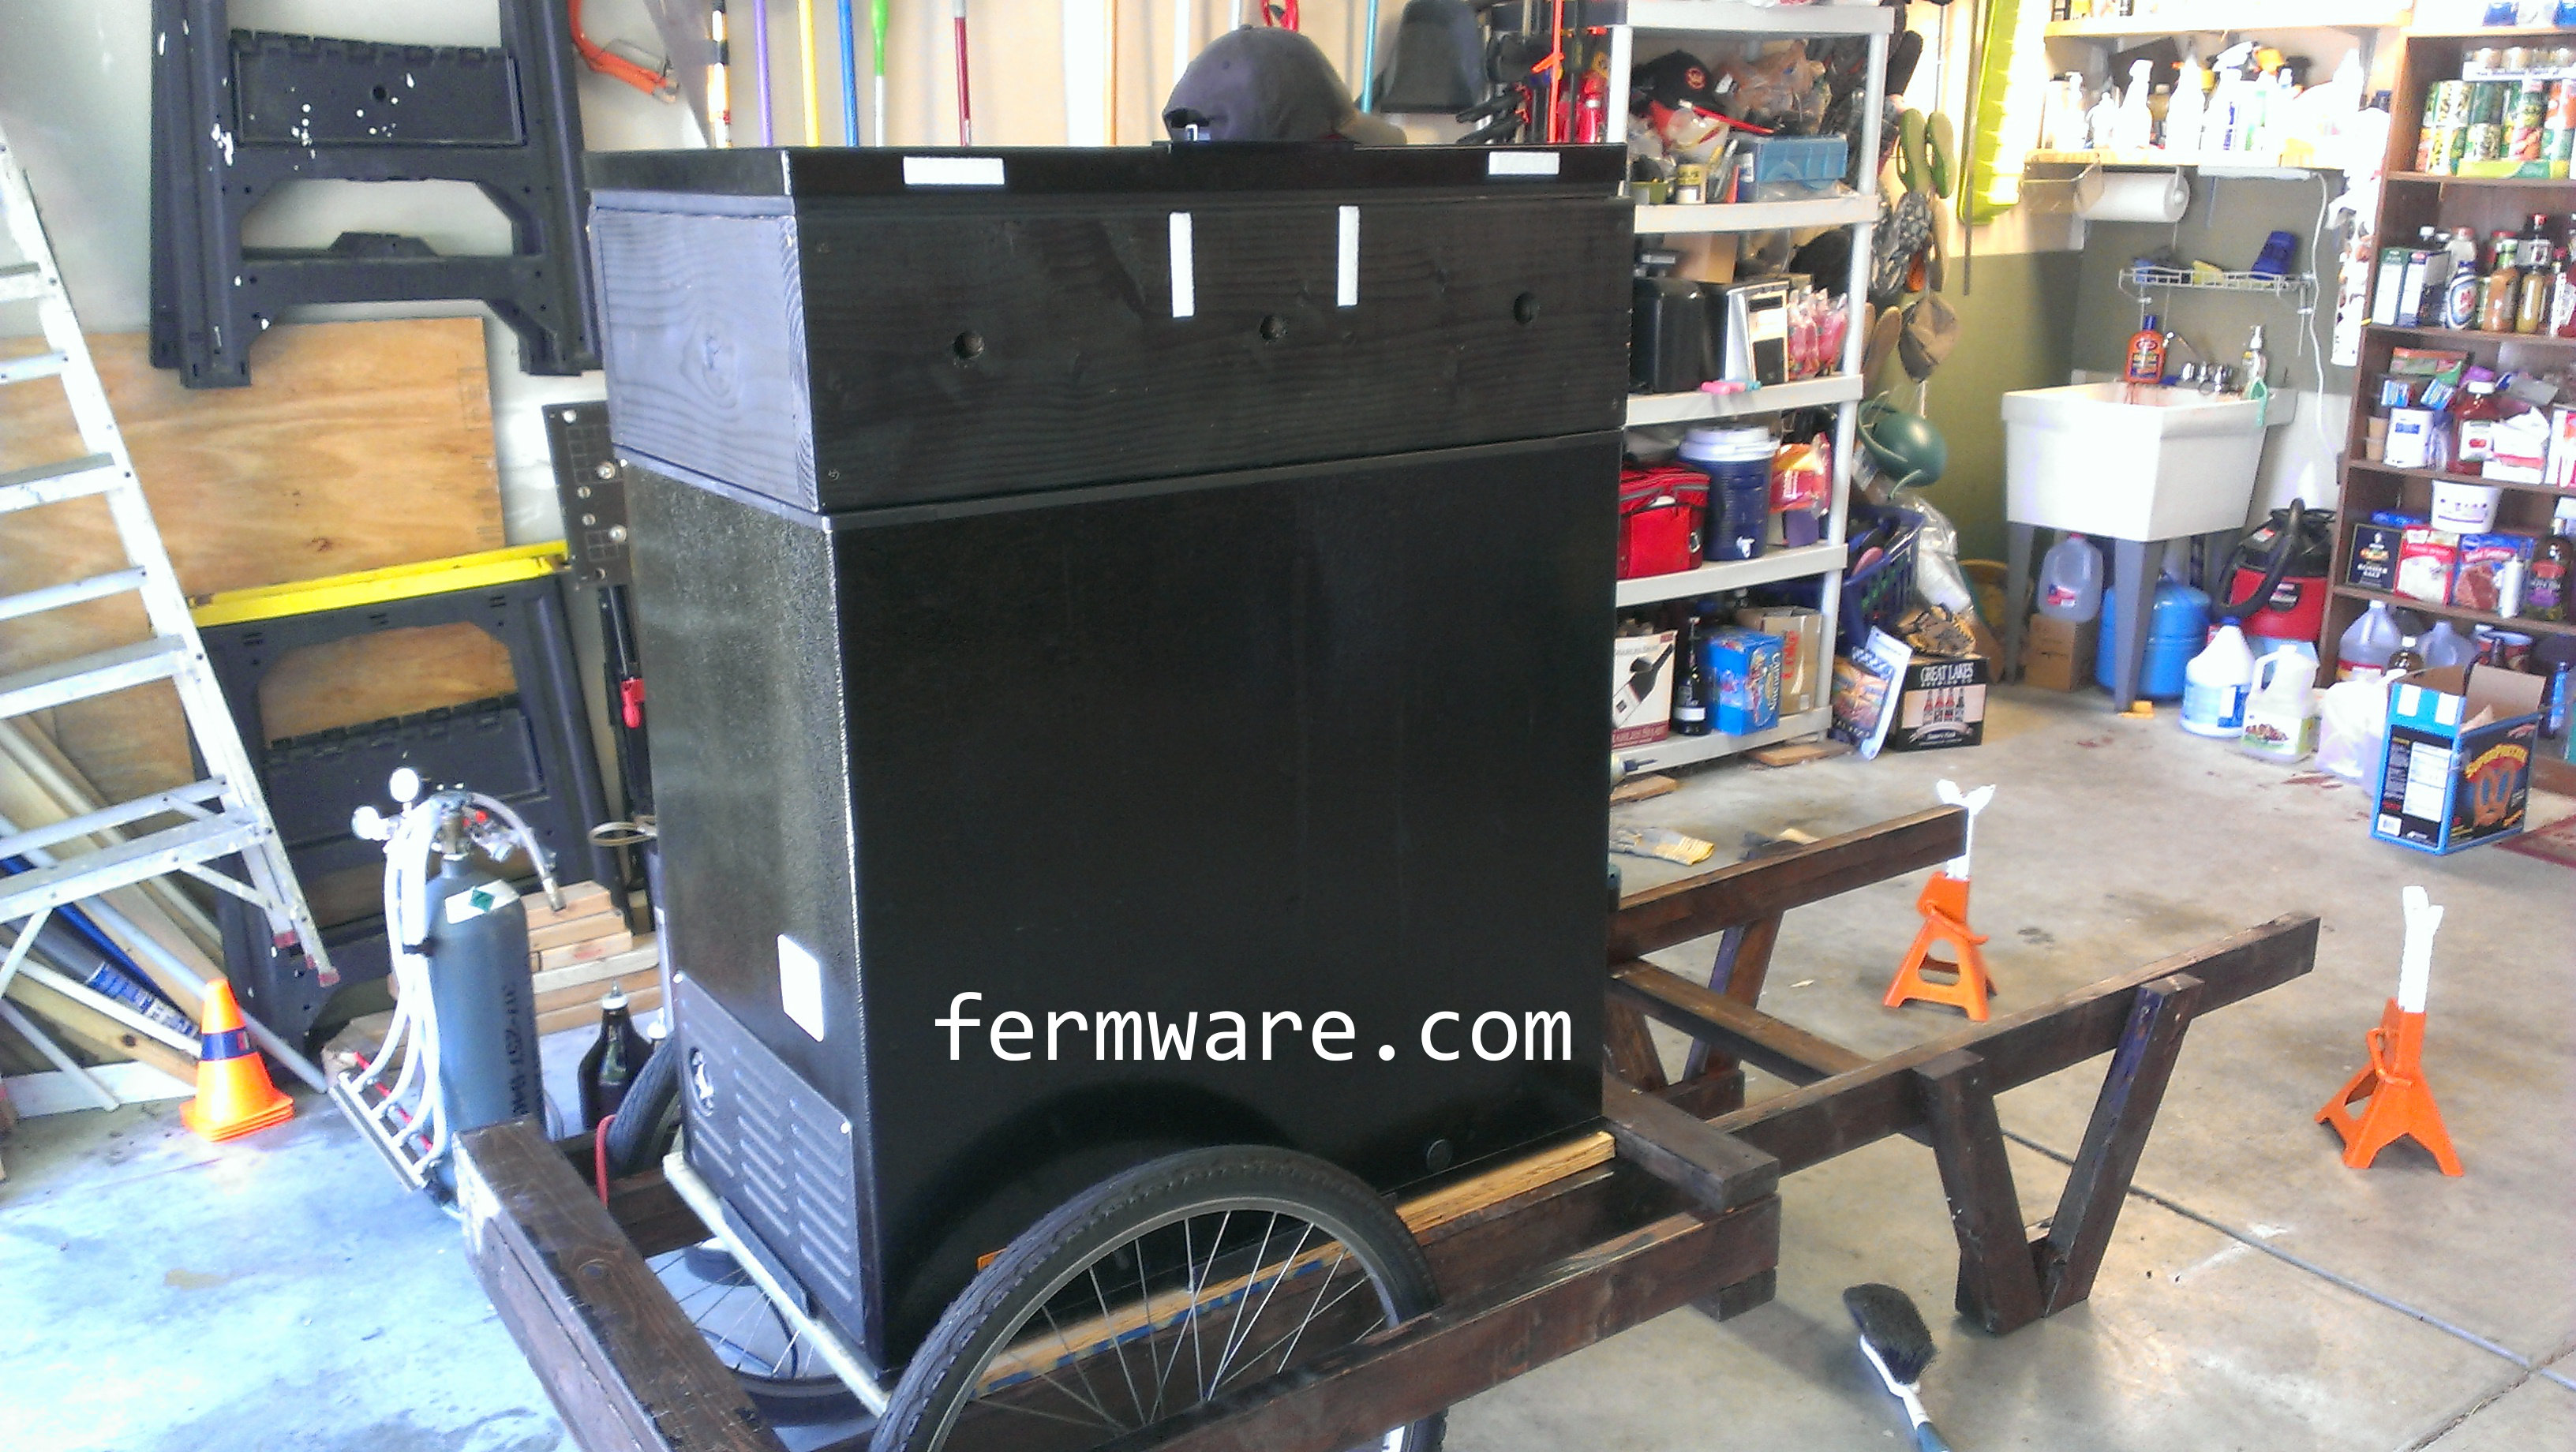
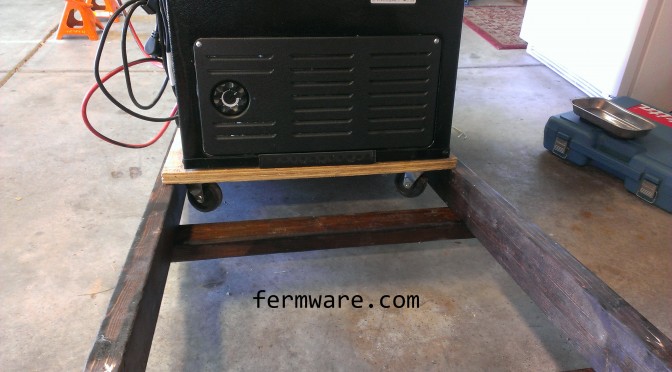
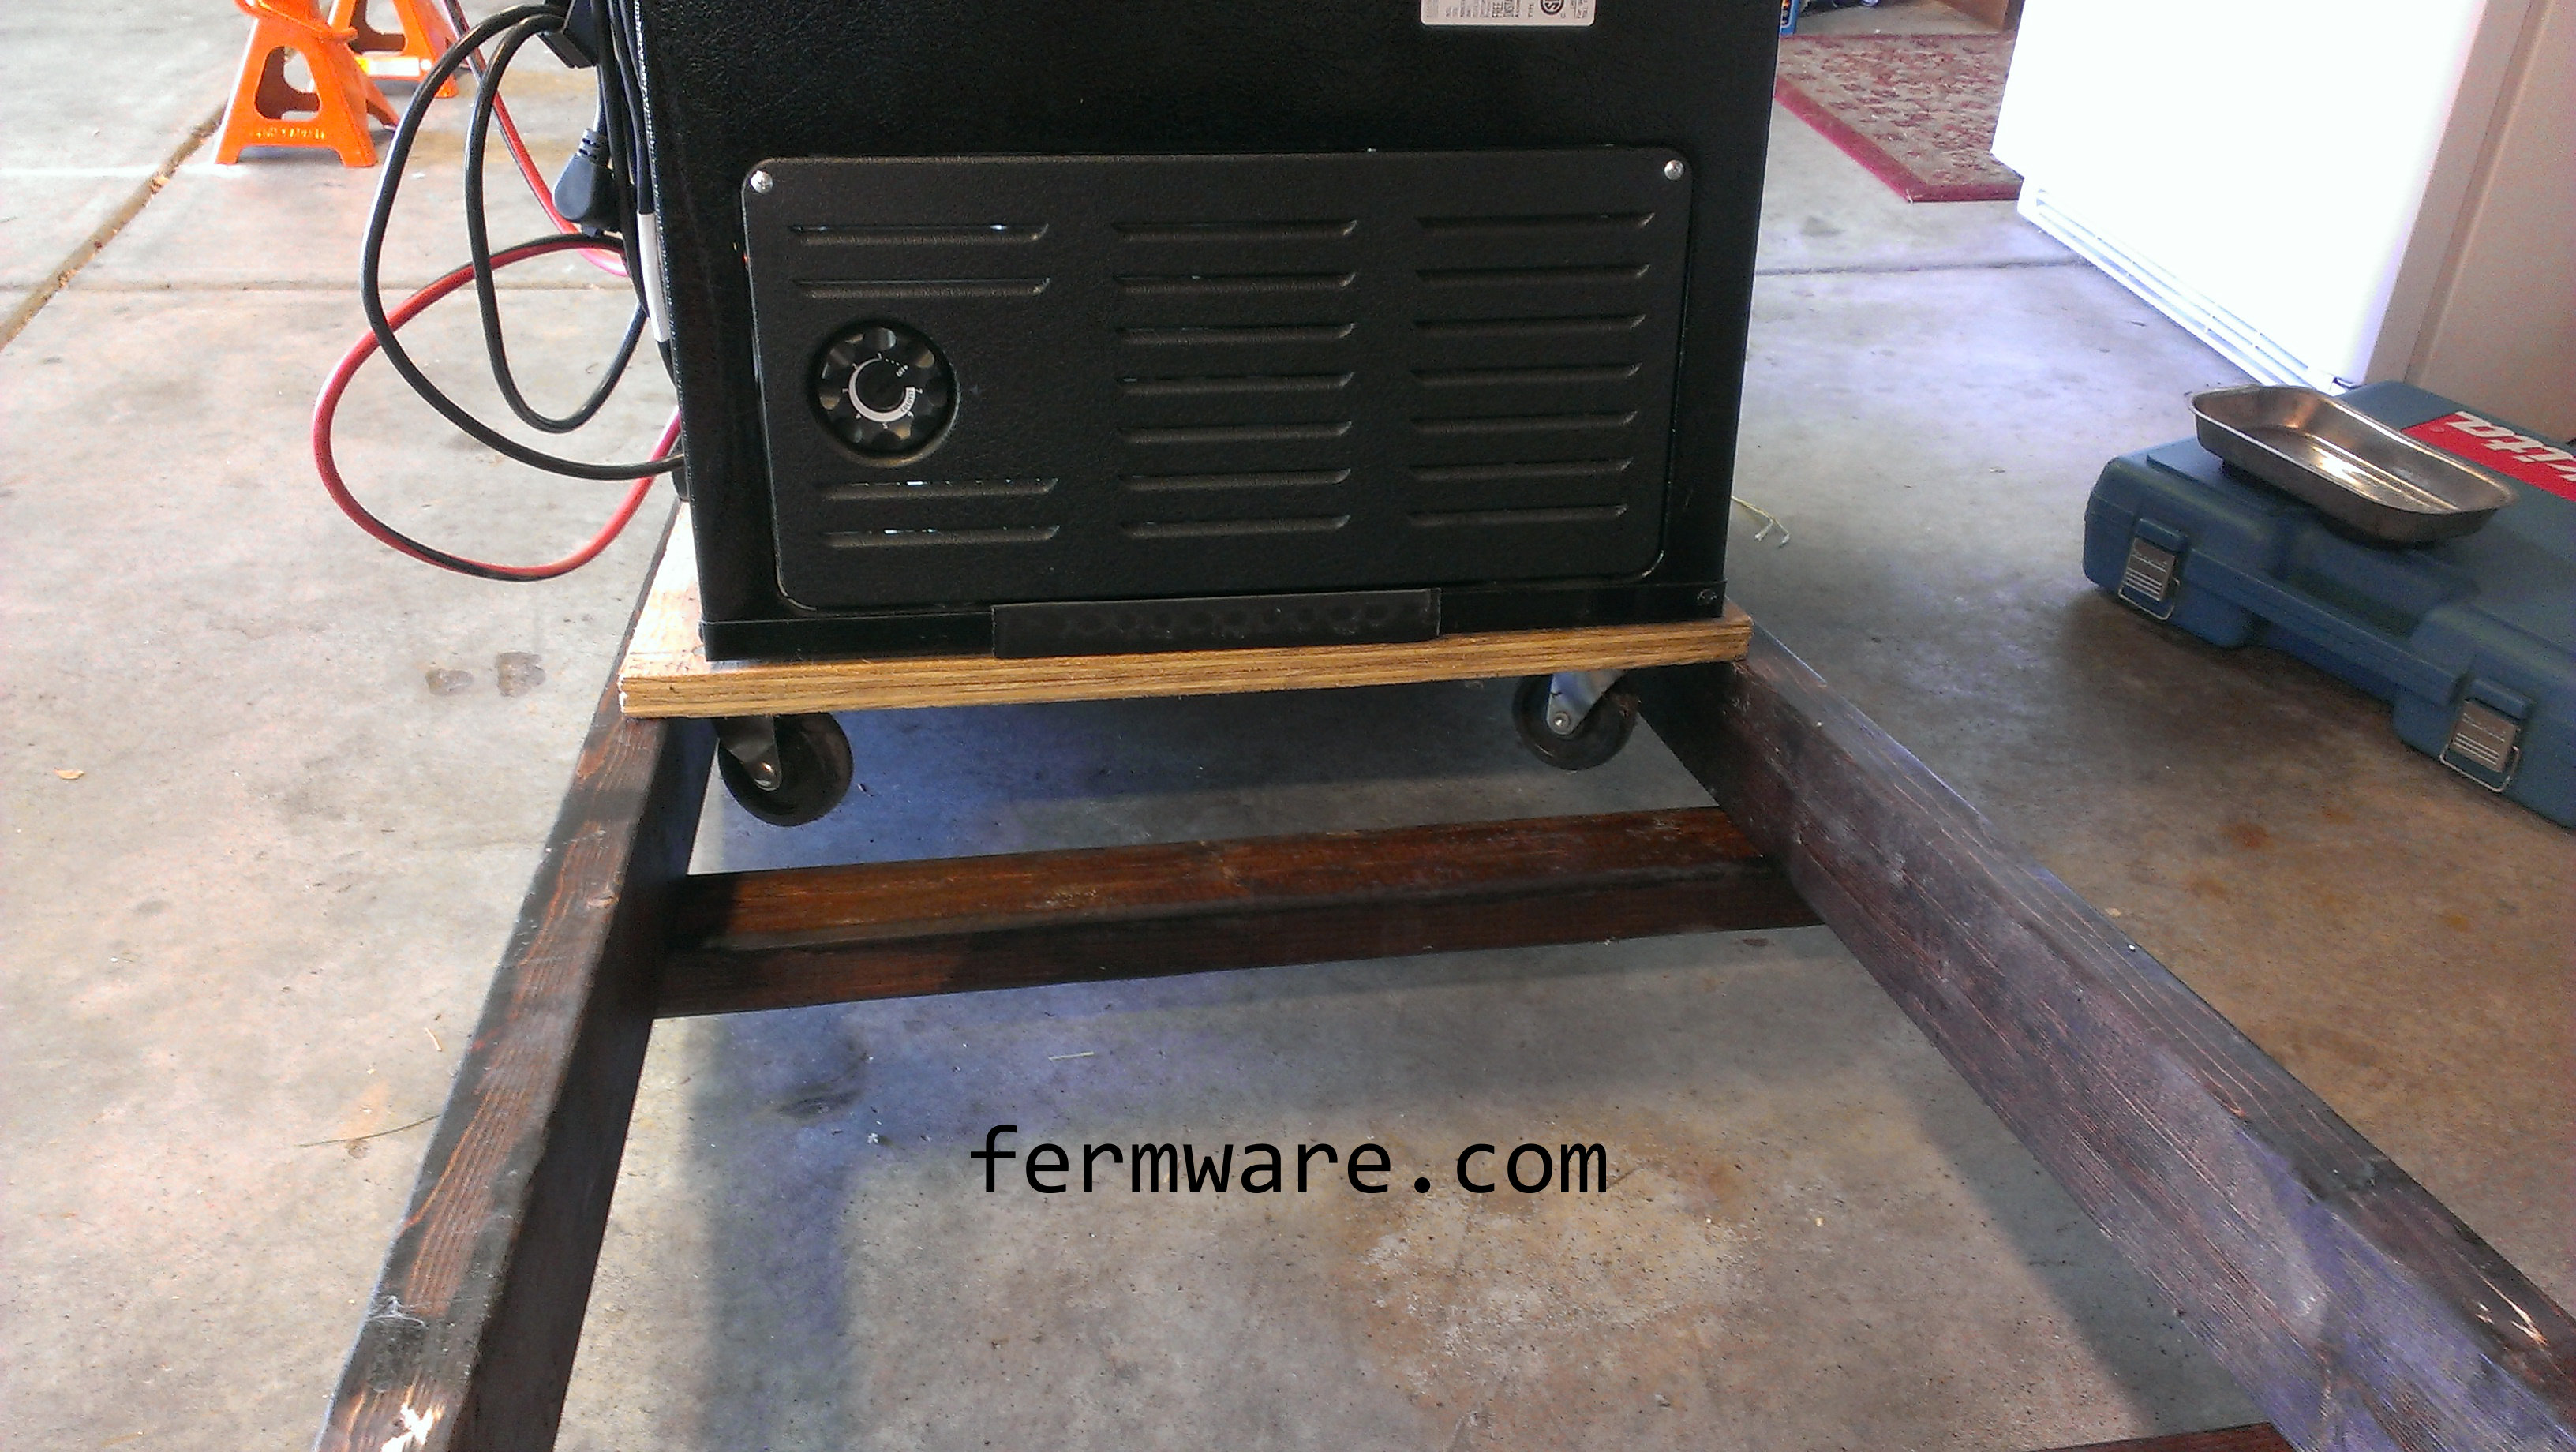
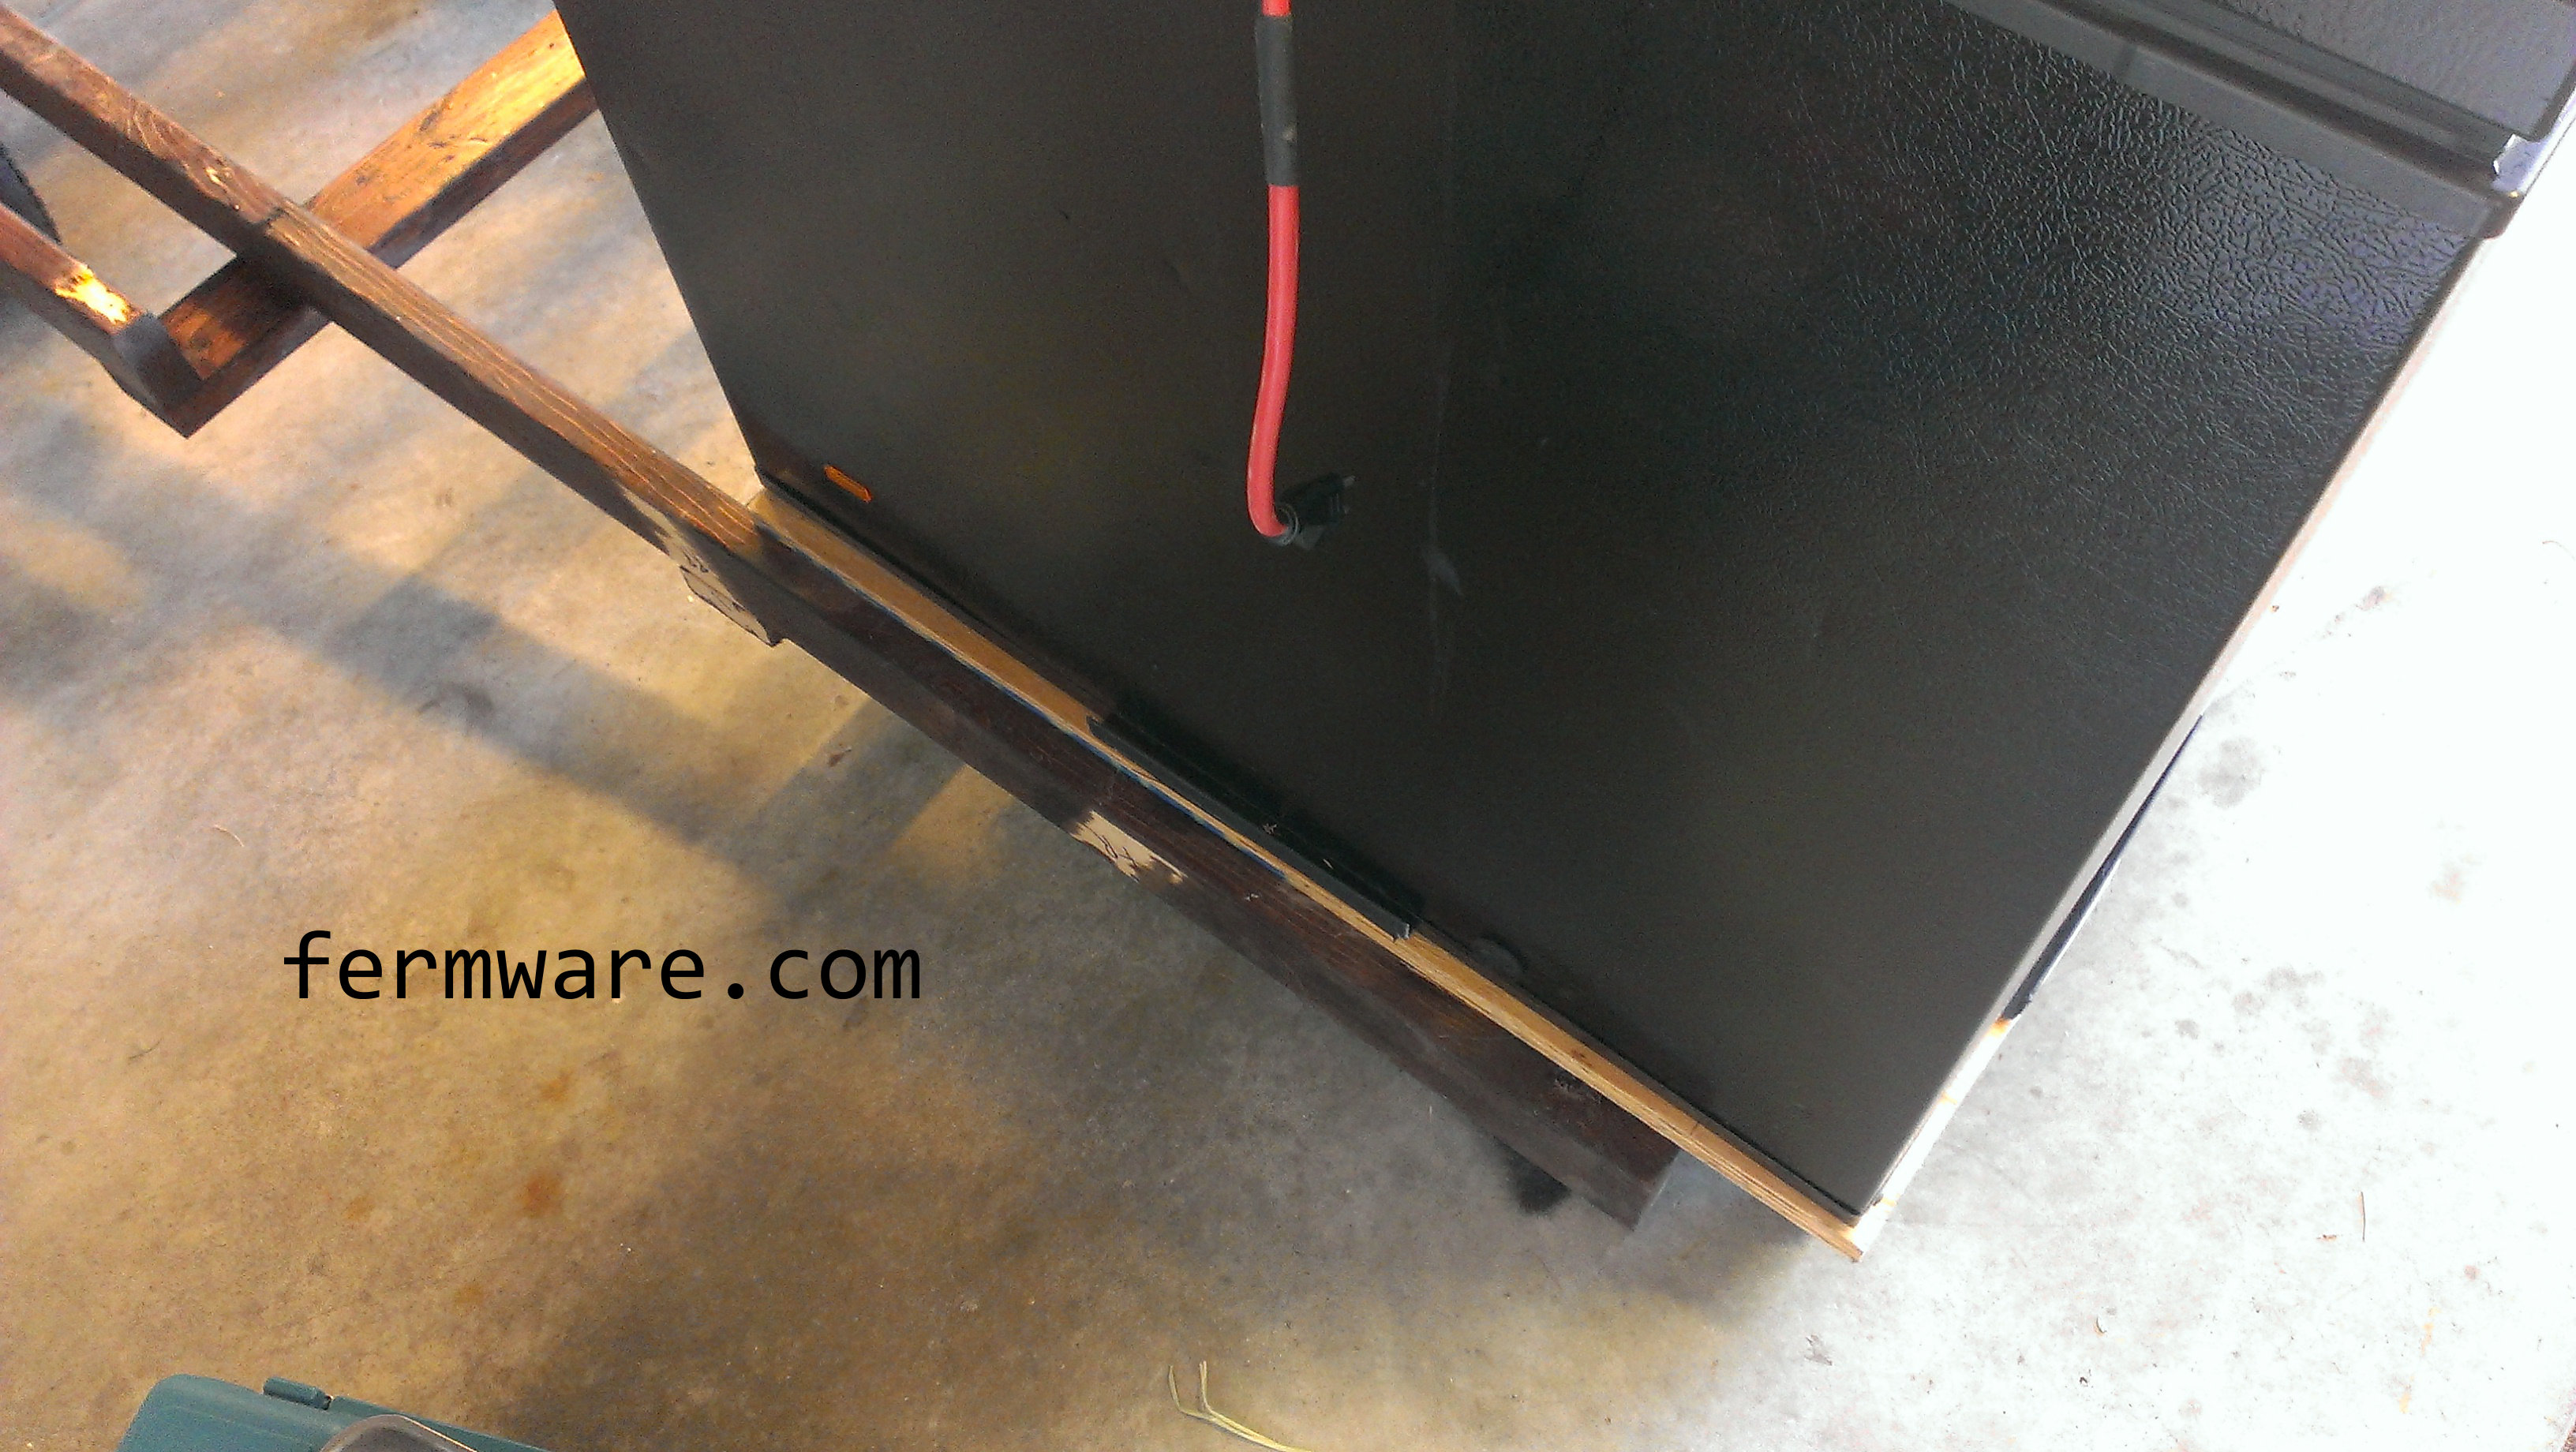
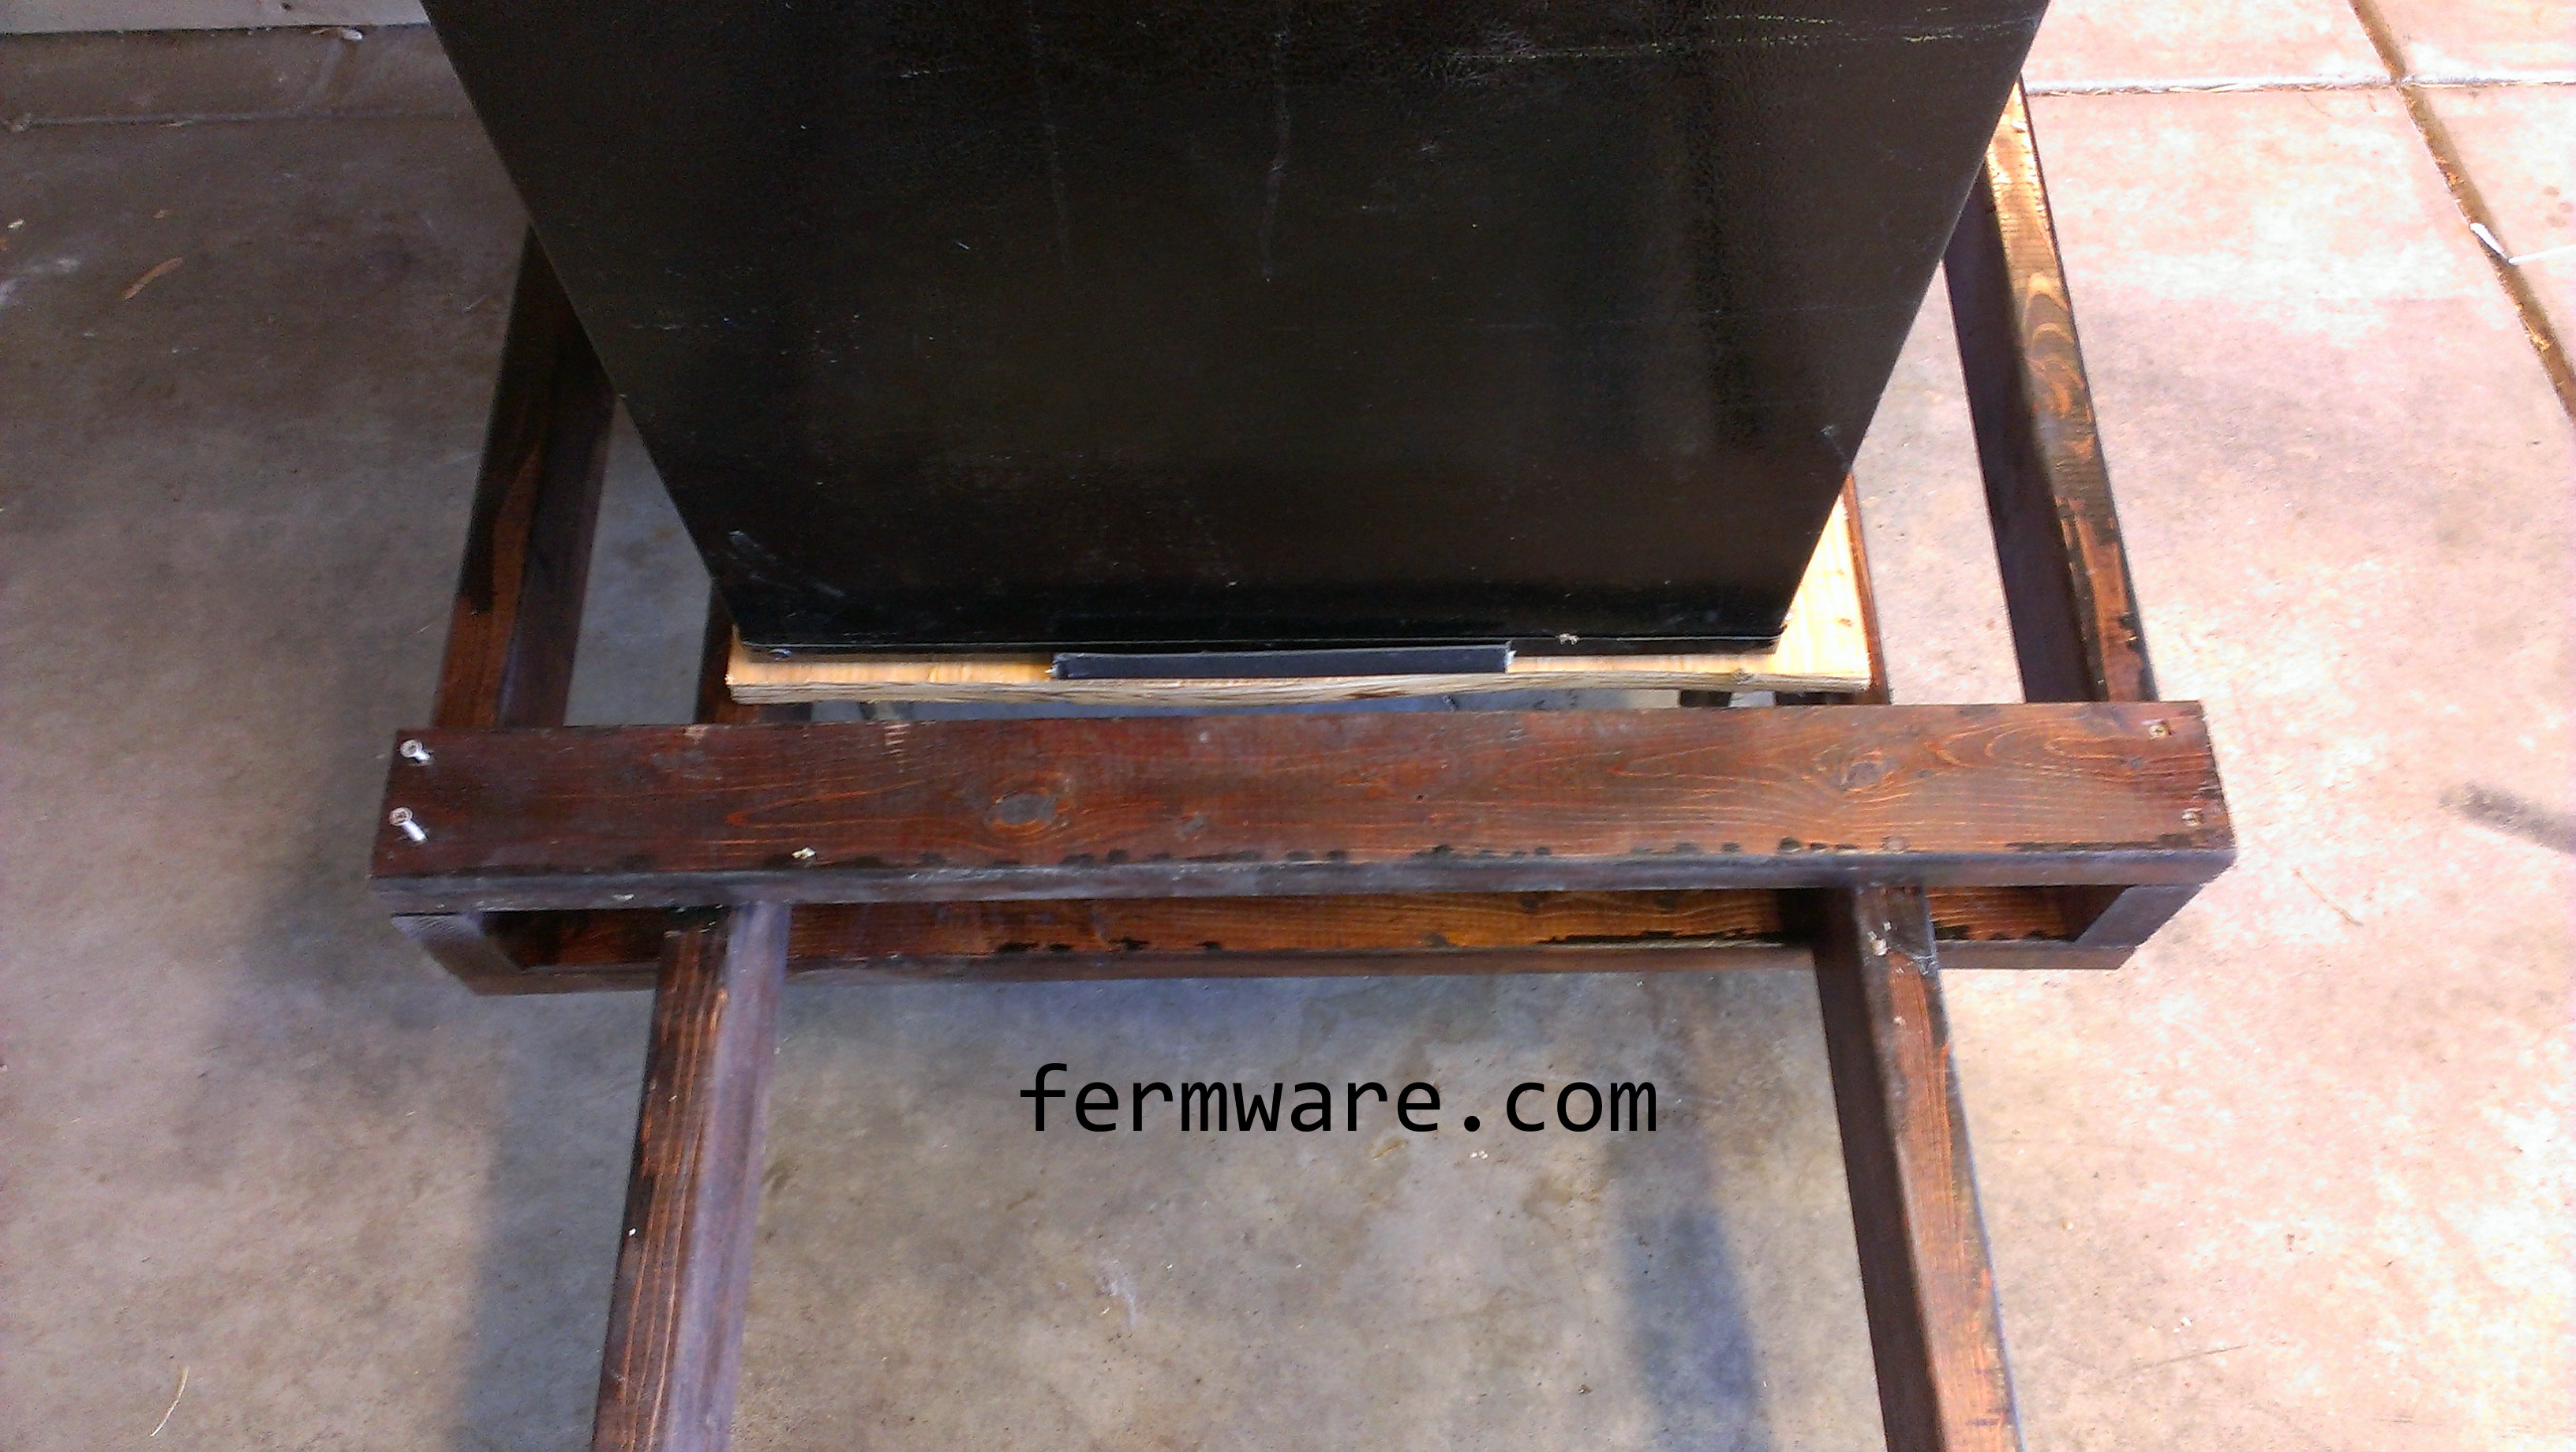
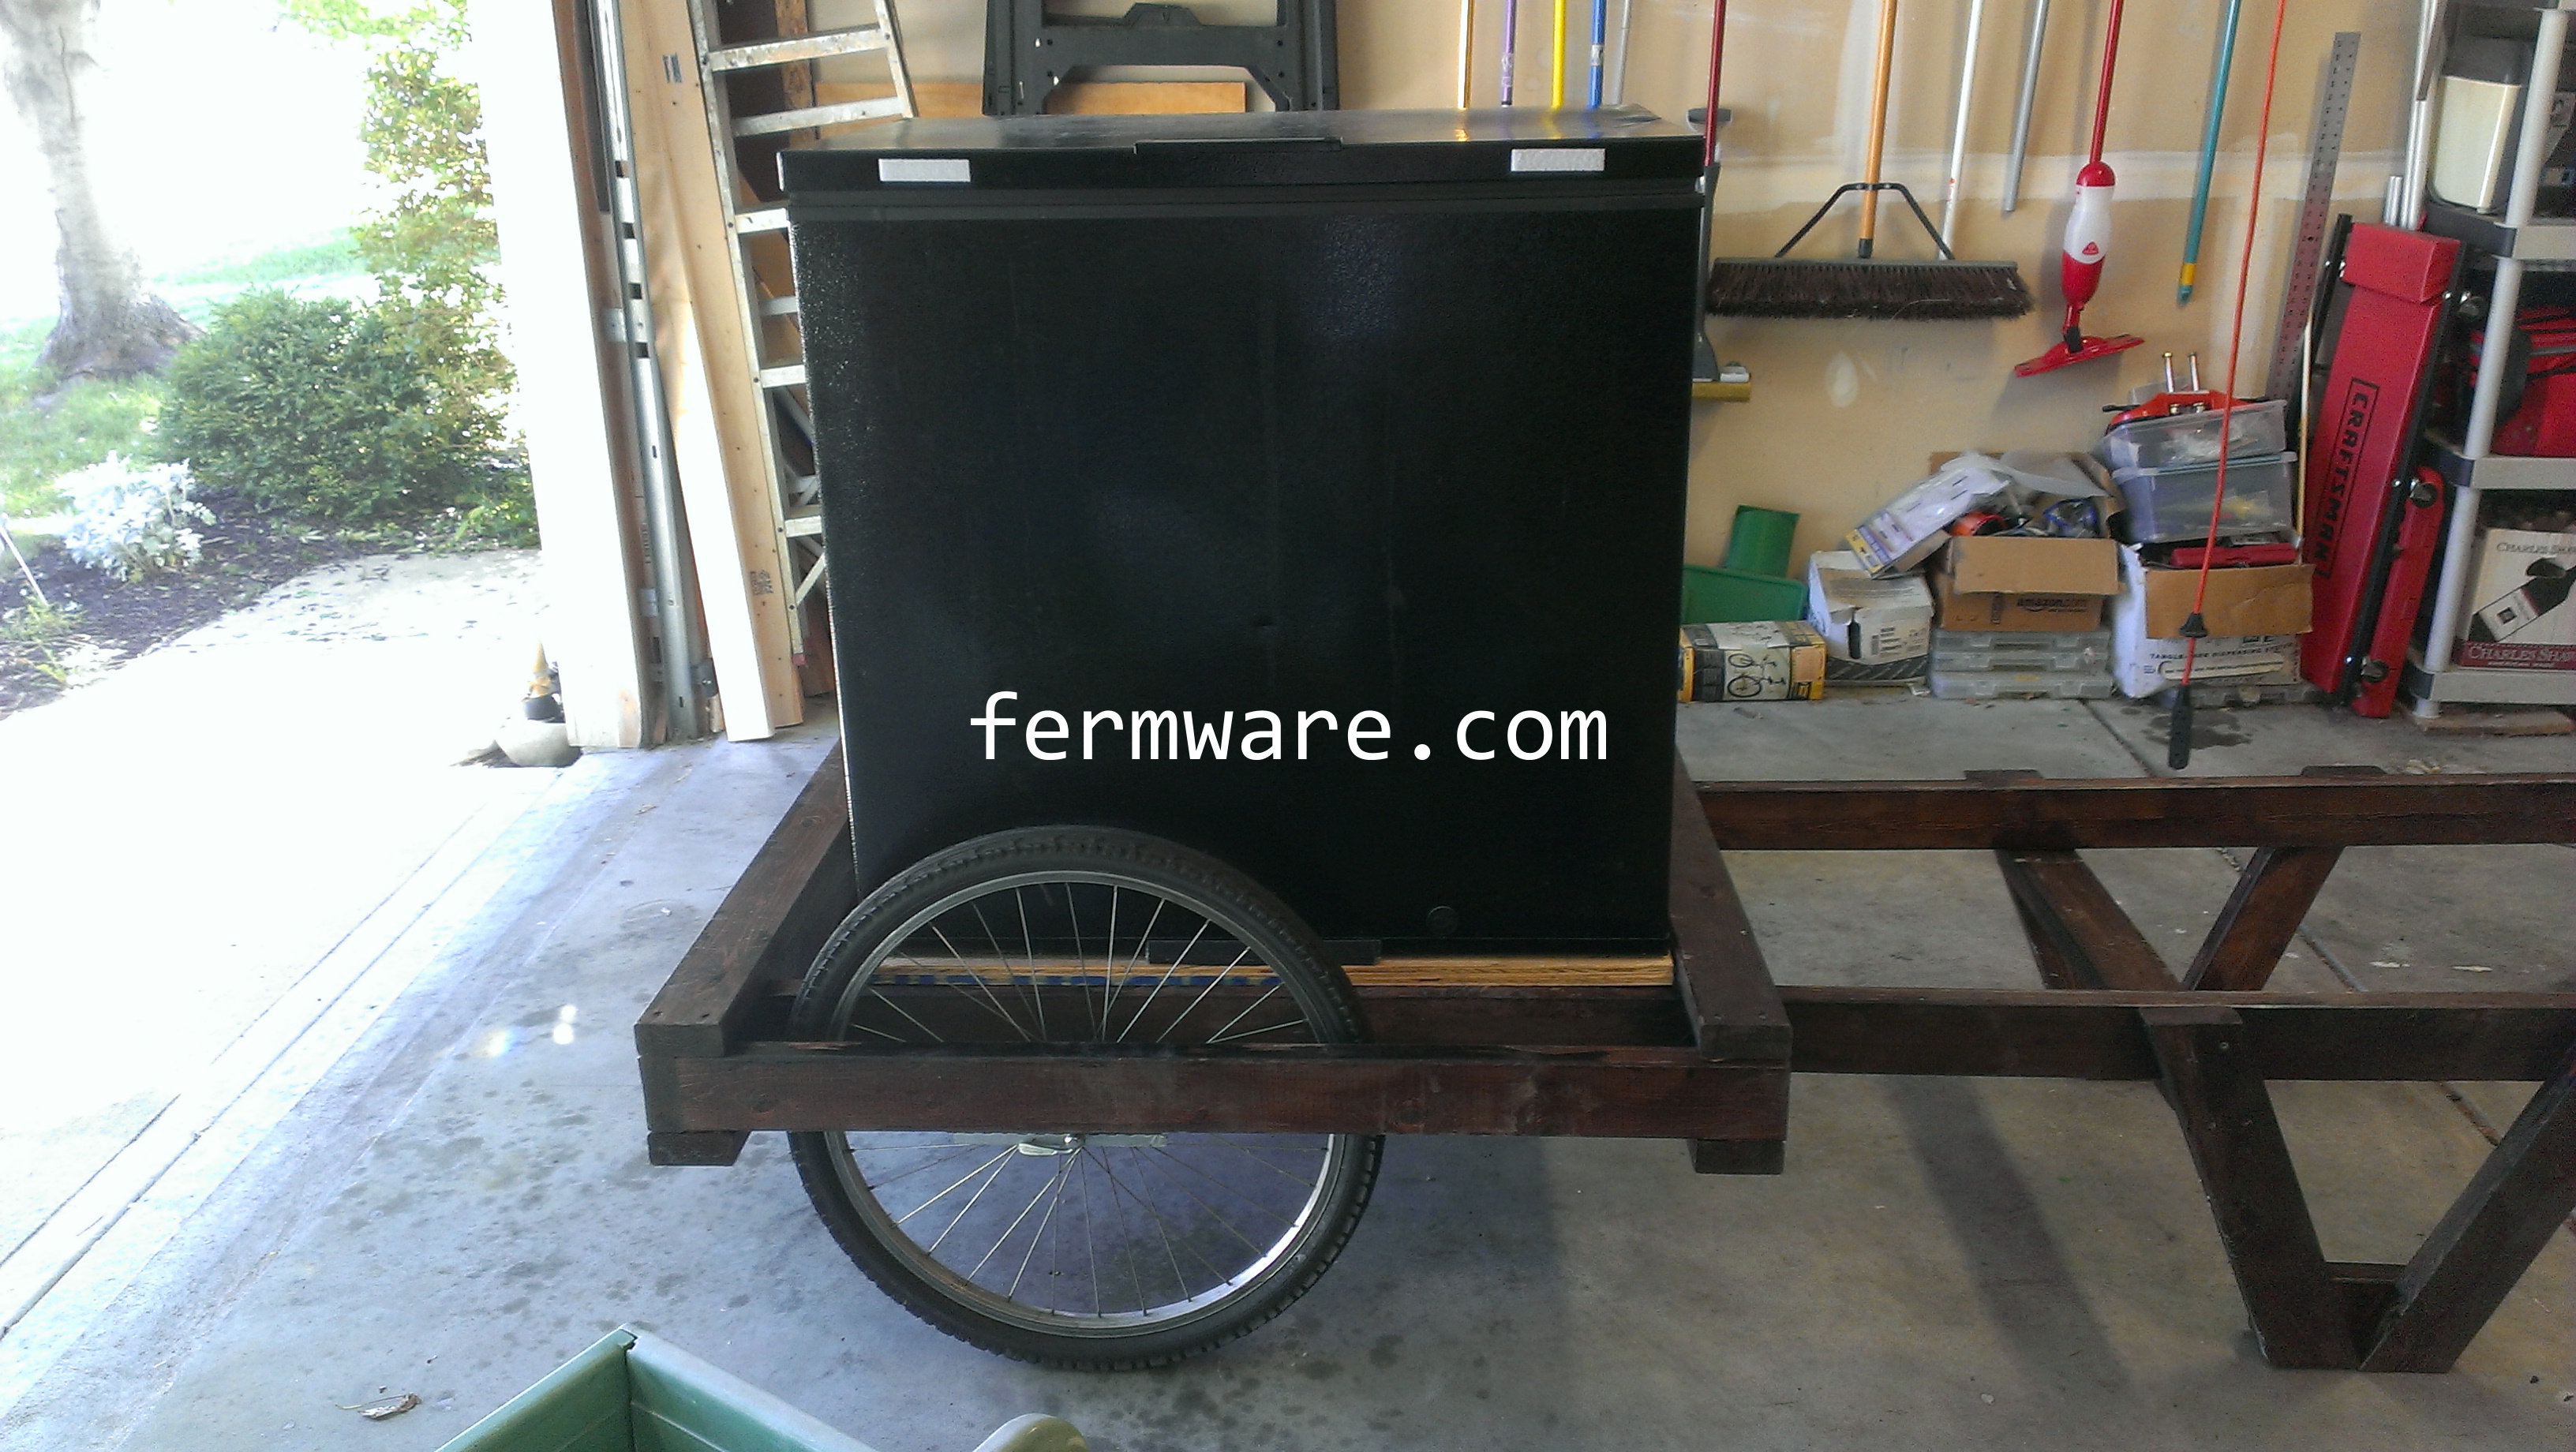
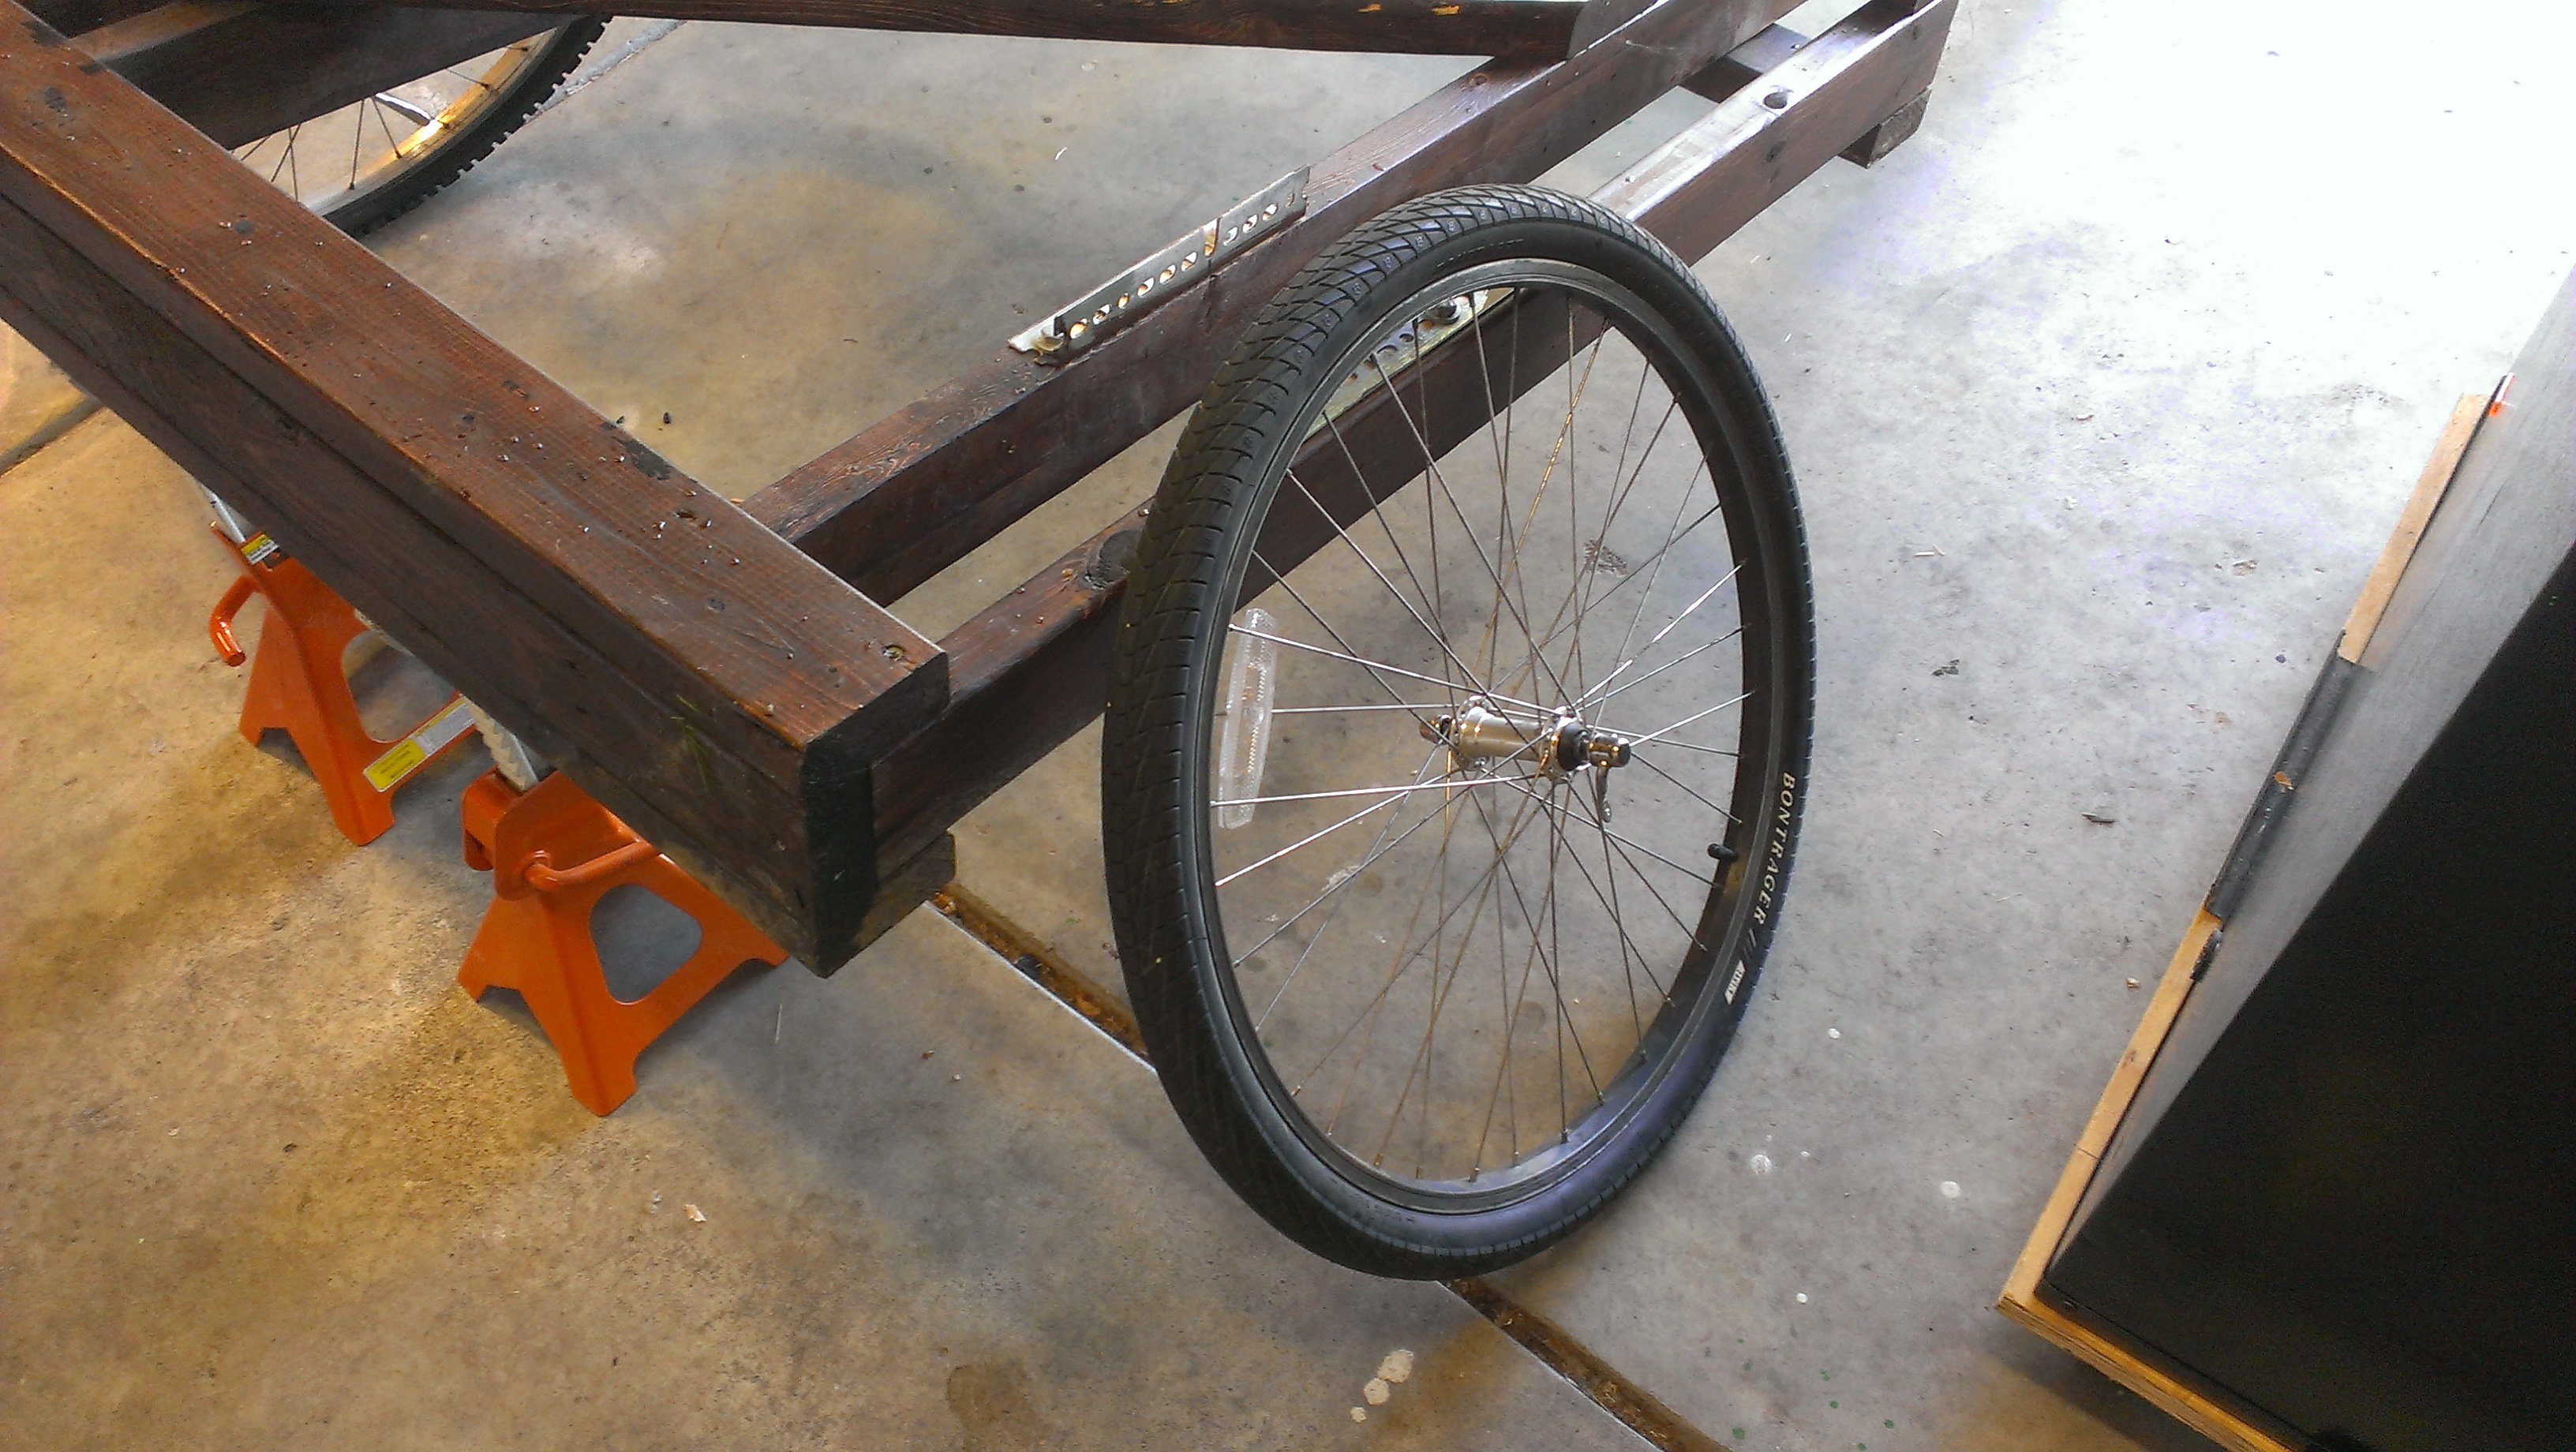
First you need to get your keezer off of the Bierwagen of course.  Then you’ll need to remove the wheels and get them back on your bikes.

015-4 - Right wheel in place

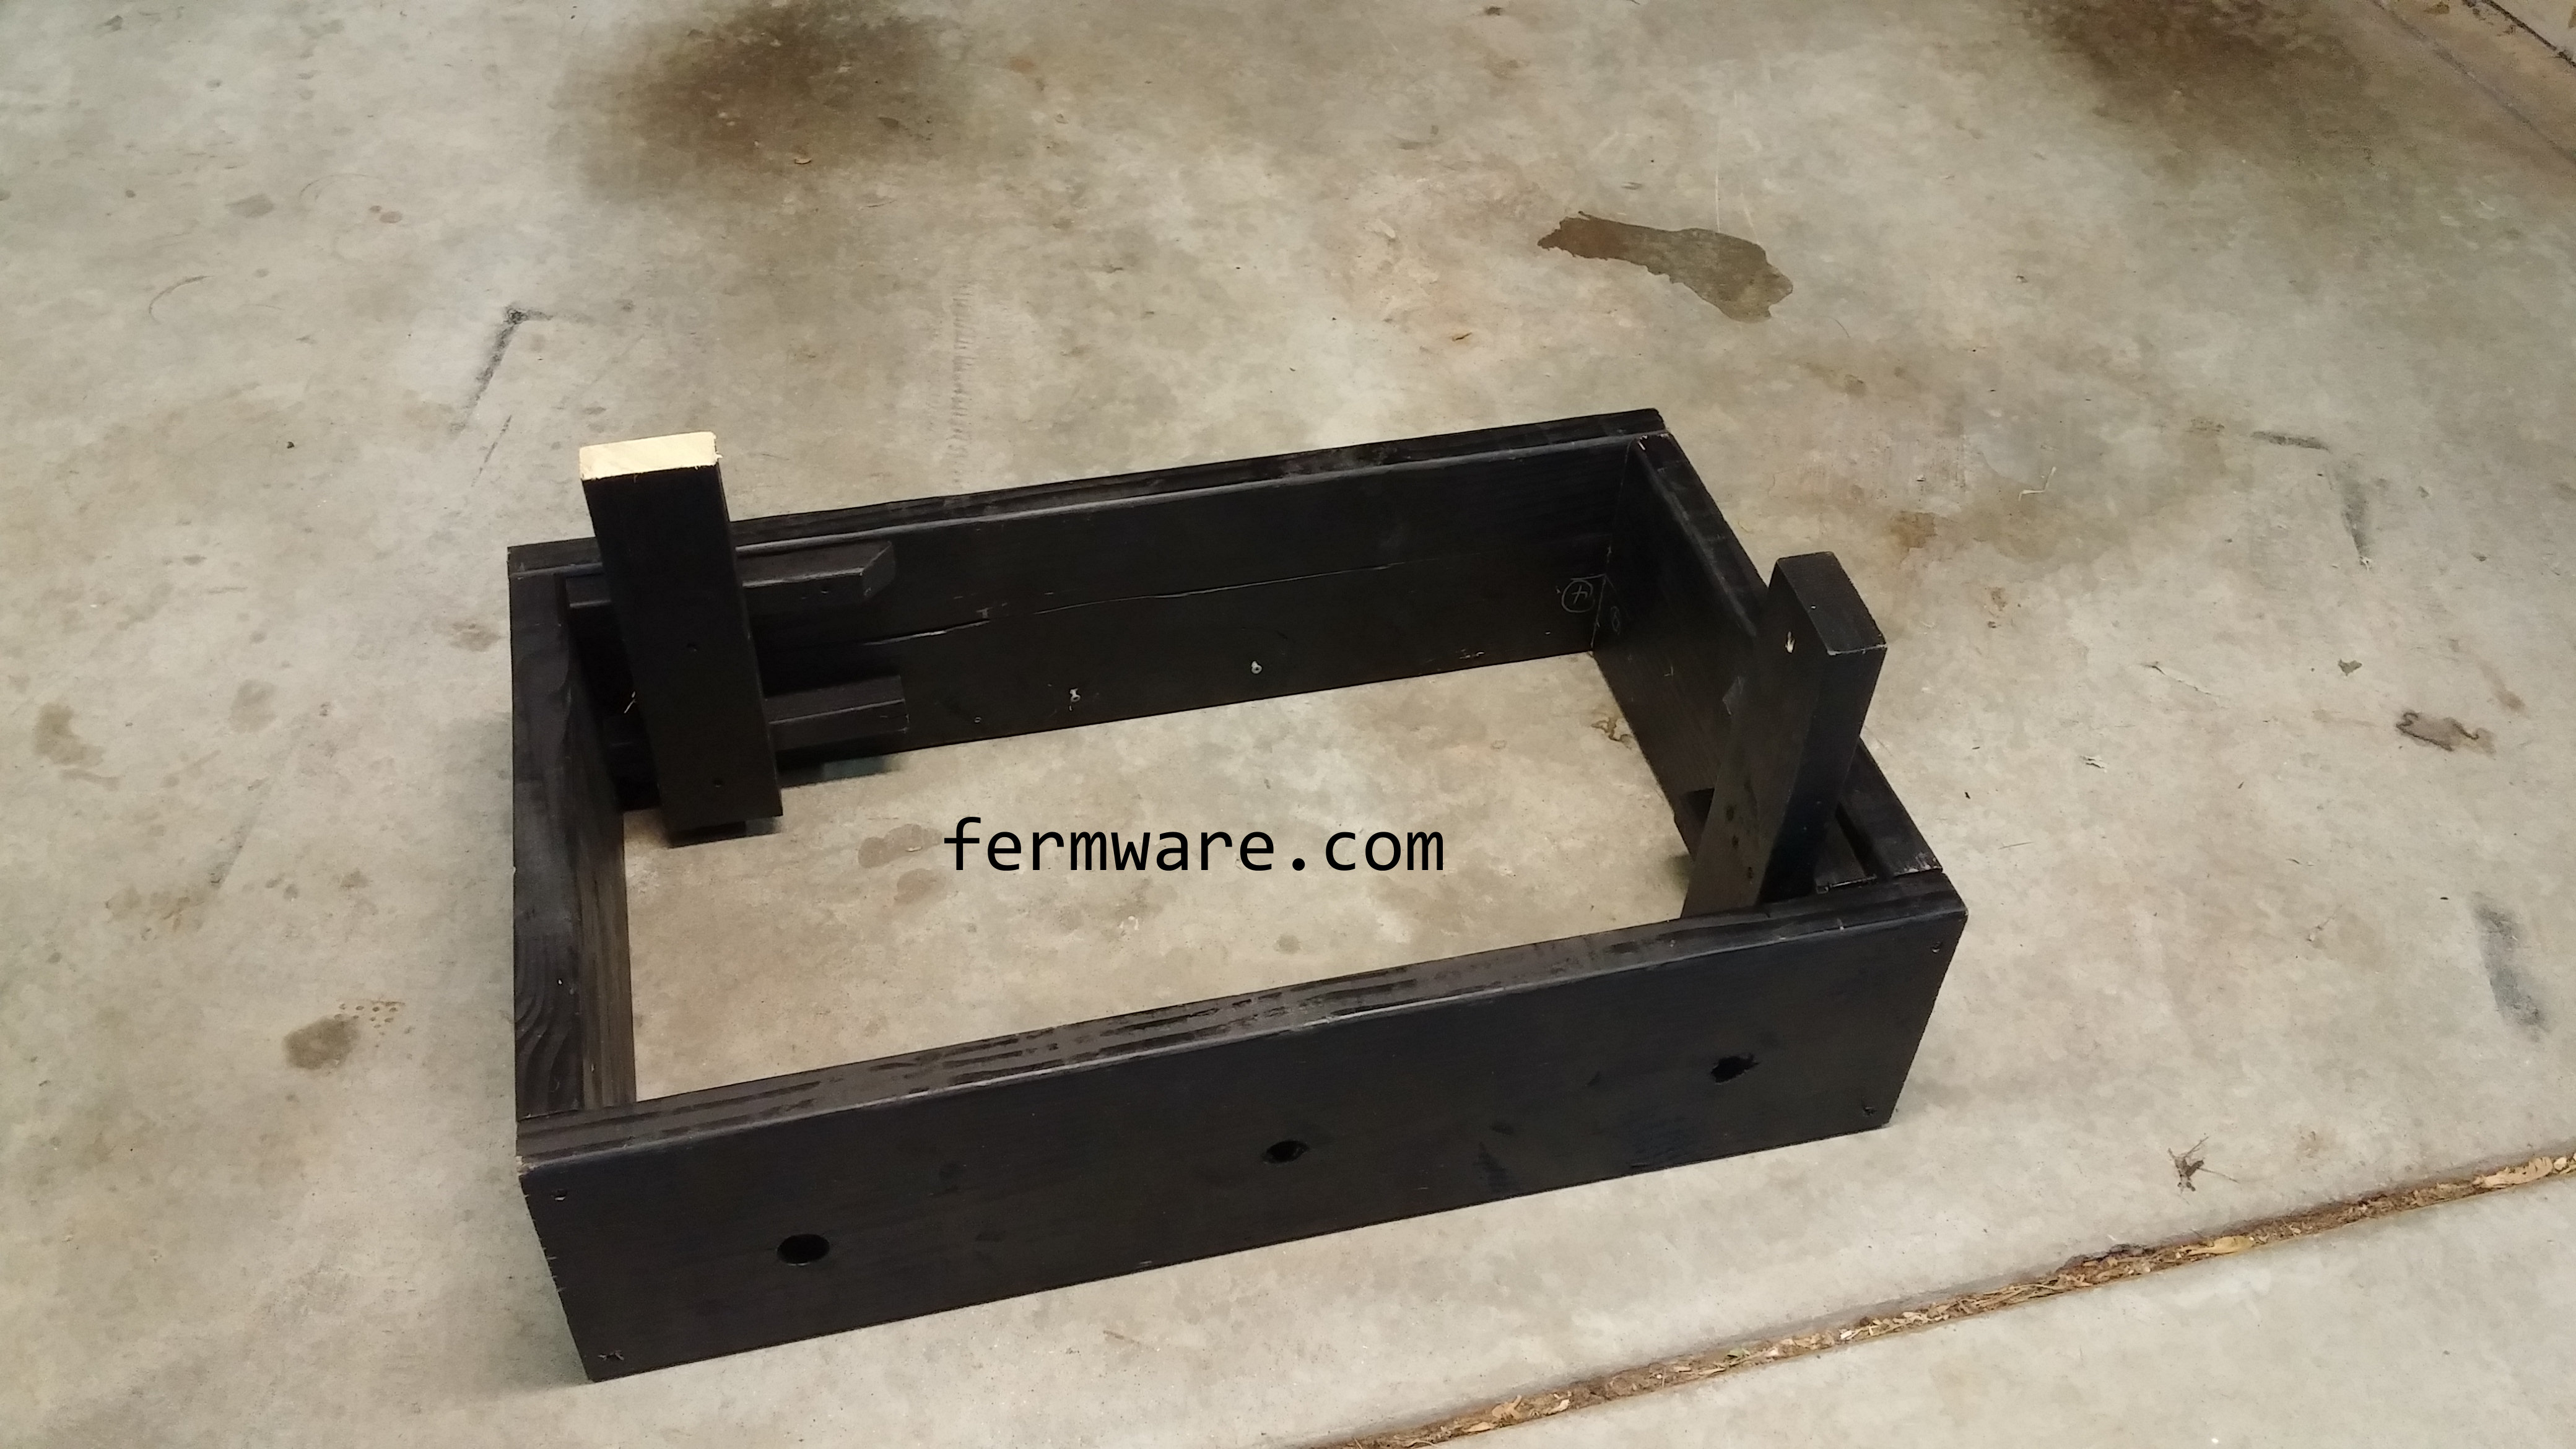
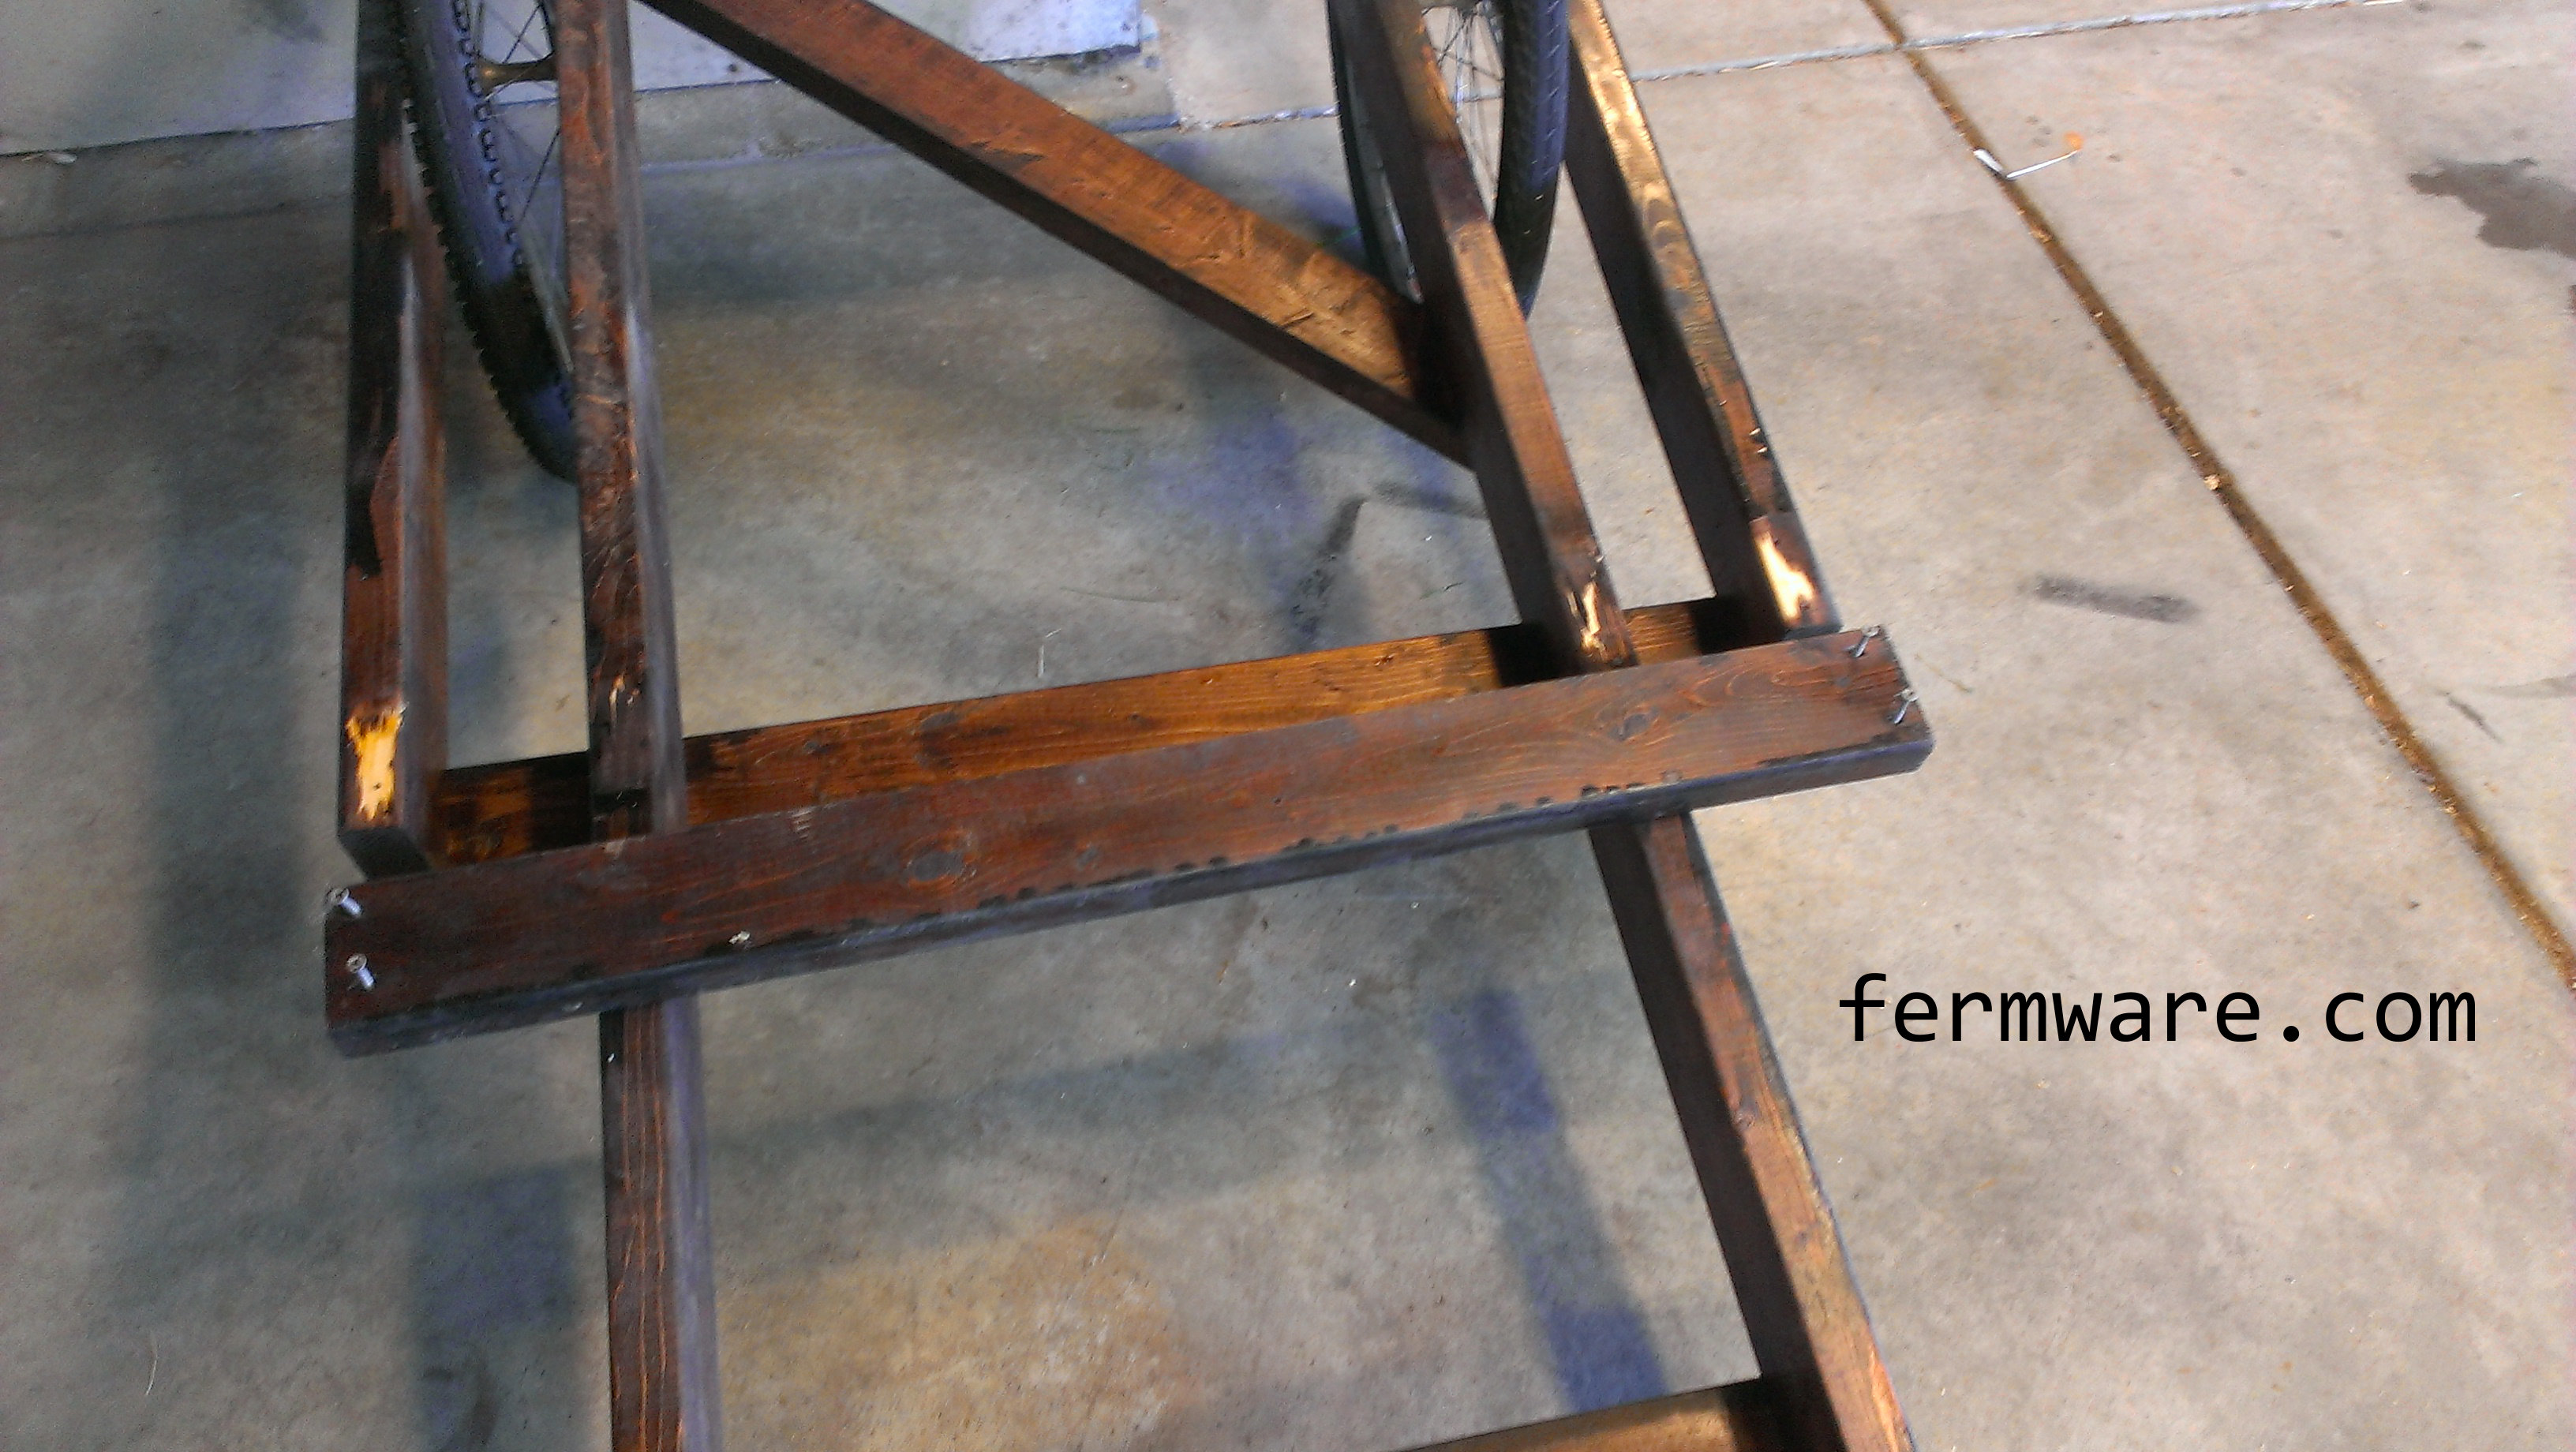
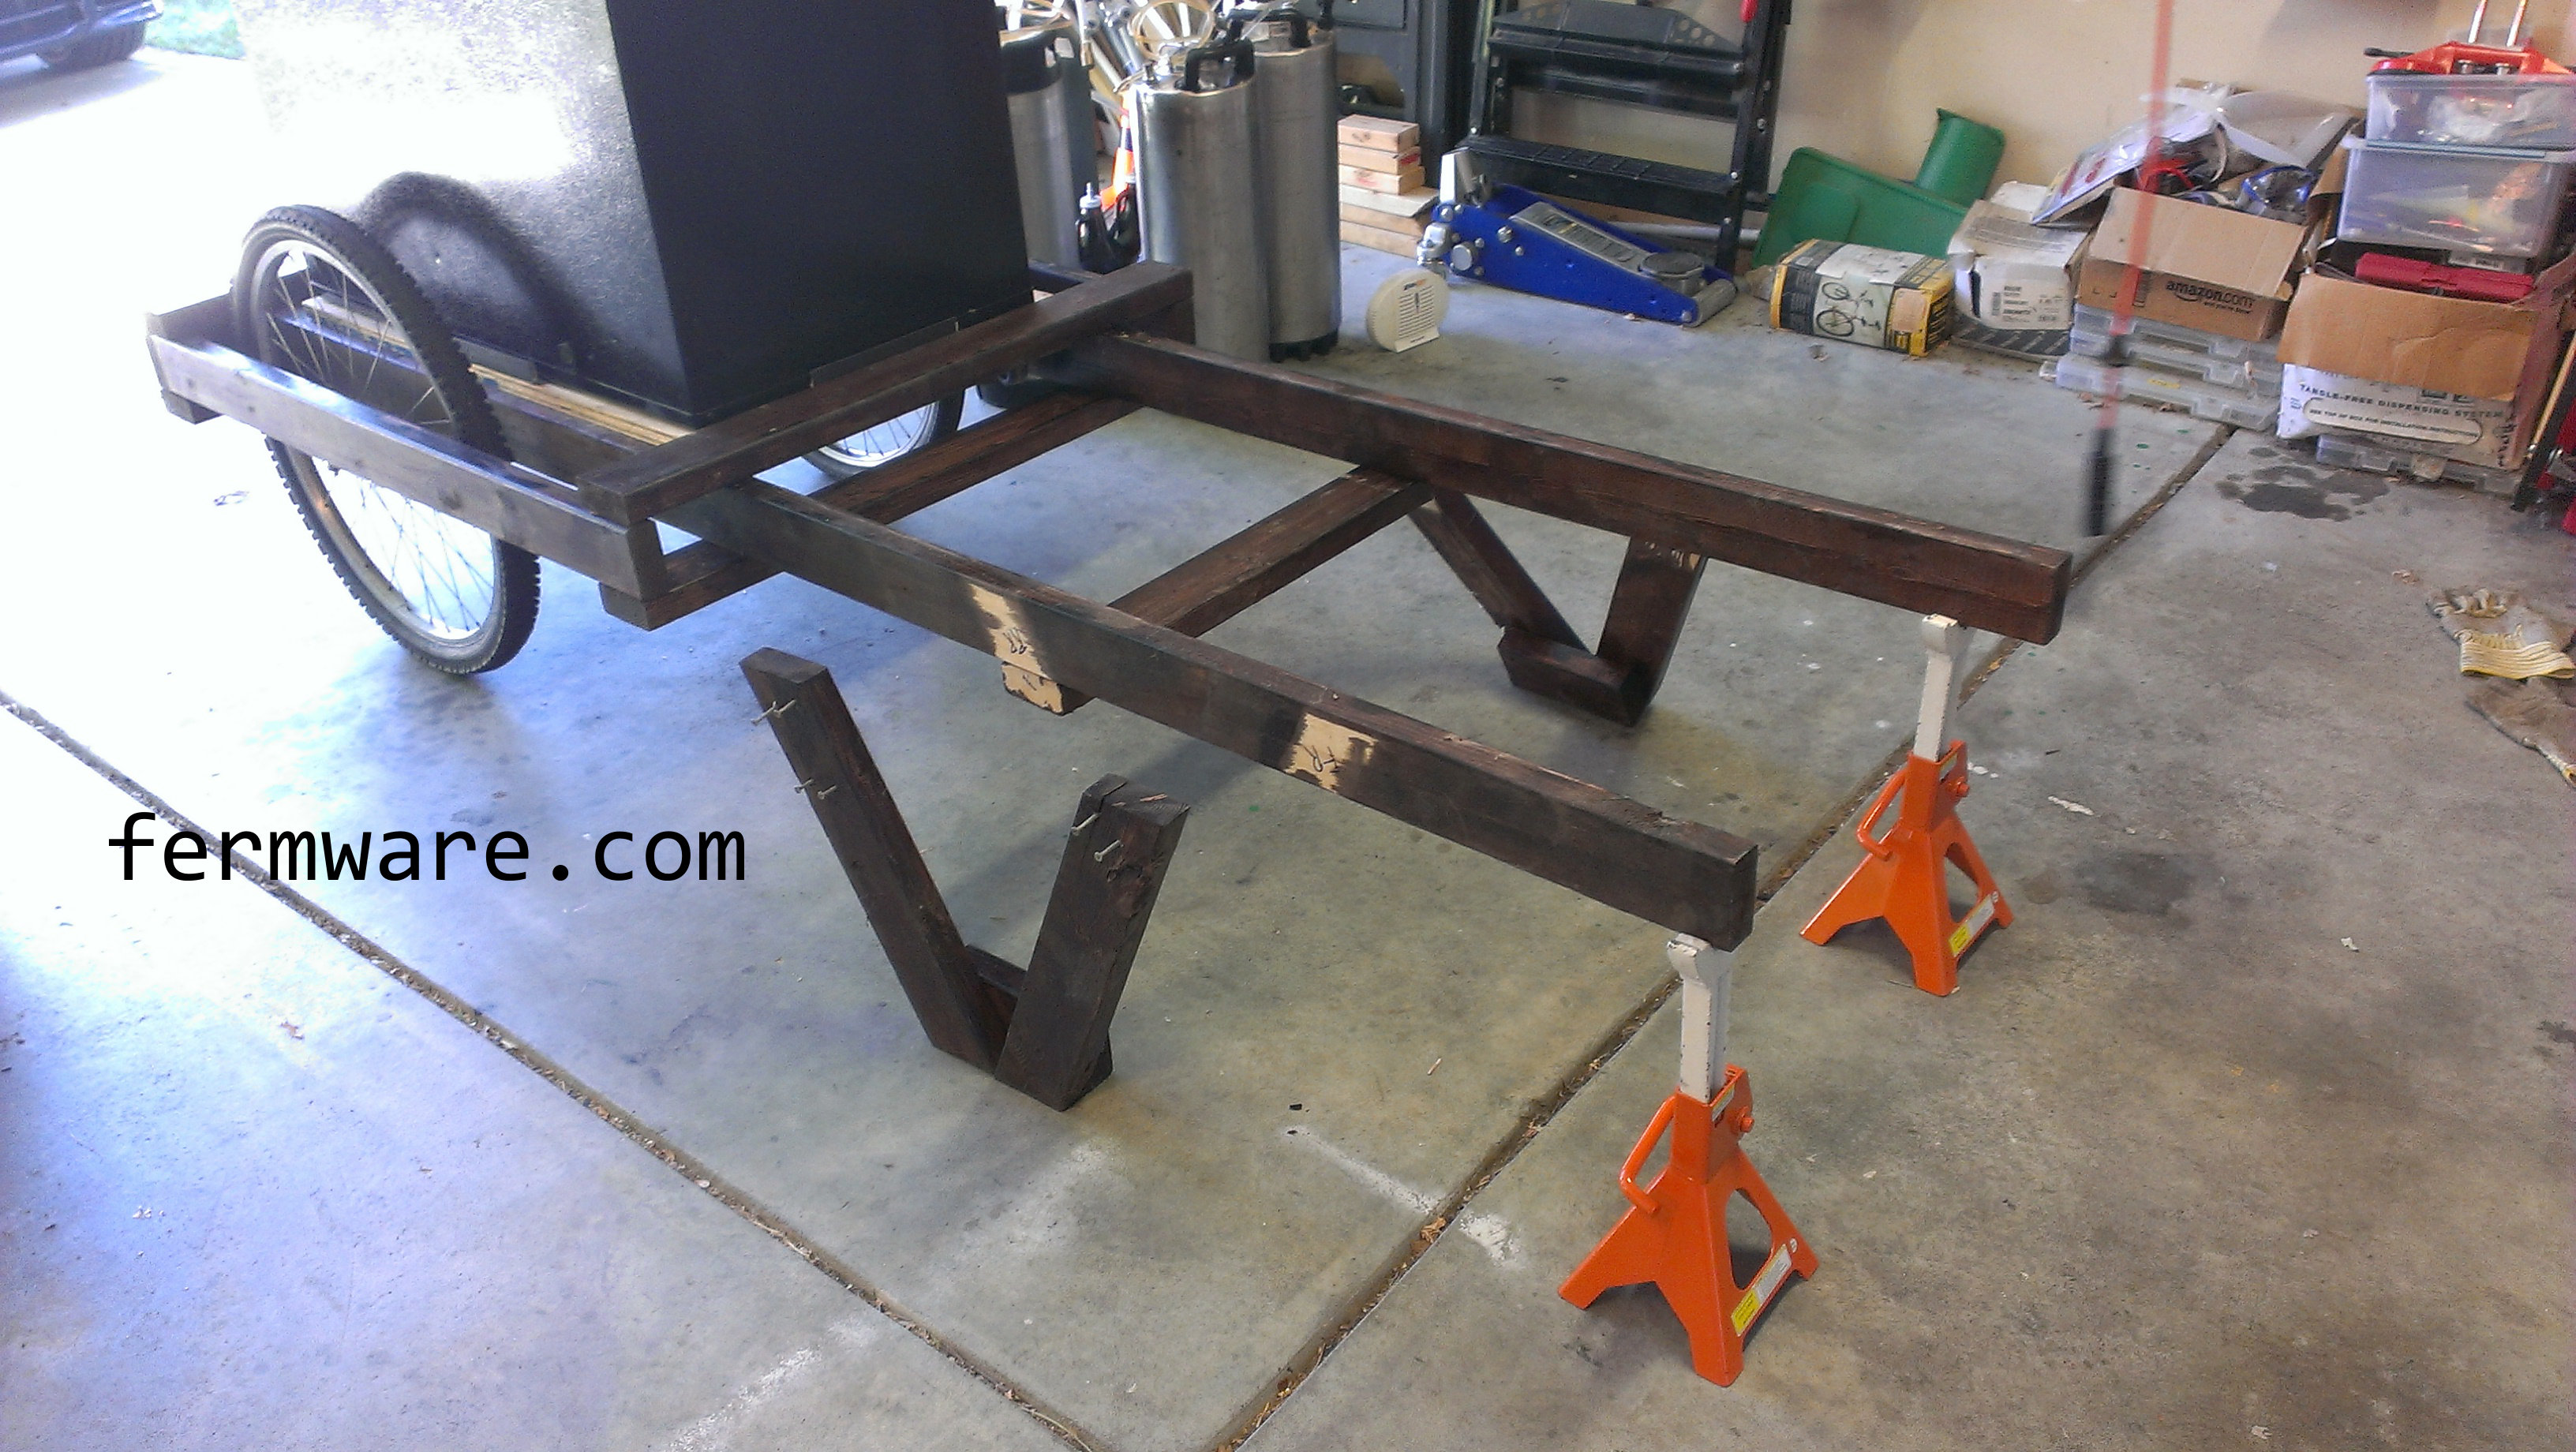
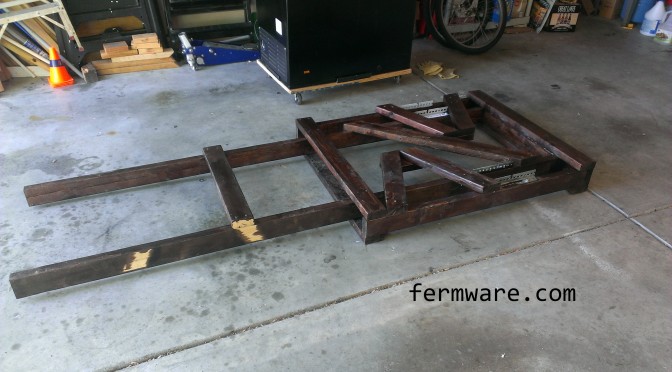
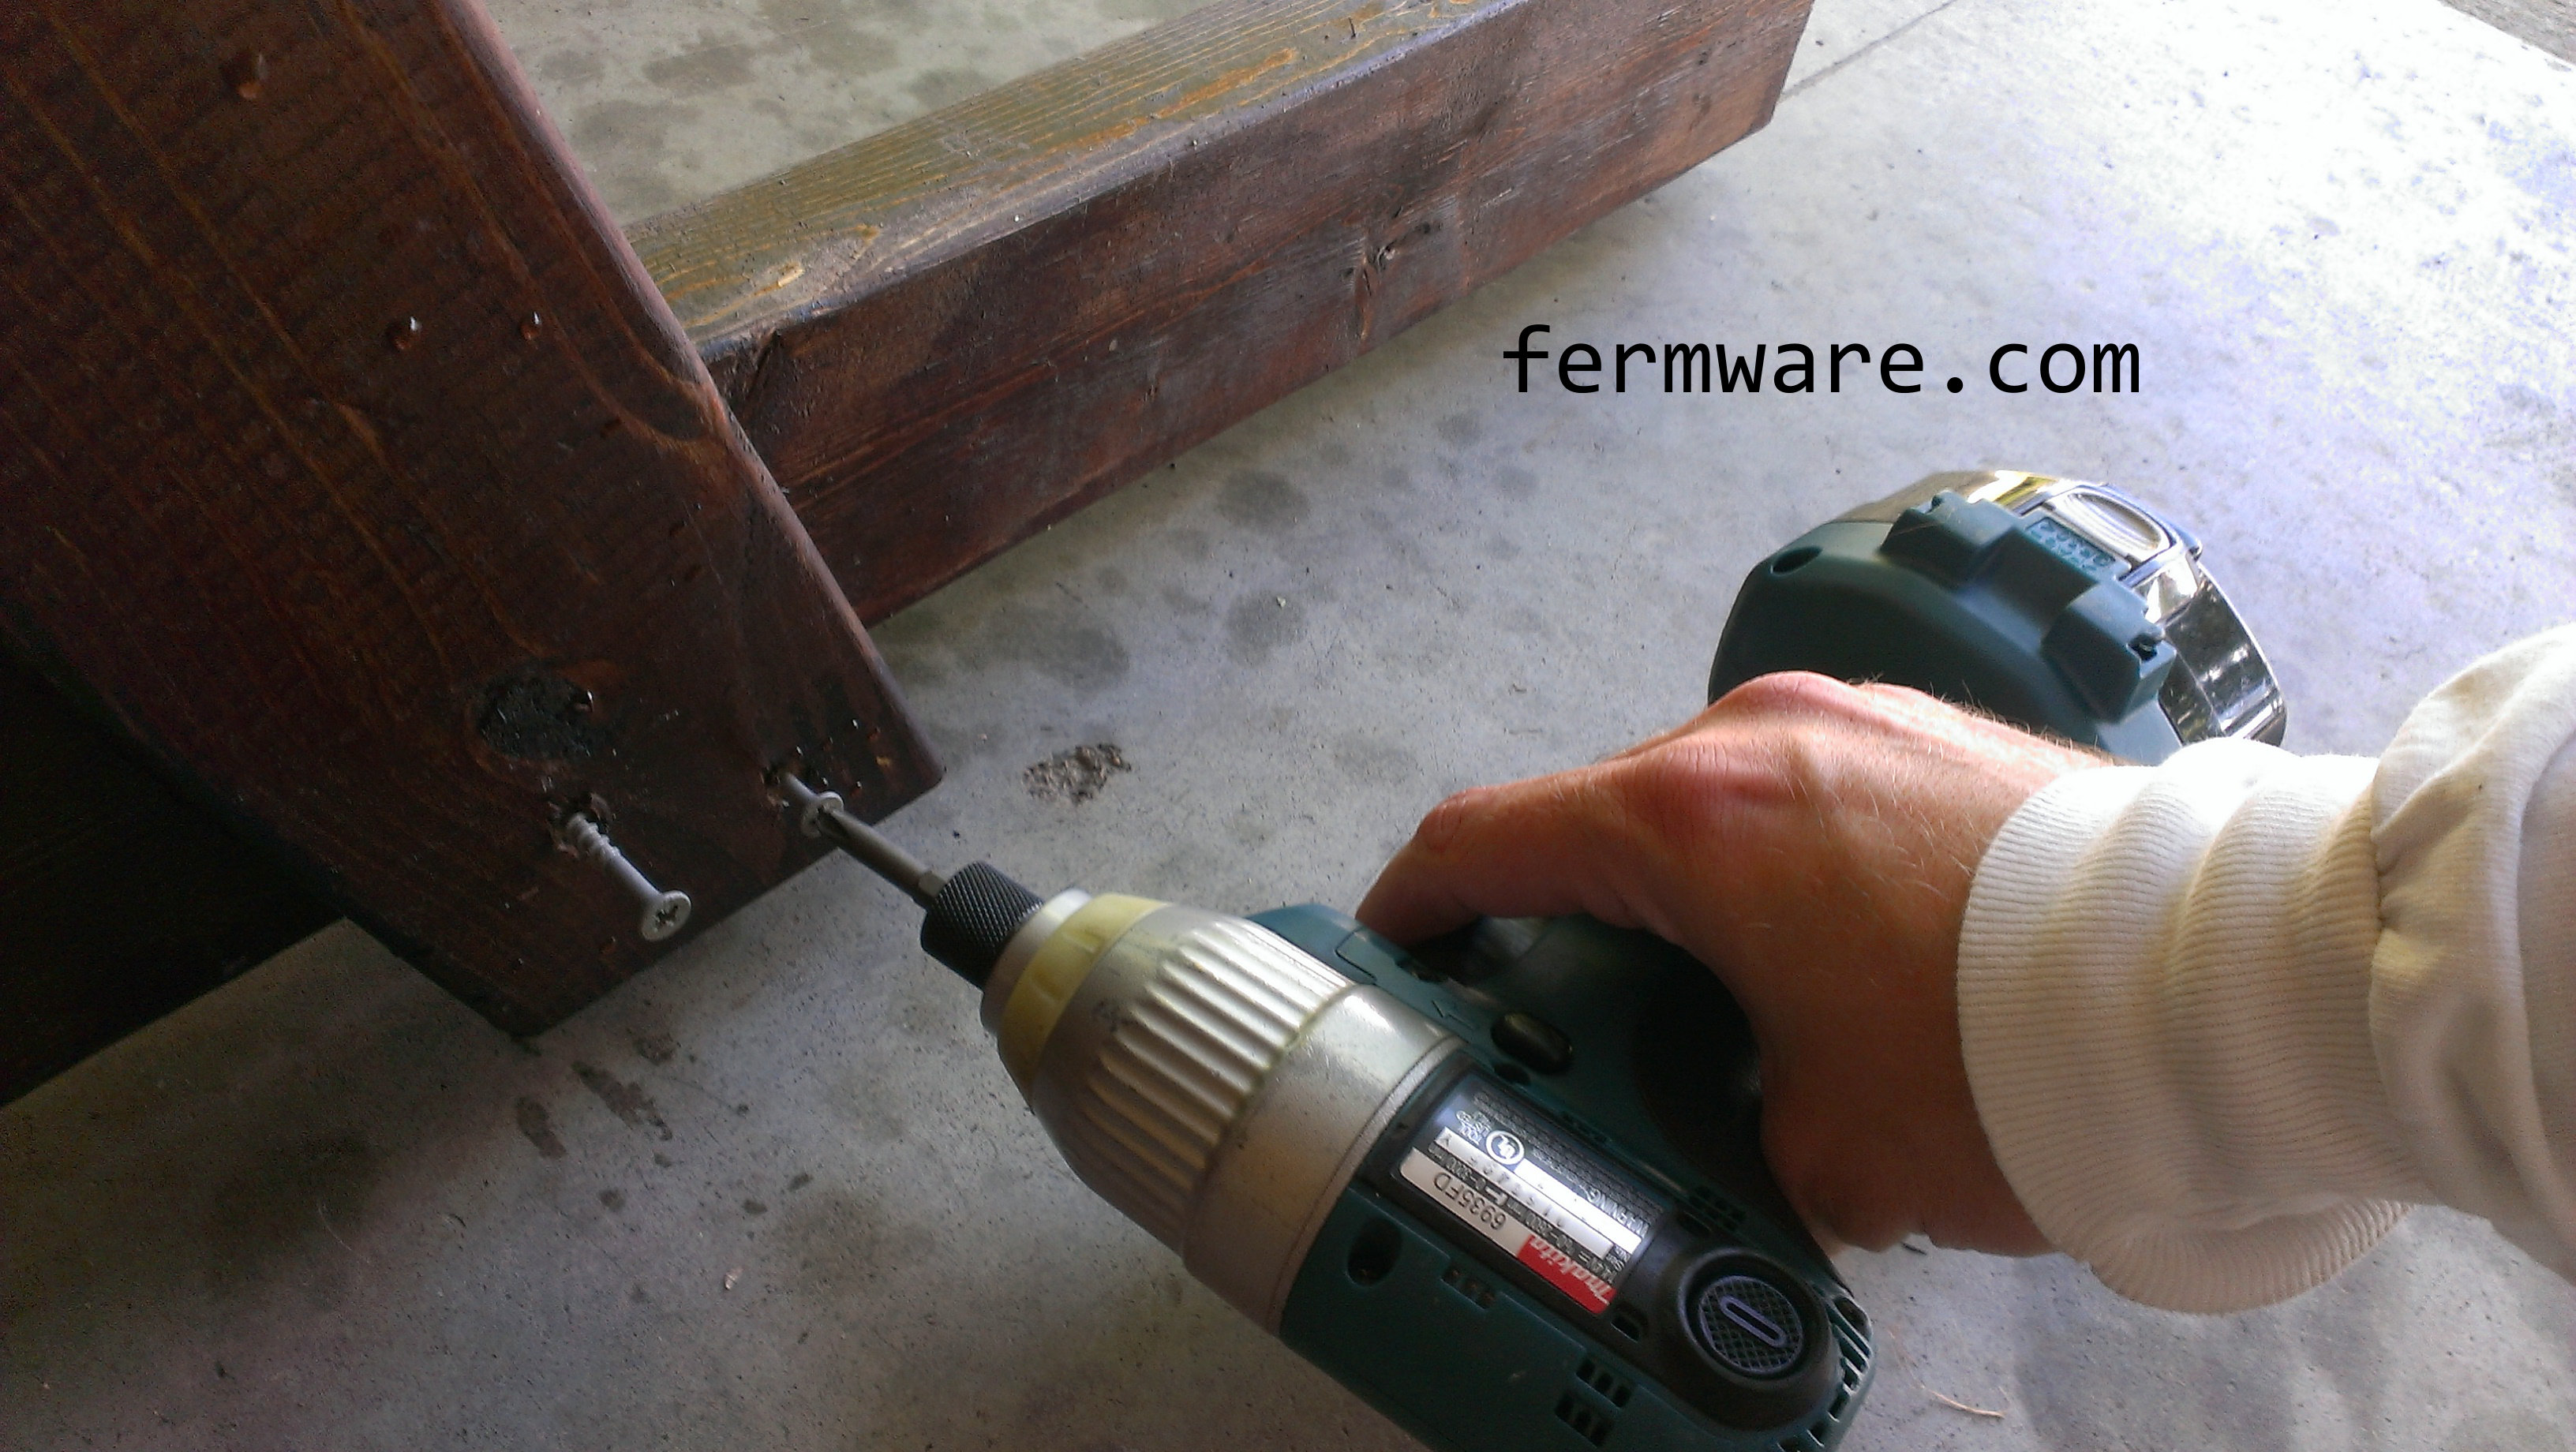
Remove the legs (of course they are already off, since you unloaded the keezer).

015-6 - Reinstallation of legs 2


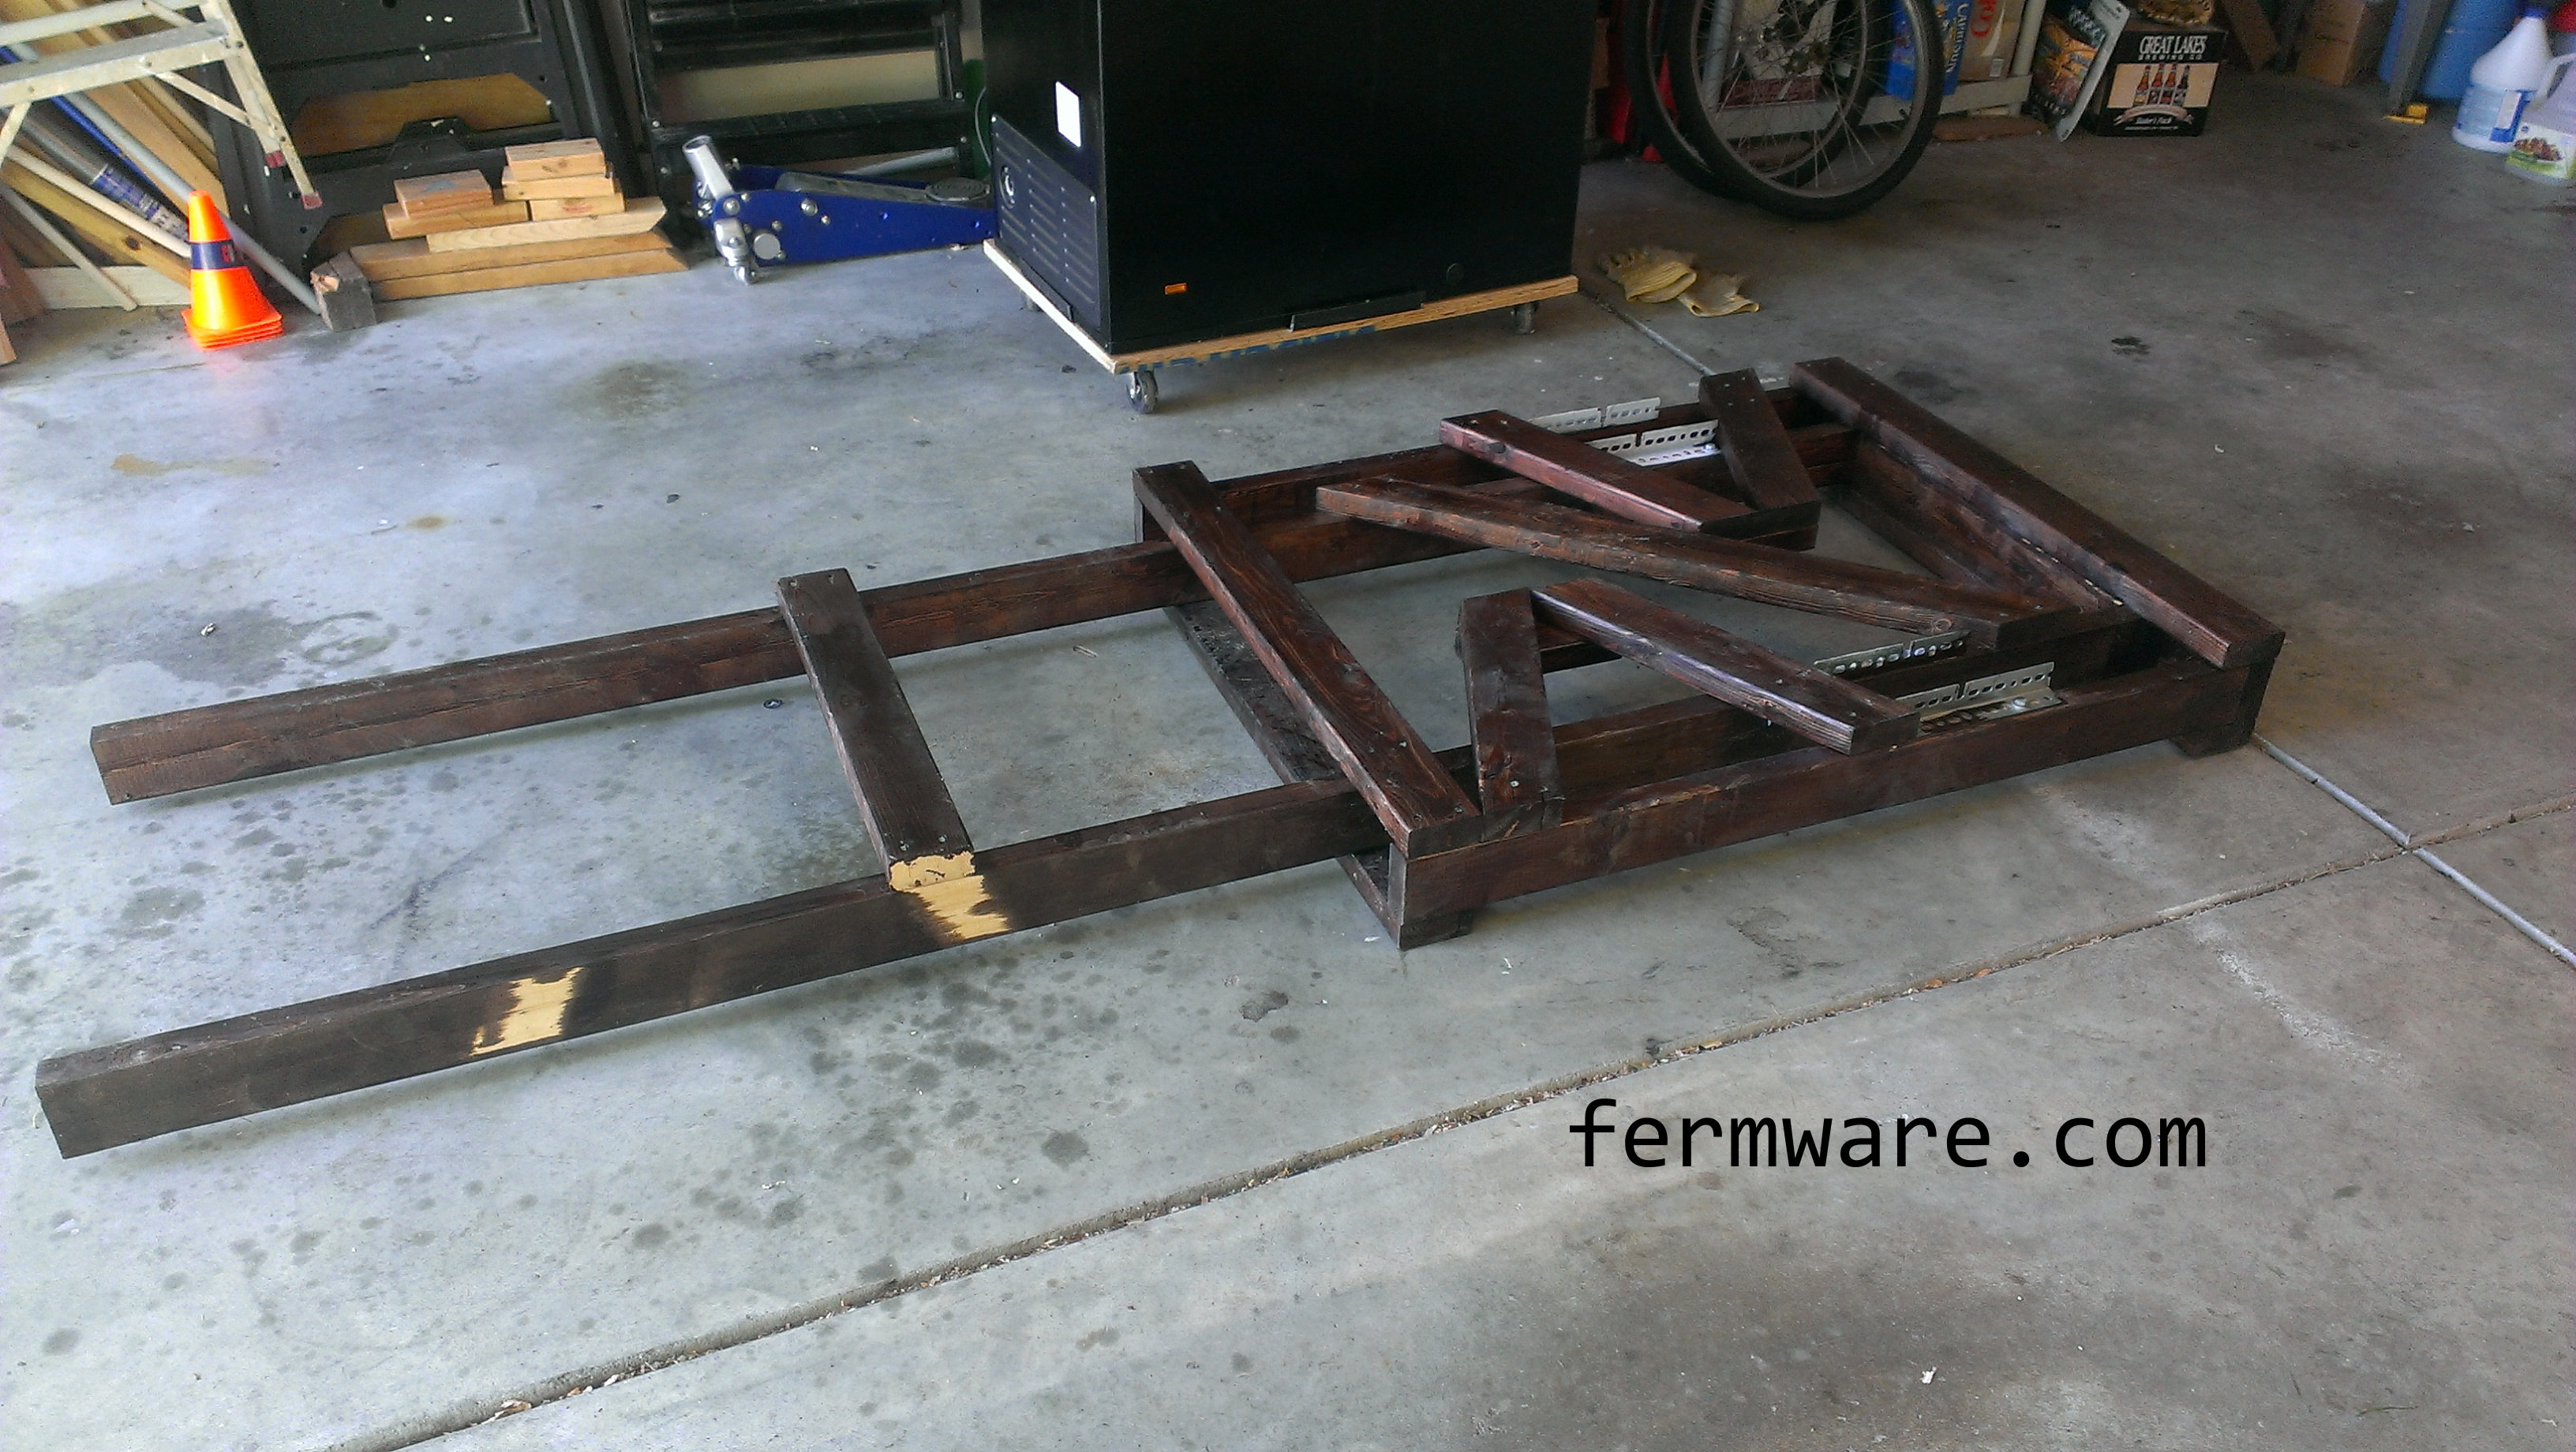
Then here is the next trick.  So that it takes up the least amount of space possible, I then re-attached the legs to the central section of the Bierwagen as shown in the pictures.

015-6 - Legs in place

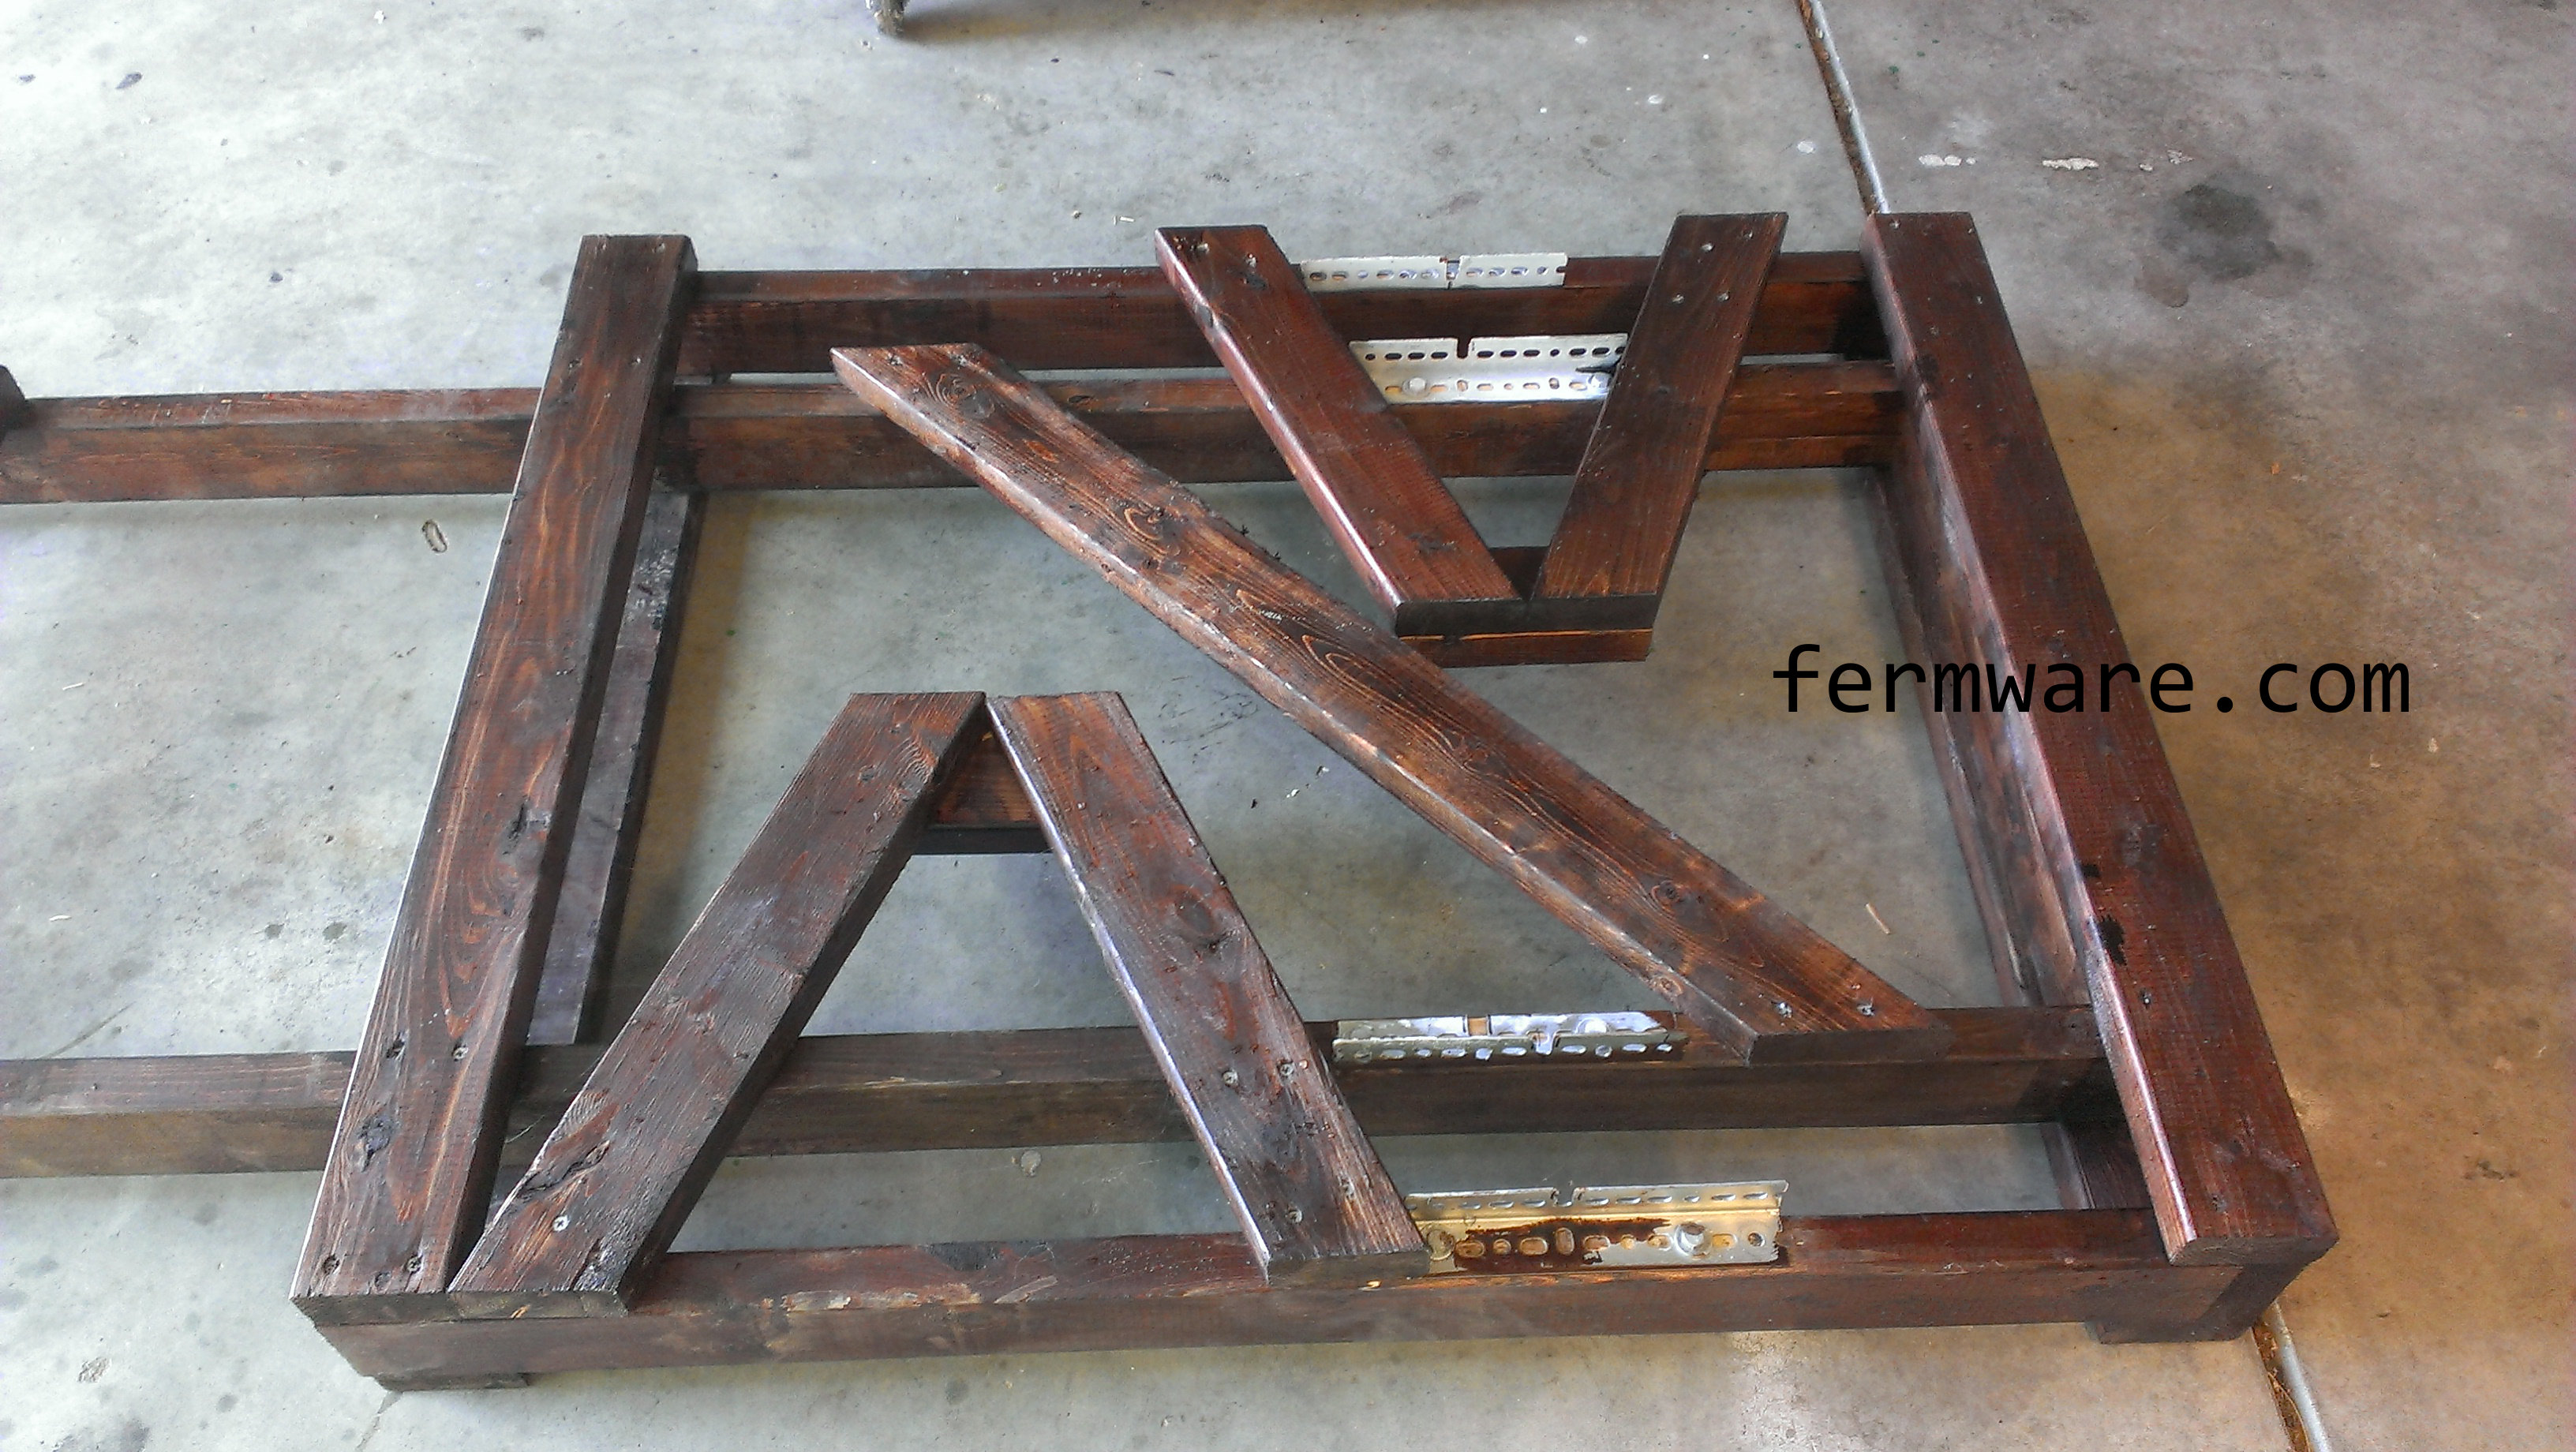
Nice and flat and ready to go under my deck.

015-6 - Ready for storage

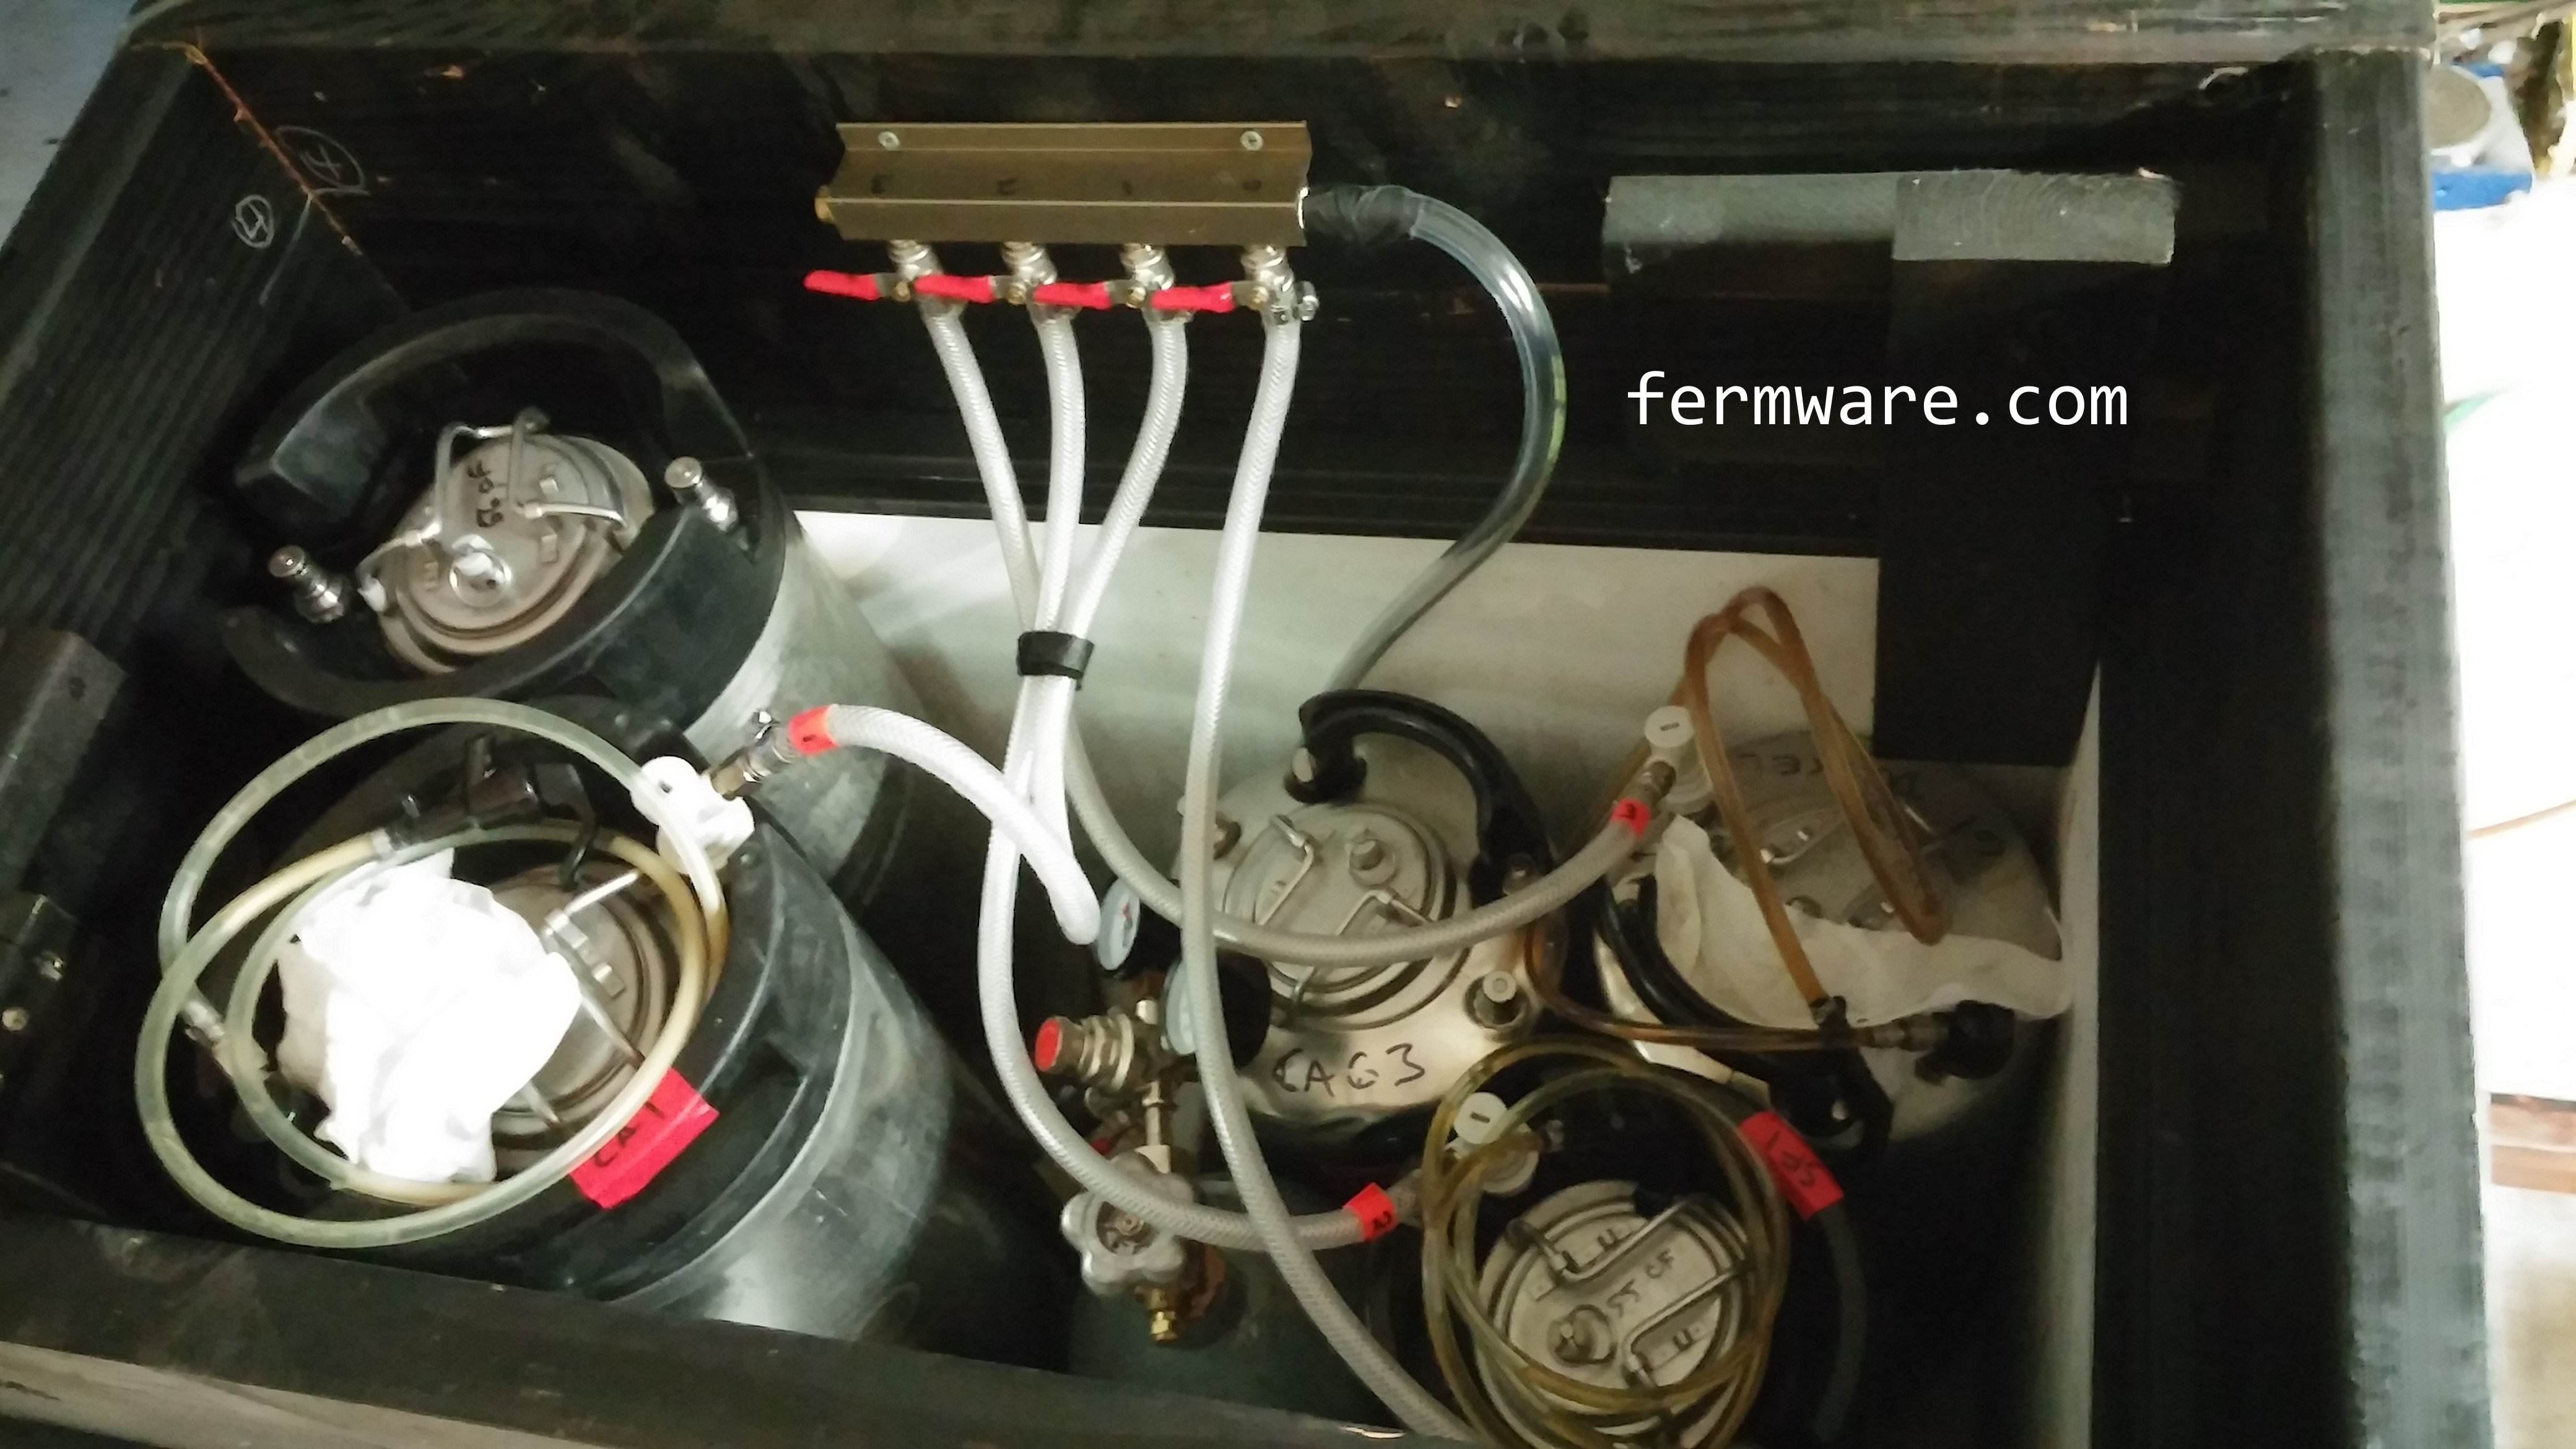
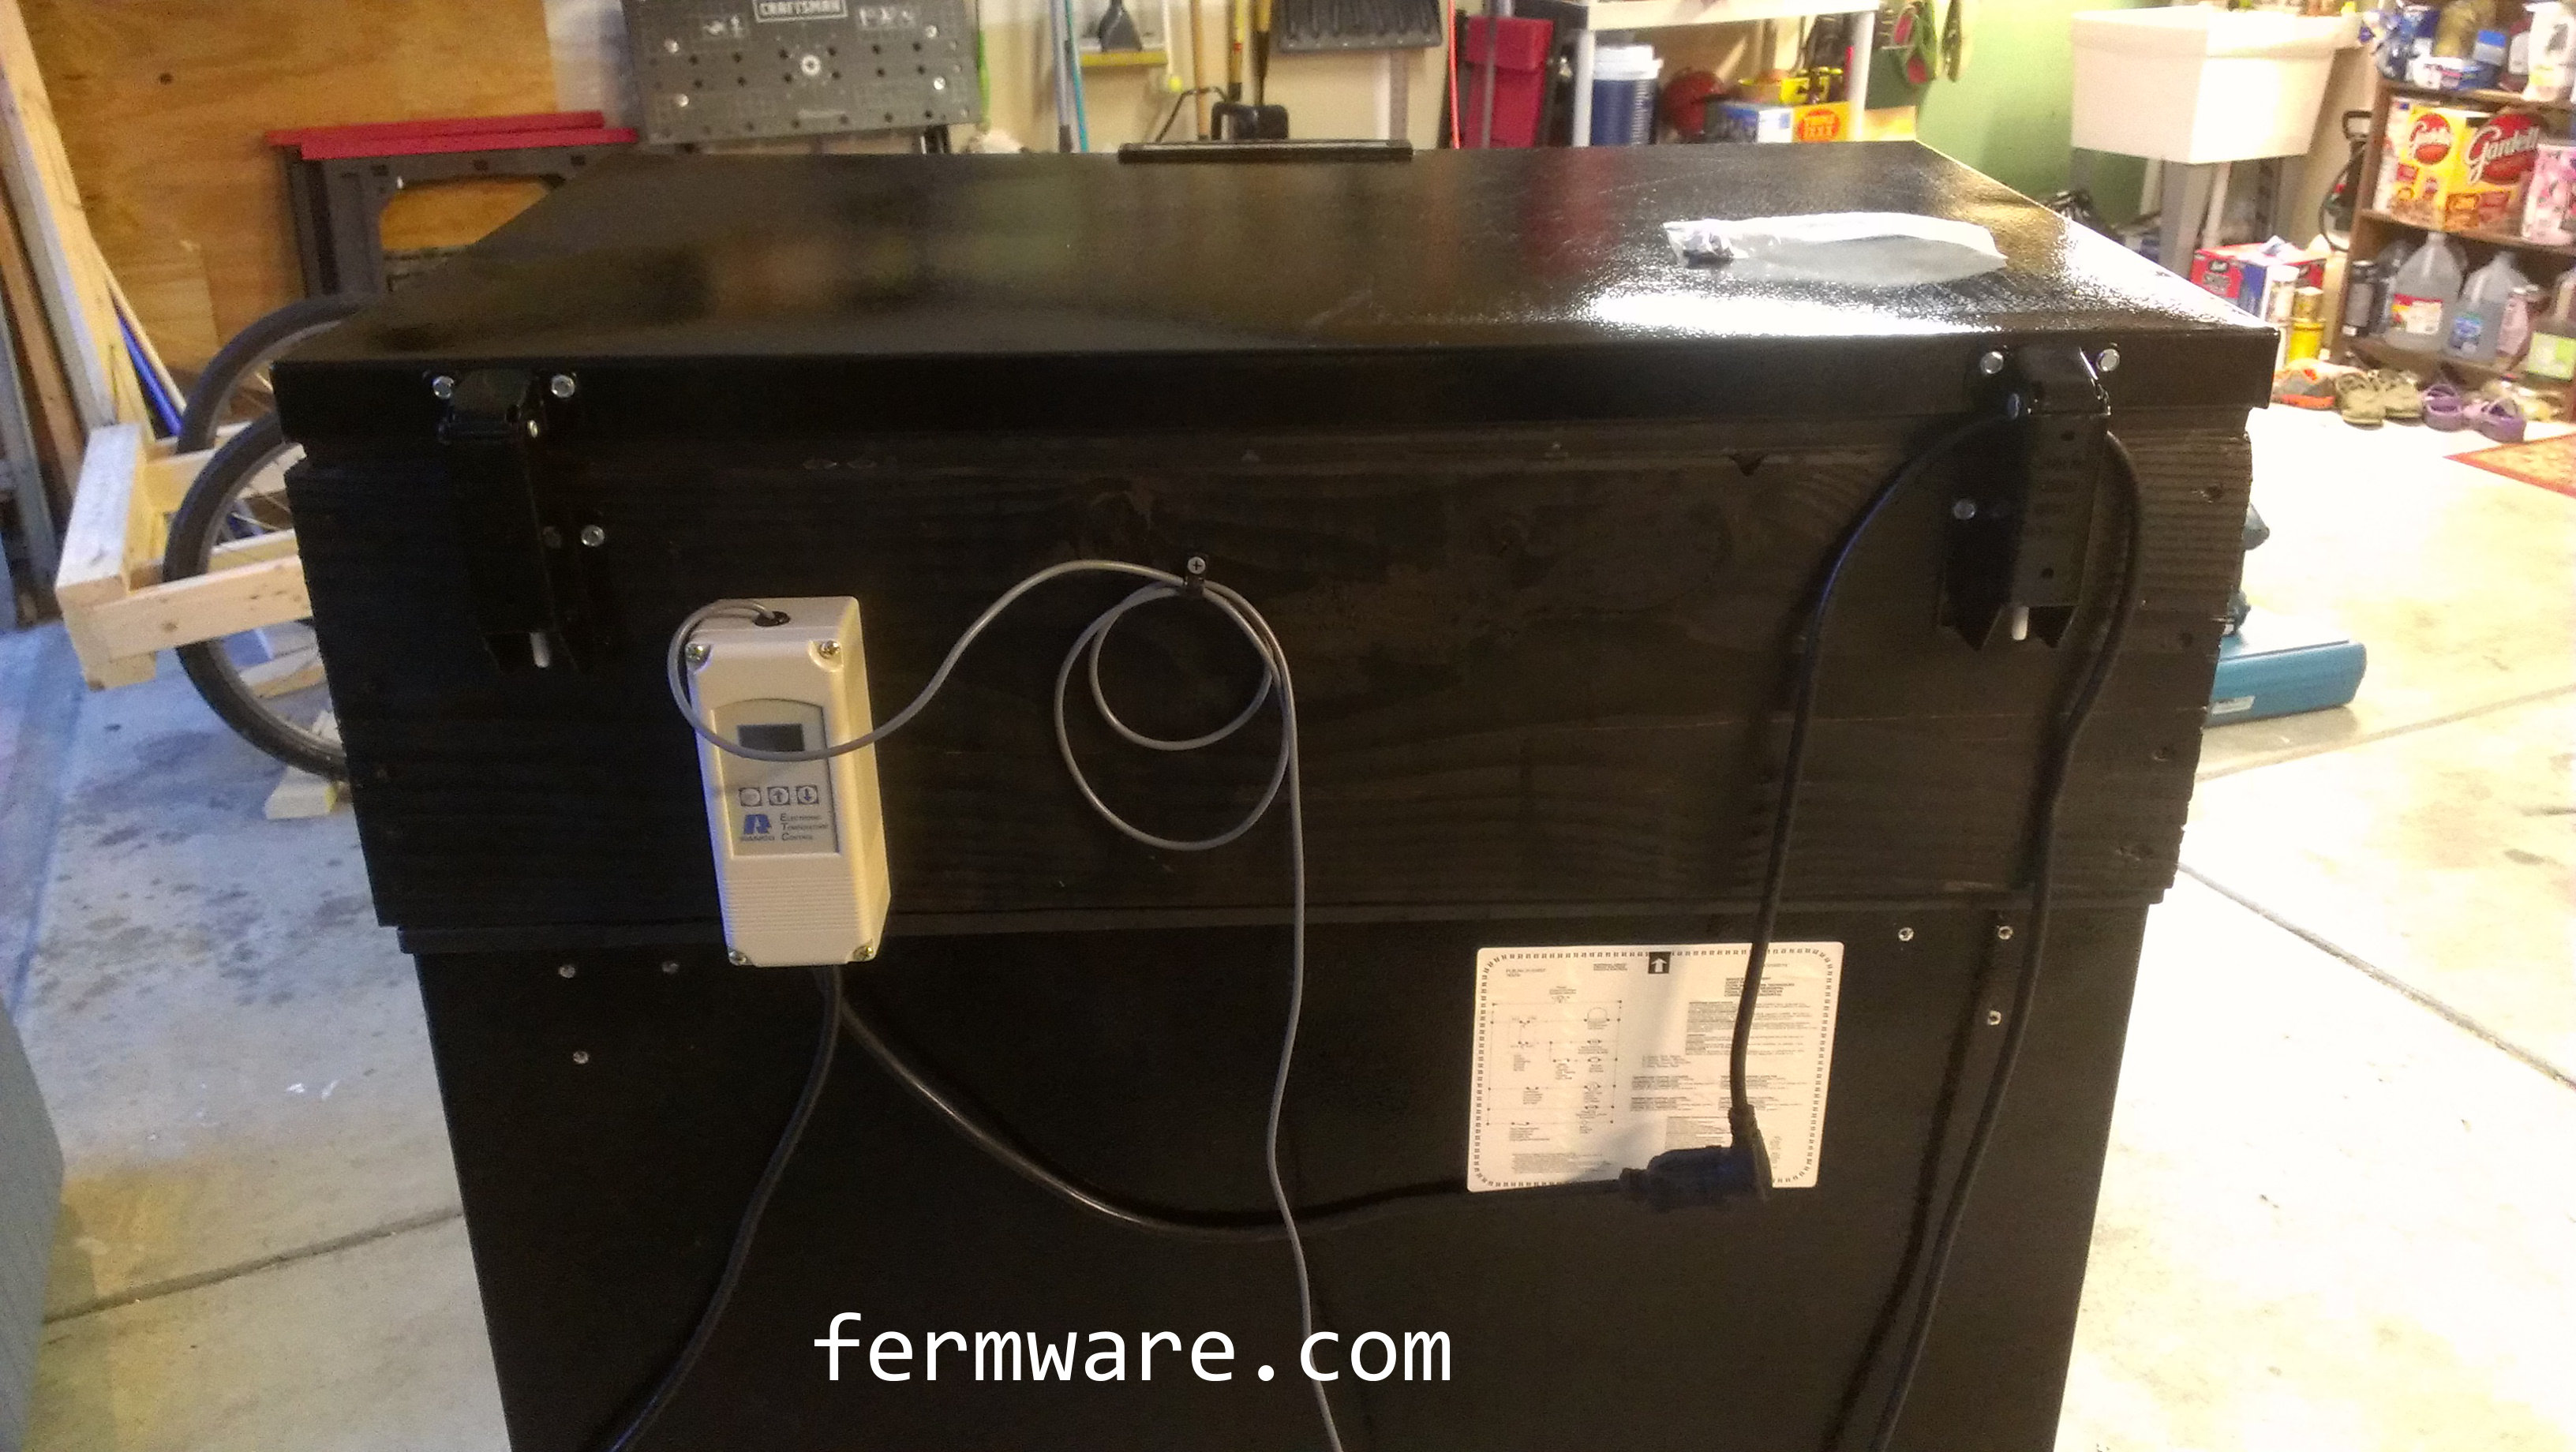
The first year for the Bierwagen, it was not painted.  I just covered it with some tarps underneath the deck and when I pulled it out, it did have some mold and mildew on it.  I just wiped the easy stuff off, then sprayed a water/bleach solution on it and left it out in the sun to dry and kill off the buggers.  For 2012, I decided to stain and seal it before the party.  When I pulled it out the next year, all it required was a little rinse with the hose and a dry in the sun again.  Good to go!

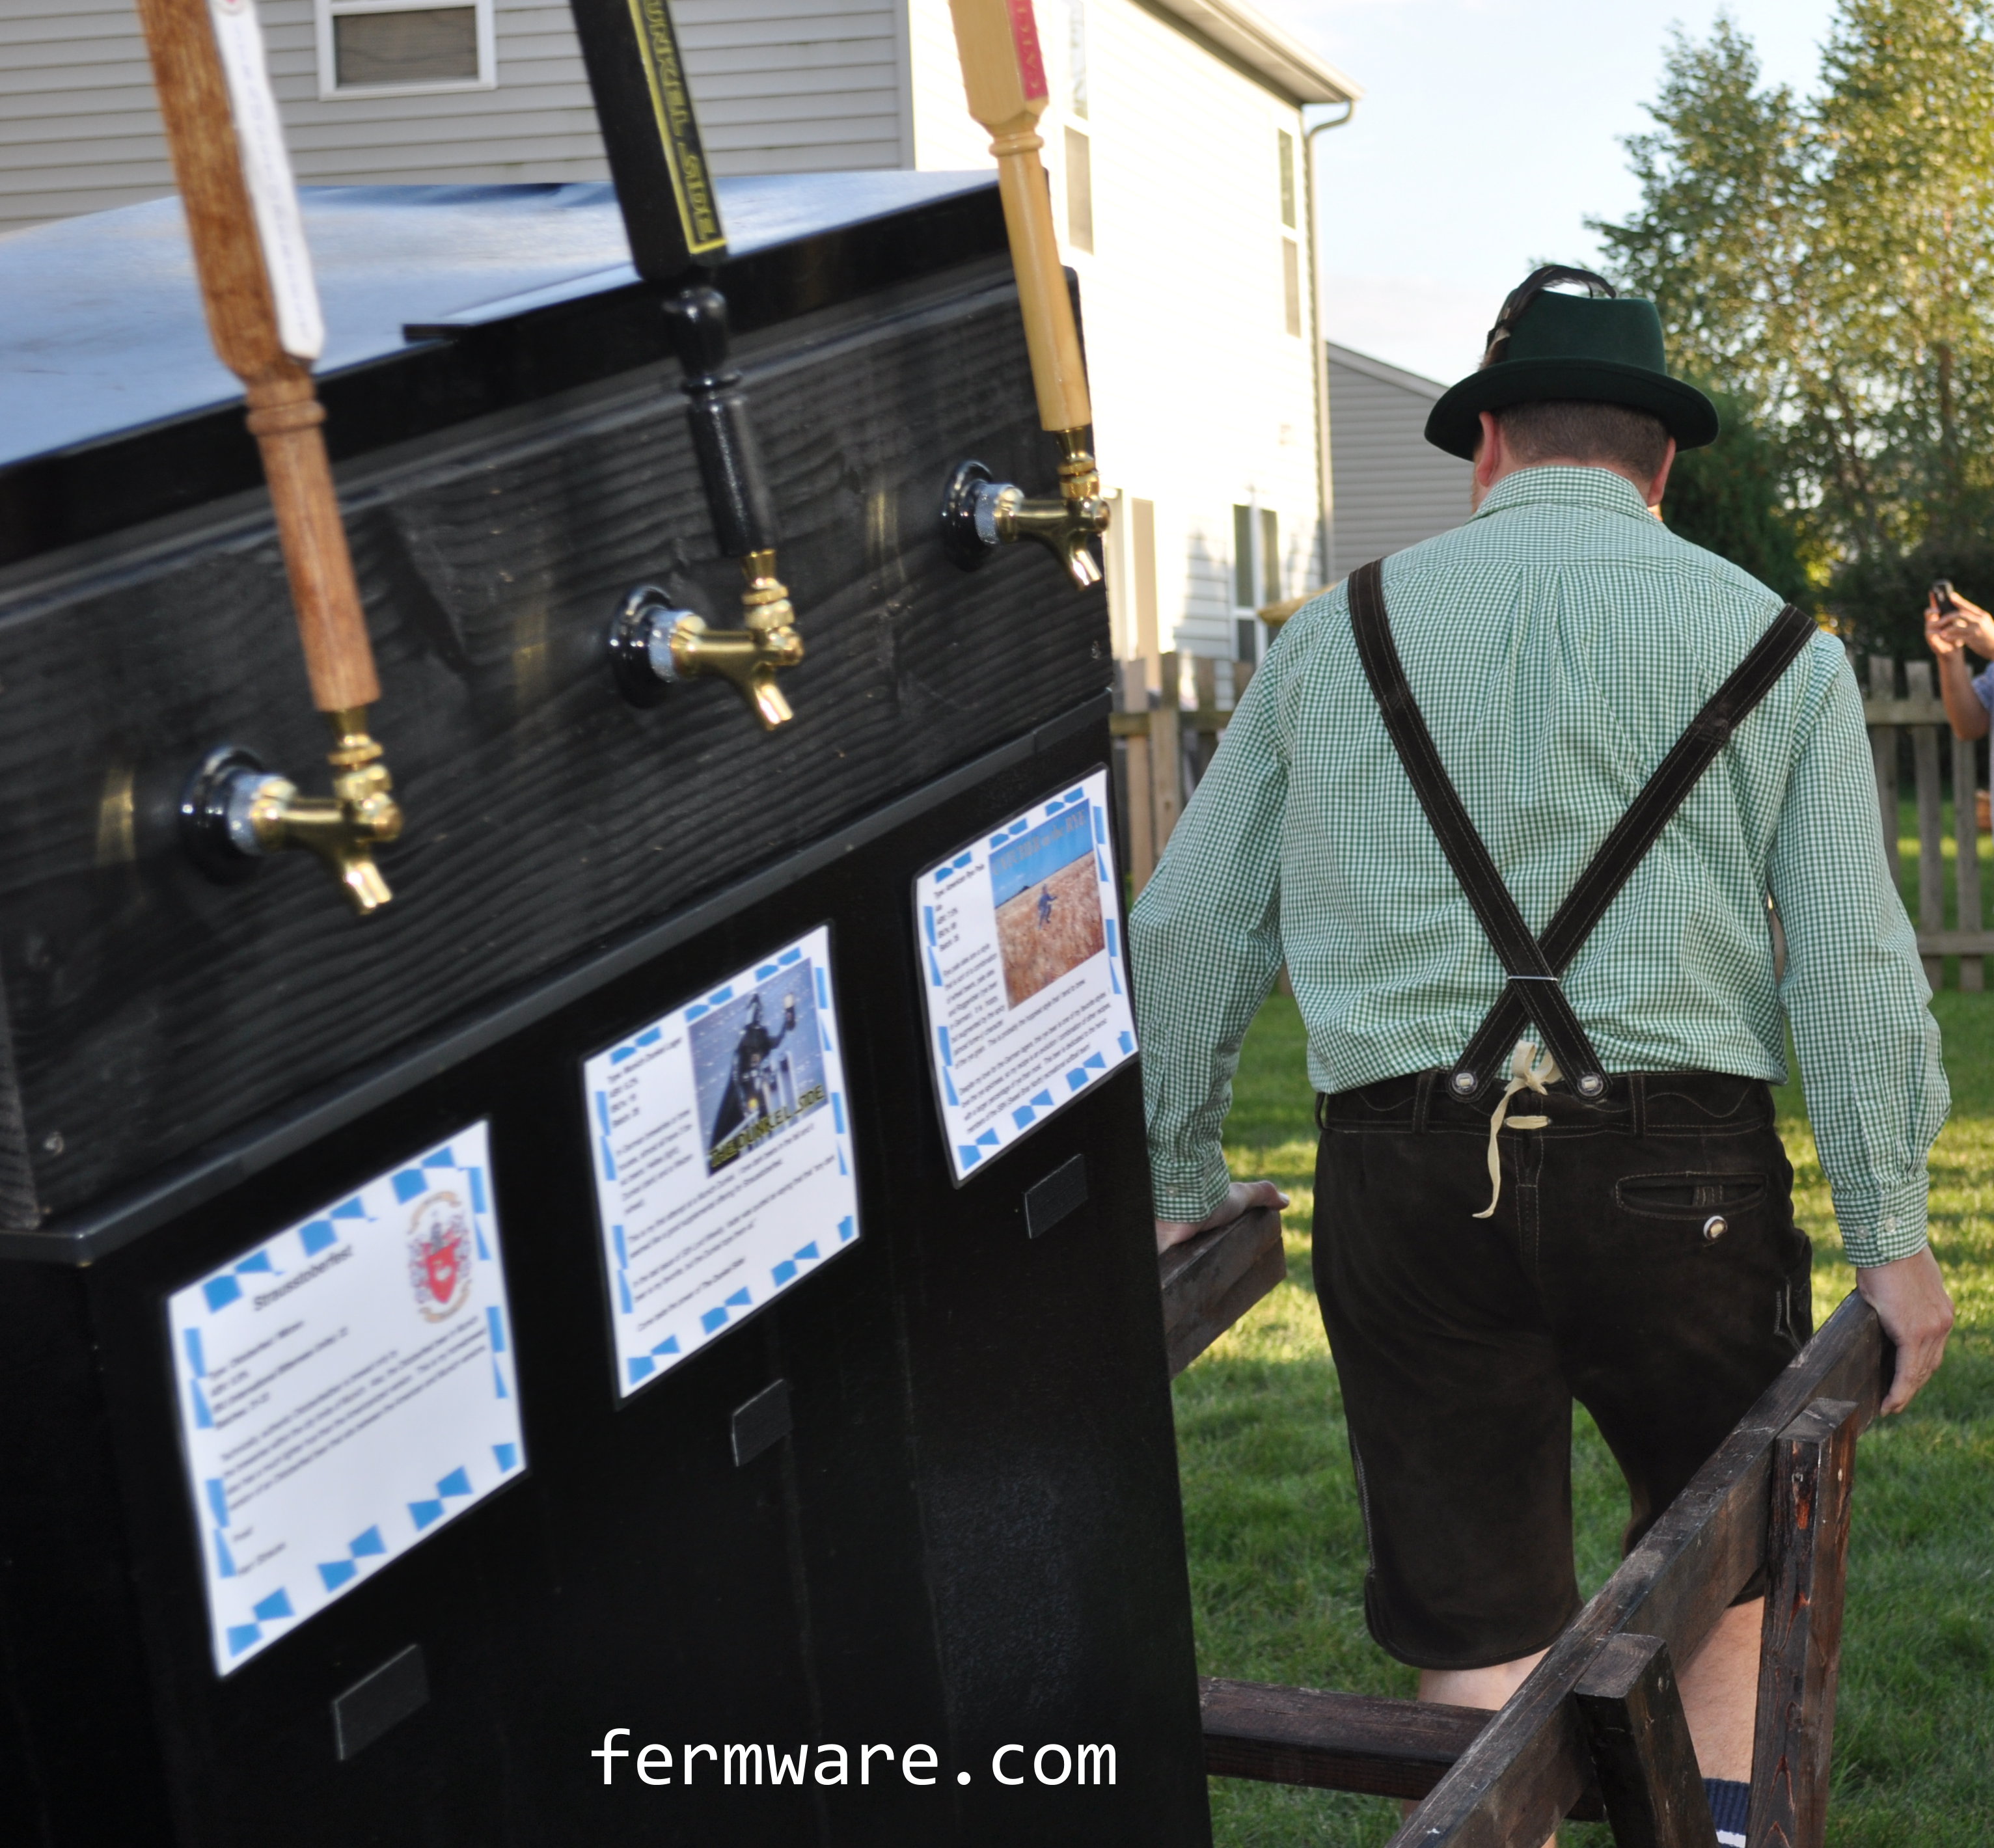
I know some of you will want to rub the thing down with some PBW followed with a soak in some Starsan!

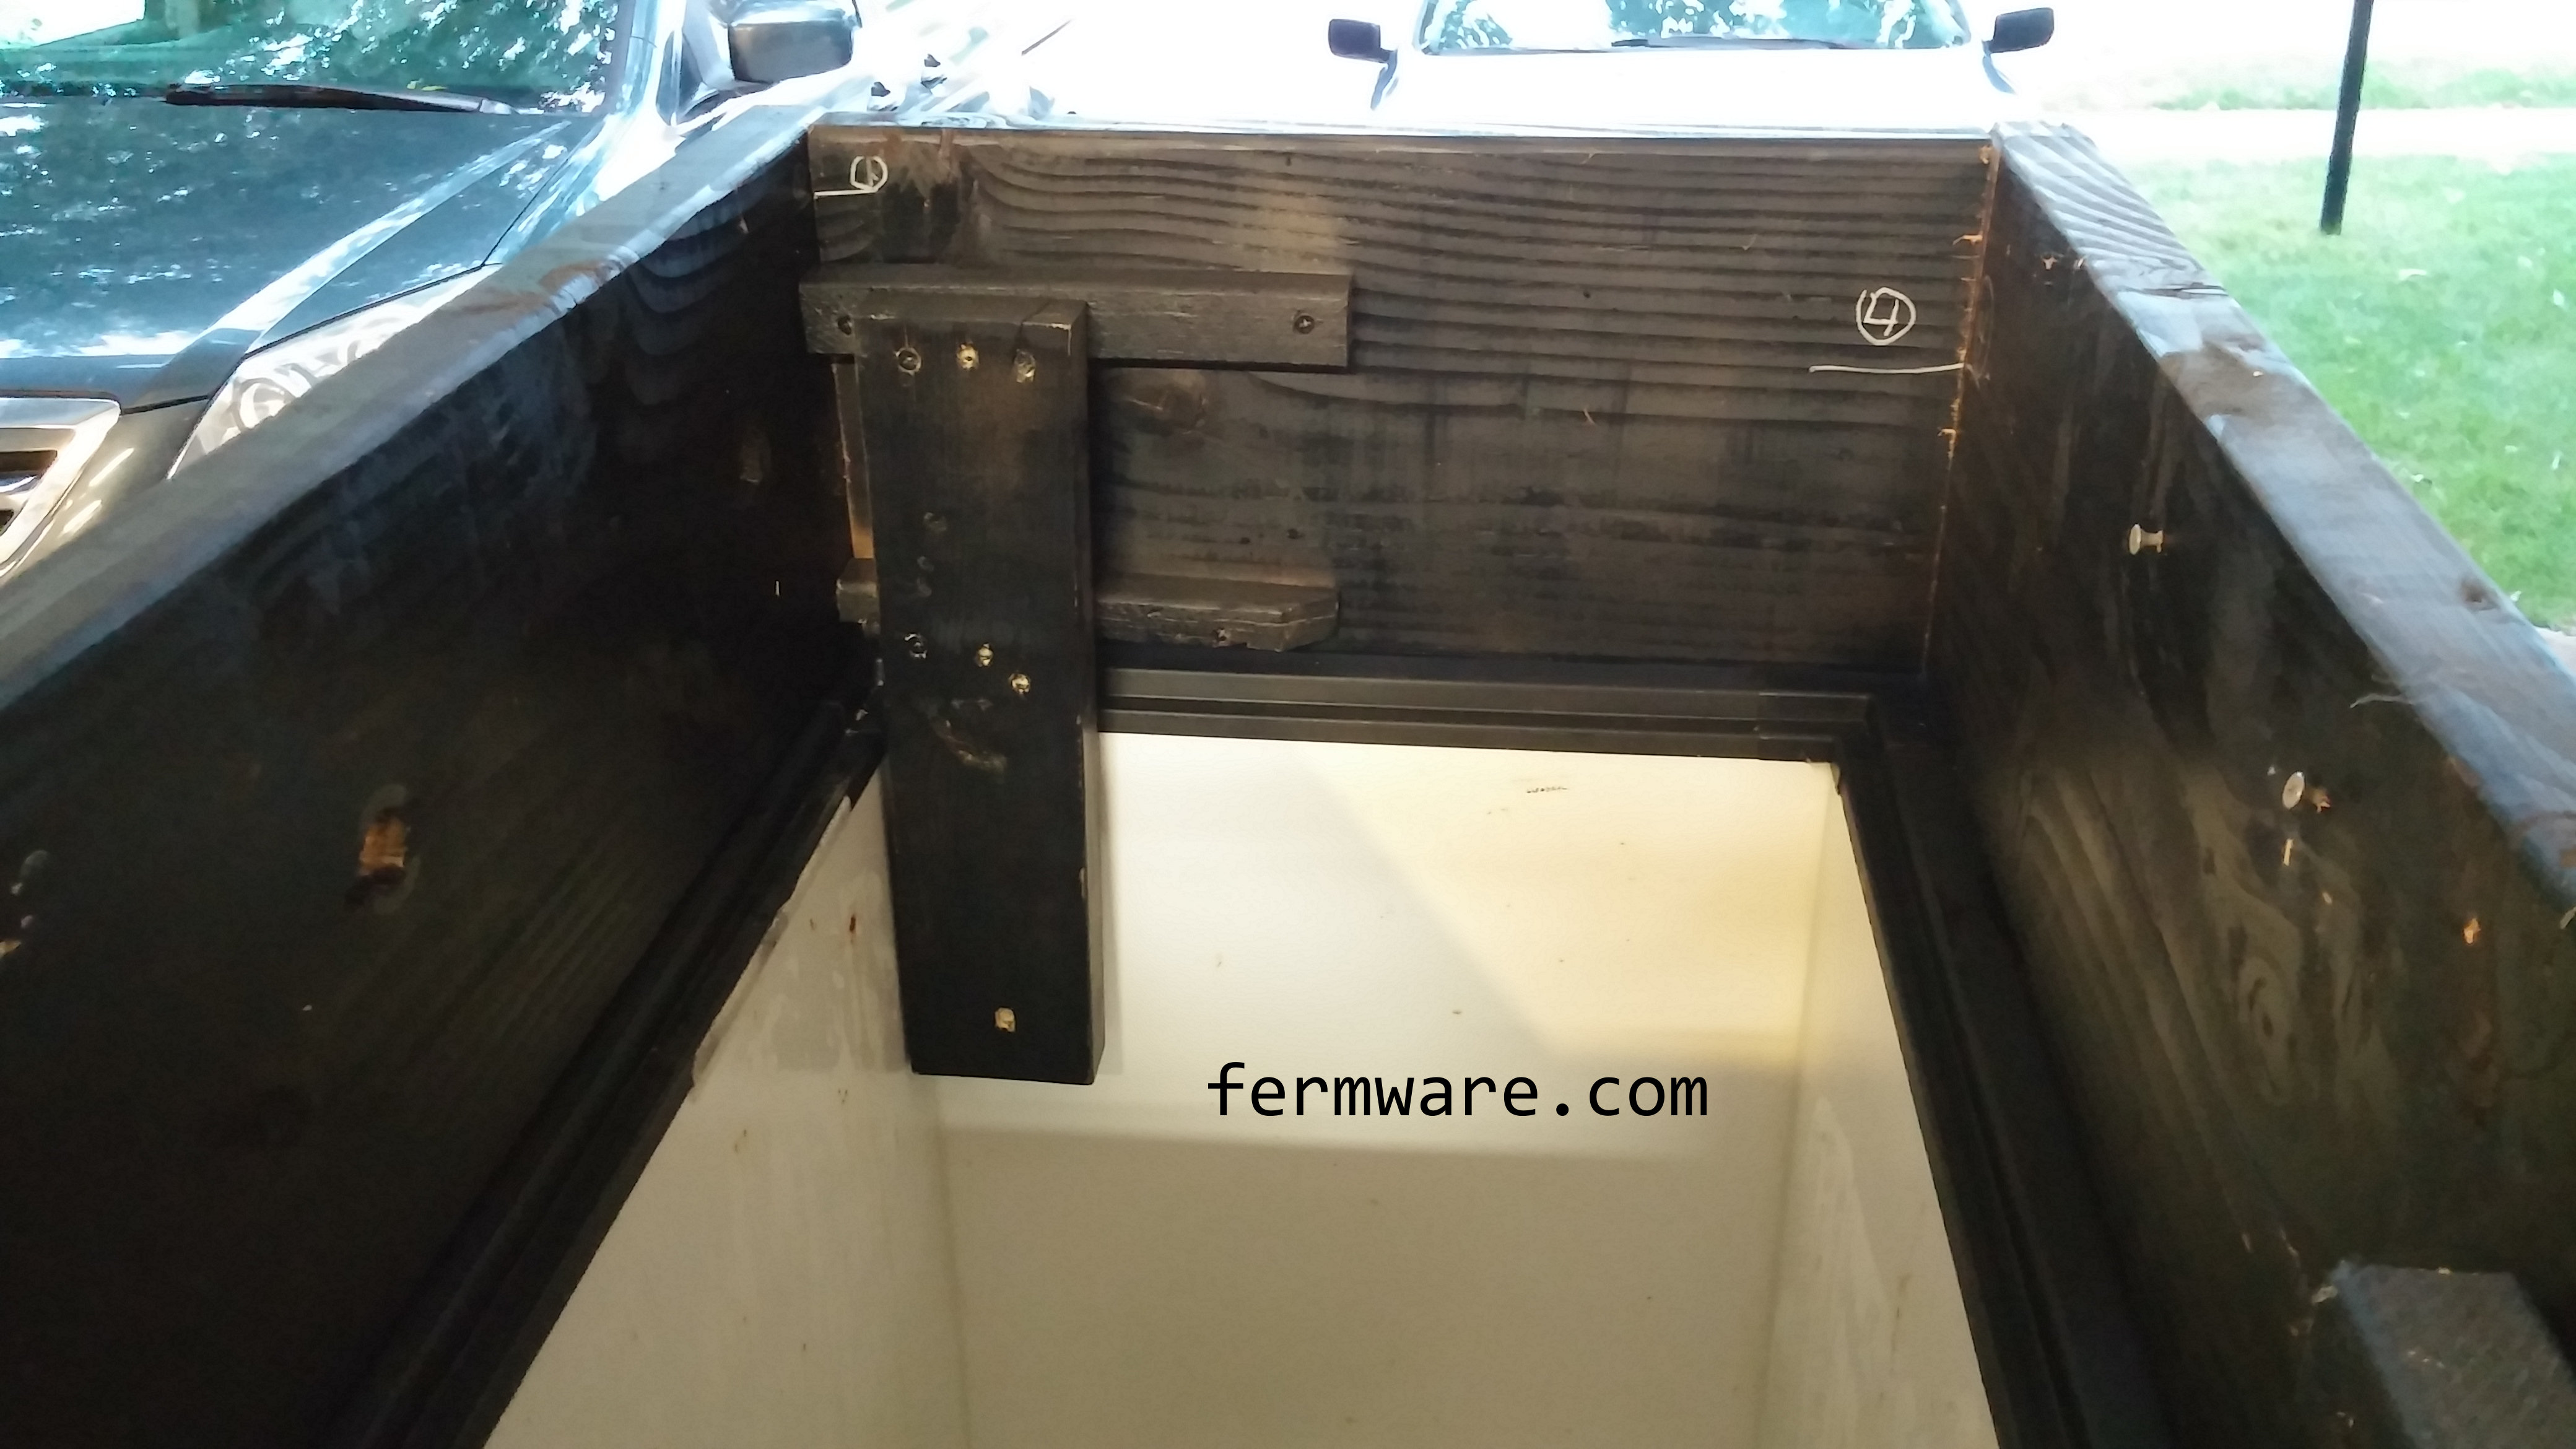
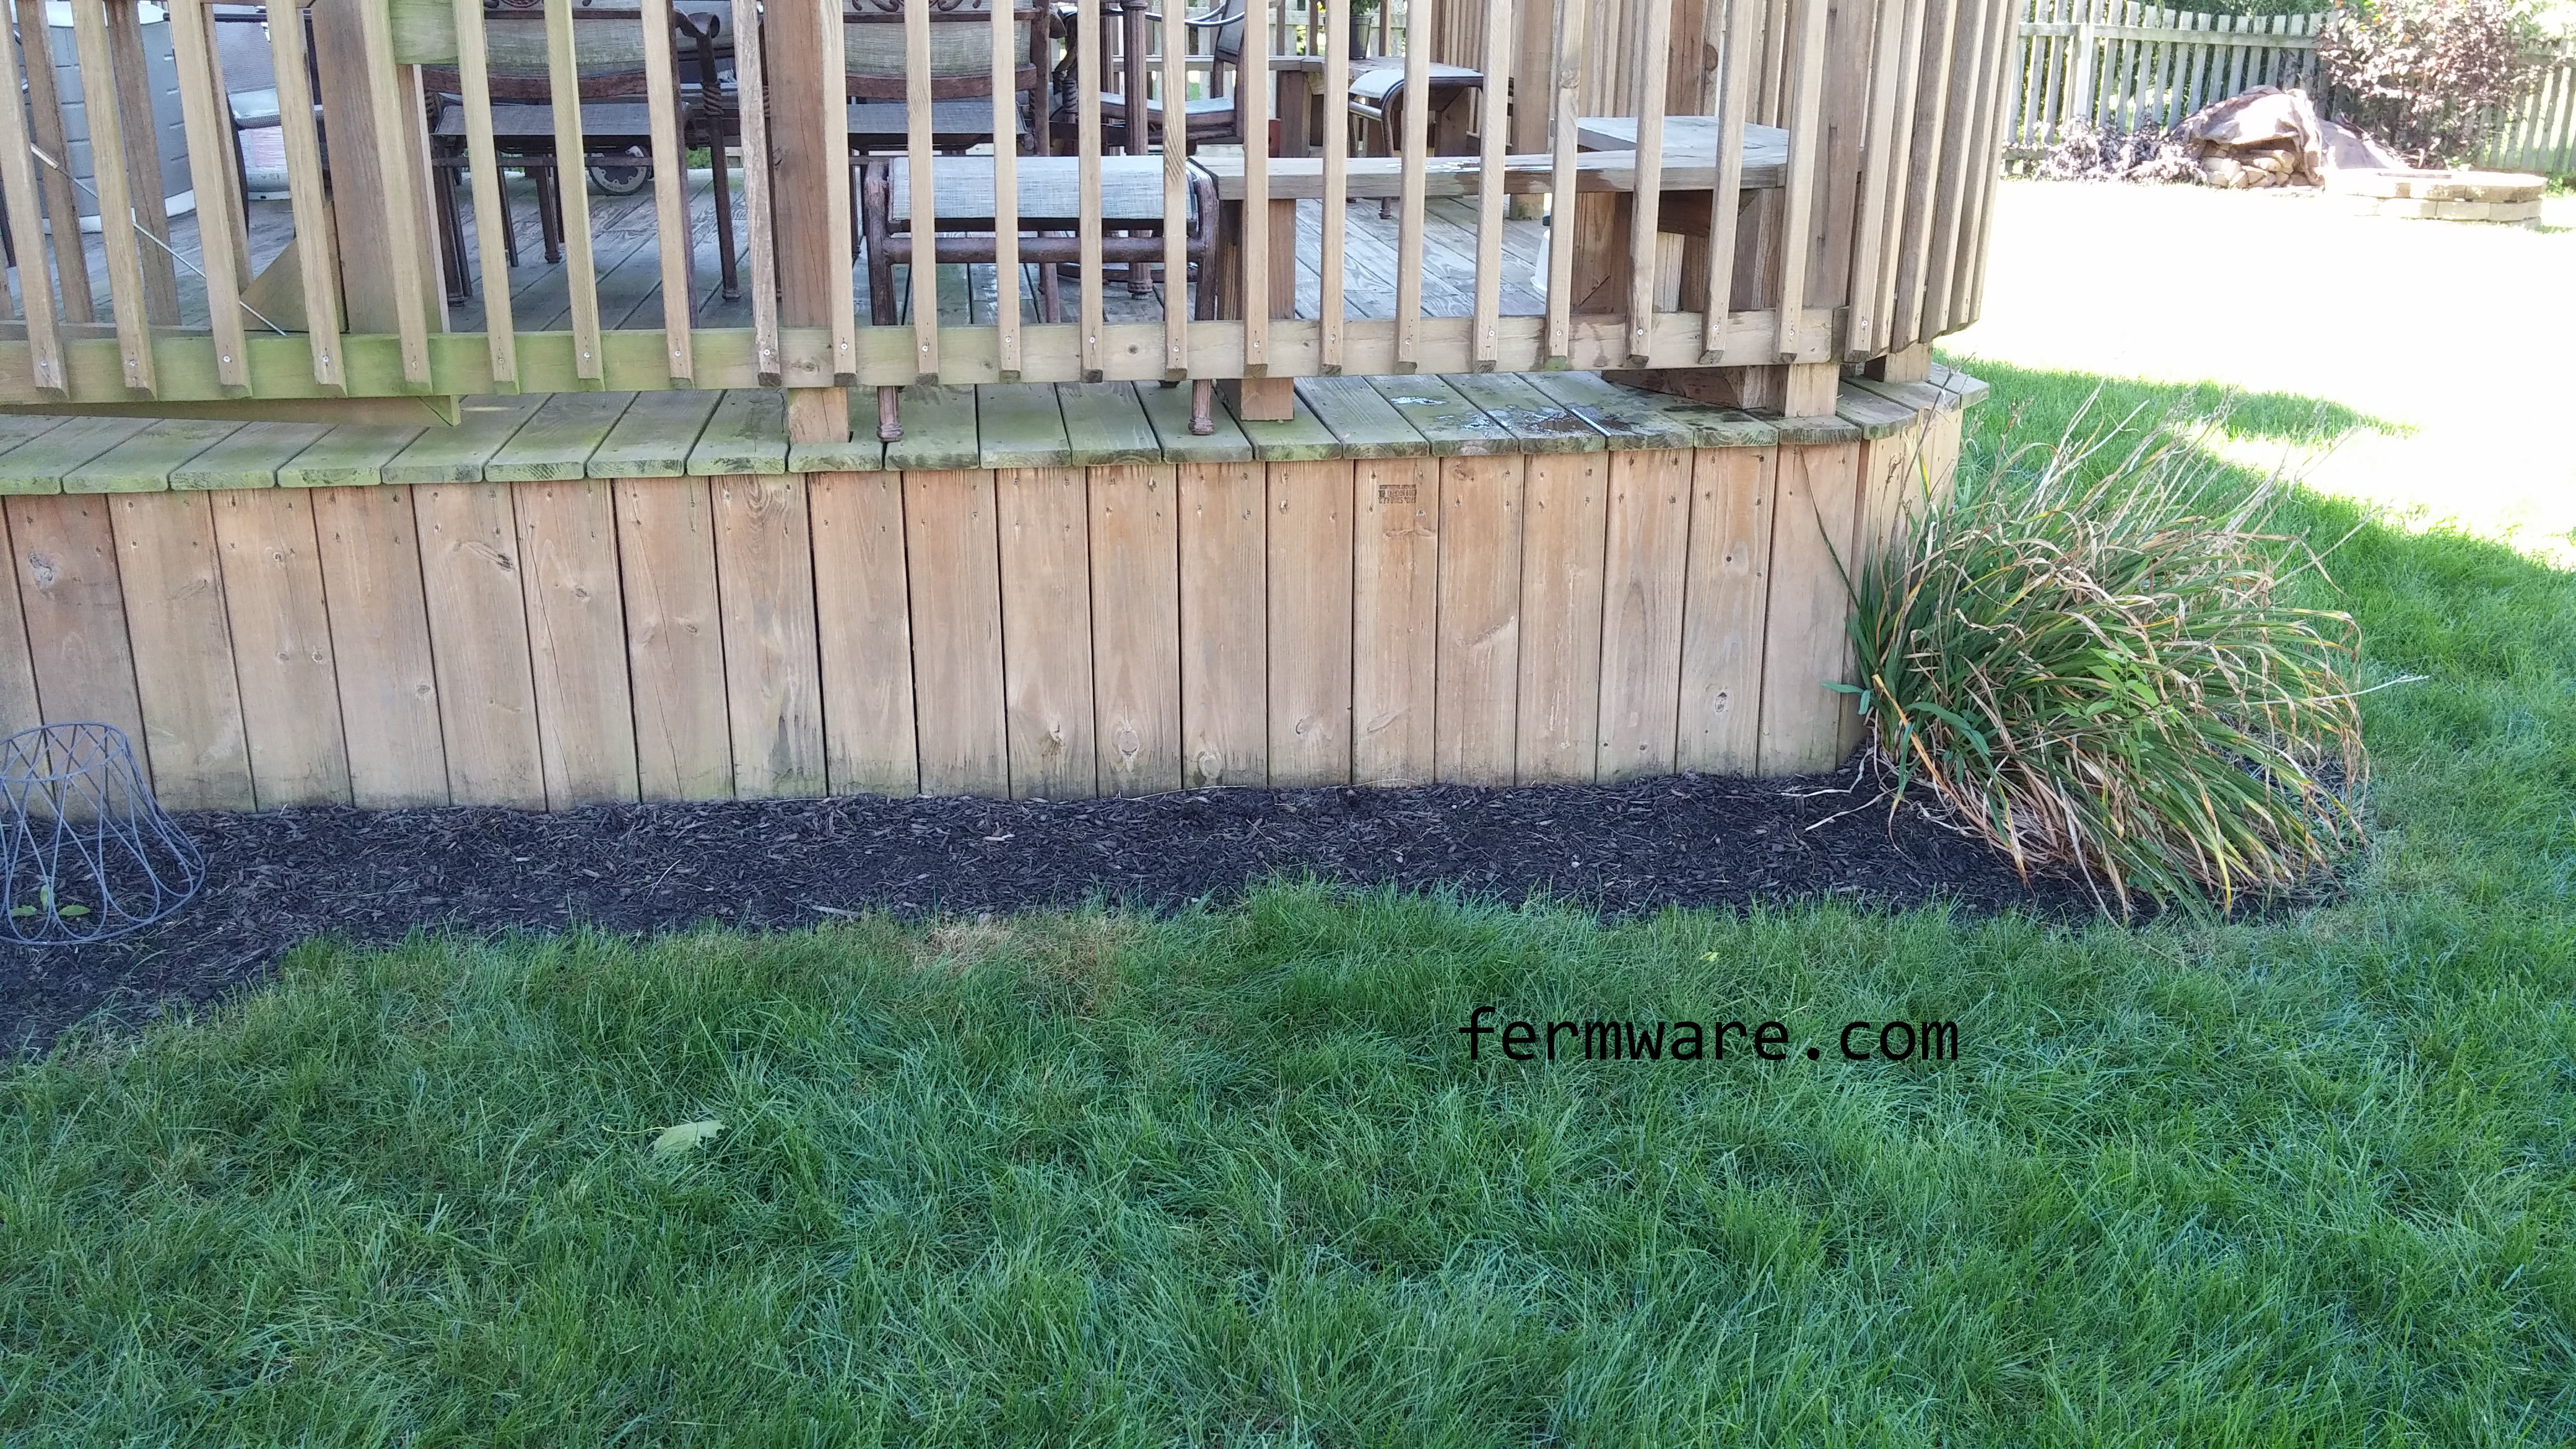
The following pictures are actually from me pulling it out from underneath my deck this year.  The lower part of my deck is enclosed by more planks of decking.  I simply removed a section of them to slide the cart underneath.

015-6 - Resting area


It did ok this year, but the last minute rigging of strings did not hold the tarp in place.  I think this year, I’ll double it up and run some screws through it to keep it in place.

015-6 - waking up

015-6 - Ready for storage 2

The End…

I hope you’ve enjoyed reading about this project.  Please feel free to leave a comment or ask questions if you get stuck on your build.

Prost!

Posts for this Project:

Part 1: Introduction
Part 2: Building of the frame
Part 3: Bicycle wheel attachment
Part 4: Getting the keezer onto the Bierwagen
Part 5: Keezer collar
Part 6: Storage of the Bierwagen (this post)


Mein Bierwagen Part 5 – Keezer Collar

Everybody and their brother has some sort of DIY or build pictures of their keezer collar, so I’m not going to focus on the standard part of the build.

Difficulty: level_3

This project just requires some basic building skills, but you might need some help getting the keezer onto the Bierwagen.

Time Required:

About an afternoon, more for painting and how you wish to finish it.

Posts for this Project:

Part 1: Introduction
Part 2: Building of the frame
Part 3: Bicycle wheel attachment
Part 4: Getting the keezer onto the Bierwagen
Part 5: Keezer collar (this post)
Part 6: Storage of the Bierwagen

Affiliate Links

Overview:

Since my collar will only get used once a year, or at least not a permanent addition to my keezer, it just needed to be easily removed and disassembled.

Construction:

Going in, I knew that it would not be permanently assembled, so I did not use wood glue at the joints or caulk in the corners.  Yes, it is fairly inefficient to not seal it, but it stays cool just fine when it needs to.

I used 2×6 wood to create the border frame, but added some 2×4 posts that protrude down into the keezer interior to keep it from falling off.

015-4 - Collar upside down

015-4 - Collar installed 2

015-4 - Collar installed 1

I drilled the 3 holes with a wood boring bit.  I got one many years ago for finishing our basement and I’ve gotten lots of use out of it.  When using my corded hammer drill, it just rips right through wood.  In my opinion, they work much better than standard hole saws.  It may not leave as clean of a hole, but since the edges will be covered by the collar on the beer shank, I’m not to worried.

I used some large fender washers for the inside so that the nuts had a good solid surface to snug up against.  If you just snugged up to the wood, they most likely won’t tighten all the way and will pull into the wood.

Keg arrangement and interior:

Here is how I arrange the kegs in the keezer.  I’ll actually have 6 kegs at our party this year, so I’ll have to unceremoniously carry an extra keg from the garage fridge to the backyard.

I still need to desperately add a circulation fan to the interior.  I’ve got the fan, but have not yet mounted it.

Nothing novel here, I just used more deck screws to lightly hold the manifold to the back wall of the keezer.

015-4 - Collar with plumbing

Signage

Not only did I make tap handles for each beer, but I thought it would be nice to add some descriptions for each beer on tap and laminate them.  Most of our friends are now accustomed to “craft beer”, but I thought a little extra info couldn’t hurt.  You can see on this picture, the velcro strips I put on the collar to hold the signs up.  Yes, they are in different positions.  It is just my 2012 to 2013 changes in position for the signs.

015-4 - Keezer with collar

And the signs in action

015-1 Roll out the Bierwagen

Here are my signs by the way.

The Strausstoberfest is the house offering

015-4 Strausstoberfest label

The Dunkel Side was a favorite last year

015-4 The Dunkel Side label

Catcher in the Rye was my Rye PA, but will be replaced by a lower ABV Cream Ale at the party this year

015-4 Catcher in the Rye label

Temp Controller

I then mounted my Ranco controller on the back and remounted the hinges onto the collar.  I did not use the screws that were used on the freezer itself, but rather some longer sheet metal screws that held just fine in the wood.

015-1 Ranco mounted on back

Disassembly and storage:

Here is my method, which may serve as a guide for how you store yours (if you don’t make it permanent).  Disassemble the collar whichever way you need to.

I then actually just ended up using the exact same screws that held the collar together to attach them to the interior wall of my garage.  It’s actually behind where I store my keezer, so it’s not in the way and plus by attaching them to the wall, it keeps them up off the ground.

015-4 Collar stored on wall

Up next…

How to store the Bierwagen (if you don’t have tons of room)


Mein Bierwagen Part 4 – Getting the Keezer onto the Bierwagen

As I mentioned in the previous post (Part 3: Bicycle wheel attachment), the other feature about Mein Bierwagen that I think is cool, is the loading of my Keezer Dolly directly onto the cart.  This post shows you how to do it.  Using the ramp method, I can do it myself, but you’ll need two people at least if you just build it as a platform for your own Keezer.

Difficulty: level_3

This project just requires some basic building skills, but you might need some help getting the keezer onto the Bierwagen.

Posts for this Project:

Part 1: Introduction
Part 2: Building of the frame
Part 3: Bicycle wheel attachment
Part 4: Getting the keezer onto the Bierwagen (this post)
Part 5: Keezer collar
Part 6: Storage of the Bierwagen

Affiliate Links

Procedure:

First you need to remove the support legs at the front of the Bierwagen.

015-6 - Legs installed

Then with it right side up, you’ll brace it against a wall.

015-4 - Legs removed and ready for keezer

Next, you need to line up your keezer dolly at the tip of the cart.  Notice, I haven’t installed the keezer collar yet.  I wanted to make sure it wasn’t too tippy.

015-4 - Lining up for loading

015-4 - Lining up for loading 2

You can see that the keezer dolly just clears the leading edge of the cart.  If yours isn’t tall enough, you can either cut the bottom side of the handles (front of cart) or lift up a bit to get it up on the rails.

015-4 - Lining up for loading 3

Keep pushing the cart up the “ramp”.

015-4 - Nice fit

015-4 - On the ramp

You’ll need to remove the lateral board to get the keezer all the way up.

015-4 - Remove front stop

015-4 - Up against wall

Then, once the keezer is all the way up, reinstall it.

015-4 - Front stop back in place

Now just wheel it over and prop the front up on something so that you can reinstall the legs.  I used some jack stands and they worked great.

015-4 - On stands for leg installation

There, look how happy it looks.  Feed me!

015-4 - Keezer ready for collar

Up next…

Keezer collar

Posts for this Project:

Part 1: Introduction
Part 2: Building of the frame
Part 3: Bicycle wheel attachment
Part 4: Getting the keezer onto the Bierwagen (this post)
Part 5: Keezer collar
Part 6: Storage of the Bierwagen