Category Archives: Equipment Storage

DIY Locker Shelf

Do you need a locker shelf, but can’t stomach paying $15 for a flimsy shelf?  Well it’s back to school time here and my daughter needed a locker shelf, so I did what any Tim Taylor type would do and build one myself.
As I stated in my About – This Blog page, I would have some posts that were non-beer related.  Well this is one of them.
I made one last year for my daughter and it screwed together once inside the locker.  I had assumed that they would take them out of their lockers on the last day of school, but they surprised me and did it the day before and I felt like a jerk, because the teacher didn’t have a screwdriver to take the thing apart.  This year, I decided to go with a design that was tool-less.

Difficulty: level_2

If you are even a novice woodworker, this should be a piece of cake.  Actual work time was probably about 15 minutes.  Gathering materials and your tools will add whatever time it generally takes you.

Affiliate Links

Supplies Needed:

  • 48″ section of shelving
    • 11″ to 12″ is a typical depth
    • I used a melamine board, because I had it on hand, but any shelving material should do
  • Scrap strip of wood for some supports
    • Again, I had a piece that was 3/4″ x 3/4″, but I’ll let you decide
    • something on the order of 40″-44″ should be close enough
  • Wood or drywall screws
    • They need to be shorter than the stackup of your shelf and wood strip (you’ll see later what I mean)

Tools Needed:

  • Drill
    • I’ve got a Makita drill and driver kit that is used in 95% of any of my projects.  If you don’t have a set, you need to.  Bosch, Makita and DeWalt all make good stuff.  A drill is, well, a drill.  But I love the impact drivers.  They make it effortless to run screws into anything.
  • Tape measure
  • Circular Saw
  • Clamps (for securing the wood to your work surface when cutting)

The Build:

Alright, lets get to it.  Measure twice, cut once.  Right??

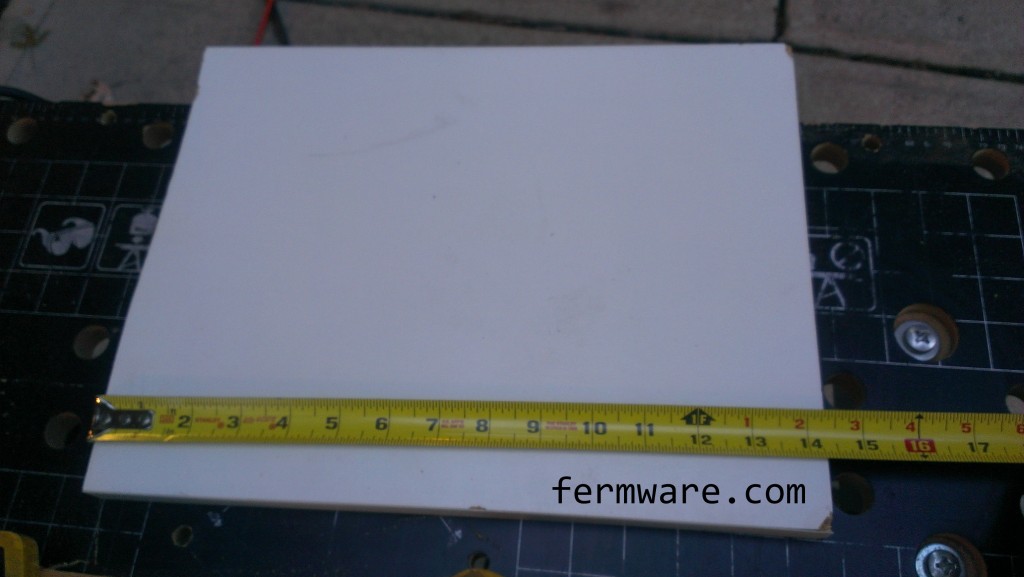
You should have the interior dimensions of the locker in hand.  Many schools provide this information on their website.  Ours were 13-1/2″ wide, by 11″ deep.  I went just a bit under on width at 13-3/8″.  You don’t want too much free play however, because if there is too much movement, the shelf could collapse on itself.  You’ll know how sturdy it is when you install it in the locker.  The 11″ standard shelf depth worked out well, but I still had to trim a little off due to the frame of the door.

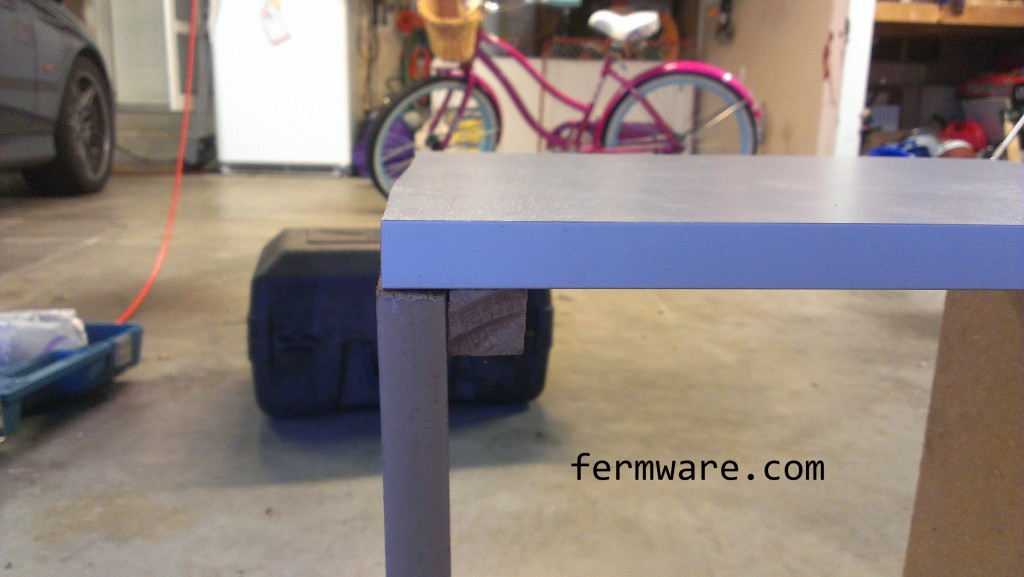
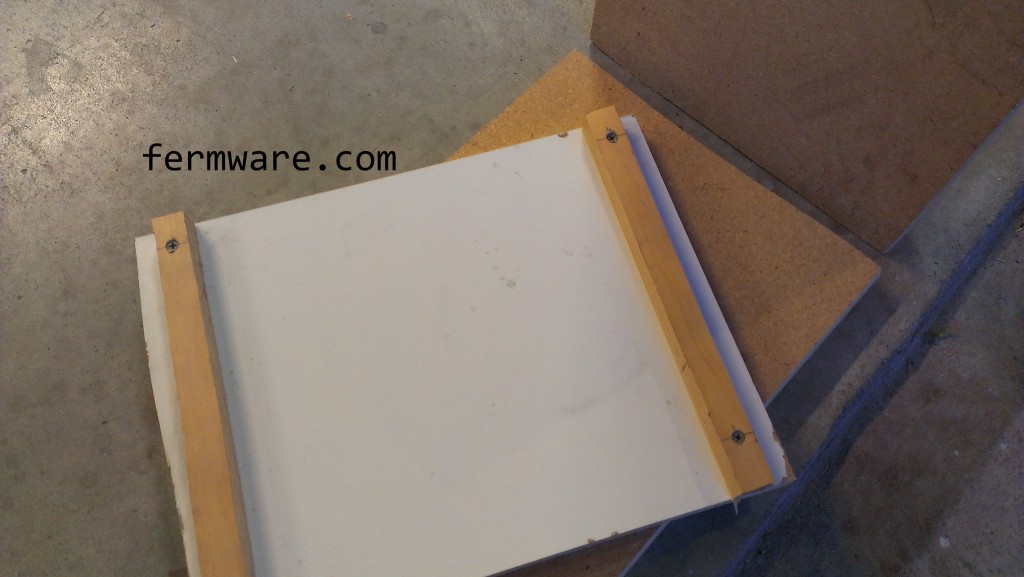
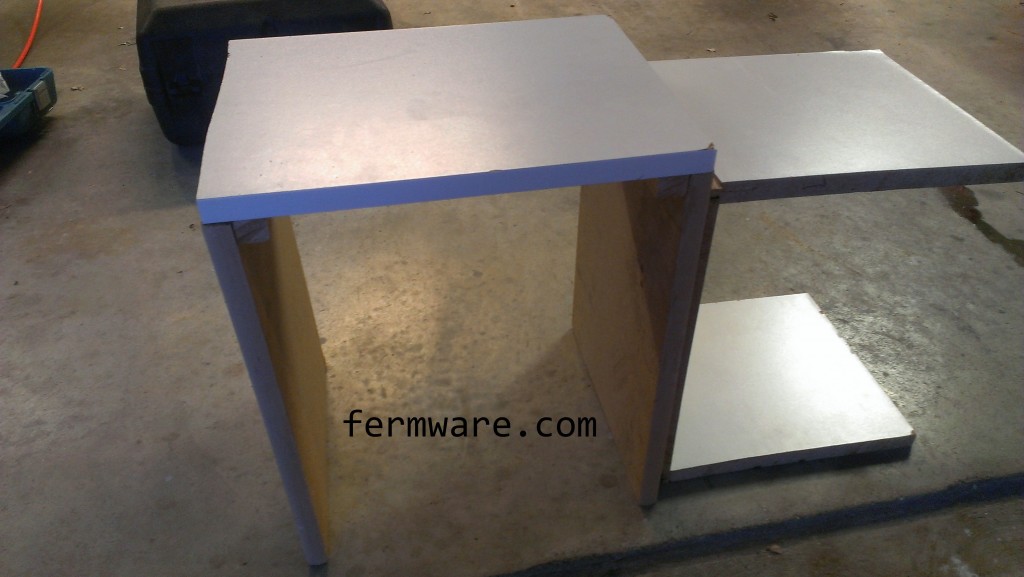
To help you visualize how this is going to go together, here is what each corner will look like.  You can see that the uprights support the weight of the shelf.  Then the stops that are screwed to the shelf basically prevent the uprights from leaning in.  The interior wall of the locker prevents the uprights from falling out.  Easy right?

locker shelf - shelf - how it works

Cut the top shelf piece to length.

locker shelf - Measurement - width

Then decide how tall you want it.  If you got a 48″ section, you should have enough wood to make something around 16″ tall at the most.  That should be sufficient for most books and notebooks.  Remember your total height will be the length of each upright, plus the thickness of the shelf.  And the underneath height will be the length of the uprights.

Now cut the uprights, just as you did for the top.

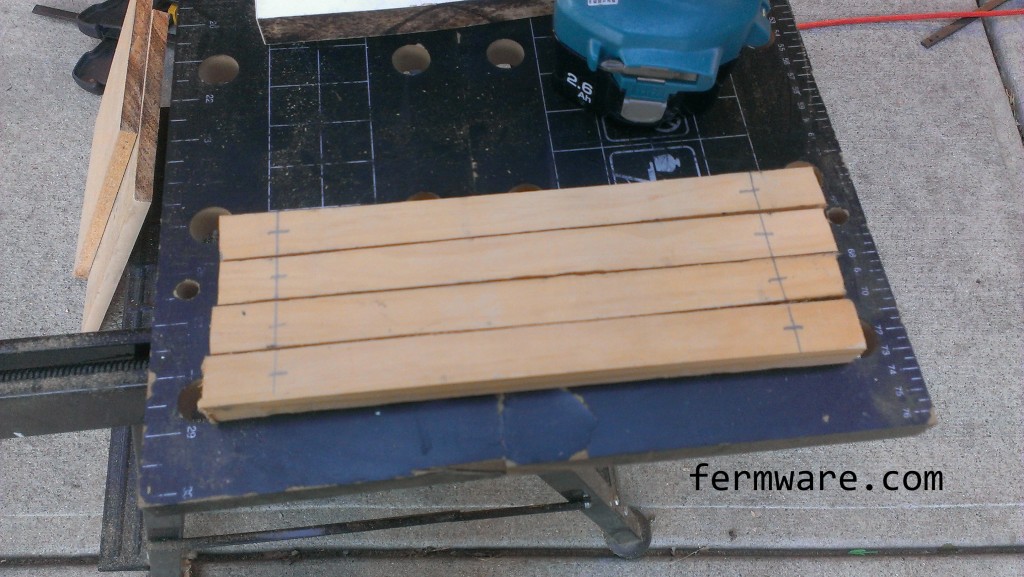
Next will be the strips that keep the uprights from moving.  These should be shorter than the depth of the shelf.  They will be fastened to the shelf top with screws.  You’ll need two strips per shelf.  I’m building two shelves here (one for each daughter needing one), hence a total of 4.

Mark out a line approximately 1″ from each end and then eyeballing the center should be good enough.

locker shelf - strips - marked for drilling

Pre-drill vs. Through Hole

You’ll want to drill “through holes” in the strips and “pre-drill” the shelf.

A through hole is just that, it allows the fastener to go through a material without actually gripping it and is larger than the major (or maximum) diameter of the fastener.

A pre-drill is used to reduce the risk of the wood splitting when you drive the screw in.  An appropriate pre-drill size for wood is right at the minor diameter or slightly under.  You can measure these dimensions if you have a pair of calipers, but I’m using my “eyechrometer” for these.

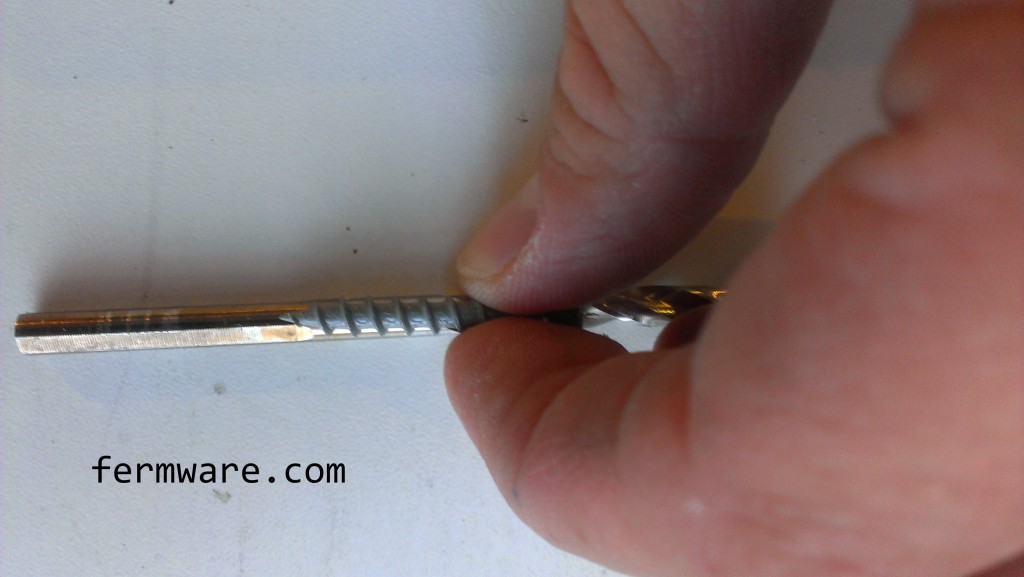
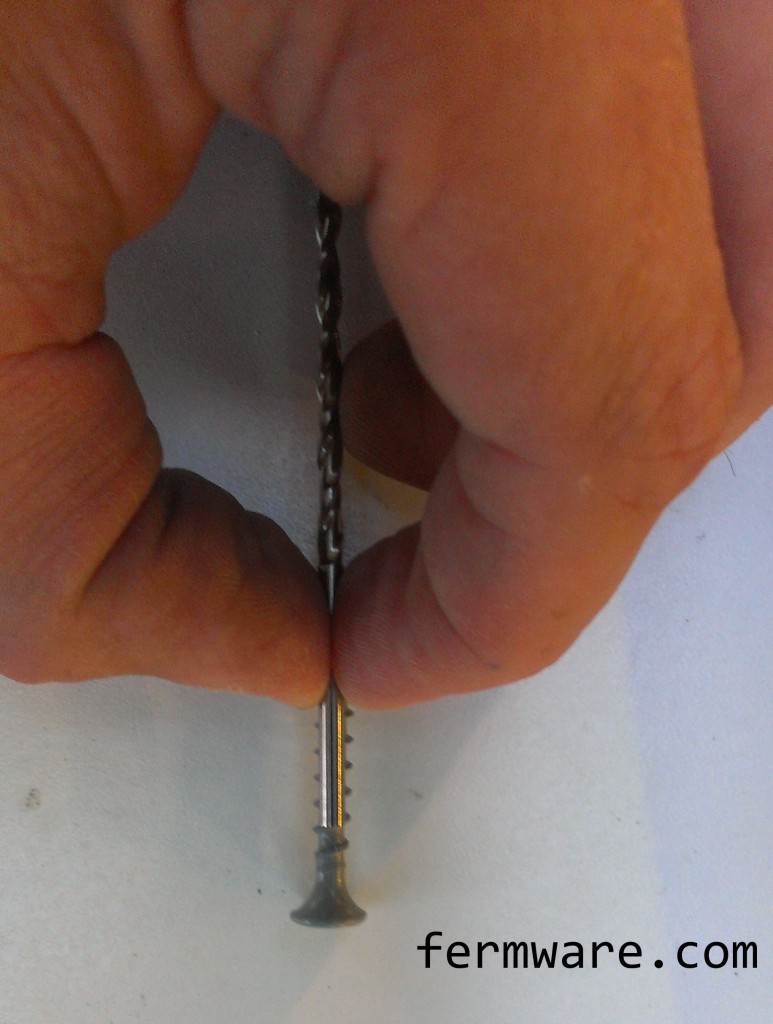
You can see below that the drill bit is slightly larger than the screw.  This is what I will use to drill the through holes in the wood support strips.

locker shelf - holes - predrill size

This next image shows selecting the pre-drill size for the shelf.  Notice that the drill diameter is approximately the same as the root diameter of the screw.

locker shelf - holes - through hole size

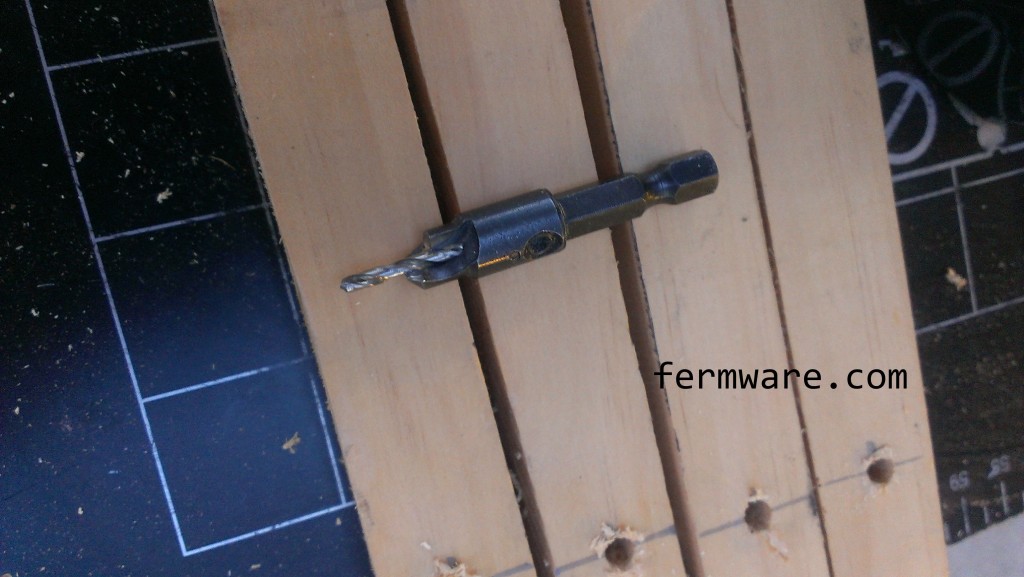
This next step is optional.  I used a counter-sink kit to allow the screws to sit flush with the top of the wood when fully secured.  Sometimes in harder woods, you’d end up splitting the wood if you ran the screws hard enough into the wood to make them flush.  They basically create a cone shape for the head of the fastener to sit in.

locker shelf - holes - countersink

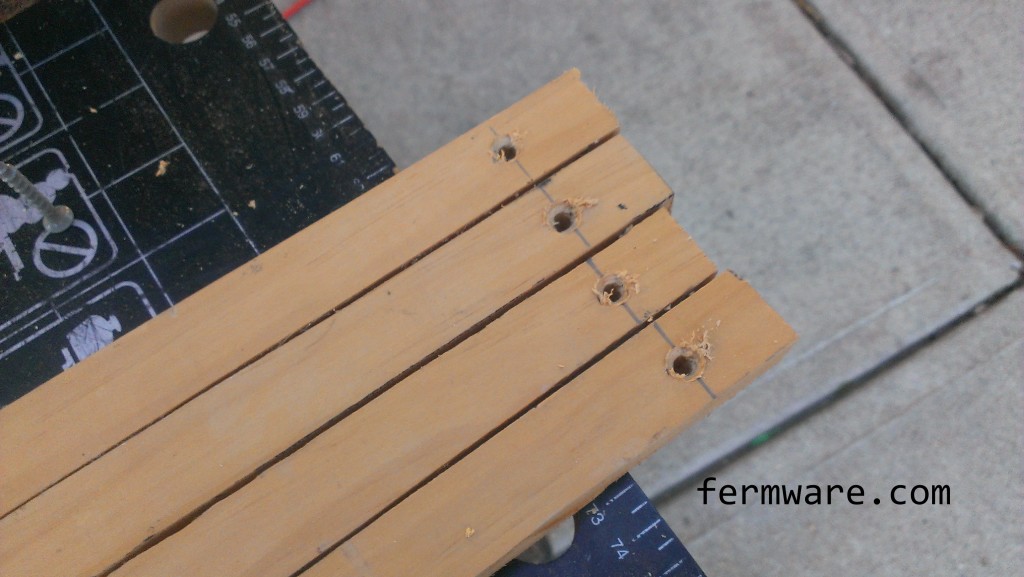
See, nice pretty countersunk holes.

locker shelf - holes - countersinks completed

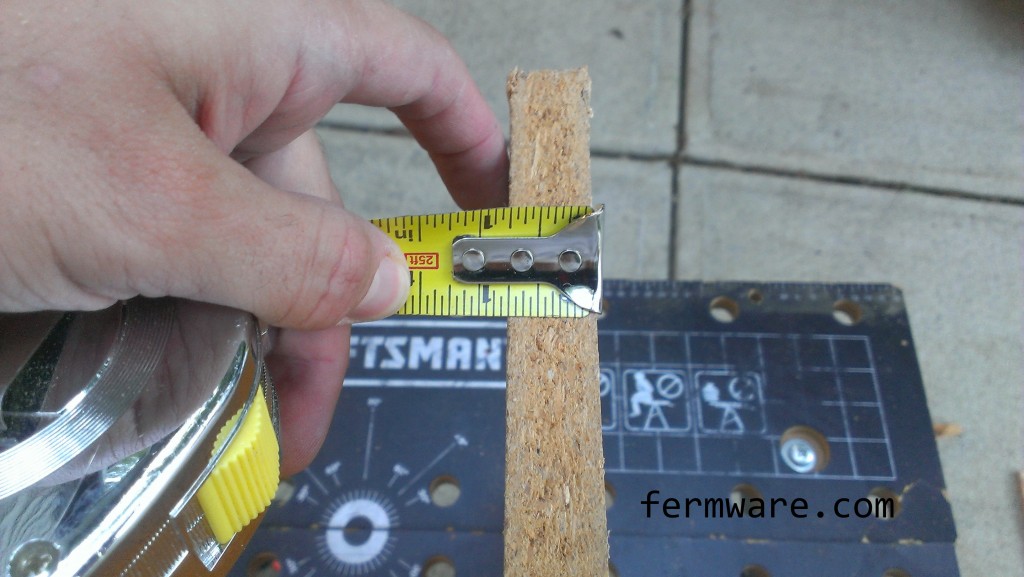
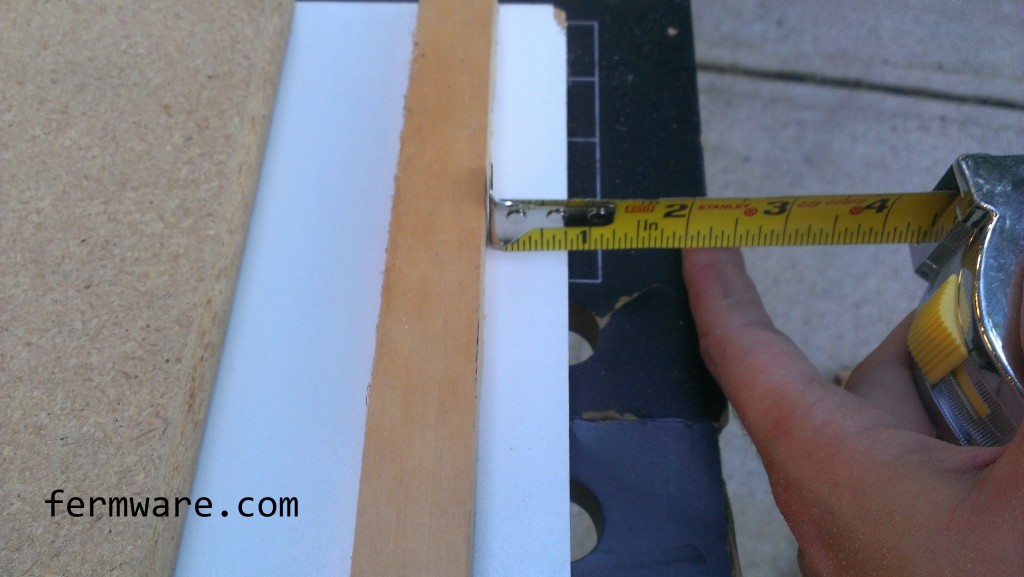
Now we need to pre-drill the shelf to attach the support strips.  You’ll need to measure the thickness of your upright.

locker shelf - measurement - shelf thickness

Then use that measurement to determine the spacing from the edge of the shelf to the location of the support strip.

locker shelf - measurement - stop offset

Mark a line so you know if anything moves when you are drilling the holes.

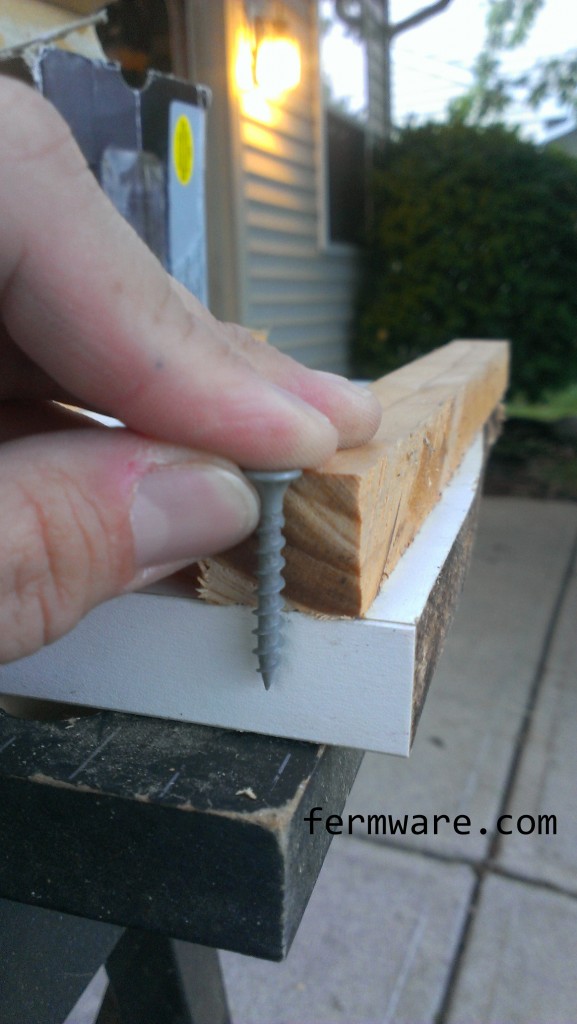
You’ll need screws that are shorter than the thickness of the shelf and the support strips.

locker shelf - holes - evaluating depth

You’ll also want to be careful to not drill all the way through the shelf.  Pointy screws poking out tend to rip books and cut hands!  I’ll sometimes use a short section of masking tape wrapped around the drill bit to mark the proper depth of the drill bit.

locker shelf - holes - drill depth marker

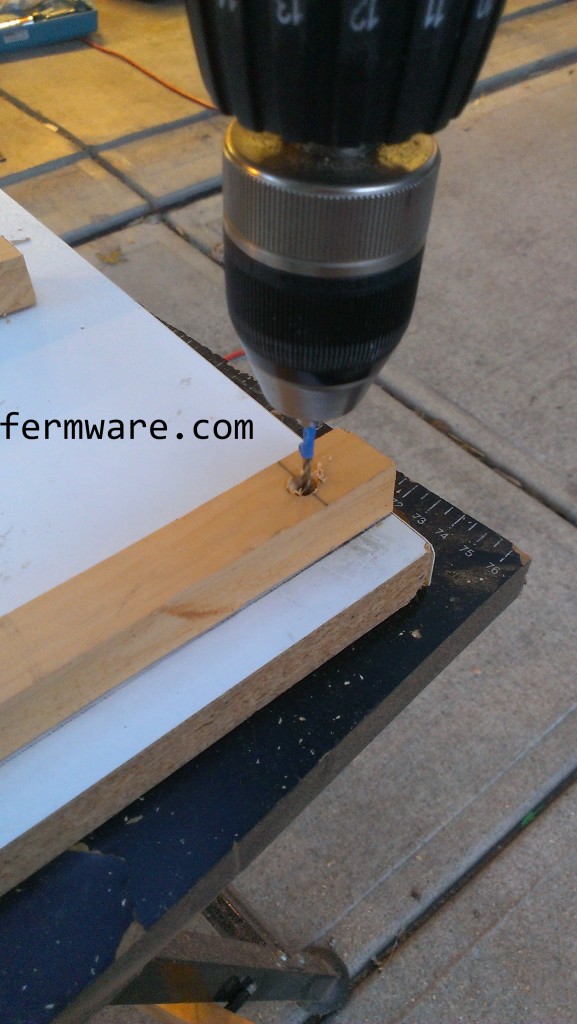
Now take your pre-drill size and use the holes in the support strips as a location guide.

locker shelf - holes - drilling

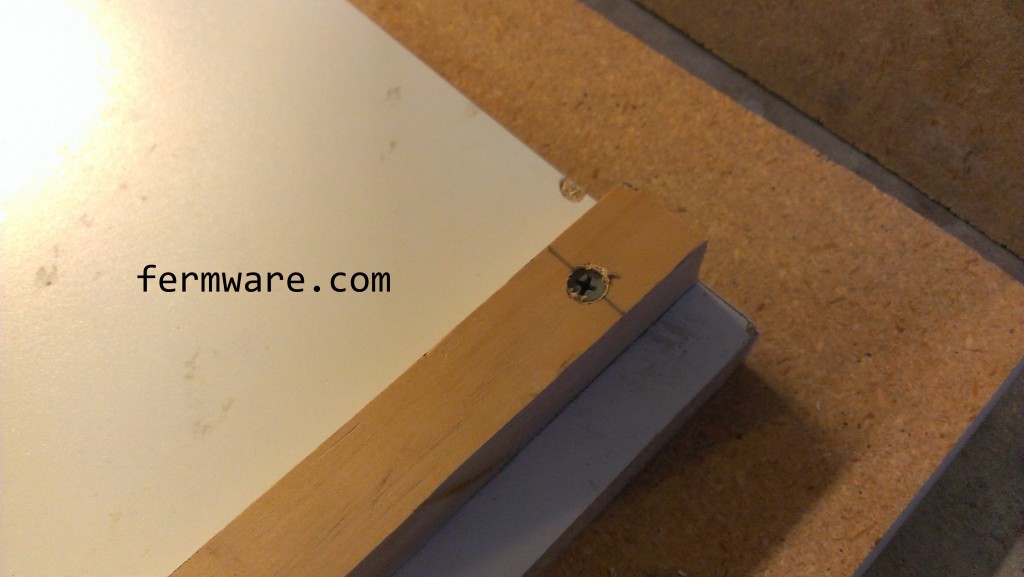
Once you have everything pre-drilled, it’s time to secure them to the shelf.  Nice and flush!

locker shelf - strips - attached and countersunk

locker shelf - top - with strips attached

Here is the completed shelf sitting up against the screwed together version 1 from last school year.

locker shelf - shelf - assembled and tested

Besides getting it to the locker, you’re DONE!

Getting it into the locker:

  • Set the uprights on the sides of the locker floor
  • Place the shelf on top, ensuring that the support strips fit in between the uprights

Not into brewing, but like to make stuff?  Check out these posts:

Making Belgian Candi Sugar
Rolling Deep Freezer Dolly

Are you curious about making your own beer and would like to learn more?   Try out a beginning brewing kit:

Choosing a Starting Brewing Kit

Grain Storage

Grain Storage

Difficulty: level_1

Time Required:

As long as it takes you to replace a trash bag.  Maybe more if you decide to nerd yourself out.  Keep reading to the bottom if this is you.

Affiliate Links

Cost:

Less than $5 per bucket assembly.

Background:

So if you are serious about brewing and want to save money in the long run, you are most likely buying your most used grains in bulk.  If you don’t want those savings to go to waste, you need to store the grains in a way that doesn’t degrade the quality of the grain.

Required:

5 Gallon bucket + lid of your choosing
food safe bag

“Let’s do this”:

Whenever I choose a storage solution, I try to find something readily available where that exact same container can be purchased again at some later point in time.  I arbitrarily chose Homer buckets from Home Depot.  Maybe I fell for their marketing scheme of having them available everywhere you look in the store for a reasonable price, but hey, they work.  So now, I just buy these buckets so everything matches.

What is convenient is that each bucket holds just about 25 pounds of grain.  So what I usually do is buy the 50 pound bag of ‘Merican grain when I’m going to use it, then the remainder always fits in two buckets.  The same goes for when I get the 55 pound bags of “Ferrin” grain.

So choose your bucket and then decide which lid you will use.

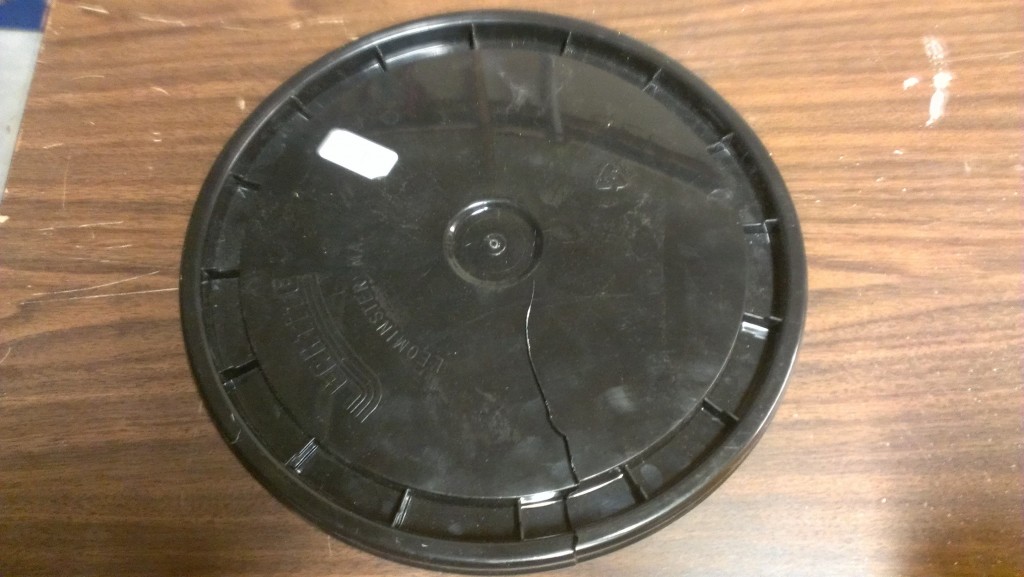
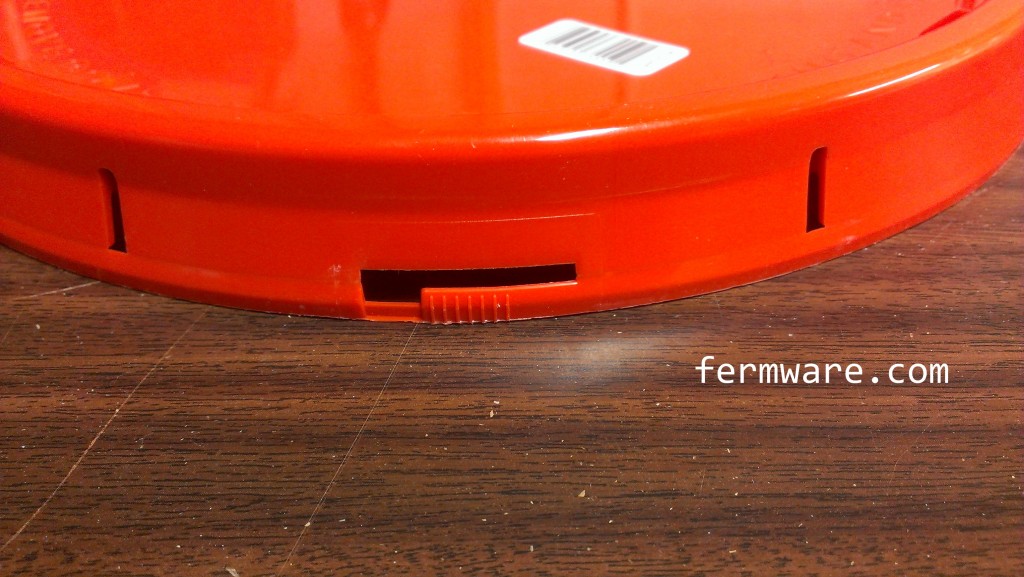
008-Grain Storage-Crappy lids

Do not buy these lids!  They tempt you with the “easy removal” line, but upon the first or second removal of this lid, this will occur.

008-Grain Storage-Sealed Lid

This is what I buy.  They are a few cents more and in my opinion, worth so much more.

008-Grain Storage-Seal on lid

These lids have a rubber seal, which helps keep moisture out.

008-Grain Storage-Lid as Received

The lids do have this one time seal feature, but just go ahead and pull it off.  If you are just the slightest bit careful, you can remove these lids over and over again.

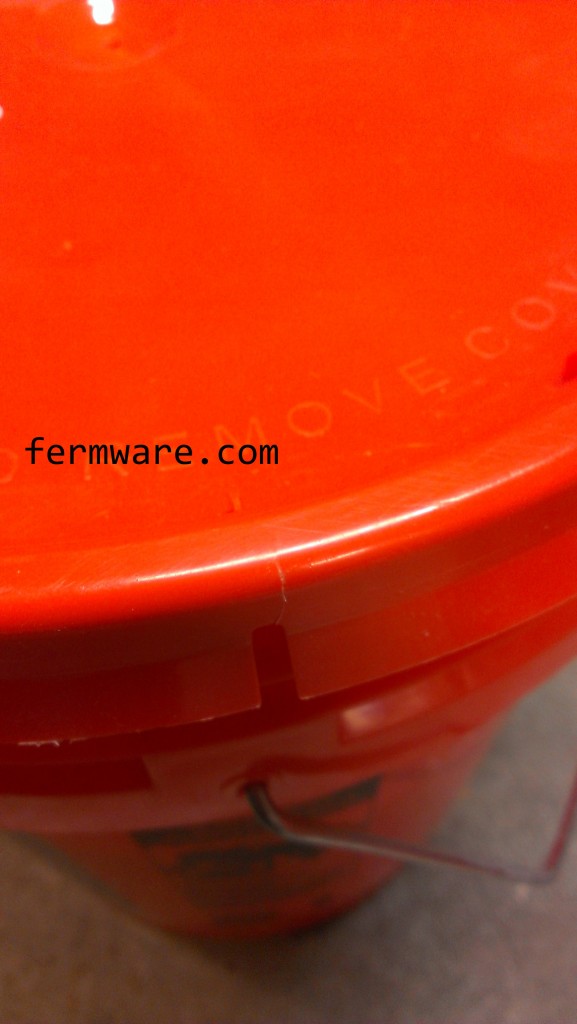
008-Grain Storage-These lids crack too


You might get a crack in the lid where the stress “reliever” is, but as long as it doesn’t go beyond the rubber seal, you should still be ok.

If you want the ultimate in awesomeness, go for the Gamma lids.  I personally don’t use these for my grains, because the highest frequency I need to access my grains is every two weeks and I can cope with the standard lids.  I do however use them for our bulk dog food storage and hay for our guinea pig, since we store them in the garage and we access them every day.

The Gamma lids are surprisingly decently well priced at Home Depot ($7-8).

Ok, enough about lids already!

Since it is mostly accepted that the plastic used in most 5 gallon buckets is not rated as food safe, lets just add another layer of protection.

Once you have decided on your bucket / lid combo, just place a food safe plastic bag liner in the bucket.  Reference my post on food safe bucket liners to get an idea on where to get these bags.

008-Grain Storage-Twist bag


Not much to explain really.  Put the bag in the bucket and pour your grains in.

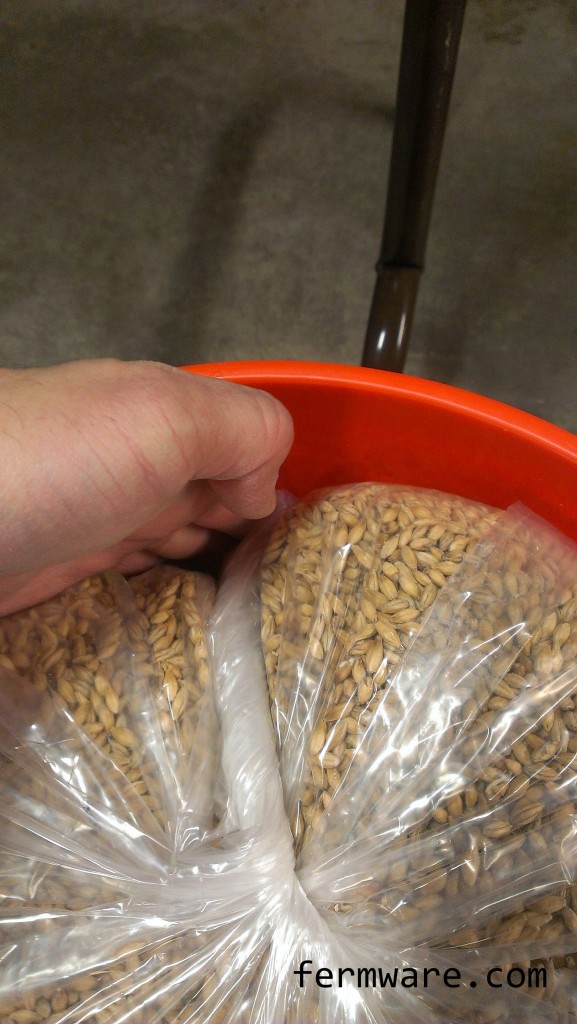
008-Grain Storage-Tuck Bag

I then twist the top of the bag and tuck it in the side of the bucket.  Then just put your lid on.

Labeling

Per my post on Easy Fermenter Labels, I just used gaffers tape to note the grain type and amount of grain in the bucket.  See “Nerd Alert” at the end of this post to determine the amount of grain in the bucket.

008-Grain Storage-Label Contents

Moisture control

Ok, so I admit, I had been using muslin bags filled with rice for “moisture control”.  After some reading on the internet (so it must be true), I came to the conclusion that rice is a poor desiccant.  I fell for the commonly held belief that it absorbed moisture because they use it in salt.  Well, it seems that rice is used in salt shakers to prevent clumping.  Sodium chloride is actually a better moisture absorber.  It all makes sense now, because the container I store our ice melter in always has a pool of water on top.  Now I just say (my opinion here) that if you won’t be using the grain within 3-6 months, you probably aren’t making the best of purchasing grain in bulk.

Nerd Alert!level_5

Ok, so if you aren’t using all of your grain at once, you’ll probably want to know how much grain you have left.  What I do is weigh the bucket plus the bag liner before pouring the grain in.  This is my tare weight.  So whenever I need to know how much grain is left, I just weigh the grain bucket with the grain in it and subtract the tare weight.

008-Grain Storage-Tare Bucket

I also note the date each time I weigh, because I know myself and I know that if I just put the weight on there, I will wonder if it was before or after a certain brew an then end up re-weighing the grain.

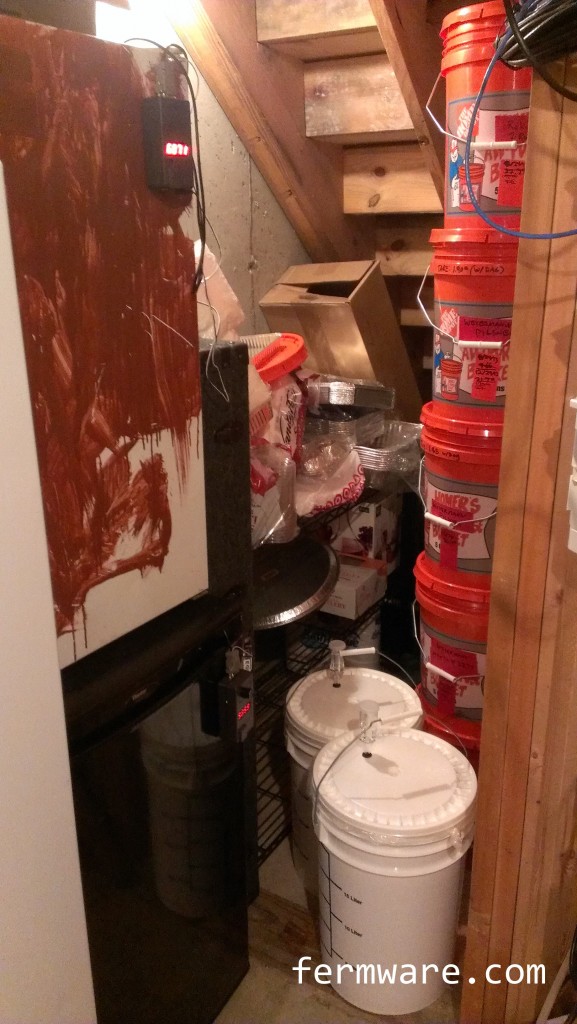
008-Grain Storage-Stacked Buckets

So here is “Fermentation Central” in my basement.  Two batches of Cream Ale fermenting, next to my stack of grain storage buckets and my two dorm fridges converted to fermentation chambers.  The top one is running intermittently (had since college) and the bottom one is facilitating a German Alt.

Keezer / Kegerator / Deep Freezer Dolly

An easy way to store your keezer / kegerator under a shelf

Difficulty: level_3 *

*Due to the potential of needing help to lift the keezer onto the dolly

Time Required:

one morning or afternoon, plus overnight if gluing the base is required

Background:

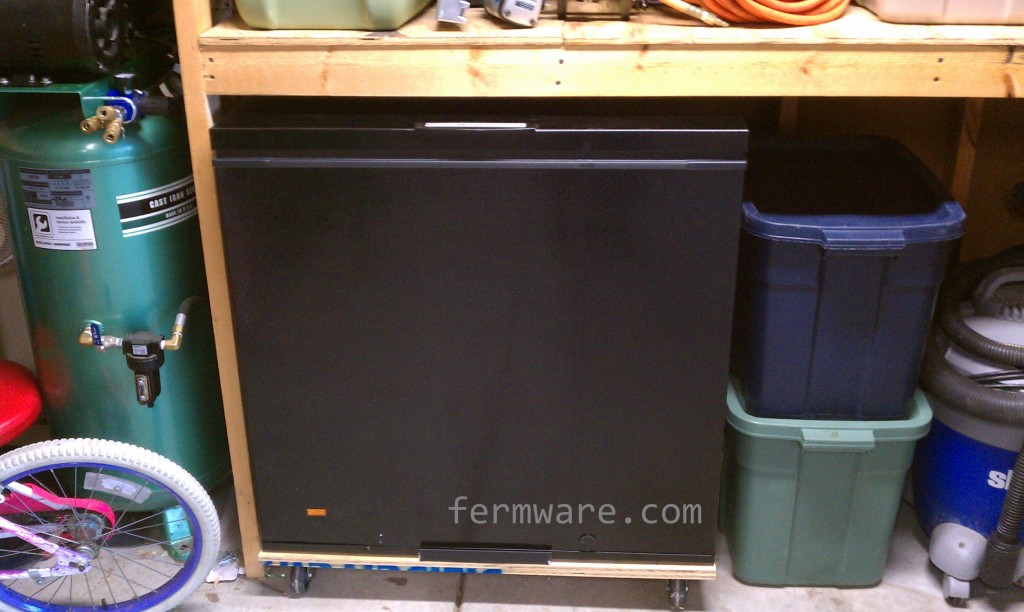
As I mentioned in my About: This Blog page, I have limited space for my equipment and the Keezer is no small piece of equipment.  It certainly wouldn’t go with the decor of the house and I also didn’t want it to be in easy reach of the kids.  Not that they would be drinking it, but I would be concerned they would think it was funny to squirt pressurized beer at will.  In my opinion, having the chest freezer sitting on the garage floor with nothing above it was a waste of air space.  My ultimate solution was to build a keezer dolly that would allow me to have easy access, but could easily be rolled under a shelf in the garage.  It also makes it easy to clean behind it, rolling it to the edge of the garage when defrosting or draining the moisture buildup and is just all around convenient.  I’ve had it for 2+ years and it has been great.  I’ve also had no issues with it being in the garage and it’s on an outside wall.

001-Keezer Dolly - Keezer put away wm
 

My keezer happily in it’s place under a shelf in the garage.

Important note: This would not be wise for a vertical freezer or refrigerator. It could easily tip when moving. This would not be good. Those typically have some wheels anyway.

Affiliate Links

Parts Required:

  • Casters, carriage bolts and nuts/washers
    • You could buy a moving dolly for the parts (potentially inexpensive way to get casters and bolts)
      • I got mine from harbor freight
      • Movers dolly
      • I usually pull 20% off coupons from my Road & Track and Car and Driver magazines
    • Size / Type
      • Big enough to roll over separations in the floor
      • Small enough to not raise the keezer too high
        • Unless you plan on rolling it into the yard (later post blog, stay tuned…)
      • Choose solid rubber wheels.  The air filled tires have more resistance on flat surfaces
      • The wheels from the Harbor Freight dolly I used are 3″ in diameter and with the casters are about 3.5″ tall
    • Plywood sheet
      • About 1″ larger than your keezer on all sides
      • To use the same bolts from the dolly, make your platform the same thickness of the dolly (more on that later)
    • Some type of L-channel (AKA angle iron or L bracket) to help retain the keezer on the dolly
      • I used some leftover channel from my garage door opener installation 10 years ago (I knew it would come in handy at some point!)
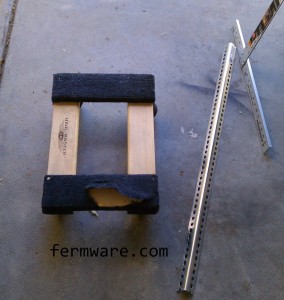
001-Keezer Dolly - Dolly and L Channel wm
Donor moving dolly and L Channel


The Build:

Disassemble the dolly to remove the casters (skip to the next step if you just bought them)

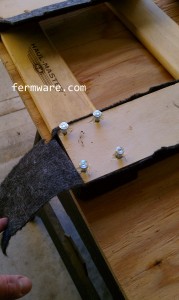
  • loosen the bolts on the underside that attach the casters to the frame
  • 001-Keezer Dolly - dolly underside wm
  • If you are using the Harbor Freight dolly or a similar one, you can cut the carpet coating with a knife and peel it off
  • push through or hammer the carriage bolts out the other side
  • 001-Keezer Dolly - taking bolts out wm
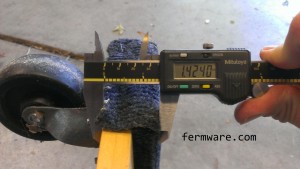
  • measure the thickness of the dolly’s frame (important for the building of the platform)
  • 001-Keezer Dolly - measure thickness wm
Build the Platform

  • Dimensions
    • It should be slightly larger than the maximum plan area (top view) of the keezer
    • This is so that the first thing that runs into walls is the base, not the handles or hinges
    • The sides can be close, but I would overshoot by 1/4″ or so
  • Thickness
    • If you take a look at the carriage bolts, you’ll notice that they probably aren’t fully threaded
    • You want to match the thickness of the platform with the bolts
      • Too thin: There will be too much thread extending out
        • It could potentially block rotation of the casters
        • If this is unavoidable, you could cut them after assembly with a hack saw or your favorite rotary tool
      • Too thick: You won’t get enough thread engagement to secure the casters
    • I simply doubled up the available plywood I had
      • cut 2 sheets the same size
      • put some wood glue between them
      • set something heavy on top and let them sit overnight

Attach the casters

  • Choose the location of the casters
    • Be sure to allow room on each edge for the wheel to rotate 360 degrees without swinging beyond the extents of the platform
    • Note how in the picture below, the wheel can extend beyond the frame when swiveled.  I didn’t want mine to protrude.
    • Rotation of caster wheel
      Rotation of caster wheel
  • Mark the holes and centers
  • Drill the holes with enough clearance for the carriage bolts
  • Go slightly oversize on the holes to allow for slop in your drilling and make it less frustrating to assemble
  • Put the carriage bolts through the holes (you may need to lightly tap them in with a hammer)
  • Secure on the other side with the nuts
    • Don’t go so tight that you pull the carriage bolts through the wood
    • If you have nyloc nuts, you should be ok to re-use them
    • The moving dolly I used had split lock washers
      The moving dolly I used had split lock washers
    • Optional: I always have loctite on hand, go ahead and use a drop of low strength on each nut if you want

Retaining Pieces

001-Keezer Dolly - base on ground wm
  • These are to make sure that if the keezer slips on the platform, you won’t push it off the edge when moving it
  • you don’t need much length, just enough to catch the keezer on all four sides
  • I just cut the piece I had into 4 lengths
  • A hacksaw or cutoff wheel will do
  • If you want to be really cool, you could get some nuts and bolts to secure them
  • I just used some short drywall screws at opposite sides of the outer slots to secure them
  • Optional: I covered them with black gaffers tape to match the keezer and make it look nicer
    • If you don’t know what gaffers tape is, get some
    • It mostly does the same thing as duct tape
    • Doesn’t leave residue that duct tape does
    • I use it throughout my fermentation process for labels that can be removed and placed on the next vessel in the process. Works for me all the way through kegging.

Finish it up

  • You could paint it if you wanted
  • Go con / recruit a neighbor / friend to help you lift your keezer up onto the platform
    • Pay them with one of your delicious brews
    • Be sure to take everything out of it first!!

001-Keezer Dolly - Keezer rolled out wm