Besides beer, one thing most brewers have in common is their dislike of time spent cleaning. In order to get started, you’ll need to clean your fridge. If you found a fridge in good shape, you may have less work. I on the other hand found a fridge on Craigslist that was in a garage where the dude smoked. Yea, so this fridge smelled of smoke. Two weeks later, it’s subsided considerably.
If you missed the first post, start here: Part 1: Introduction
Difficulty: 
This project requires a few inexpensive special tools, but will most likely take an entire weekend, lots of improvisation, some thorough cleaning and the cost of the fridge takes it to level 4.
Posts for this Project:
Part 1: Introduction
Part 2: Clean up (This Post)
Part 3: Disassembly
Part 4: Door modification
Part 5: Shelf building
Part 6: Finishing up and other observations
Affiliate Links
Any links in this post or on this website may link to affiliates, which compensate this website for purchases. All links are provided to help the reader locate items mentioned or used in the post. As an Amazon Associate I earn from qualifying purchases.Clean up time
Yes, I’m a father of two girls and I’m man enough to admit that I like the Disney movie Enchanted.
https://www.youtube.com/watch?v=u-Ra7nwZRN4
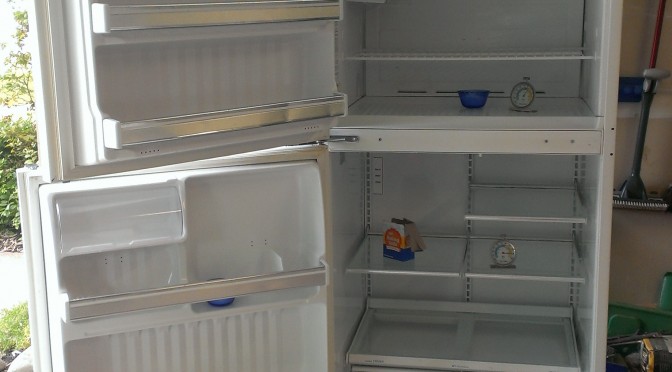
You’ll probably find it easier to clean if you remove the shelves, icemaker, drawers, etc.
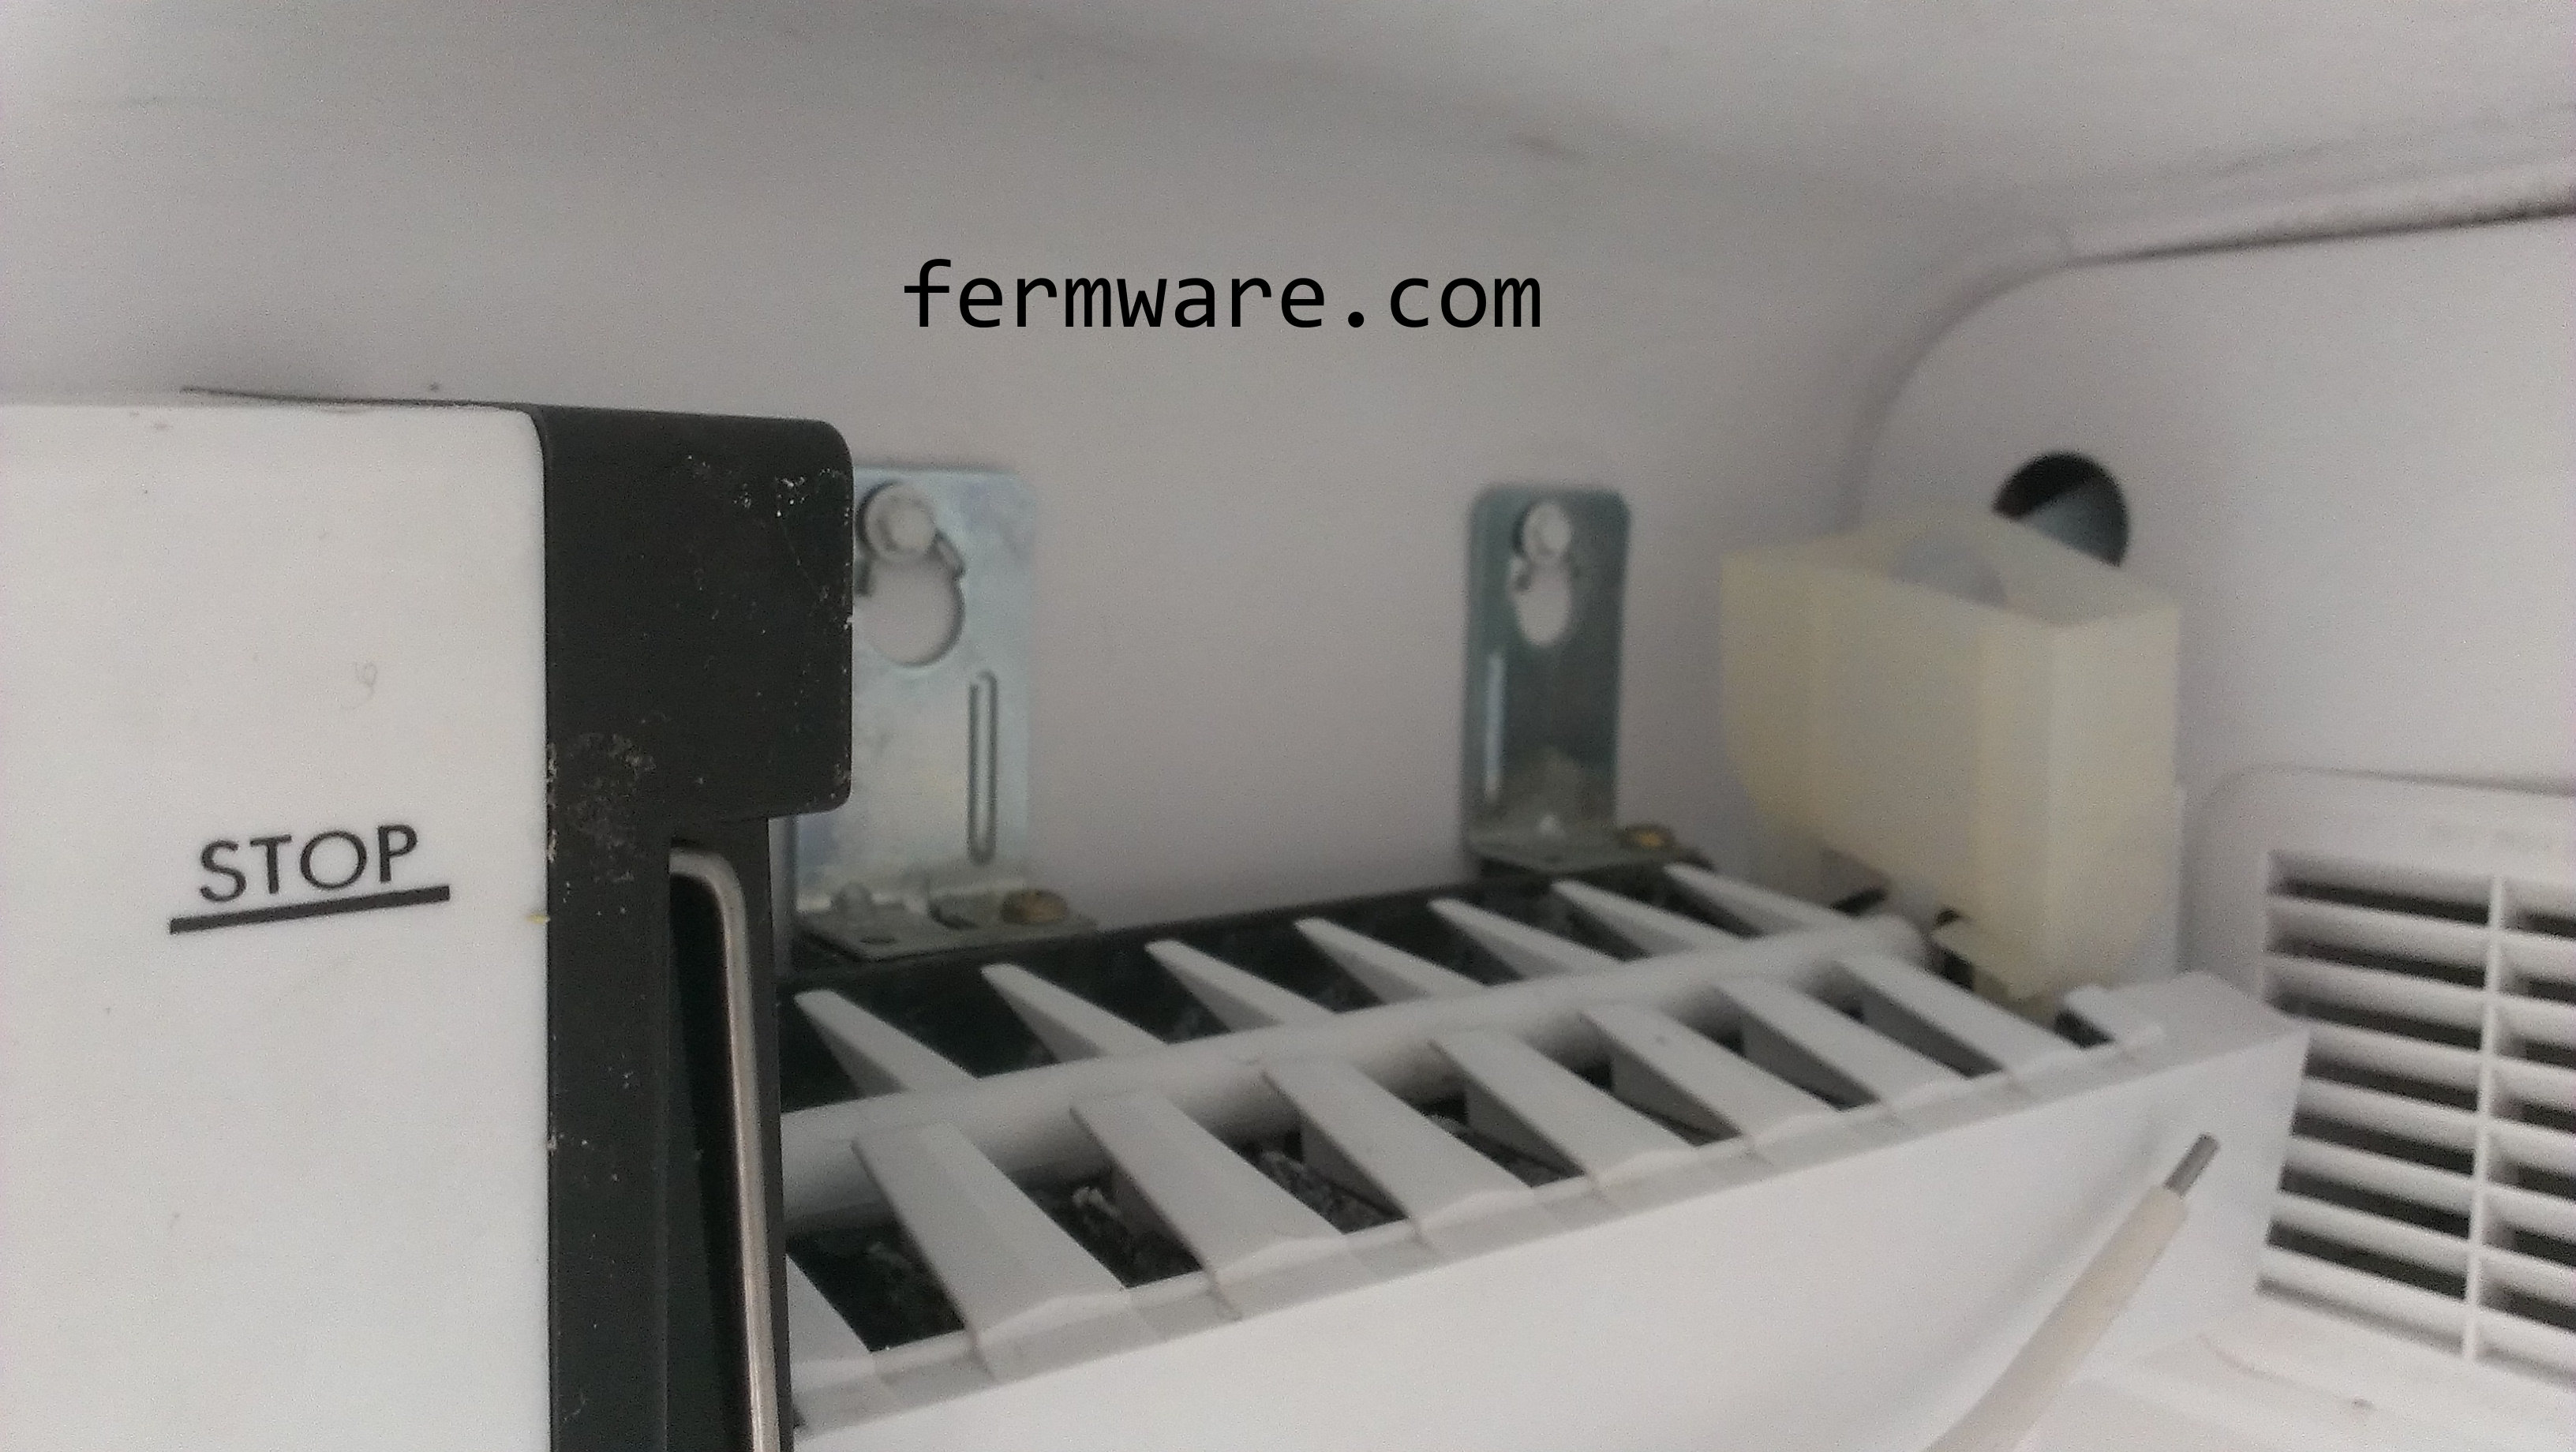
The icemaker will have two sheet metal screws that may have a hex head, philips or flat head slot in the top. Use the nut setter for this.

Shelving removed

I mixed up a bleach/water solution at a 1:10 ratio in a spray bottle to clean out the crevices in the disgustingly dirty seals.
I also realized during the cleanup that the biscuit/almond colored fridge I bought was actually white! Nice…
A vinegar/water solution is also pretty handy at removing most residue from the fridge and also seems to do a good job at removing odors.

After it was all cleaned up, I went ahead and put the shelves back in, because I didn’t want to leave them laying around the garage. I also put a few bowls of baking soda in there to let it run for a few days to get rid of any odors (unexpected delay). I also cranked the dials all the way to make sure it would get cold enough.
Up next…
Posts for this Project:
Part 1: Introduction
Part 2: Clean up (this post)
Part 3: Disassembly
Part 4: Door modification
Part 5: Shelf building
Part 6: Finishing up and other observations