Difficulty: 
This project requires a few inexpensive special tools, but will most likely take an entire weekend, lots of improvisation, some thorough cleaning and the cost of the fridge takes it to level 4.
Posts for this Project:
Part 1: Introduction
Part 2: Clean up
Part 3: Disassembly (This Post)
Part 4: Door modification
Part 5: Shelf building
Part 6: Finishing up and other observations
Affiliate Links
Any links in this post or on this website may link to affiliates, which compensate this website for purchases. All links are provided to help the reader locate items mentioned or used in the post. As an Amazon Associate I earn from qualifying purchases.Disassembly
Measurement of door gap
For the merging of the freezer and refrigerator compartment doors, you could either take the step of making the brackets before you take the fridge completely apart, or measure the gap between the two doors before you take them off. Since I was shooting from the hip, I made the brackets first to make sure everything would line up. In hindsight, with careful measurement, you can take everything apart and then build the door. You’ll just need this measurement first to space the doors properly when joining them later.

This picture shows me measuring the door with a pair of calipers, but a tape measure would suffice. See next picture.
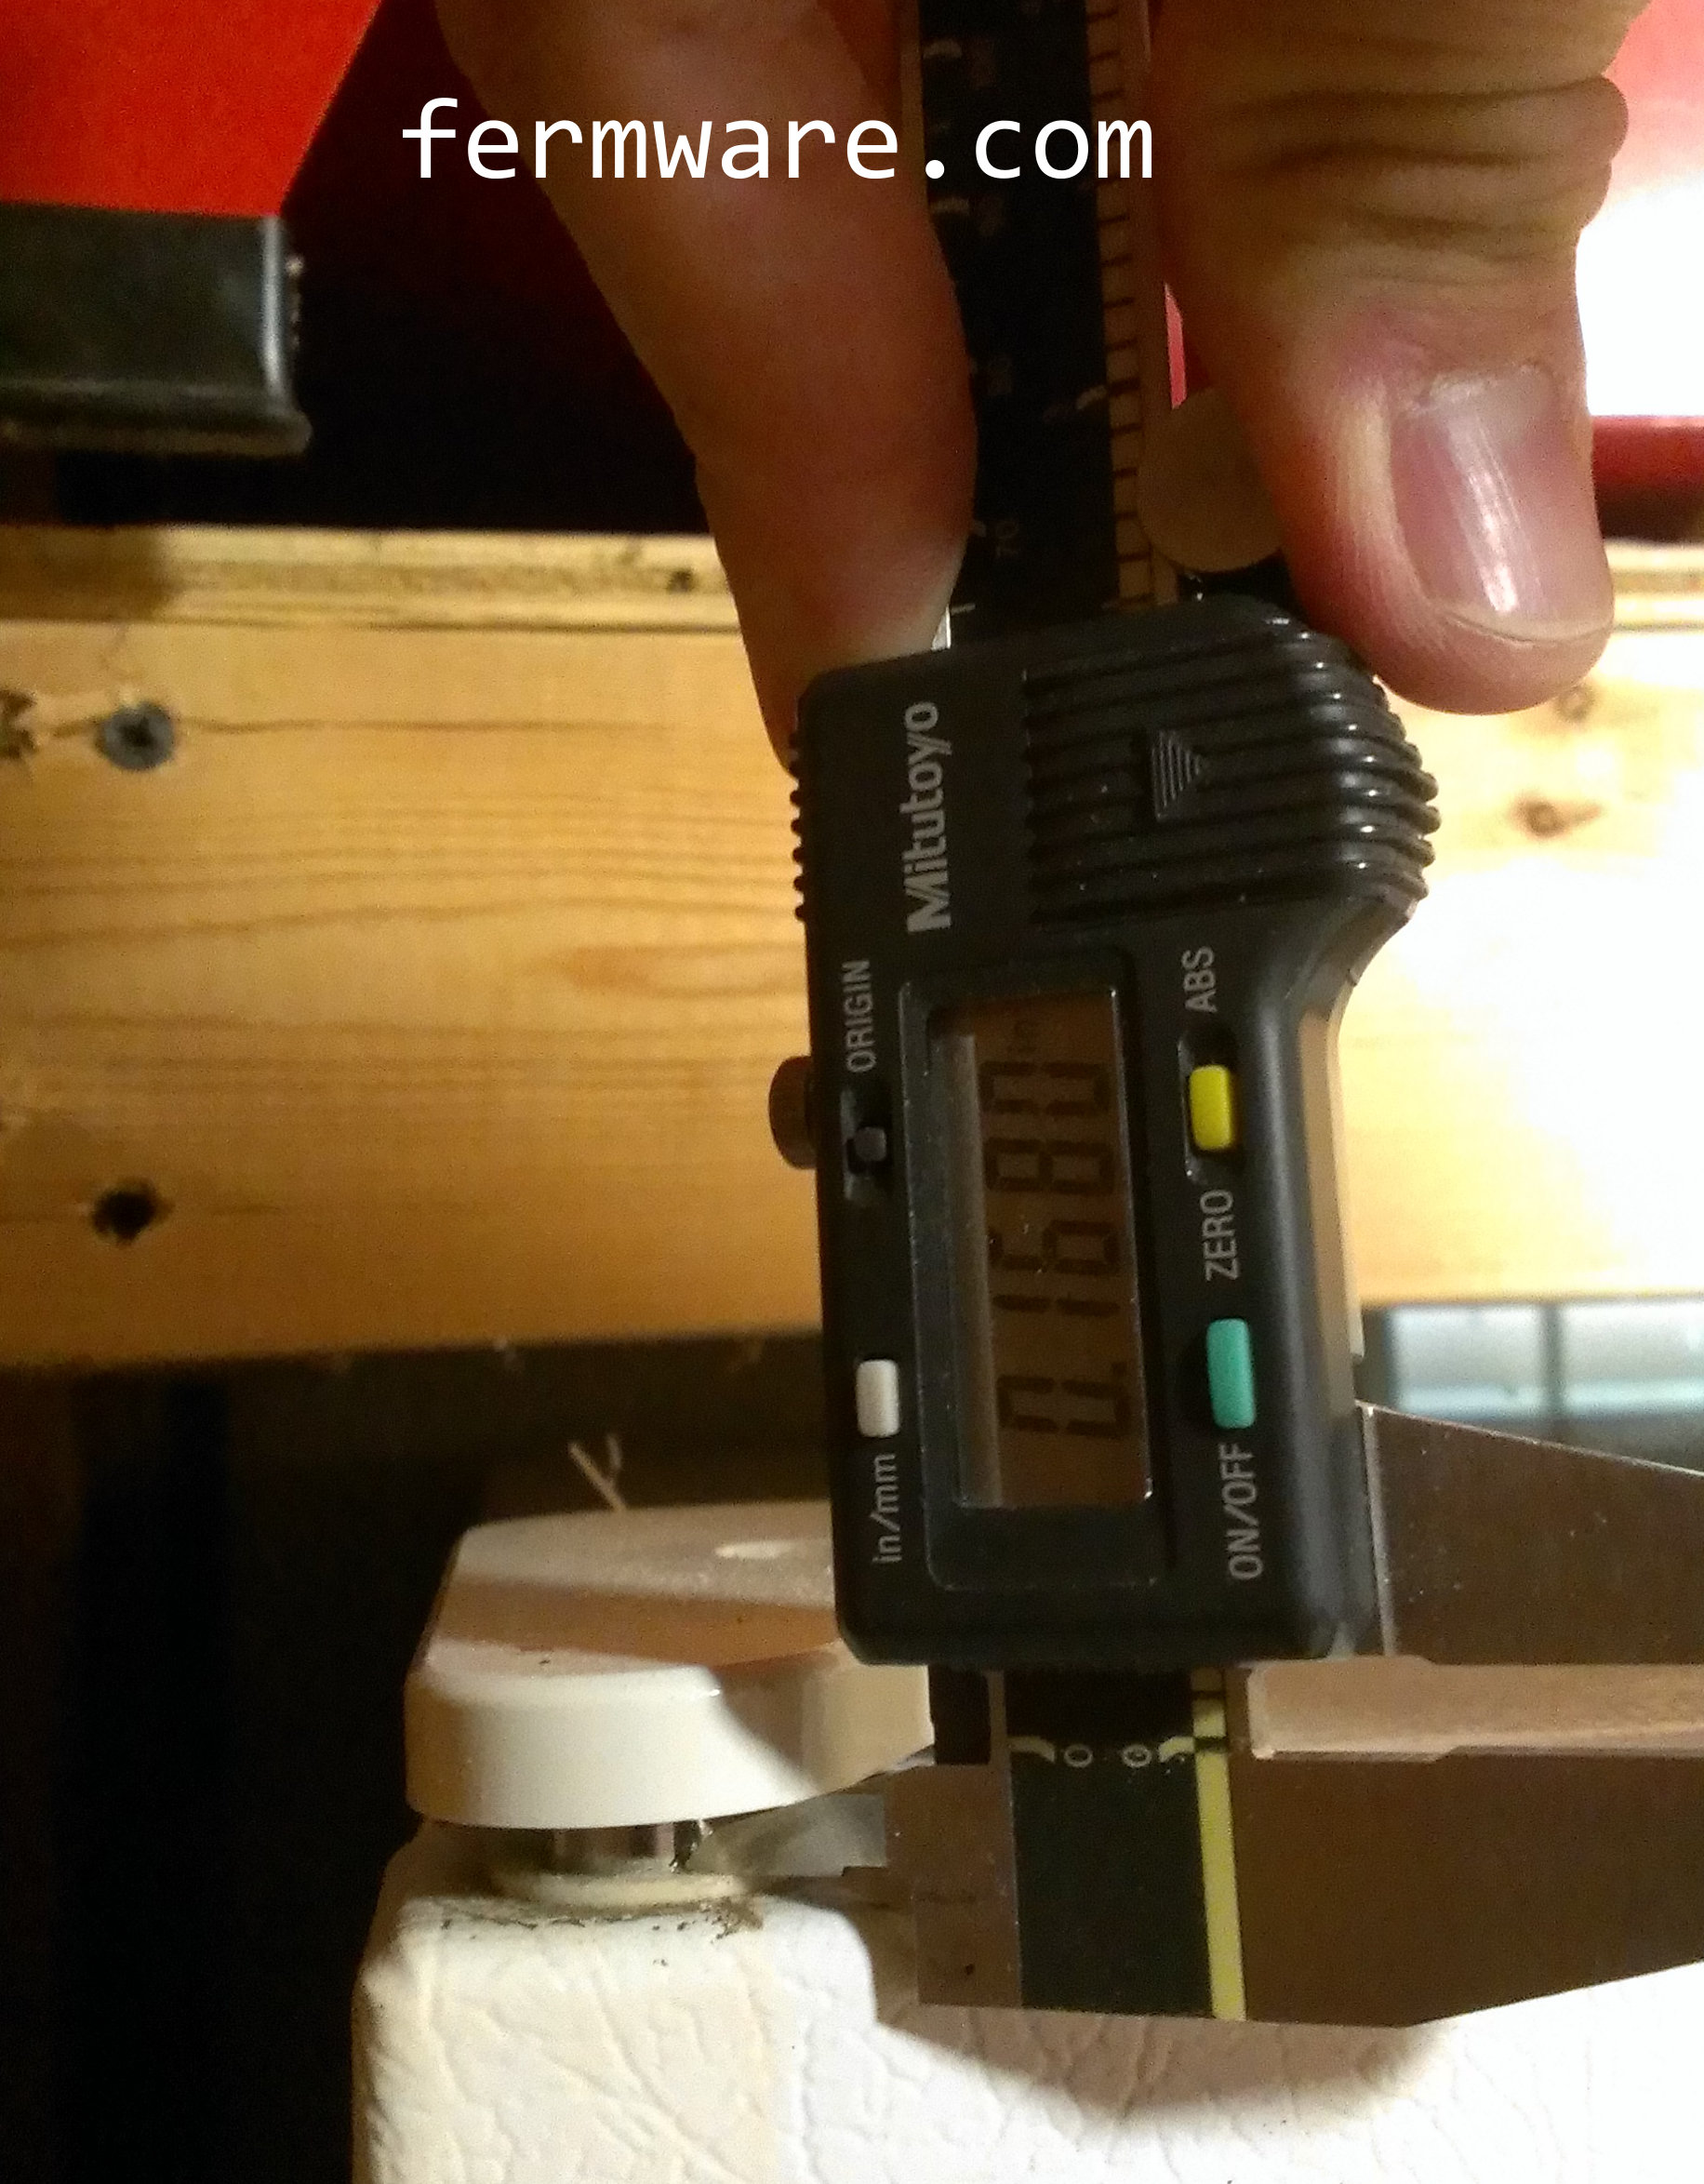
As you can see here, there is considerable gap in the hinges of the door. I measured 0.168″ (over 1/8″). So that is all the accuracy you need in your measurement.
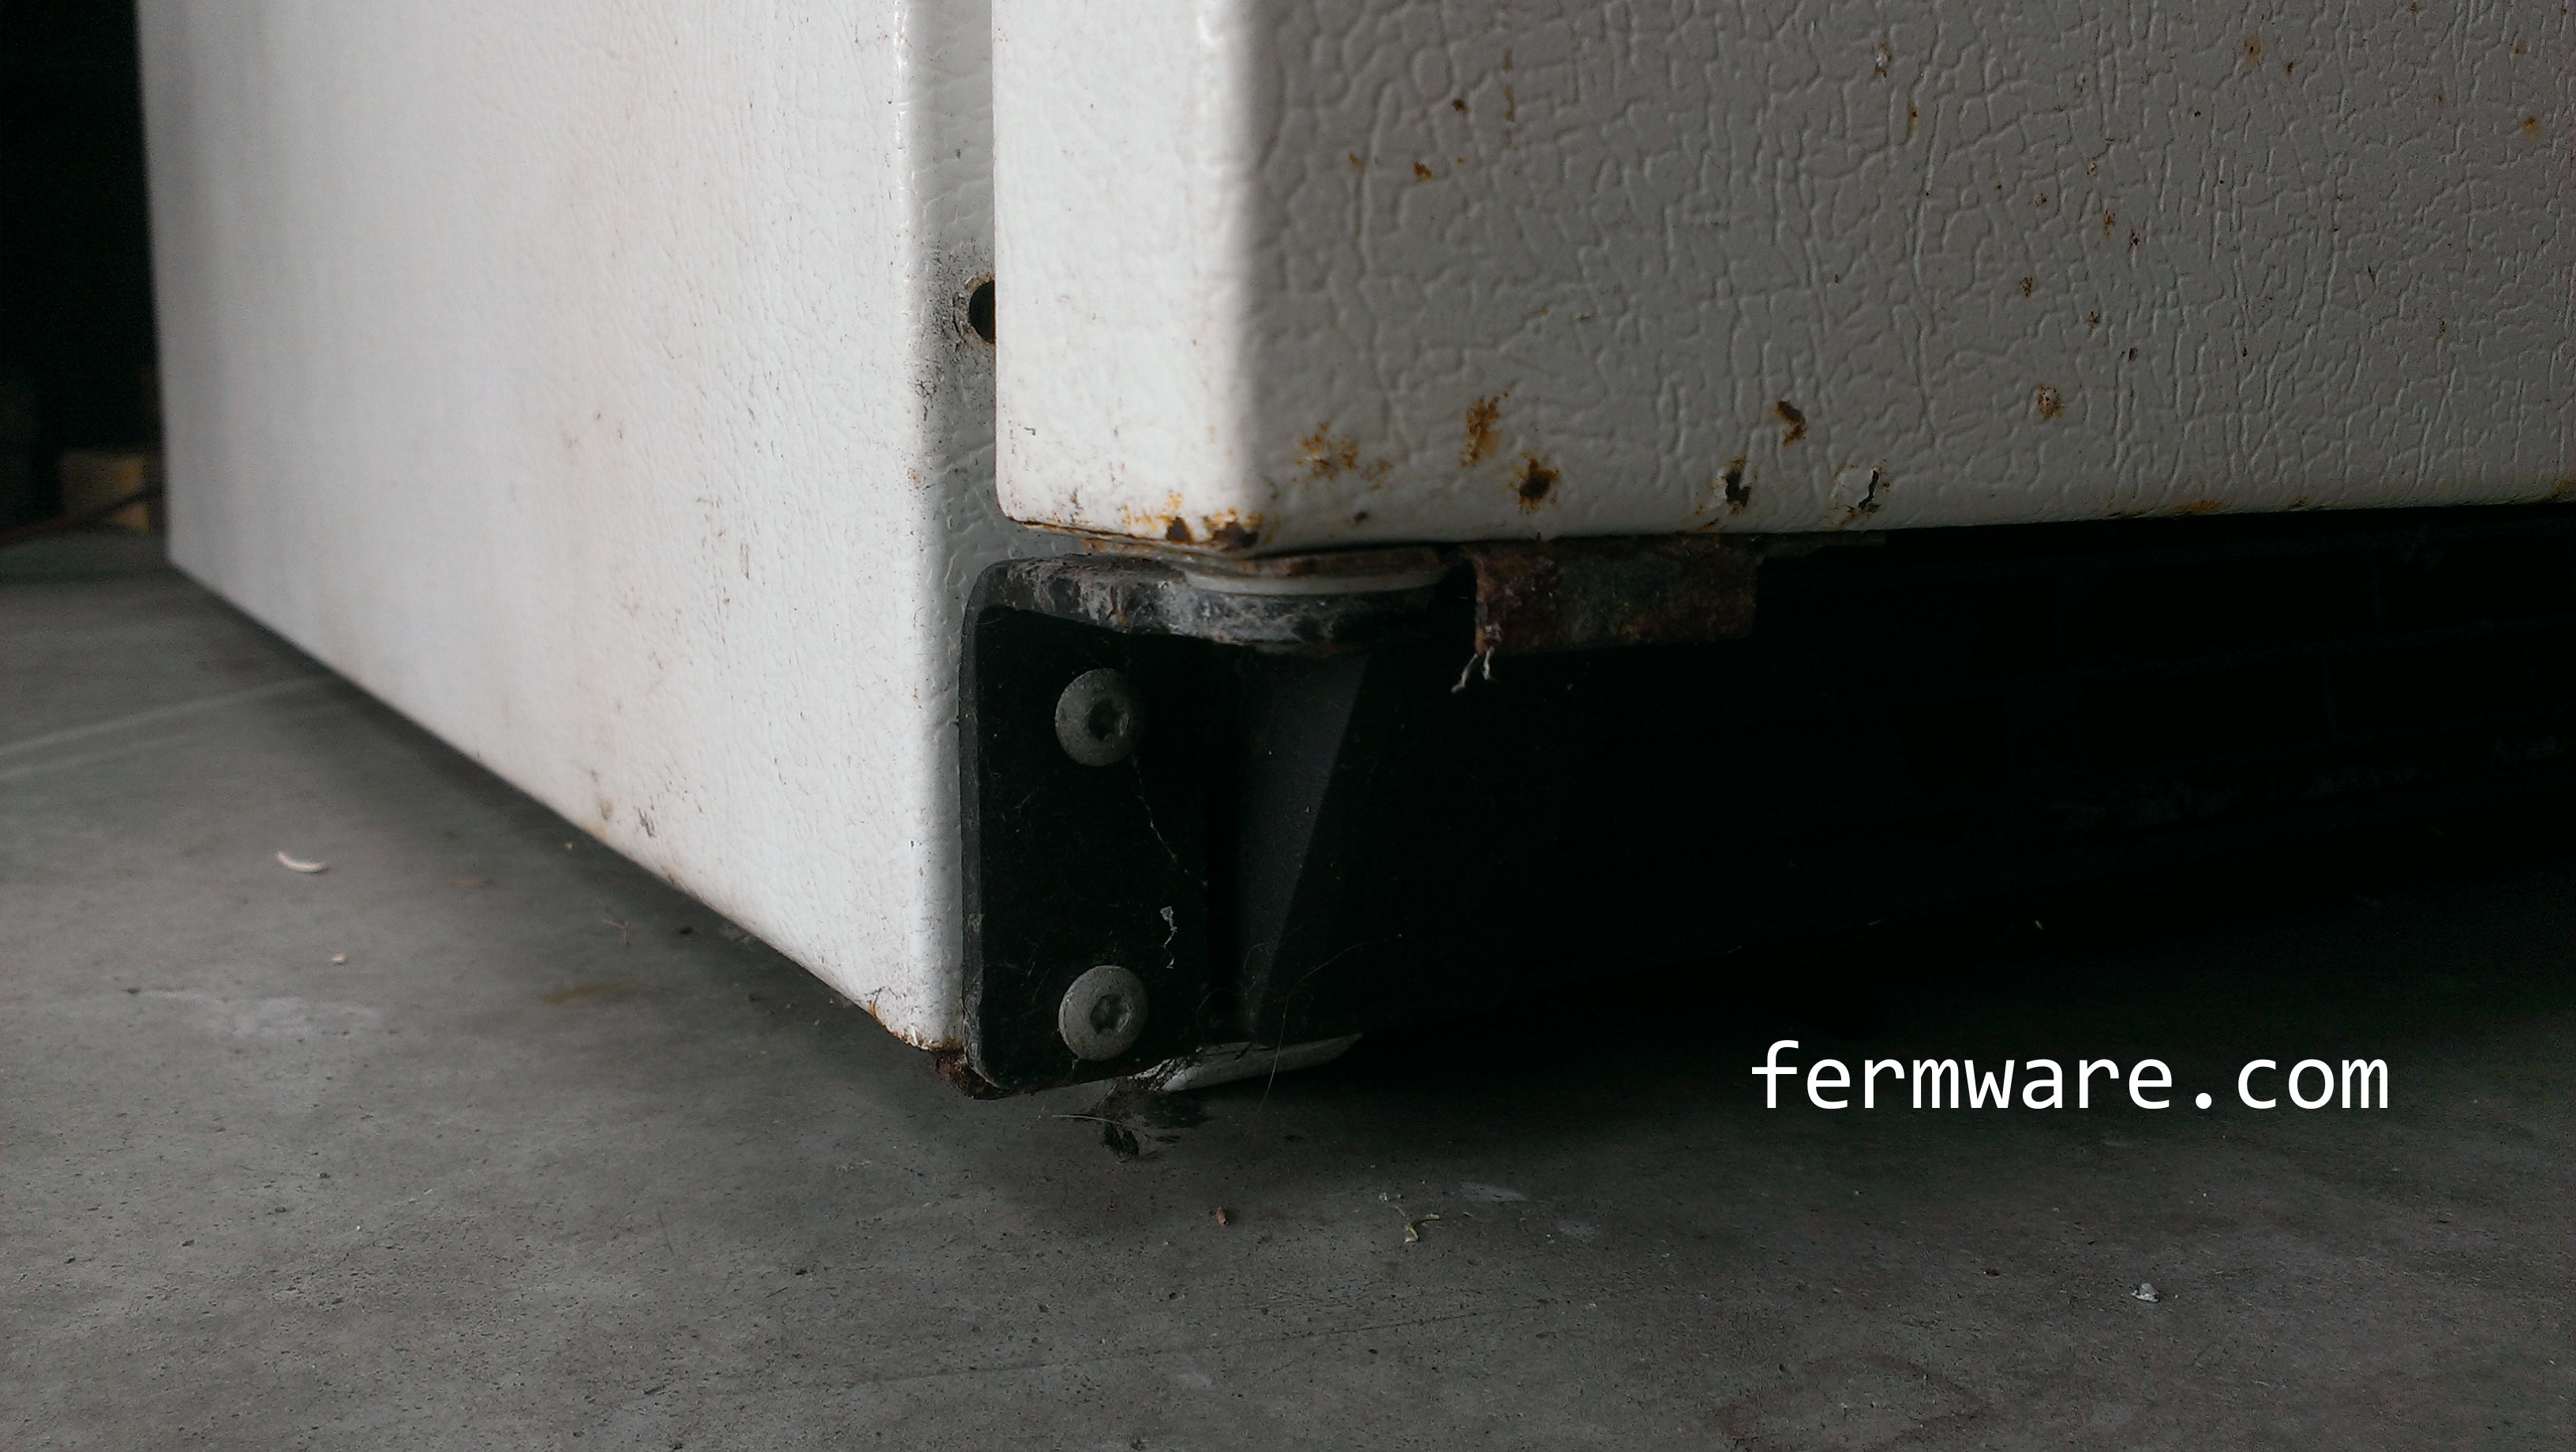
Door hinge removal
You’ll start with the top hinge for the freezer door. There will most likely be a decorative cover over the top hinge that may just be clipped on or held on with a screw.
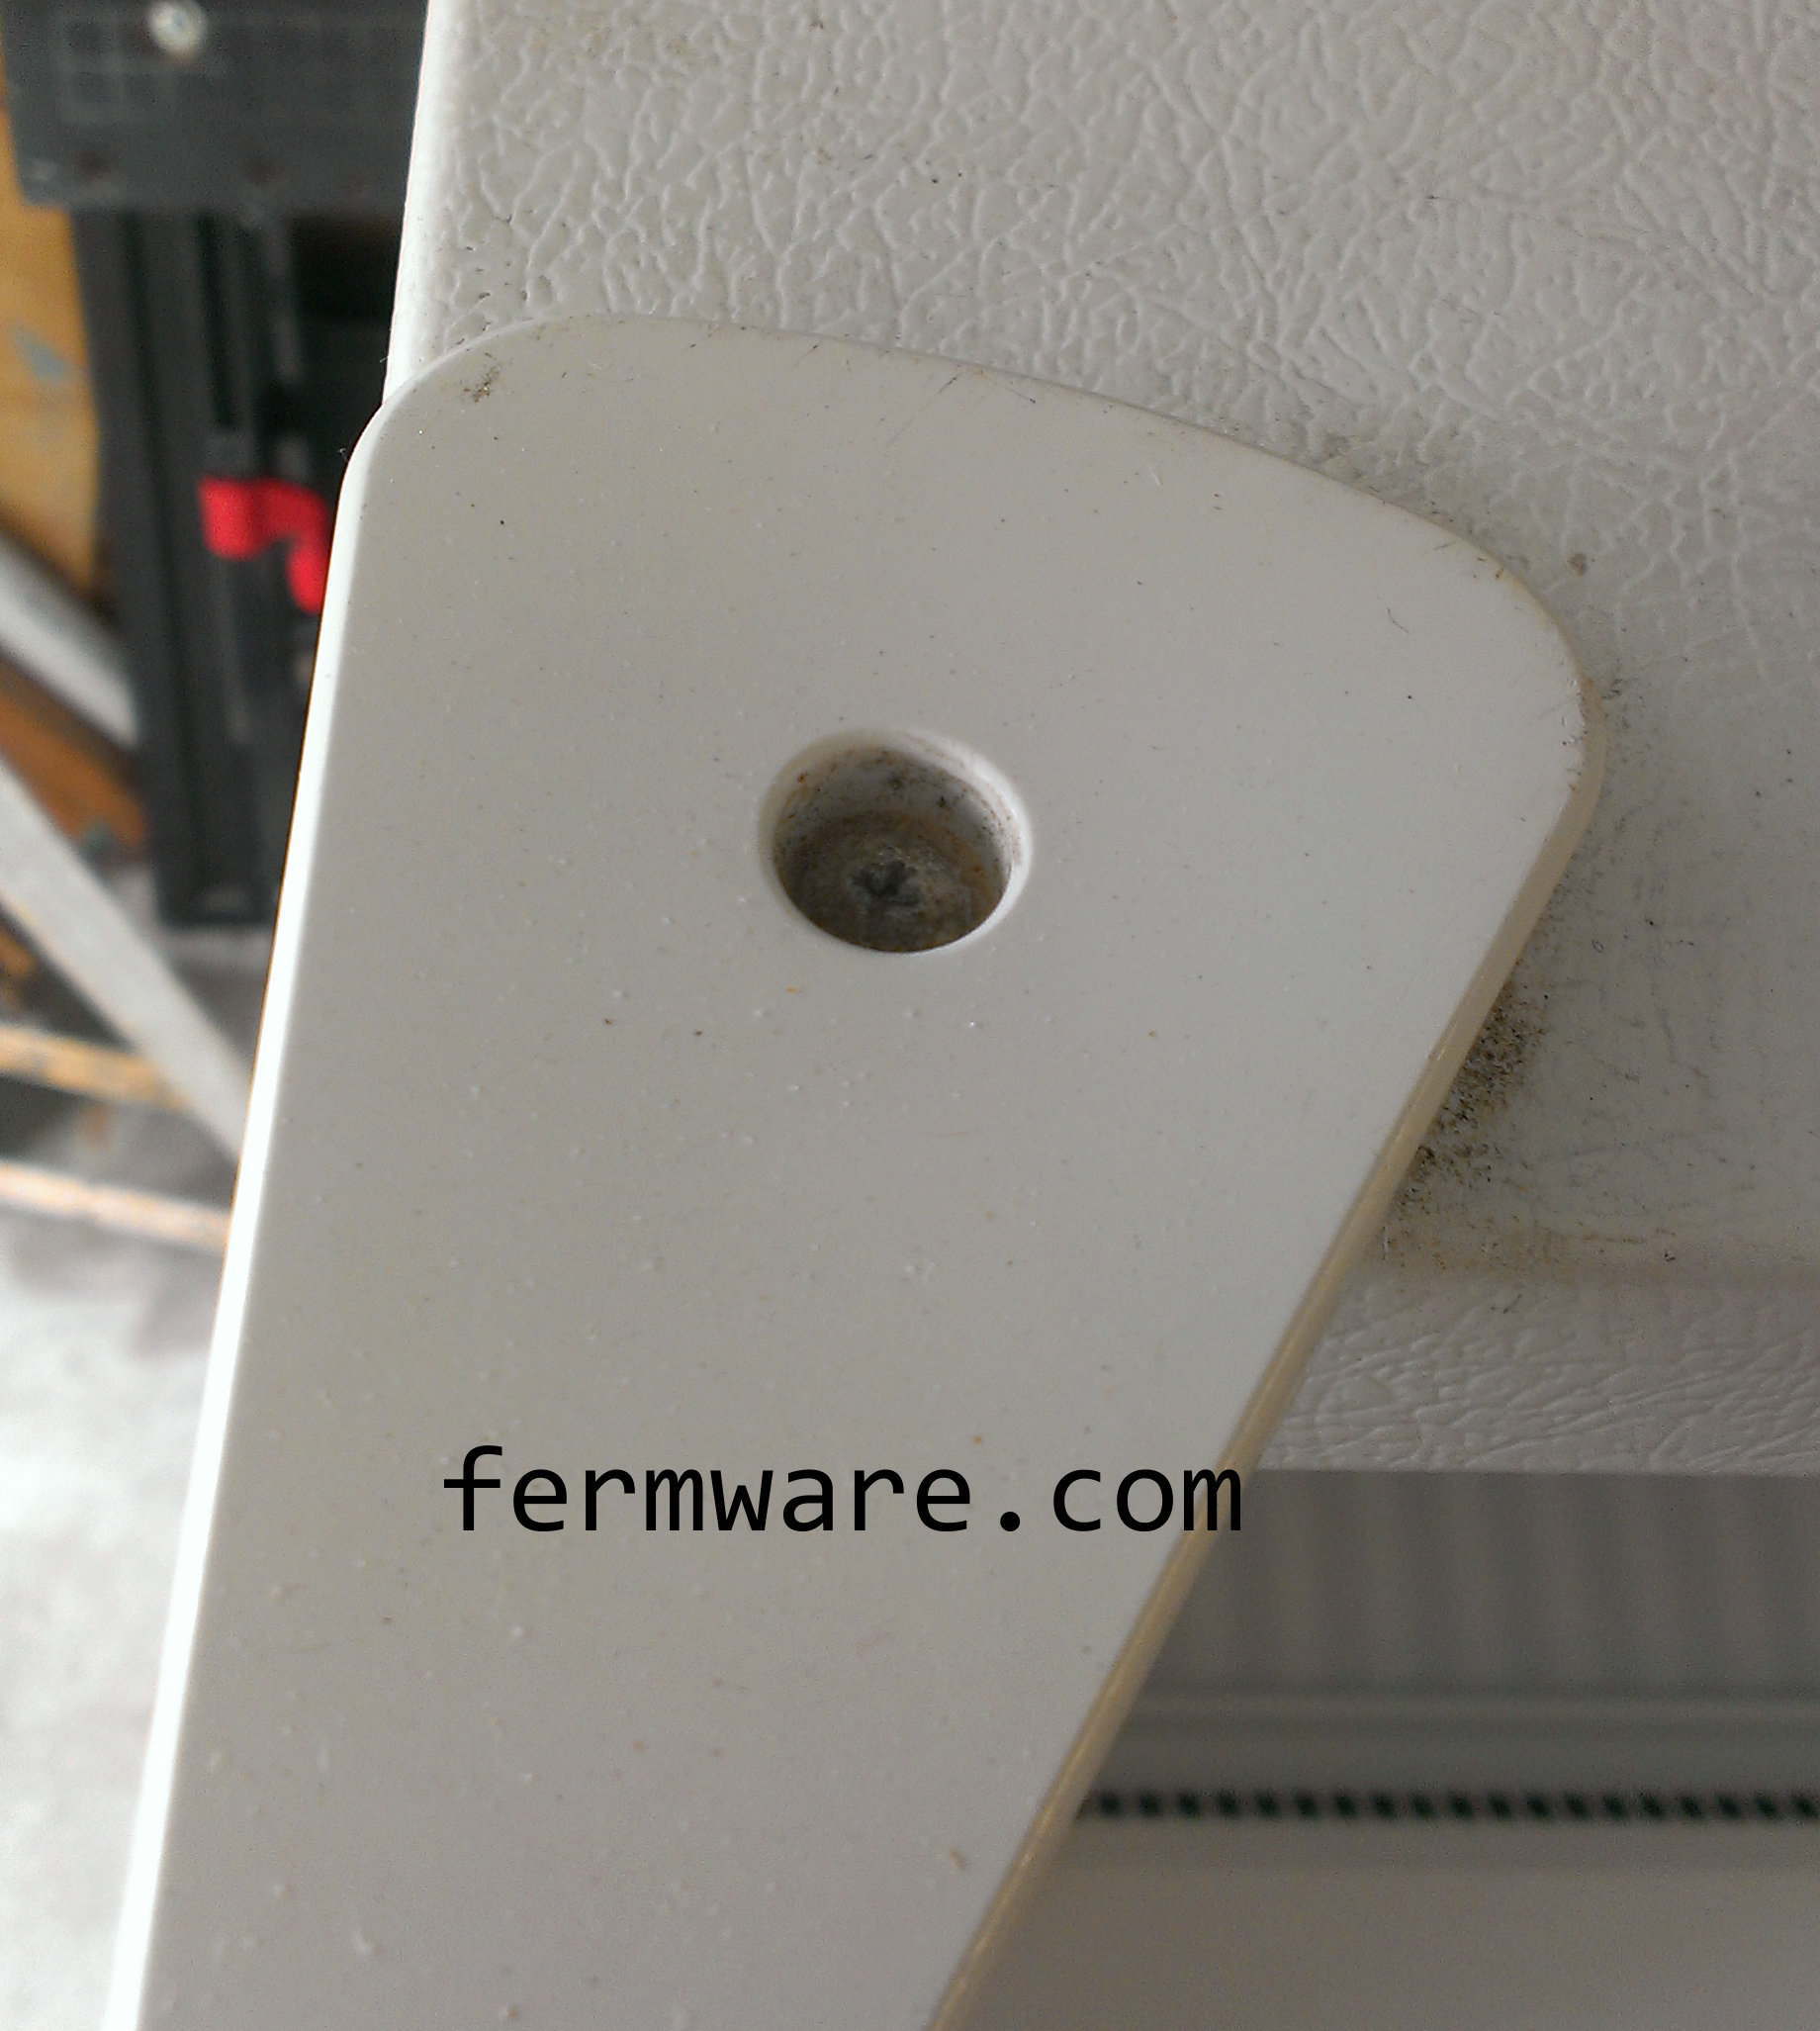
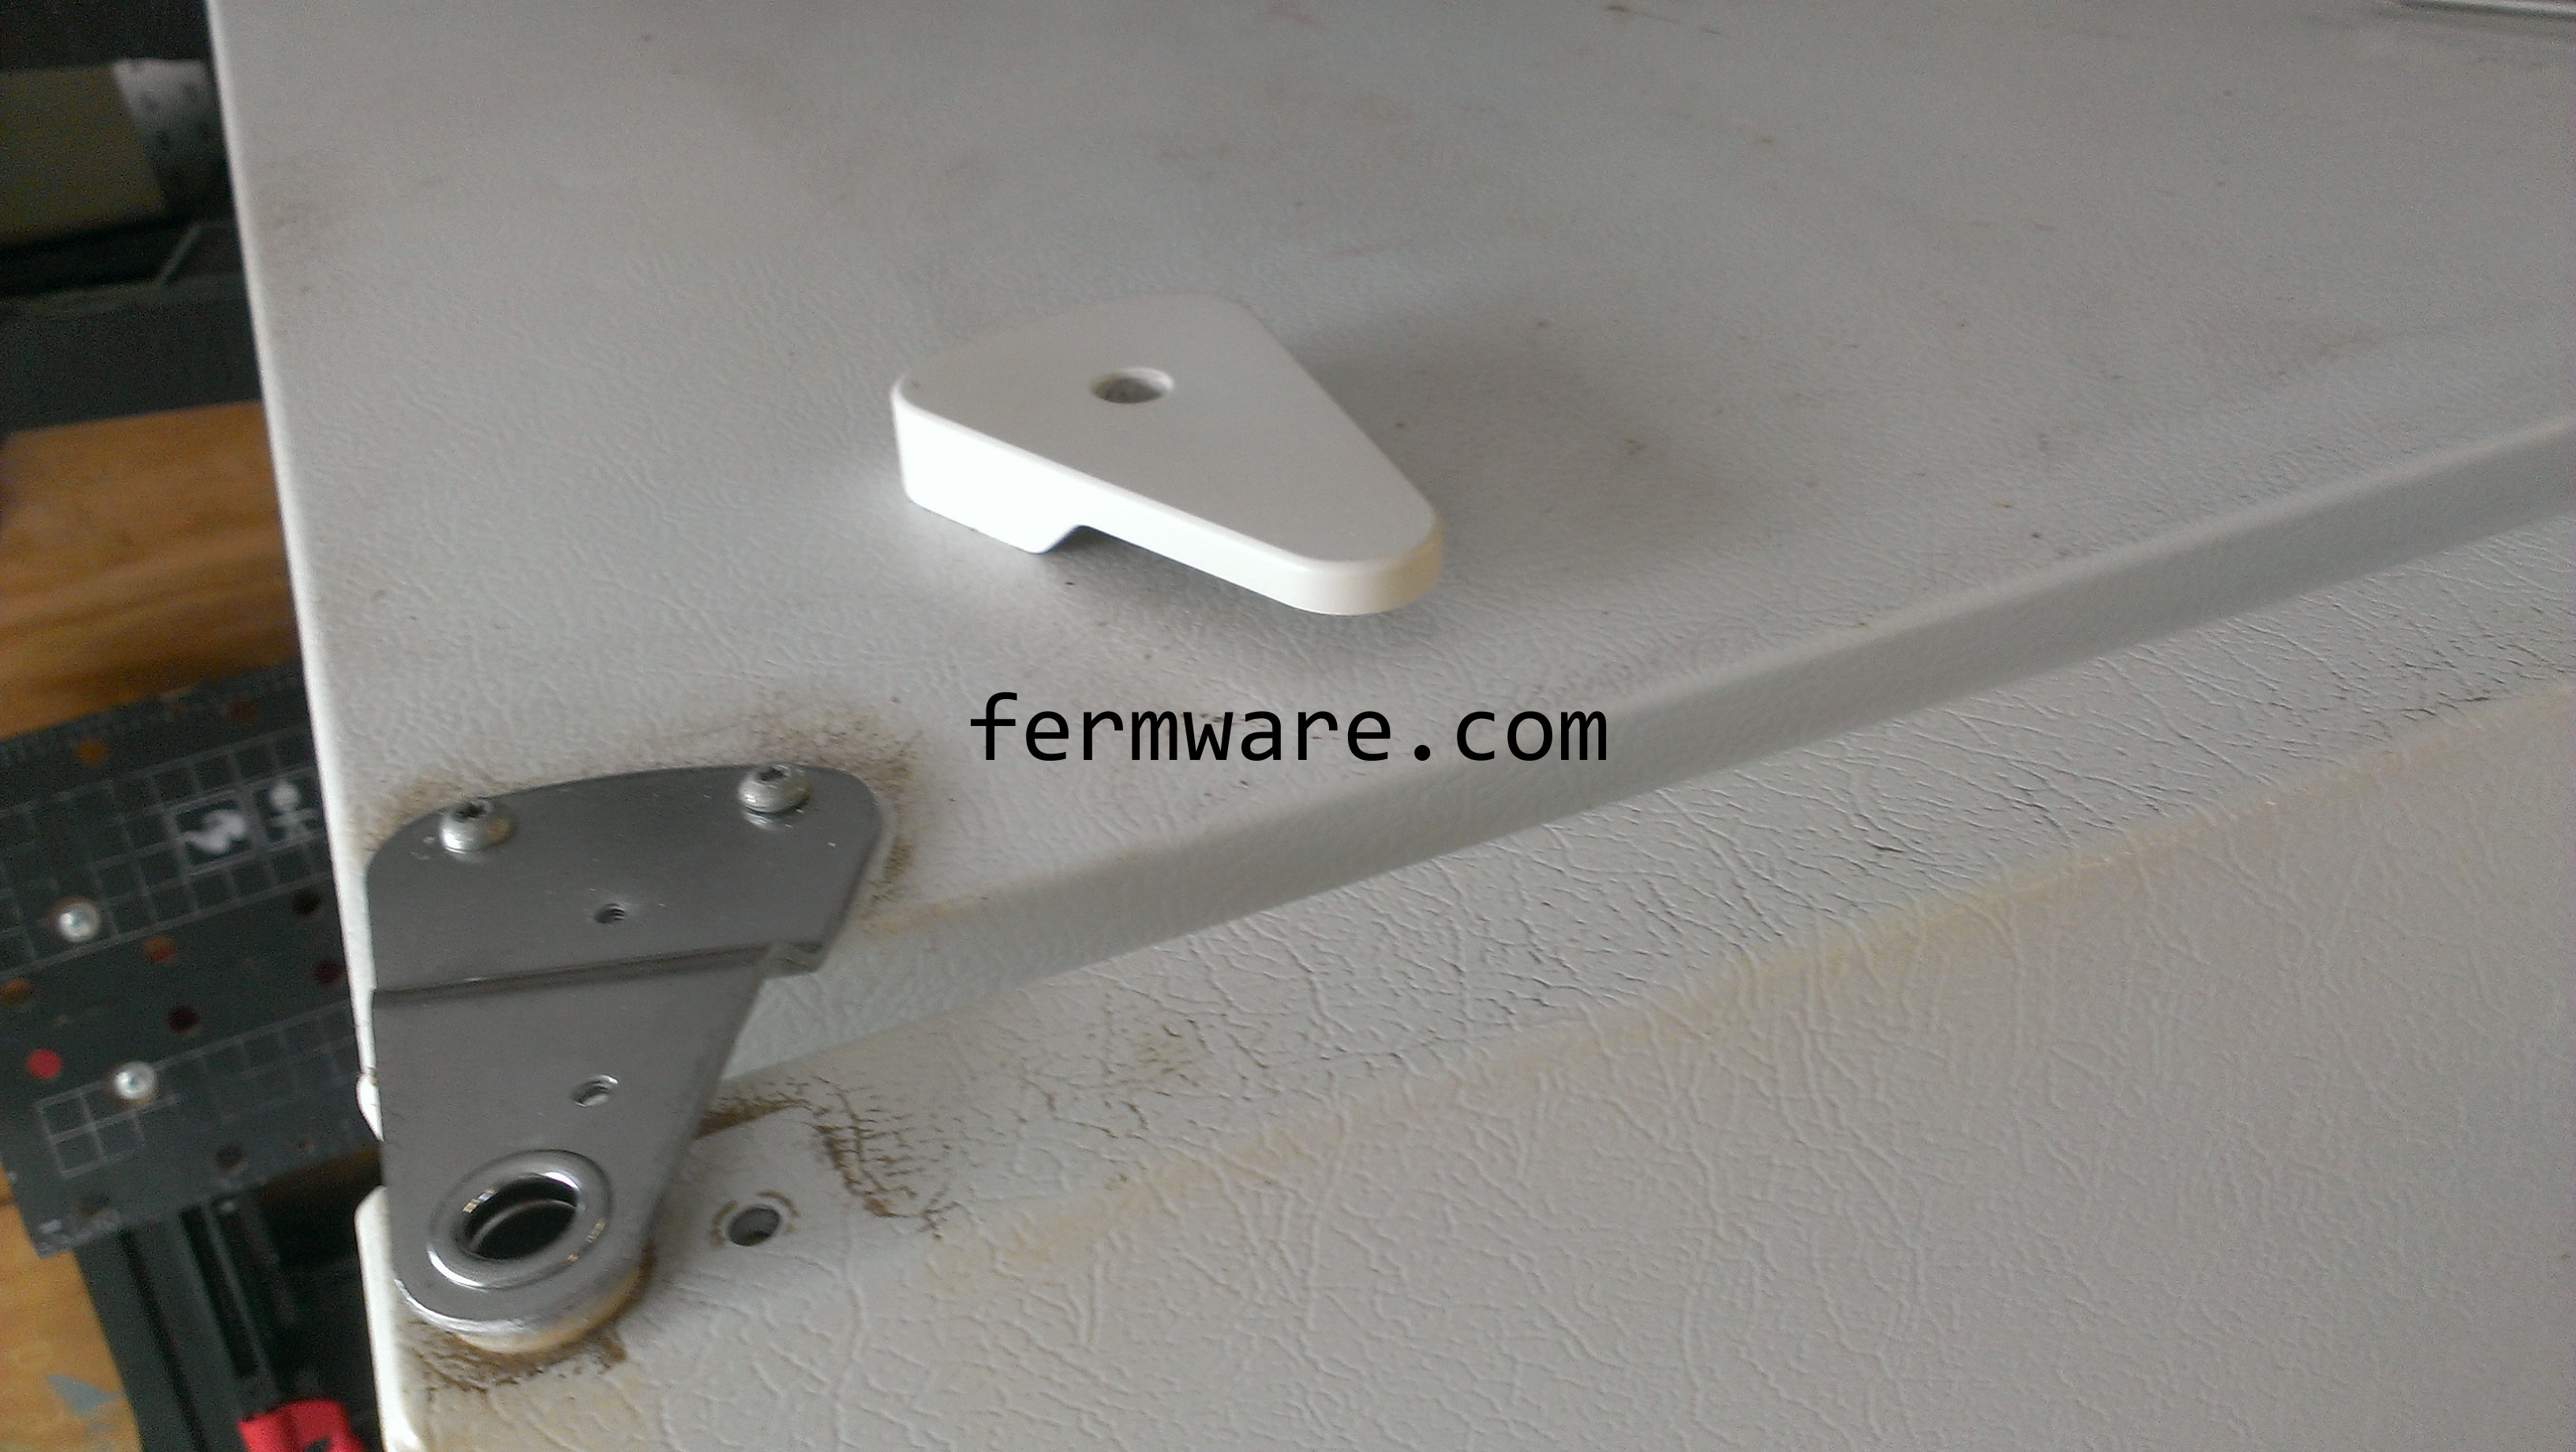
Remove the screws holding the hinge to the refrigerator. The magnetic seals on the door may hold the door in place, but be prepared for it to fall.

On some refrigerators, the center hinge may be intelligently designed and allow you to remove it next. My fridge was not one of these, so I had to remove the bottom hinge next.

Due to my awesome dexterity, I was able to hold the refrigerator door with one foot, while I removed the screws and hinge from the bottom of the door.
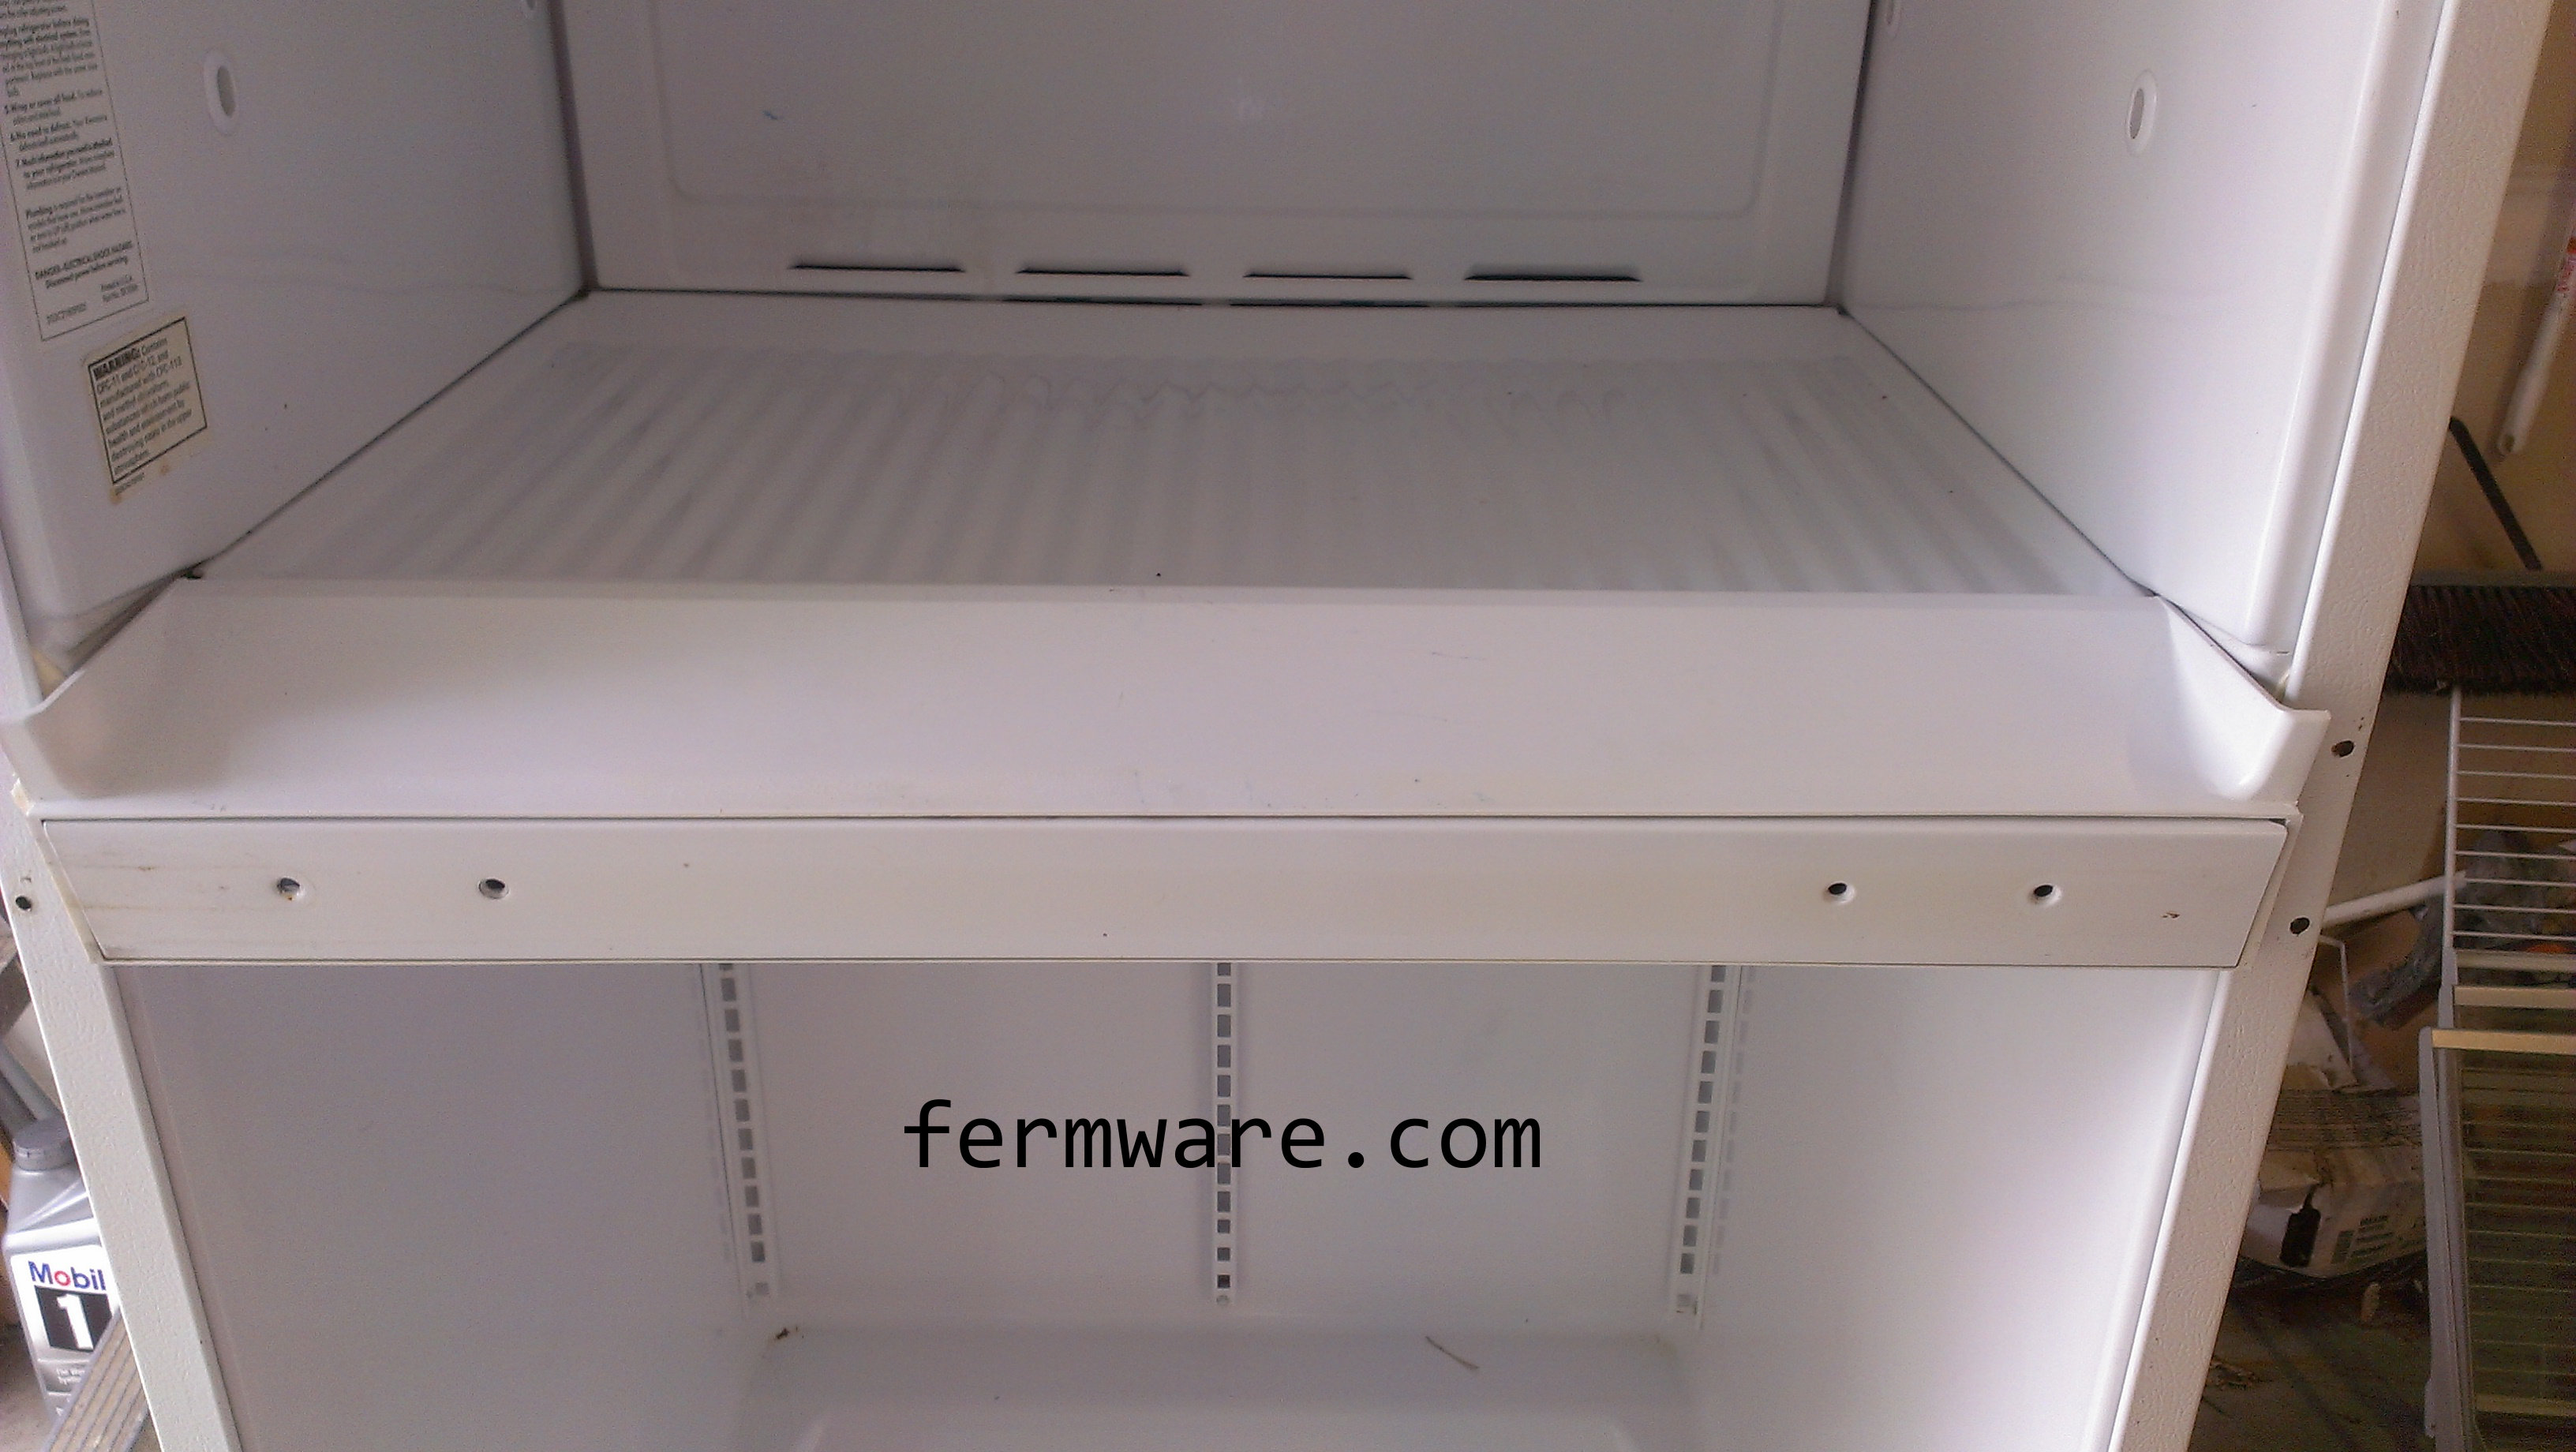
Now to the center hinge.

With both doors removed, I was able to get to the screws holding the hinge to the refrigerator. Some refrigerators may have hex head screws that you can get to from the side with a wrench or they may have slotted holes that allow you to swing it out of place.
A little bit of luck
The next part of the process is where I completely lucked out. I was prepared to get out a death wheel / rotary tool / whatever you want to call it to remove the divider between the refrigerator and freezer compartments. As it turns out, it was a matter of some screws and disconnecting a wiring harness.

If your fridge divider is molded into the cabinet, proceed with caution. There could be refrigerant lines running through this section, which when cut, will render your refrigerator completely useless. I found out the hard way on a previous refrigerator that there can even be refrigerant lines in the sides. I was attempting to install a latch on a door and got a surprise stream of refrigerant blowing out of the freshly drilled hole. Anyway, let’s move on…
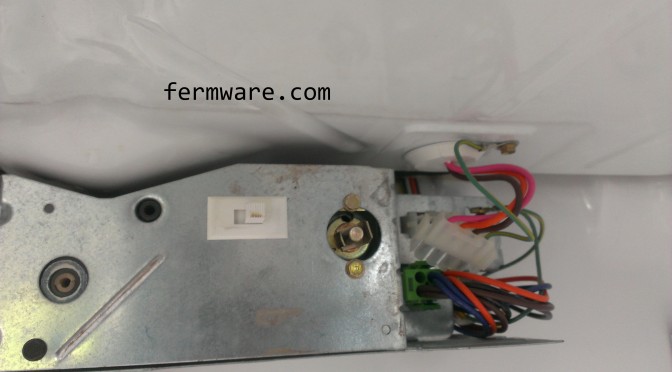
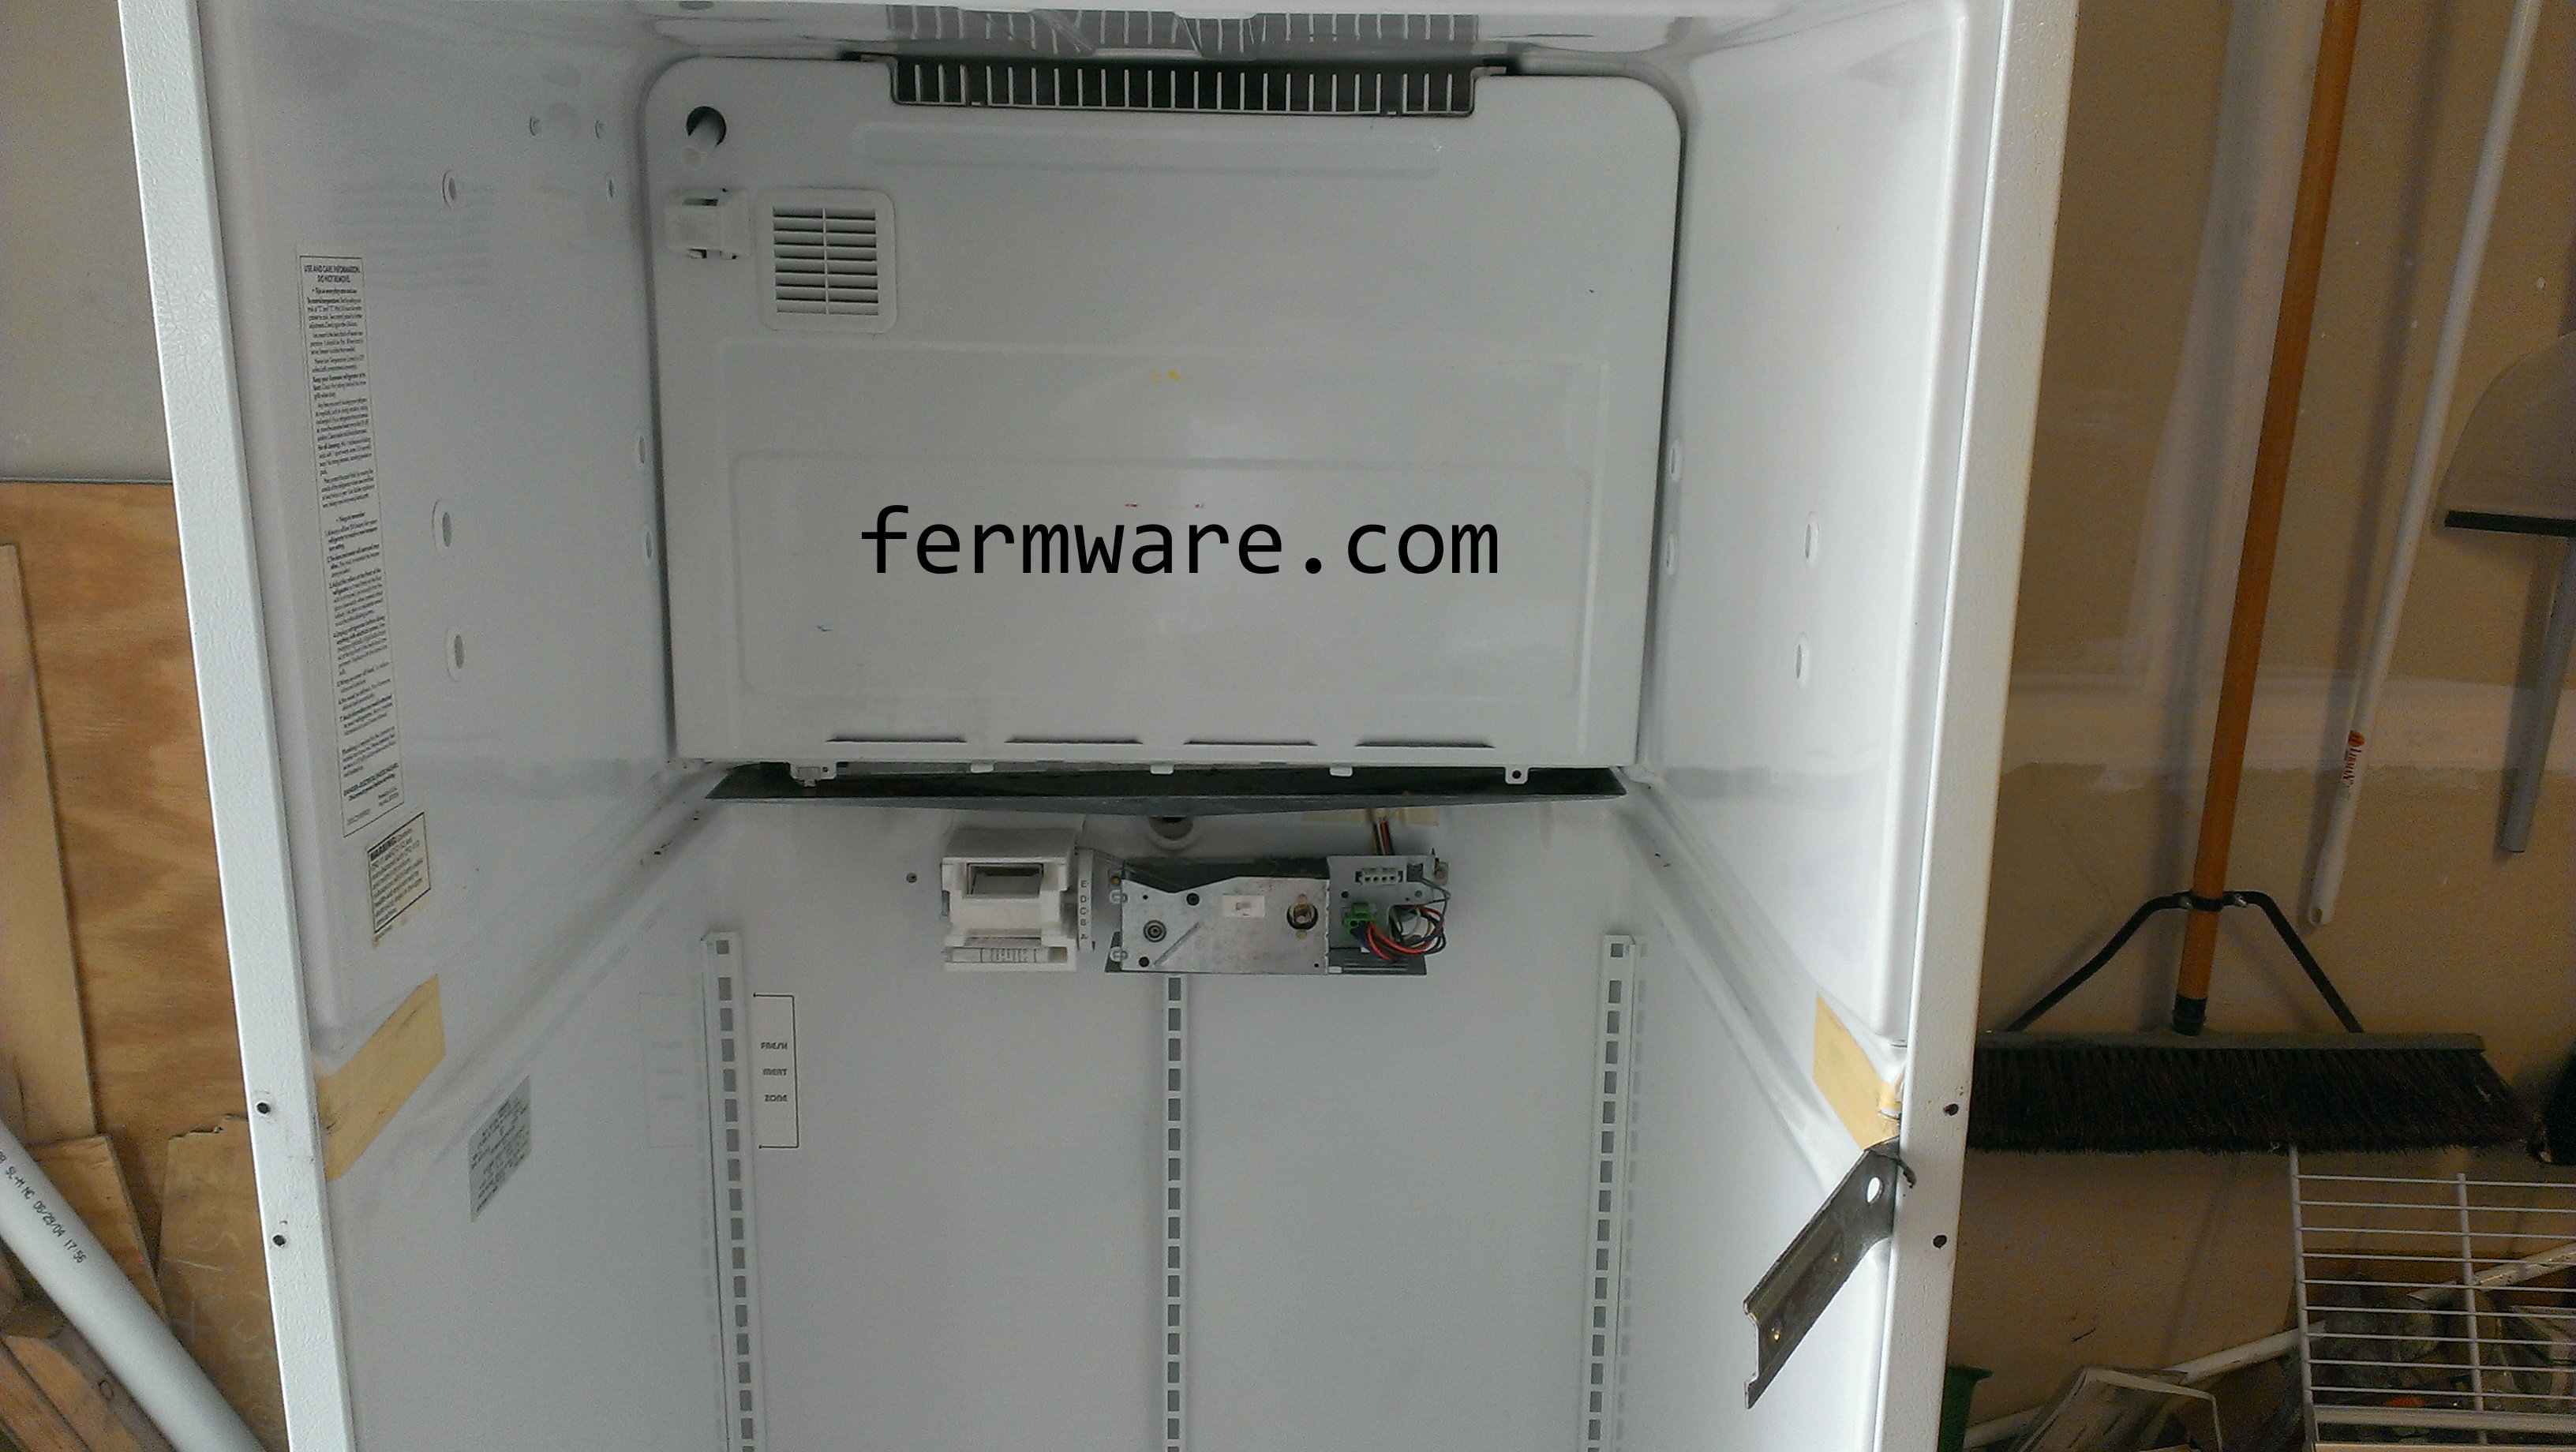
Remove all remaining screws from the front fascia, and gently remove. There was a connector for some reason in this fascia. I’m not sure what is was for, but instead of ripping it out, I disconnected it and removed the panel.

This is what face me next. Just a piece of molded styrofoam. I was really expecting to see something more daunting. Instead I found bits of cat food.

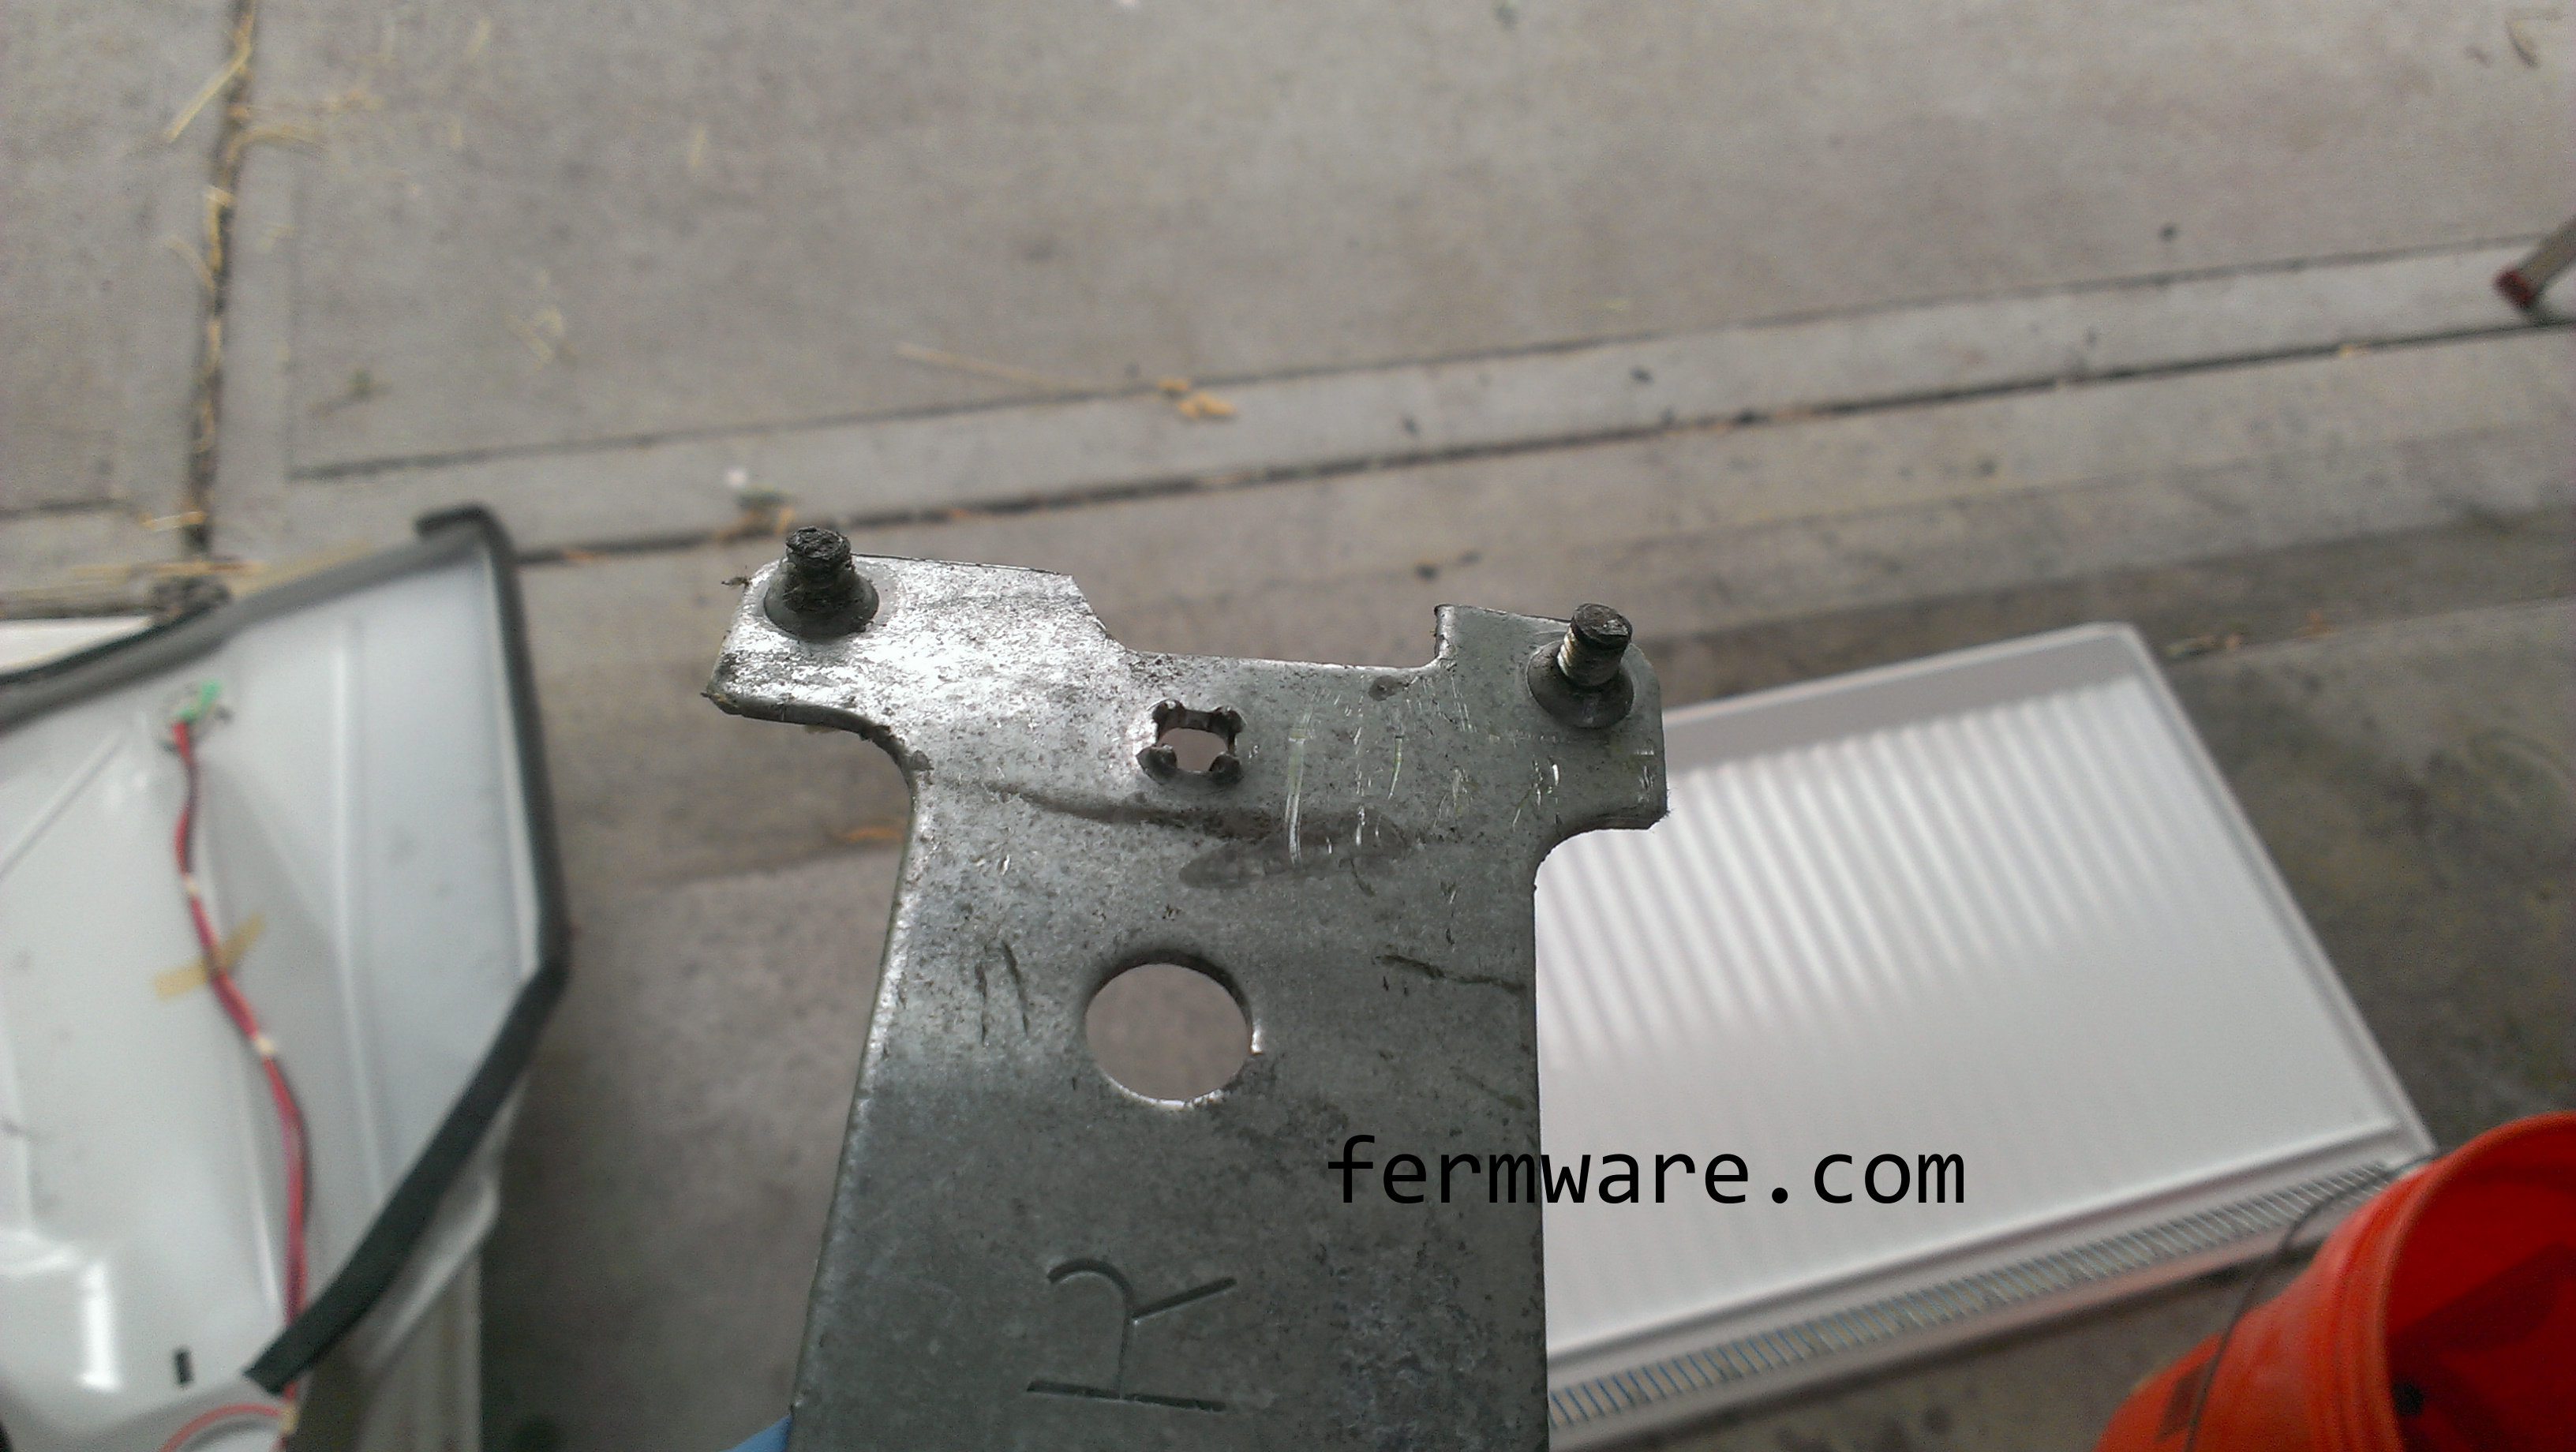
I then proceeded to remove the backup plates for the hinges. The left side plate pivoted right out without much effort. We’ll get to the right side in a bit.

I just popped the styrofoam in half to remove it, which exposed the final metal panel and a wiring harness.
So I got the right side backing plate removed. It was not coming out easily and I found out why. Somewhere along this refrigerator’s lifetime, someone broke the heads off the screws.
I had to use a pry bar to bend the plastic liner and metal skin enough to pull the backing plate out.

Do be observant of where the wiring plugs into before you pull the metal panel out.

Mine went to the main control panel inside the fridge. I thought I had pictures, but I just had to pull the knob out and there was a screw on the left side of the panel. After removing those, the panel just came right off.
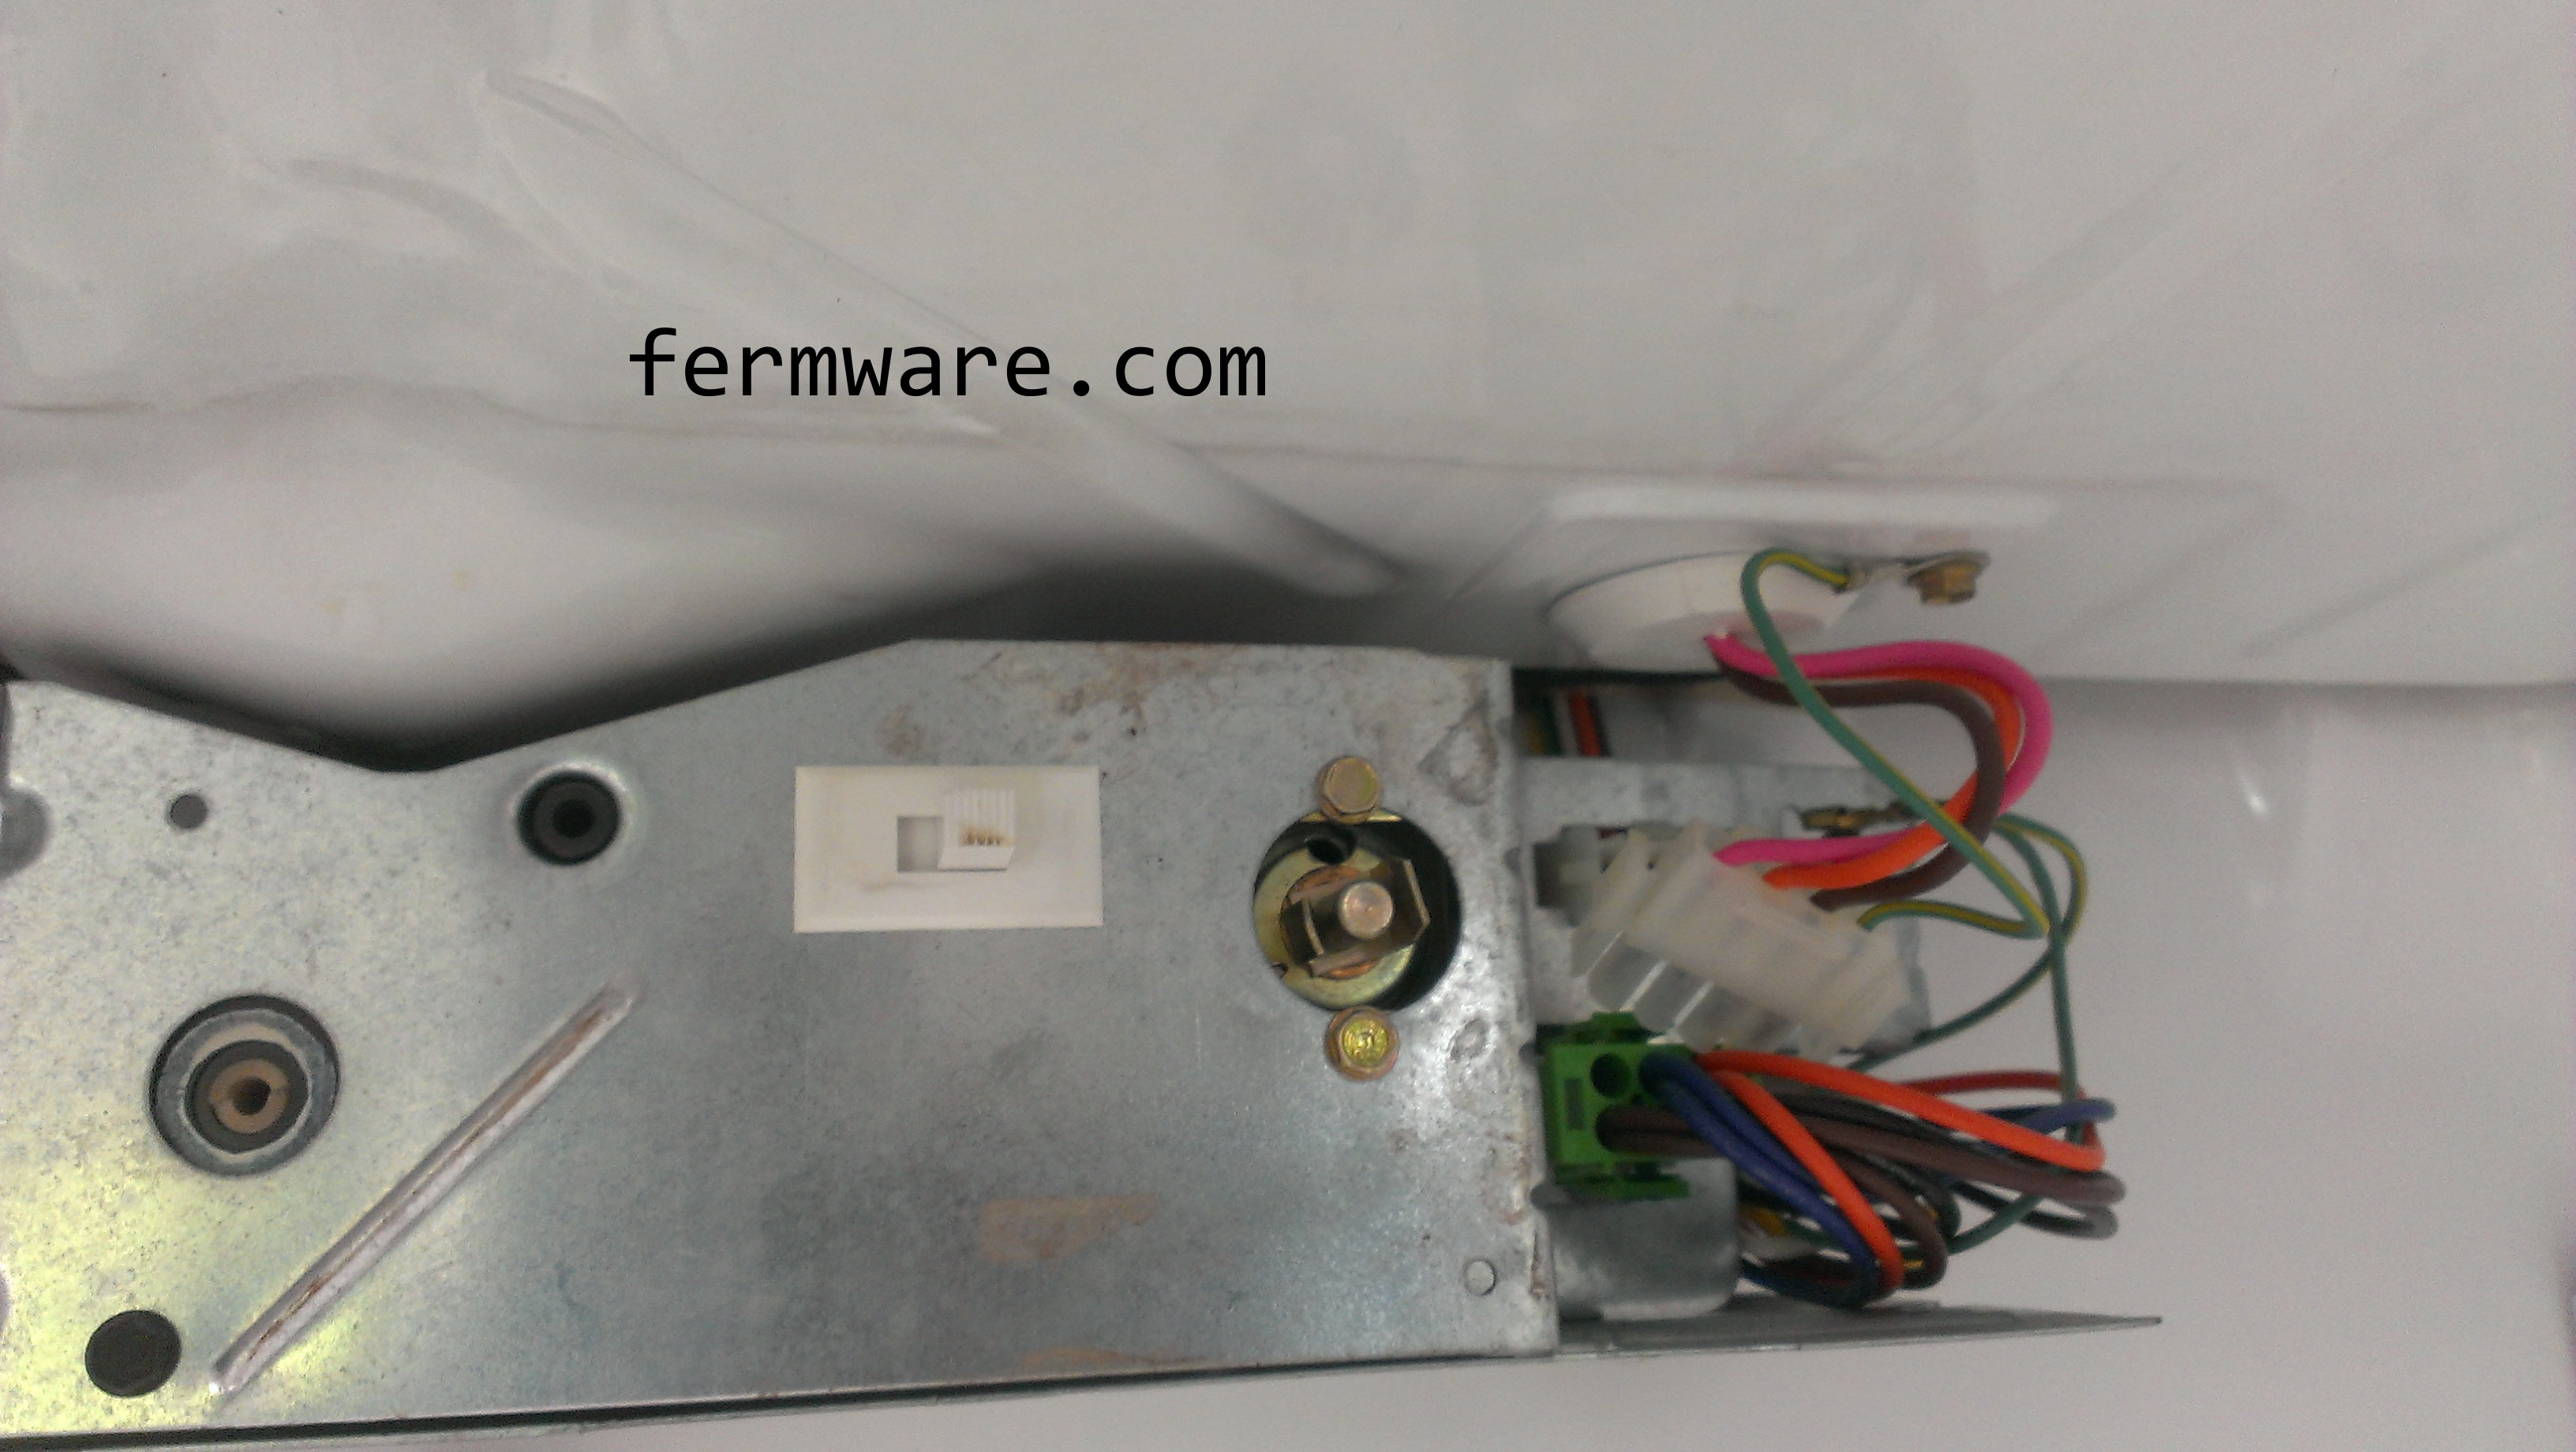
You can see the wiring harness connector removed in this picture.

Since I wasn’t going to put this fridge back together ever again, I just bent the panel to remove it.

I did however, choose to remove the wiring harness from the panel and hold onto it just in case. I had an idea that I might possibly want to use this harness to somehow use it for a heating lamp at some point in the future.
Everything removed….
Well except for that pesky backing plate that I already showed as removed.
Just Because
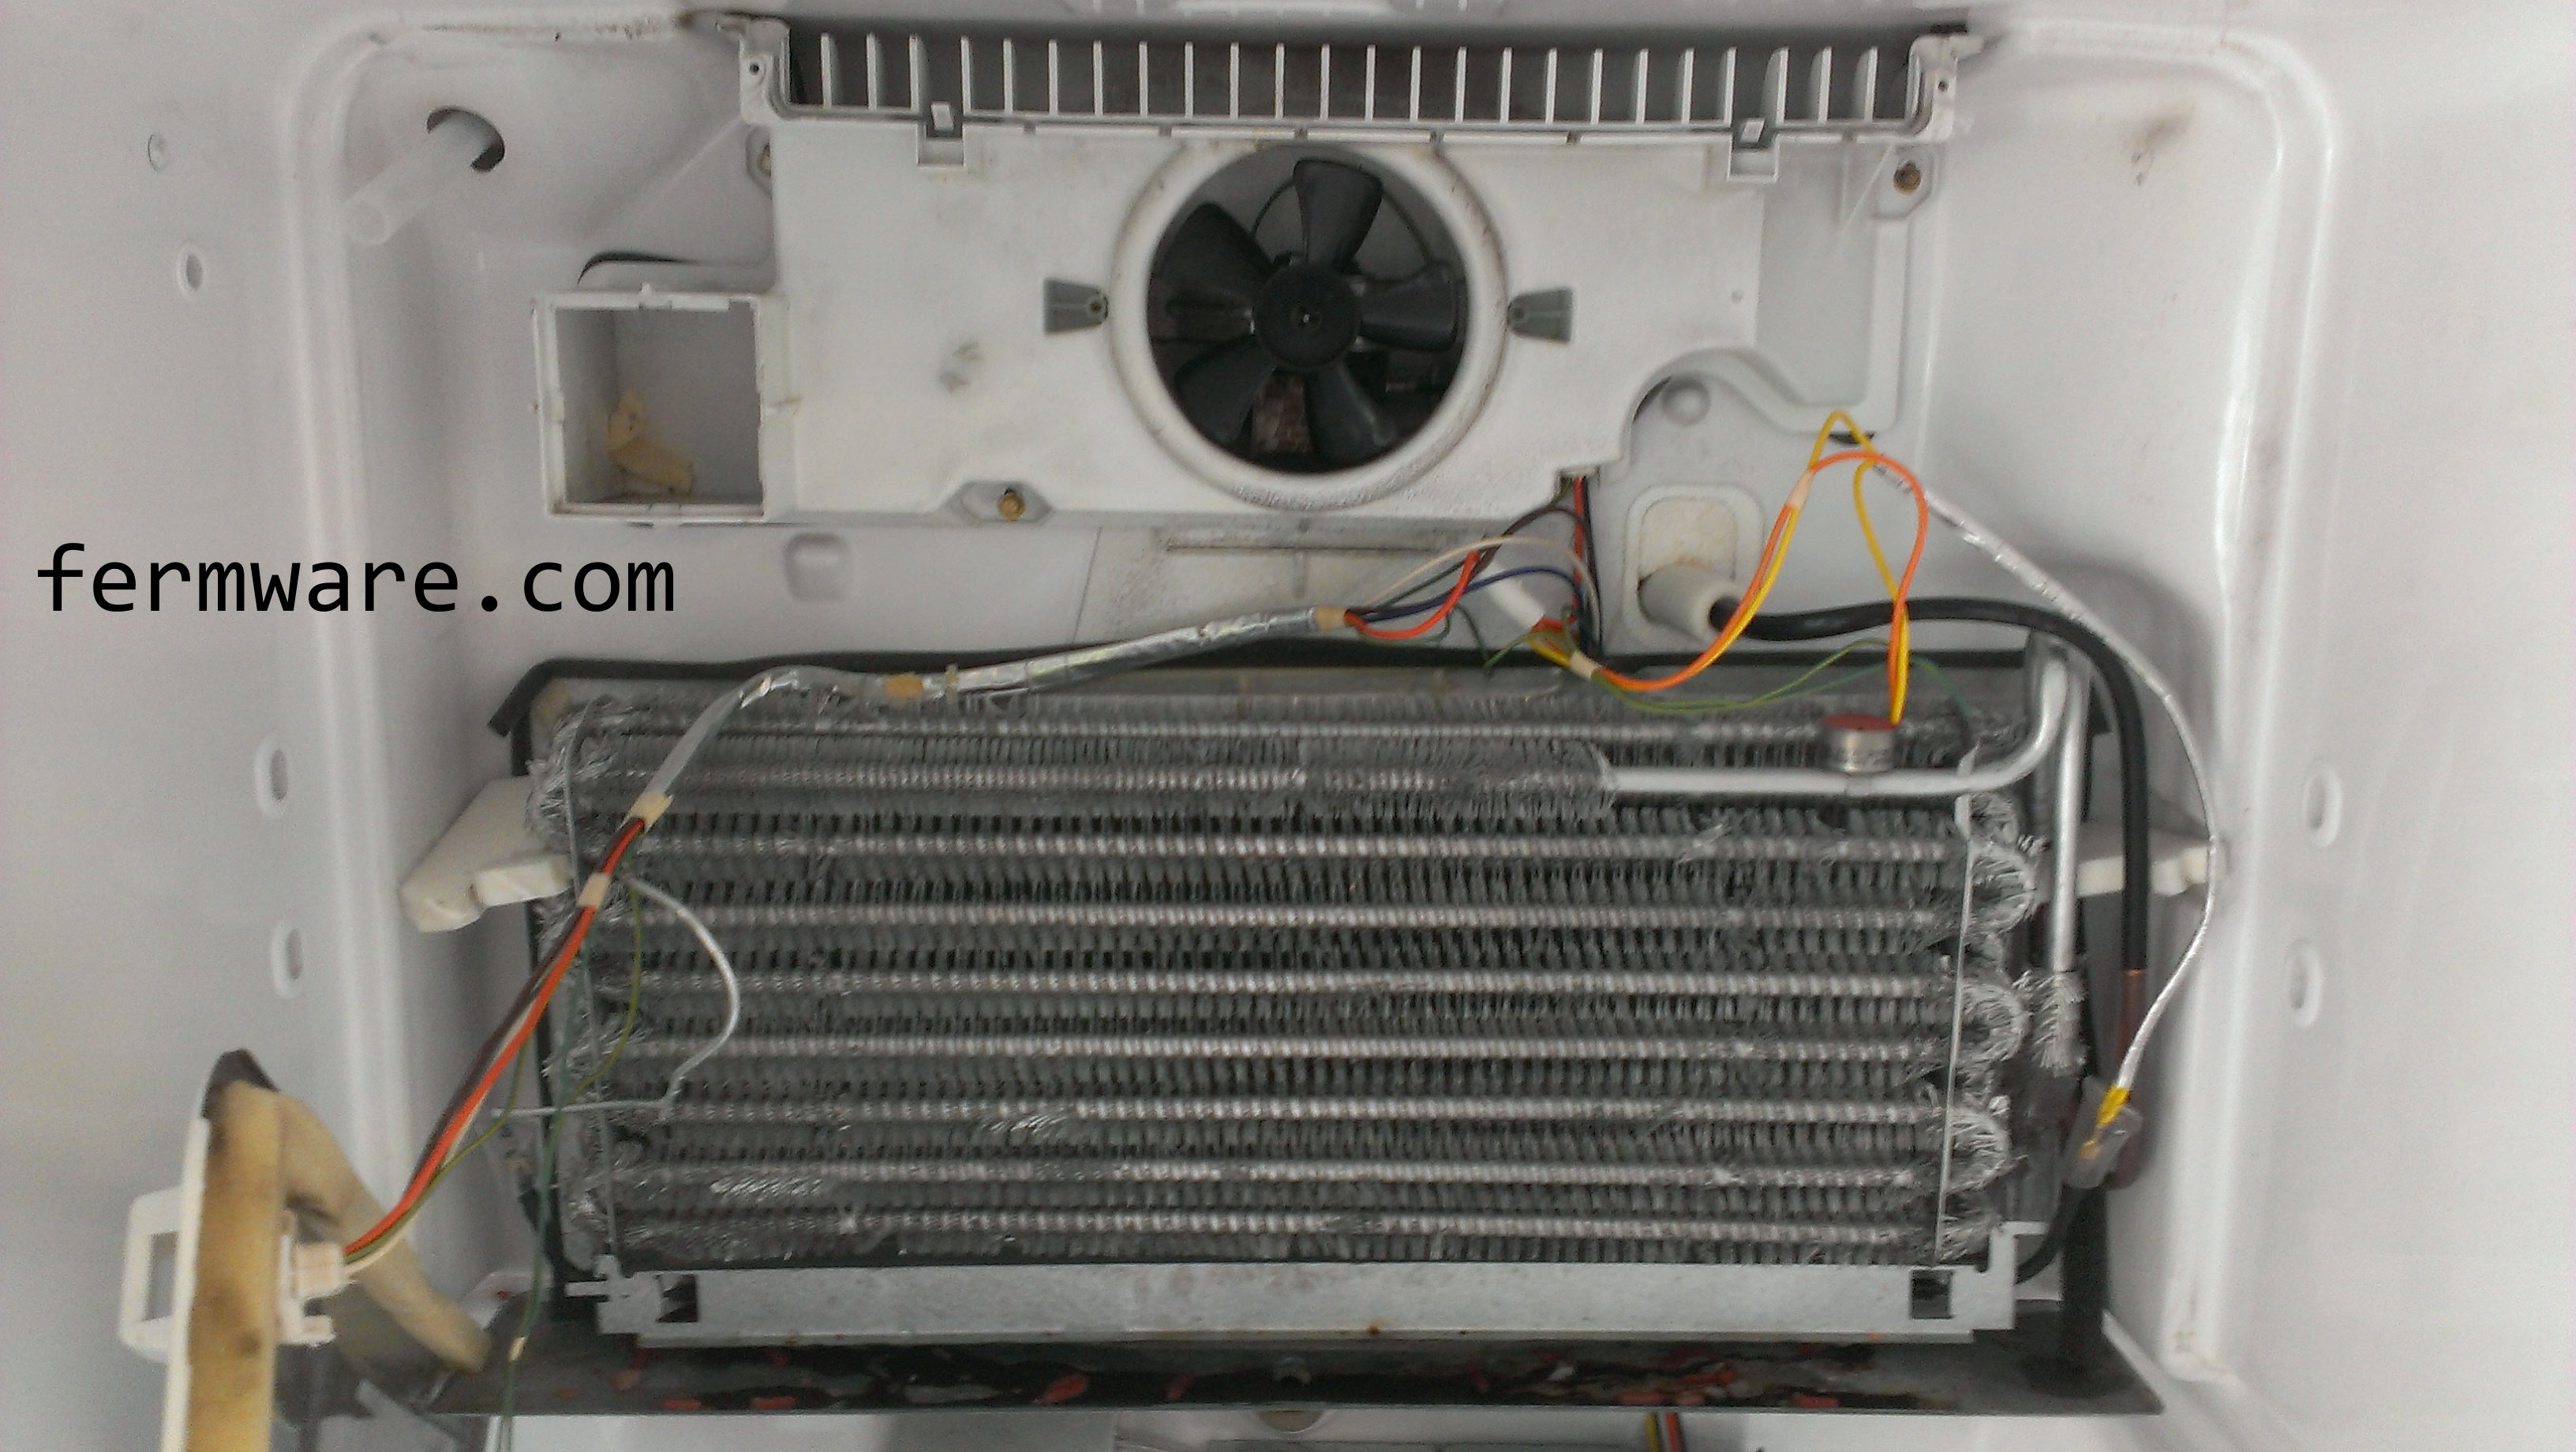
I was curious, so I just had to see what was behind the panel. Well here is what was behind it. I went ahead and cleaned what I could a little more to give me peace of mind.
You can see here that a refrigerator is really just a freezer that bleeds cool air to the refrigerator cabinet.
Up next…
Posts for this Project:
Part 1: Introduction
Part 2: Clean up
Part 3: Disassembly (This post)
Part 4: Door modification
Part 5: Shelf building
Part 6: Finishing up and other observations
I appreciate researching your refrigerator fermentation chamber build. I have nearly the exact fridge. I have a dilemma and perhaps you could provide me with some assistance. In order to utilize the freezer portion, I’m of course wanting to open up the entire fridge to build a shelf and give me more usable space for fermenters. My problem lies with where the fridge wiring and thermostat is mounted — directly front and center. I’m afraid if I take out the divider between fridge and freezer the control panel will go with it, thus rendering my unit useless. Your unit’s control panel was mounted to the back and didn’t have much wiring problems, minus the small wiring harness for the light.
What would you recommend? There is just nothing on the net dealing with this particular issue. If I could mount the controls on the back somehow or the side, that would move them out of the way. My first attempt on a near exact replica fridge rendered it useless (it was pretty junked, so I didn’t care too much). This nearly exact model has the same panel in the front. Craigslist fridges are a dime a dozen, so if this one dies, I’m sure I can find another, but I don’t want to go haul another one home.
Your suggestions are very welcome! Thanks for your time.
From memory, you just need to remove the cover on the control panel. You’ll have to remove the temperature control knob cover first. In there you will unplug the wiring that goes to the light and light switch. Then put the panel back on.
I had to alter my ideal shelf height so that it would rest just above that panel.
Good luck and let me know if you have any other questions.
I realize that this post is a little old, but what did you do to replace the condensation drip pan? In my fridge I just disassembled there is a metal plate that spans the back of the fridge, about 4″ wide, and slopes to a hole that goes to a drain. It sits just under the coils. I can figure out a way to mount it if needed, but wasn’t sure if you had any tips?
Justin,
Sorry I haven’t gotten back to you very quickly. I did keep the condensation pan and I would not recommend removing it. You will end up with water pooled up in the bottom of your refrigerator if you remove it. I’ll email you some pictures of my lagering fridge in that are and eventually update the post to show them as well.
Thanks,
Eric