
Difficulty: 
This project requires a few inexpensive special tools, but will most likely take an entire weekend, lots of improvisation, some thorough cleaning and the cost of the fridge takes it to level 4.
Posts for this Project:
Part 1: Introduction
Part 2: Clean up
Part 3: Disassembly
Part 4: Door modification
Part 5: Shelf building (this post)
Part 6: Finishing up and other observations
Affiliate Links
Any links in this post or on this website may link to affiliates, which compensate this website for purchases. All links are provided to help the reader locate items mentioned or used in the post. As an Amazon Associate I earn from qualifying purchases.Goals:
You could choose to keep the standard shelf in the bottom, but why?
My goals for the fridge from the beginning were:
- Sturdy enough shelf on the bottom to support a full 1/2 barrel keg
- Bottom section should also be able to accommodate
- Corny kegs with all fittings and hoses attached
- Glass carboy with standard airlock
- 1/2 barrel keg with all fittings and hoses attached
- DIN (German) keg with all fittings and hoses attached
- Fit at least 4 standard size fermentation buckets
- Top Section to accommodate 3-4 standard fermentation buckets with 3 piece airlocks
- Future capability to partition upper and lower section to have two temperature zones. The freezer section was to short as standard to accommodate them.
Building the Shelf:
As I stated, I wanted to maximize the space available. The shelf that came with the fridge wouldn’t have been strong enough for goal 1. It also was about 2 inches taller than the hump in the back of the fridge. All refrigerators should have one. On the other side are the compressor and some of the other guts.
To build the bottom shelf, I utilized the back of the hump as a support for the back of the shelf and build out the other support with 2×4’s. You’ll of course need to customize for your fridge, but what I’ve done should give you some thought for your project.

This is sort of in reverse, but here is the bottom shelf installed. I had a fleeting thought of somehow keeping the bottom drawers for yeast and hop storage, but since I will always be fluctuating temperature, I didn’t really feel it was necessary.

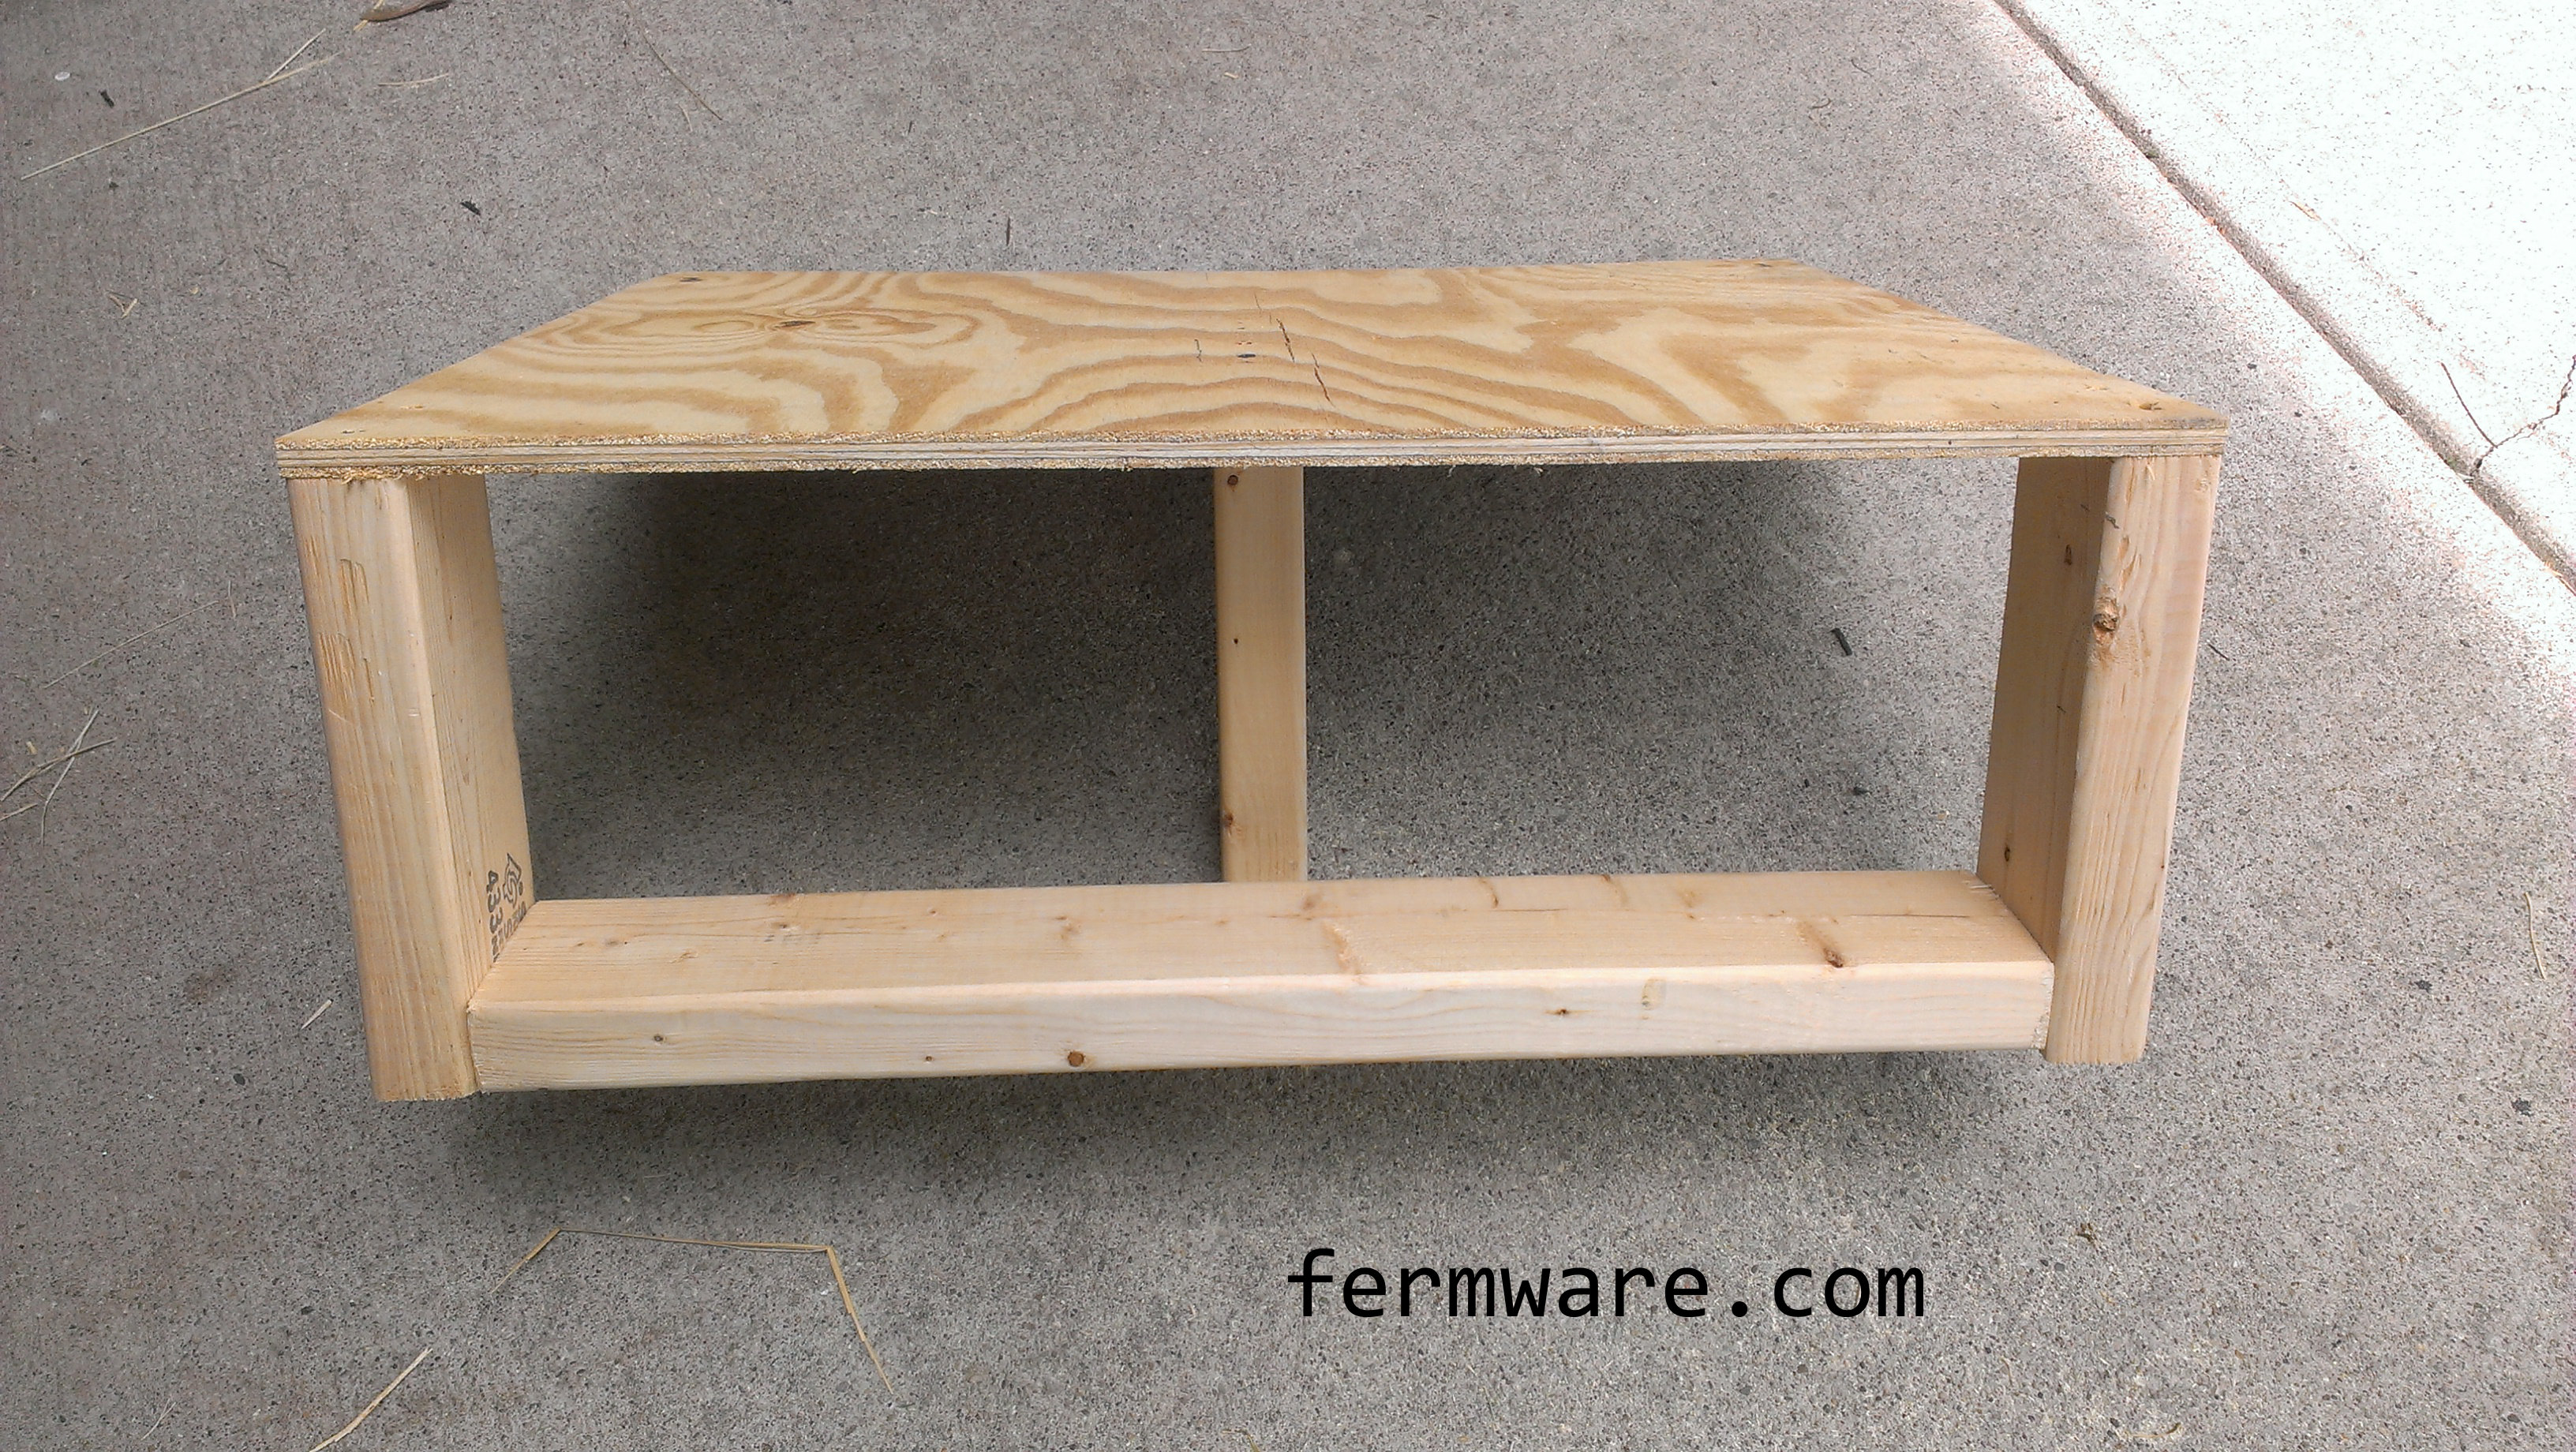
You’ll notice the legs have a small angle cut into them. The bottom of the fridge had a 5 degree slope to it (presumably for drainage of spilled liquids). The middle leg was for additional support in the middle of the shelf, and also to stop the shelf from sliding out. It catches on a small hump in the bottom.

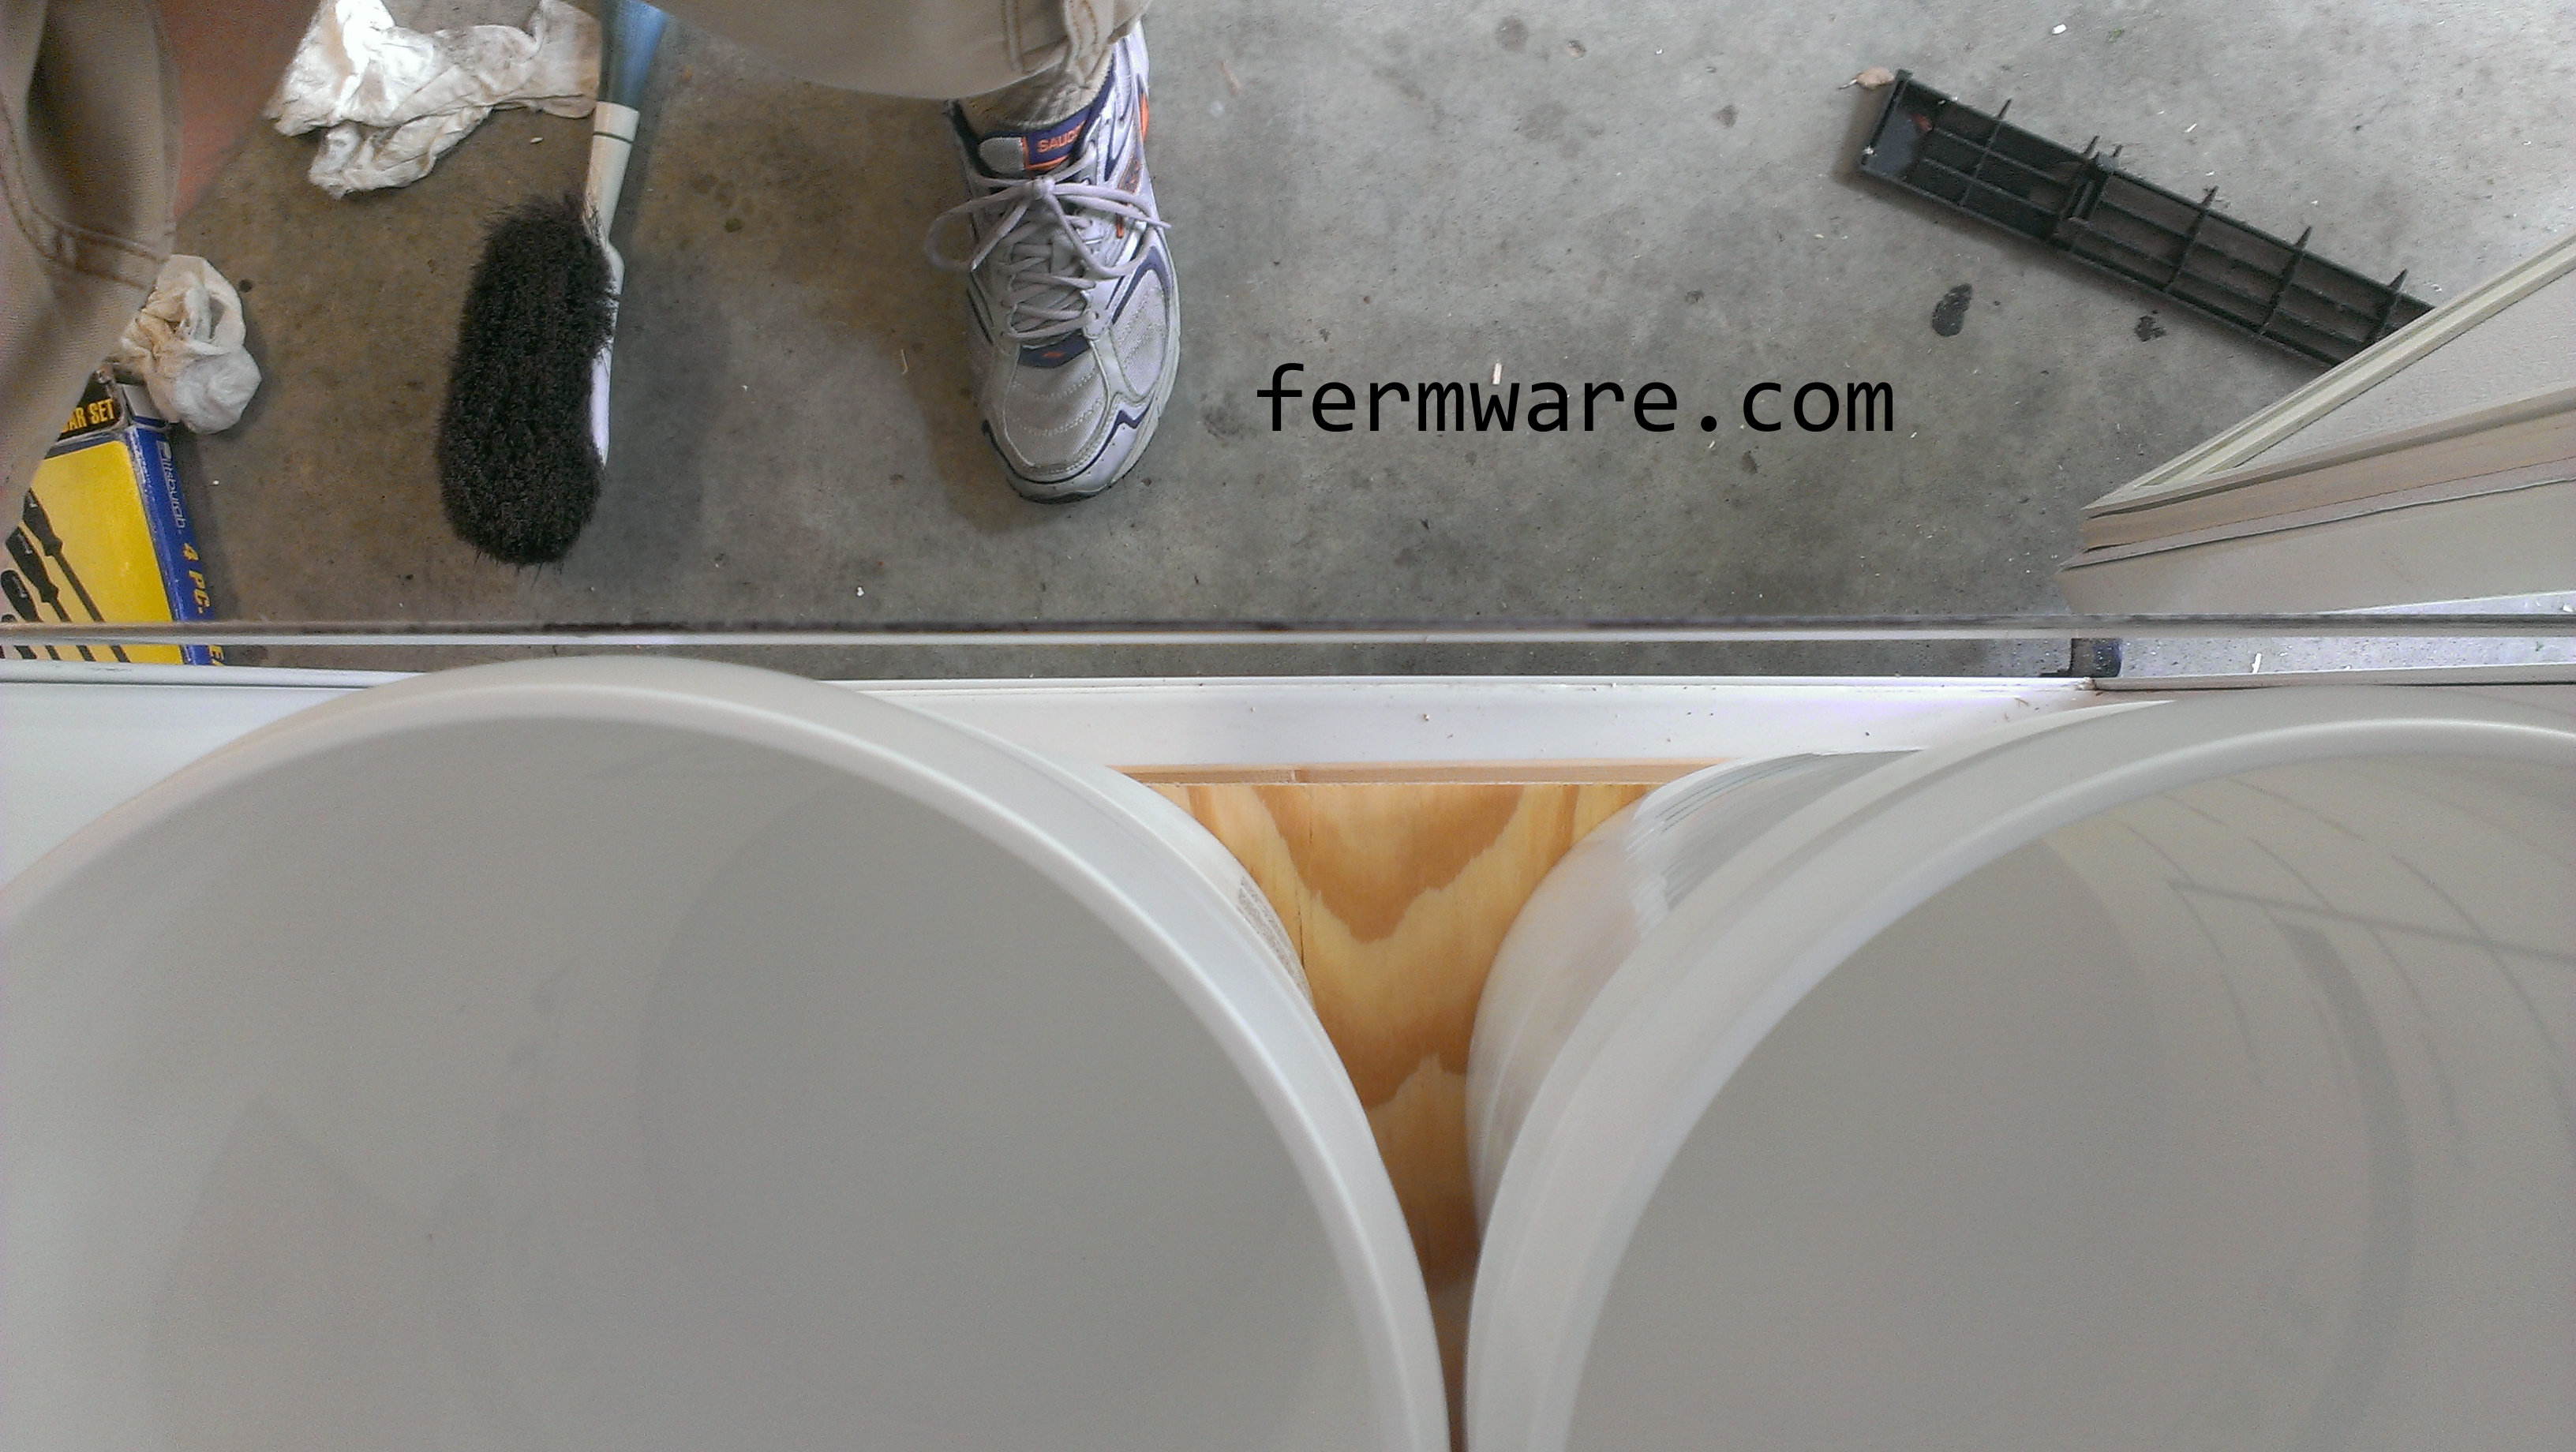
I put 4 buckets inside to see how they fit. WOW! Just barely. I knew it would be close.

So next, I cut another piece of FRP board to cover the bottom shelf. I also created a wood frame for the top shelf. I had a section of wire shelf that was just wide enough to span the width of the wood frame. I didn’t feel however, that it was strong enough to support the weight of 3 full fermentation buckets. I added another support to span the shelf. I used wire shelf to allow sufficient airflow between the top and bottom of the cabinet.
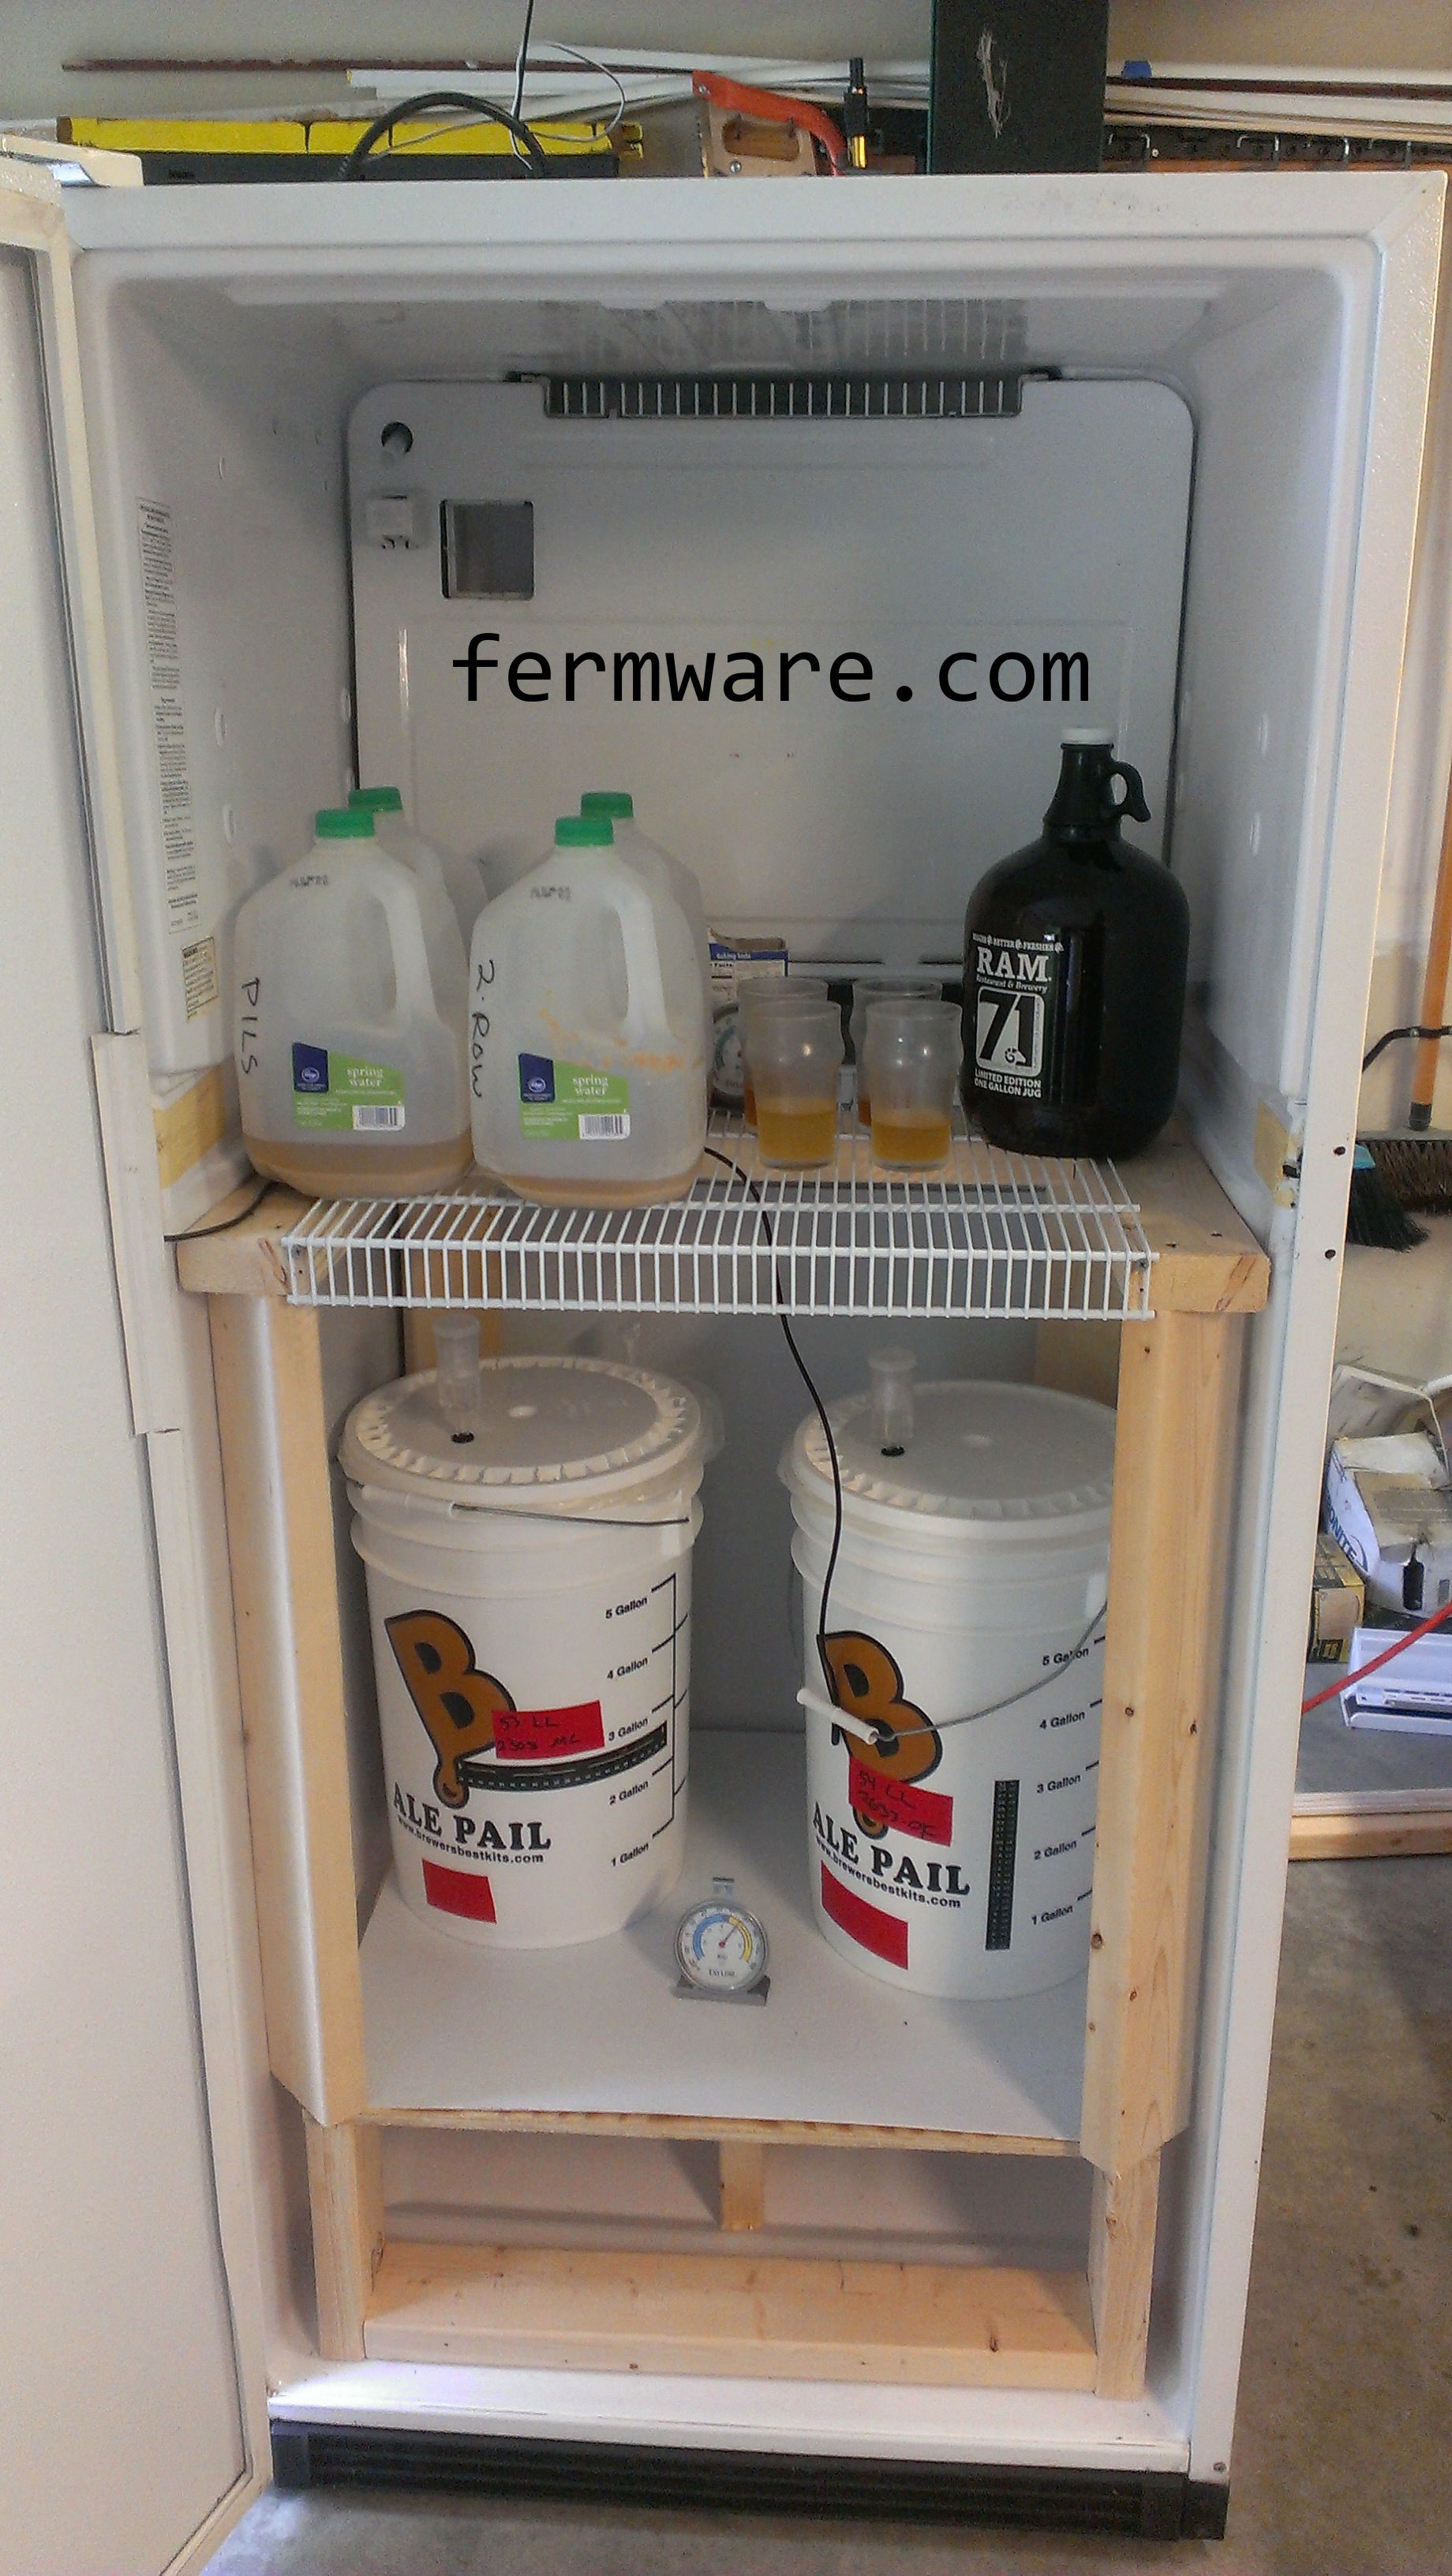
I also made the top of the shelf height just tall enough to clear the control panel inside the fridge.

Per goal 4, I went ahead and cut a piece of FRP panel to completely cover the top shelf. I’ll modify this if and when I decide to work out temperature control for two different zones.

I don’t like the bare exposed wood, so I do plan to seal it with some paint or varnish. I got this done just in time for me to brew the beer that will occupy the fridge for the next two months, so the painting will have to wait.
Up next…
Finishing up and other observations
Posts for this Project:
Part 1: Introduction
Part 2: Clean up
Part 3: Disassembly
Part 4: Door modification
Part 5: Shelf building (This post)
Part 6: Finishing up and other observations