Homer Hopper Part 6 – Final Assembly
Difficulty: 
Time Required:
One morning or afternoon (For the entire project)
Background:
This is part 6 in the series documenting how to create your own Homer Hopper. If you haven’t seen the introduction yet, please check it out. In this post, we’ll be finishing up with the assembly of all components and fitting the hopper assembly into the bucket.
Posts for this project:
Introduction
Part 2: Bucket Modifications
Part 3: Wooden Base
Part 4: Mill Box
Part 5: Funnel Panels
Part 6: Final Assembly (This post)
Part 7: CAD Drawings
Affiliate Links
Any links in this post or on this website may link to affiliates, which compensate this website for purchases. All links are provided to help the reader locate items mentioned or used in the post. As an Amazon Associate I earn from qualifying purchases.Tools required:
*You’ll want a bench top unit so you can hold the hopper assembly with both hands while you shape it to fit in the bucket.
Material recommended:
You’ll need all of the pieces you’ve built thus far and the bolts and washers mentioned in the introduction post
- 4x 1/4-20 x 0.75″ length stainless socket head cap screws or hex head
- 4x washers for 1/4″ bolts ($1-$5 for screws and washers depending on where you shop) *You don’t have to use stainless for the screws or washers, I just got stainless so they didn’t rust while being stored outside in the garage.

How to do it:
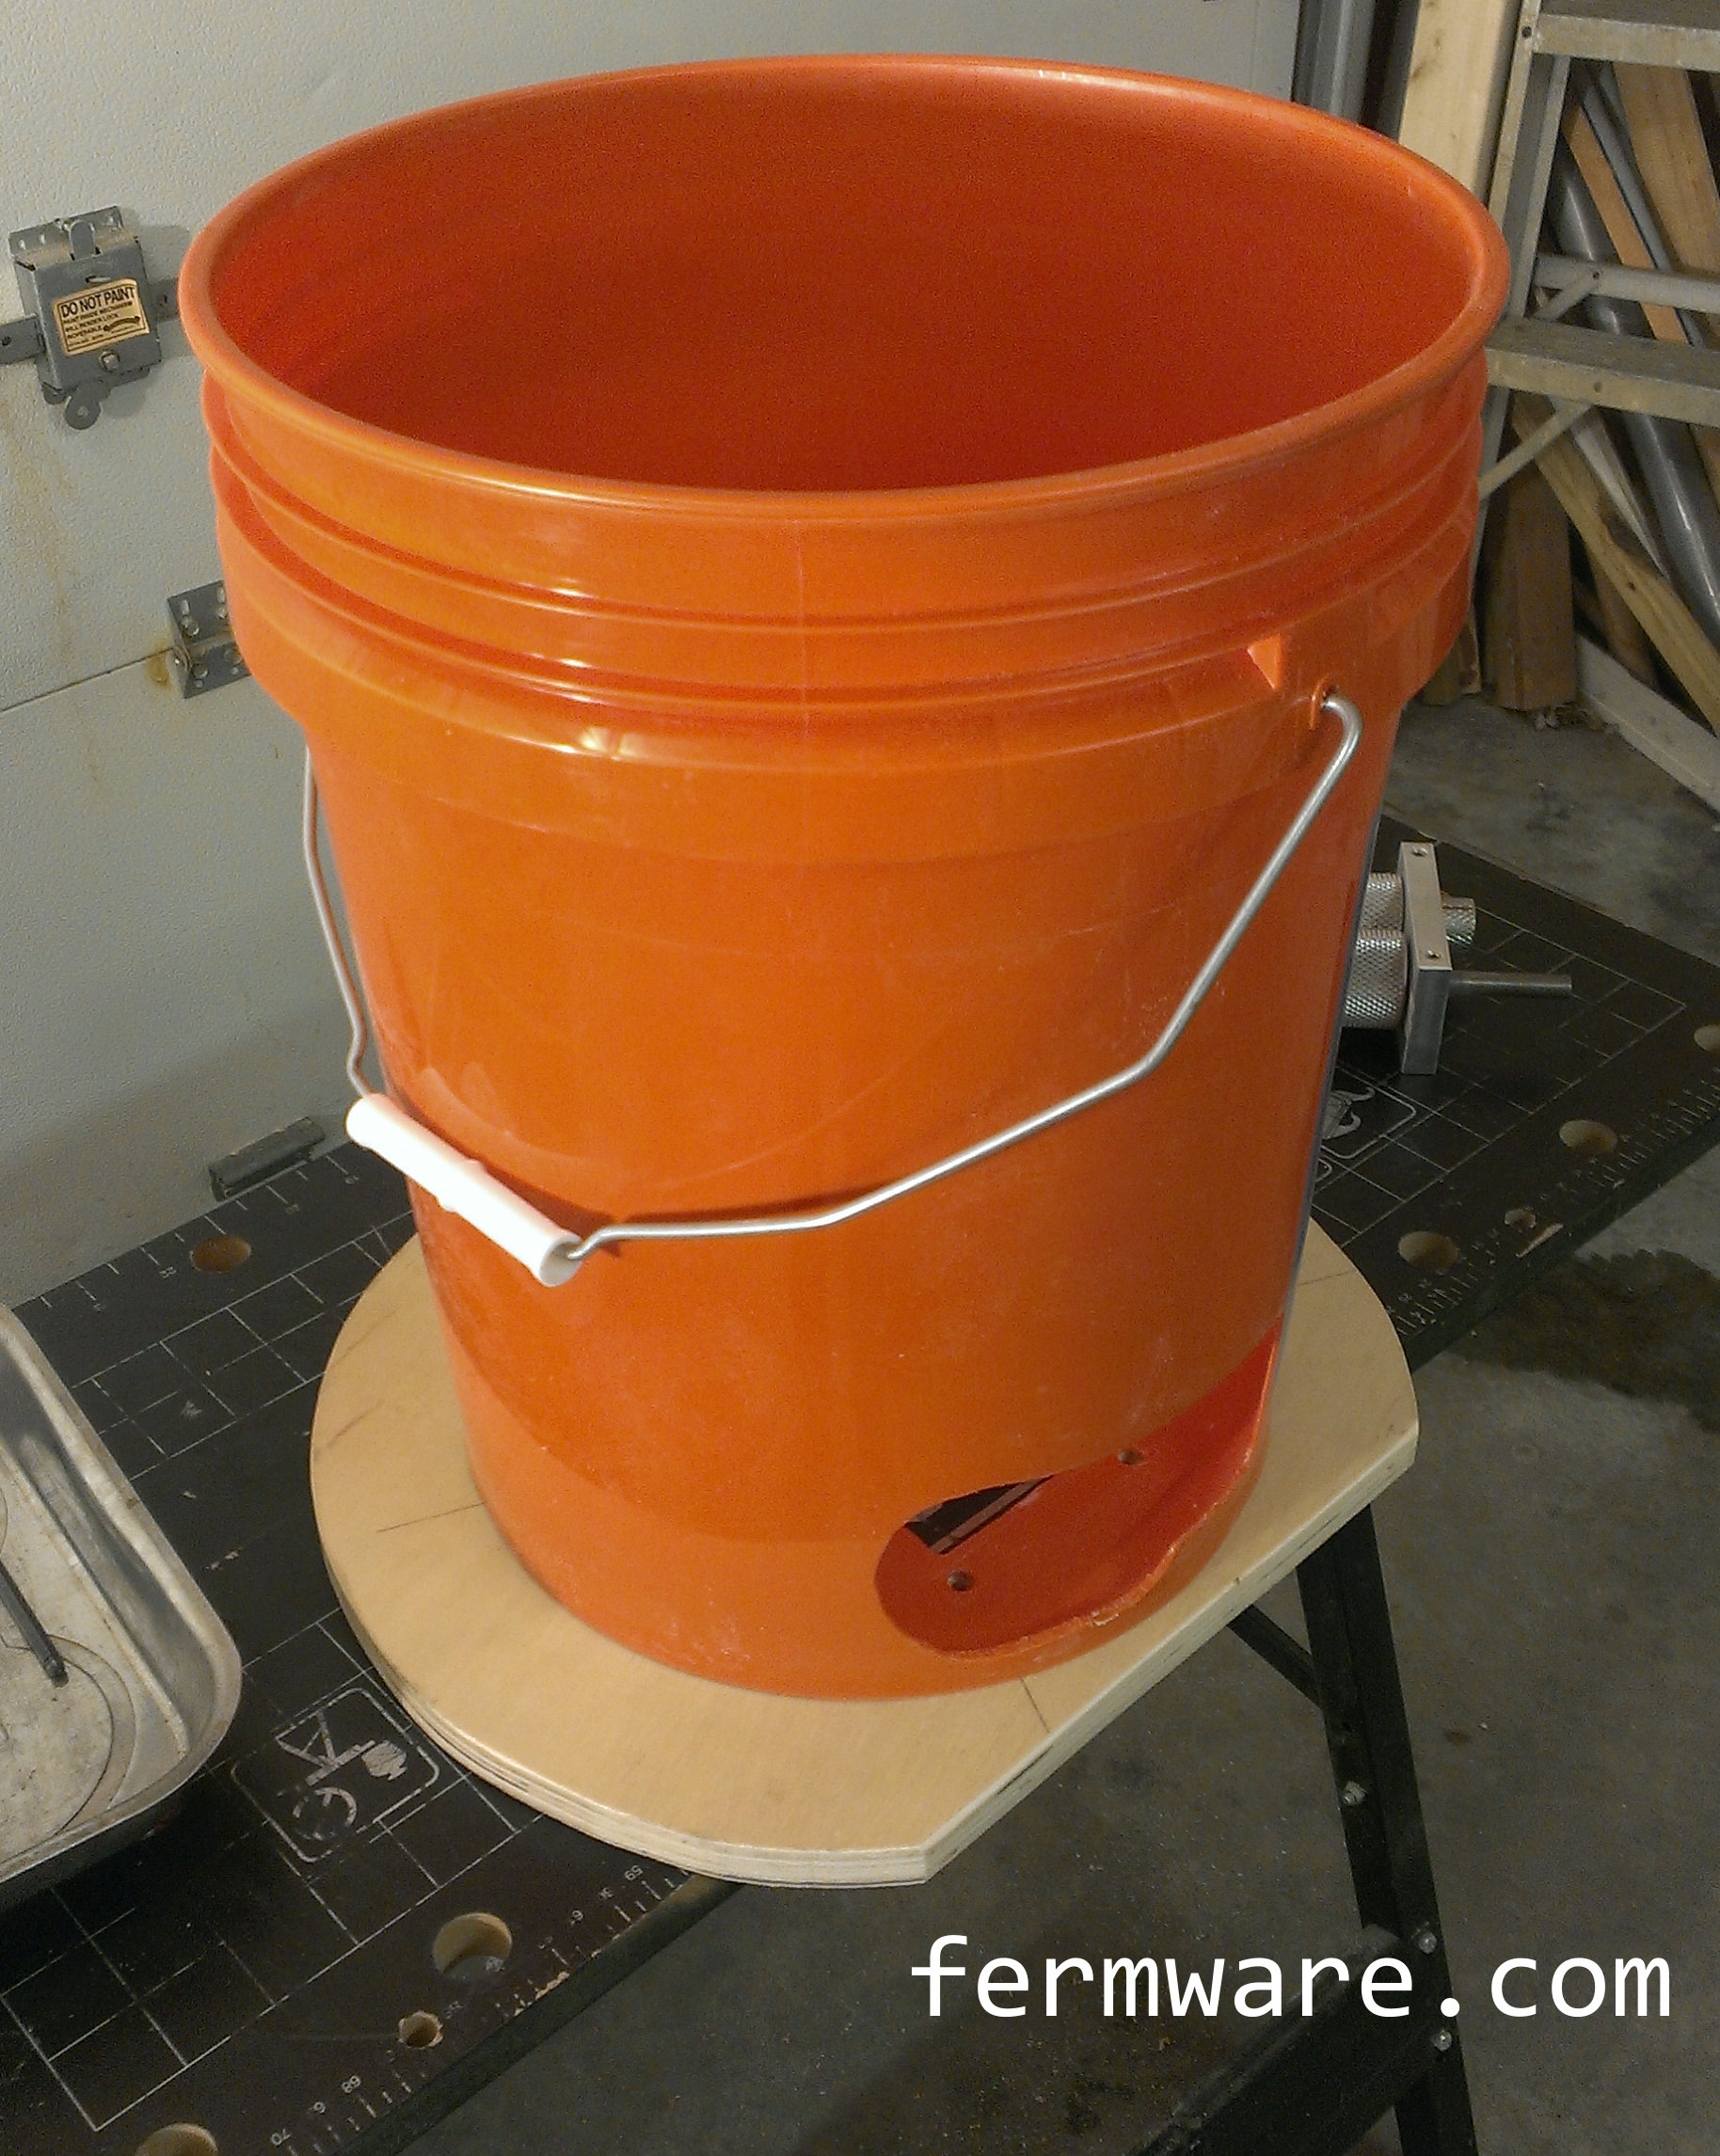
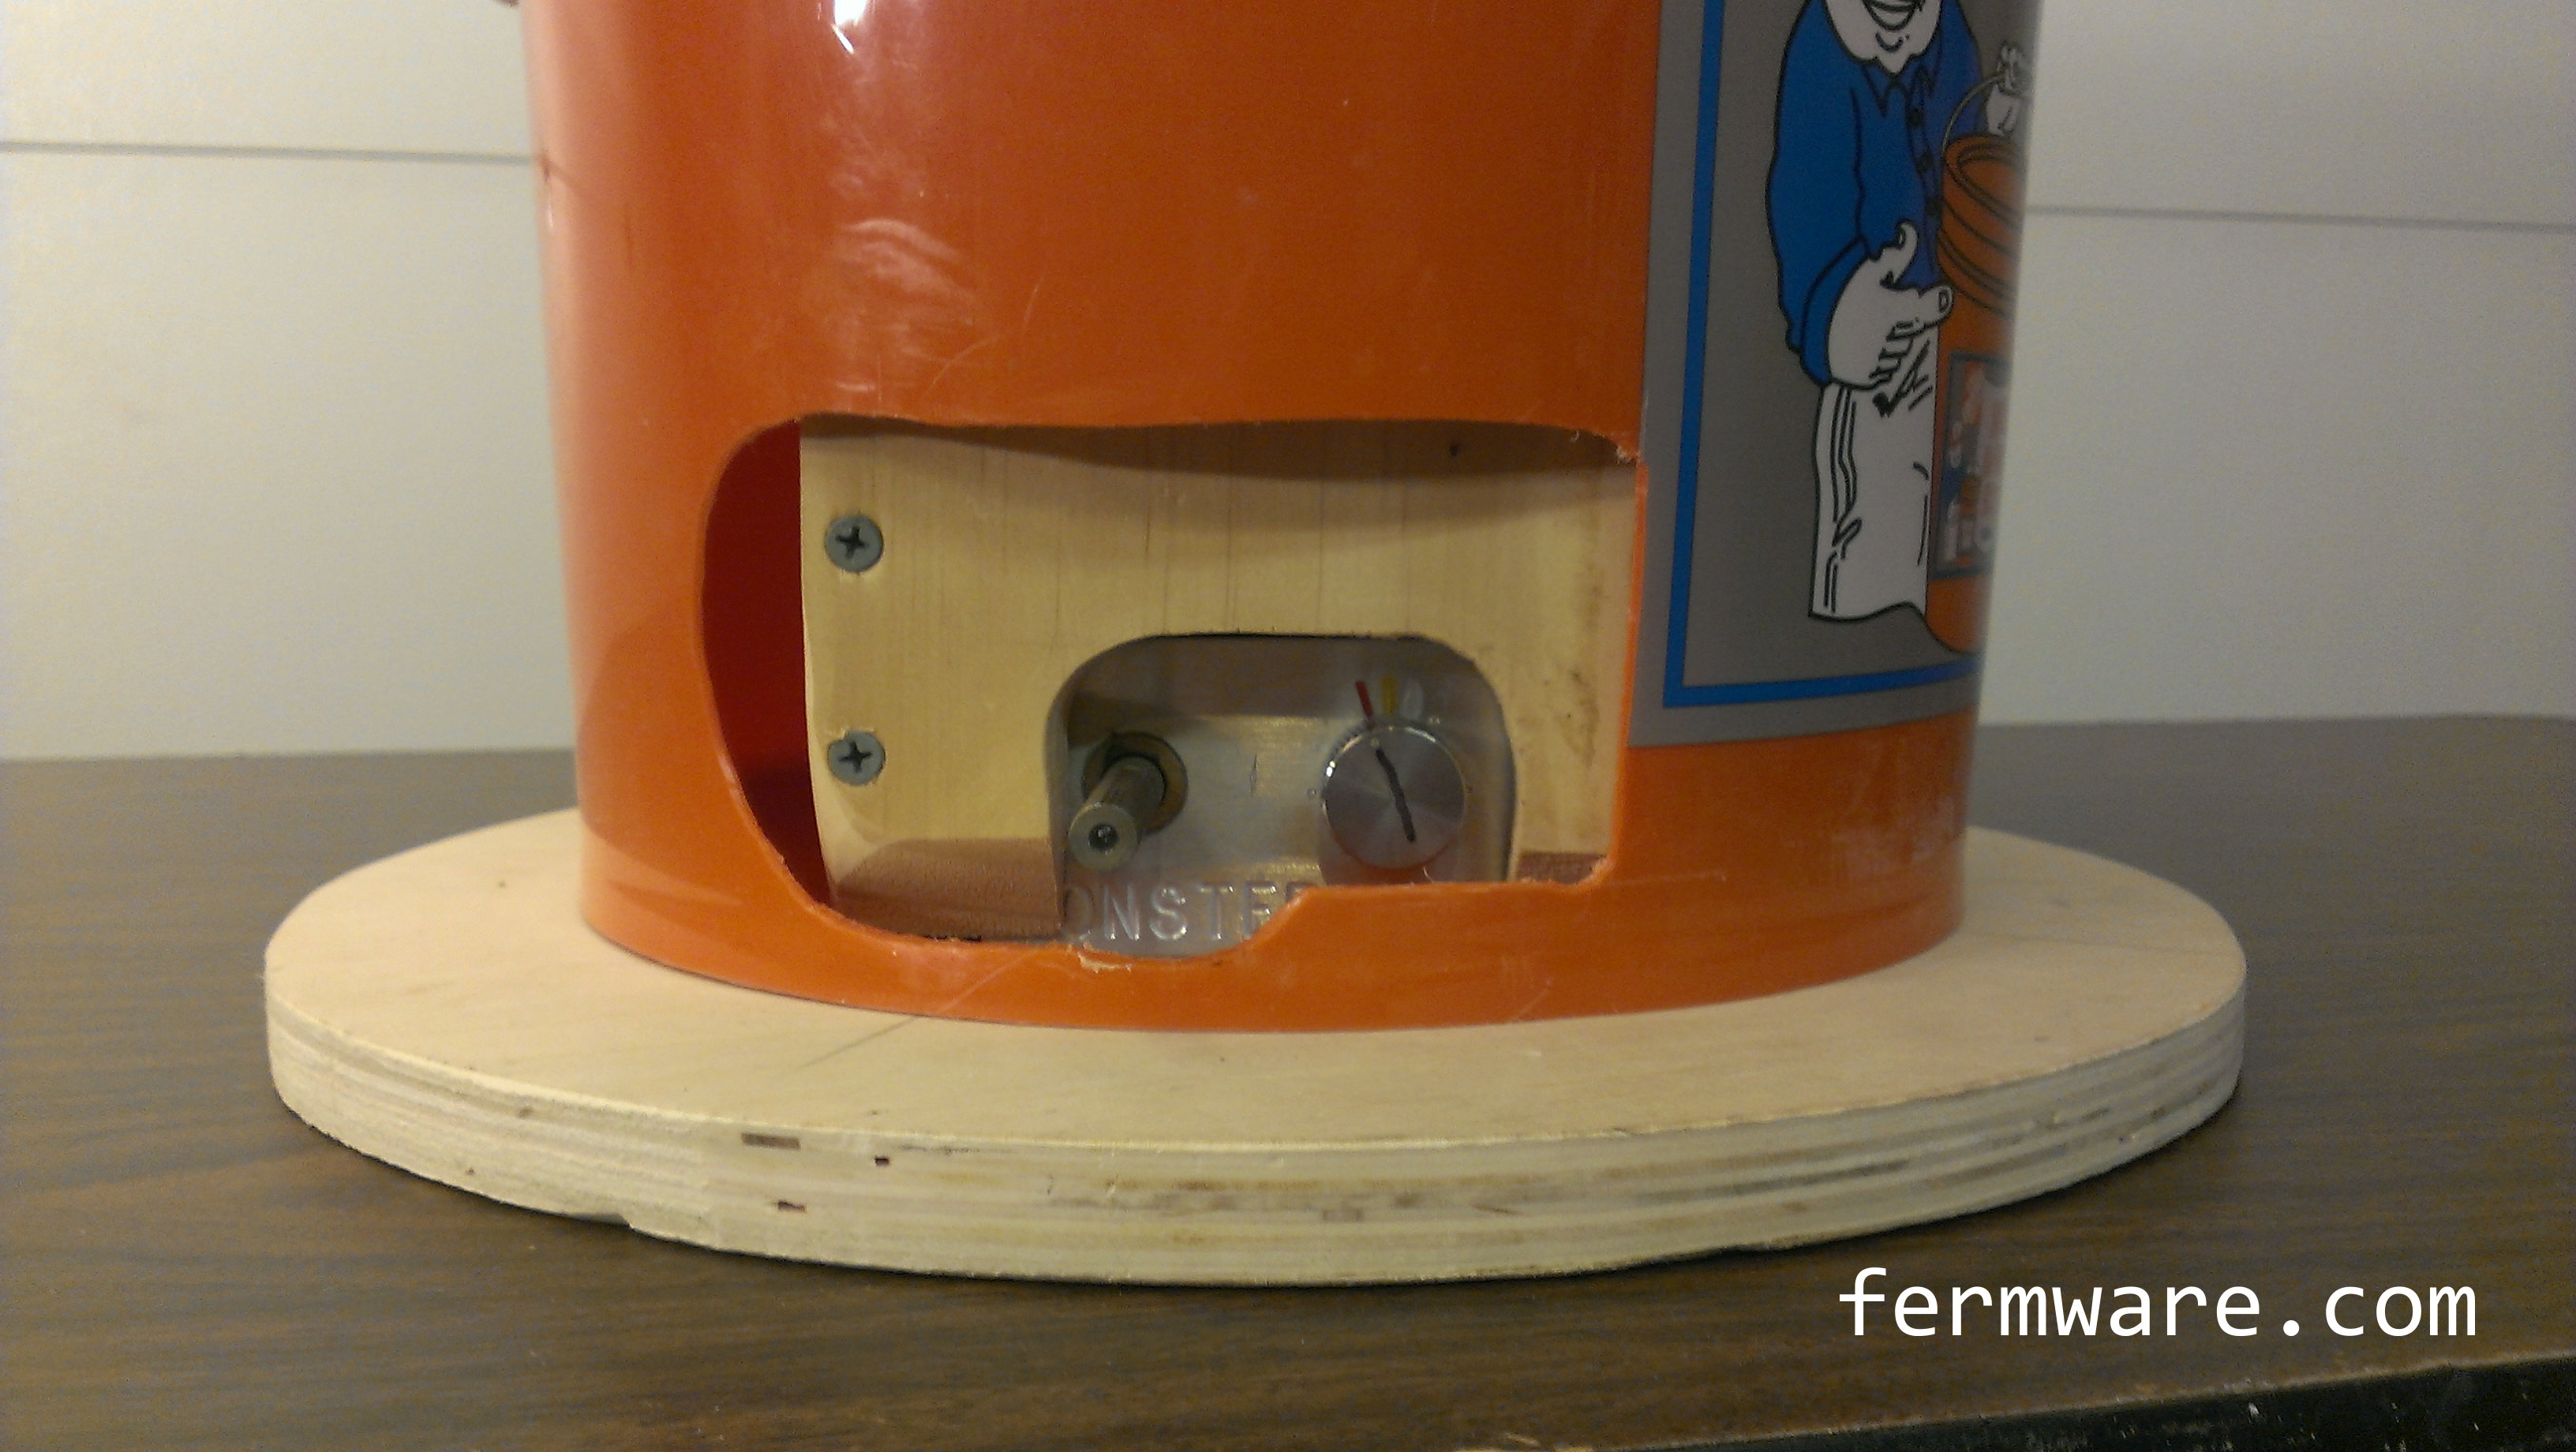
Go ahead and orient the bucket on the base.
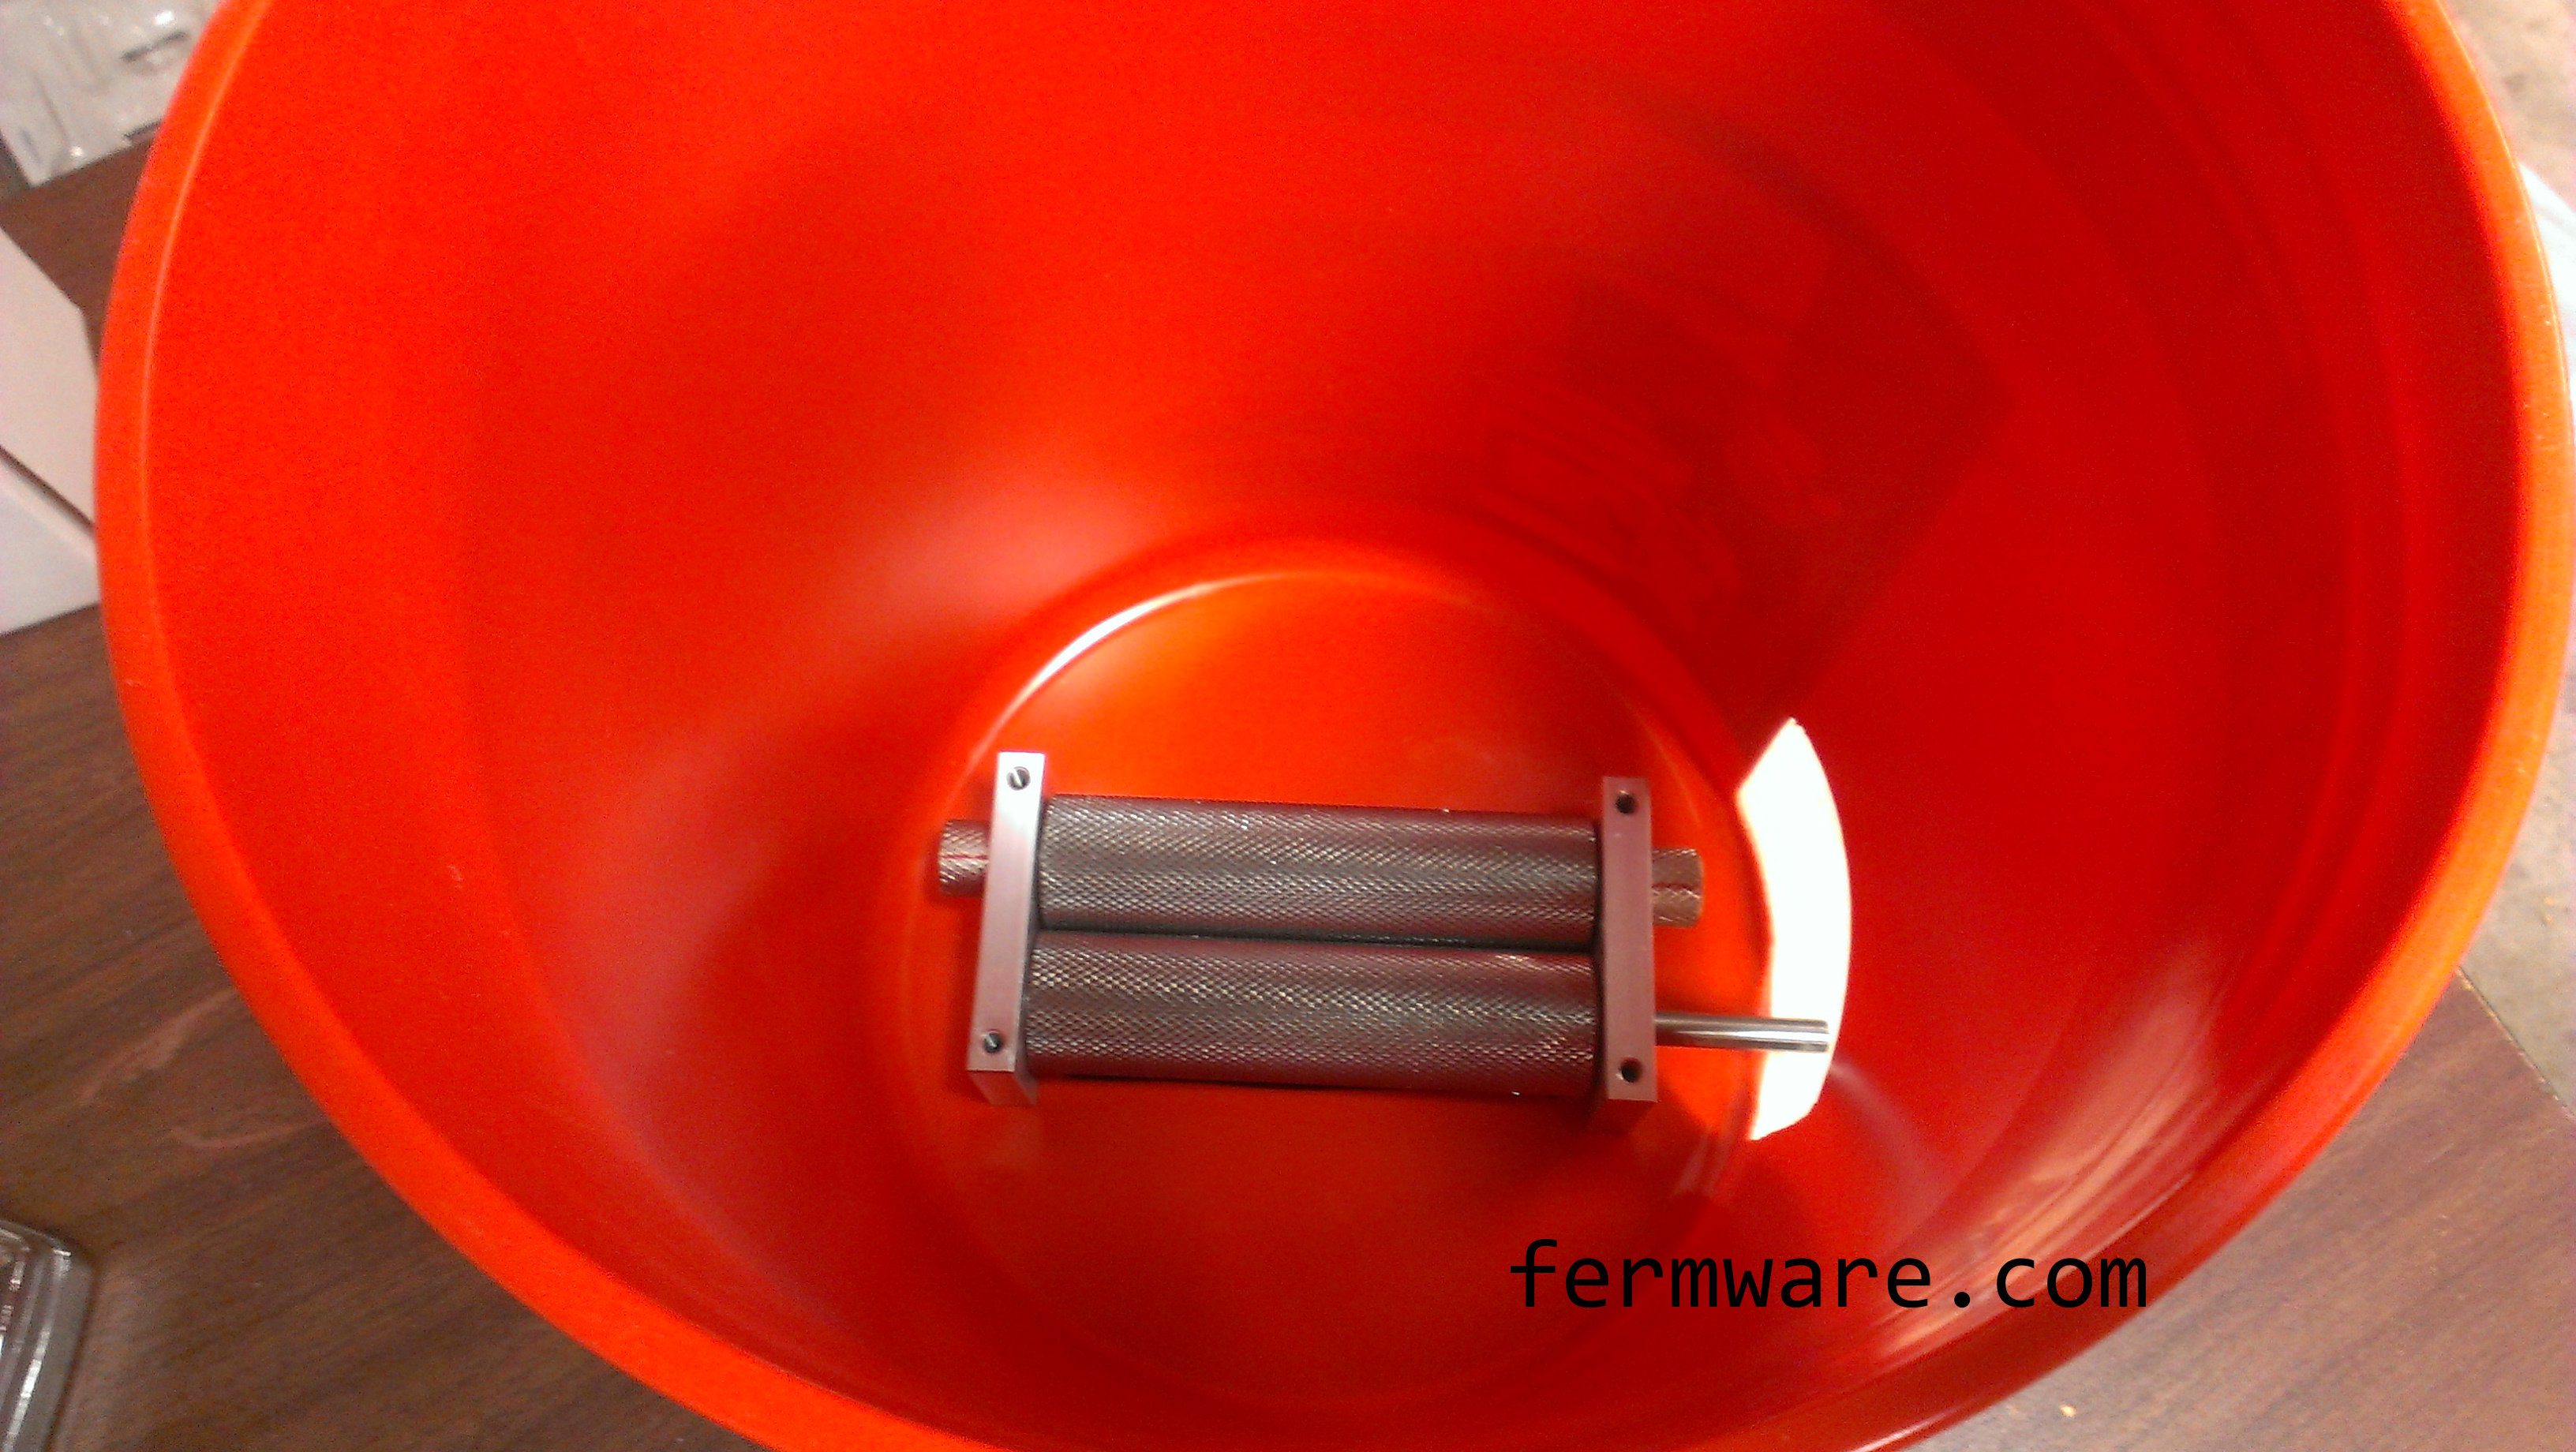
Then install the mill with the driveshaft sticking out the side window (obviously).
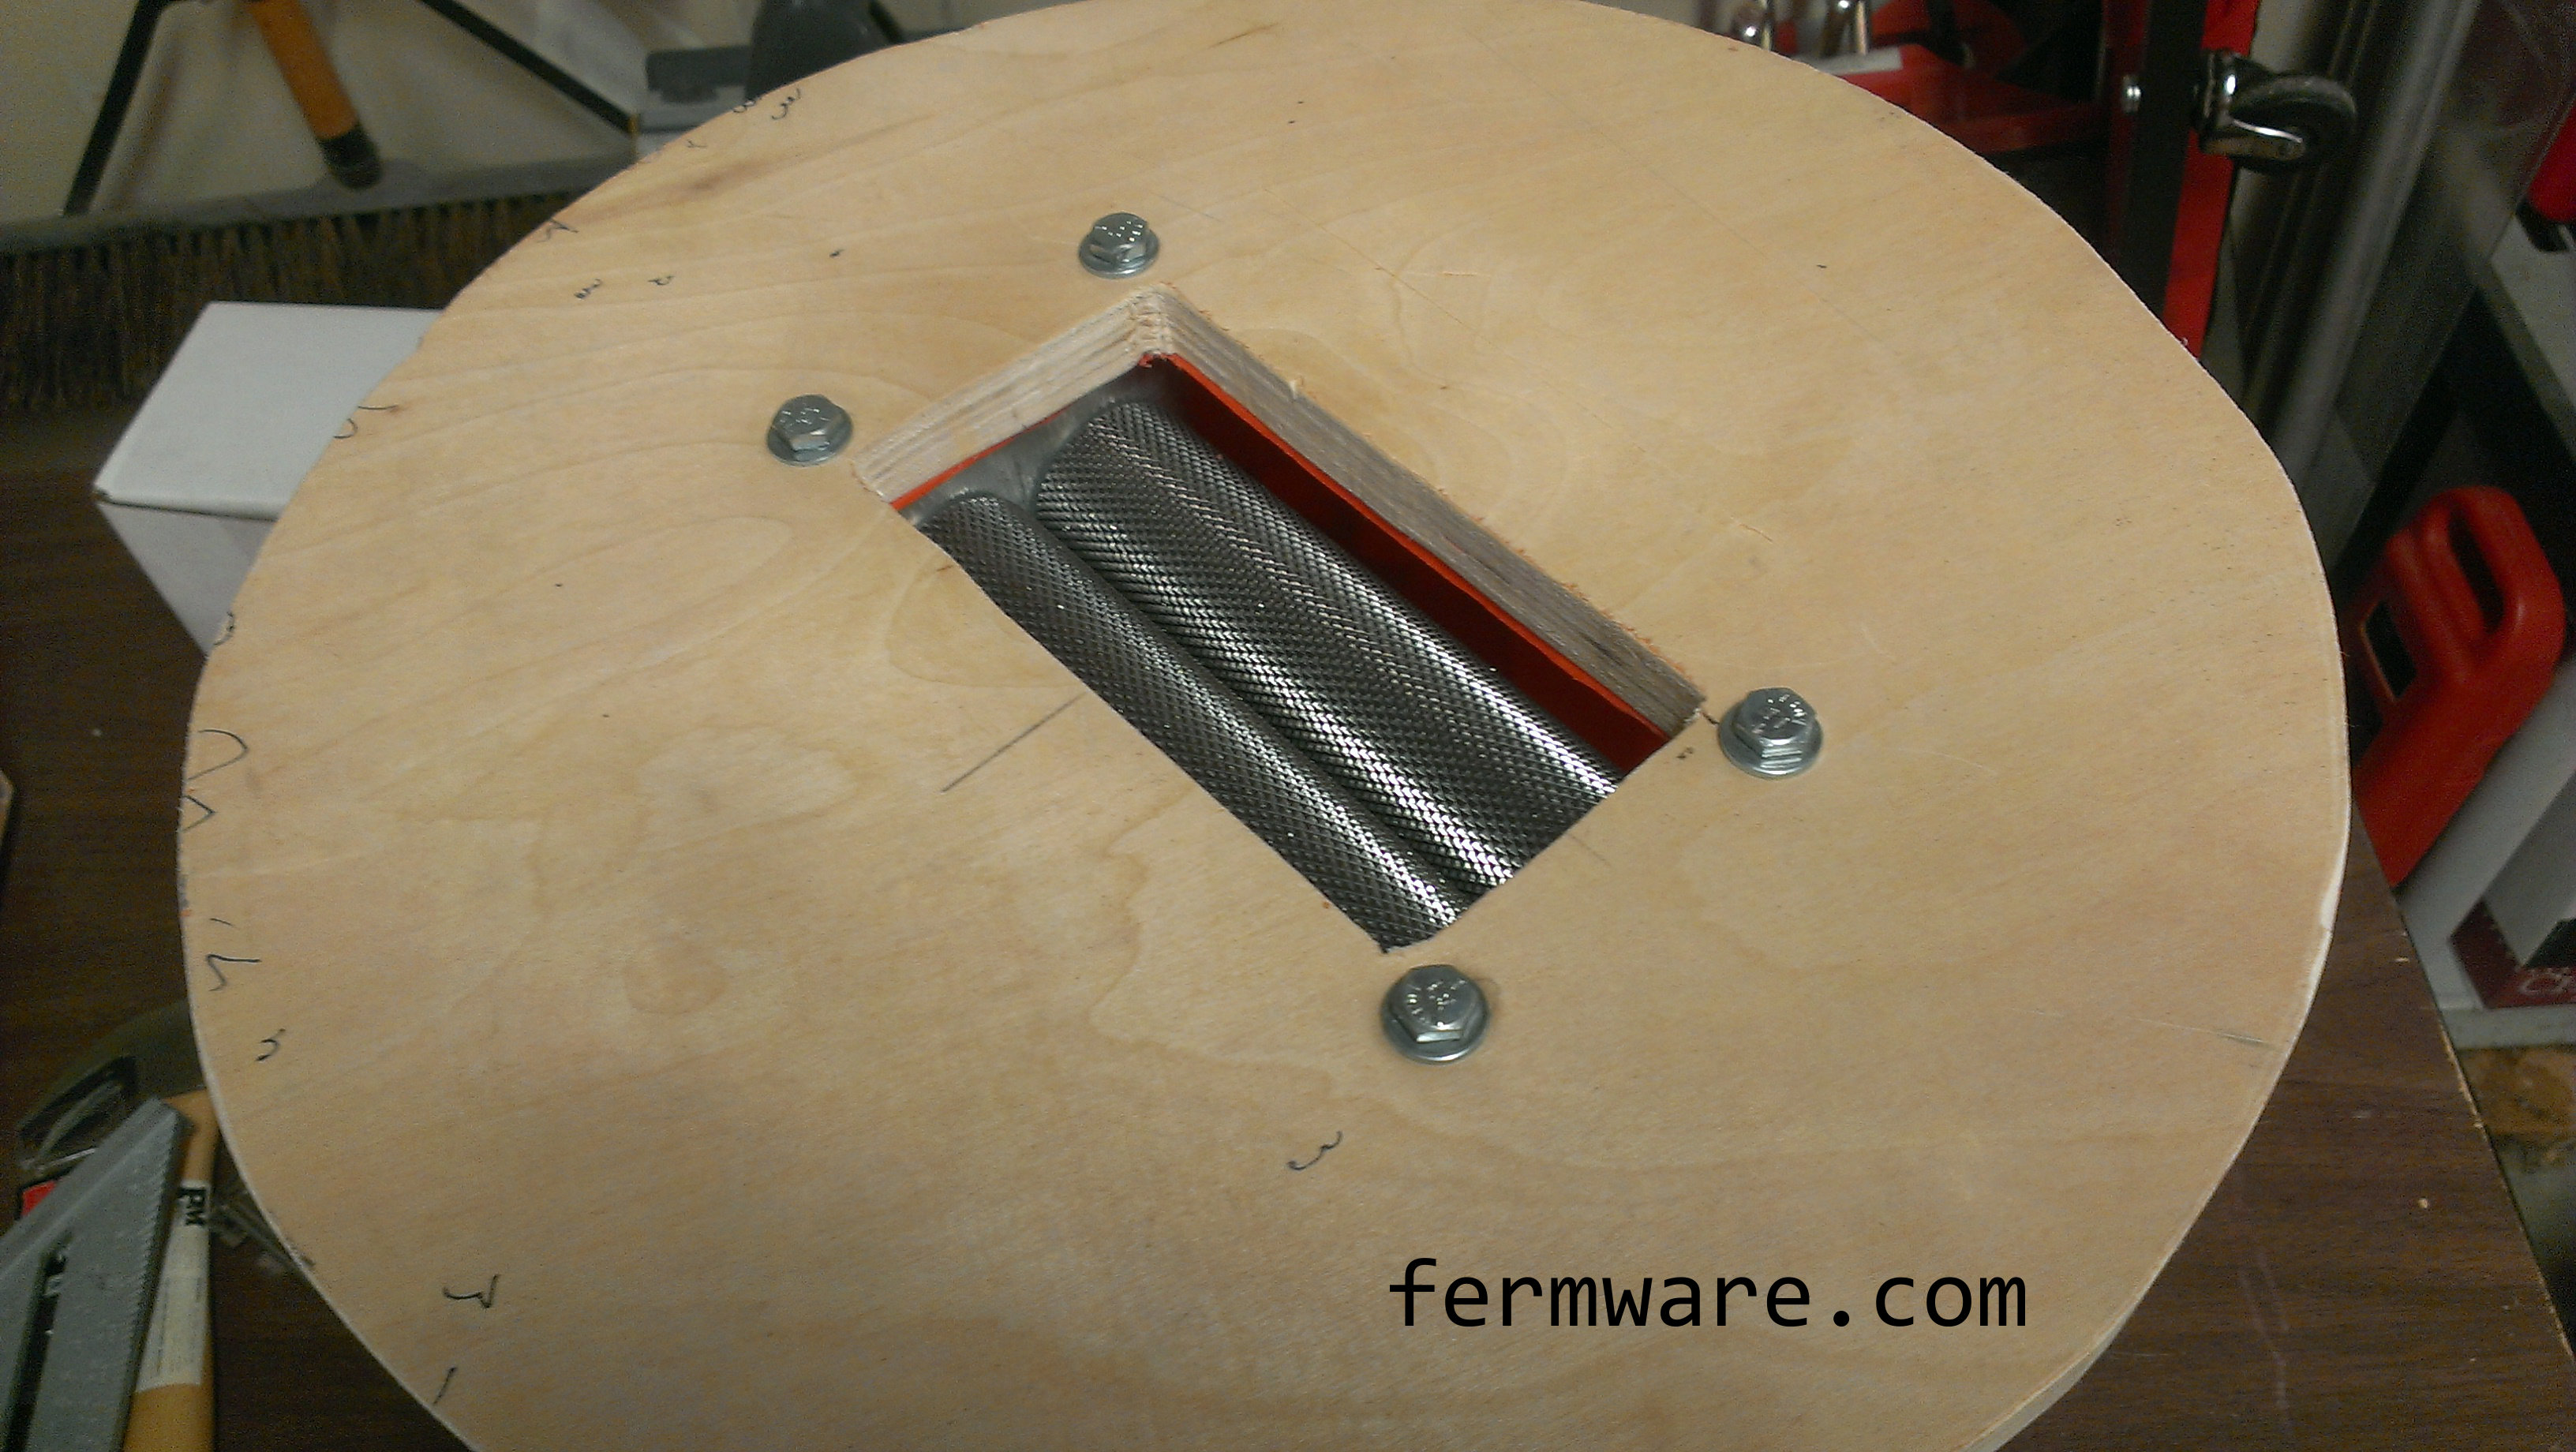
Then, secure the mill with the bolts going through the wooden base and bucket. Since your holes probably aren’t precision located, get each bolt started in each hole, then tighten them up.
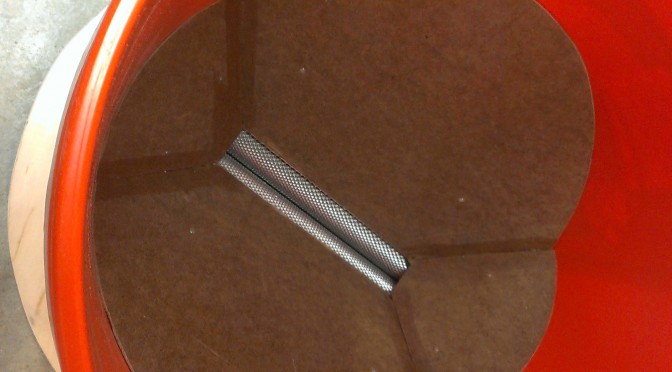
Shape the hopper panels

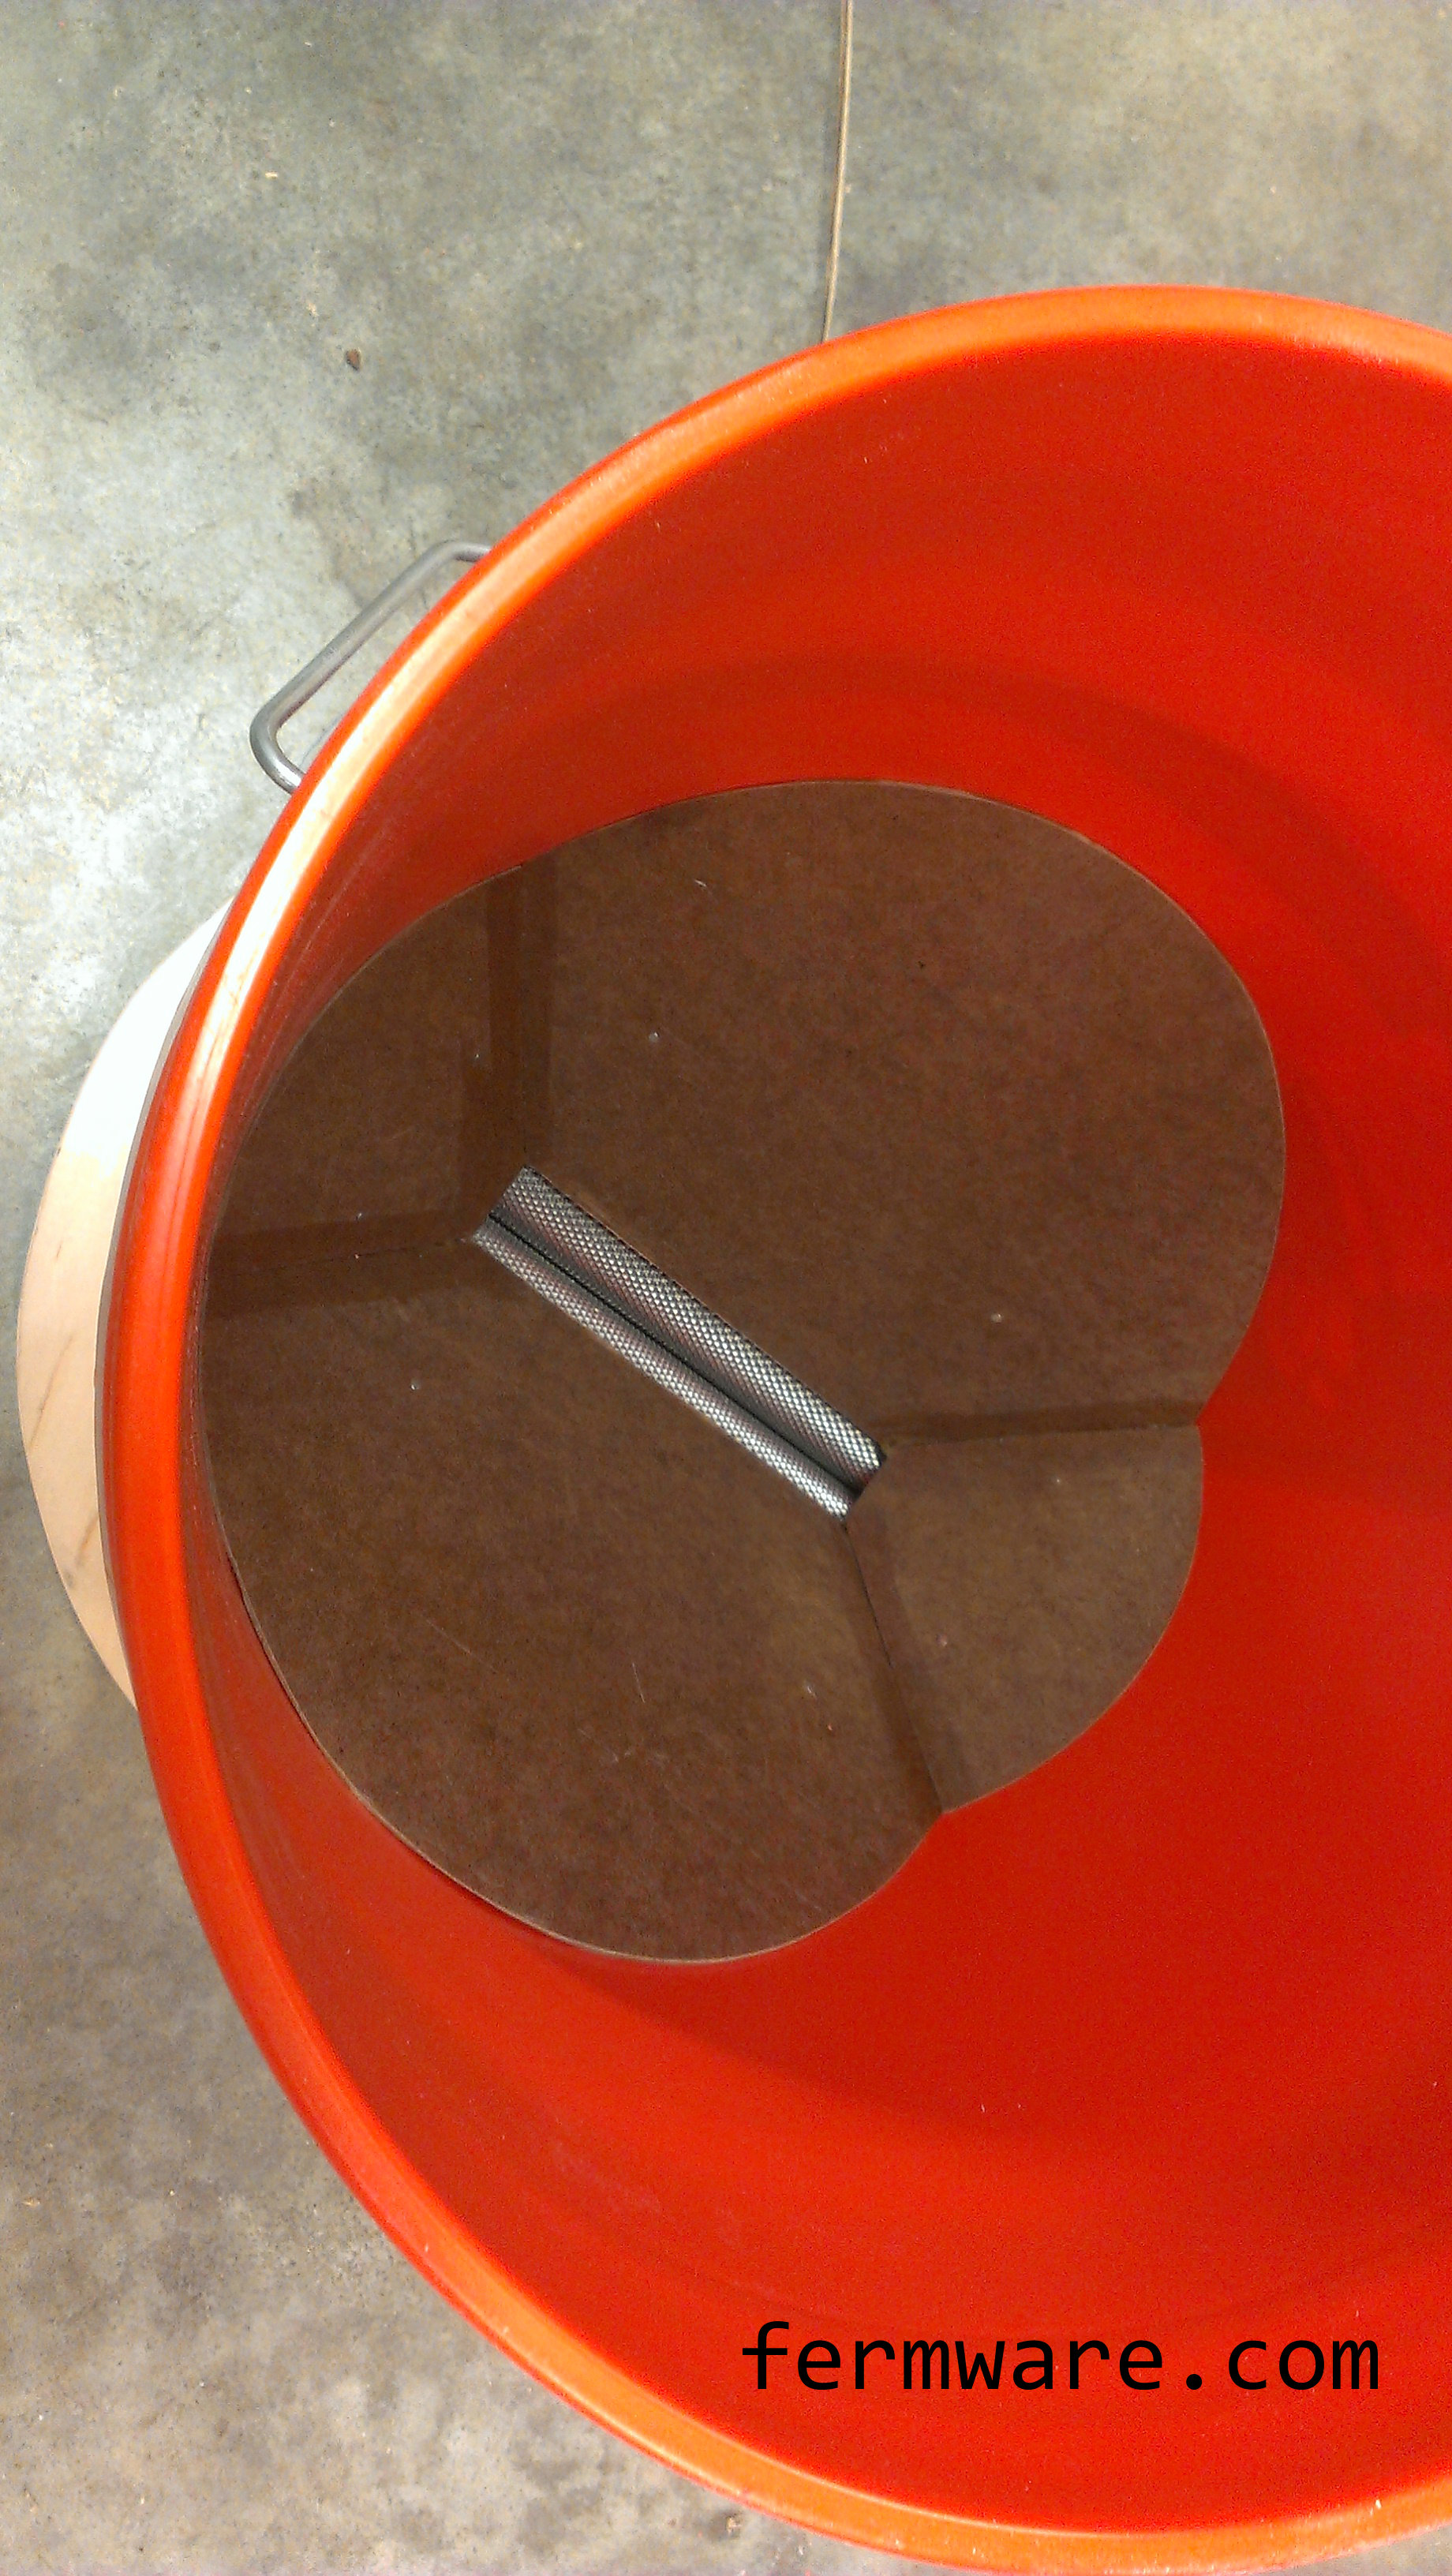
Keep dropping the hopper assembly into the bucket while sanding more material off of the tips of the panels until you get a nice fit. The angle will be almost perpendicular to the base, but with a slight draft.
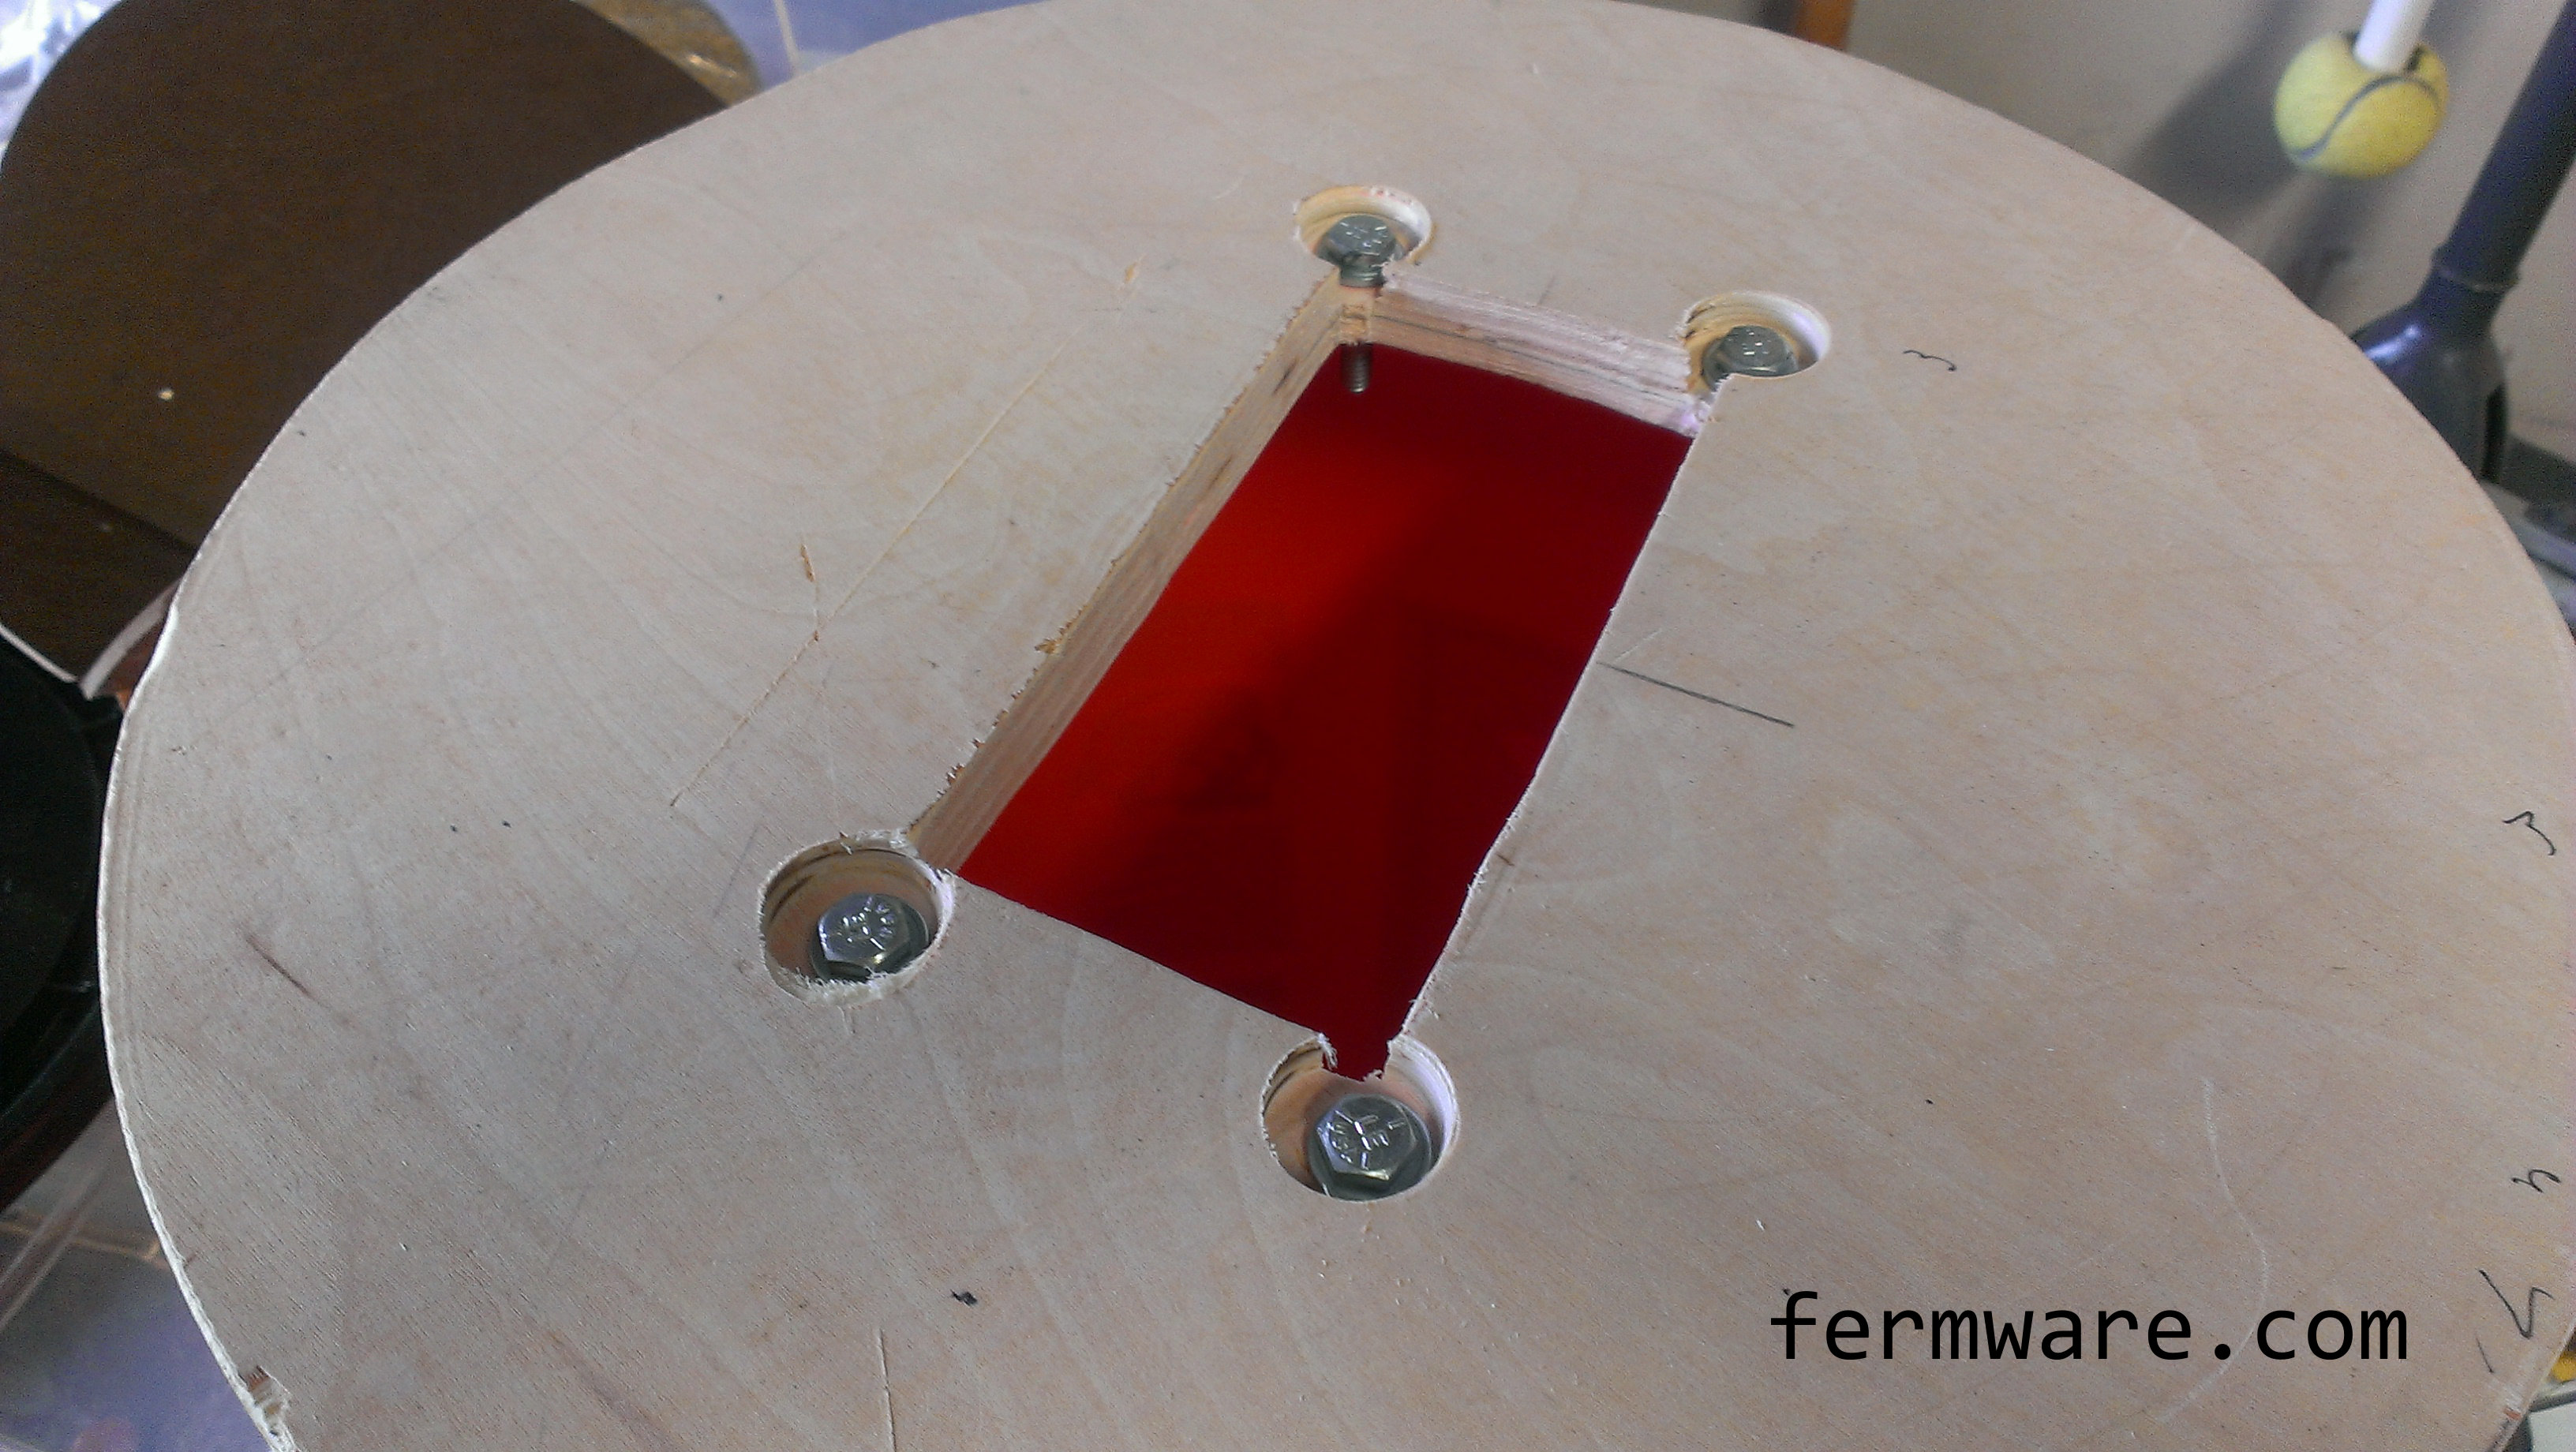
Once you have a nice fit with the panels, it’s time to start shaping the mill box to fit in the bucket. The bottom of the bucket has a radius all the way around the bottom, so you’ll need to shape the bottom corners until you can get it all to sit flat.
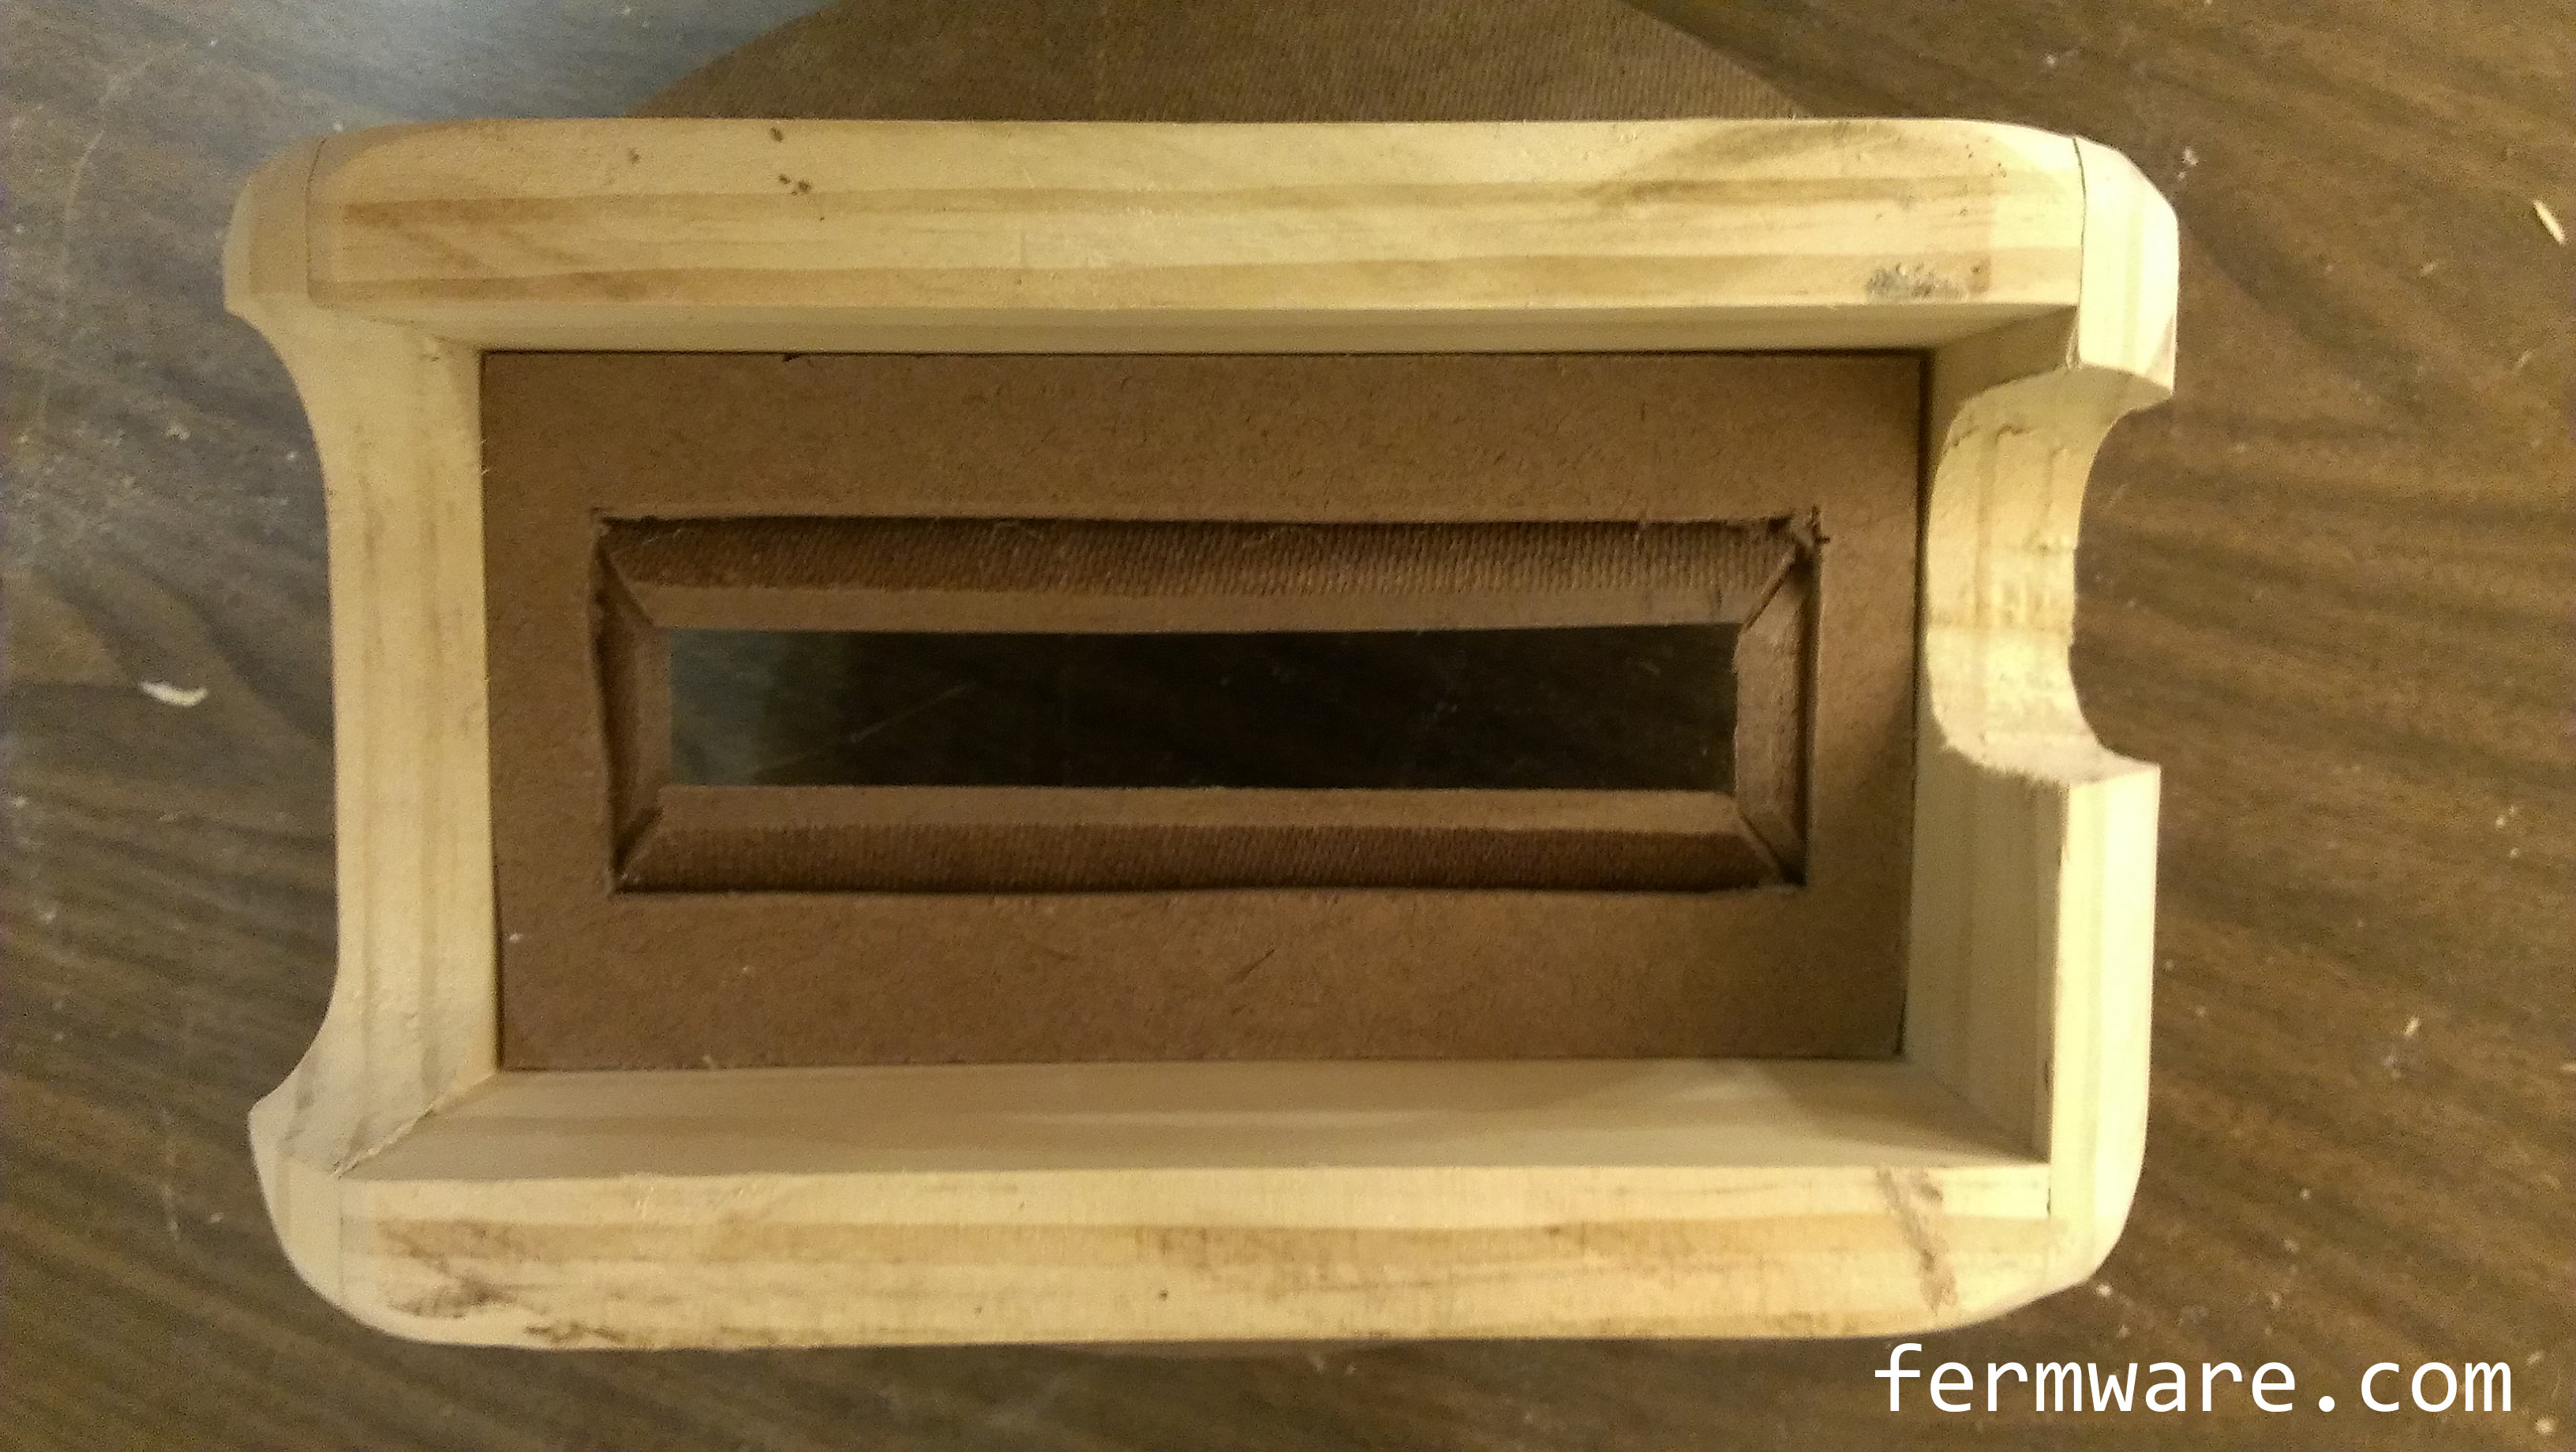
Your finished corners should look something like the picture above.
Keep shaping until the entire assembly sits completely flat on the bottom of the bucket.
Final steps

The last steps are to glue the seams in between the hopper panels (as in one of the above photos) and to glue the grain shield in place.
Wait for all glue to dry!!!!
The last thing you want is for wet glue to drip into your valuable grain mill or get into your grain.
Up next…
Missed a post?
Introduction
Part 2: Bucket Modifications
Part 3: Wooden Base
Part 4: Mill Box
Part 5: Funnel Panels
Part 6: Final Assembly (This post)
Part 7: CAD Drawings
Thanks for your interest in this project!
3 thoughts on “Homer Hopper Part 6 – Final Assembly”