Category Archives: Ingredient Preparation

Homer Hopper

Homer Hopper – Introduction

Difficulty: level_1

Time Required:

One morning or afternoon (For the entire project)

Background:

If you are brewing all-grain and want to gain consistency with your efficiency and want to save money in the long run, you should be milling your own grain (assuming you are buying some grains in bulk).  Most grain mills can be purchased without a hopper, which in my opinion is a good thing, because I was not satisfied with most of the hopper designs I have seen.

Posts for this project:

Introduction (this post)
Part 2: Bucket Modifications
Part 3: Wooden Base
Part 4: Mill Box
Part 5: Funnel Panels
Part 6: Final Assembly
Part 7: CAD Drawings

Pictures and Stuff:

007a-Homer Hopper - Entire Setup 007a-Homer Hopper - View 3 007a-Homer Hopper - Into the Hopper

007a-Homer Hopper - View 4 007a-Homer Hopper - Hopper Insert 007a-Homer Hopper - CAD Model

007a-Homer Hopper - Components

Affiliate Links

Cost:

Less than $20 in materials for the hopper assembly.  The cost will most likely be less, especially since you probably have scraps of material around your garage that can be used.  You’ll also need some mounting hardware that is readily available.

Components:

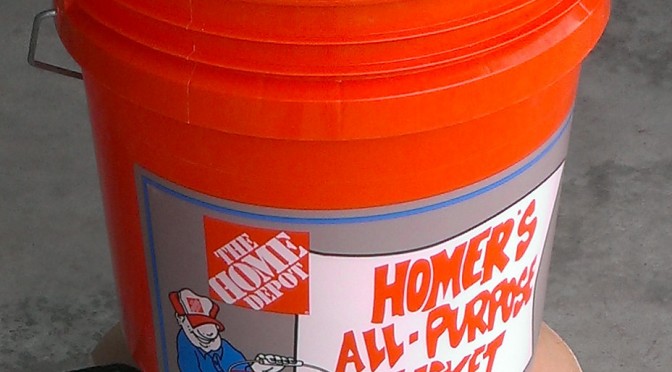
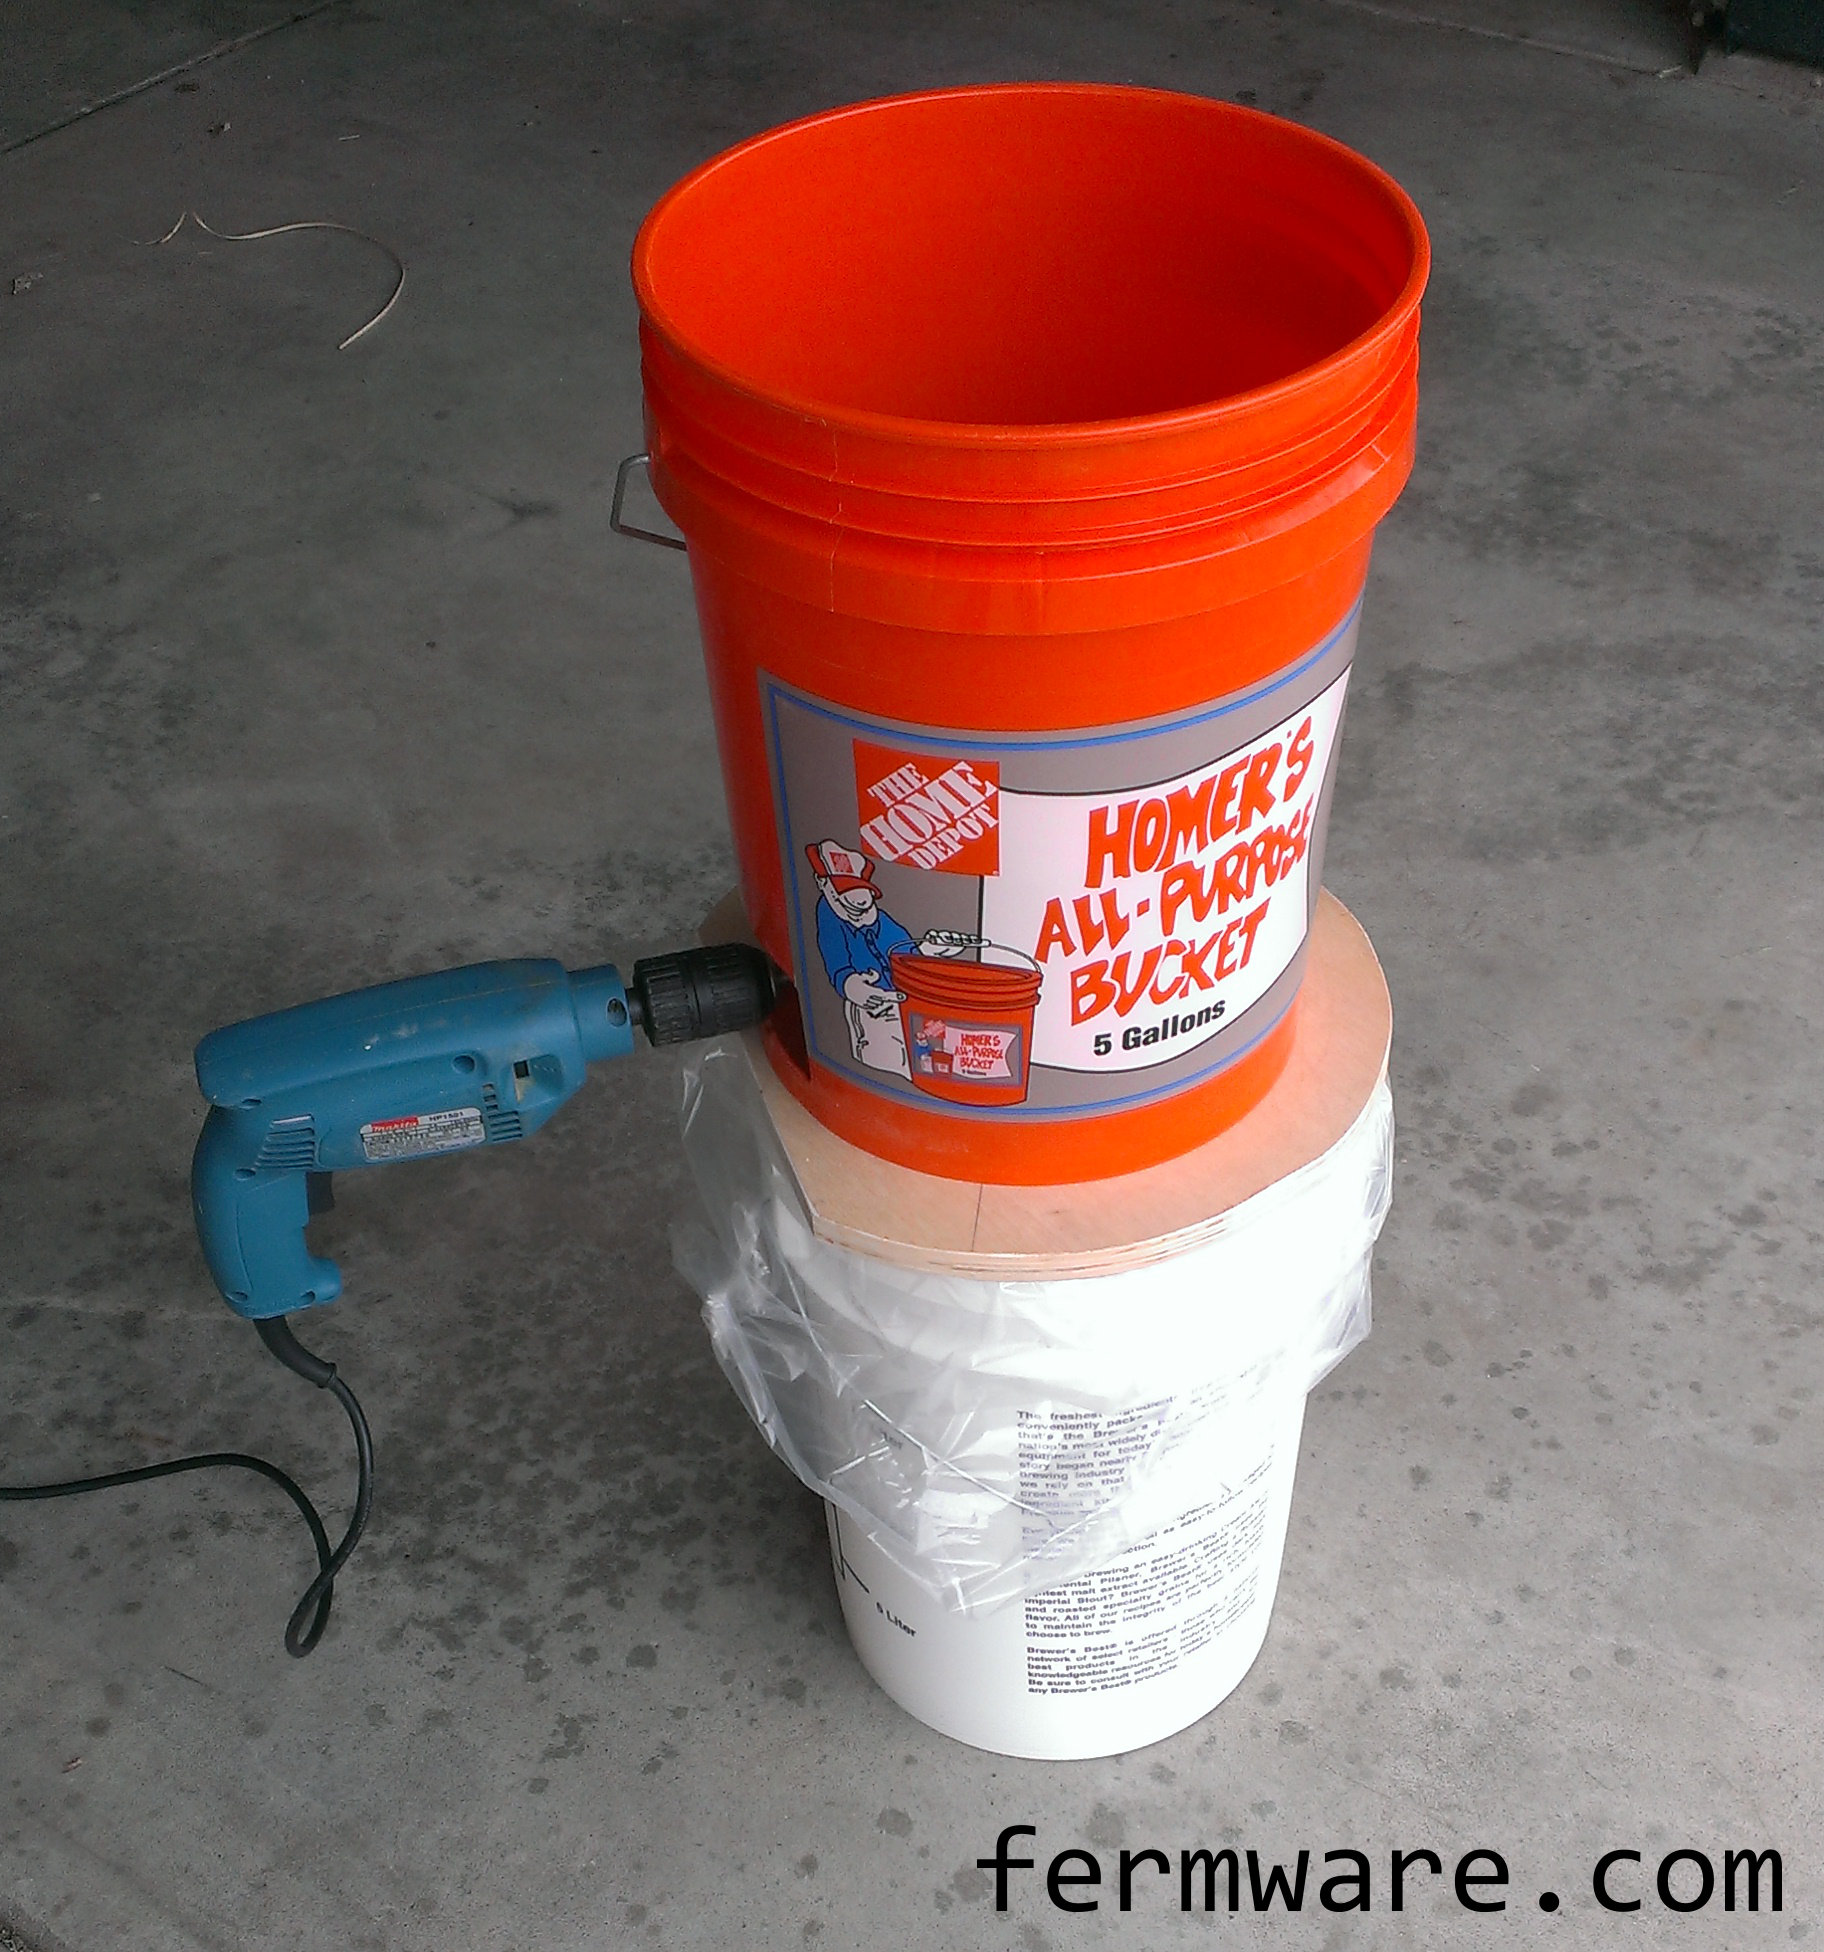
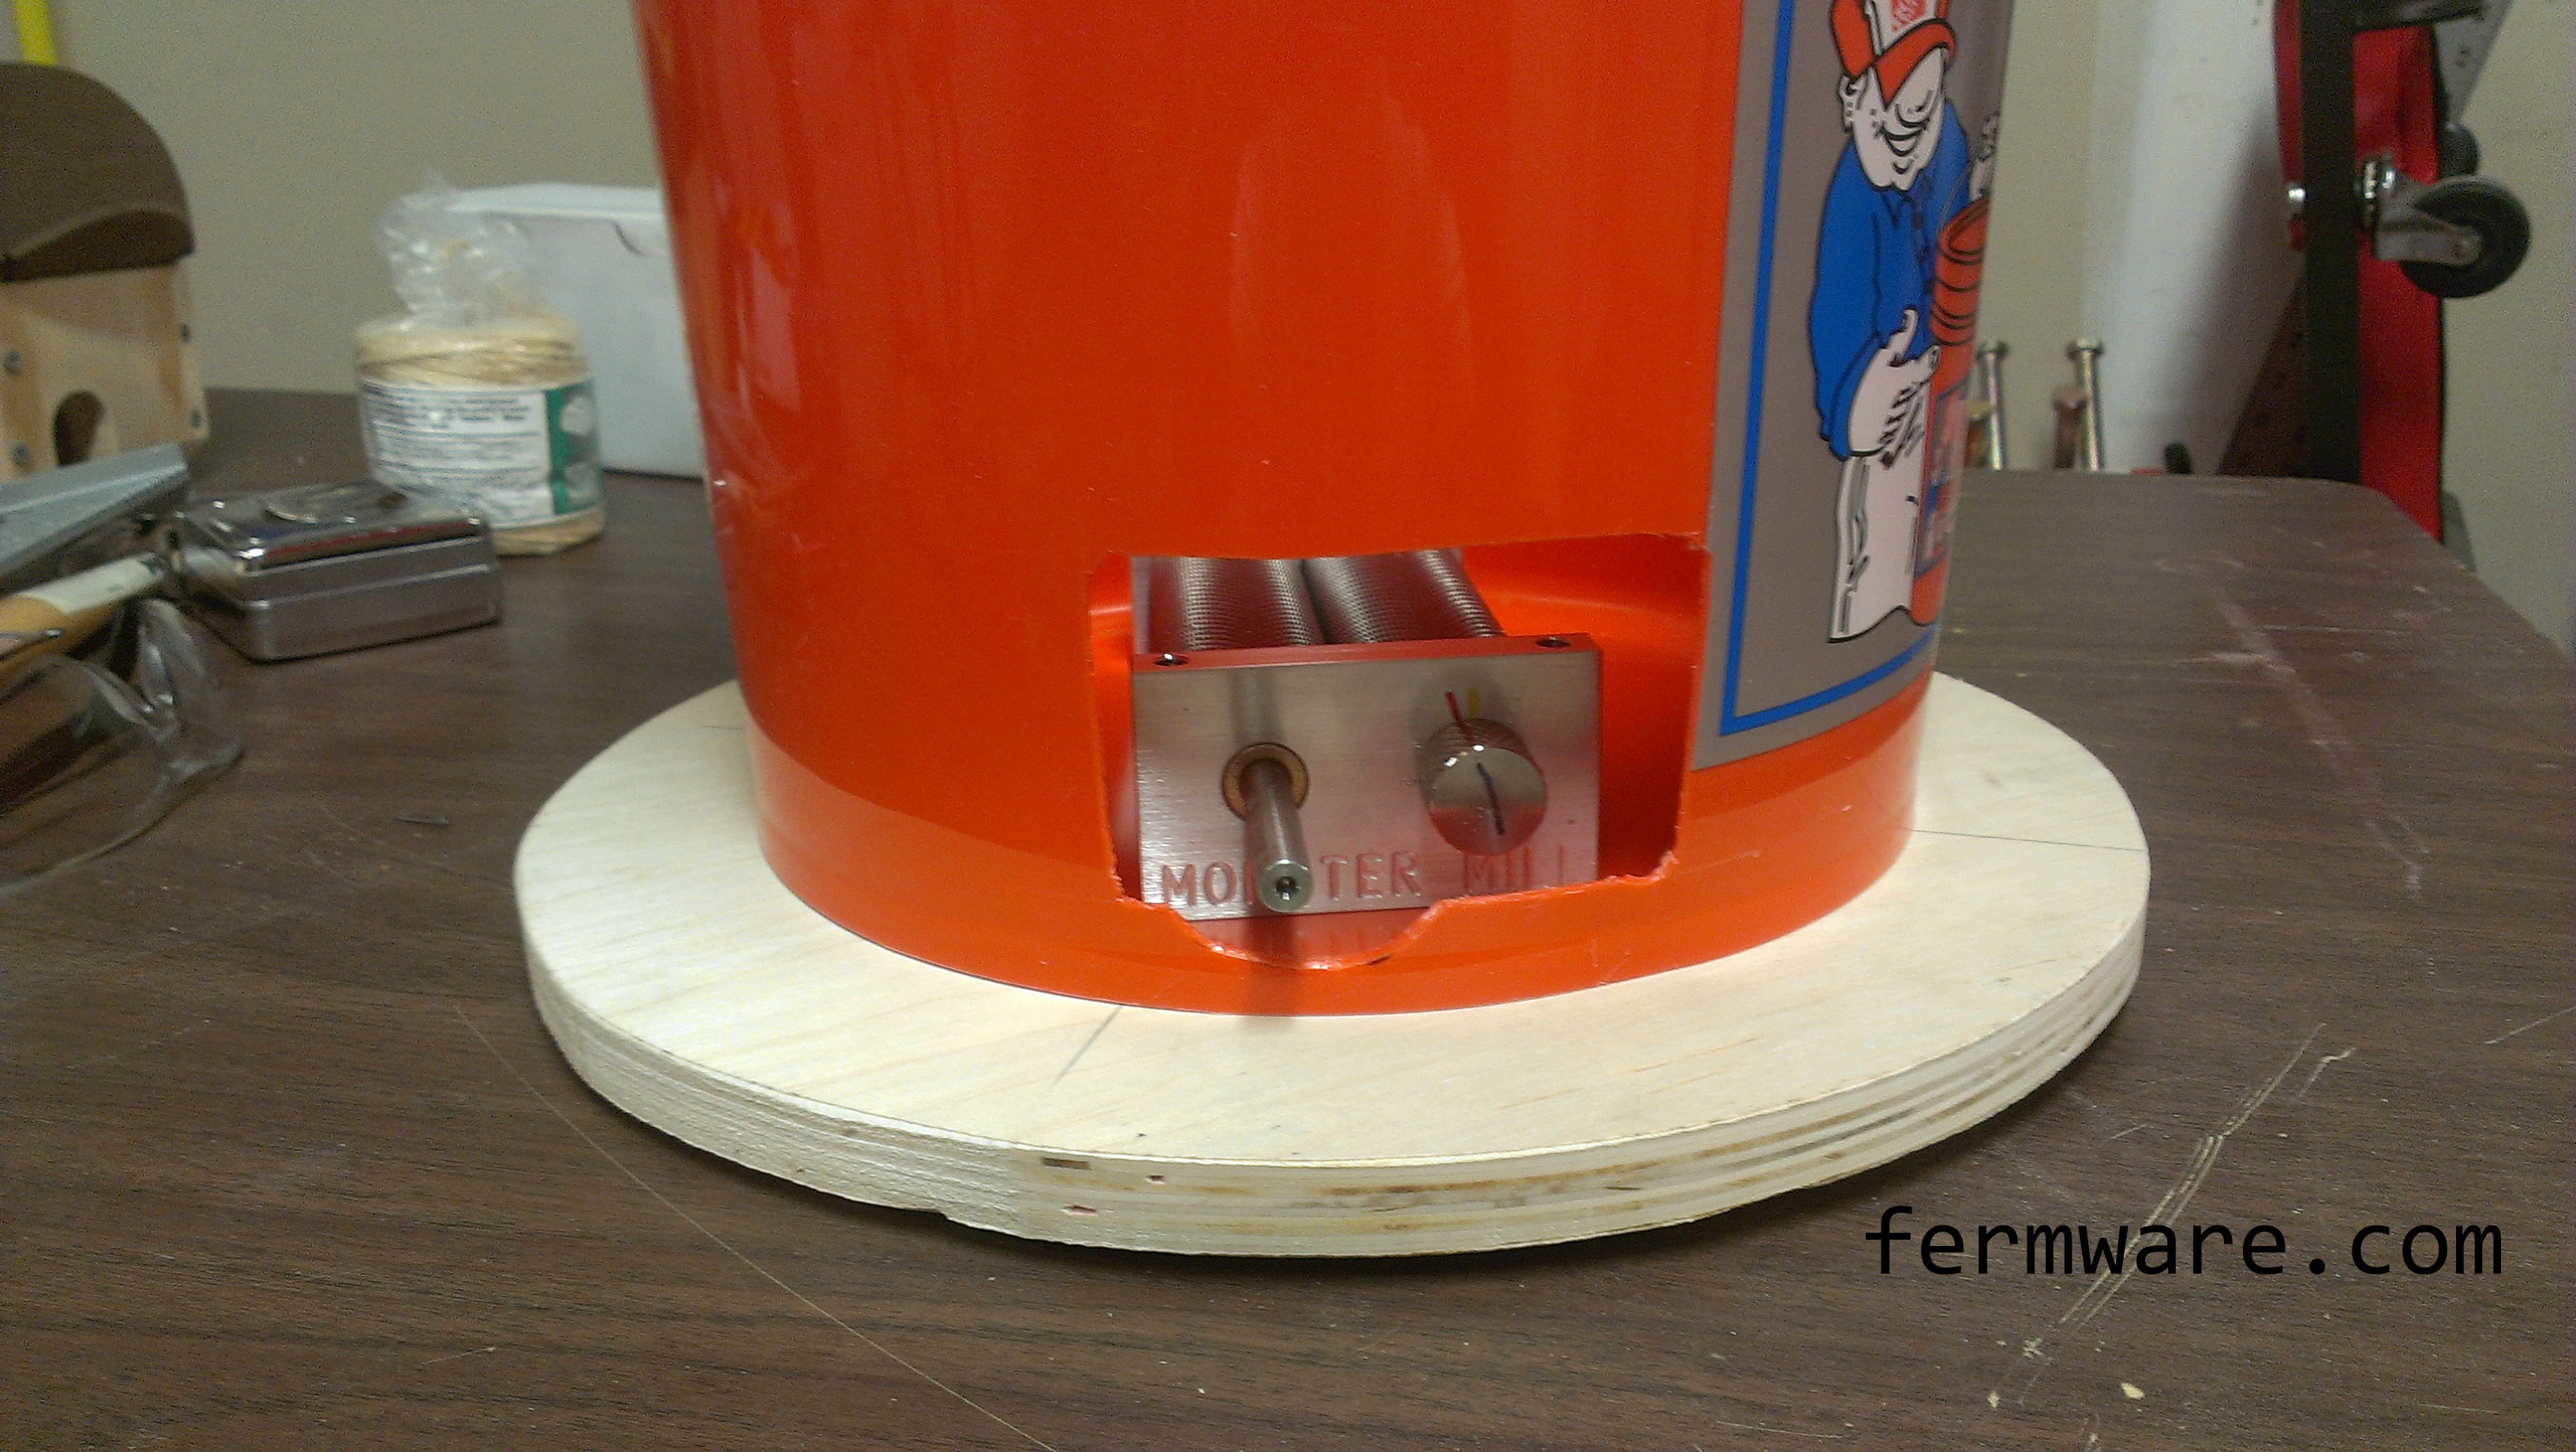
  • Home Depot Homer Bucket (approx $3)
  • You may want a lid, which will set you back another $1-2
  • 5/8″ plywood, big enough for 14″ diameter. You can go thinner or thicker.  Use scrap wood or find a 24″x24″ square for maybe $10 at the hardware store.  I used some nice birch, but only because I had it around.
  • 4x 1/4-20 x 0.75″ length stainless socket head cap screws or hex head
  • 4x washers for 1/4″ bolts ($1-$5 for screws and washers depending on where you shop) *You don’t have to use stainless for the screws or washers, I just got stainless so they didn’t rust while being stored outside in the garage.
  • 2x 1/4-20 x 1/2″ long Cup Point Set Screws (to replace the thumb screws on the Monster Mill).

Recommended Tools:

Router with 7/8″ diameter “straight bit” or “end mill” type bit
Jig saw
Oscillating multi-tool (safer cutting into bucket)
Drill with 3/16″ drill bit
Table saw or circular saw

Of course you are probably pretty thrifty, so review the steps laid out and you may have a preference for another tool to get each task done!

Discussion:

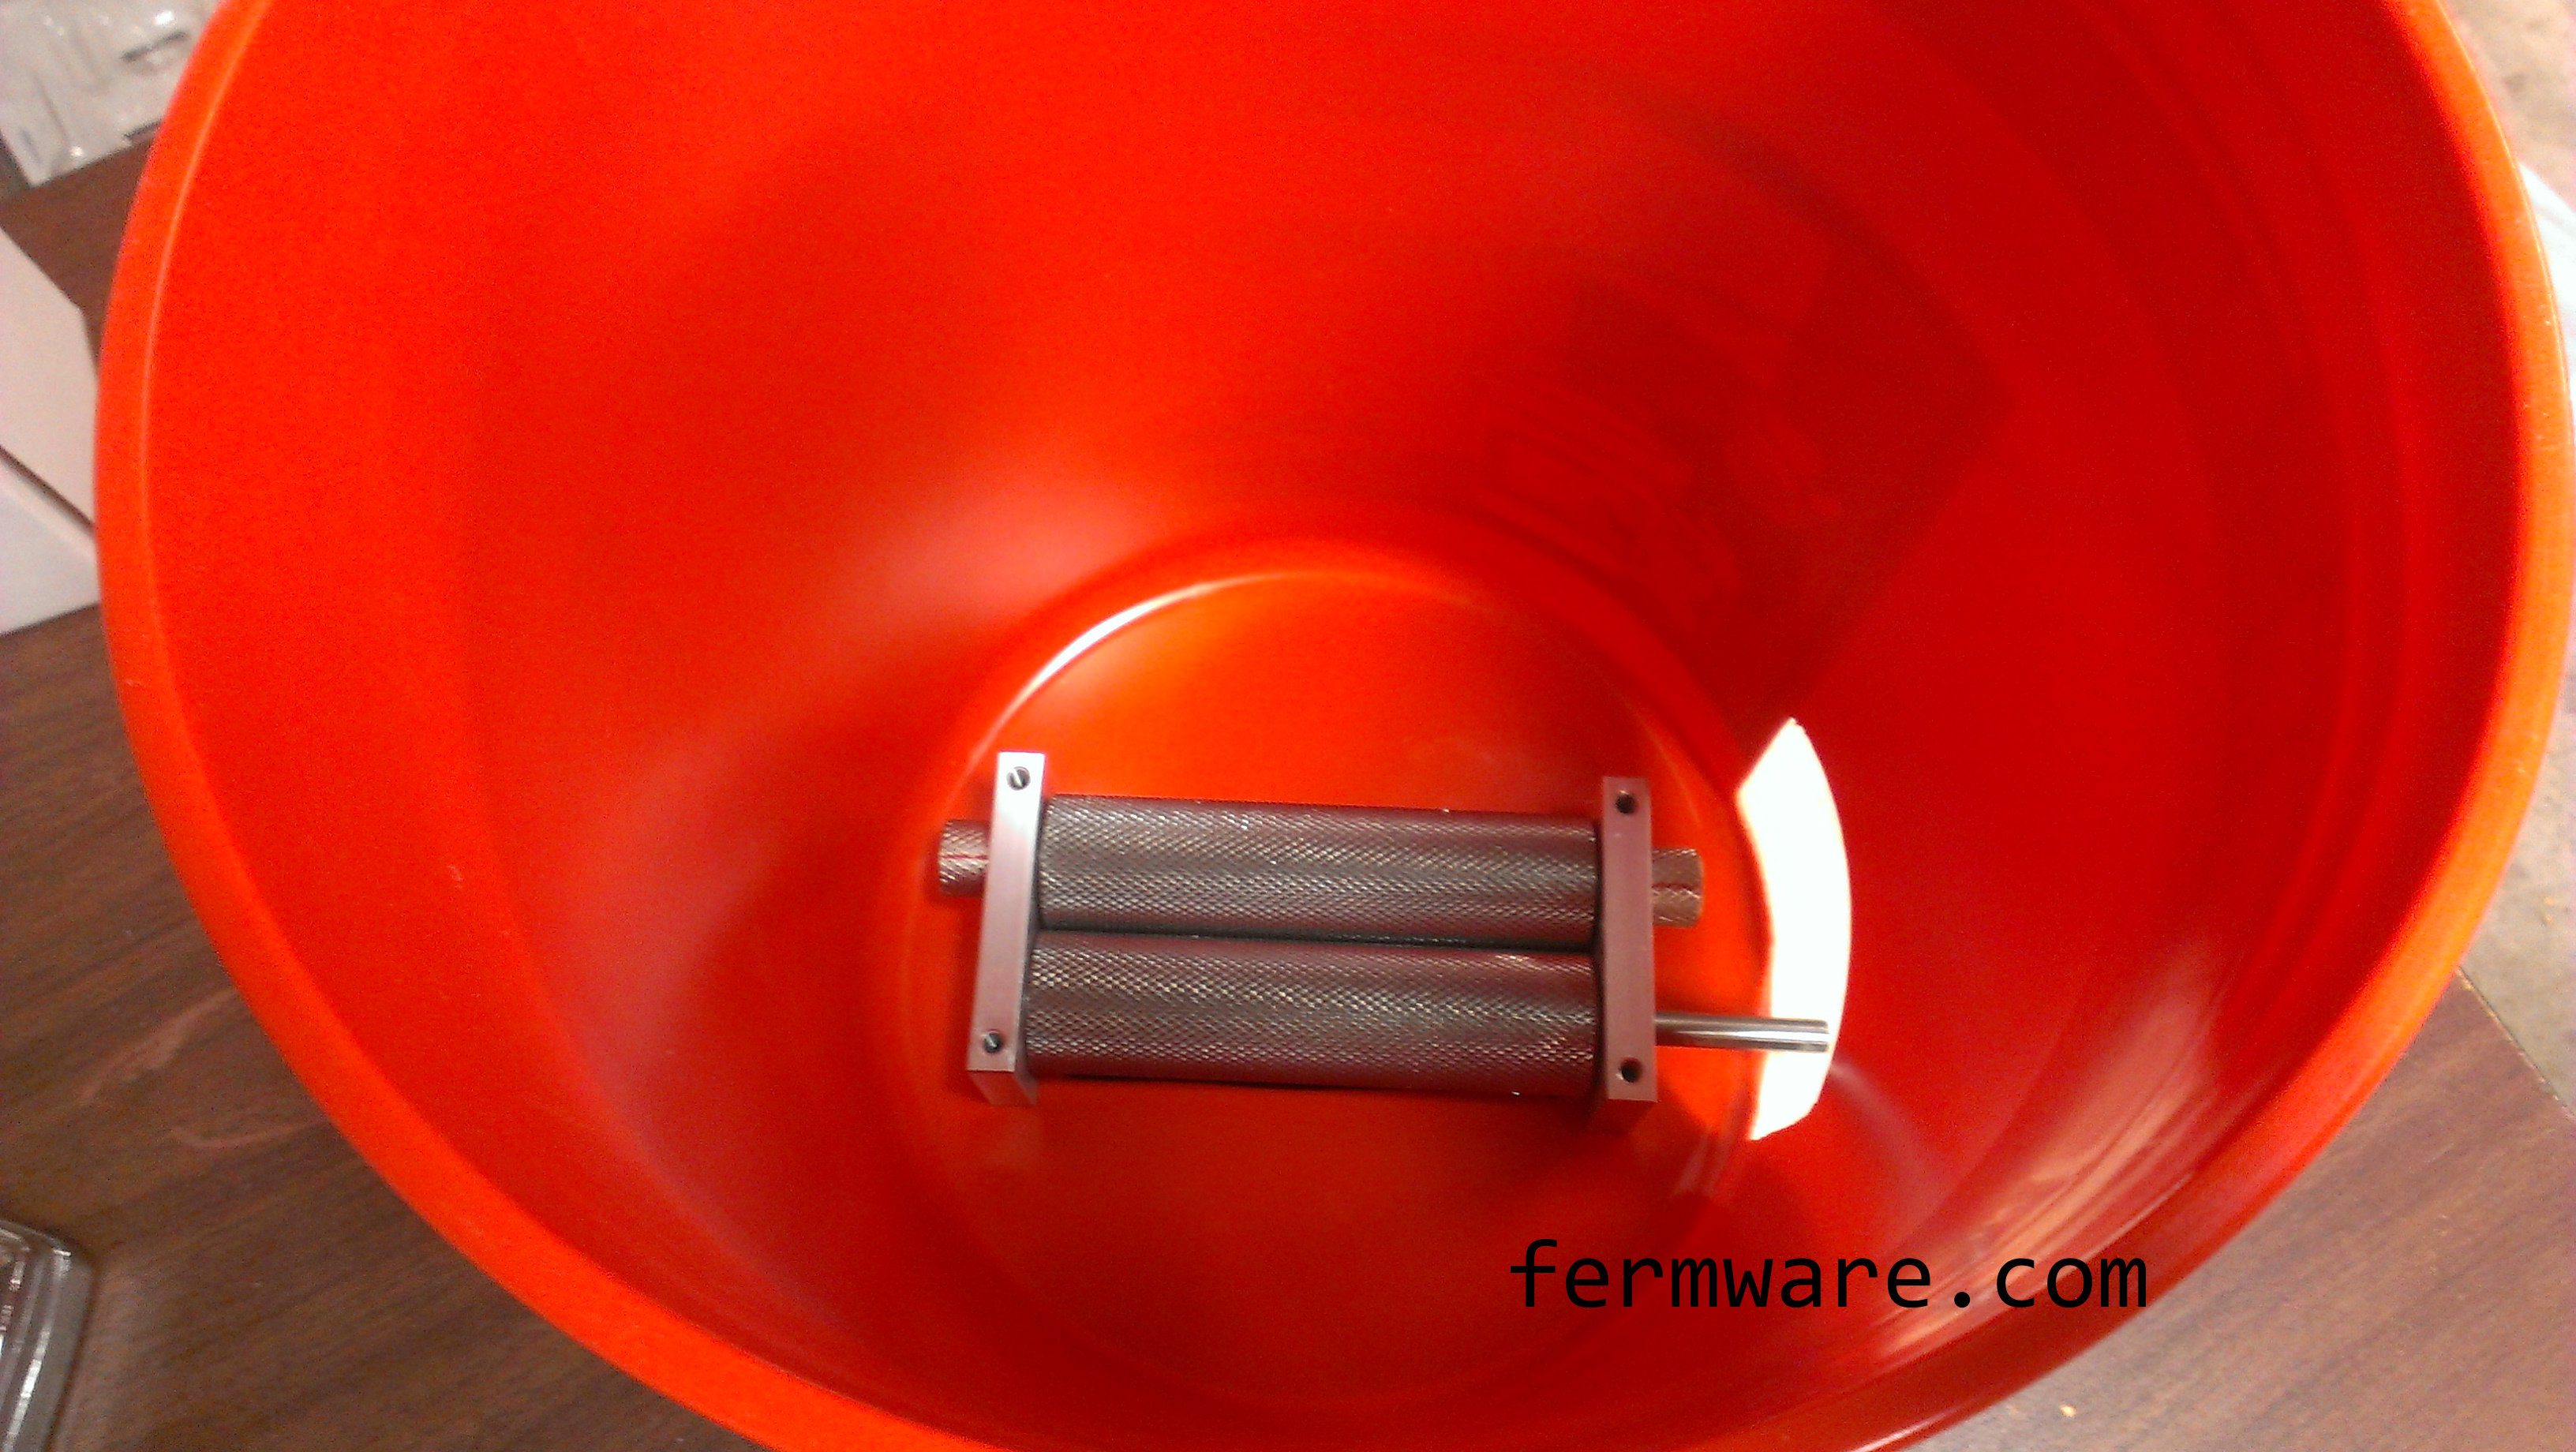
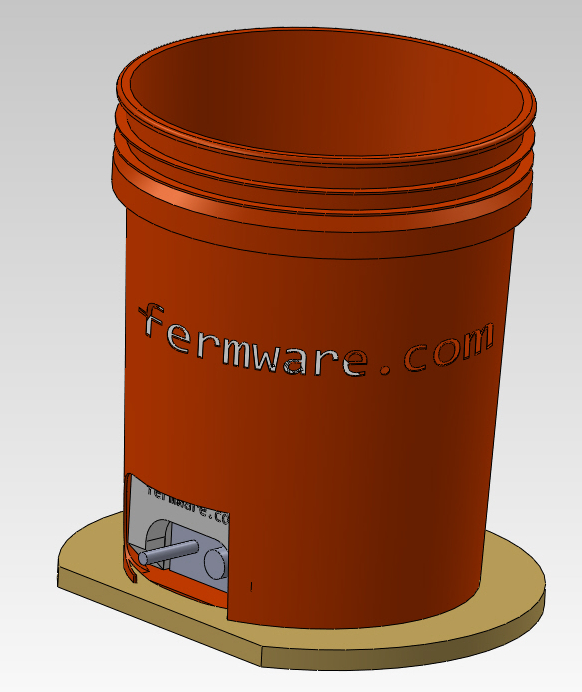
This is a guide to my hopper design using the Monster Mill MM-2 and an Home Depot orange Homer’s bucket.  The MM-2 is a great mill, but I did make a few easy modifications that I’ll cover in another post**.  This concept could be applied to other mills, but the design would obviously change a little.

I thought I could cover this project in just one post, but it has become clear that it will be a multi-post instruction guide.  I will keep this as the master post to keep modifying and add links to the subsequent posts as they are available.  The final post will include a package of downloadable CAD files that can be printed and used as cut-out templates.

**Please note: Monster Brewing now has a version 2.0 of the MM-2 that partially addresses some of the modifications that I had made to mine.   If you don’t have version 2.0, you’ll want to replace the thumb screws with the set screws I mentioned in the components.

Here are the advantages of this hopper:

  • Uses a commonly available bucket
  • When you are done, you can put a lid on the bucket and have it all self-contained
  • Low dust design while milling
  • Design utilizes the entire roller area, instead of just a small section like with funnel based hoppers
  • With the mill inside the bucket, it allows the bucket to sit flat and gives more stability
  • Allows for using a power drill to drive it
  • Holds an entire grain bill for most 5 gallon batches (19-20 lbs)
  • Mills that grain in just under 2 minutes*
  • Low cost
  • No shaking involved to get grain to rollers

How it works:

  1. Get a fermenting bucket or another HD/Lowe’s bucket as the receiving bucket
  2. put a bag liner into the bucket (reference post: Fermentation Bucket Liners)
  3. Place hopper assembly on top of the bucket and connect your drill*
  4. Pour grain into the hopper and get milling
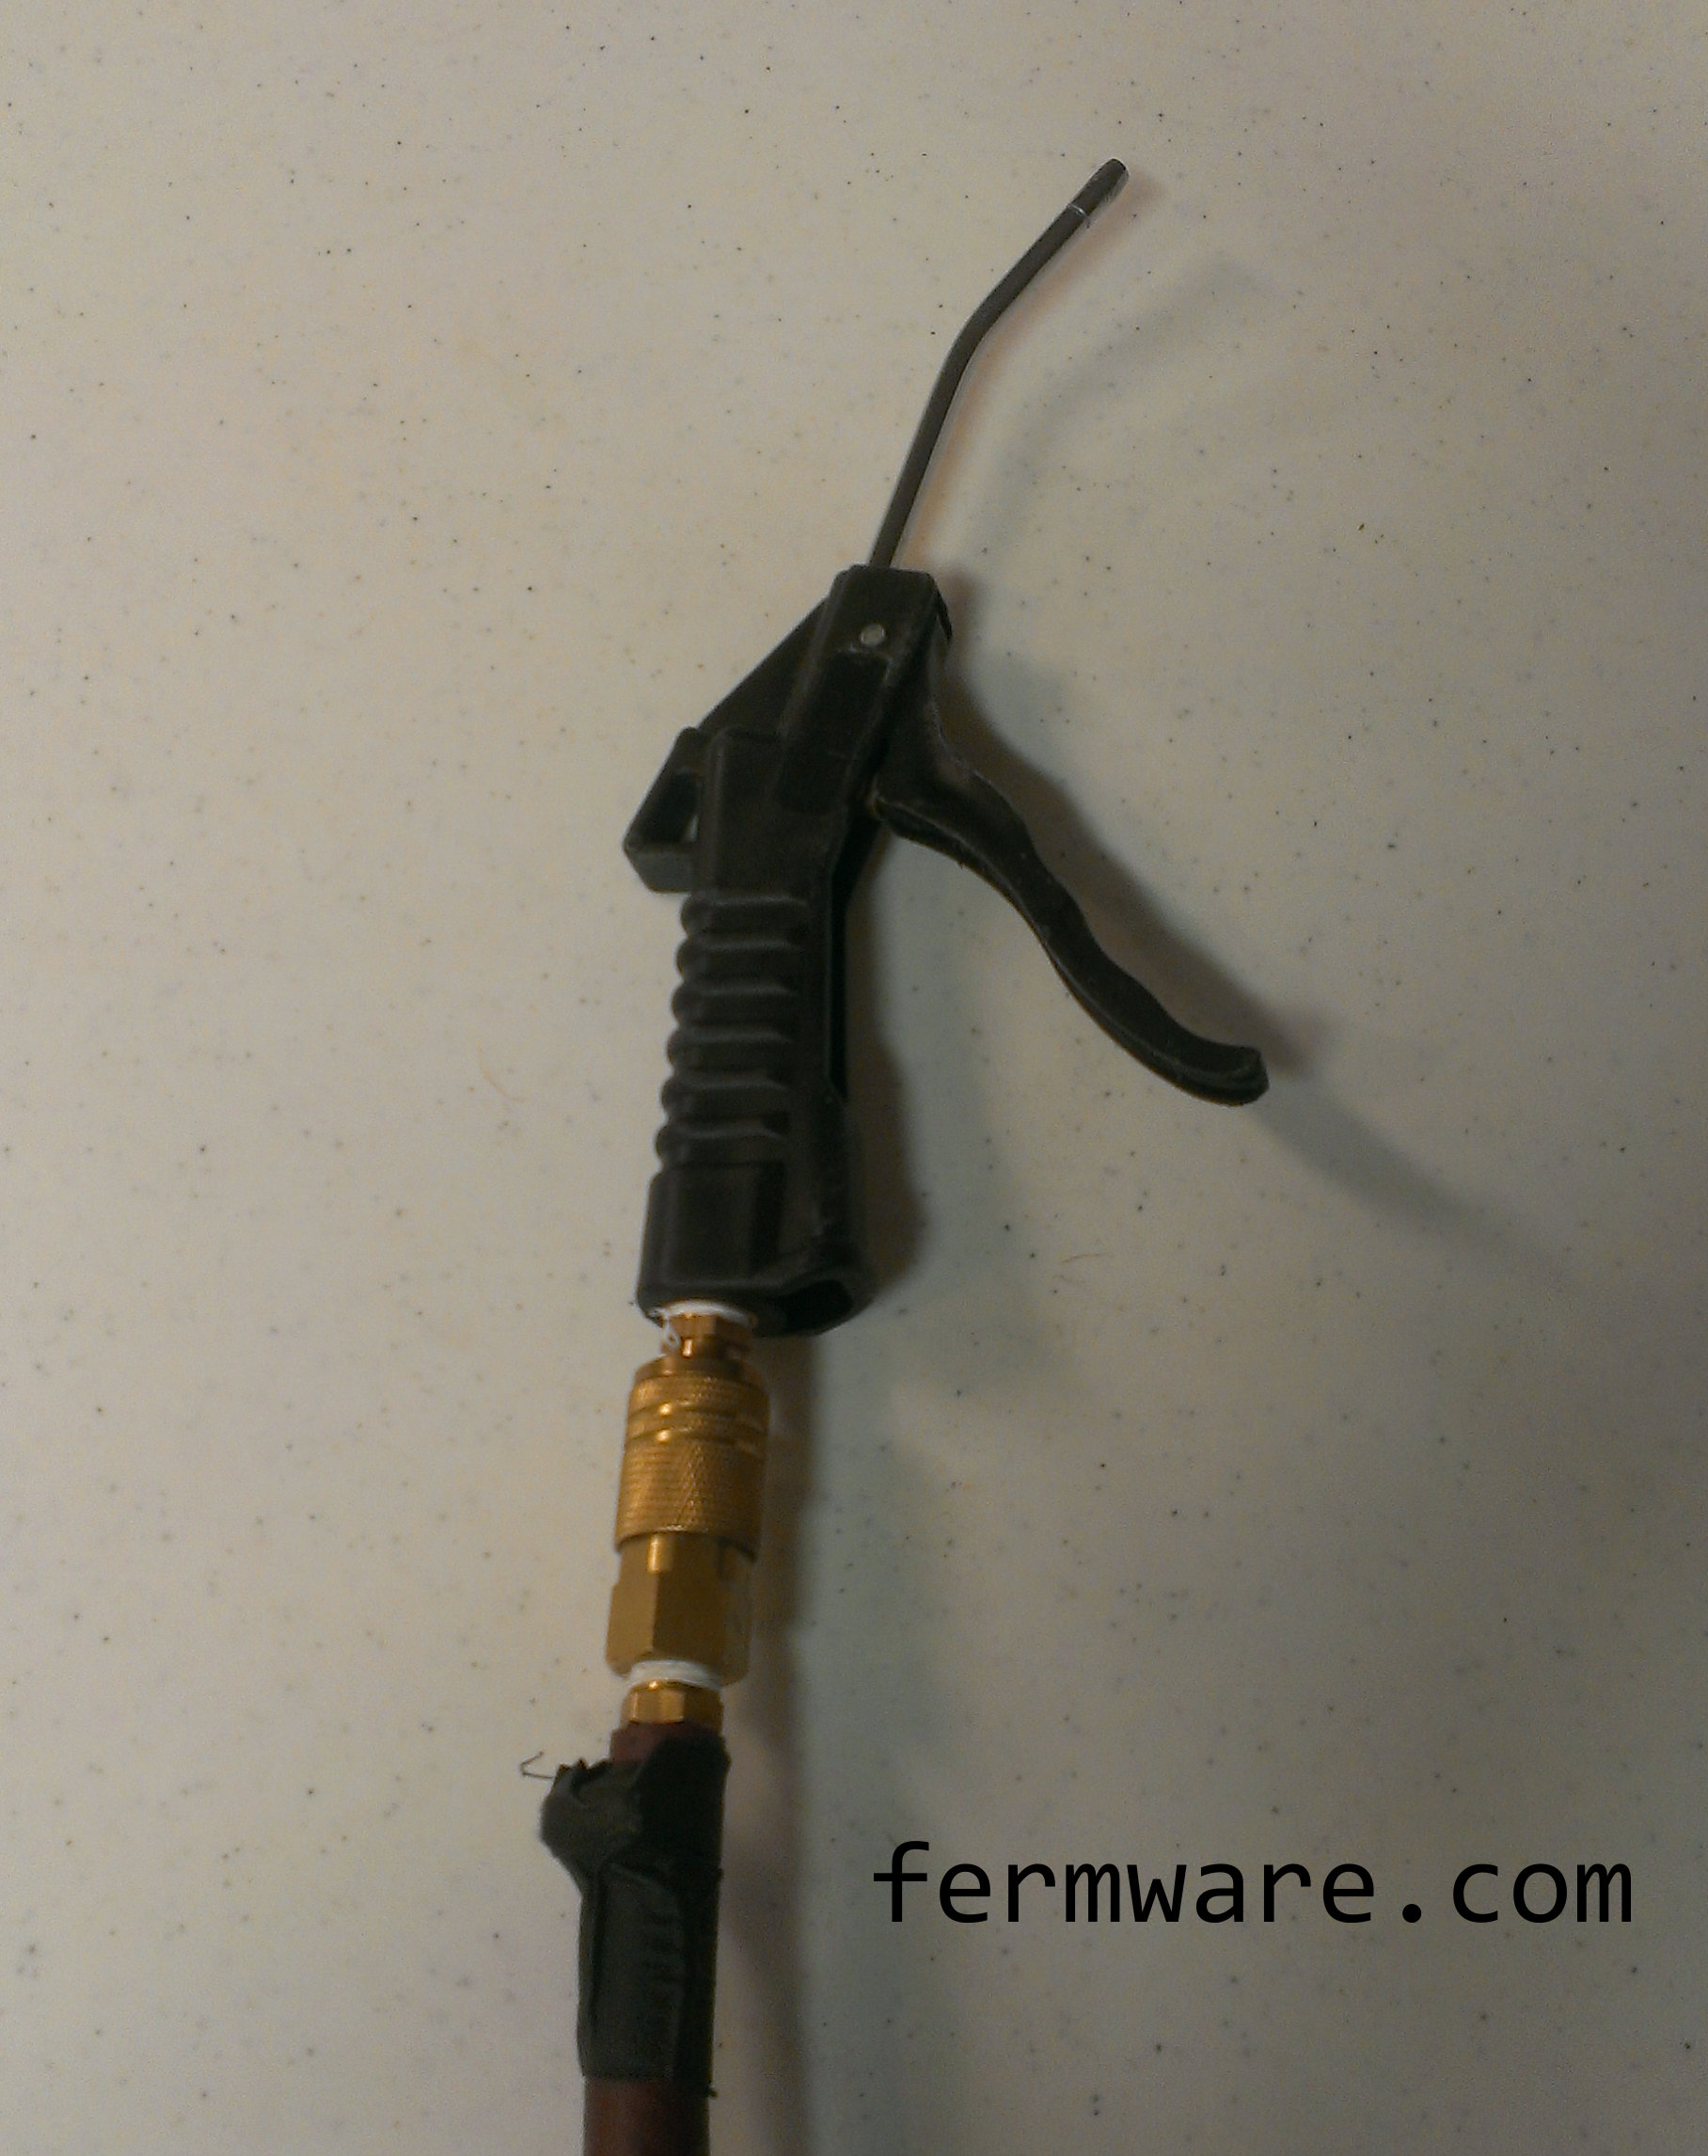
  5. For clean up, I usually just use my shop air and blow all of the dust and uncrushed grain out.  OUTSIDE OF COURSE!  AND CLOSE YOUR EYES!
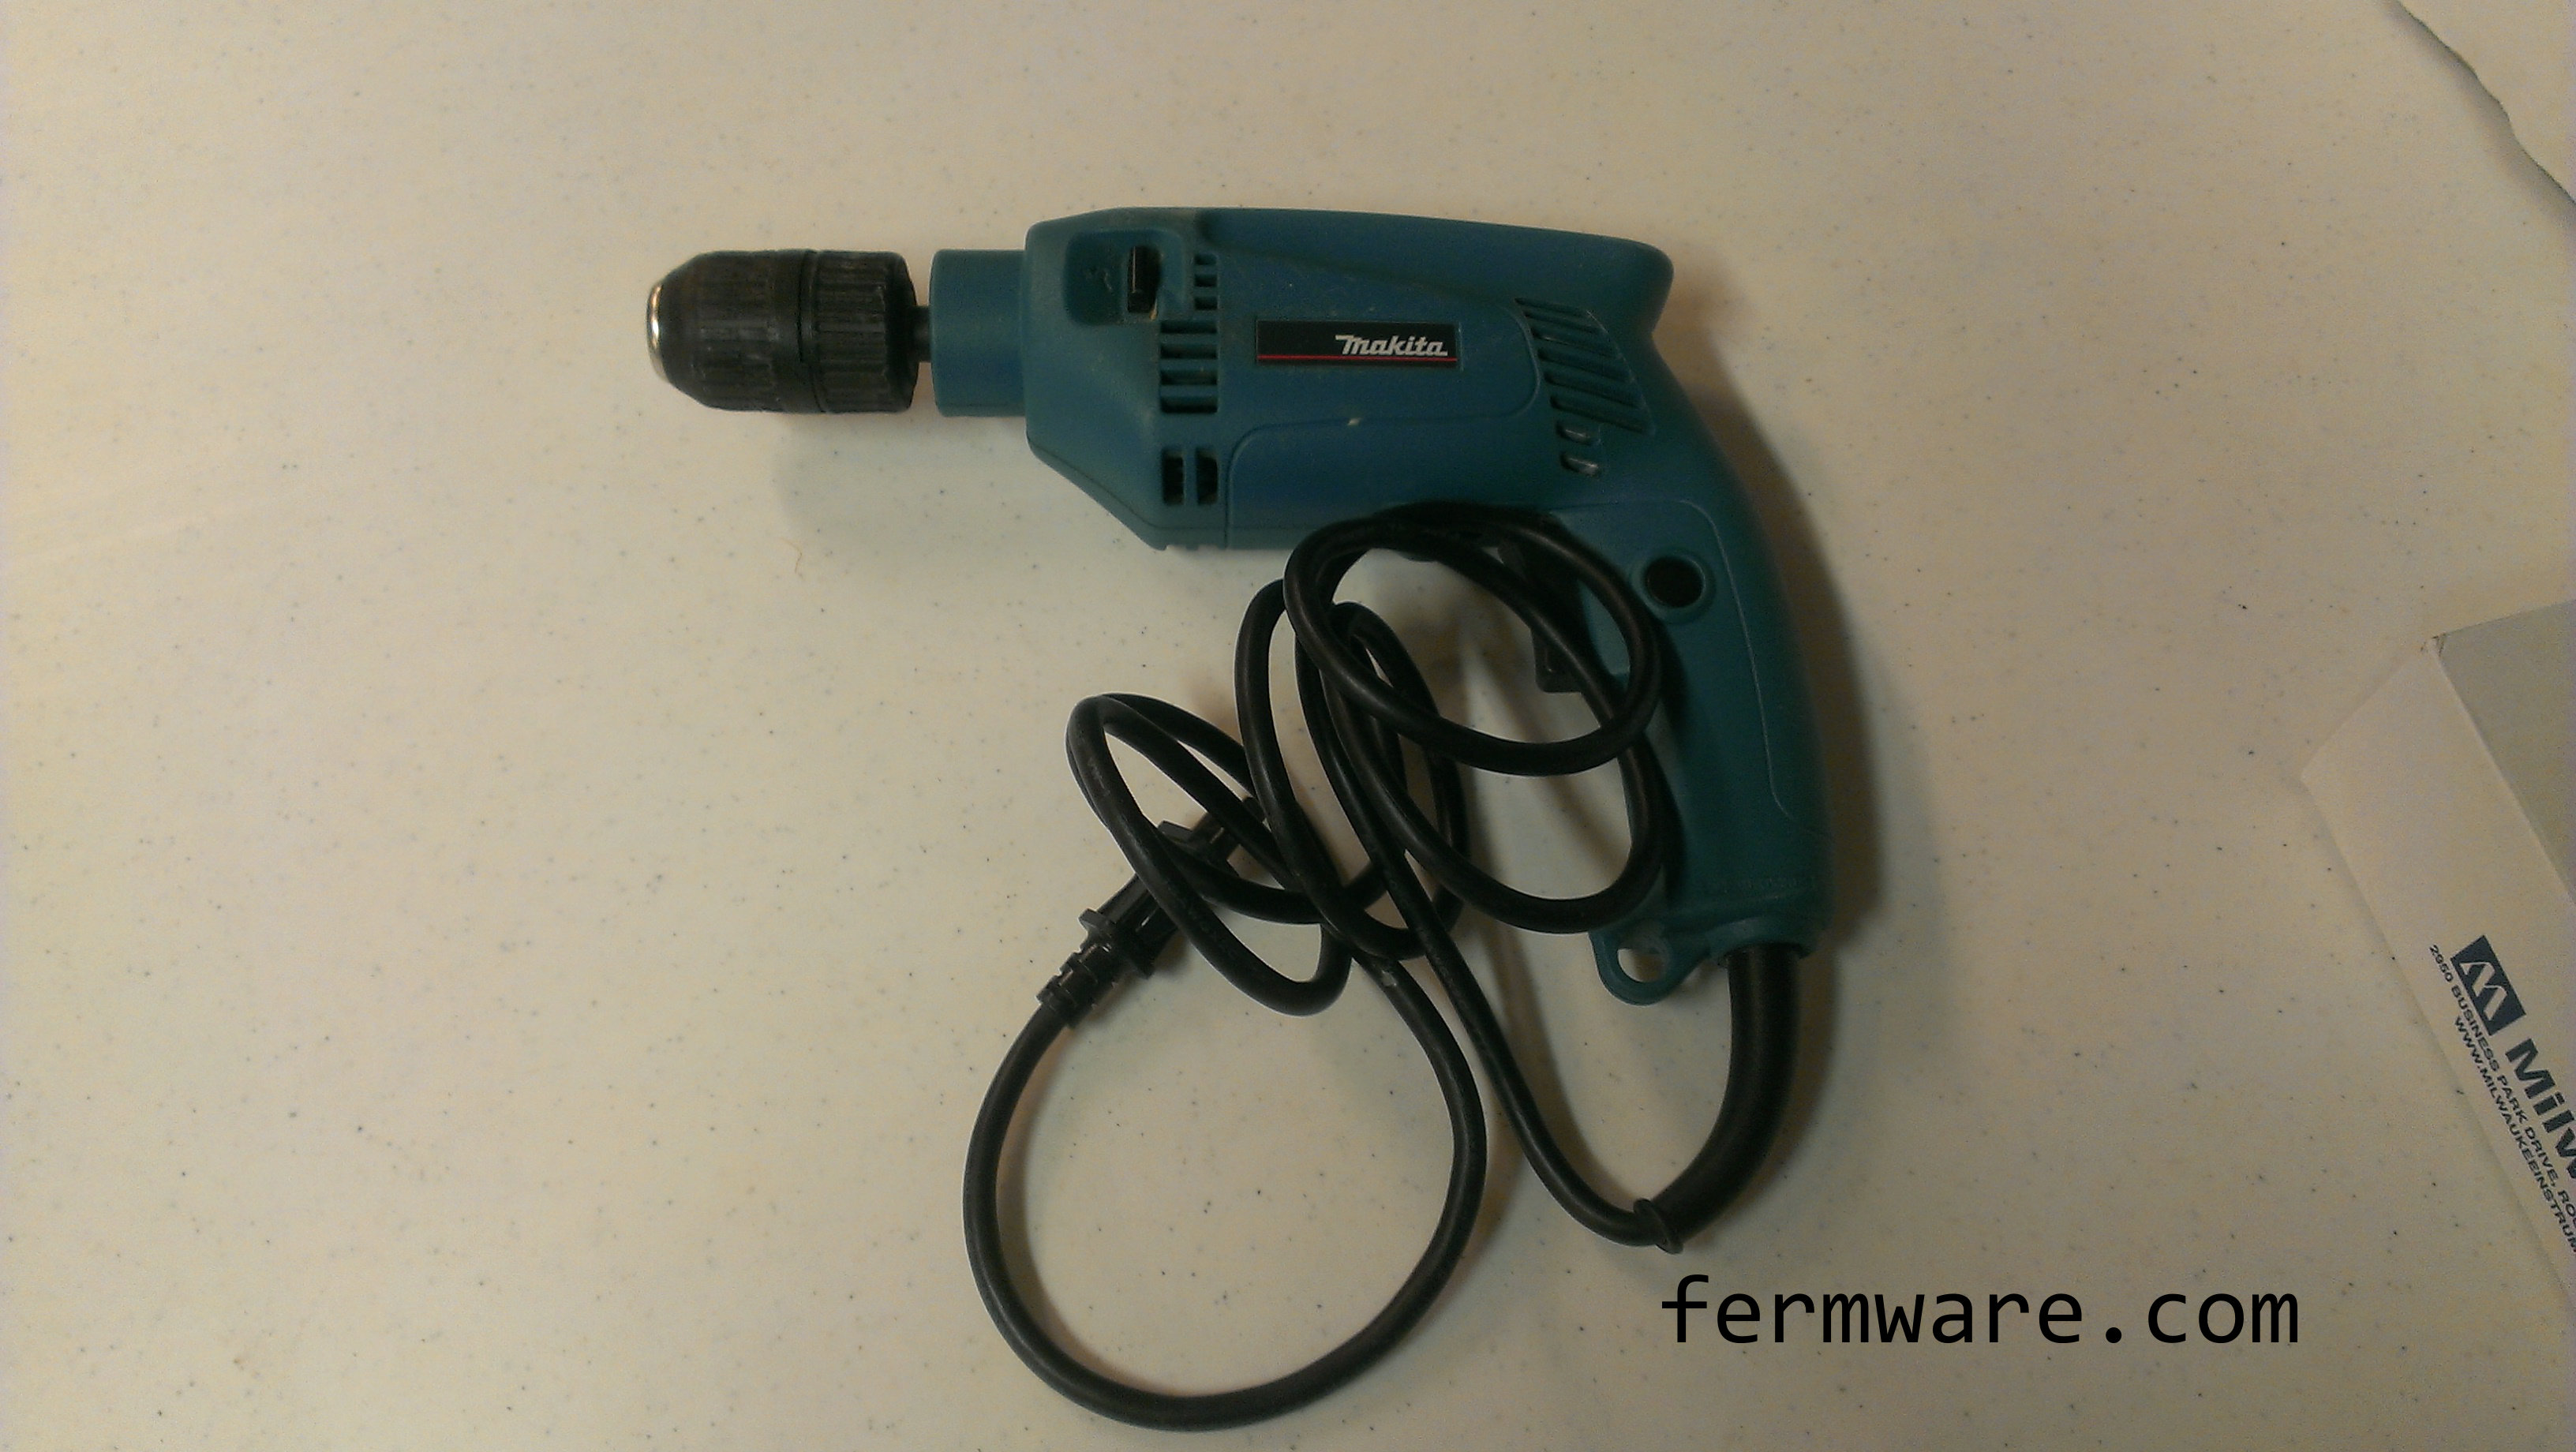
007a-Homer Hopper - grain dust 007a-Homer Hopper - Air Nozzle

*Drill Power:

I personally chose a corded drill due to the higher torque they generally have.  My only corded drill however was a Makita hammer drill and it is definitely overkill, but I used it on normal drill mode.  DO NOT USE HAMMER DRILL MODE!  The speed of this drill is pretty fast, so when I mill, I pretty much have to modulate it to the lowest speed possible.  I can’t tell you exactly what that speed is in RPM, but it is the slowest I can go without stalling the motor.

007a-Homer Hopper - Makita HP1501 Drill007a-Homer Hopper - Makita HP1501 Drill Label

Action Sequence:

Here is my Homer Hopper in action. This particular batch was for my Rye PA and consisted of 17.66 pounds which took 94 seconds (5.3 seconds / pound)

Since I utilize the BIAB technique and don’t have to worry about stuck sparges, I use a smaller gap of 0.035″.

007a-Homer Hopper - Crushed Grain 0.035 inch gap MM2


Cleanup of the hopper is simple.  Especially if you have compressed air.

I’ll be breaking the construction into a few posts:

Introduction (This post)
Part 2: Bucket Modifications
Part 3: Wooden Base
Part 4: Mill Box
Part 5: Hopper Panels
Part 6: Final Assembly
Part 7: CAD Drawings

Thanks for your interest in this project!

All files have a 2″x2″ square on the print so that when you print out on paper, you can measure to make sure your printer was printing to scale and at the correct aspect ratio.

The intention in making these files downloadable and free is for people to make this themselves or modify/improve the design to suit them.

This download is available through the Creative Commons Attribution-Non-Commercial license.

If you are interested in this for commercial purposes (i.e. you want to make money on my effort), I’m flattered, but please contact me first.

Be excellent to everyone!

Click on the download icon to agree to these terms and enjoy!

[wpdm_package id=’781′]


Belgian Candi Sugar and Silicone Baking Mats

DIY Candi Sugar Made Easy

Difficulty: level_2

Time Required:

one to two hours, depending on how dark you plan to make your candi sugar

Background:

If you are planning on making a potent Belgian beer such as a Dubbel, Tripel or a Home Run (just kidding!), you are going to need Belgian Candi Sugar. If you have already purchased some, you know that it can make the cost of your batch of beer skyrocket. It typically runs about $6/lb! My Tripel recipe uses a modest 3 lb. You can however make your own Belgian Candi Sugar at home with just a few simple things, some time and some regular table sugar that you can get for about $2.50/4 lb. bag ($0.63/lb).  As I write this Christmas season is just around the corner and thus the reason I’m preparing some candi sugar.  I’m preparing to brew one of my favorite and most interesting beers I’ve ever had.  It is based on a Northern Brewer recipe Saison de Noel.  Mine is identical, but I use homemade dark candi sugar instead of the candi syrup.  If you want the quick instructions, just read the headings.

Oh, and this recipe could be used to create windows for a gingerbread house too!

Affiliate Links

Equipment / Ingredients Required:

  • Table Sugar (1 lb. sugar yields approximately 1 lb. candi sugar)
  • Lemon Juice (addition of approximately 1 tsp. / lb.)
    • Used to “invert” the sugar
  • Candy thermometer
    • This one had the best reviews.  They indicated that the temperature markings would come off of others
    • I like the coded indicators for different crack temperatures
    • These are good, because they keep the bulb off of the bottom of the pot, which will help to prevent false readings
  • Silicone baking mat (Trust me, this is the best way to do it)
    • Less expensive that actual Silpat brand
    • Fit our inventory of baking pans better
    • We’ve had ours for almost a year now and they get used often.  Still no staining or degradation in the material.
    • My wife is a great baker, so this was an easy sell on why we “needed” them
  • SRM color chart (for consistency)

Why I recommend the silicone mats?  Past fails…

  • Non-stick baking pan
    • Yes, they are non-stick, as long as it isn’t Candi Sugar you are making on them
    • You can warp the baking sheet to pop it off, but quite a bit still sticks.
  • Wax paper
    • Stuck to the hardened Candi Sugar
    • I ended up with bits of wax paper floating in the boil
    • I did catch it with a colander when I poured into my fermenter, but just a pain
  • Foil
    • Still no luck
  • Just learn from my mistakes and buy some silicone mats!

Procedure:


002-Candi Sugar - lemon juice

Get your lemon juice ready

As I mentioned before, you need about 1 tsp. per pound of sugar.  I love using syringes for liquid measurement.  We have 3 kids, and so we’ve got about a bunch of these from all the prescriptions they’ve needed.  I just used lemon juice.  Fresh squeezed or the pre-bottled stuff will work.

002-Candi Sugar - Just Sugar

Pour the sugar into a pot

With candi sugar, you put in a pound of sugar, you pretty much end up with a pound of candi sugar.  I recommend putting in a little extra to account for some sticking to the pot when you pour it and some of it ending up in your mouth when you are done.  It’s so good it tastes like candy!  Oh wait..

002-Candi Sugar - warming up

Add just enough water to saturate the sugar

If you add more water than necessary, it won’t ruin it.  You’ll just be waiting longer for the water to boil off.  You’ll be surprised at how little water you need.

002-Candi Sugar - maintaining temperature

Add lemon juice and warm up to temperature (260-275 degF)

Pour in your lemon juice and you want to warm to between 260-275 degF.  This is right between “Hard Ball” and “Soft Crack”.  It will take a bit of time to get the sugar dissolved and boil the water off.

Maintain temperature for about 20 minutes

Once you get the mixture into the temperature range, you want to dial back the heat on your cooktop.  I took it down to about 4/10 and was able to maintain with just 2 large spoonfuls of room temperature water at a time.  This is just like a boiling kettle, in that if you walk away, you could come back to a mixture that has overheated and made a mess or cooled too much.  I fluctuated through the range, but was averaging about 270 degF throughout the initial 20 minutes and on into the darkening period.

After 20 minutes, keep at temperature and decide how dark you want it to get

Take a sample small spoonful and drop it onto a piece of wax paper to do a color check with your handy dandy SRM chart.  Yes, I know I said not to use wax paper, but it is semi-transparent and if you also put a piece of white paper under it, you will be able to better judge the color.  Now SRM is officially taken through 1 cm of beer and my spoonfuls ended up at about 0.1″ (2.5 mm).  You aren’t measuring an exact SRM, but you are at least establishing a reference for the next time you make the candi sugar that will lead you down the path of repeatability.  The longer you keep at temperature, the darker the candi sugar will be.  Scroll to the bottom to see the results of my experiment of sugar color versus time.

Once you are happy with the color, raise to 300 degF (Hard Crack)

Raise to 300 degF… All you need to do is raise the temperature of the mixture to 300 degF then pour onto your silicone pad lined baking pan.

002-Candi Sugar - ready for sugar

Pour Some Sugar on Me!

Make sure you have a hot pad under the pan or you might do something unintentional with your countertop.  Also, be very careful when pouring.  300 degrees is HOT and you don’t want to burn yourself or splash any all over your nice kitchen.  It is a pain to clean up.

002-Candi Sugar - finished

Let cool

I was making dark candi sugar this time, so it is much darker than you would want in a Tripel.  It also adds some burnt caramel, smokey flavors to your beer.

Clean your equipment immediately

Just like your brewing equipment, it is much much easier to clean right after you are done with it than it is when it has been sitting around for a while.  The candi sugar will harden on everything and be much more difficult to clean off.  You can soak in hot water, but don’t wait for that water to cool.

Break into pieces

Once the candi sugar has cooled completely, simply peel the silicone mat off of the back of the candi sugar sheet.  You can also bend the sheet to help break the candi sugar into smaller pieces.  I typically just break into small enough chunks that it will fit into a gallon plastic storage bag.  Then I just chuck it in the freezer until brew day.

Nerd Alert!level_5

As I was letting the sugar darken, I took a tablespoon every 3-4 minutes in the beginning, then 5 then 10 minutes apart until I got to where I wanted it so that I could come up with some guess on time required for a certain darkness.  I dropped these samples onto a sheet of wax paper laid on top of a plain white sheet of paper on a cooking sheet.  YES, I know I told you not to use wax paper, but these samples were not going to be used for anything but color measurement.  Technically SRM is measured with a specific wavelength of light through 1 cm (0.4″) sample.  I measured the thickness my hardened samples and they measured 0.008″ to 0.012″.


002-Candi Sugar - different levels

There might be some equations out there to scale one thickness sample to the equivalent for SRM measurement.  So my measurements, although not actual SRM, are good enough for me to be able to repeat a certain darkness based on time or spot checking the value to my SRM color chart.  Below is a chart of “SRM” versus total cook time at 270 degF of my samples.

Plot of “SRM’ versus time (Your times may vary)

002-Candi Sugar - SRM vs Time

Source Data

002-Candi Sugar - SRM vs Time source data