We all know the importance of temperature on fermentation. However, often when we put temperature controllers on our fermentation chambers, we only need to worry about cooling. In this post I’m going to show you how to make a simple compact heater for your fermentation chamber.
Difficulty: 
This is a fairly easy project. It just requires some empty food cans, a small light socket and some lamp cord. It should also not take any longer than 30 minutes once you have collected all of the parts. The main cost for this project was the light bulb base, which was only about $5 and whatever you need to spend on bulbs. The remainder are tools and components you can source from around your home.
Background:
Up until now, I’ve only used my fermentation chambers for lagers and since everything inside my house, I’ve only needed to cool. Well this WAS ok until I needed to do an ale and my fermentation area in the basement only peaks at a cool 60 degF.
I also use converted dorm fridges and didn’t have space for a full size light bulb fixture and didn’t want to bother with the heating pad type heaters.
Necessity is the mother of invention…
Affiliate Links
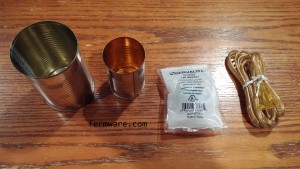
Materials / Parts Needed:
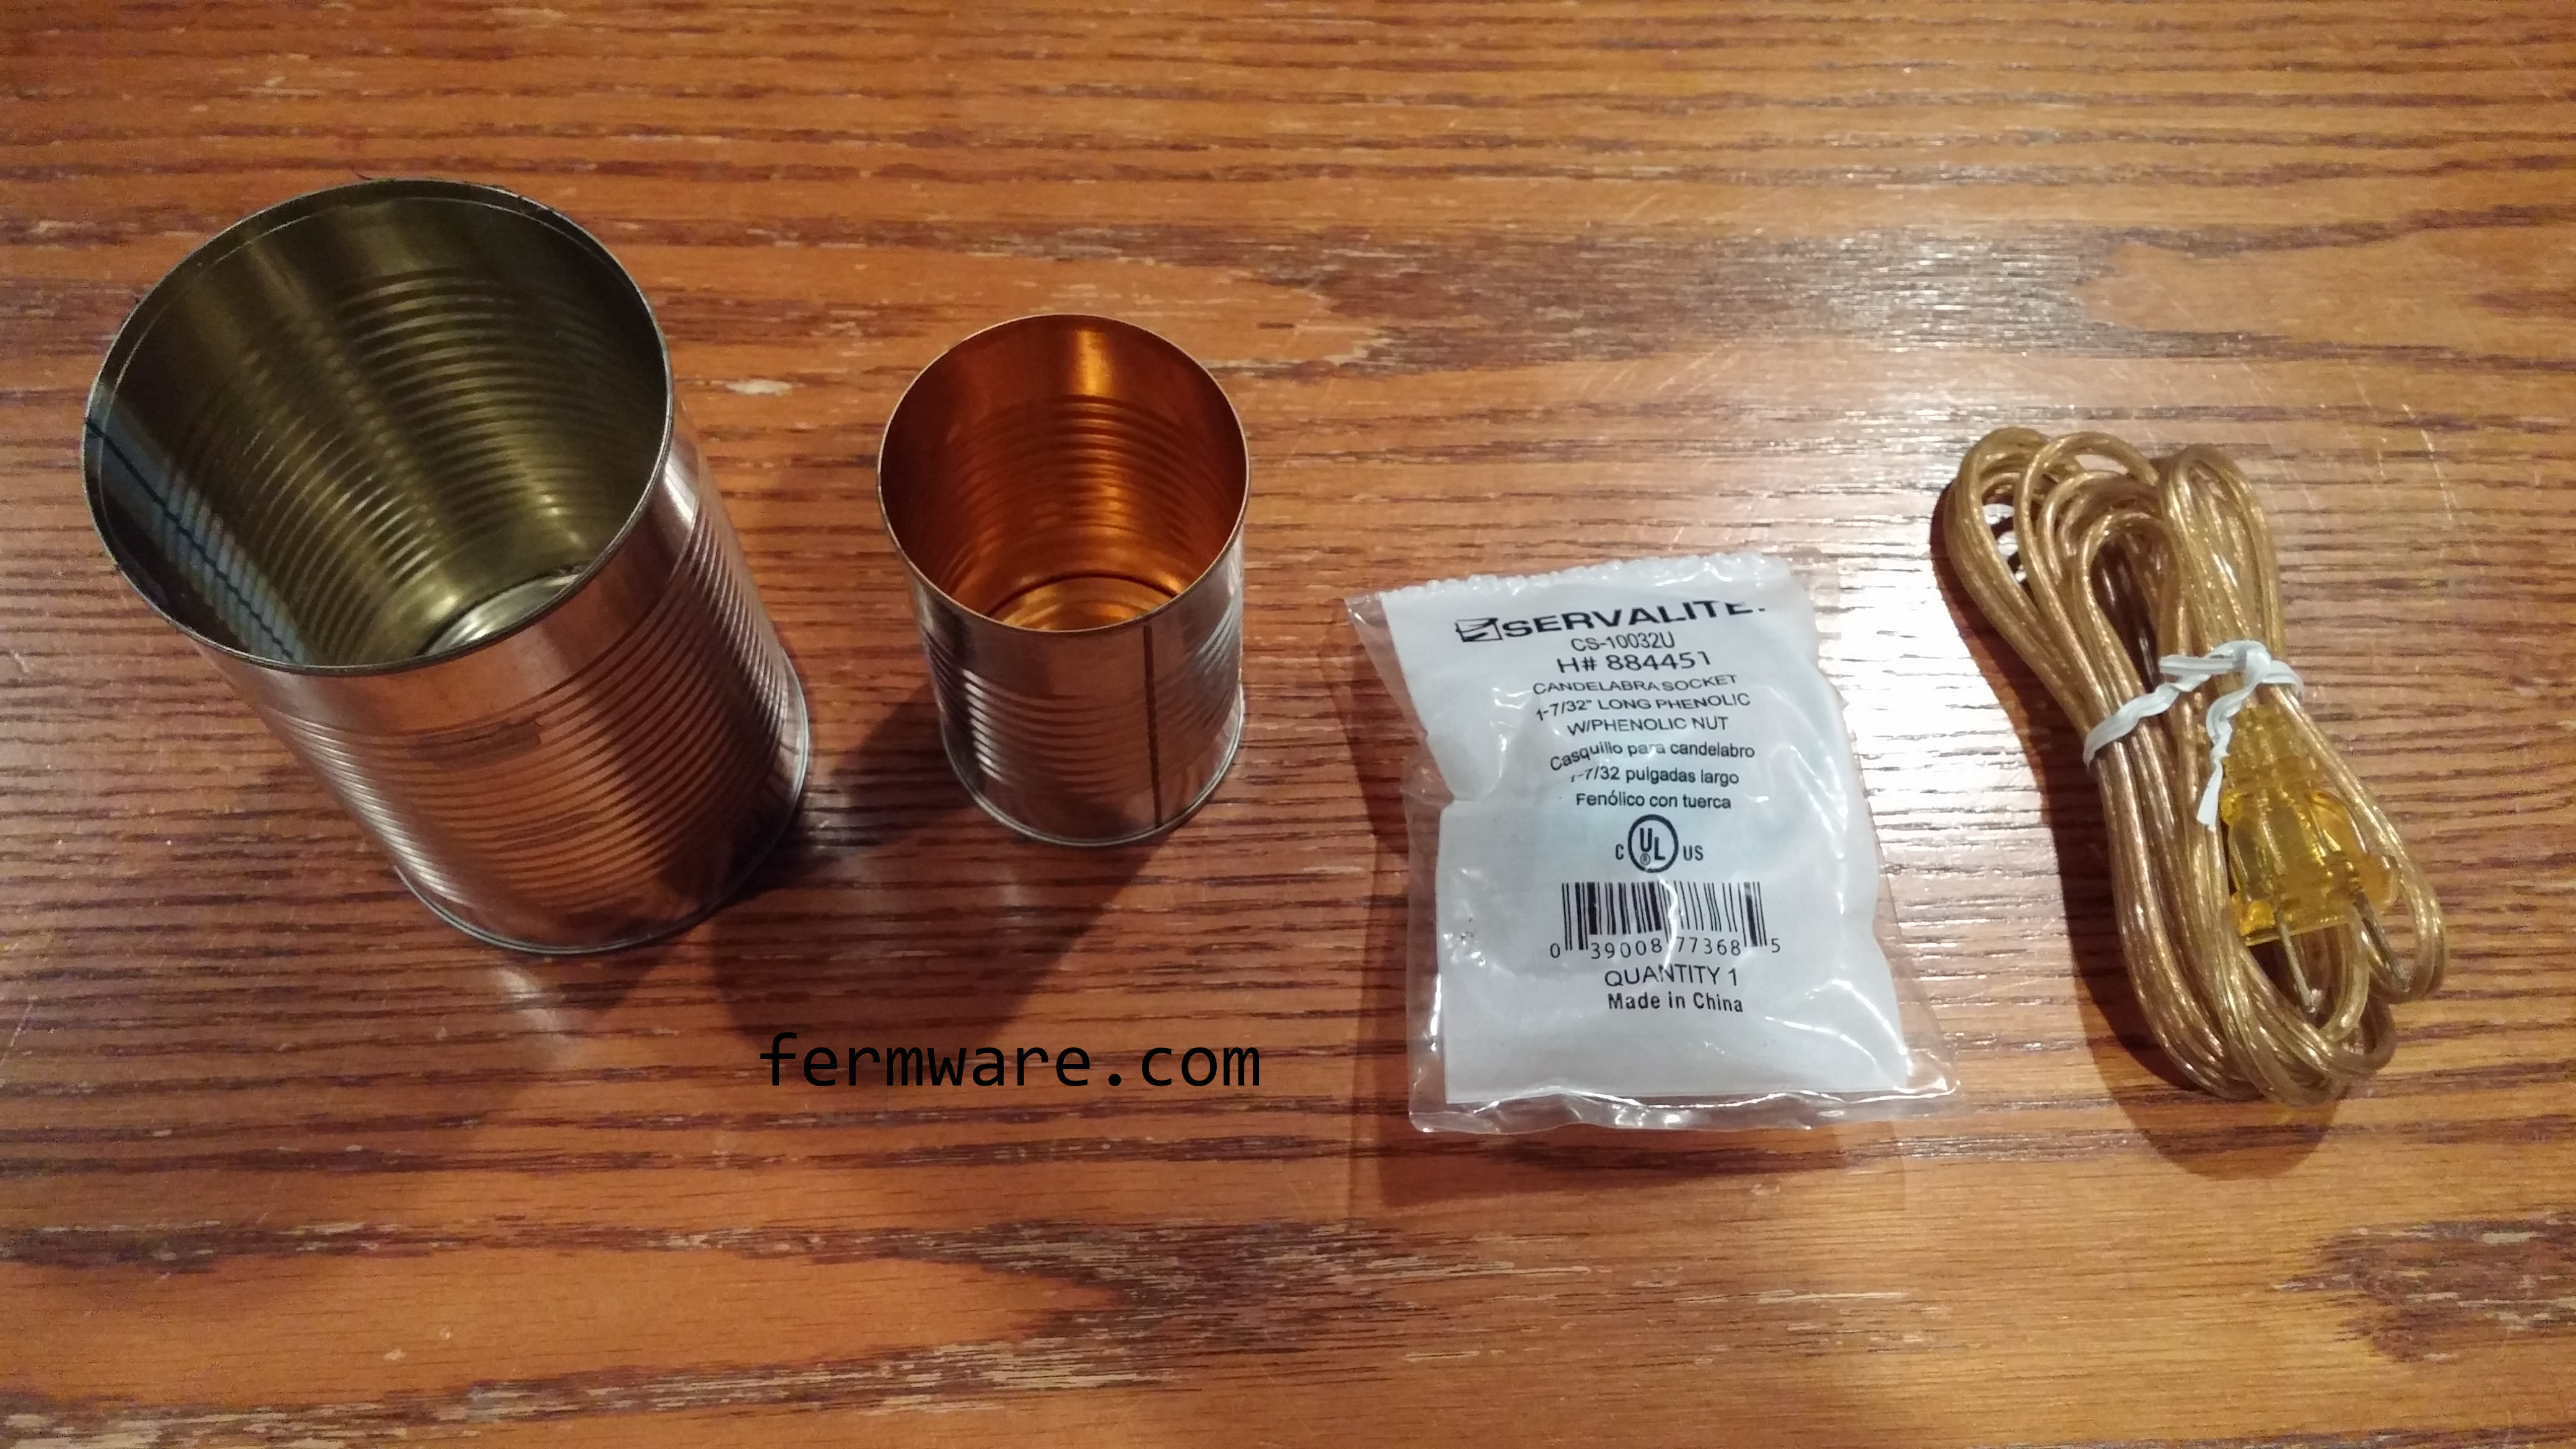
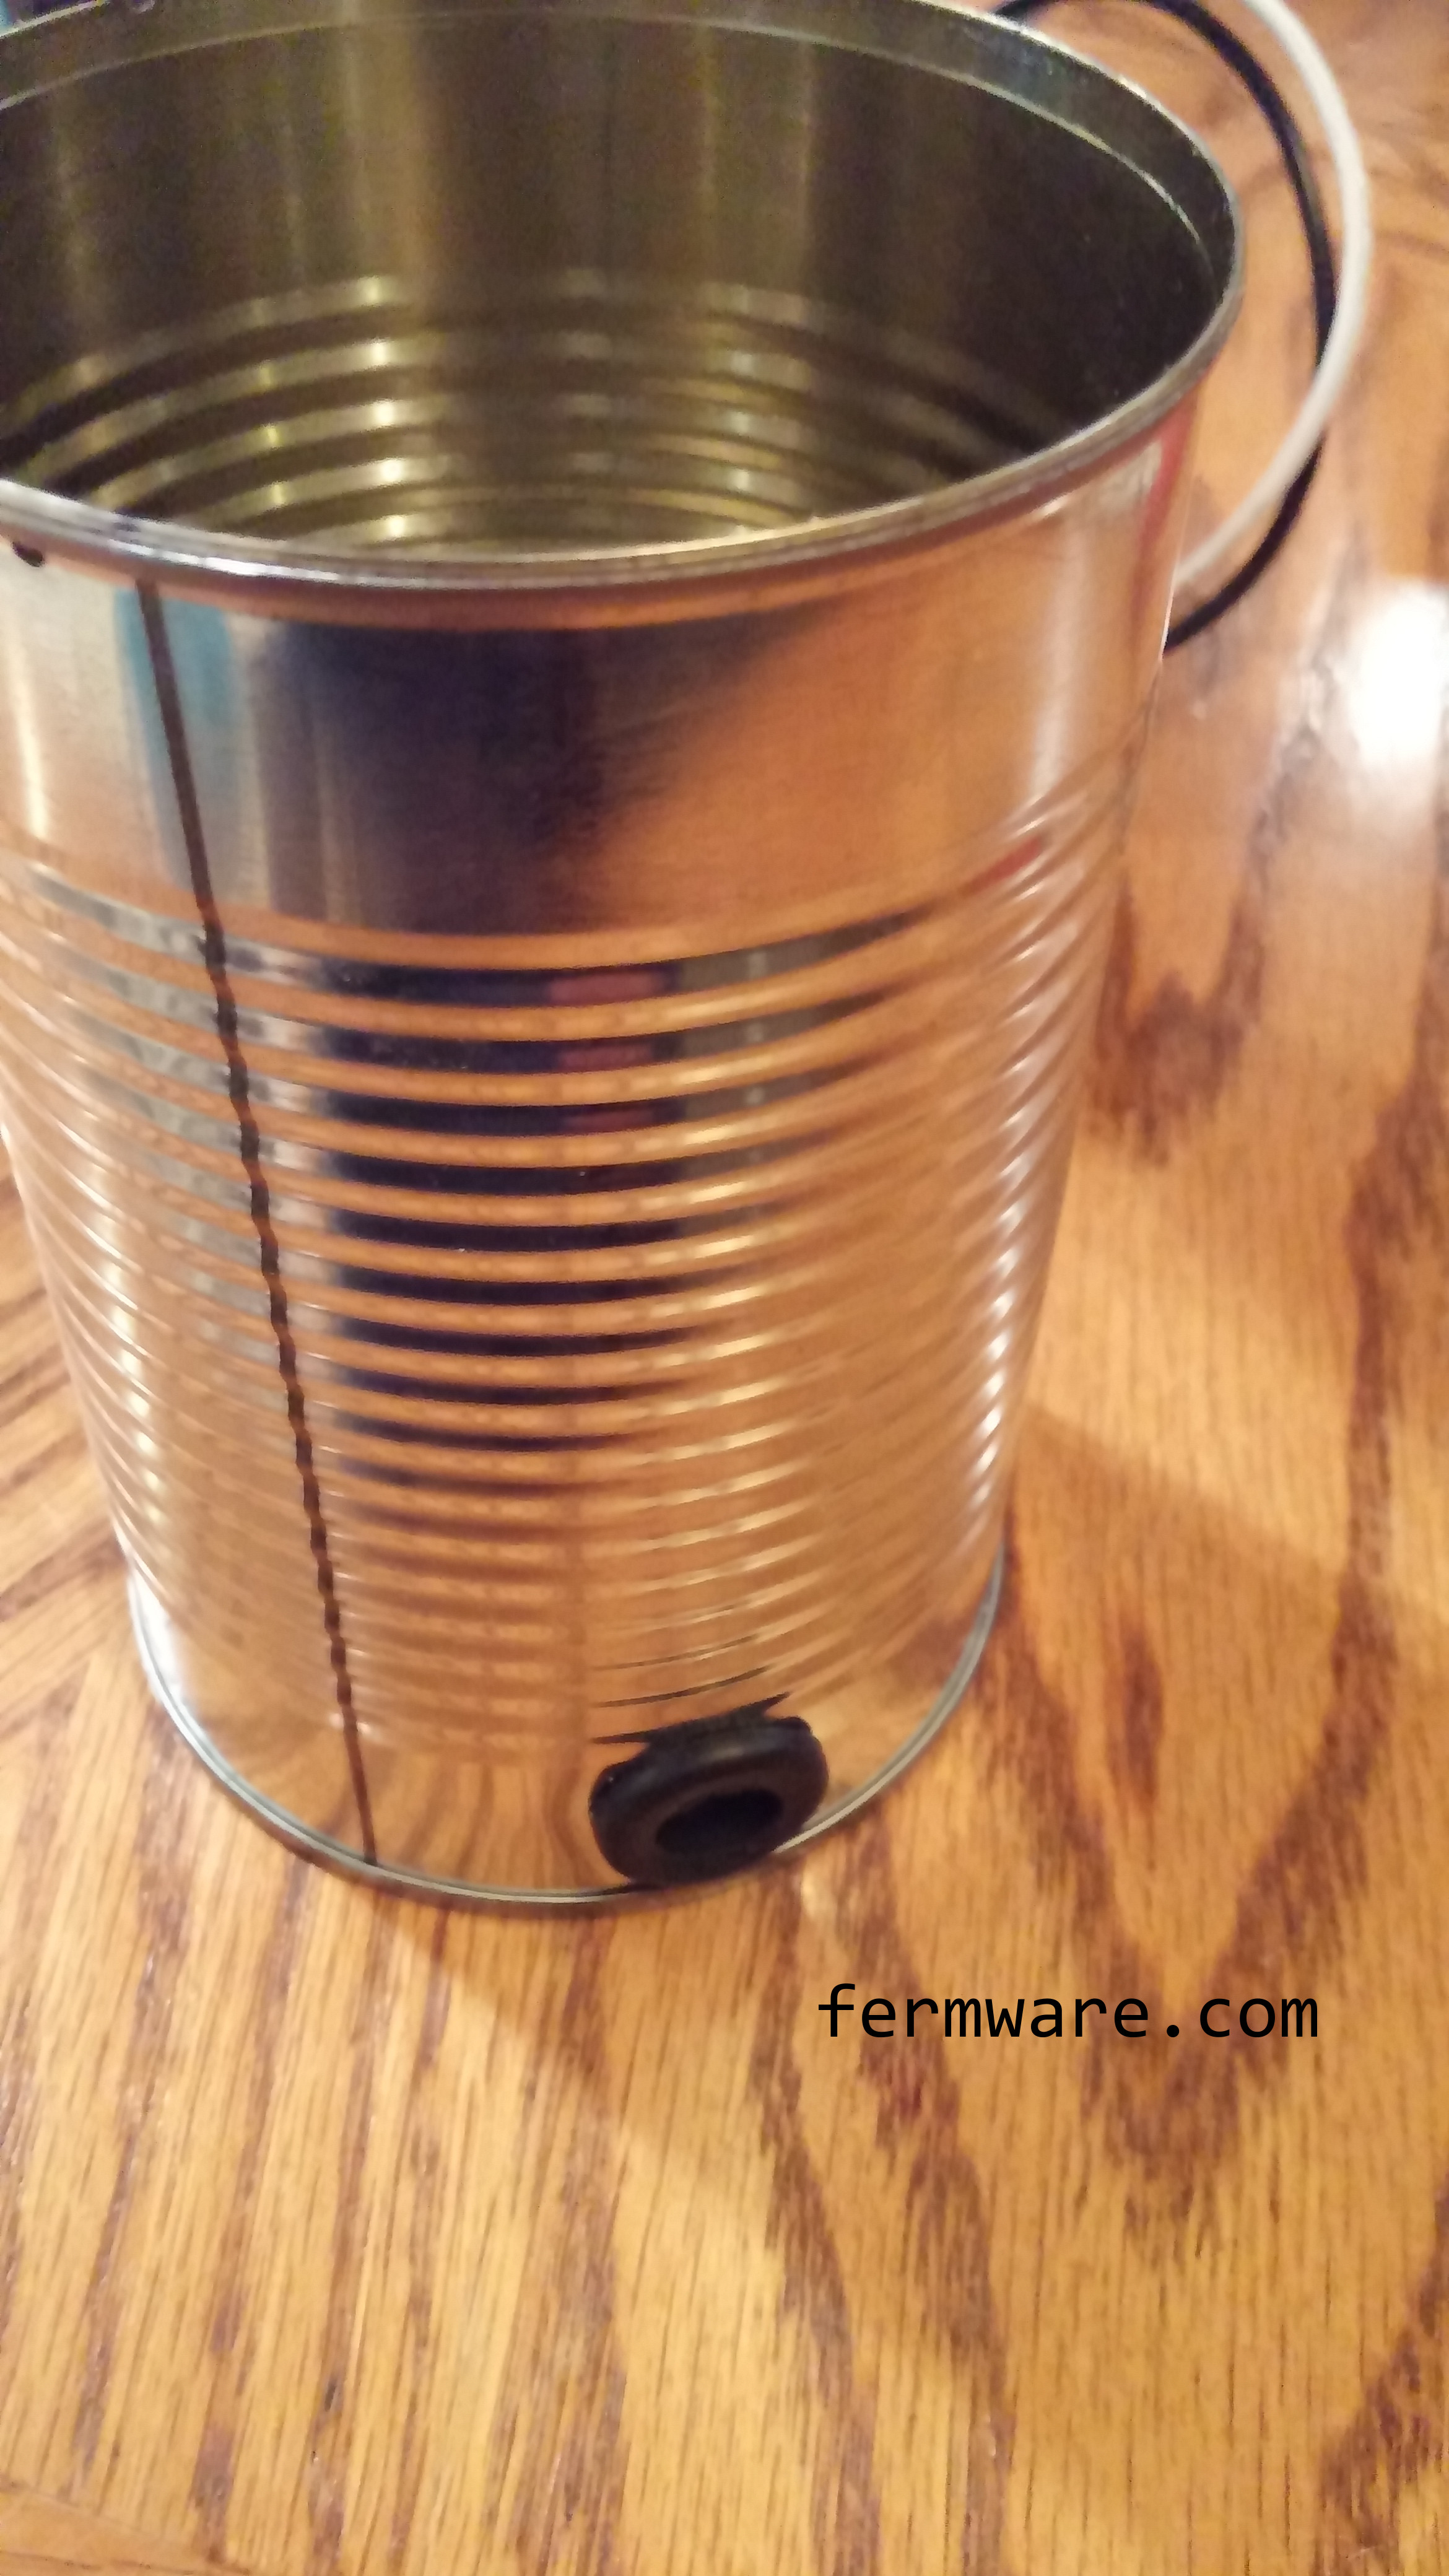
- Standard size container from canned vegetables
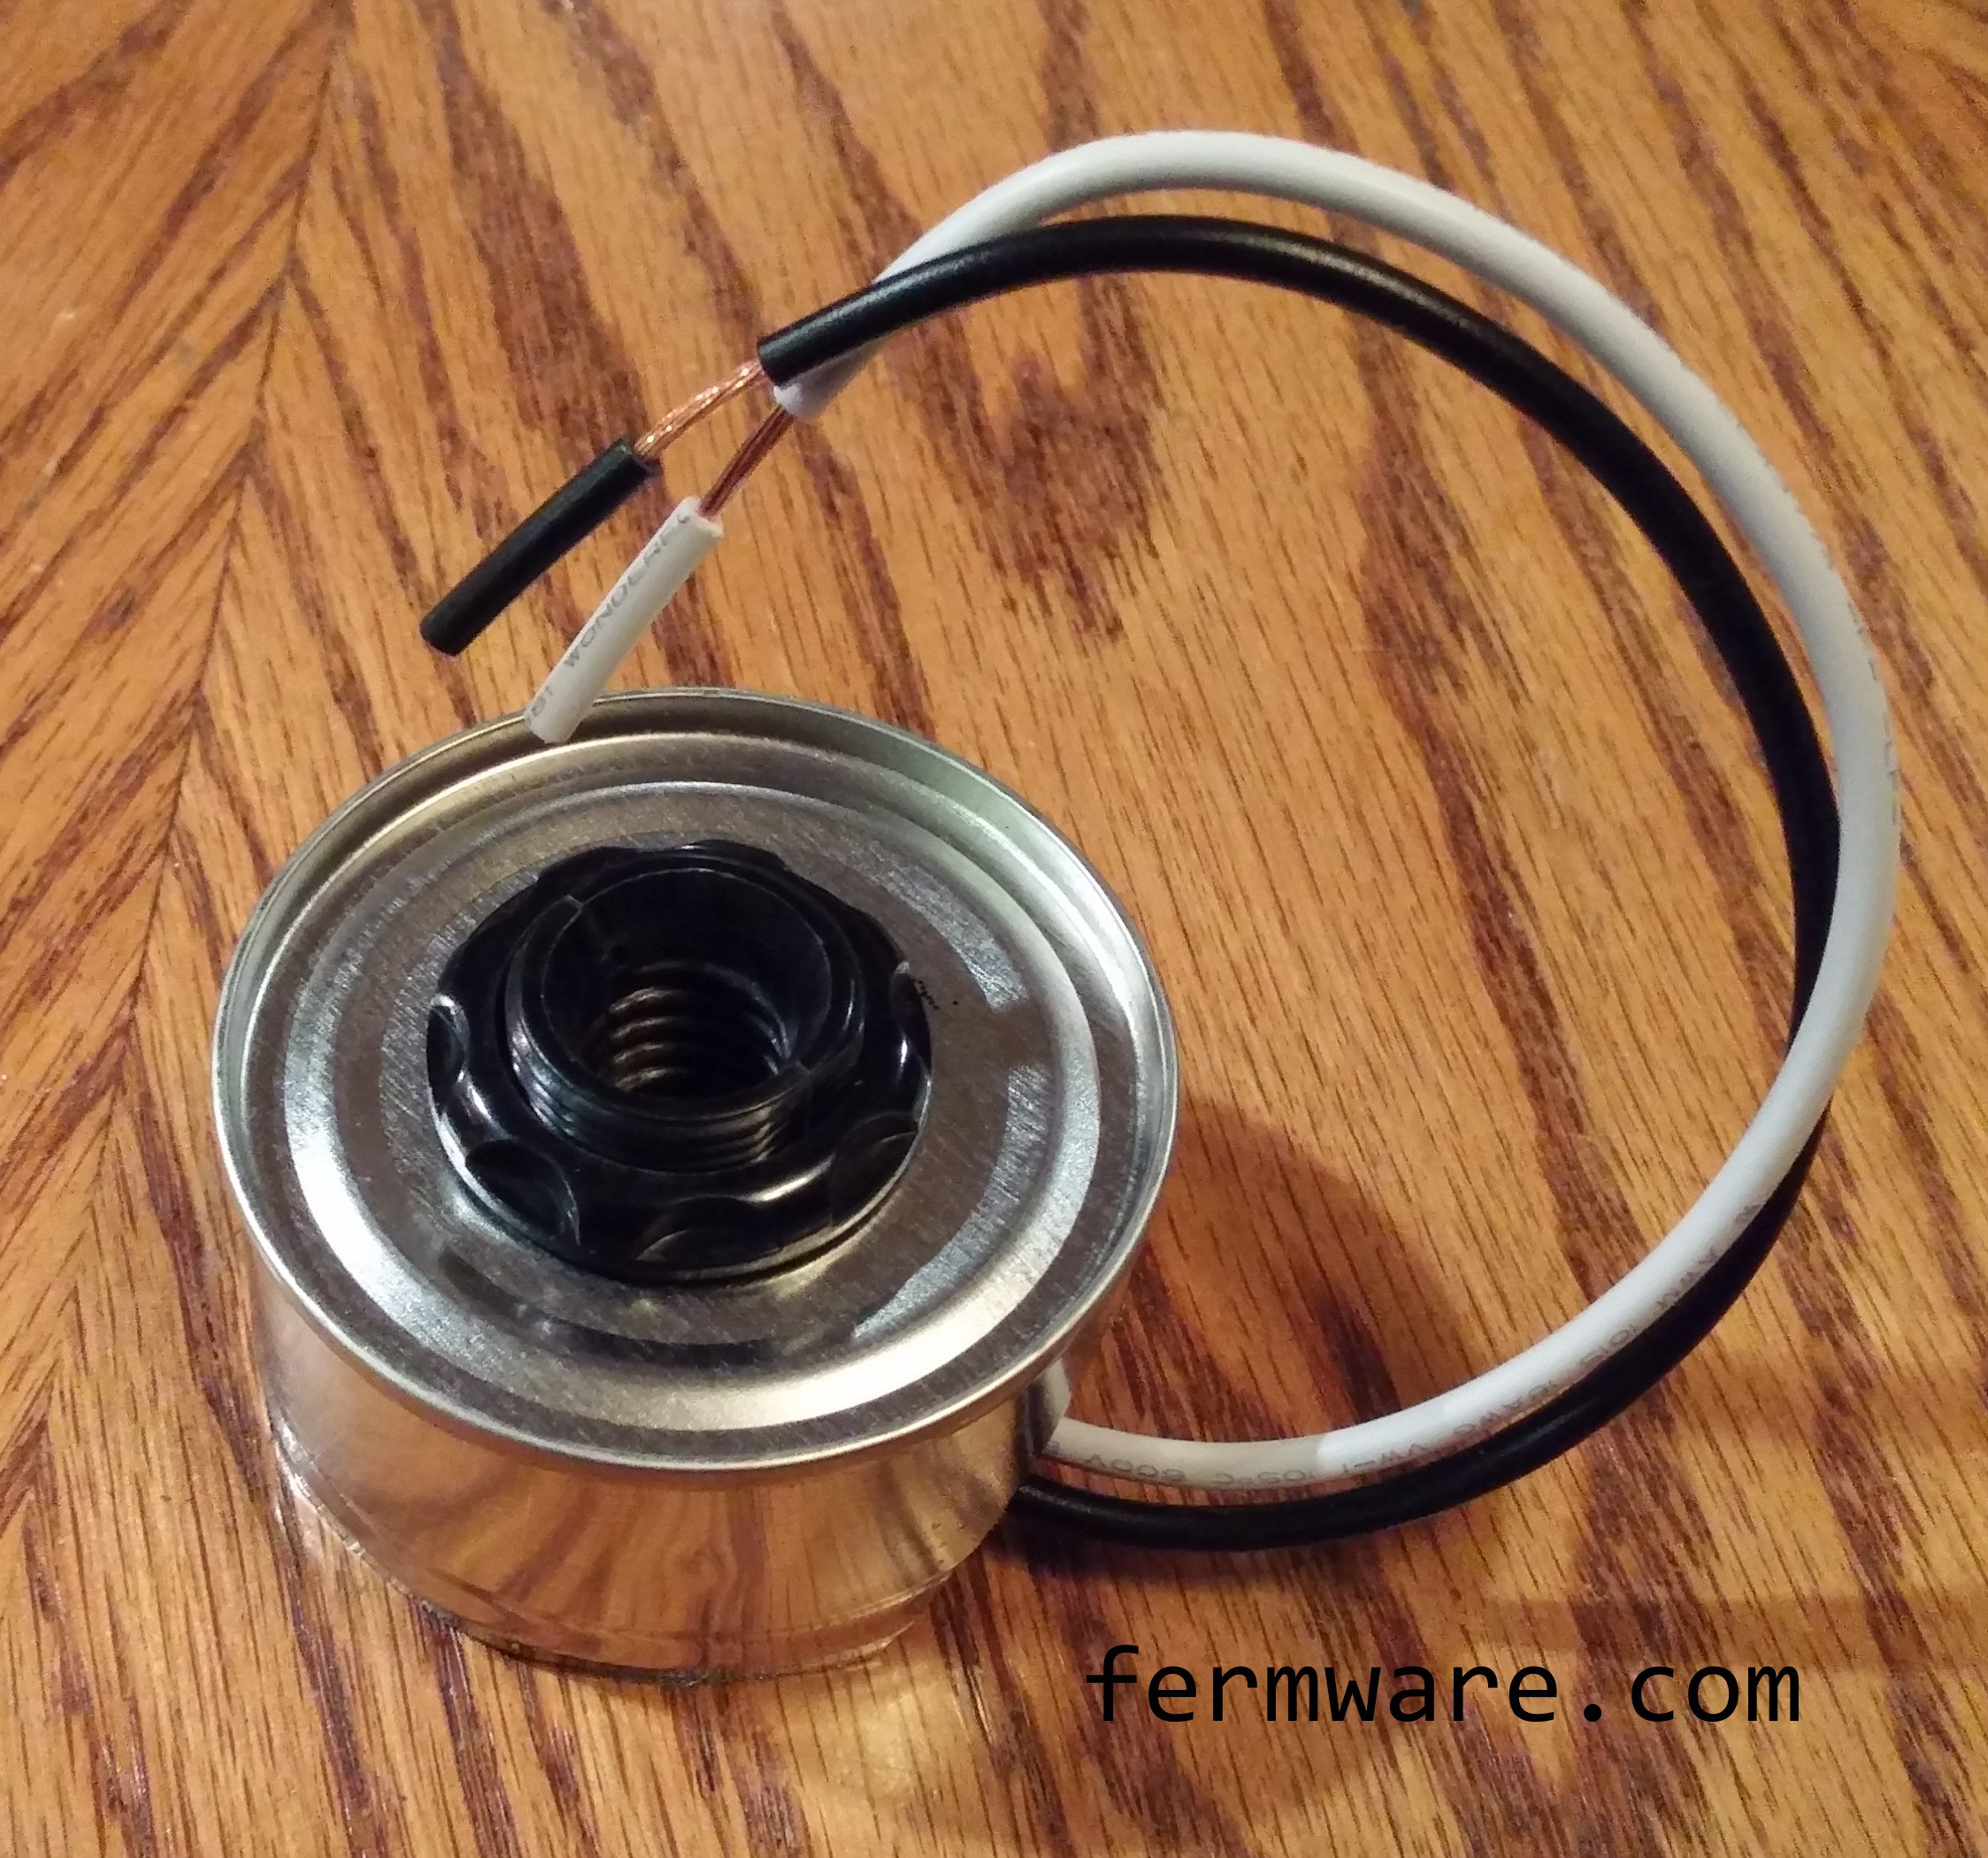
- Tomato paste can
- Spare lamp cord
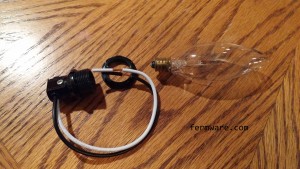
- Candelabra socket
- Candelabra bulb
- Electrical connectors and covering of your choice
- Wire nuts
- Butt splices
- Electrical tape
- Drill
- Tin snips
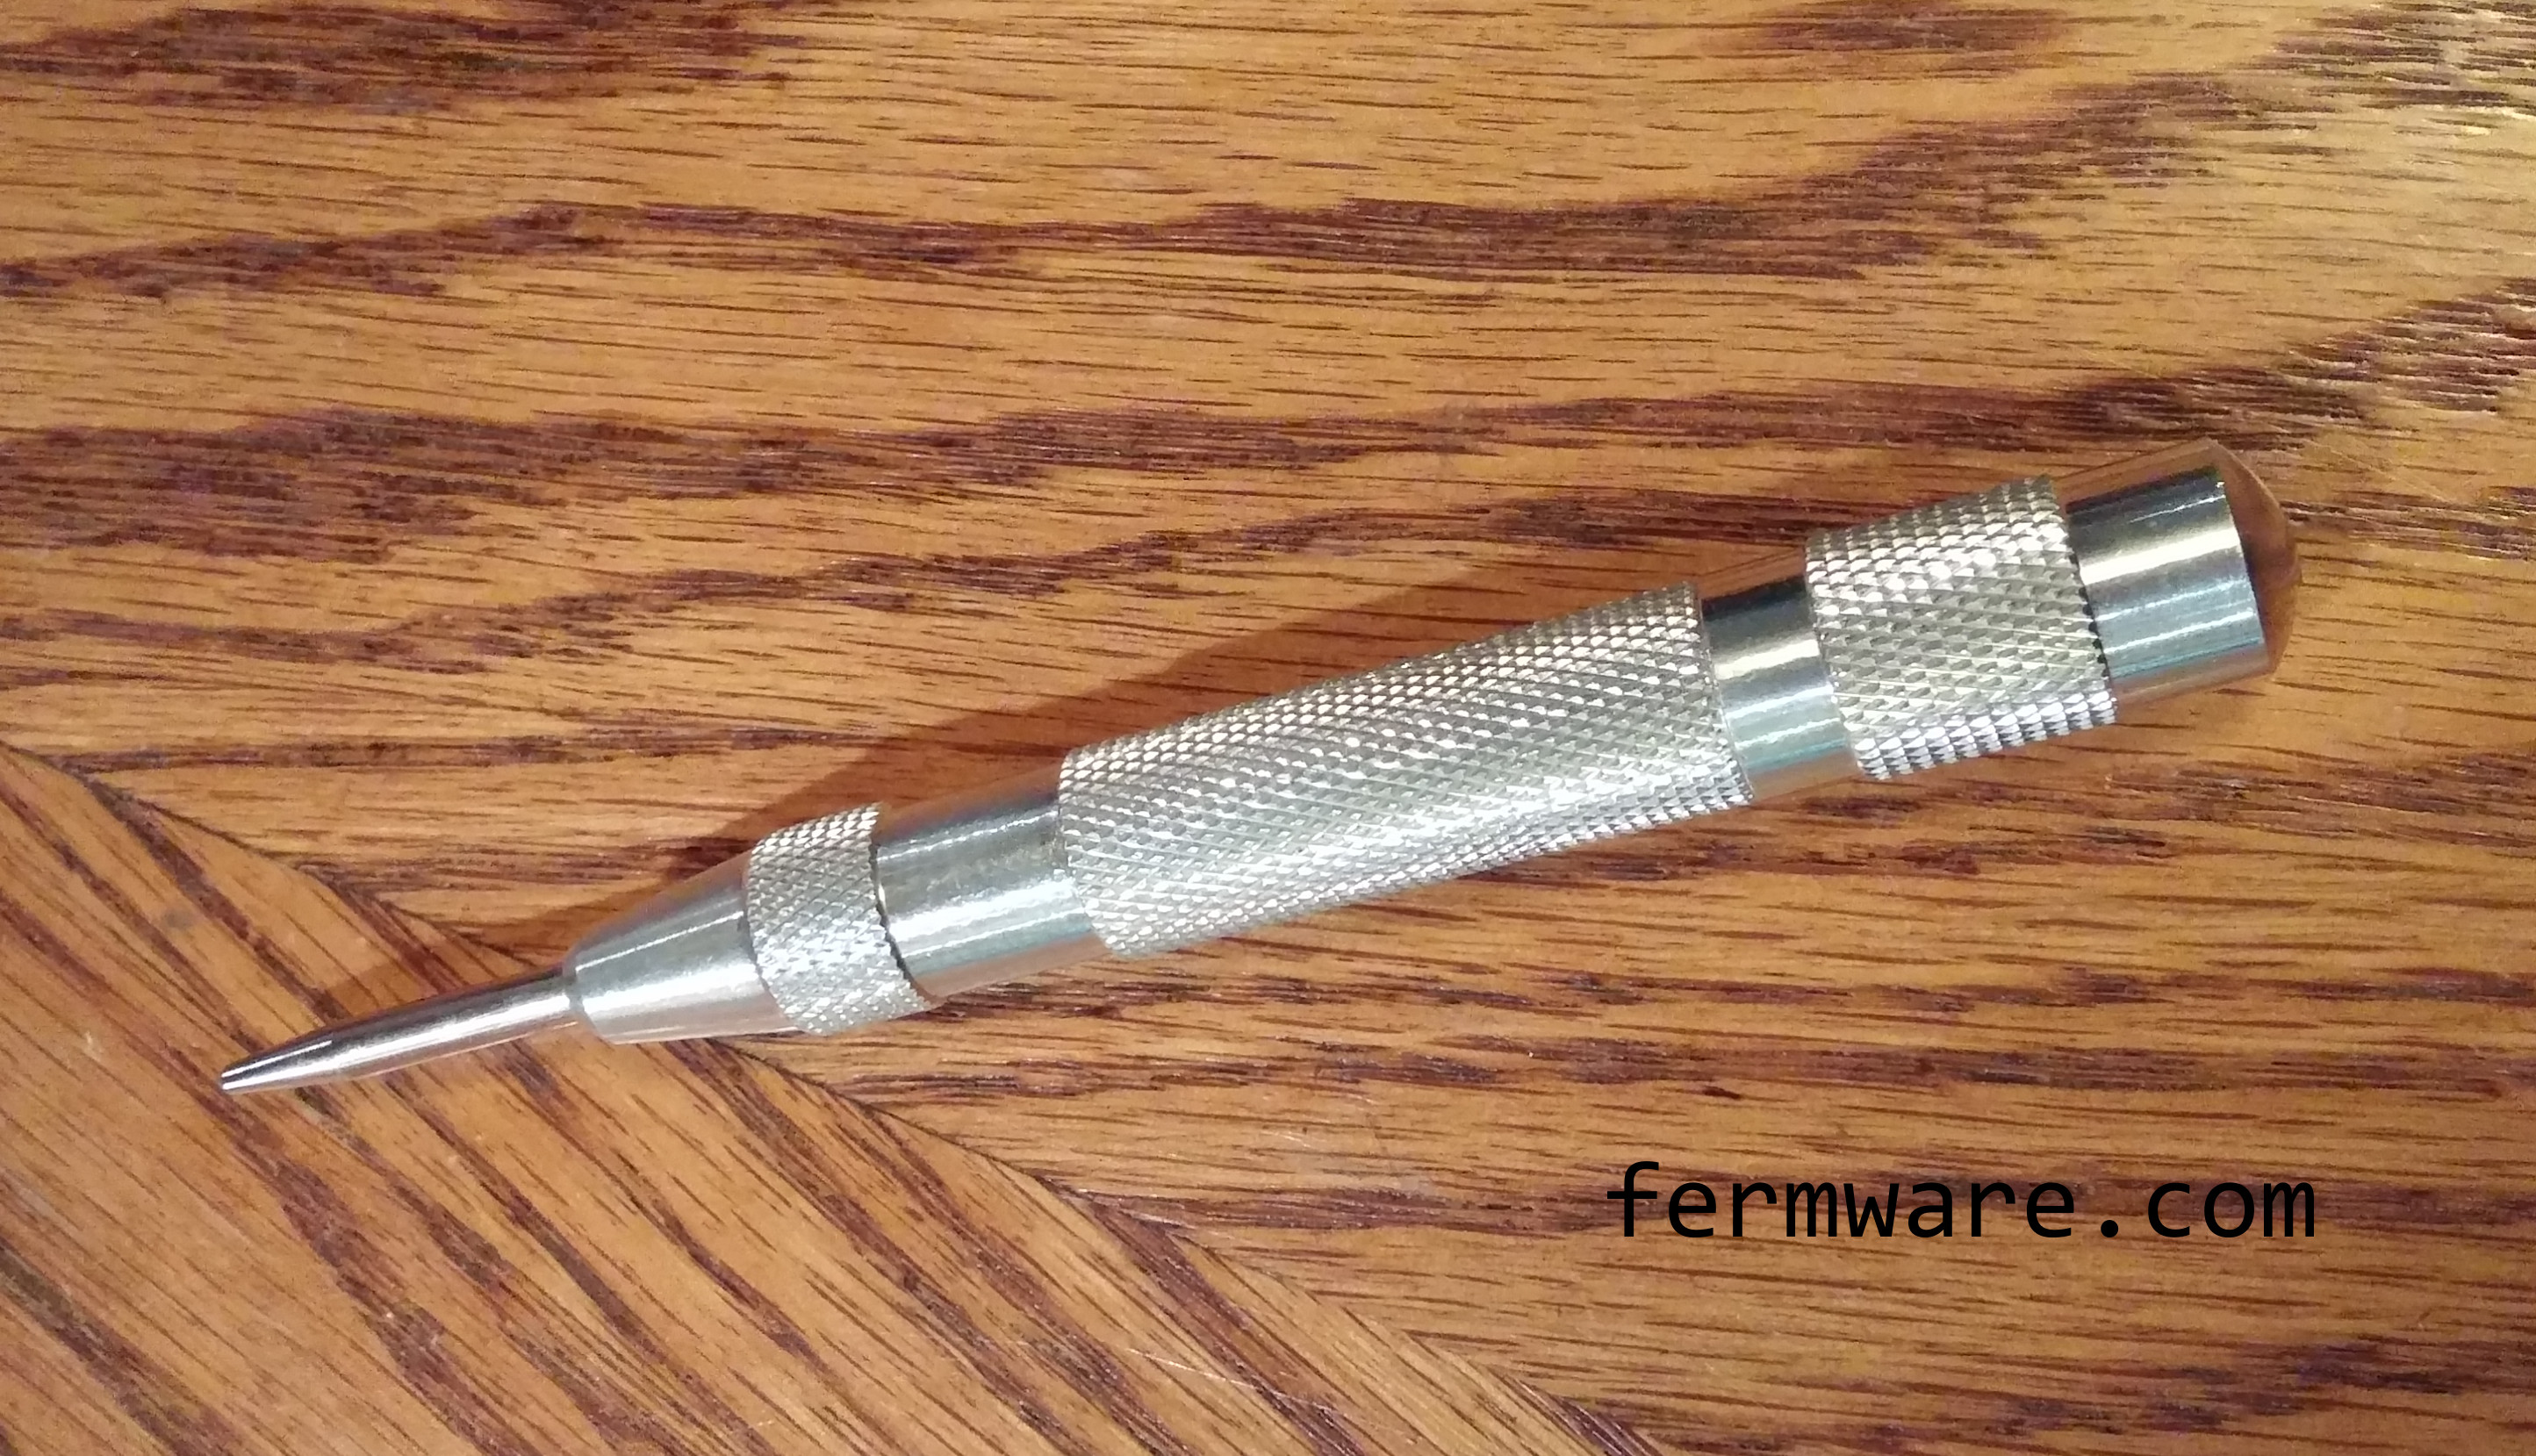
- Deburring tool
- Stepper bit (helpful)
Obligatory Disclaimer:
If you are not comfortable working with wiring or electricity, please hire or find someone who is competent. Also, be sure to place the finished heater in a location that will not get wet.
How to make:
Collect the cans and clean them
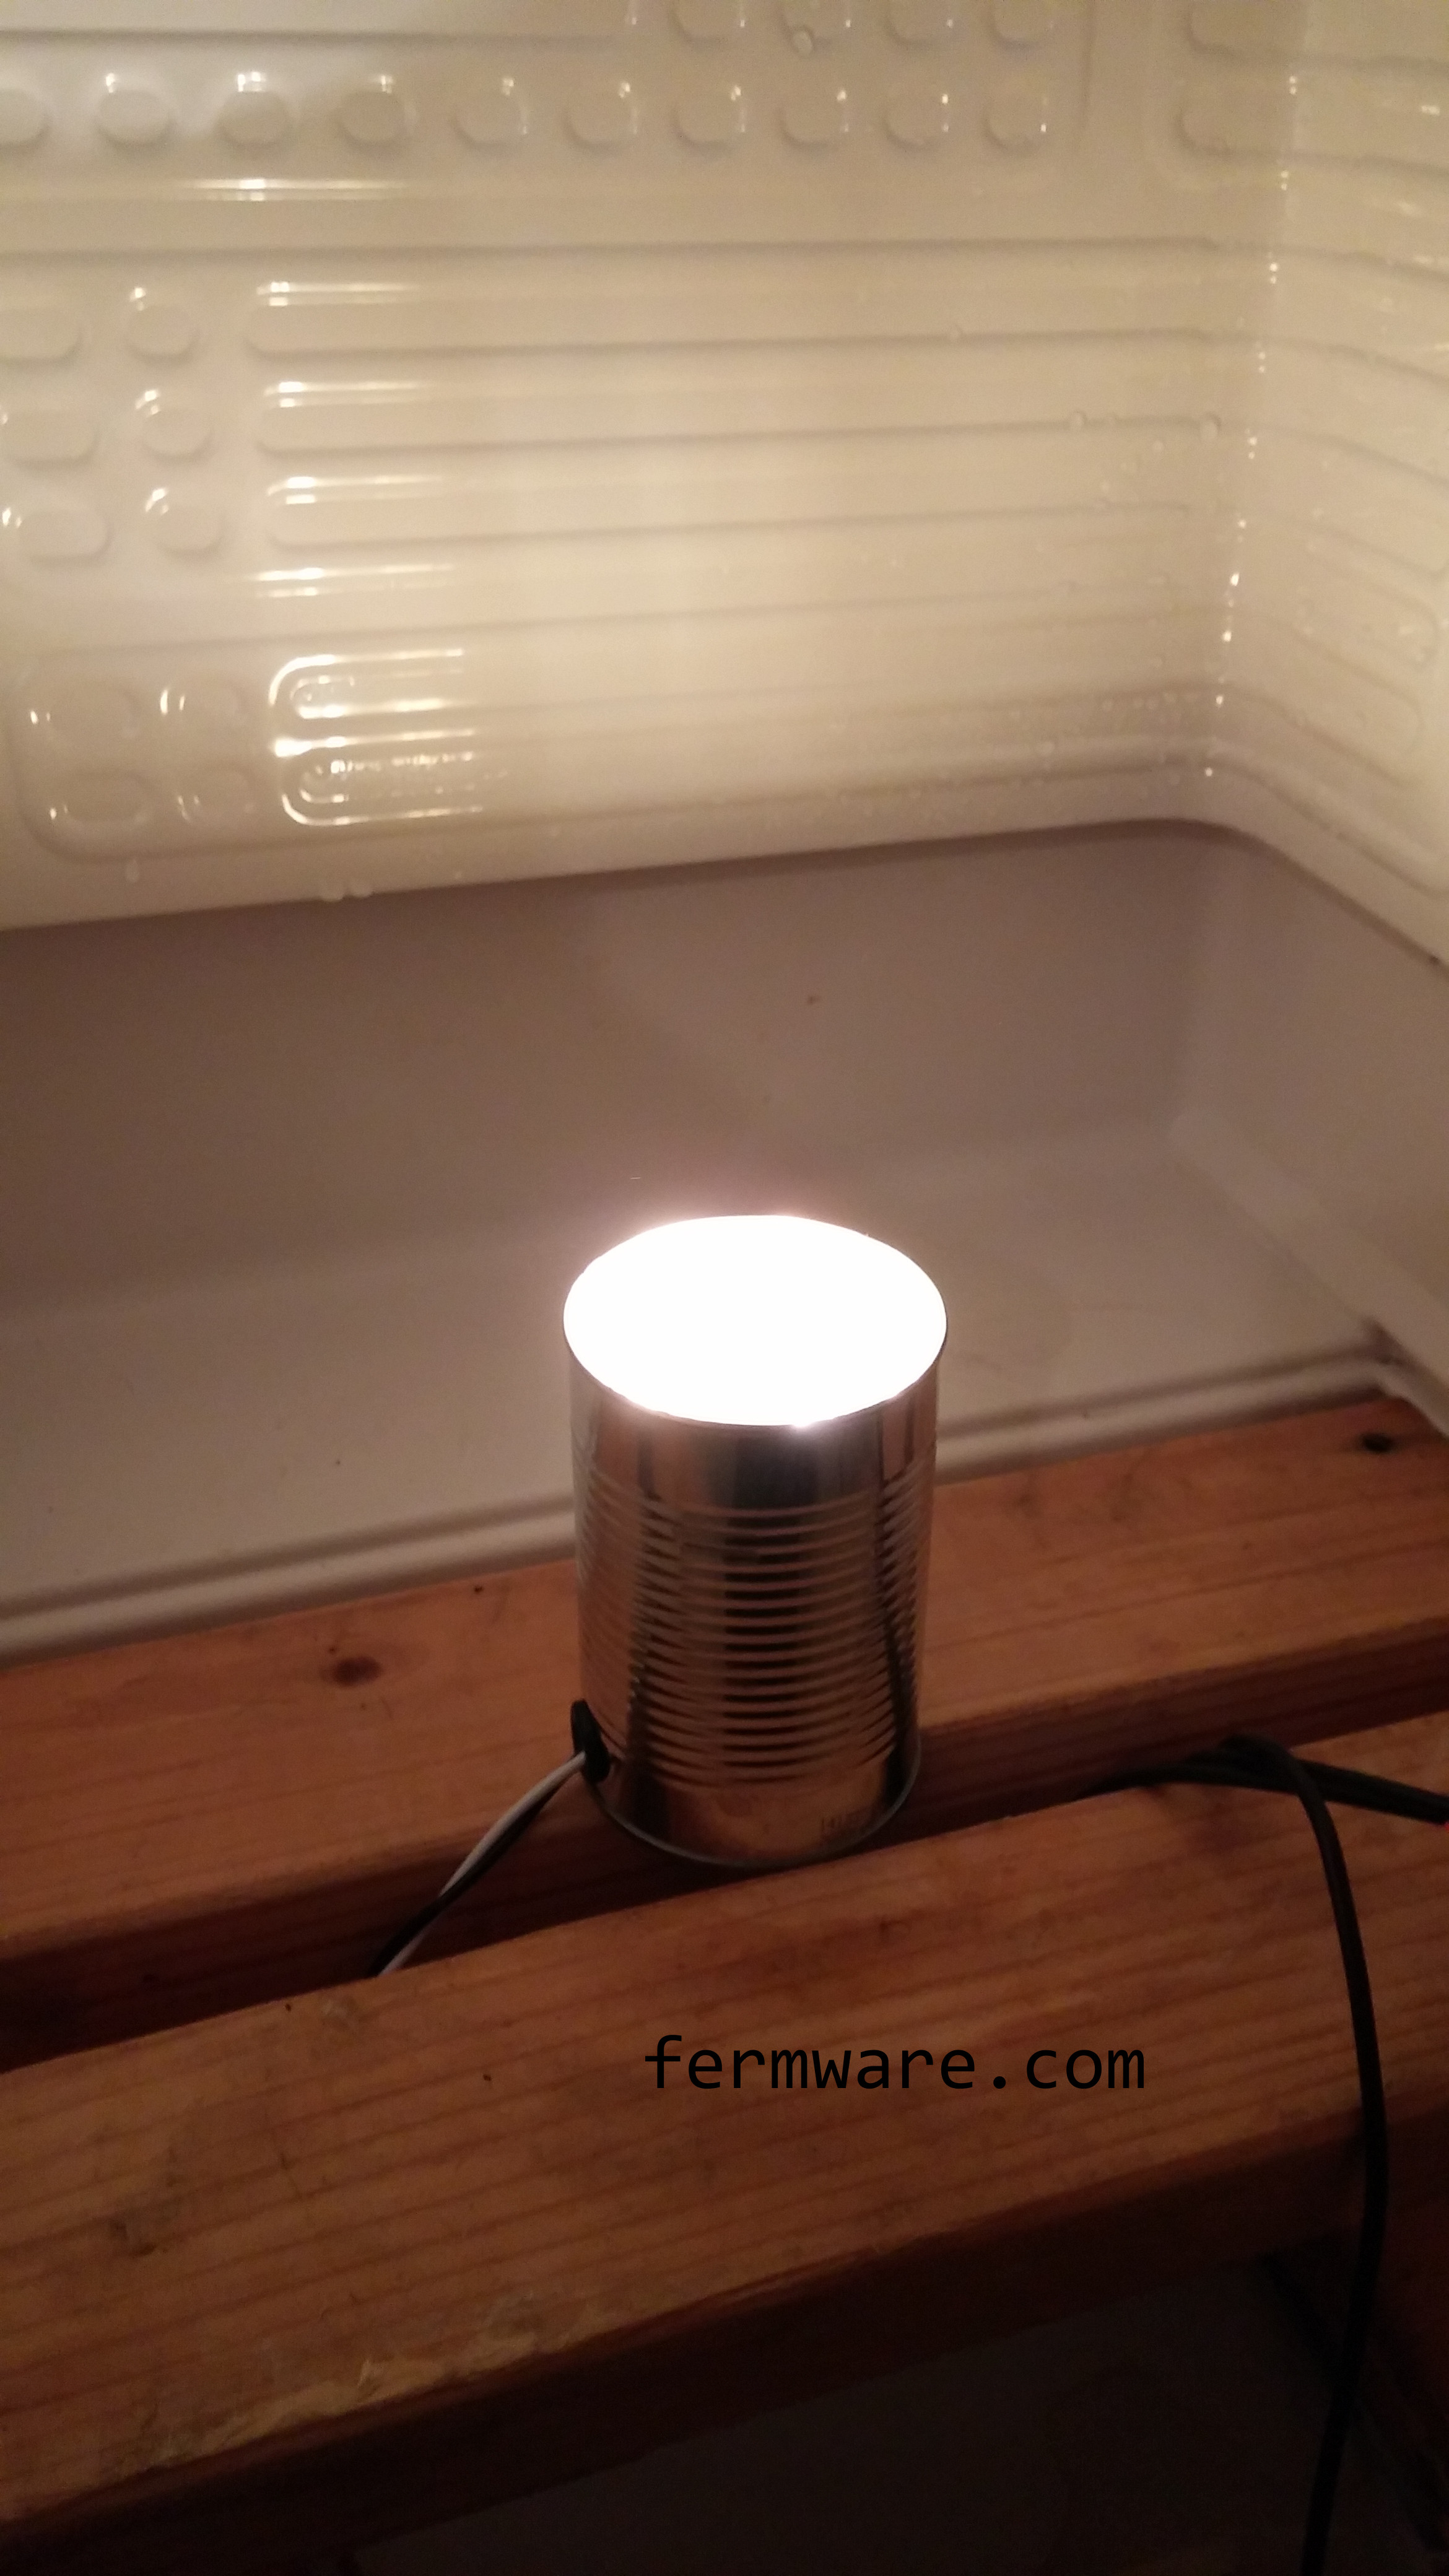
I used a can from some green beans and a tomato paste can. Make sure they are all metal and not plastic lined. Since you are homebrewers and obviously know how to clean and de-label containers, I won’t go into that. I will however say that you want to try and get rid of as much of the smell from the original contents as possible. The first use made my fermentation chamber smell like spaghetti sauce.
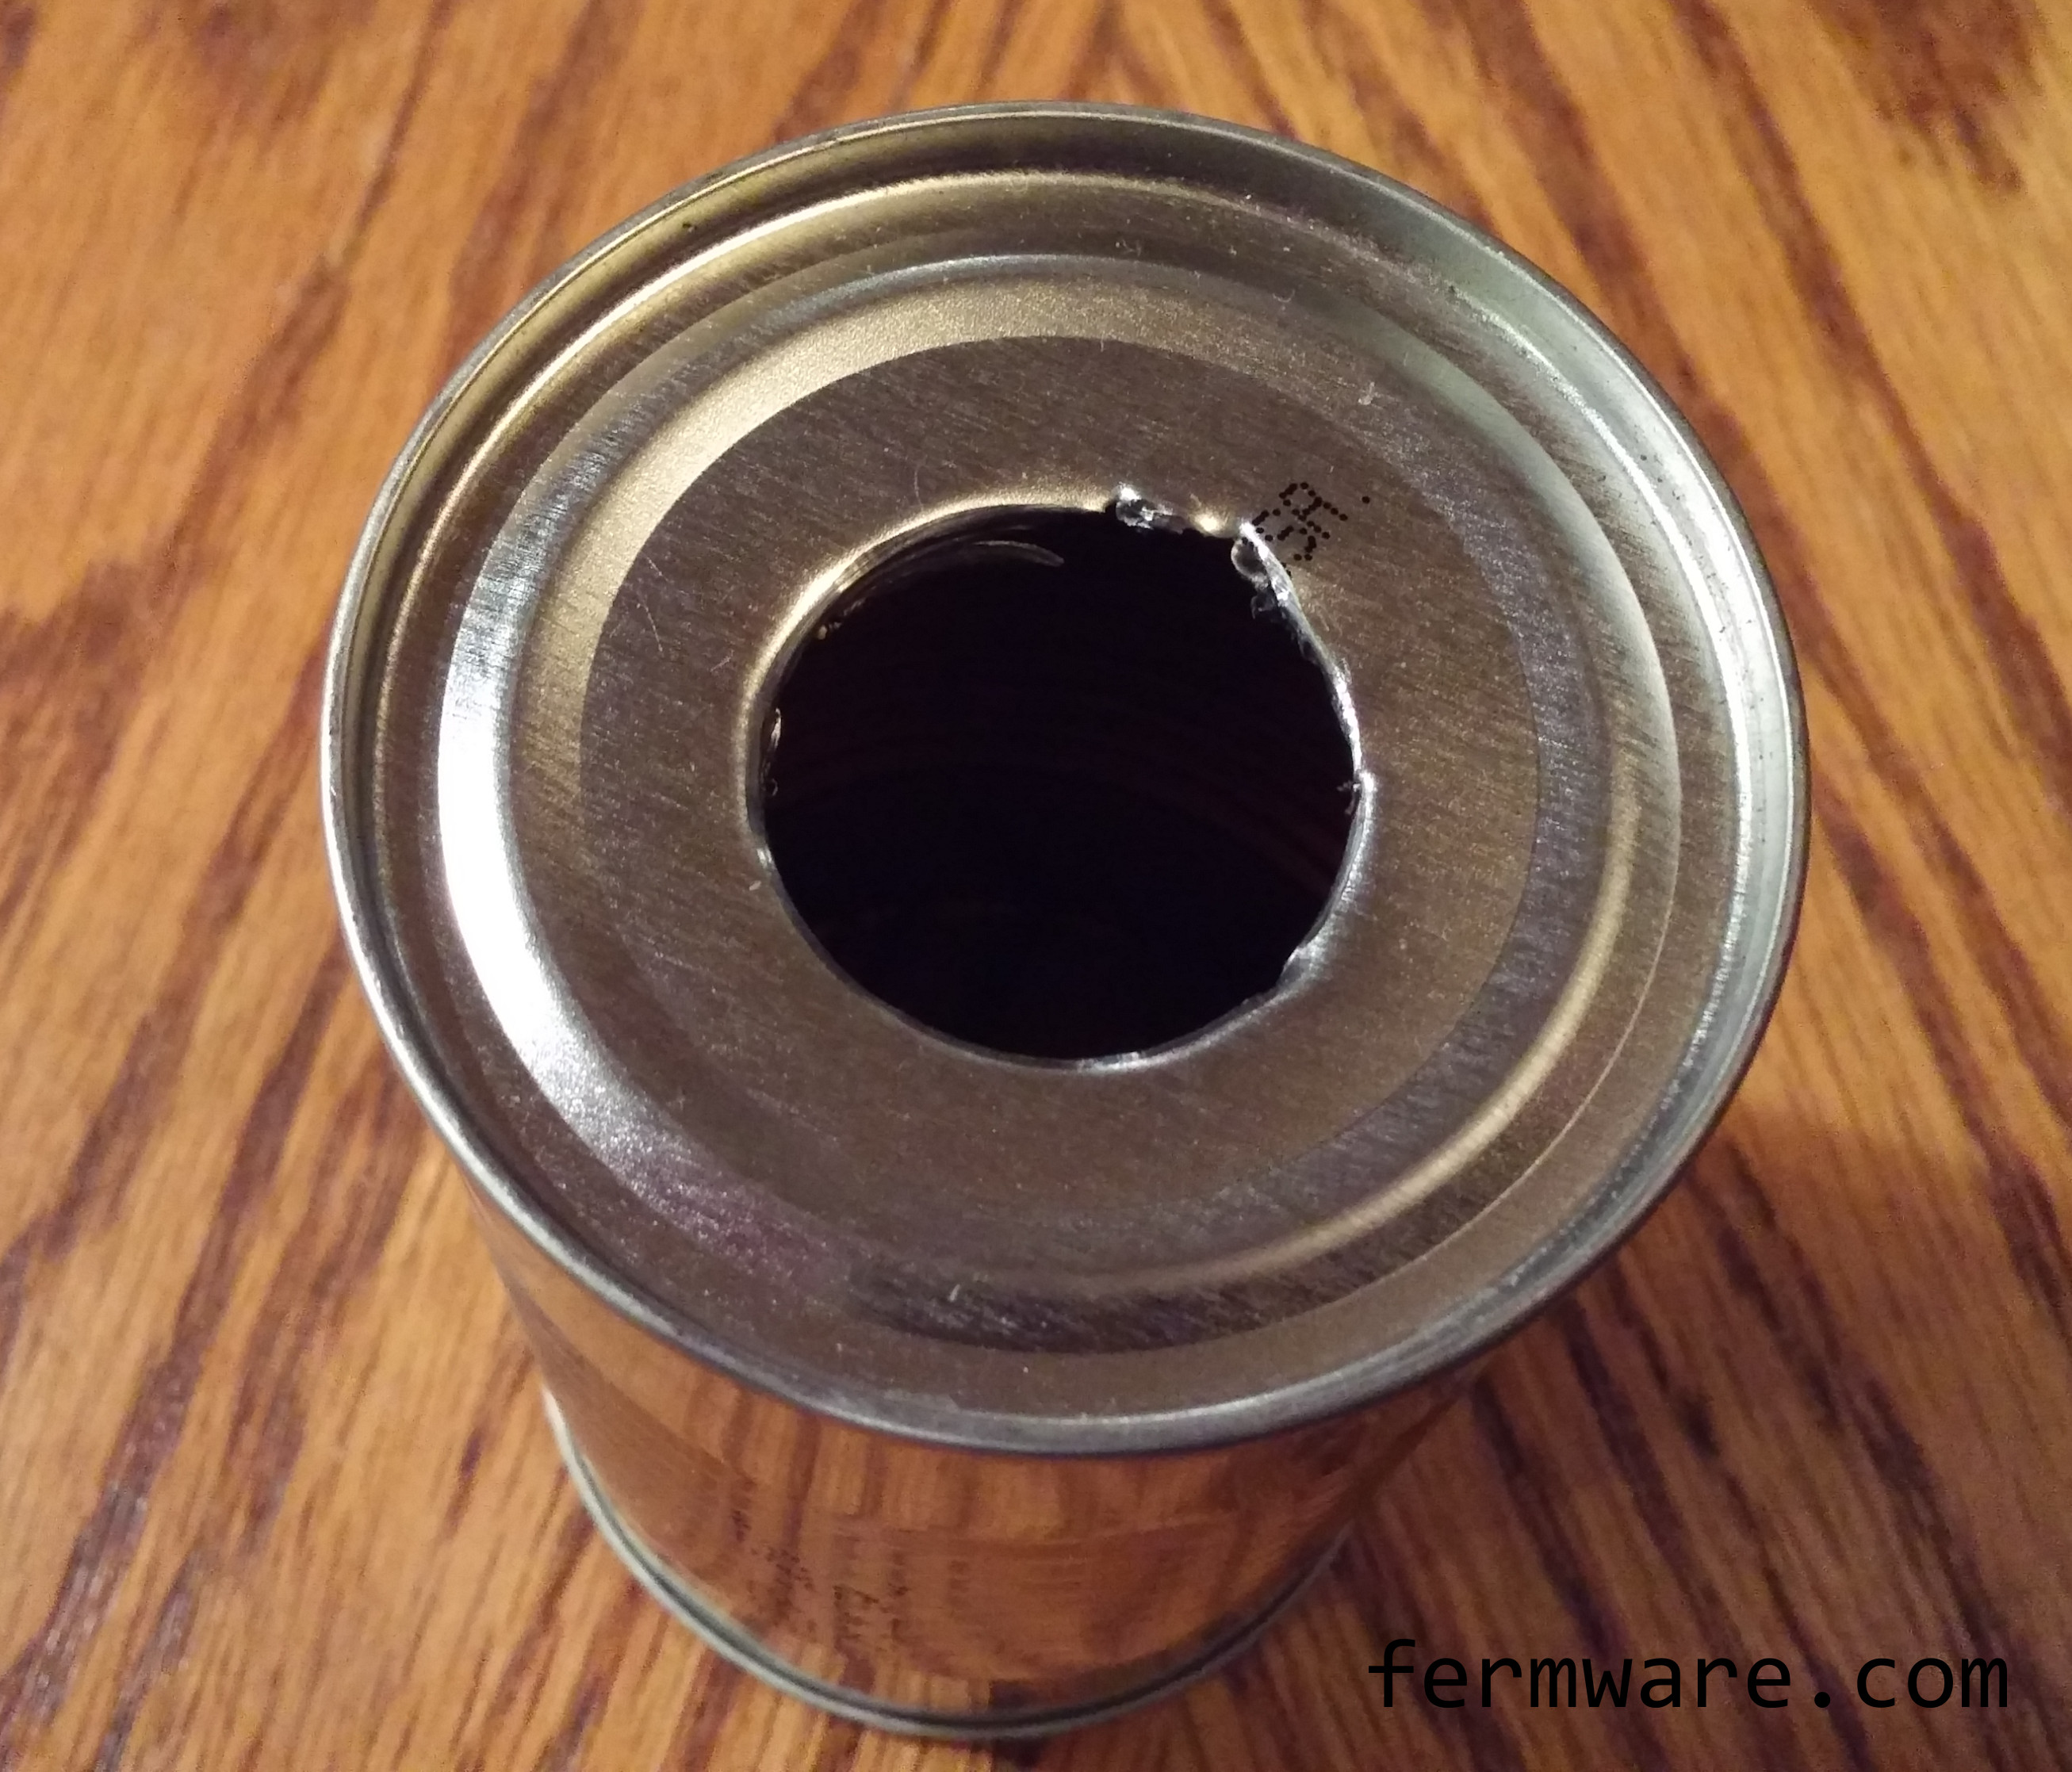
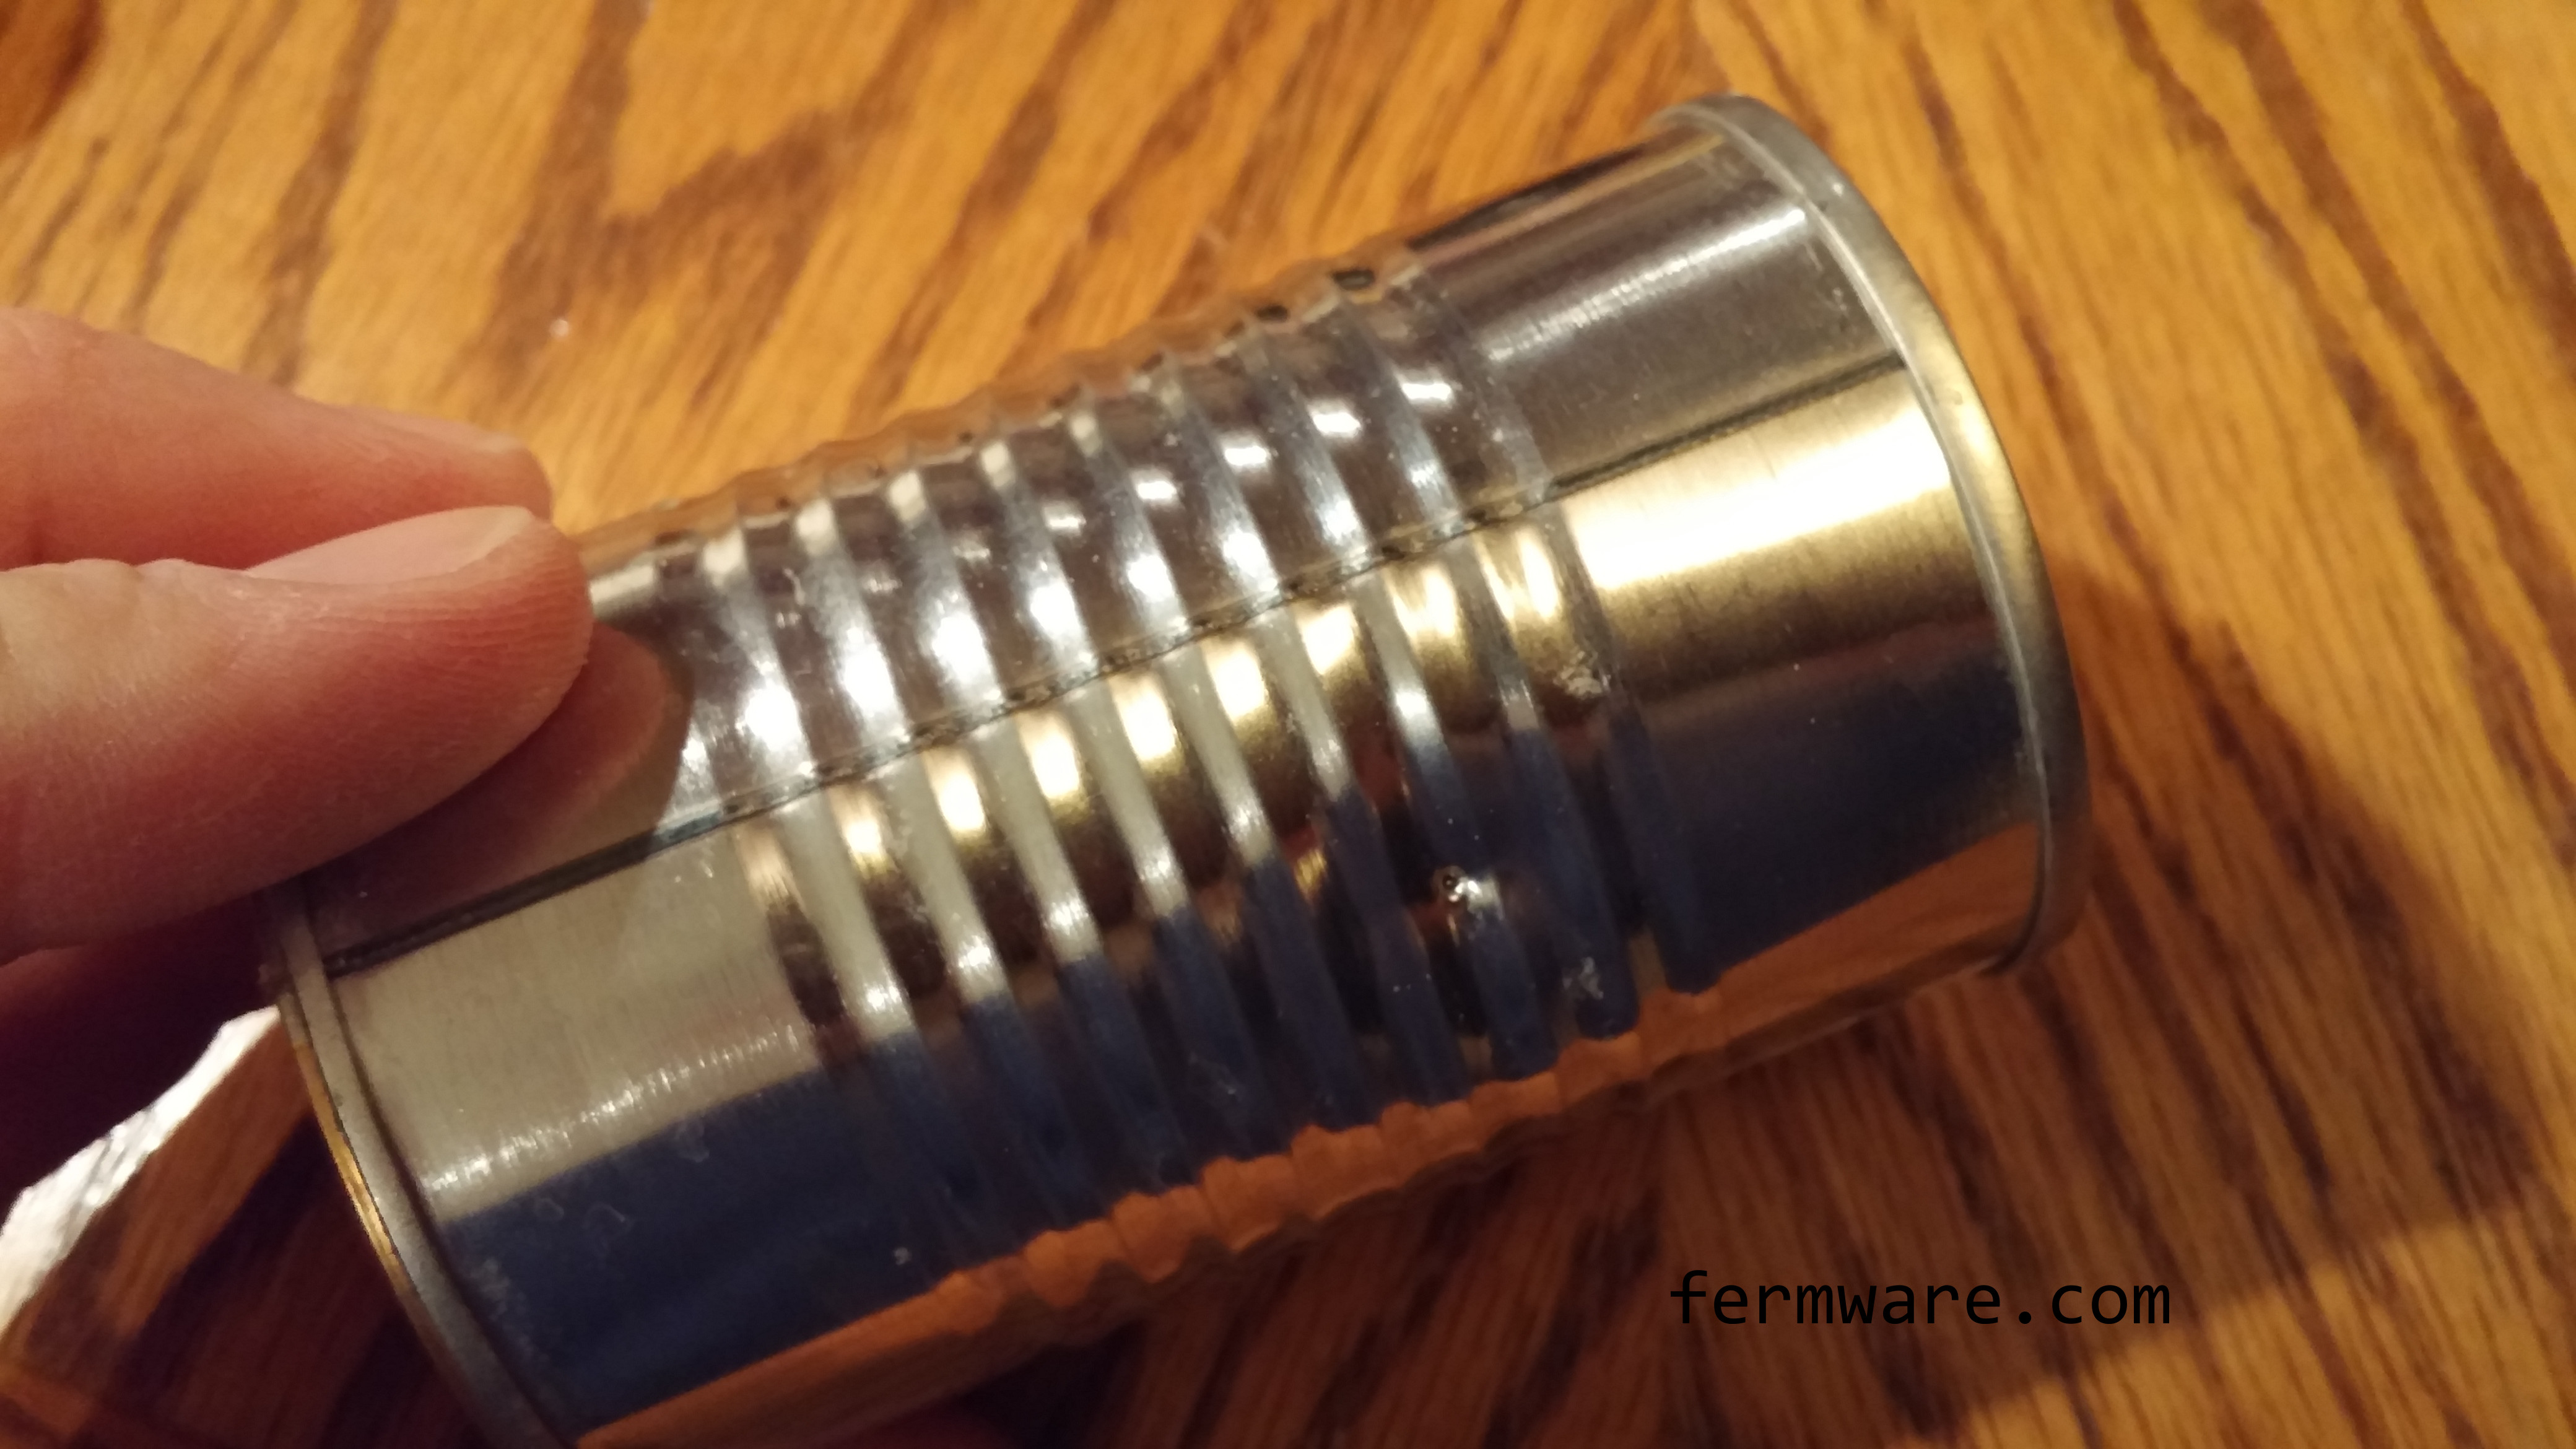
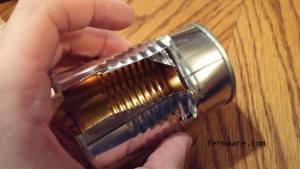
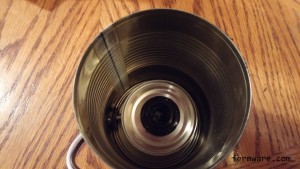
Cut the cans
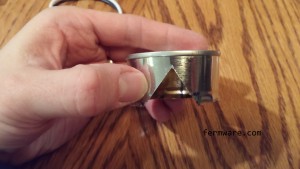
Base / Tomato Paste Can
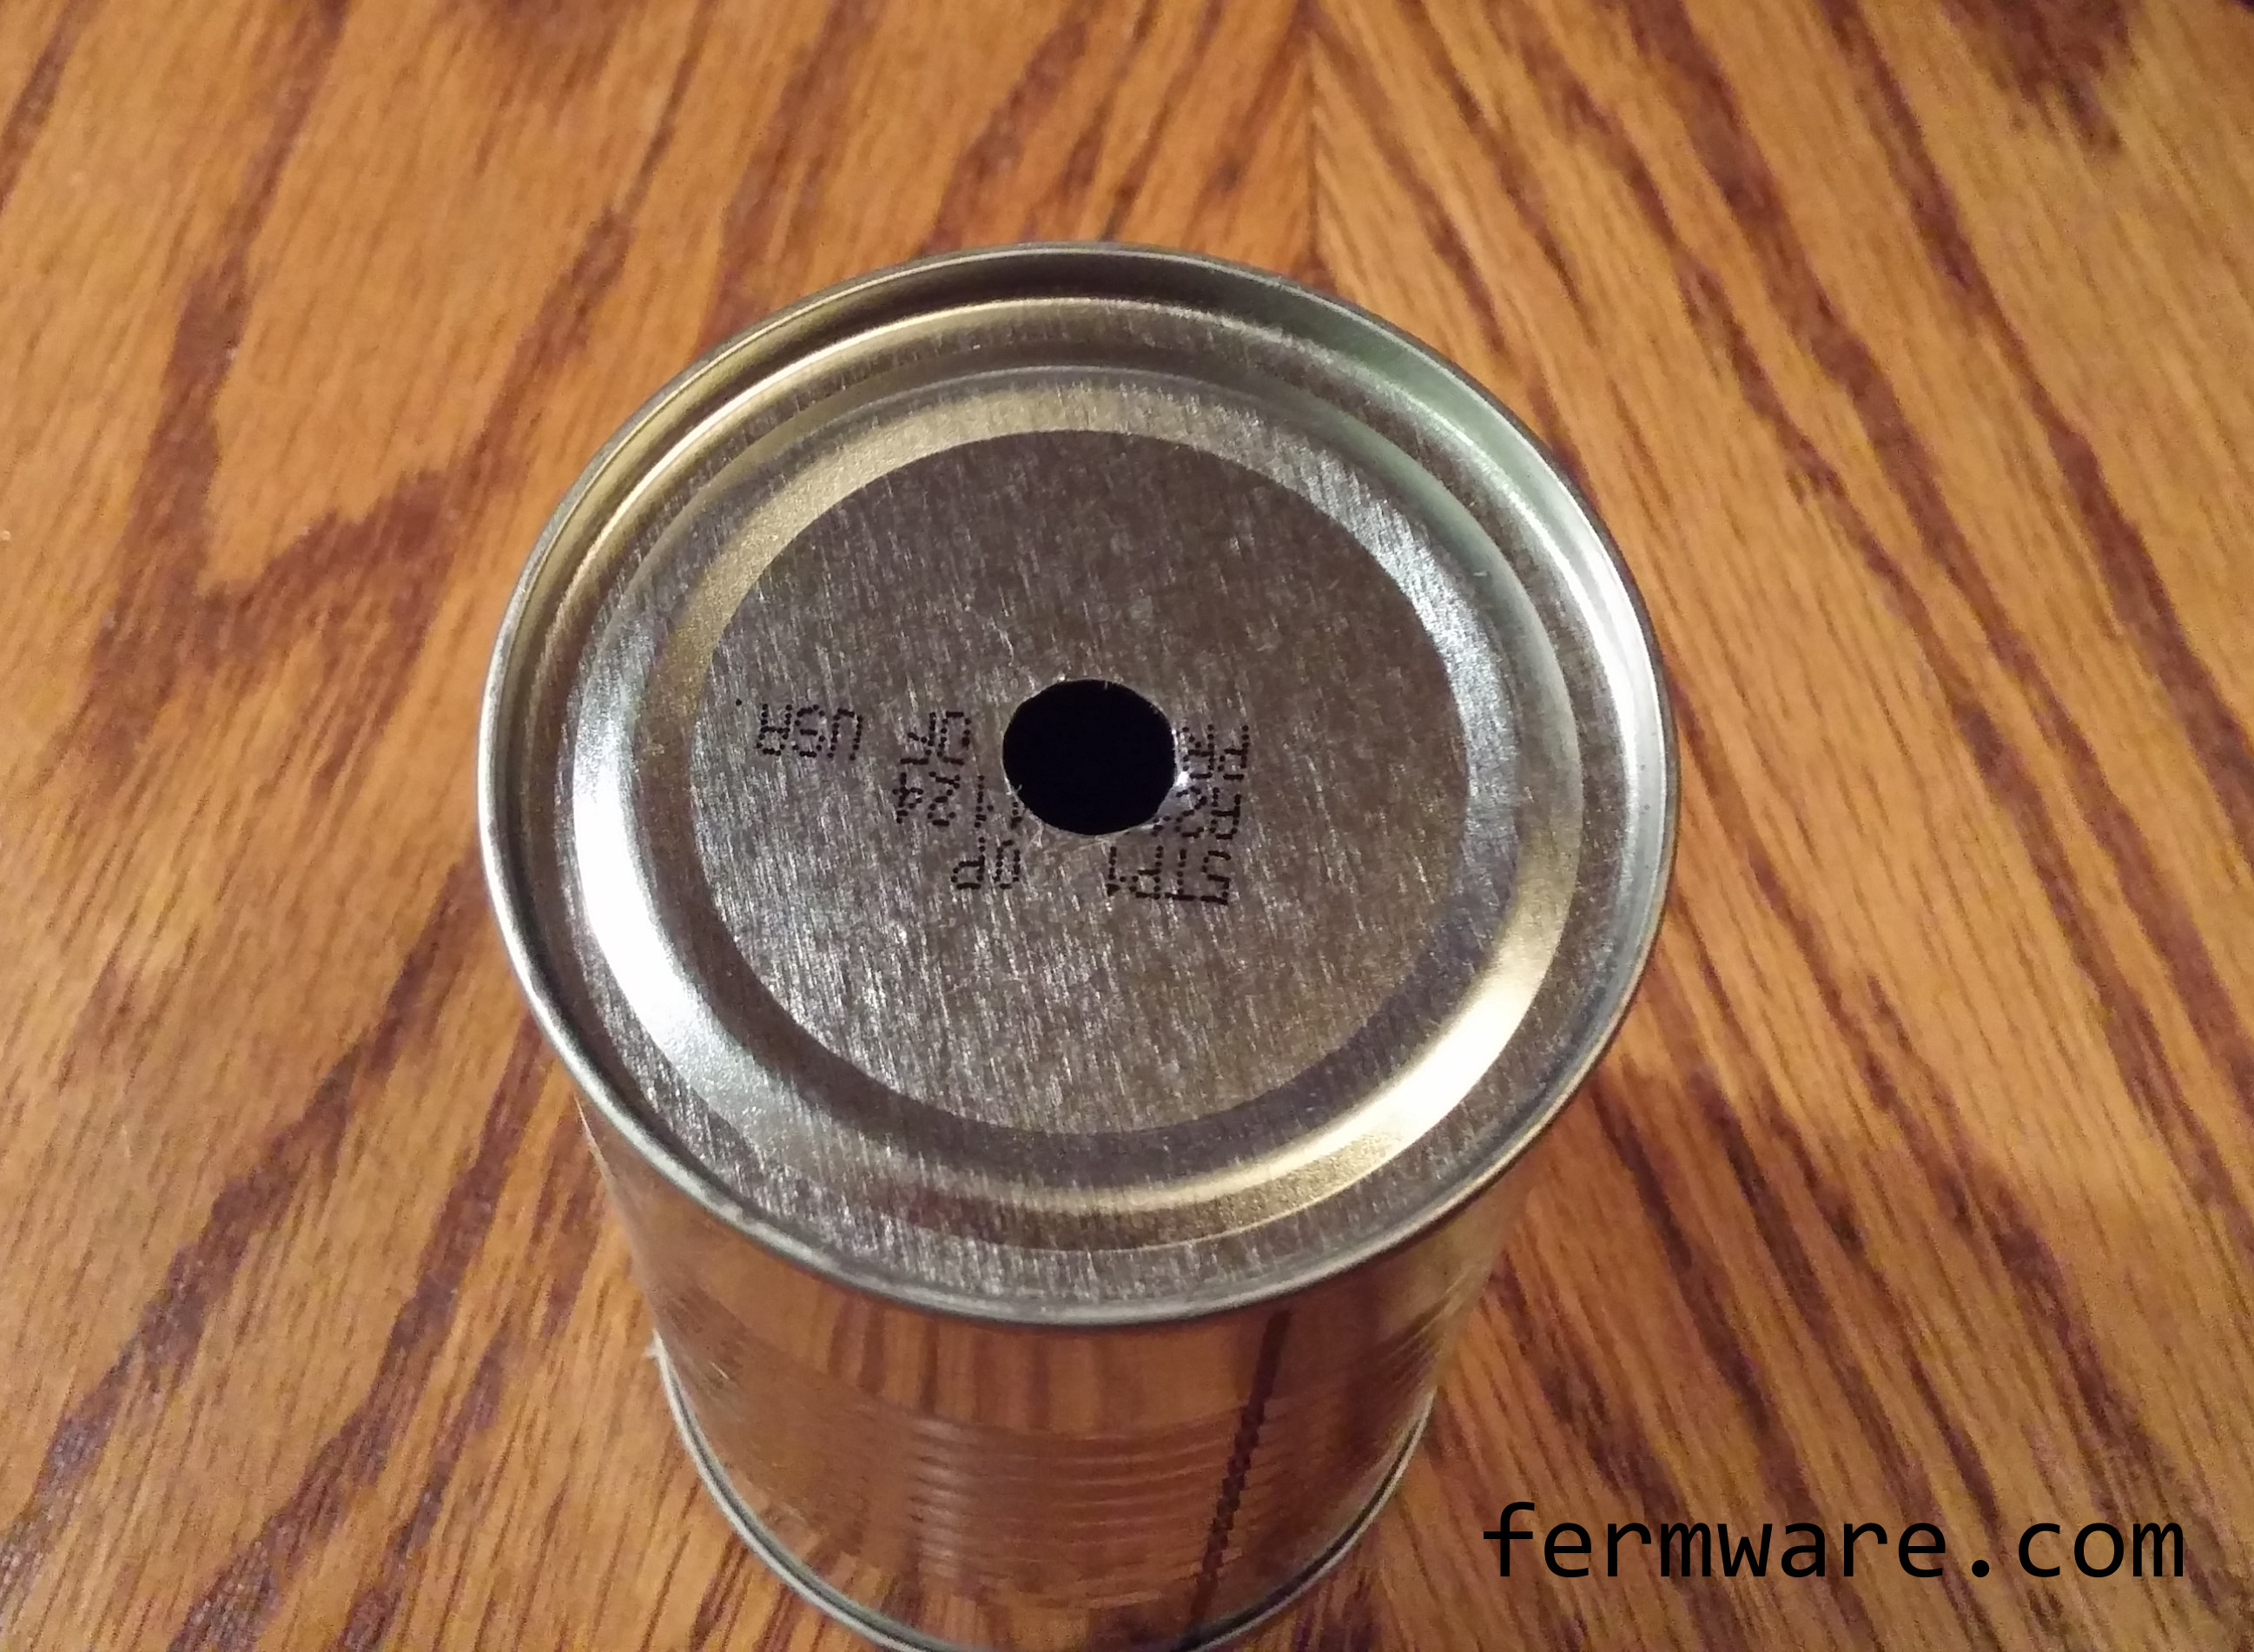
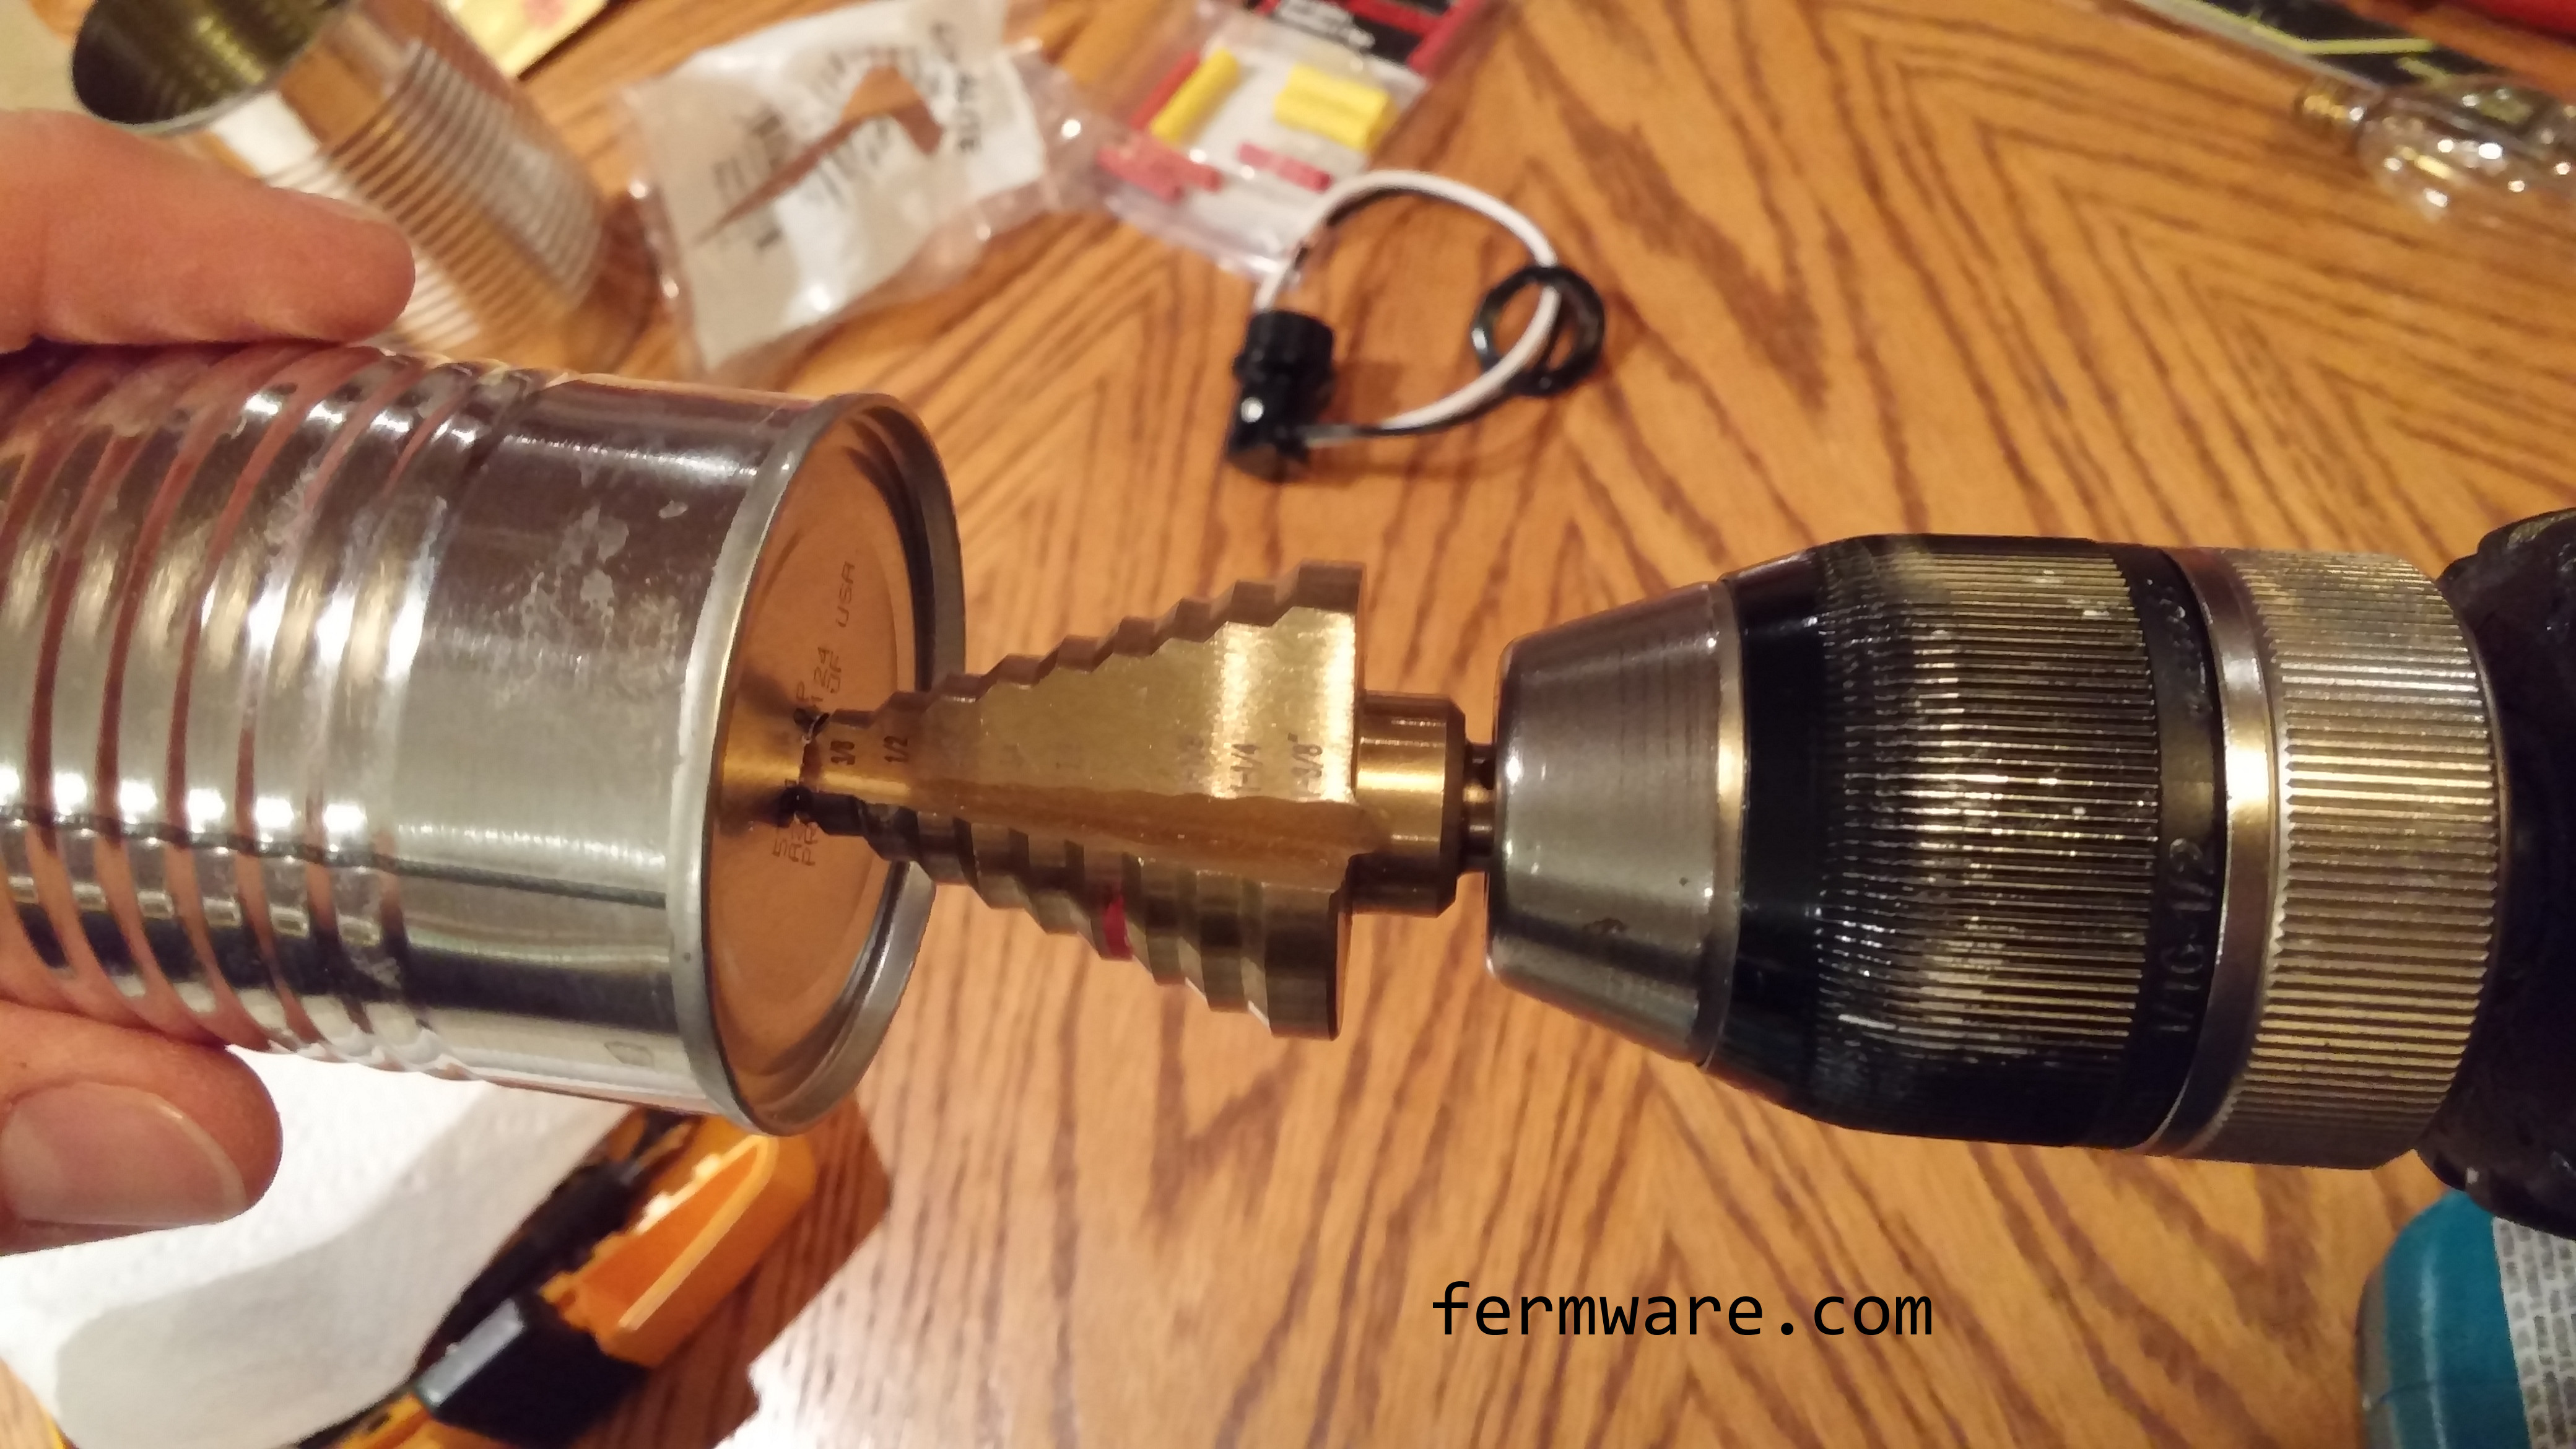
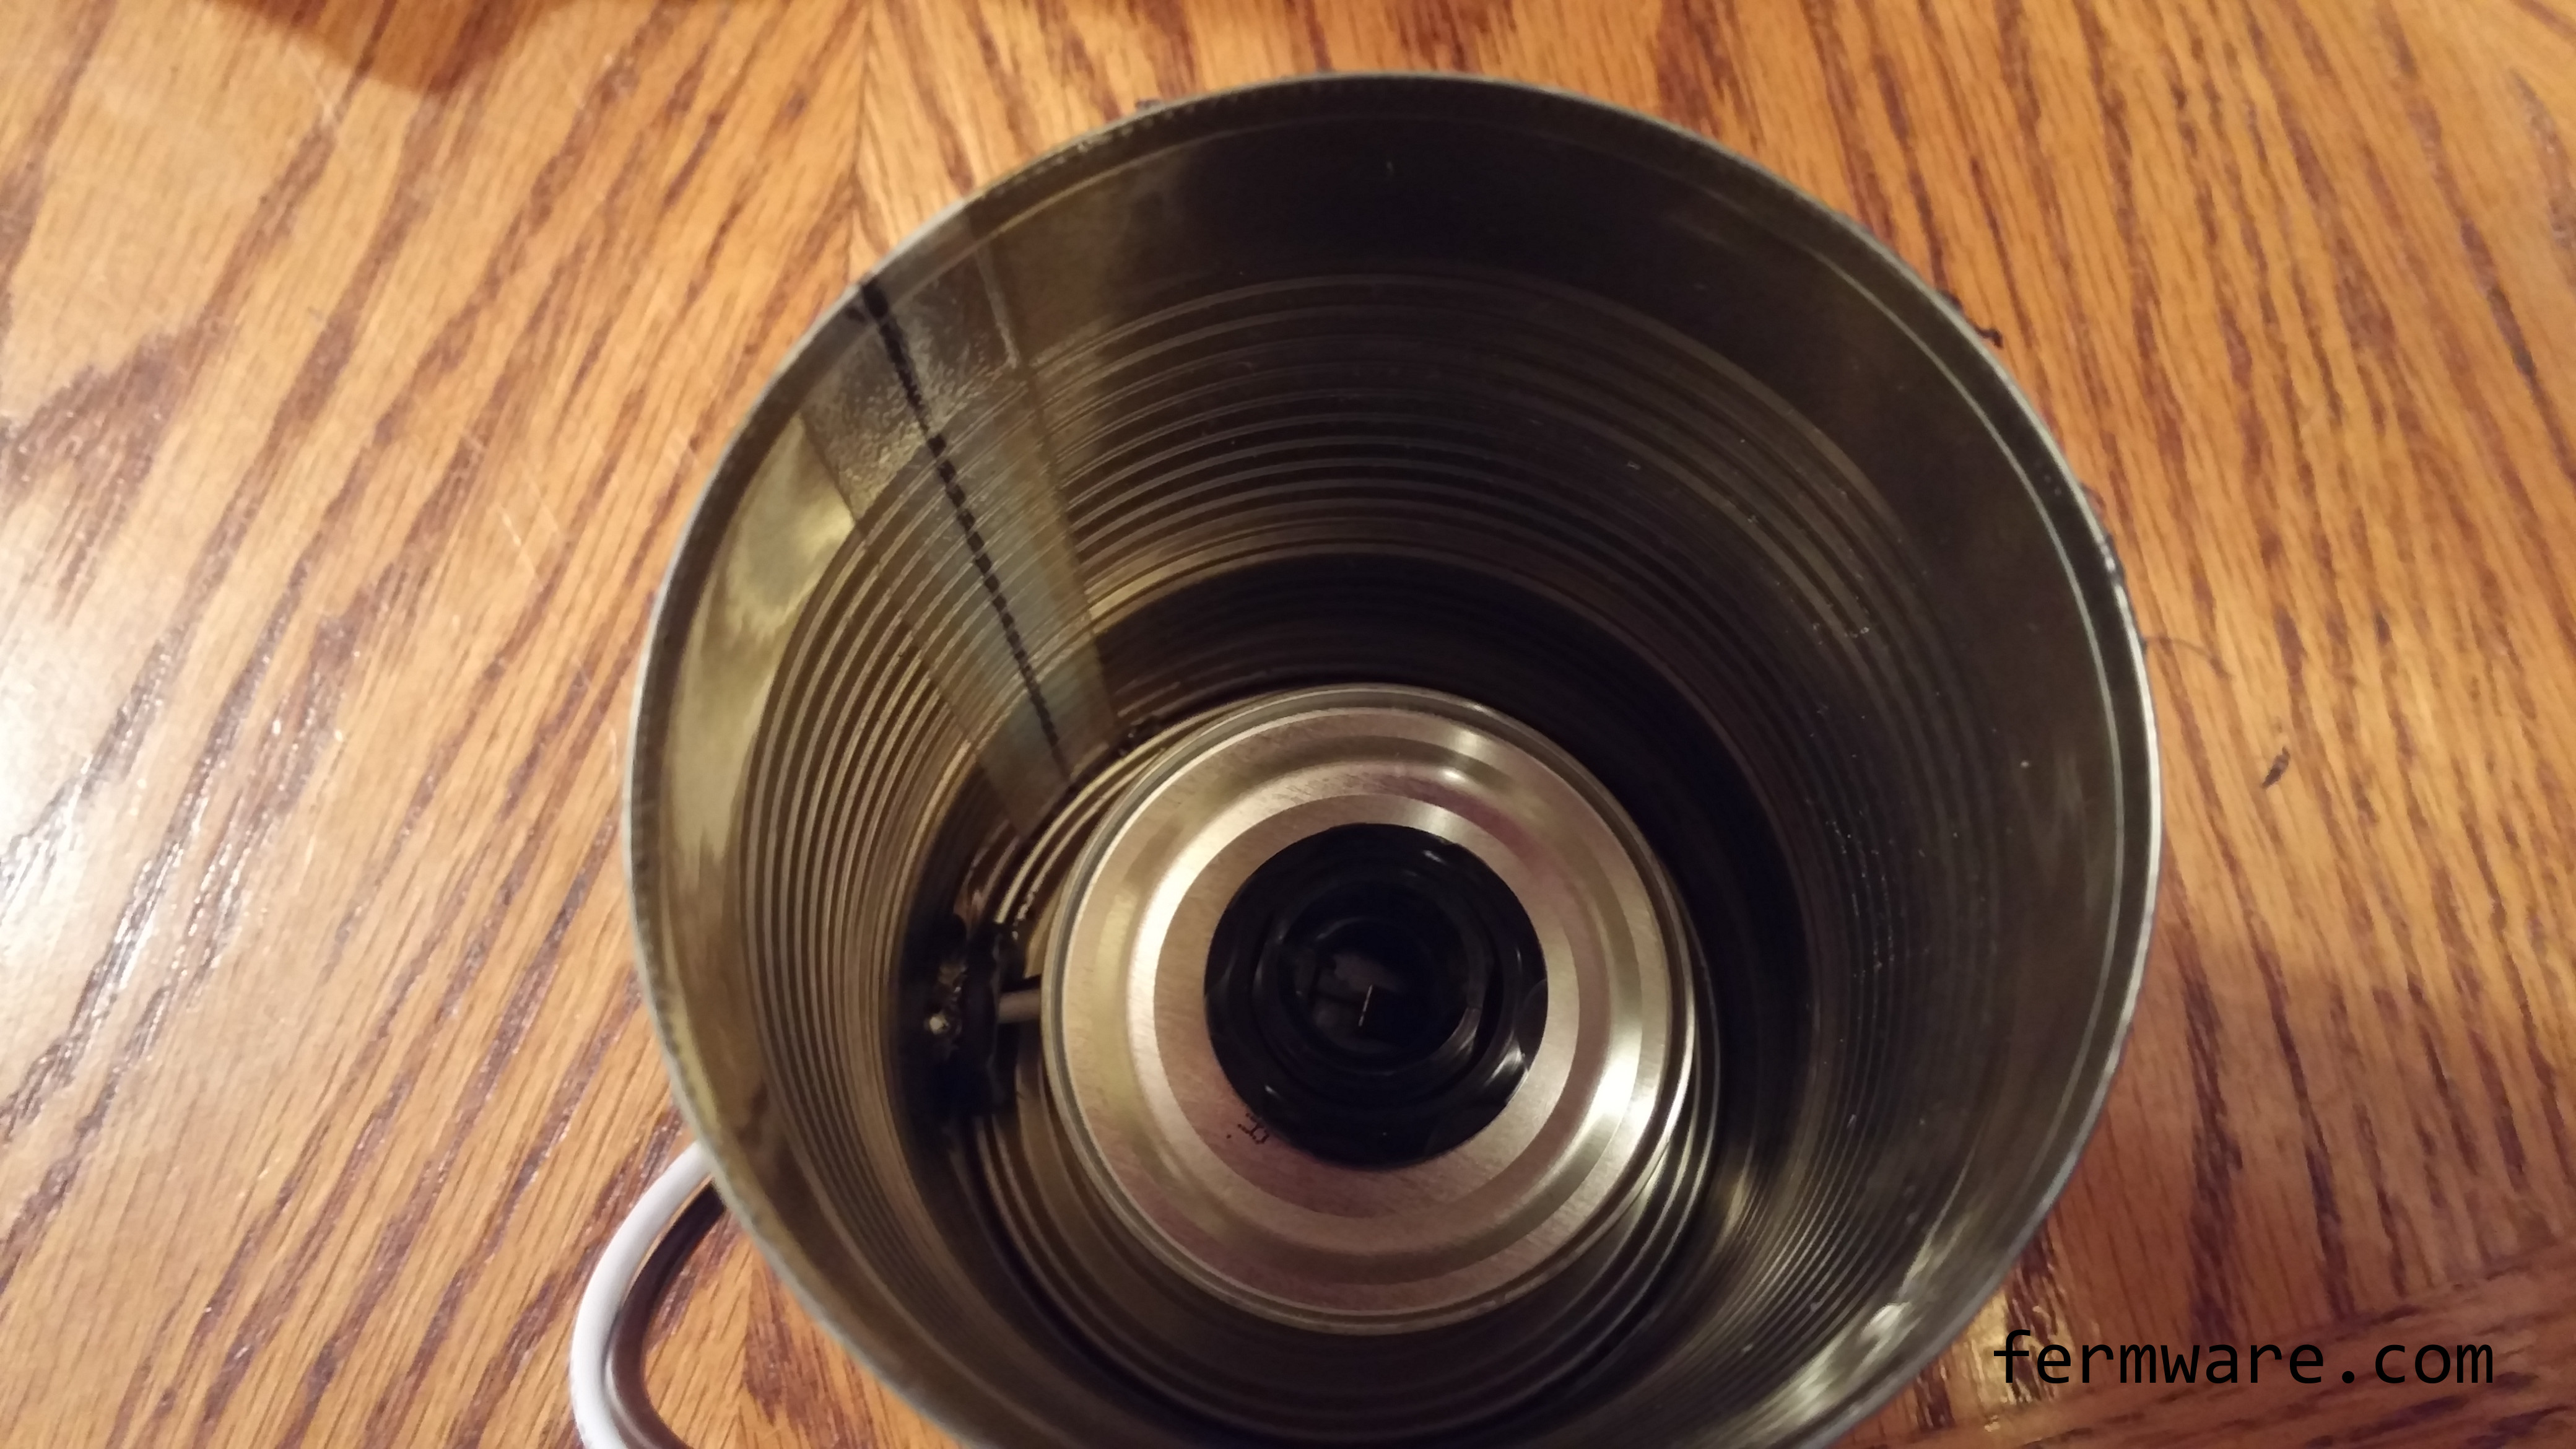
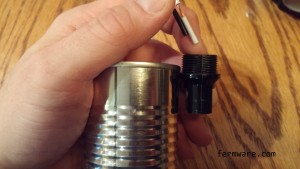
Drill a hole in the bottom of the tomato paste can as a pass through for the candelabra base. I pre-drilled with a standard drill bit and then cleaned it up with a step bit. I also used a deburring tool to clean up the edges.


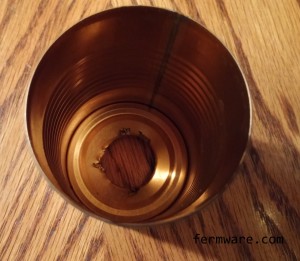
Then to cut it to length, it is easier if you pre-drill a hole to start your cut with the tin snips. Also, you may need to make another cut up the side to allow you to pull the metal aside as you cut around the can. BE CAREFUL, THE METAL IS THIN AND SHARP.
Since the cans are smooth and curved, it was helpful to center punch your hole location to give your drill bit a good place to start.


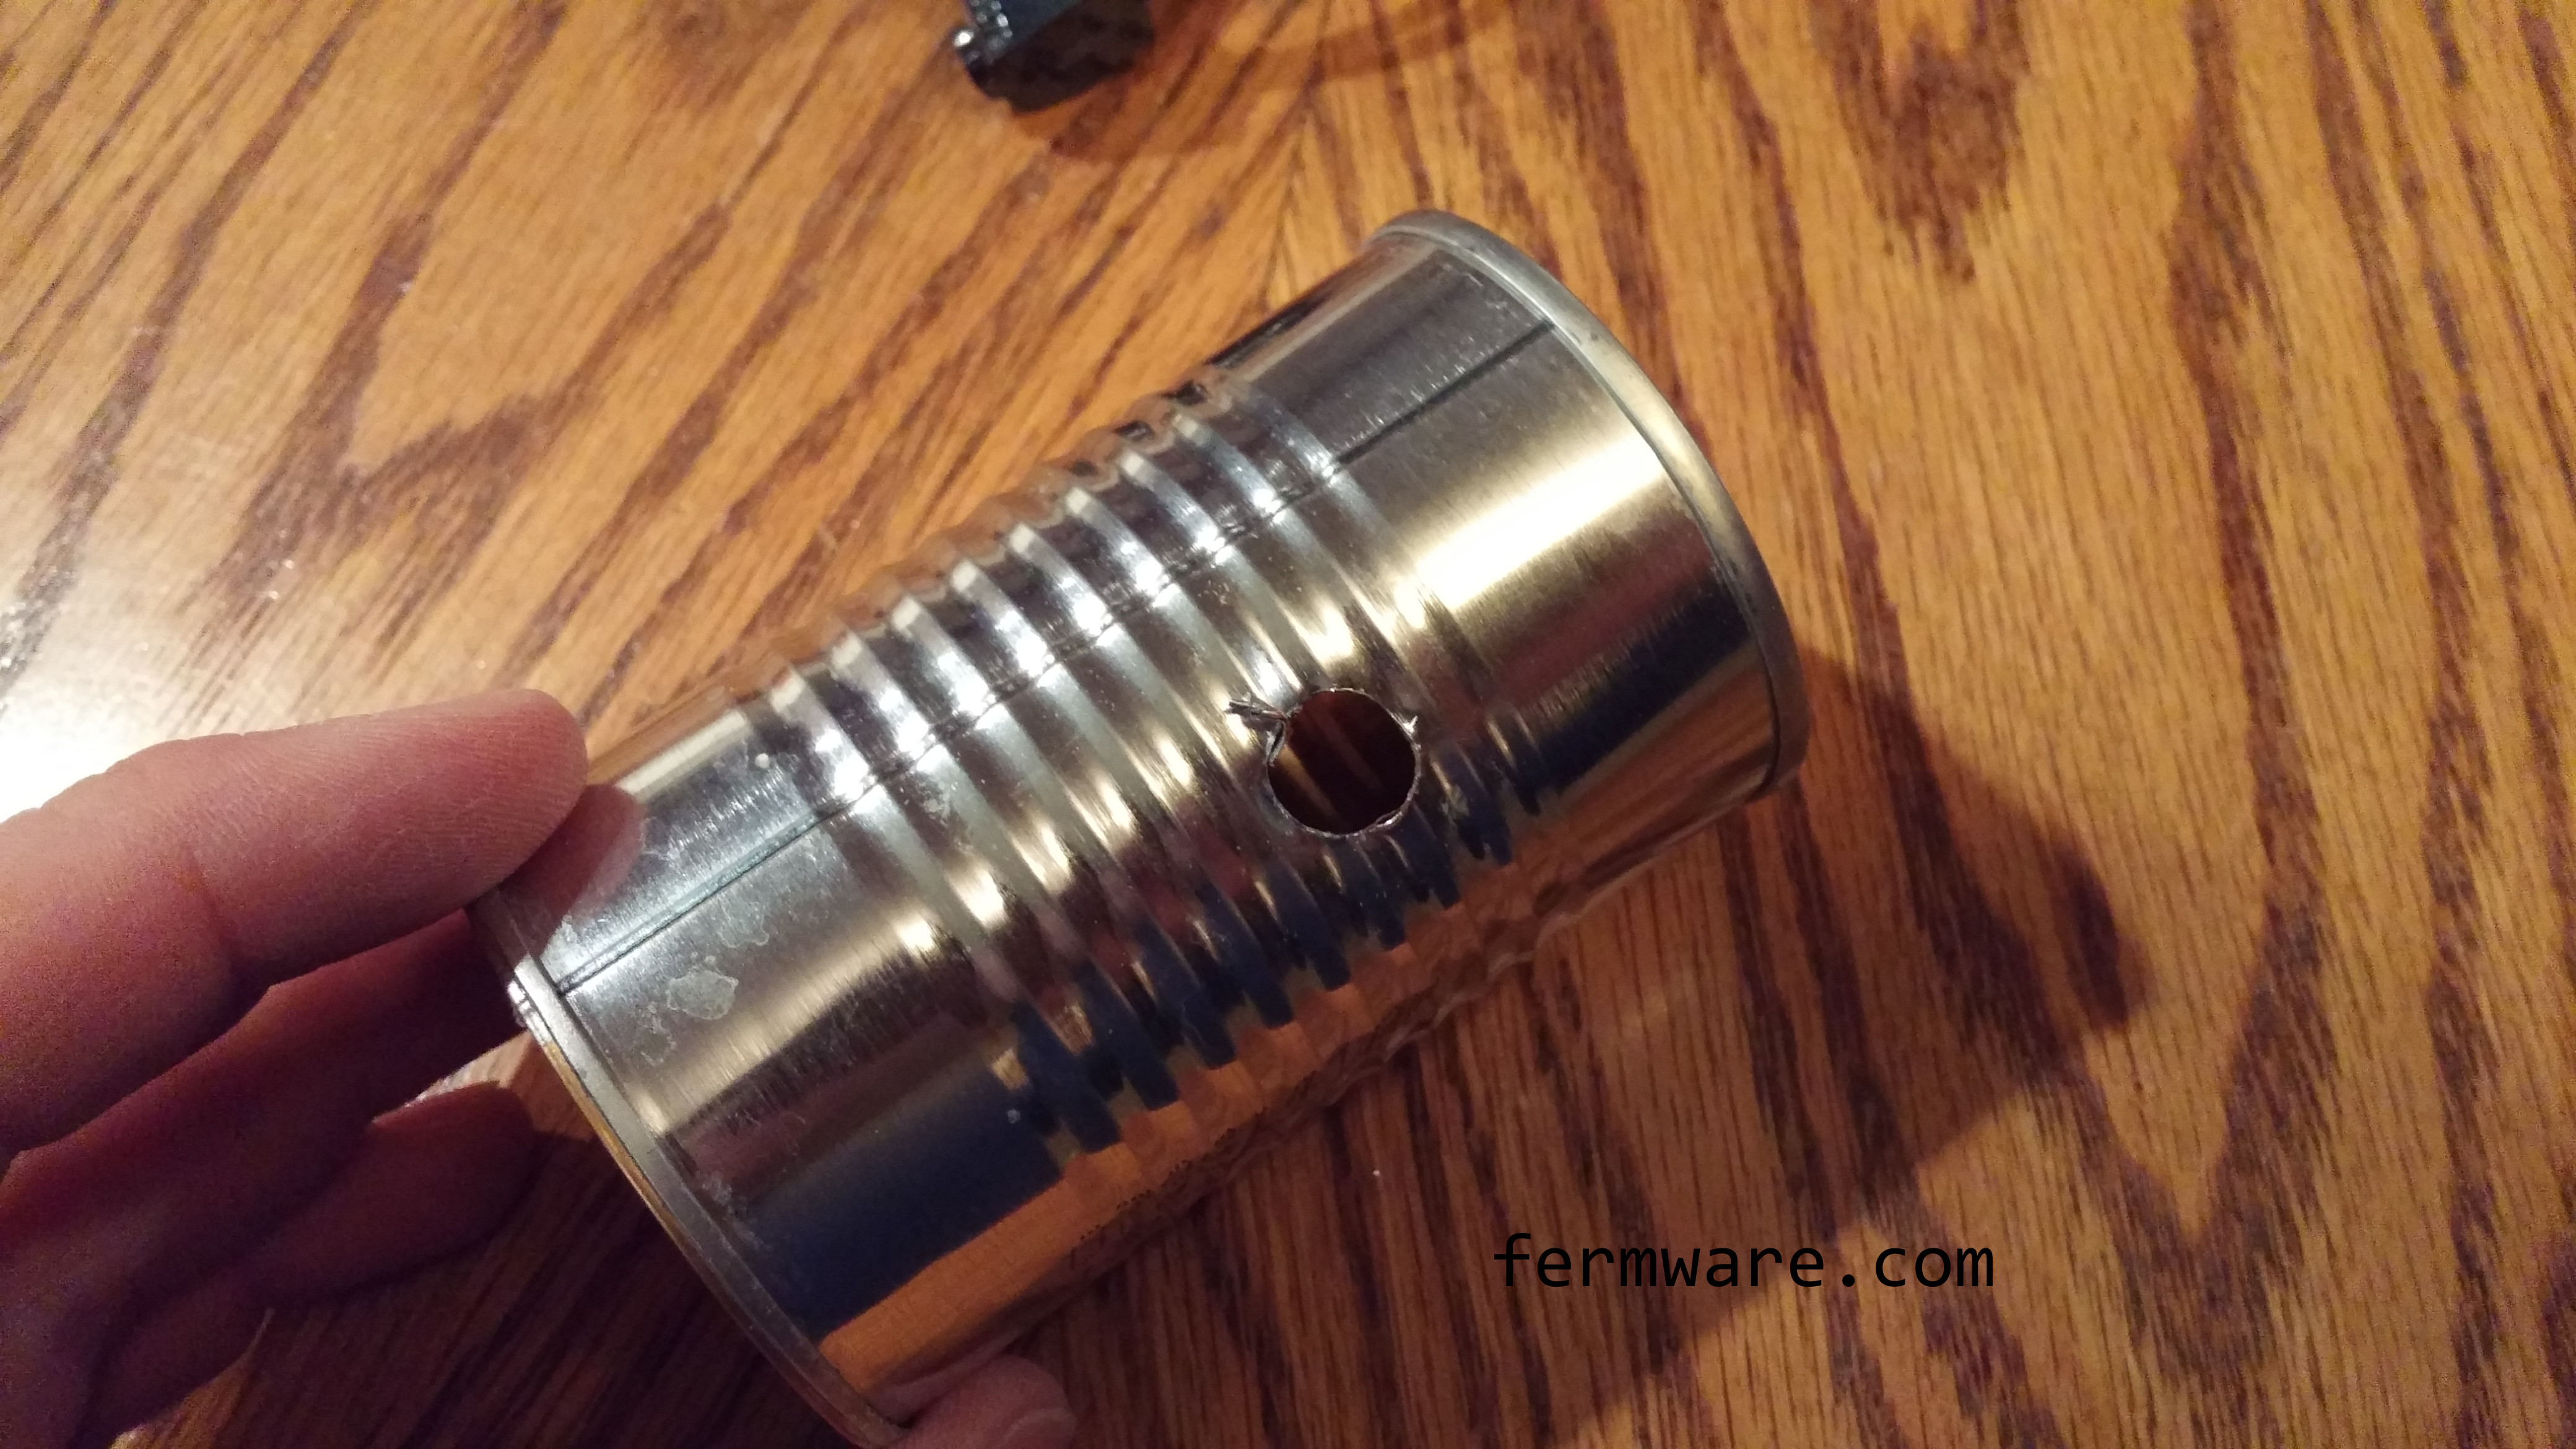
I also cut a simple pass through for the cord and you’ll want to cover the edges with some electrical tape so you don’t accidentally cut the cord.
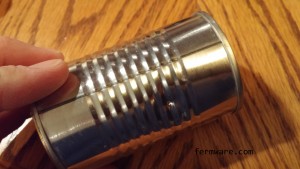
Housing / Standard Can
All you need to modify on the housing is to drill a hole for the wire to pass through. I actually just cut a 1/2″ diameter hole and then used a spare grommet from one of my fermenter lids to protect the cord.

Attach the candelabra socket to the base
This is pretty straightforward. Just take the collar off of the socket, feed the socket through your hole and tighten the collar.
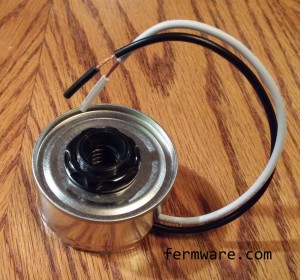
Feed the wire through the hole in the housing
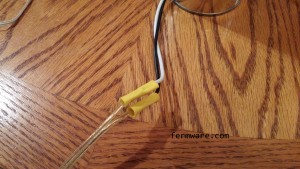
Connect your power cord to the light socket
For this, I’m going to direct you to the interwebs to figure out which wire goes where:
Lamp cord polarity

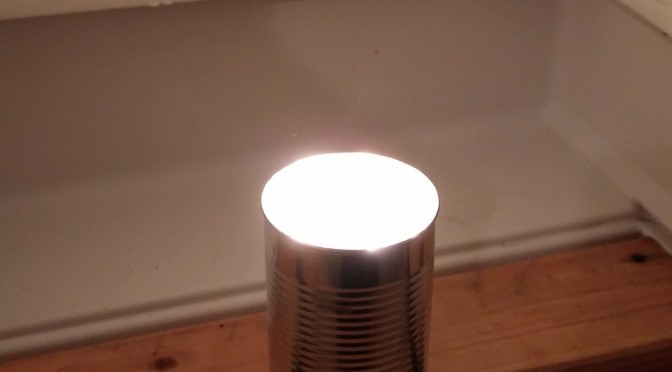
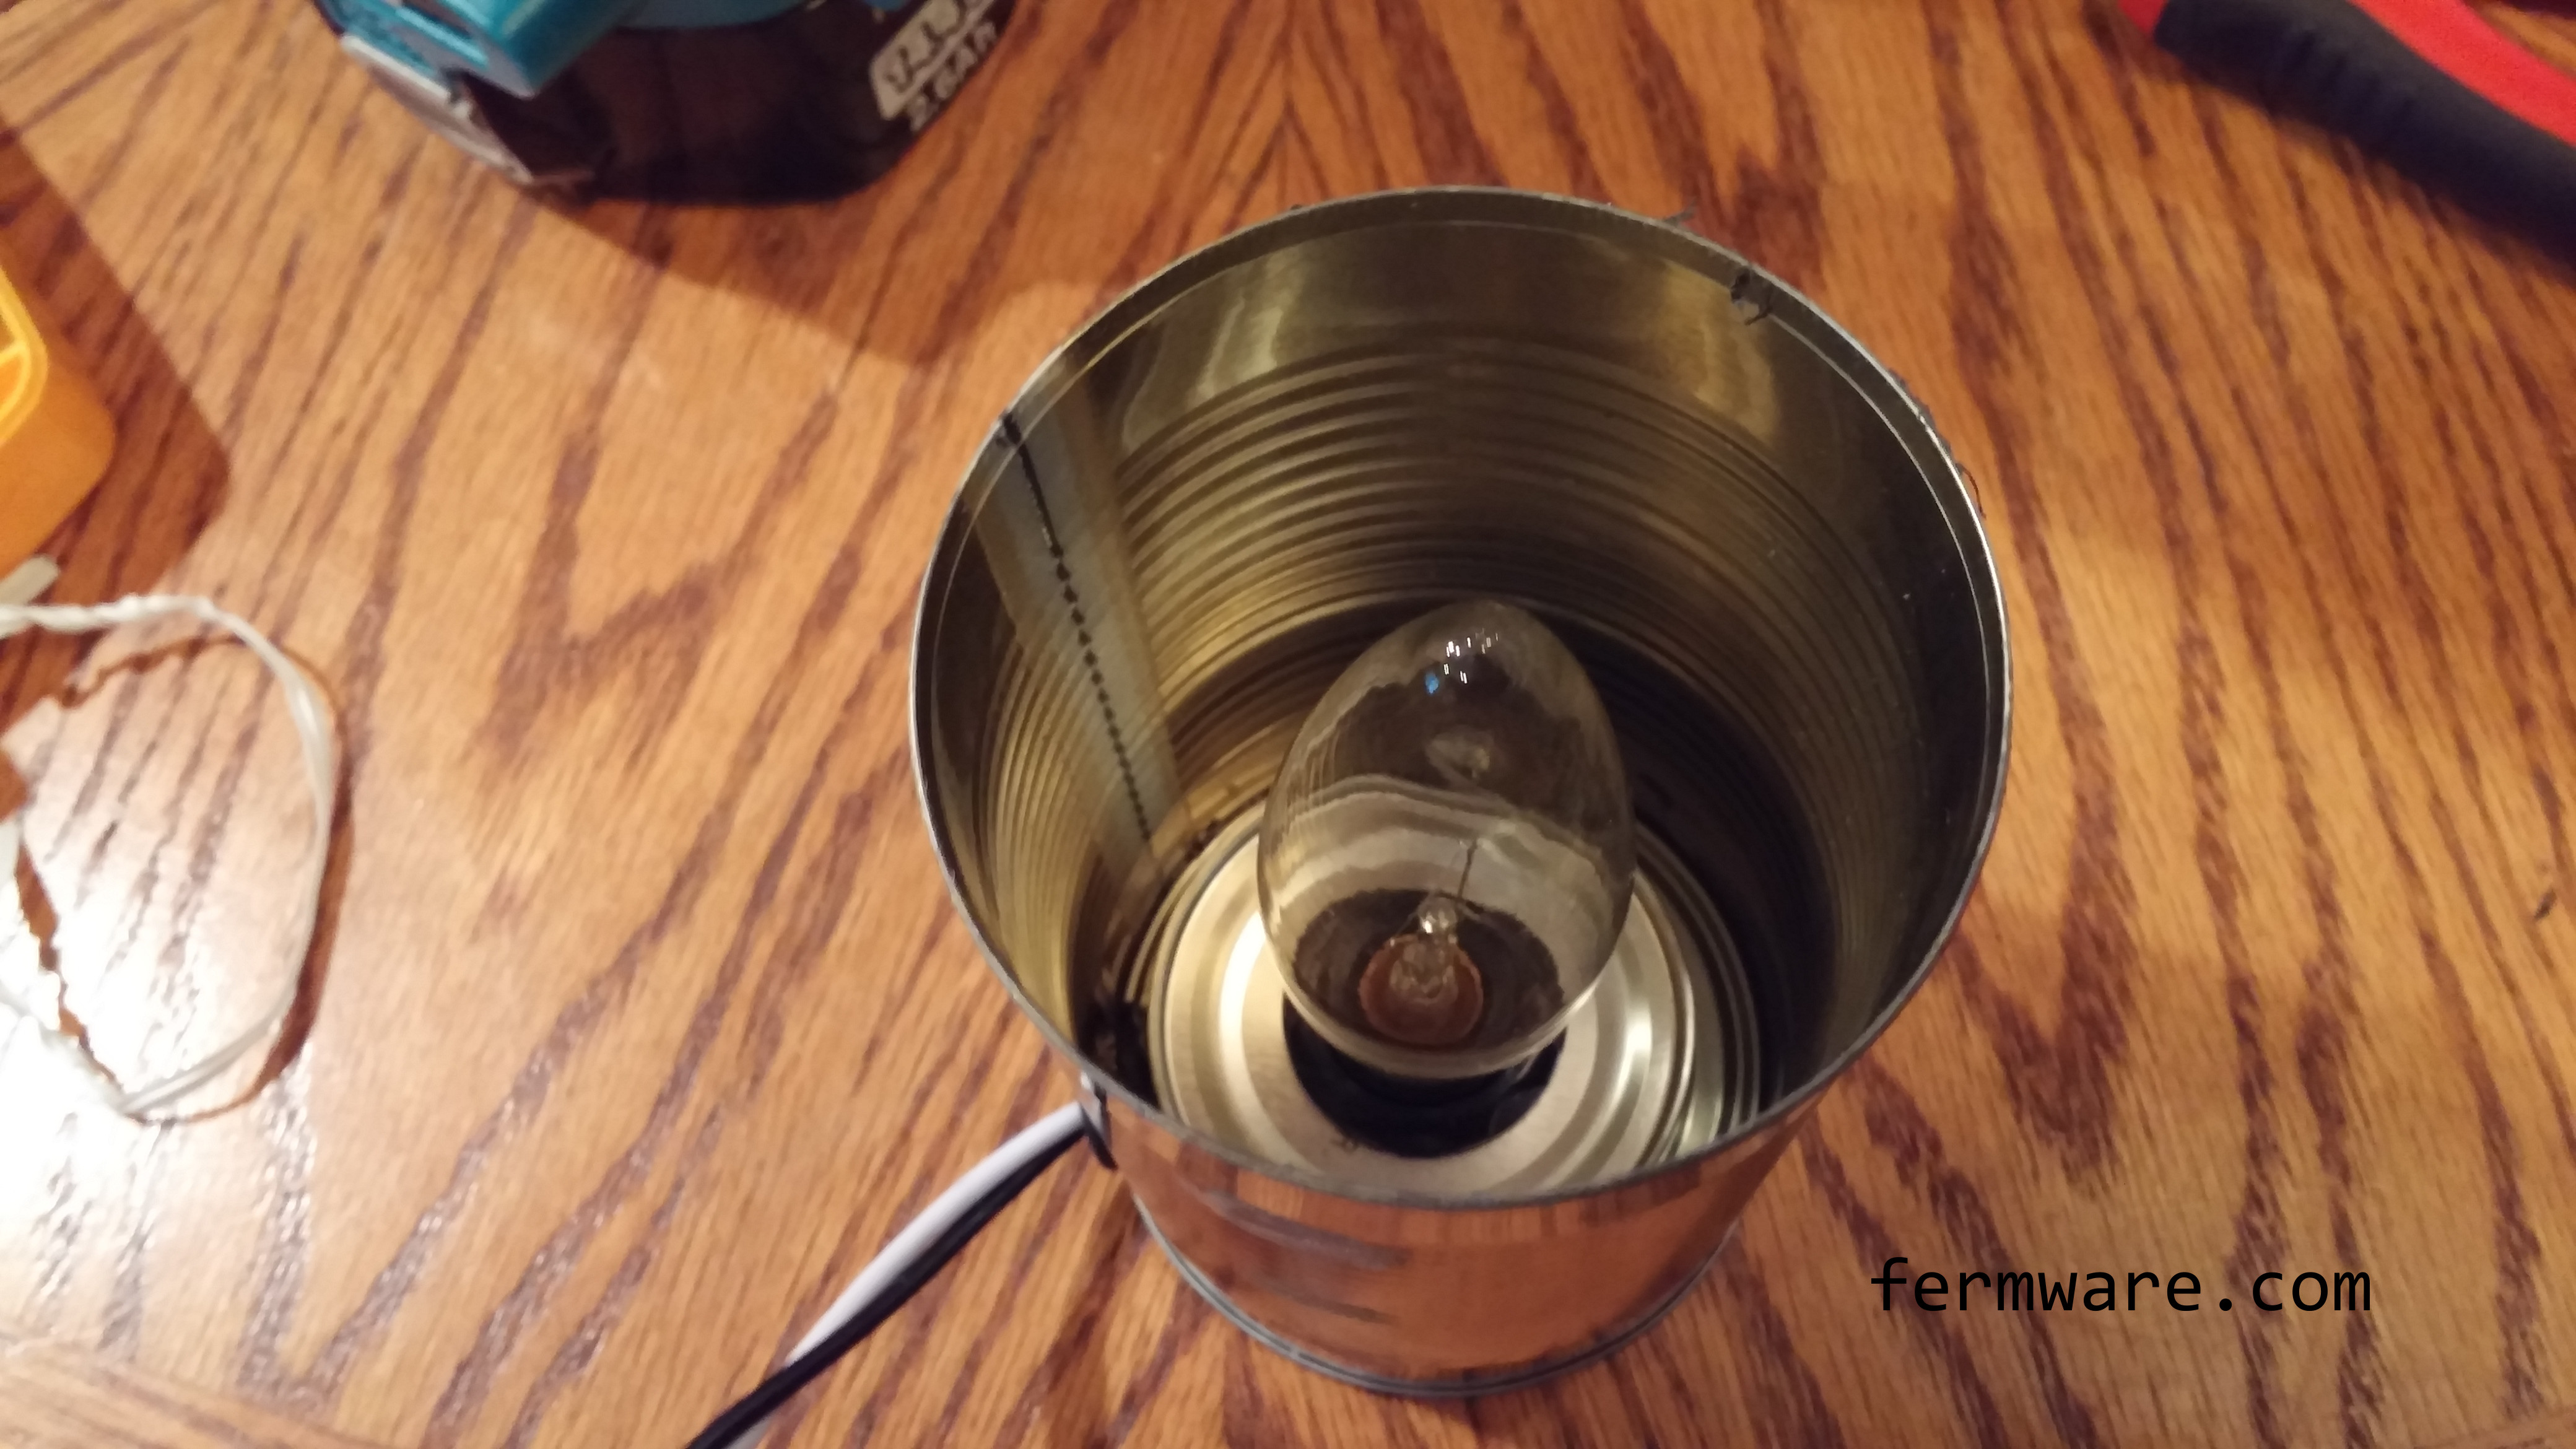
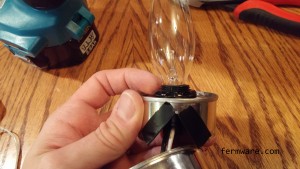
Install the bulb
I started with a 25W candelabra bulb that we had on hand for our sconces in the basement. It heated my converted dorm fridge from 55 to 65 in about an hour with nothing in it. I would suggest trying different wattages until you find something you are comfortable with.
Remember, just like electric heating elements in kettles, the concept of wattage density could matter. If you go too high on the wattage, you might risk melting some plastic inside your chamber, the bucket or create a focused hot spot in your fermentation vessel.

Plug into the heater side of your temperature controller.