Category Archives: Downloads

Fermware DIY’s featured in Zymurgy’s 9th Annual Homebrew Gadgets Issue

I’m honored to have two of my DIY’s featured in Zymurgy’s 9th Annual Homebrew Gadgets Issue!
My two posts featured were:
The very popular Homer Hopper build complete with CAD templates.

Difficulty: level_3

Zymurgy has been kind enough to allow me to post the article on my website, so just read the article and support the AHA!

Affiliate Links

Download the article by subscribing:

By clicking on the download, you agree to the terms of the Copyright from Zymurgy magazine and to be added to the awesome fermware.com subscriber list. Don’t worry, you won’t receive a bunch of trub in your inbox.

AHA-webbanner-180x150


Merry Christmas and a Hoppy New Year!

It’s a cheesy title, but I couldn’t help it.  Many of you have seen the post on my 3D Printed Tap Handles and I’ve gotten an overwhelming amount of interest, which is precisely the reason I have not posted anything new in about a month.  In this post, I’m going to show my 3D printed Hop Cone Christmas Light Covers.

Difficulty: level_5

Due to the investment in a 3D printer and the amount of time it takes to get one dialed in and making parts, this one gets a high difficulty rating.

You also must posses some CAD design skills to generate the required files to send to the 3D printer.

Time Required:

For the print time only, my virtual hop farm takes about 8 hours to grow.  Much quicker than real hops.

Affiliate Links

Cost:

$300 to $3000 depending on how nice of a printer you want to get.

Required:

A 3D printer

Background

Recently, my printer has been running as much as the ideas in my head.  Having a 3D printer lets your imagination run wild and here I’m going to show you my latest brewing related creation, Hop Cone Christmas Light Covers.

017-Homer with lights on in light

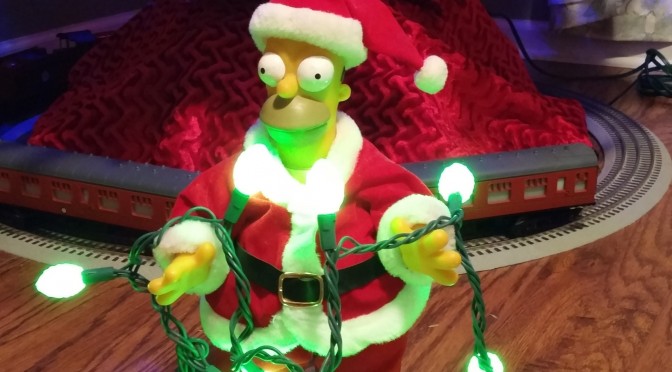
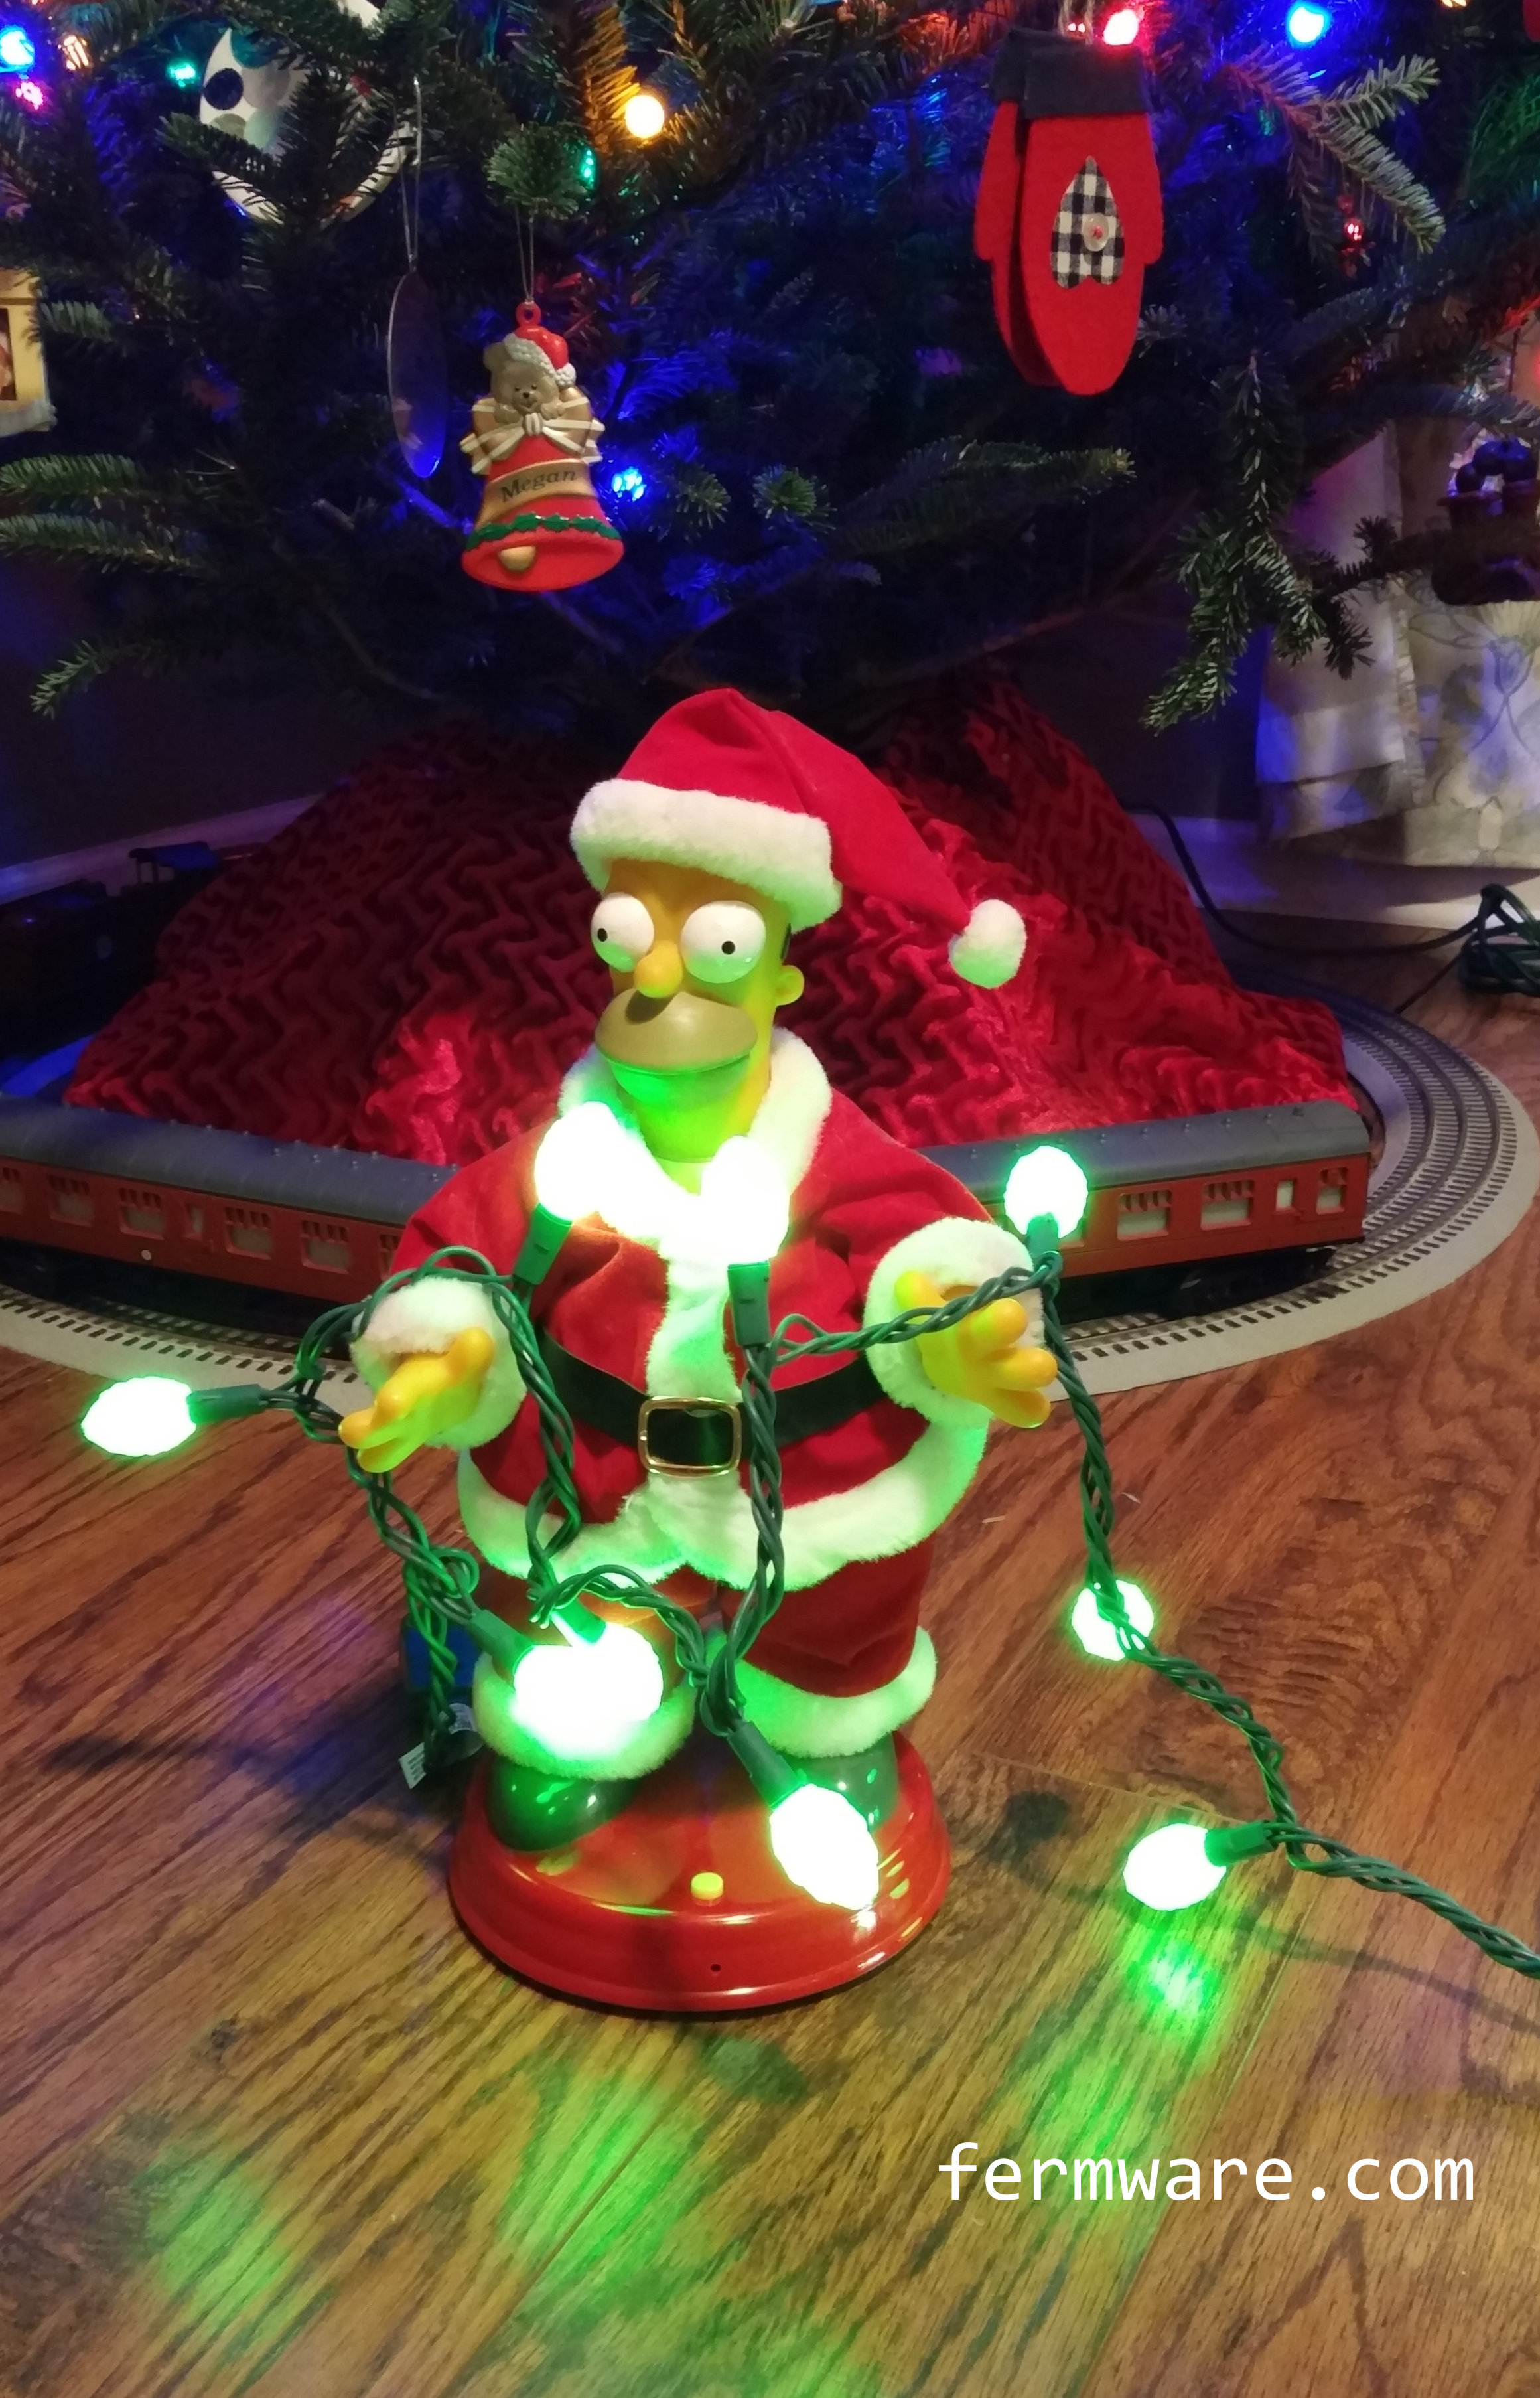
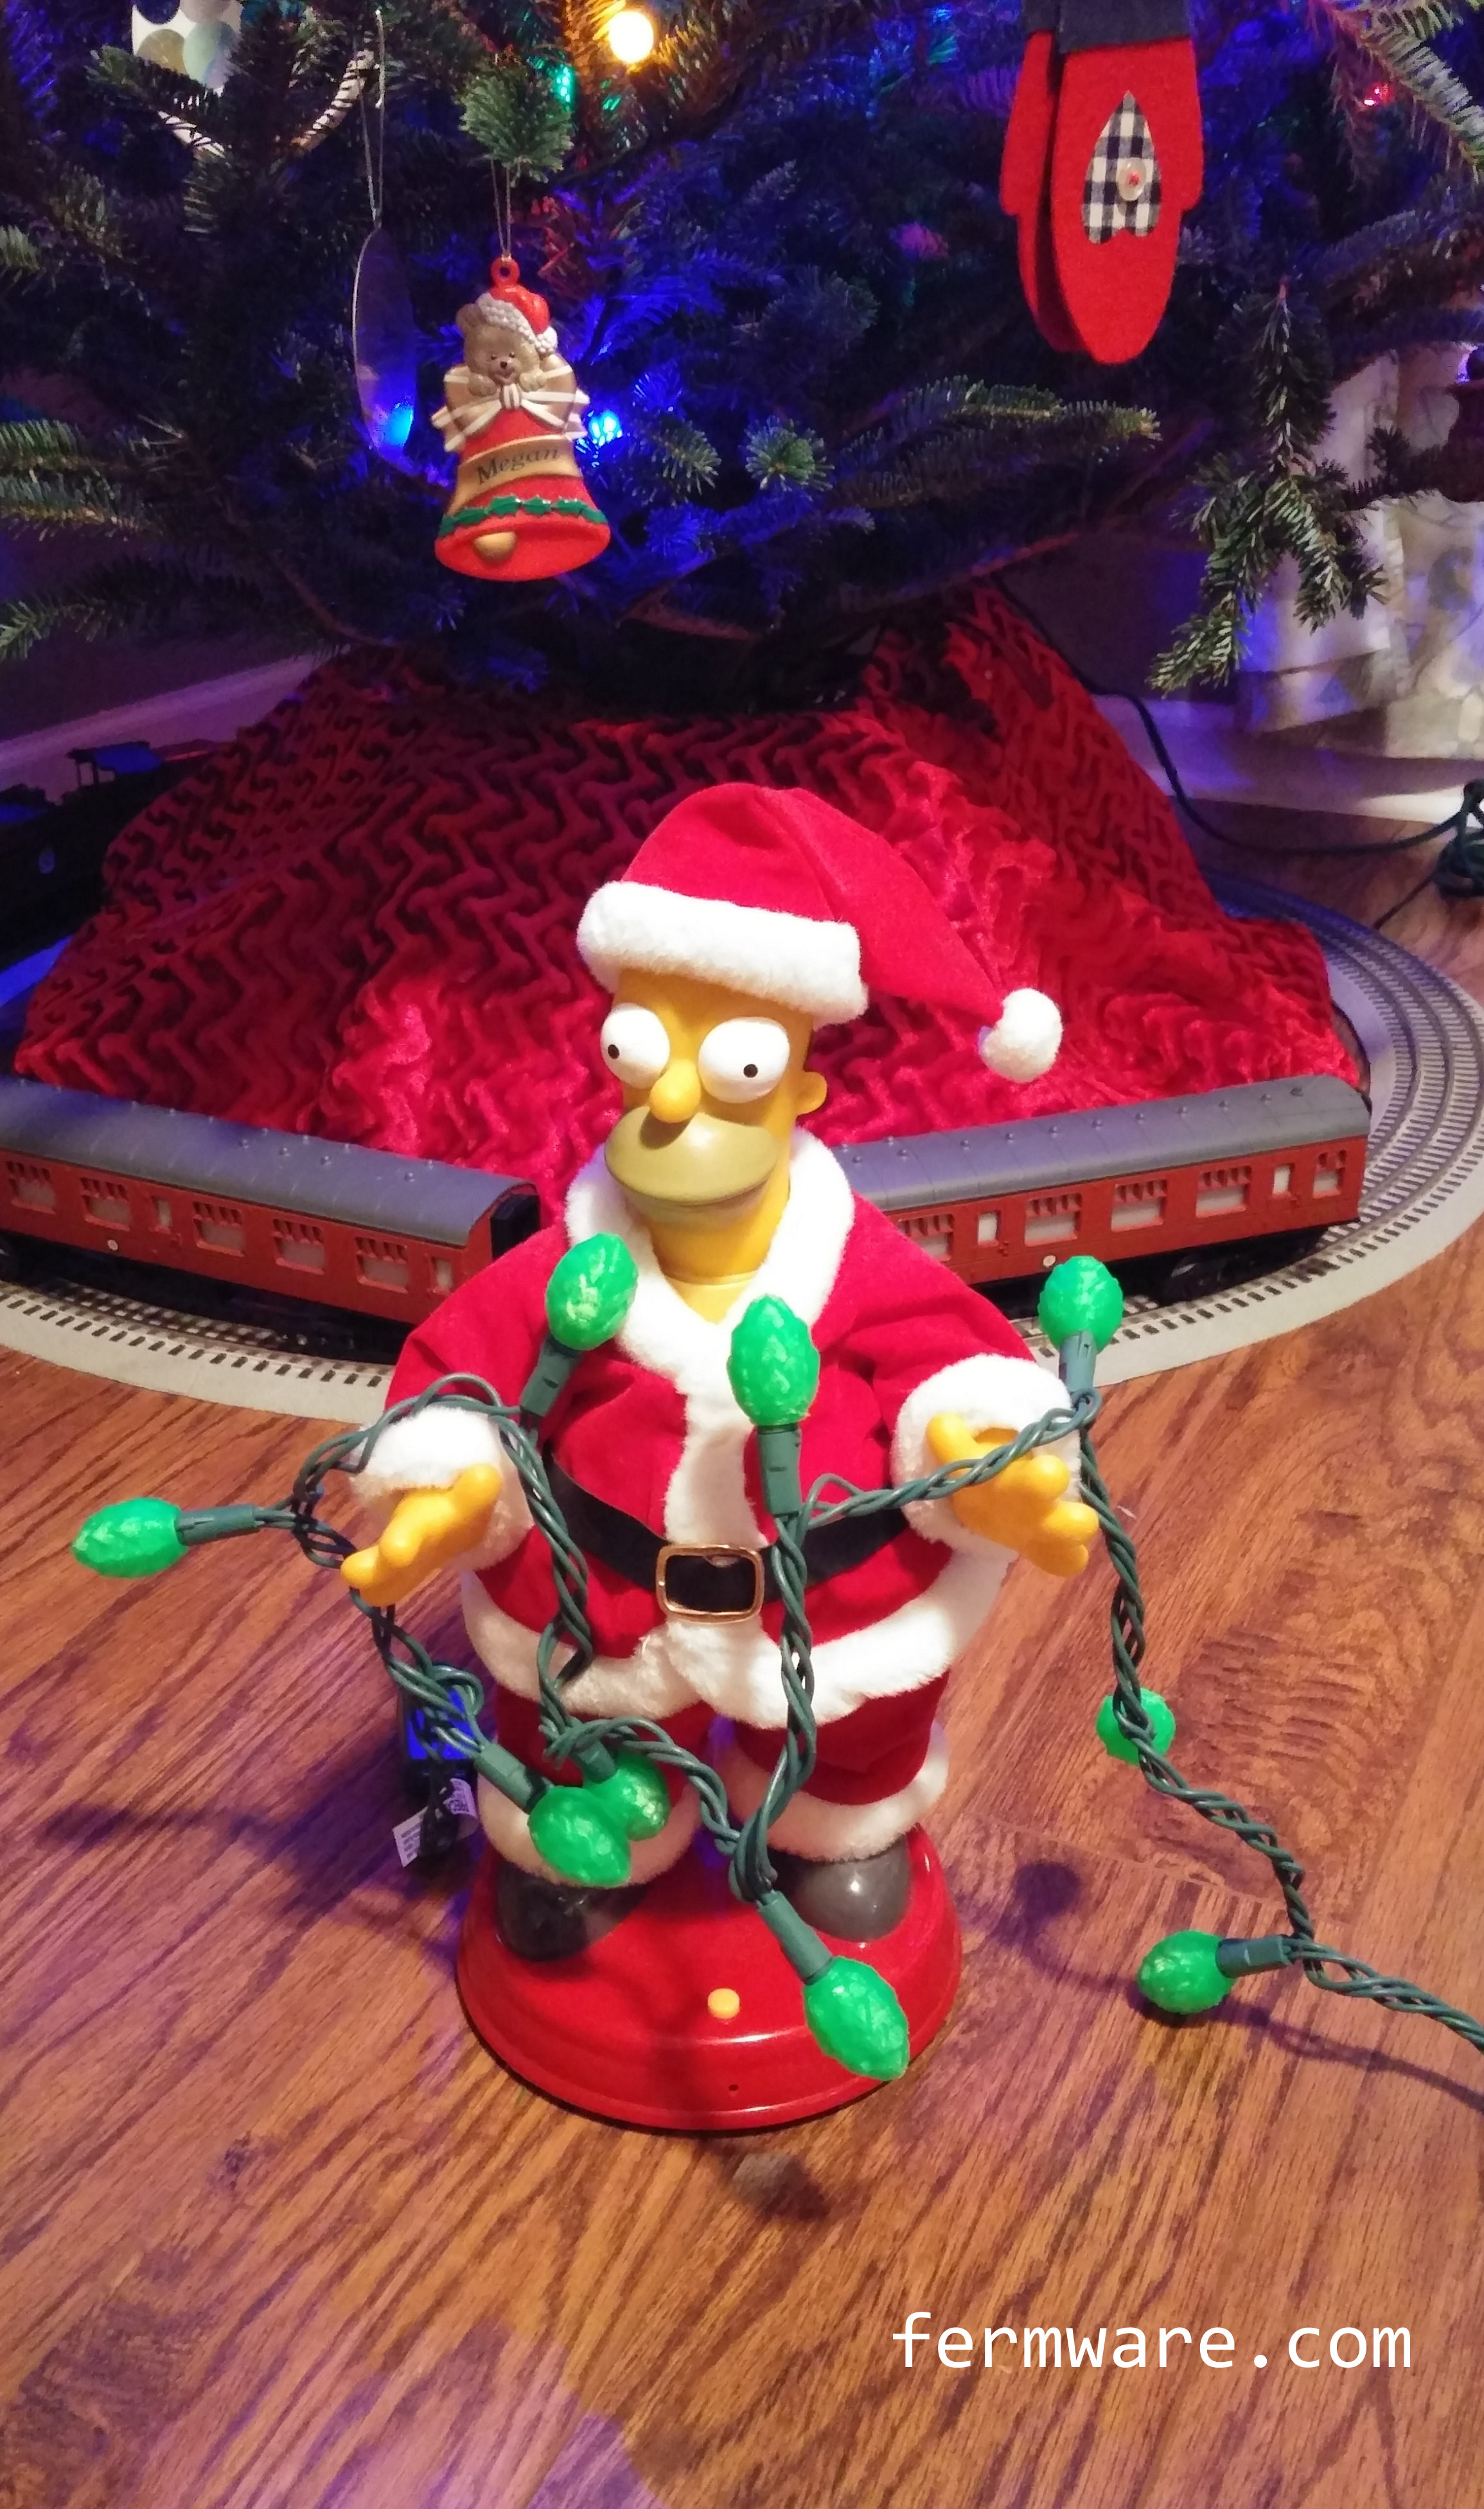
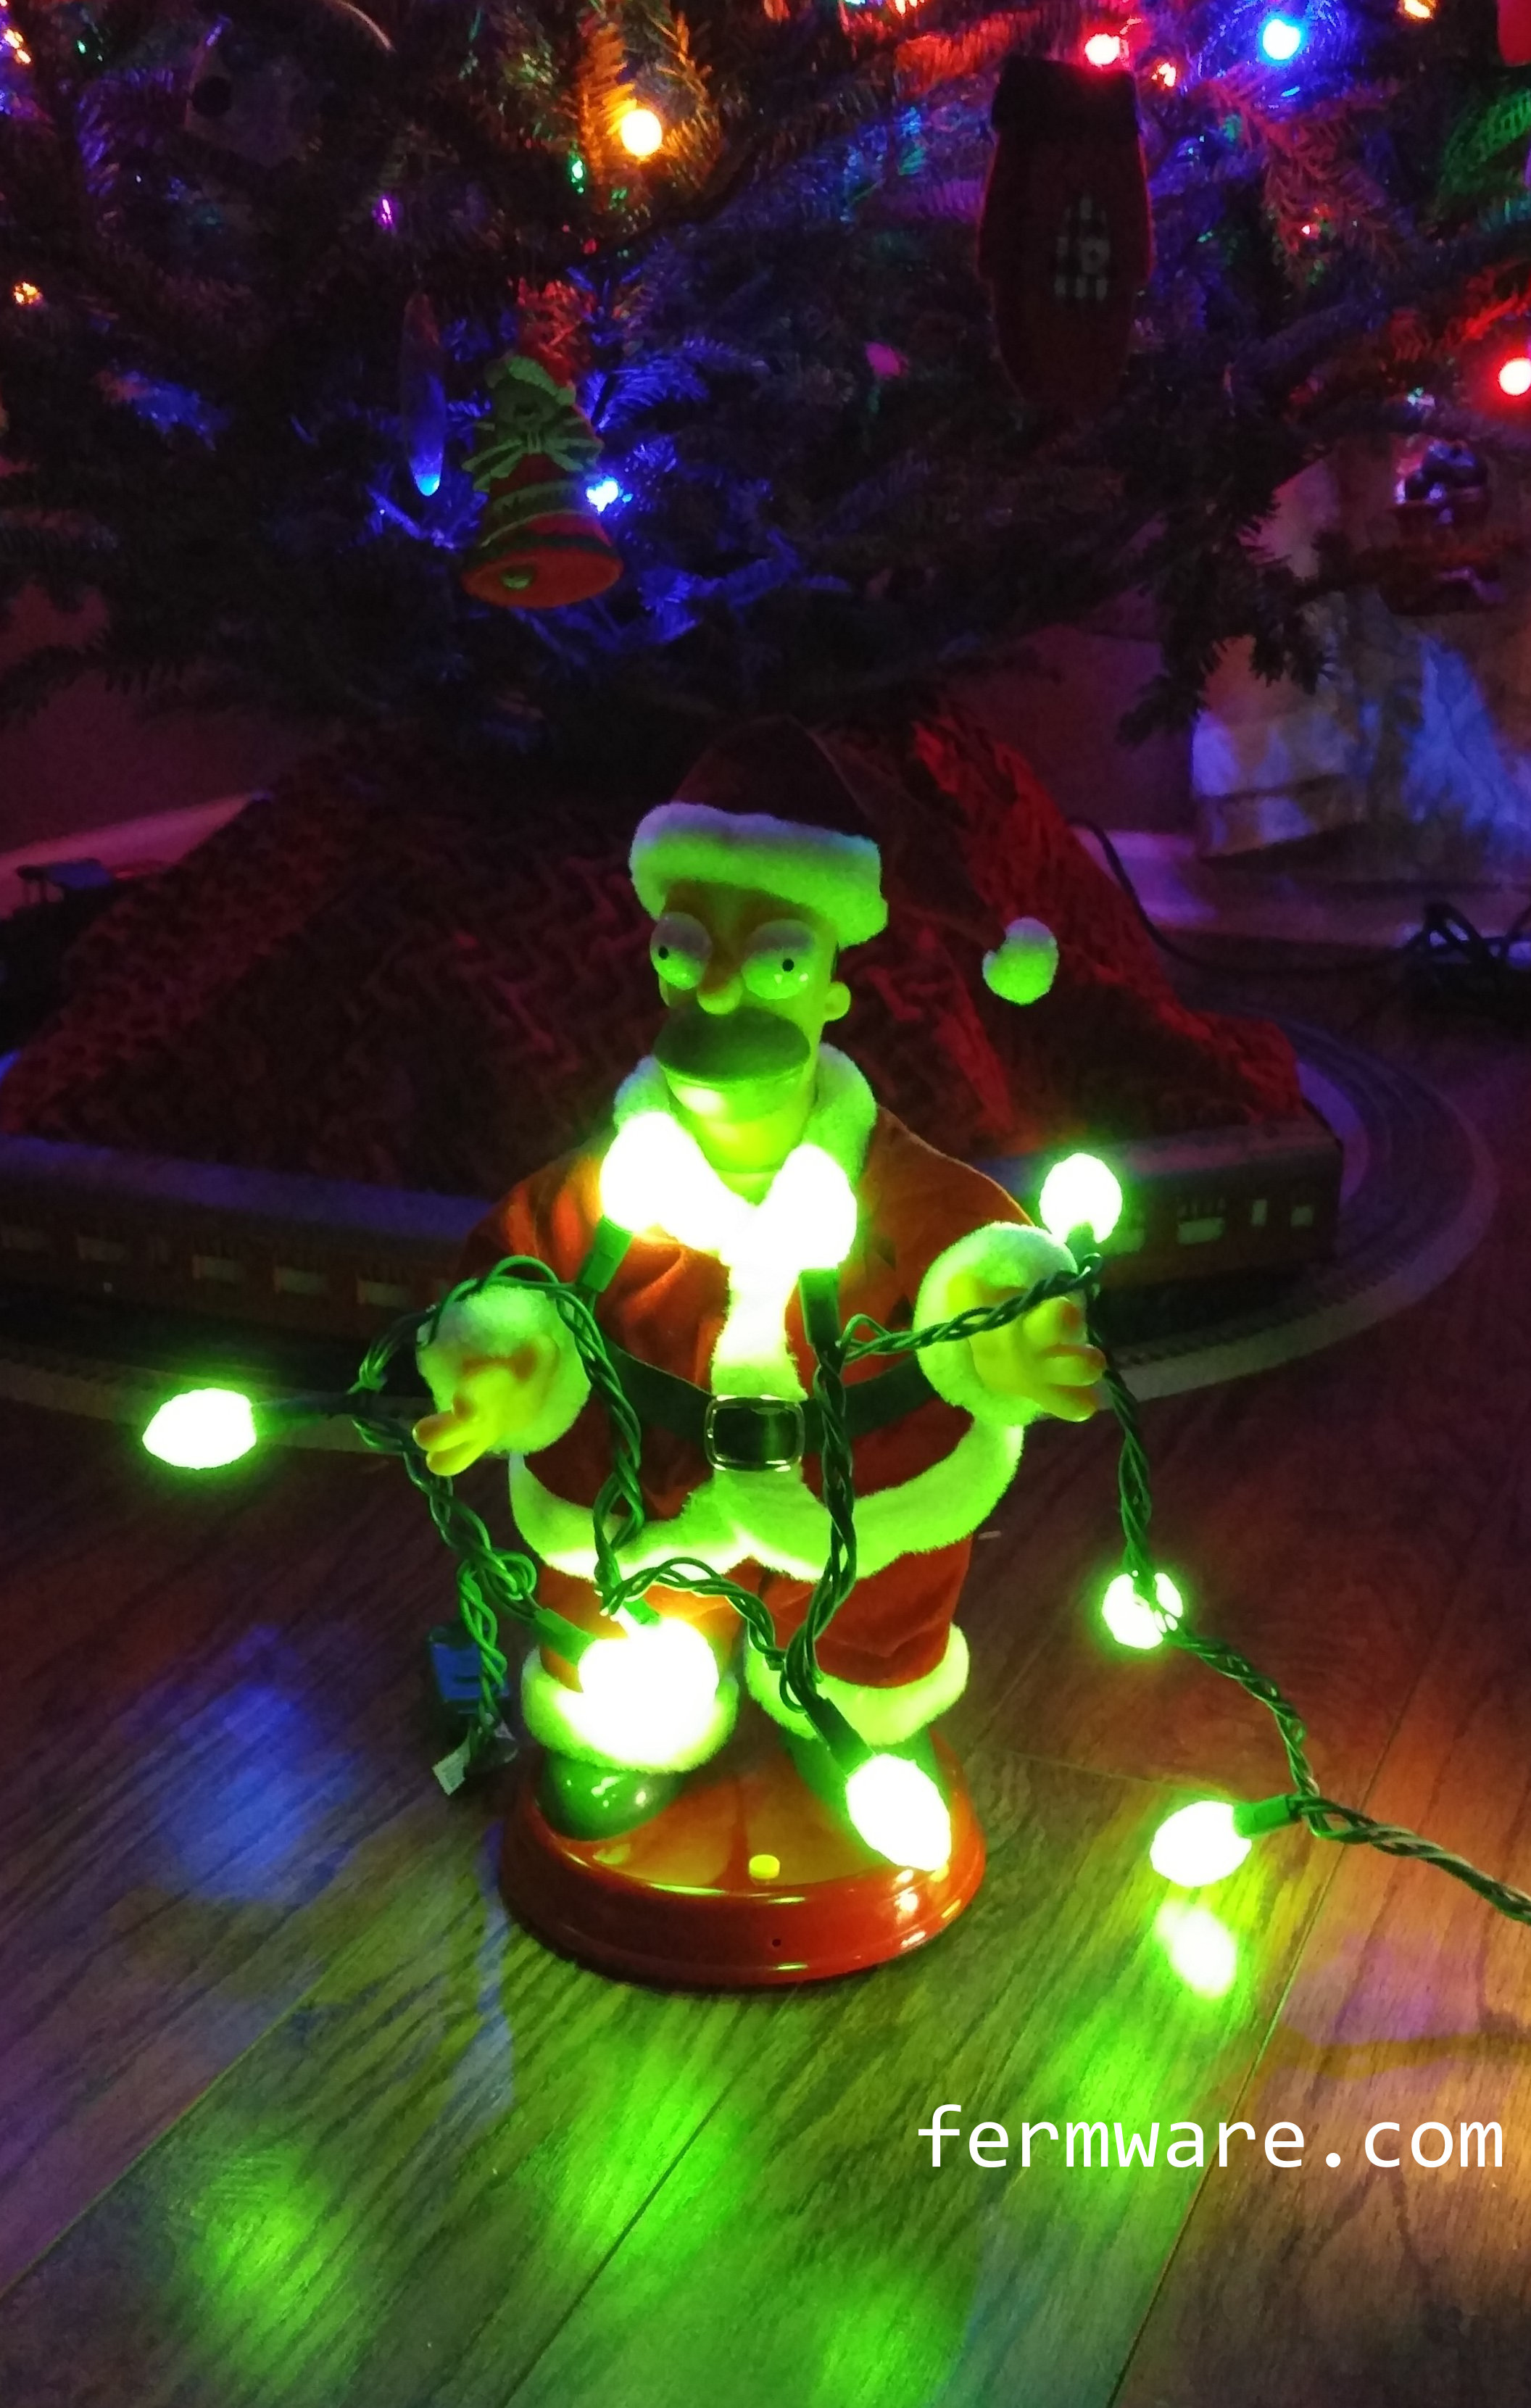
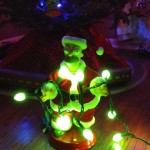
Yes, that’s my Homer Santa Claus.  It was a gift from a great friend many years ago and I still look forward to getting it out every year.  The camera failed to do the color justice when the lights are lit, but they glow a pretty standard green.

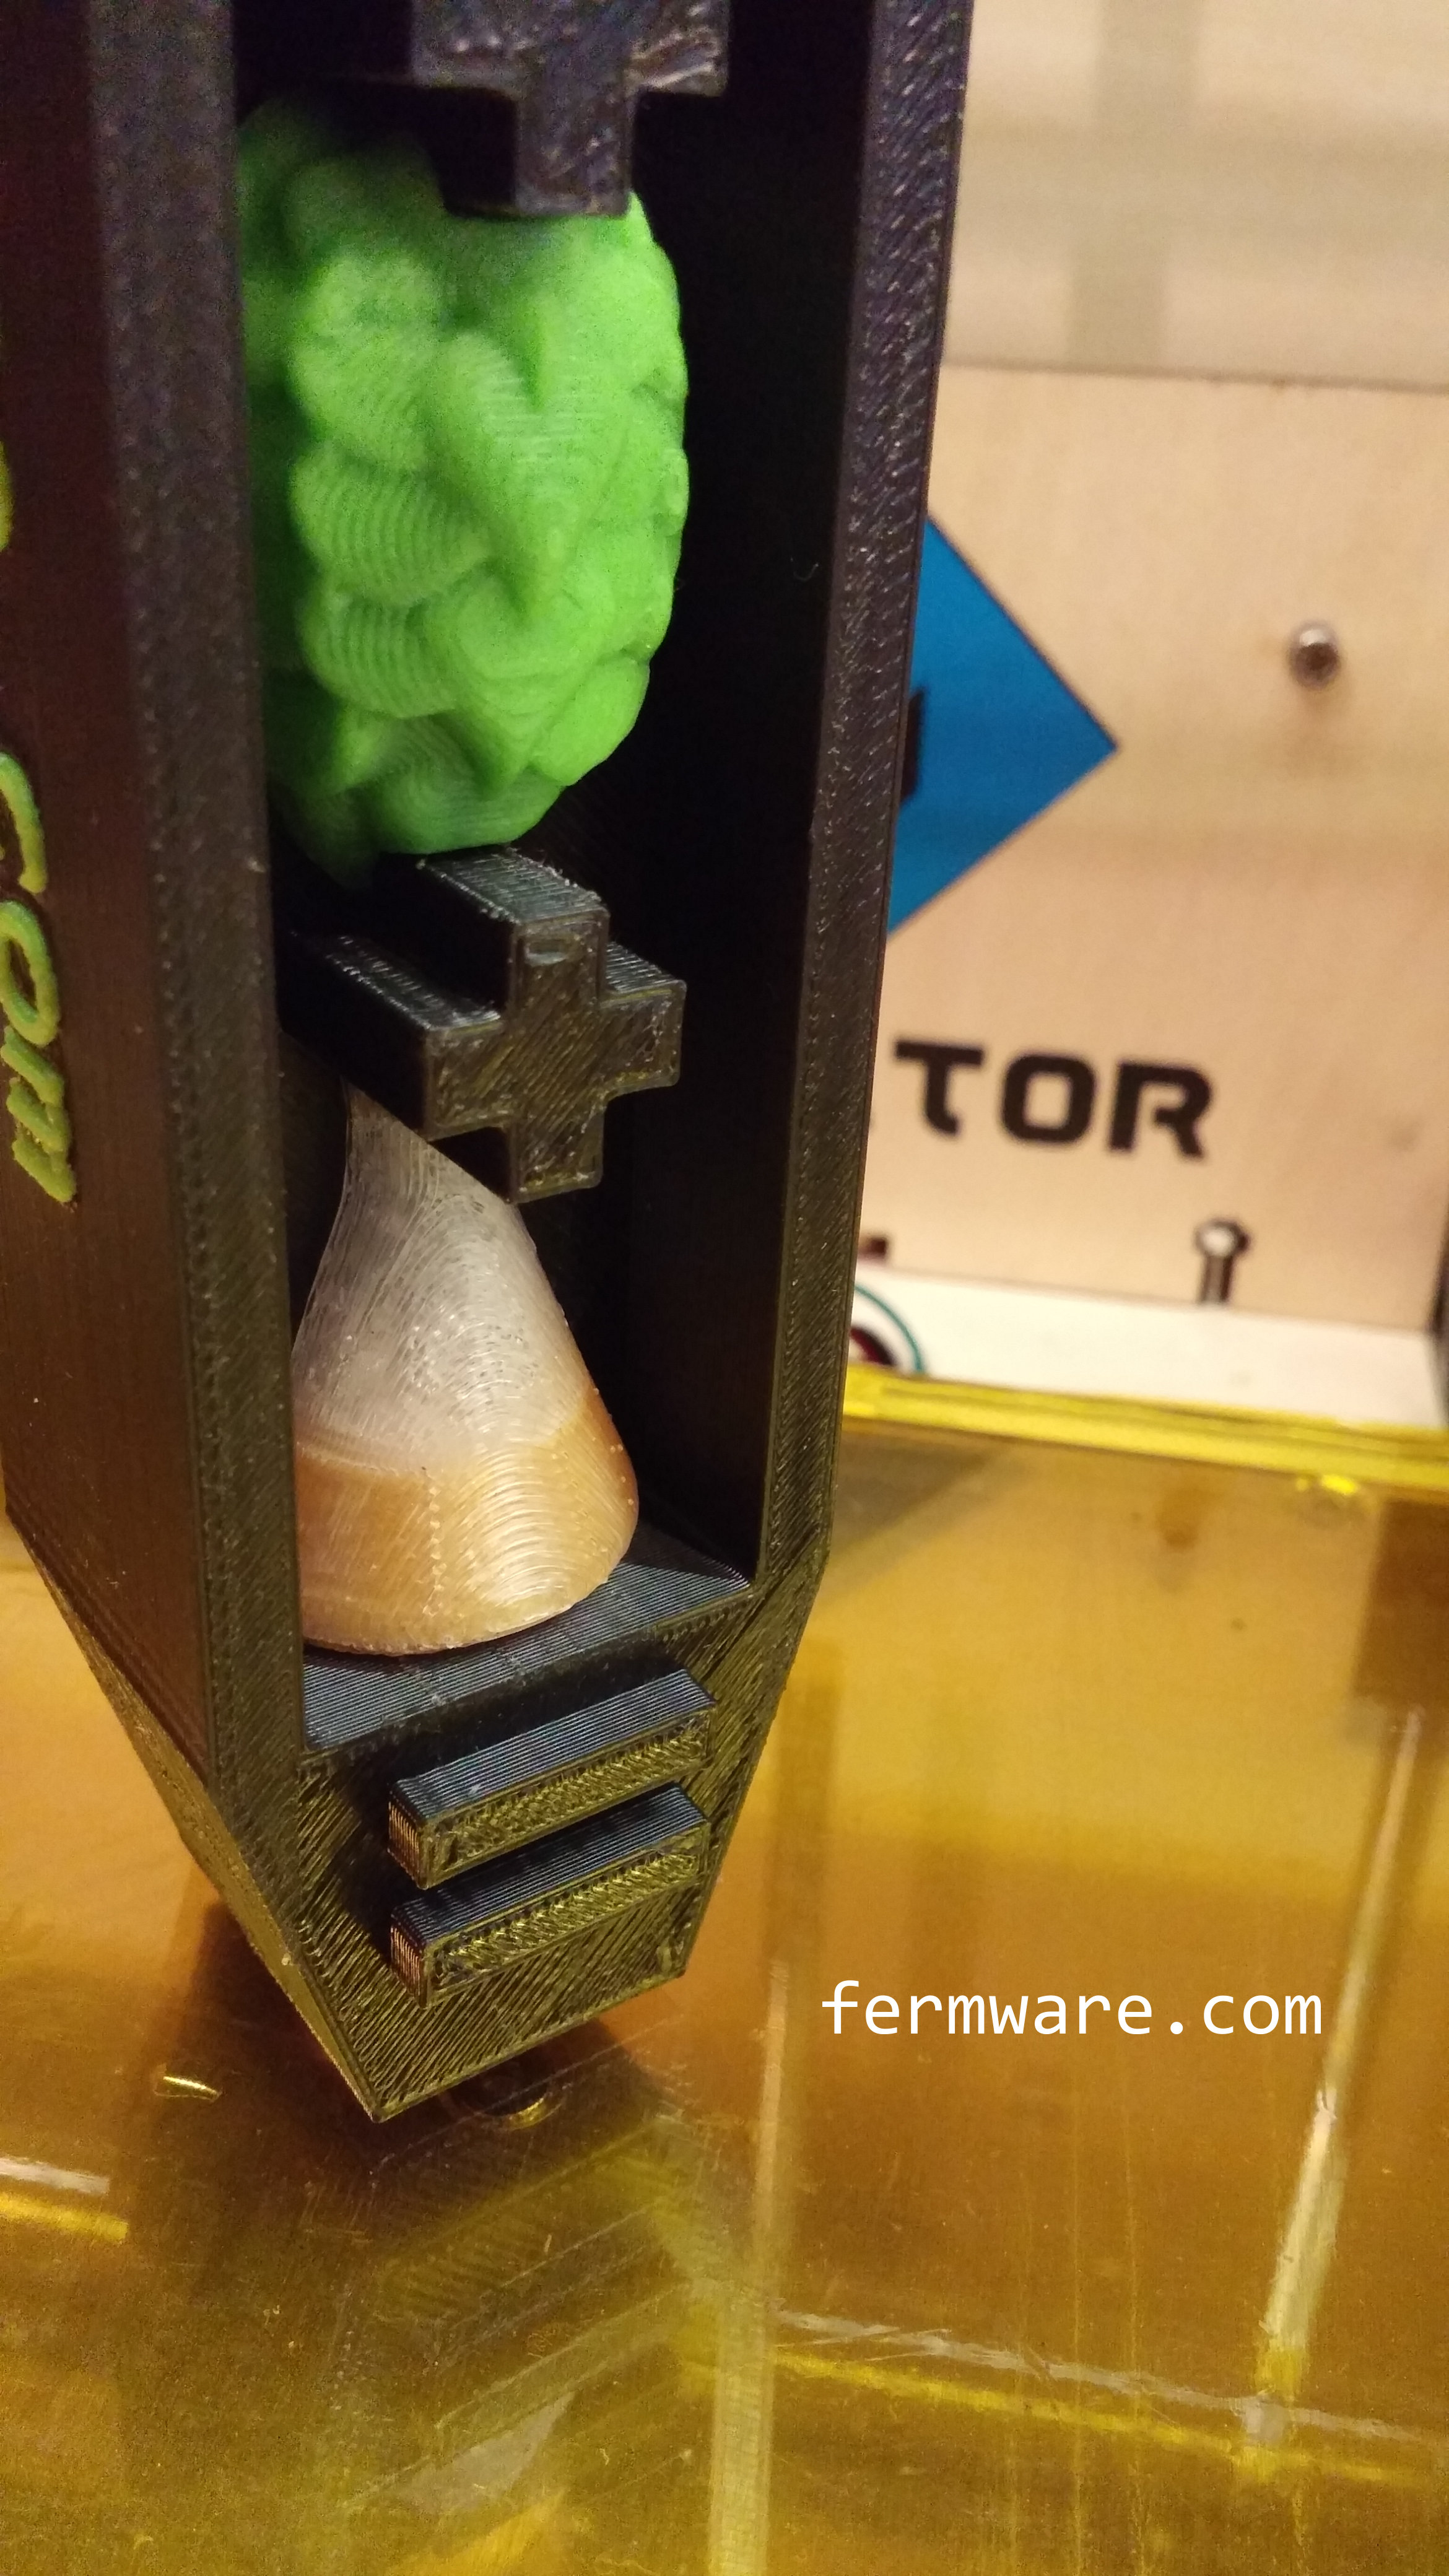
My latest revision to the 3D printed WBHY Tap Handles was printing translucent filament over some standard gold filament to create a flask that looks more like what you have when making starters on your stir plate.

016 - WBHY Handle v3 - yeast flask

With that checked off on my wish list, I thought it would be awesome if I could make some slip on covers for Christmas lights that looked like hop cones.  Then beer nerds everywhere will have a way to decorate their kegerator, keezer, bar, brewing area or even your beer Advent calendar.
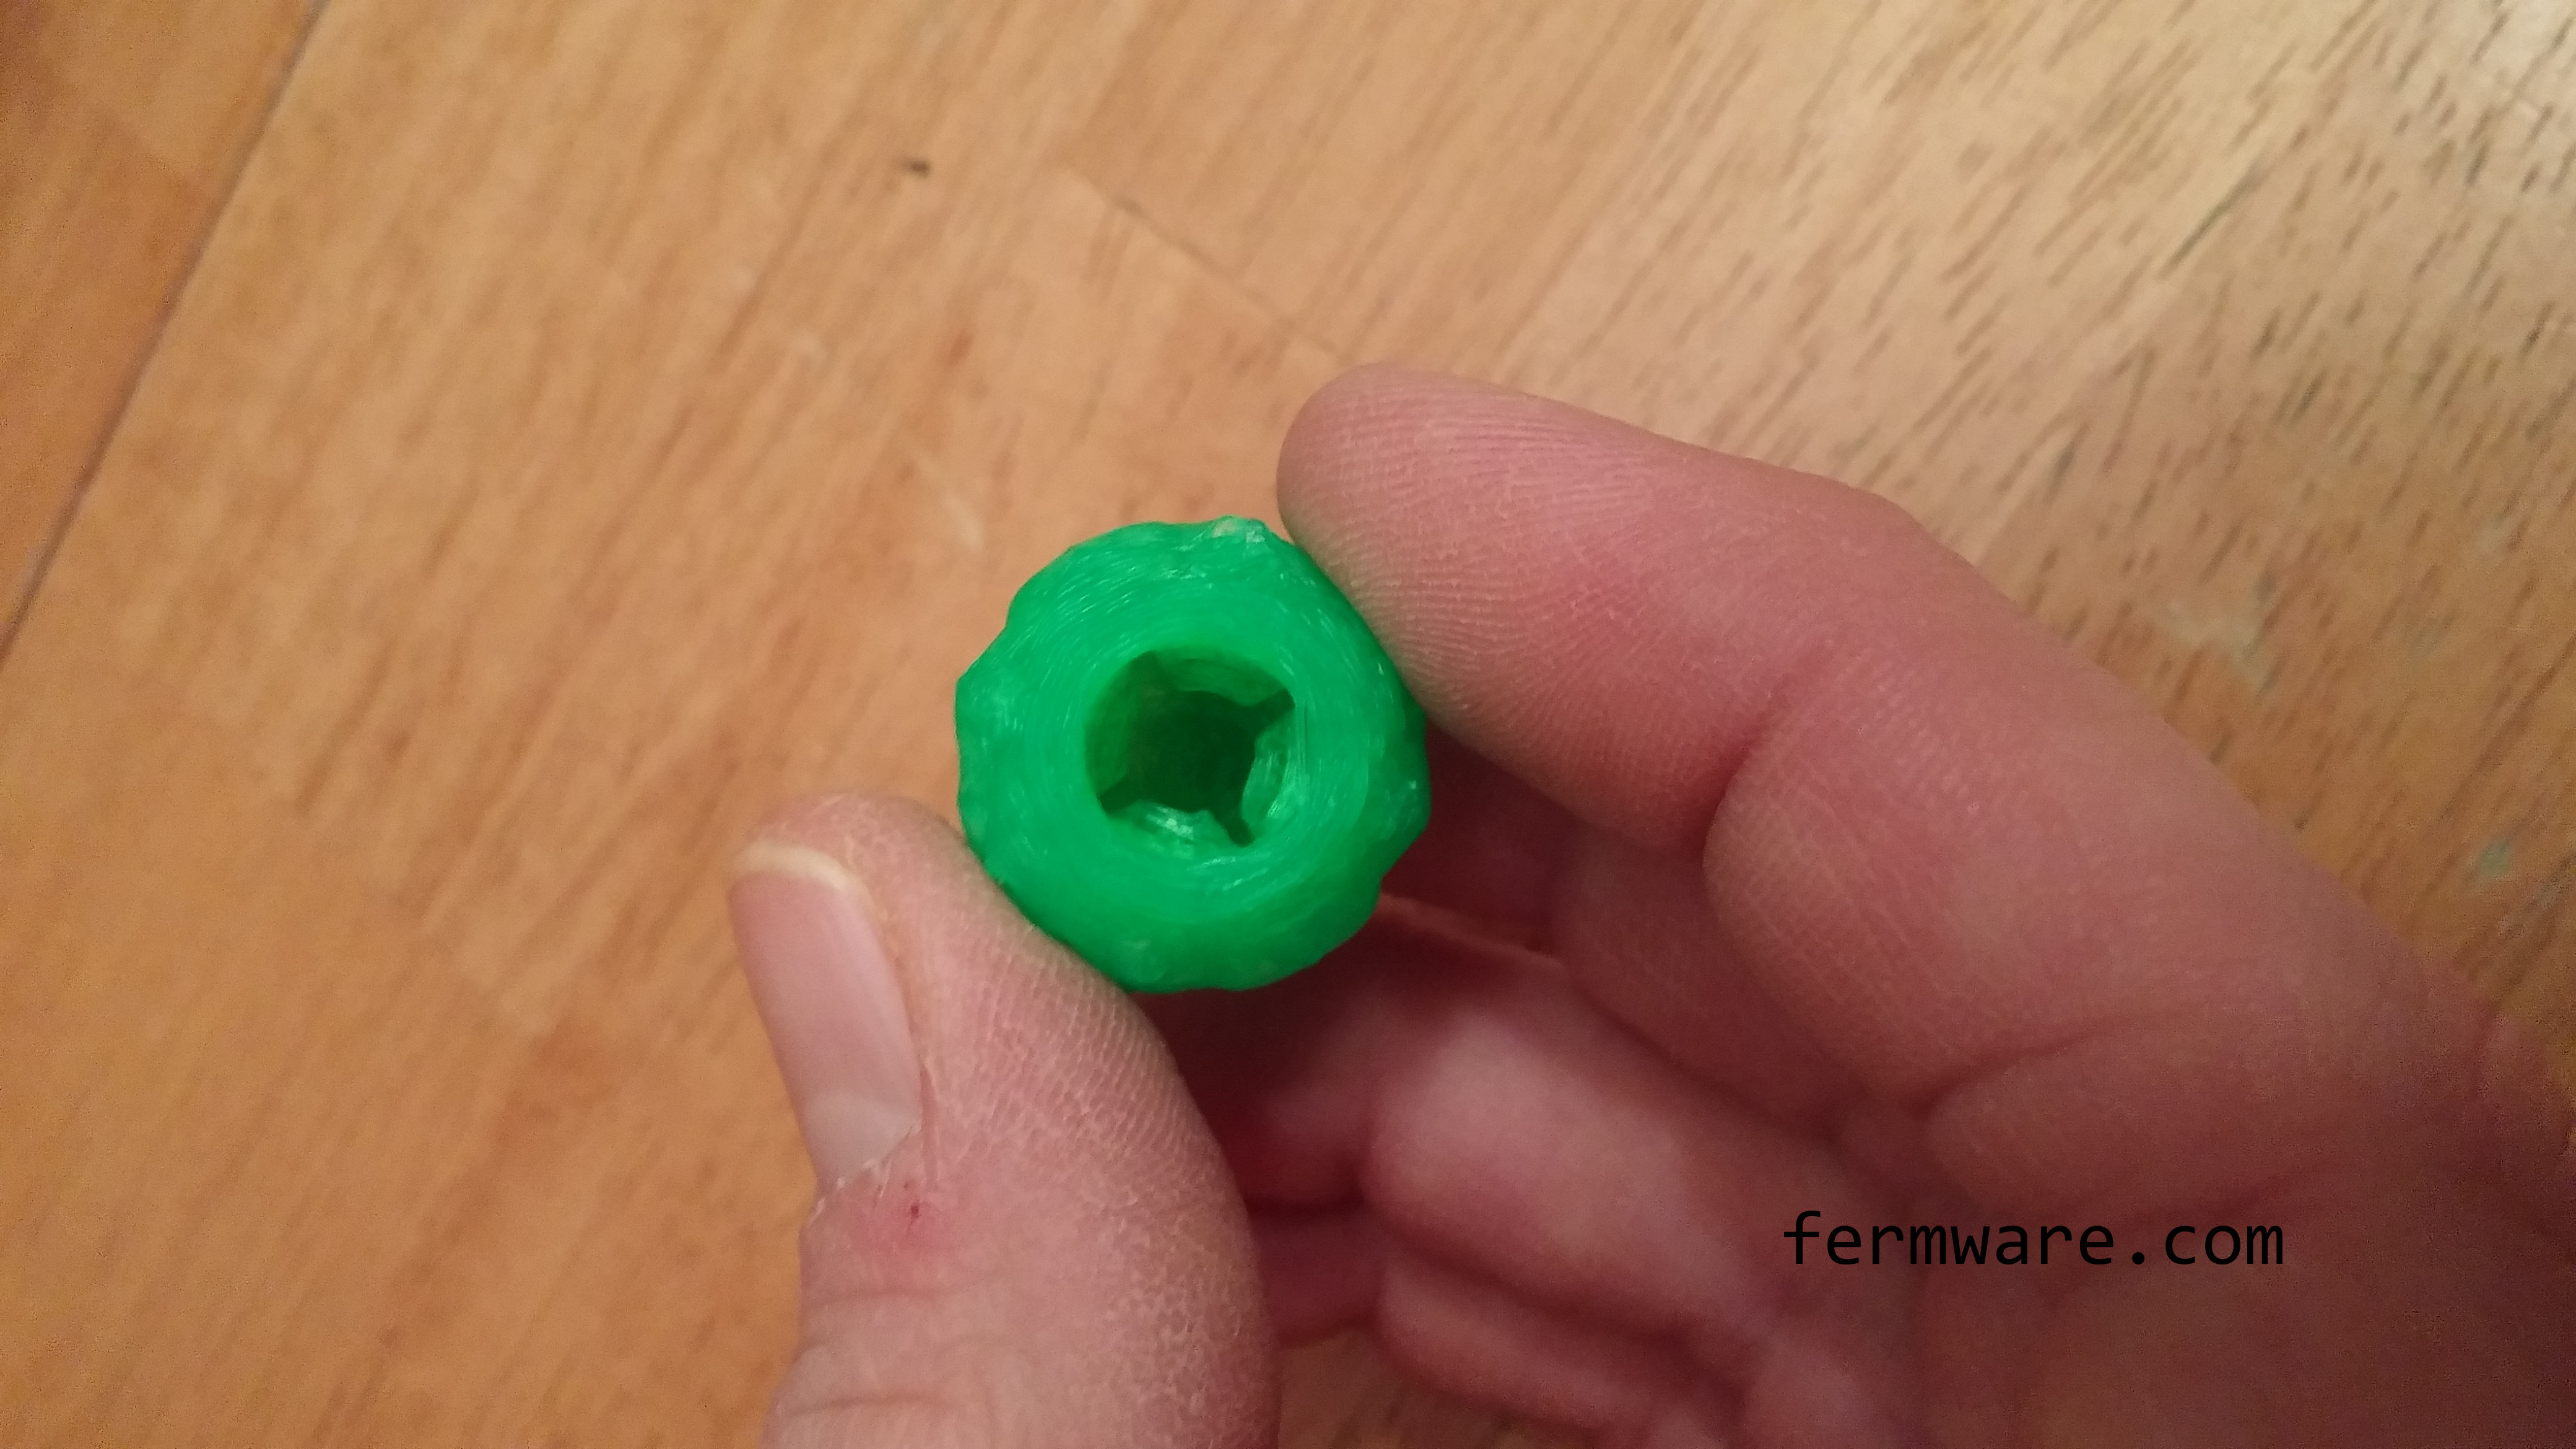
Assembly and Design

I started with the hop model I made for the tap handles, then hollowed it out and through a few iterations, I got the proper internal tabs to slide right over standard Christmas lights.

017-Into the hop

017-Inserting bulb into hop

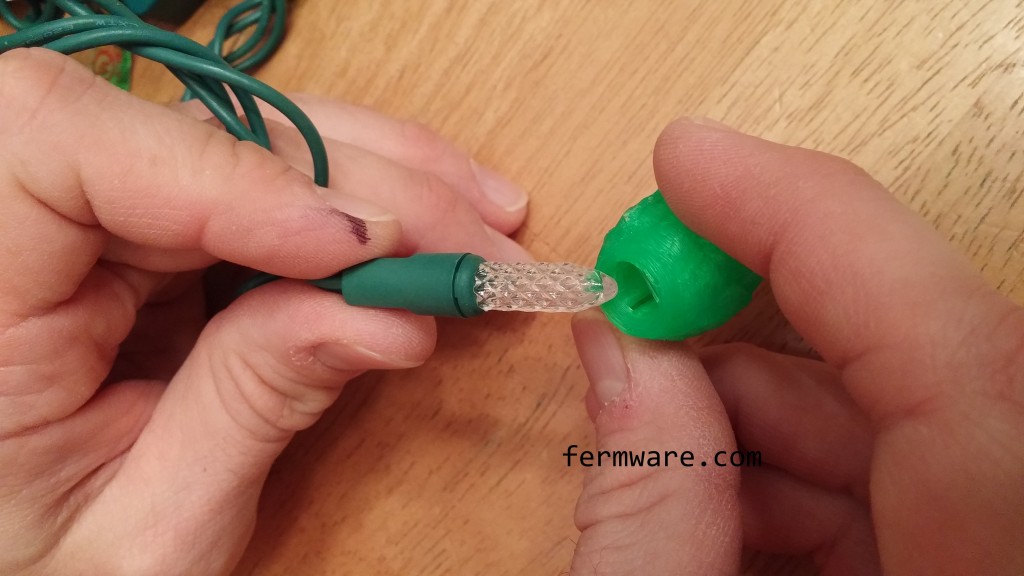
Pretty simple really!

Here are some shots of the lights in different states with Homer modeling them.

In the light with the hop lights turned off

017-Homer with lights off in light

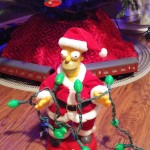
In the light with the hop lights turned on

017-Homer with lights on in light

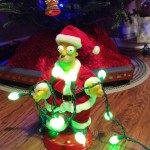
In the dark with the hop lights turned on
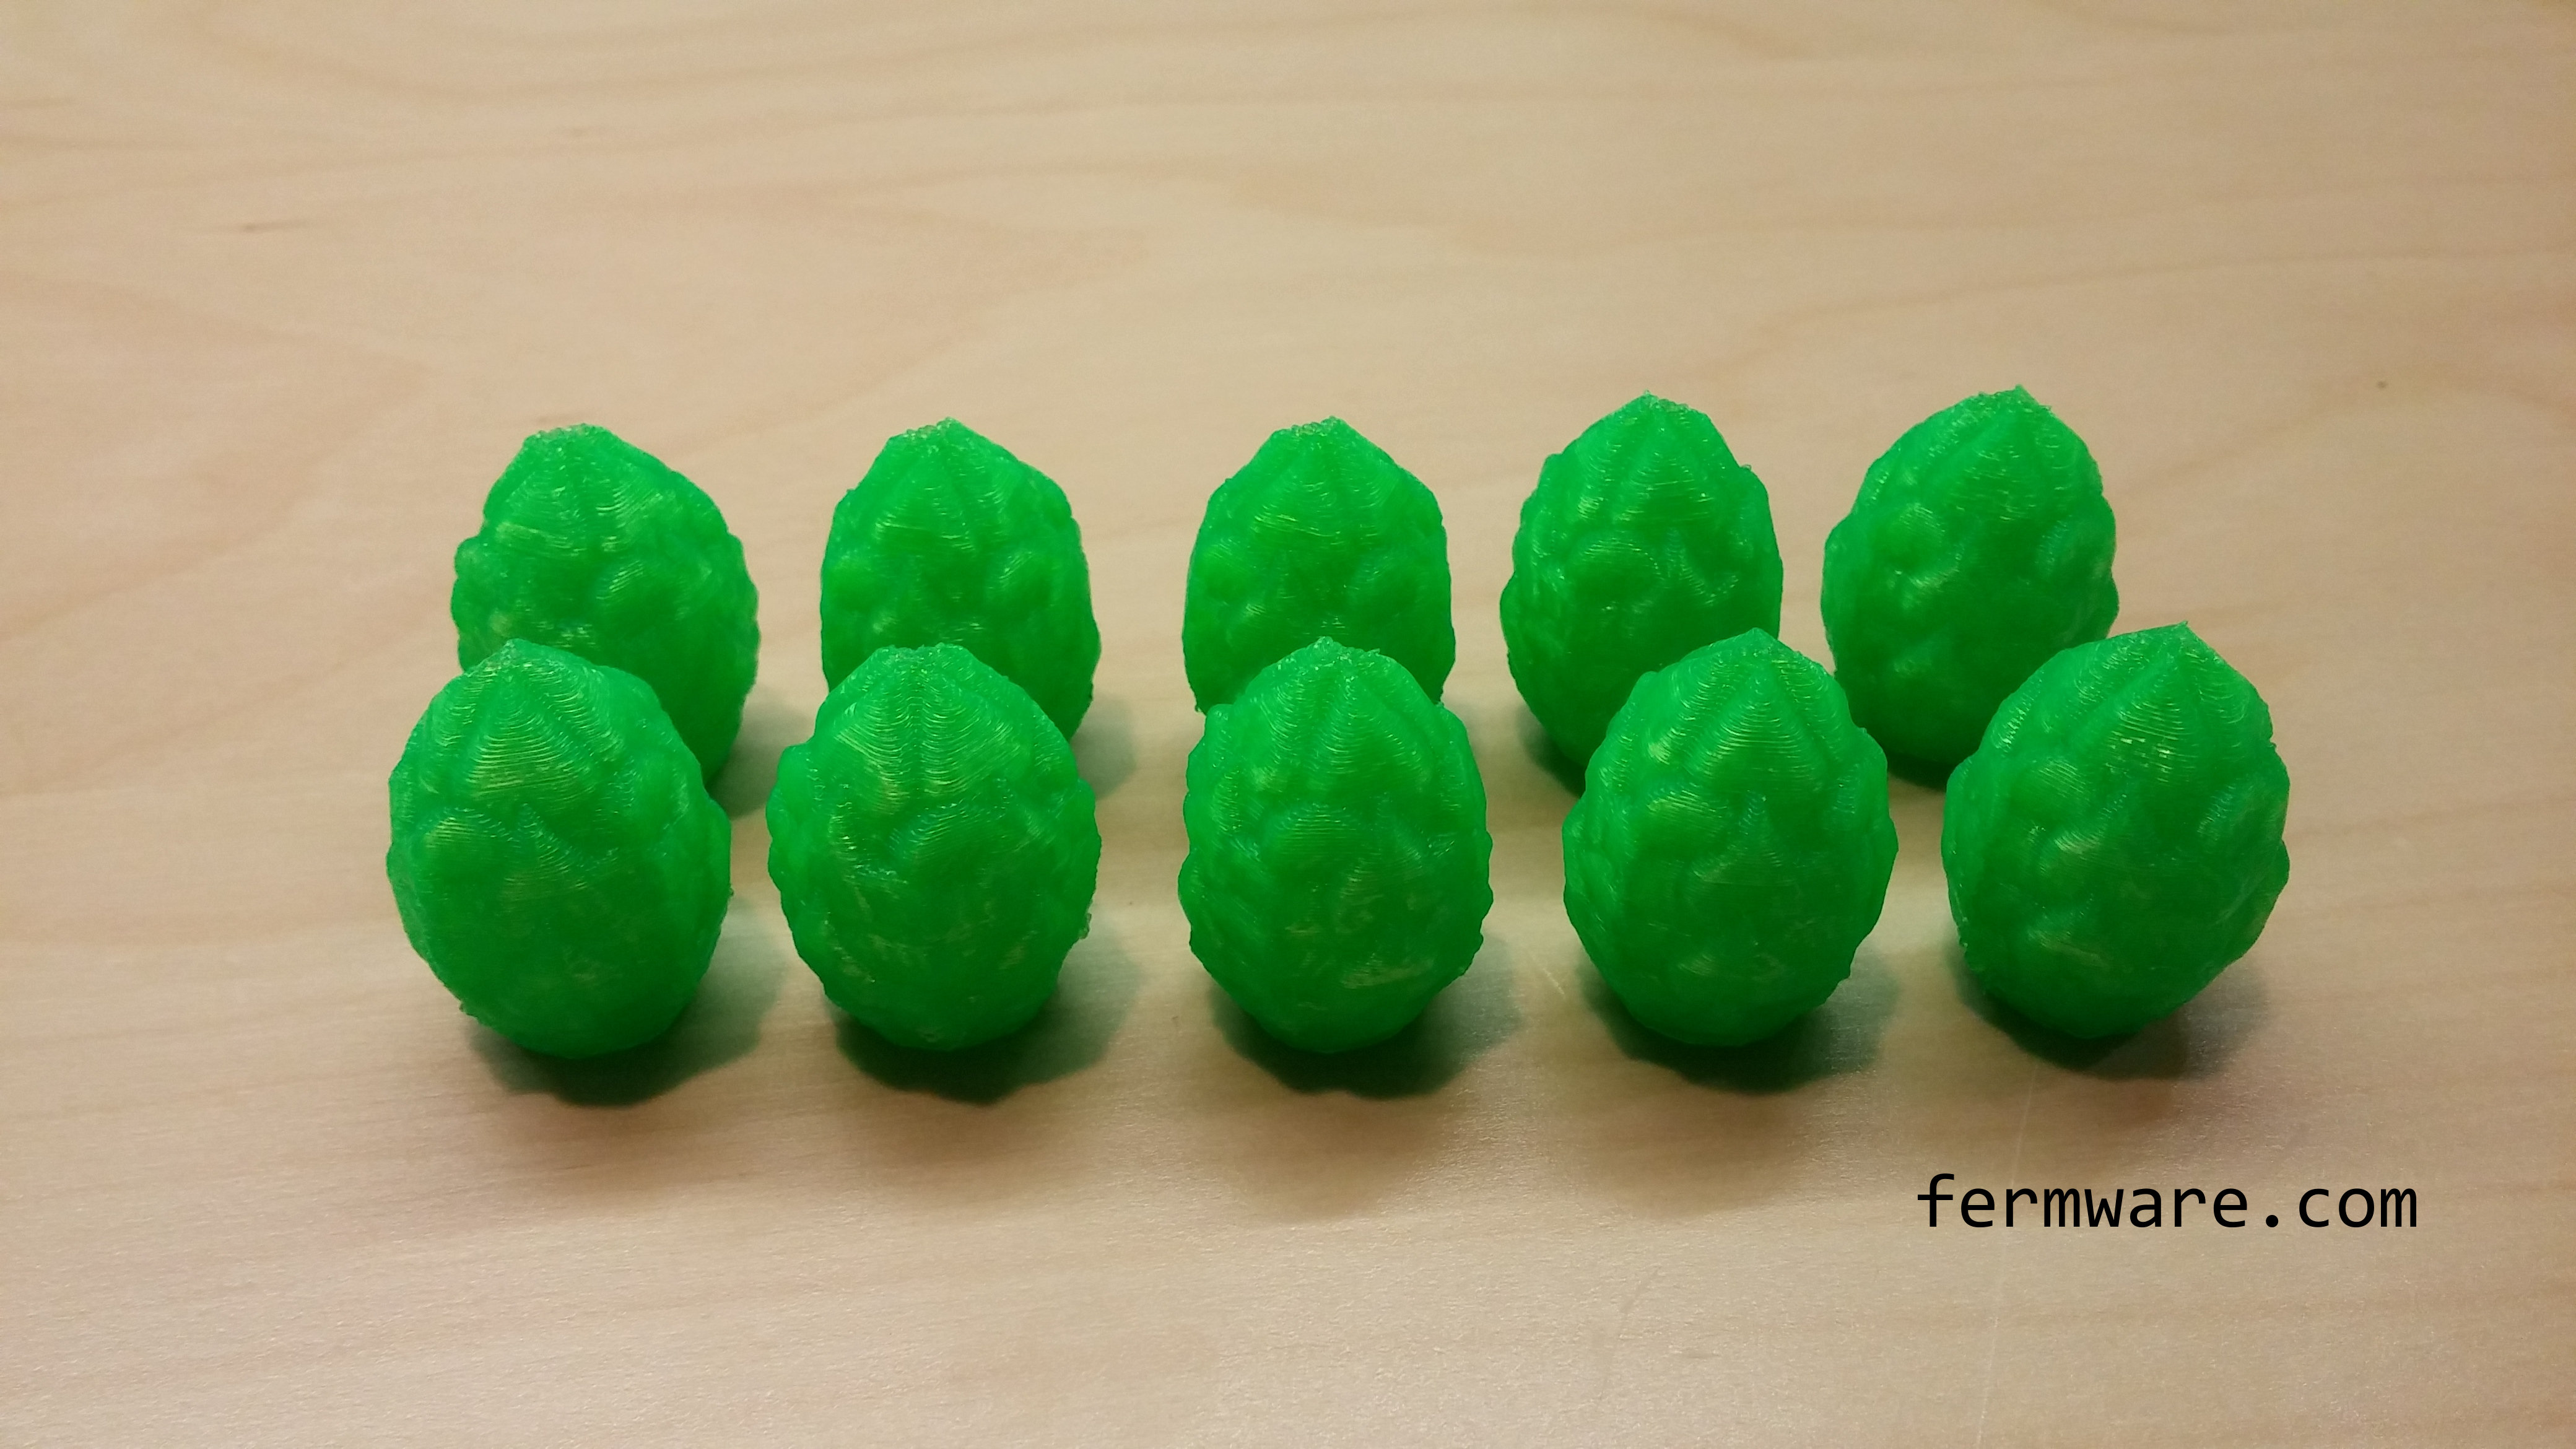
017-Homer with lights on in dark

Growing the hops

Don’t you wish you’d get this kind of yield overnight?

017-Hops Printing

017-Hops Finished

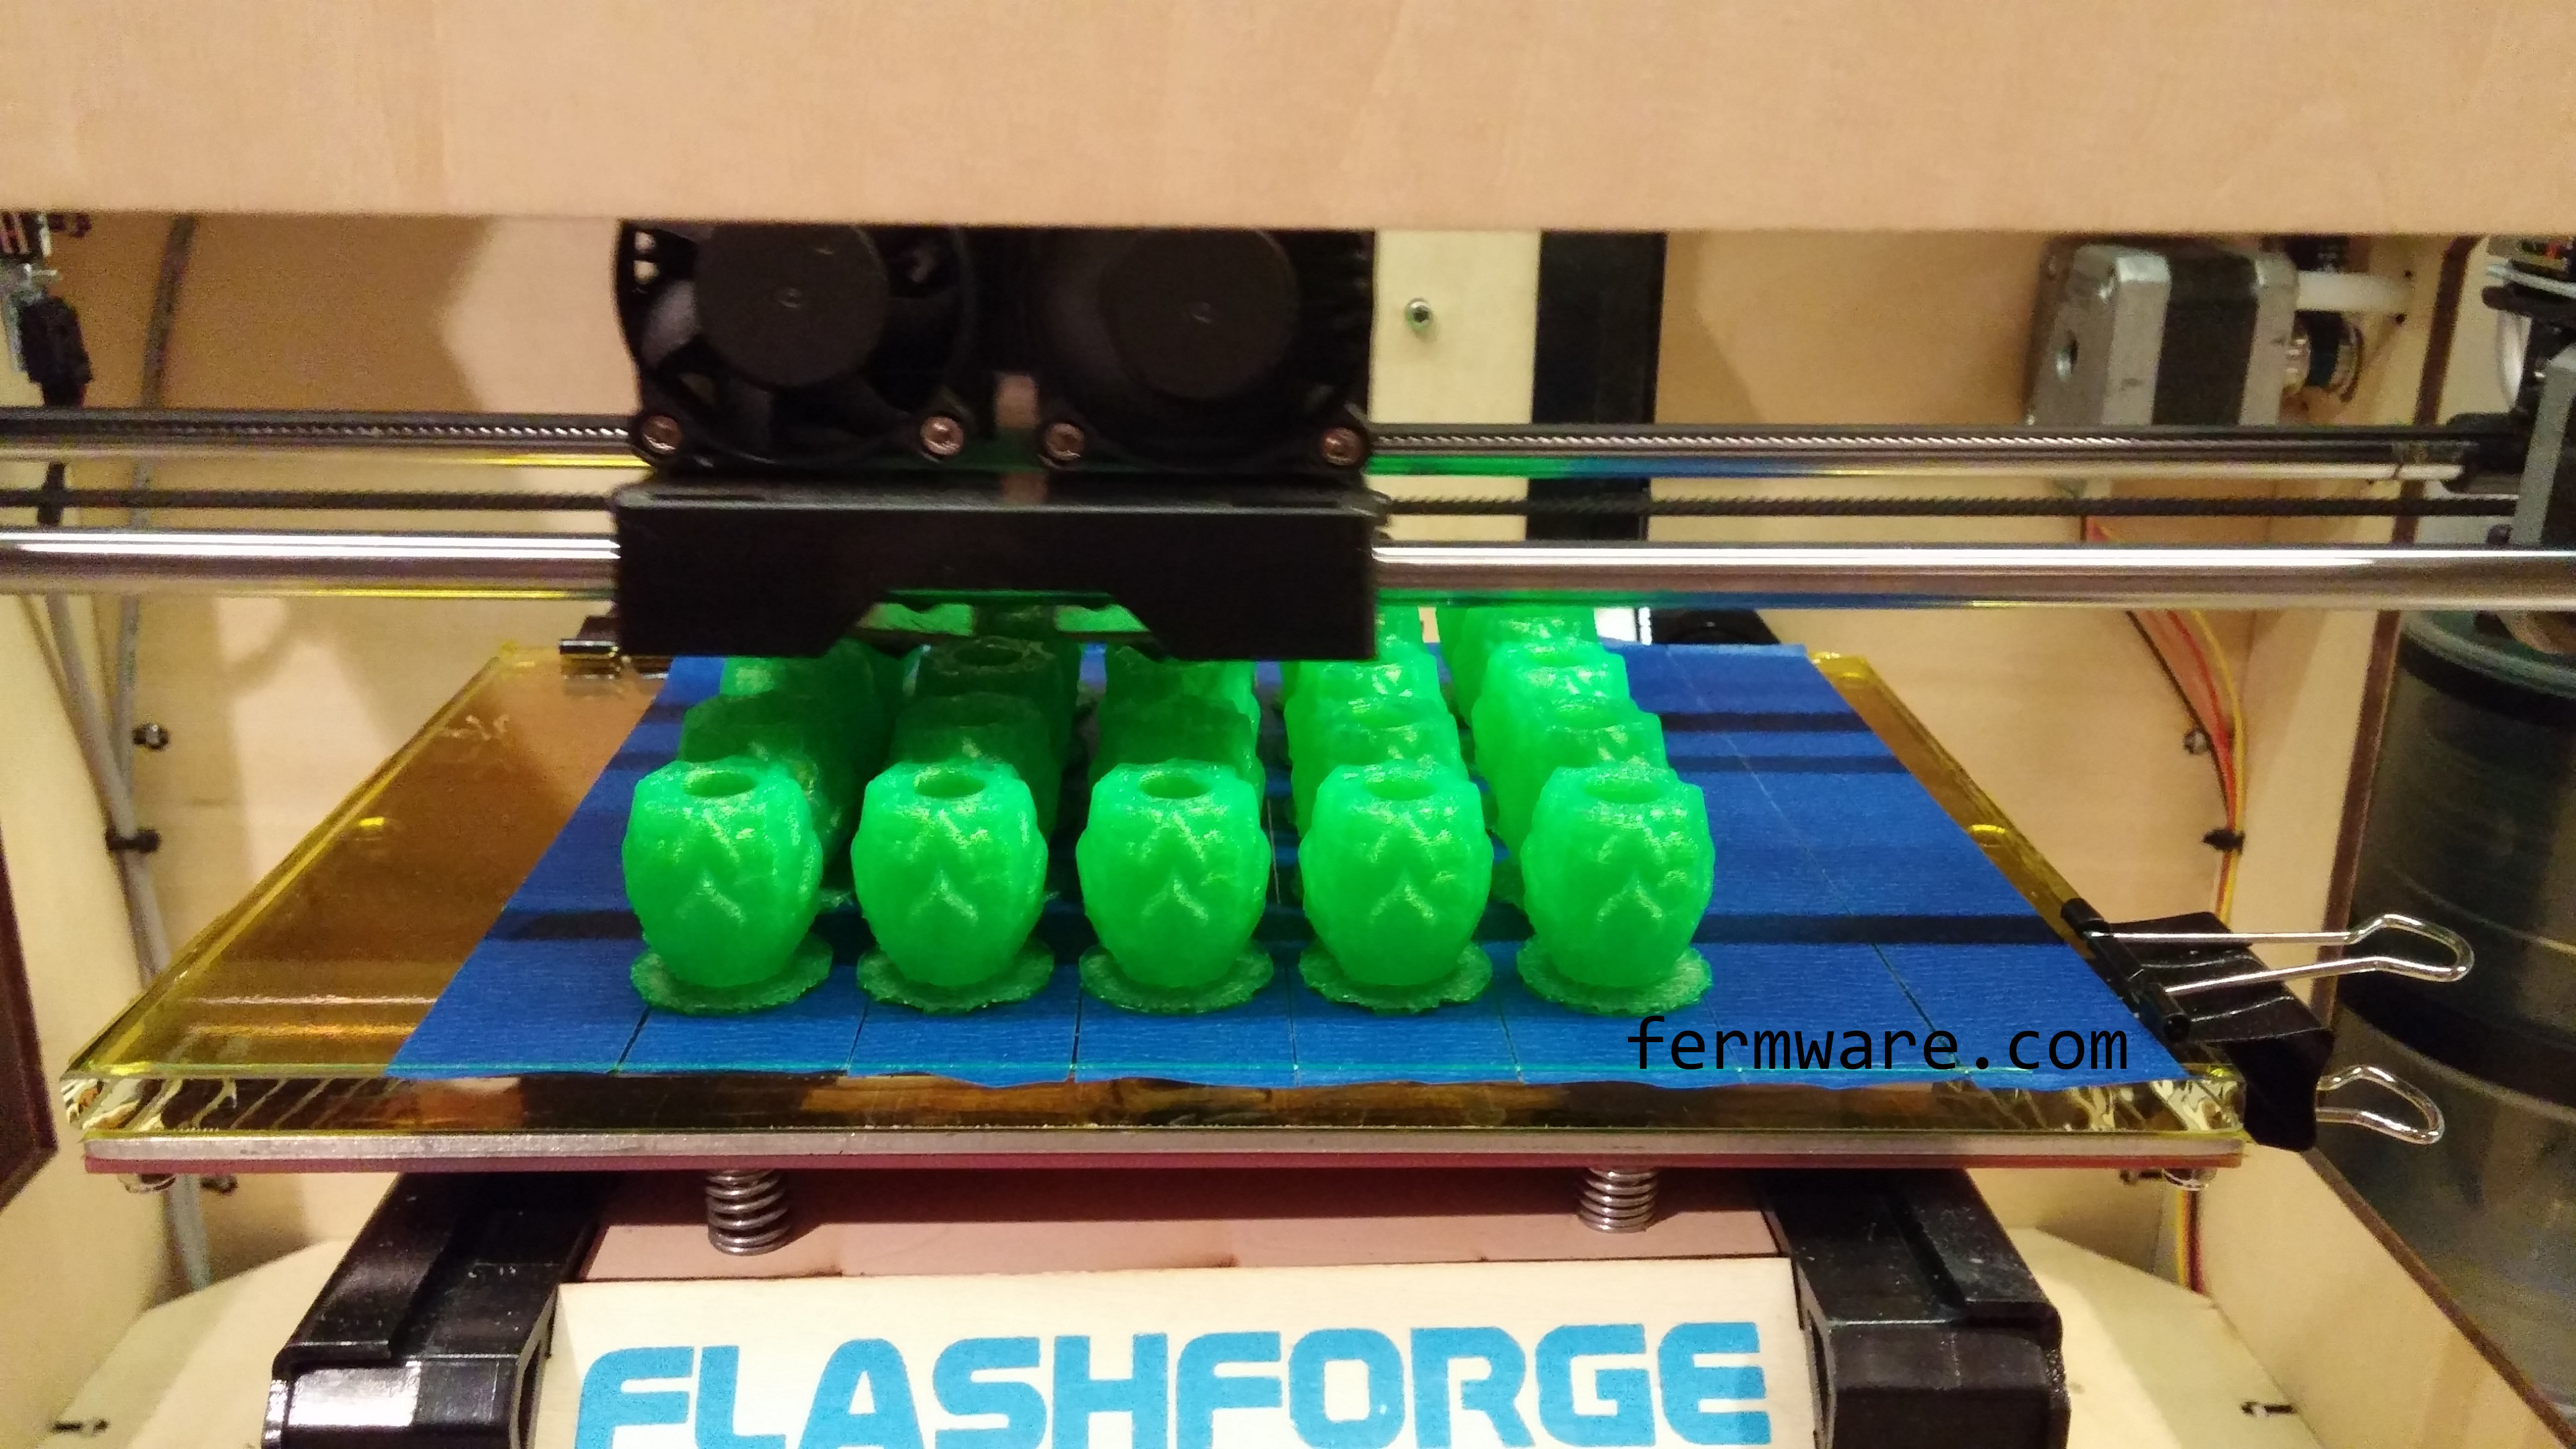
The material is a translucent green PLA.  I started with the basic recommendation of blue painters tape, but experimented and I can now just print right on the Kapton tape.  I’ll try to be bold next and print without the raft.

WarningSign

A WORD OF CAUTION!

I would recommend only using these on LED lights.  Standard incandescent lights do put off heat and I have NO idea what will happen after long term usage on those lights.  PLA melts at lower temperatures and could damage the lights or the lights themselves might overhead and burn your house down.  LED lights on the other hand, put off very little heat.  That’s one of the reason’s they are so efficient!

Want to build your own?

Here is the Thingiverse link so you can download and print your own.

http://www.thingiverse.com/thing:595362

Don’t have a printer and want to buy some?

I’m offering a printing service for those that don’t have a 3D printer and would like a to add these hop covers to their own lights.

Everyone should understand what cosmetic quality one should expect from a 3D printed part and the pictures on this post I feel, do a sufficient job of it.  I will not do any finishing work on the hop lights.  I feel that the as-printed look is part of the charm of these parts.

Lead time from the date of order could be up to three weeks.  I realize most people will want them while their Christmas decorations are still up, so I’ll be going flat out to get them to everyone ASAP.  If you have a drop dead date to receive them, give me an entire week’s notice and I’ll let you know how my schedule is looking.  Do NOT order unless you are fine with the standard lead time or you’ve gotten confirmation from me on delivery.

Use the links below to purchase via PayPal.  Shipping to the US only at this price.  If you live outside the US, contact me through the contact link in the top menu bar of the site.

IMPORTANT: YOU MUST SUPPLY YOUR OWN LIGHTS!  THIS IS FOR THE LIGHT COVERS ONLY!!!

ALSO, I’ve only made available the covers for the most popular 7mm diameter “crystal” LED lights.  I tried these on a few different brands of lights.  These lights also seem to go by the size “M5”.  I’ve almost got the mounting for the smooth skinny LED lights (5mm diameter) worked out.  Although not recommended, the 5mm version will fit the standard incandescent Christmas lights that everyone had up until LED lights became the rage.

Those 2 are the only sizes I plan to release.


Quantity


*If you have Paypal purchase problems, let me know

Hoppy Holidays!

017-Group of 10 hops

Mein Bierwagen Part 2 – Building the Frame

This post will present the basic plans to construct the wooden frame of the Bierwagen.

Difficulty: level_3

This project just requires some basic building skills, but you might need some help getting the keezer onto the Bierwagen.

Posts for this Project:

Part 1: Introduction
Part 2: Building of the frame (this post)
Part 3: Bicycle wheel attachment
Part 4: Getting the keezer onto the Bierwagen
Part 5: Keezer collar
Part 6: Storage of the Bierwagen

Affiliate Links

Helpful Tools:

Circular Saw or Miter Saw
Drill or Impact Drill

Materials Needed:

  • (qty 6) 2×4 x 96″ boards
  • drywall/deck screws (2.5″ is perfect for most of the joints where you have two 2×4’s side-by-side (3″ total thickness at that point)

Overview:

Here are a few views of the cart (without support legs attached) for reference.

015-2 - Front 3_4 View

015-2 - Rear 3_4 view

This is the cart flipped over so you can see the attachments for the wheels.  The fabrication of those will be in a subsequent post.

015-2 - Back View

Construction:

I’m not going to do a step by step, since the pictures and following information should be sufficient for most readers taking on this task.

Design:

Below is the top view of the cart with only the major dimensions shown.  I had several constraints when designing the cart.  As I mentioned in the first post, it will be rolled out for a grand unveiling at our party.  It had a few obstacles to navigate during it’s trip from the garage to the back yard.

  • It must fit through our gate
  • It must be able to navigate large bumps (edge of driveway and protruding tree roots in the grass)
  • Quick disassembly and assembly for storage under our deck during the other 364 days of the year
  • Utilize our bike tires
  • Integrated ramp system for easy loading/unloading of my keezer dolly
  • It needed to be sturdy enough to stand on that I could switch over kegs during the party
  • The weight of the keezer must be carefully balanced so that the Bierwagen does not tip when set to rest, yet far enough back that lifting from the front is easy.

You can see the profile of the keezer dolly on the top view to show that it is sufficiently in front of the axle line to prevent tipping.  You’ll see in the loading/unloading post how it slides up the “ramp” to be set in place.  I added an extra 1/4″ clearance to the outer edges of the casters so that they would not rub on the frame rails when moving.  I also had to add about 4″ of clearance for the bike wheels.  The Bierwagen is probably overbuilt and pretty heavy to lift, but it serves it’s purpose that one day of the year where it counts!

015-2 - Top_View

The side view shows all of the other major dimensions and locations of the boards.  Again, you can see how the center of the keezer dolly is between the bicycle wheel axles and the legs.  When changing kegs over during the party it is important to stand between the keezer and the legs.  This will also prevent tipping.  You’ll see on the post where the keezer is getting loaded onto the “ramp”, that the standard 3.5″ height of a 2×4 is just low enough to get my keezer dolly up onto, but if you need a little more clearance, you could put an optional cut into the end to get you what you need.

015-2 - Side_View

REMEMBER, IMPORTANT TO AVOID TIPPING!!!!!!:

  • MAKE SURE THE WEIGHT (CENTER OF GRAVITY, CENTER OF MASS, ETC) OF THE KEEZER IS BETWEEN THE WHEEL AXLE LINE AND THE FEET
  • MAKE SURE YOU STAND BETWEEN THE KEEZER AND THE LEGS WHEN MESSING AROUND INSIDE THE KEEZER OR WITH THE KEEZER

Cut list:

Below is the cut list if your Bierwagen ends up matching mine.  I was able to build my cart from a quantity of six, 2x4x96″ studs.  The color coding is consistent with the downloadable guide.

The legs and cross-member supports required mitered ends.  The lengths shown are for the full-length board that you will then trim the angles in the boards.

015-2 - Cut_List

Of course, your keezer is most likely a different size and you may not even have a keezer dolly, so take my plans and modify them to suit your needs.  The cut list is in an ideal world, so you may have to buy an extra 2×4 or if you are like me, you’ve always got some on hand for whatever needs may pop up.

Download the Detail Prints for Frame and Cut List by subscribing:

Creative Commons License
This work is licensed under a Creative Commons Attribution-NonCommercial-ShareAlike 3.0 Unported License.

By clicking on the download, you agree to the terms of this license and to be added to the awesome fermware.com subscriber list. Don’t worry, you won’t receive a bunch of trub in your inbox.

Up next…

Bicycle wheel attachment

Posts for this Project:

Part 1: Introduction
Part 2: Building of the frame (this post)
Part 3: Bicycle wheel attachment
Part 4: Getting the keezer onto the Bierwagen
Part 5: Keezer collar
Part 6: Storage of the Bierwagen