Ok, so the big party is two days away and you realize that in your months of planning down to the last detail, you actually forgot one important detail.
Beer…Check
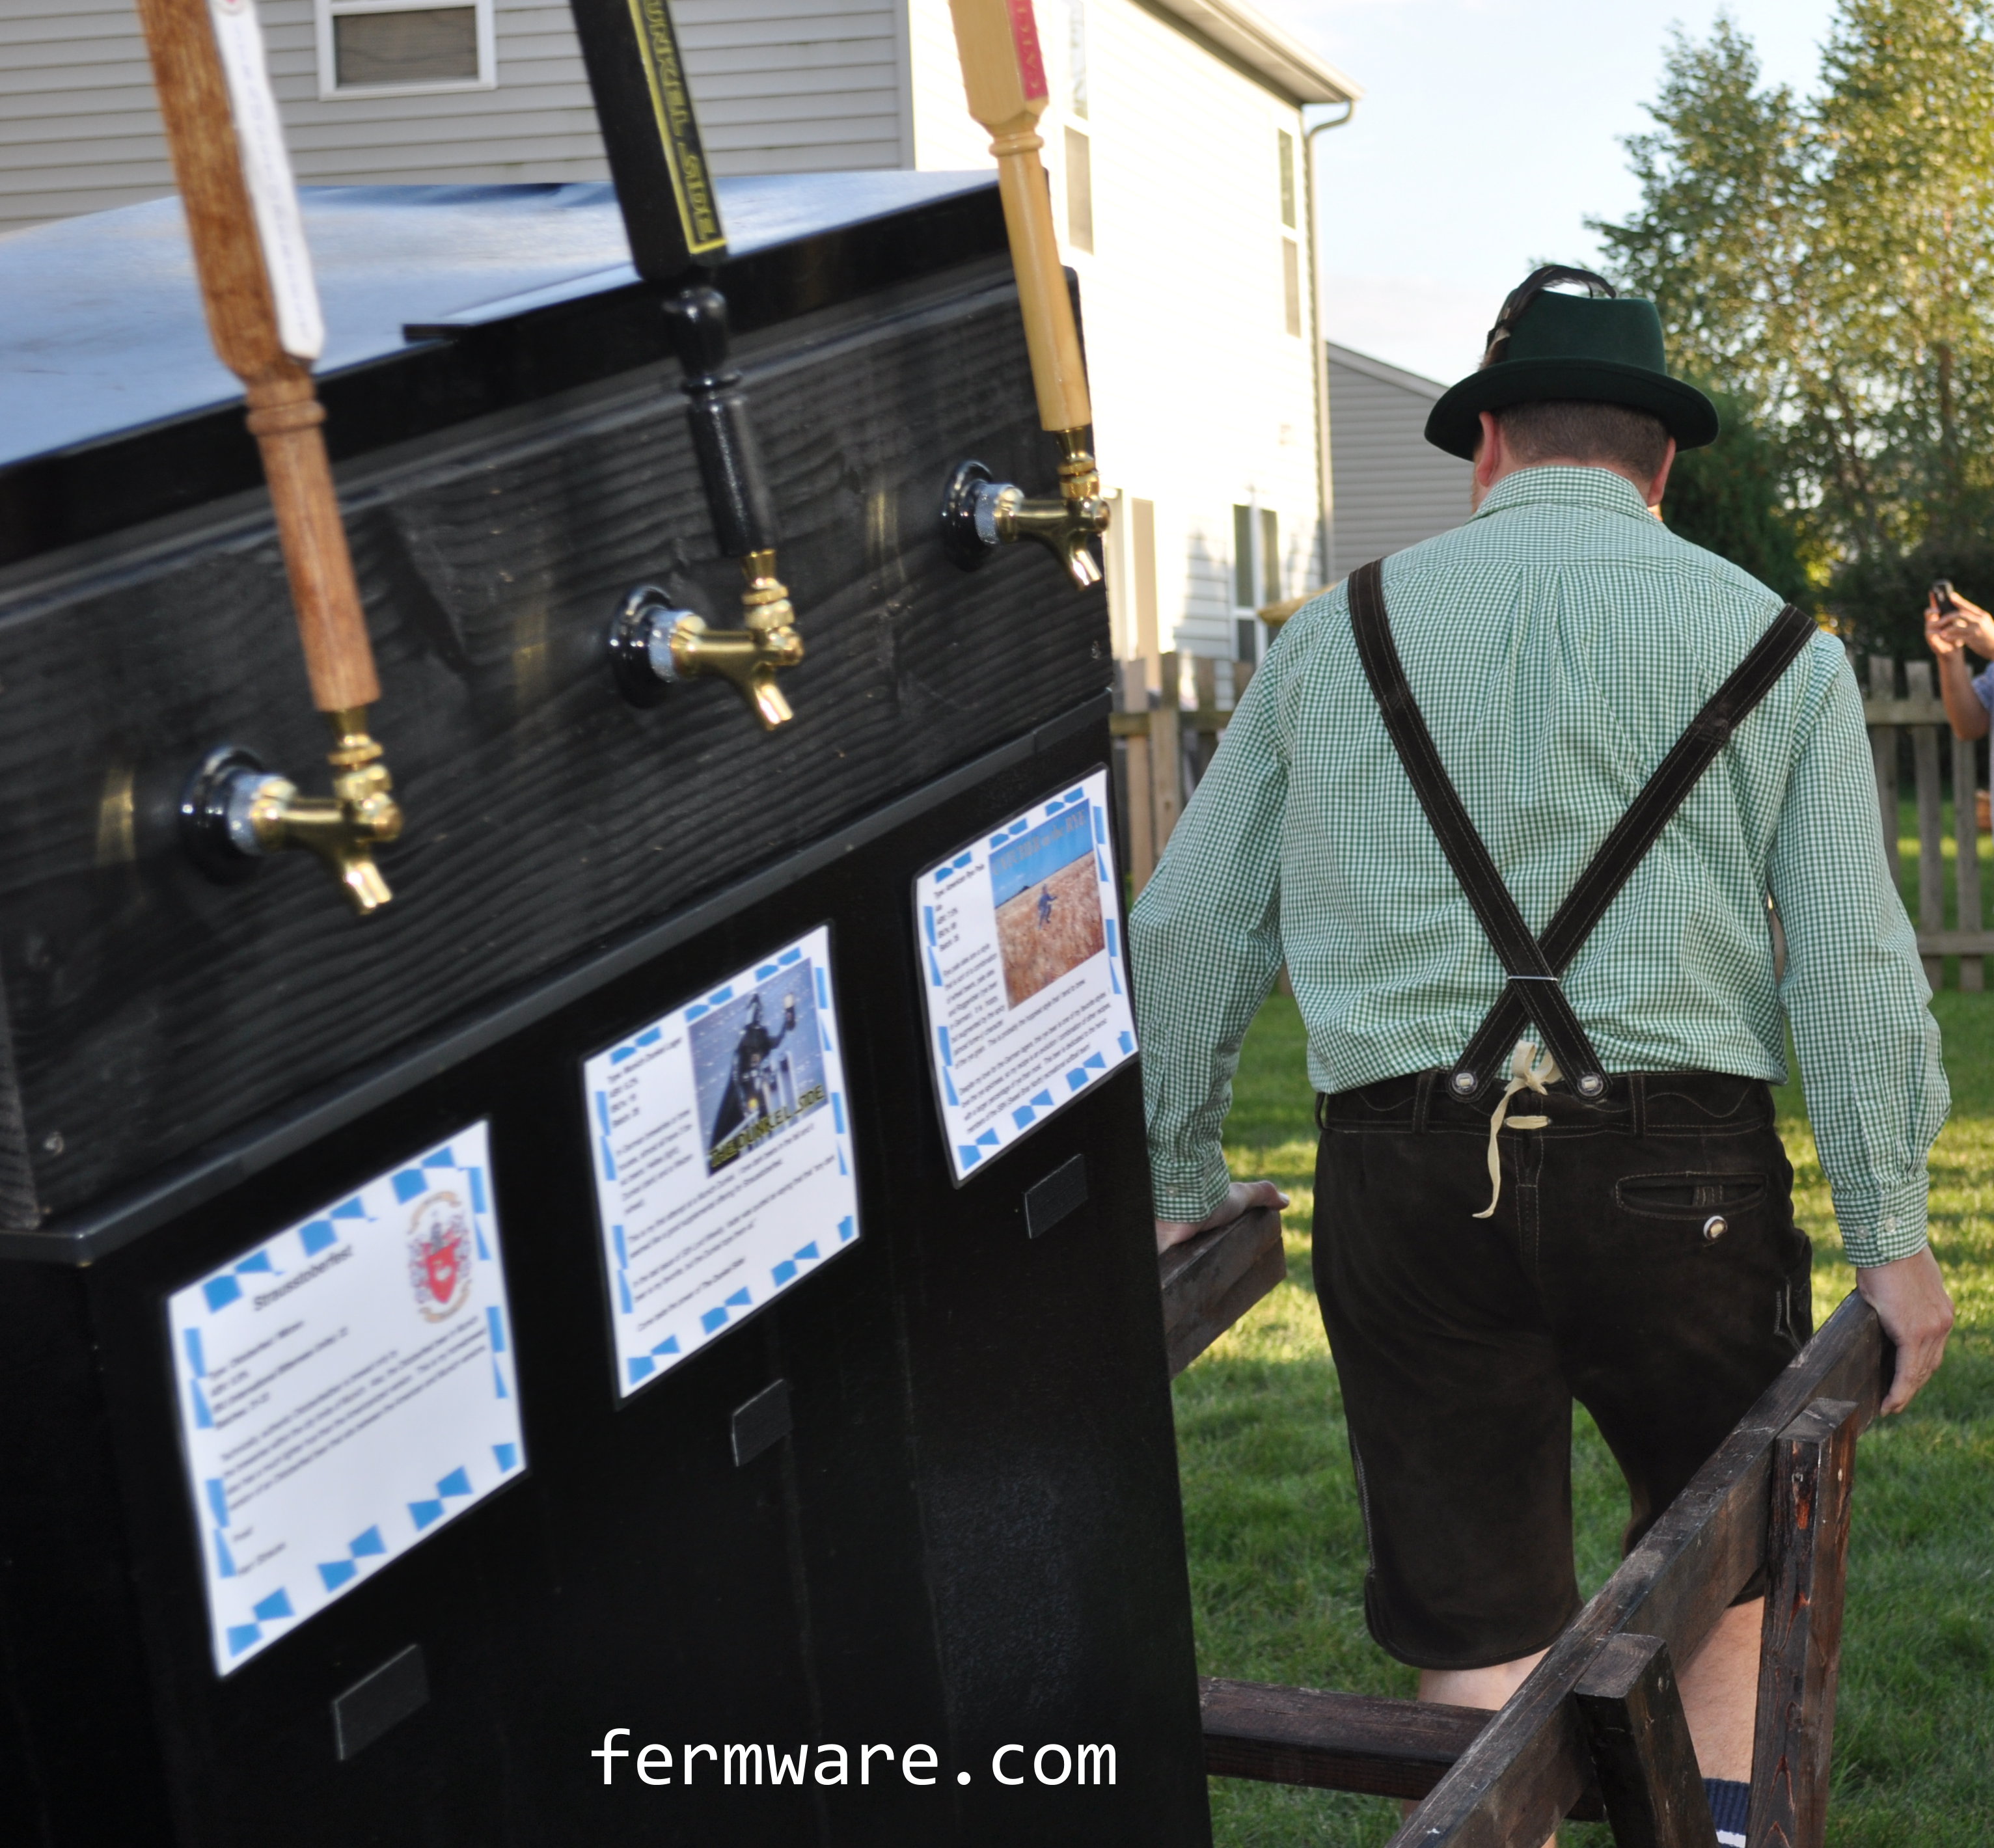
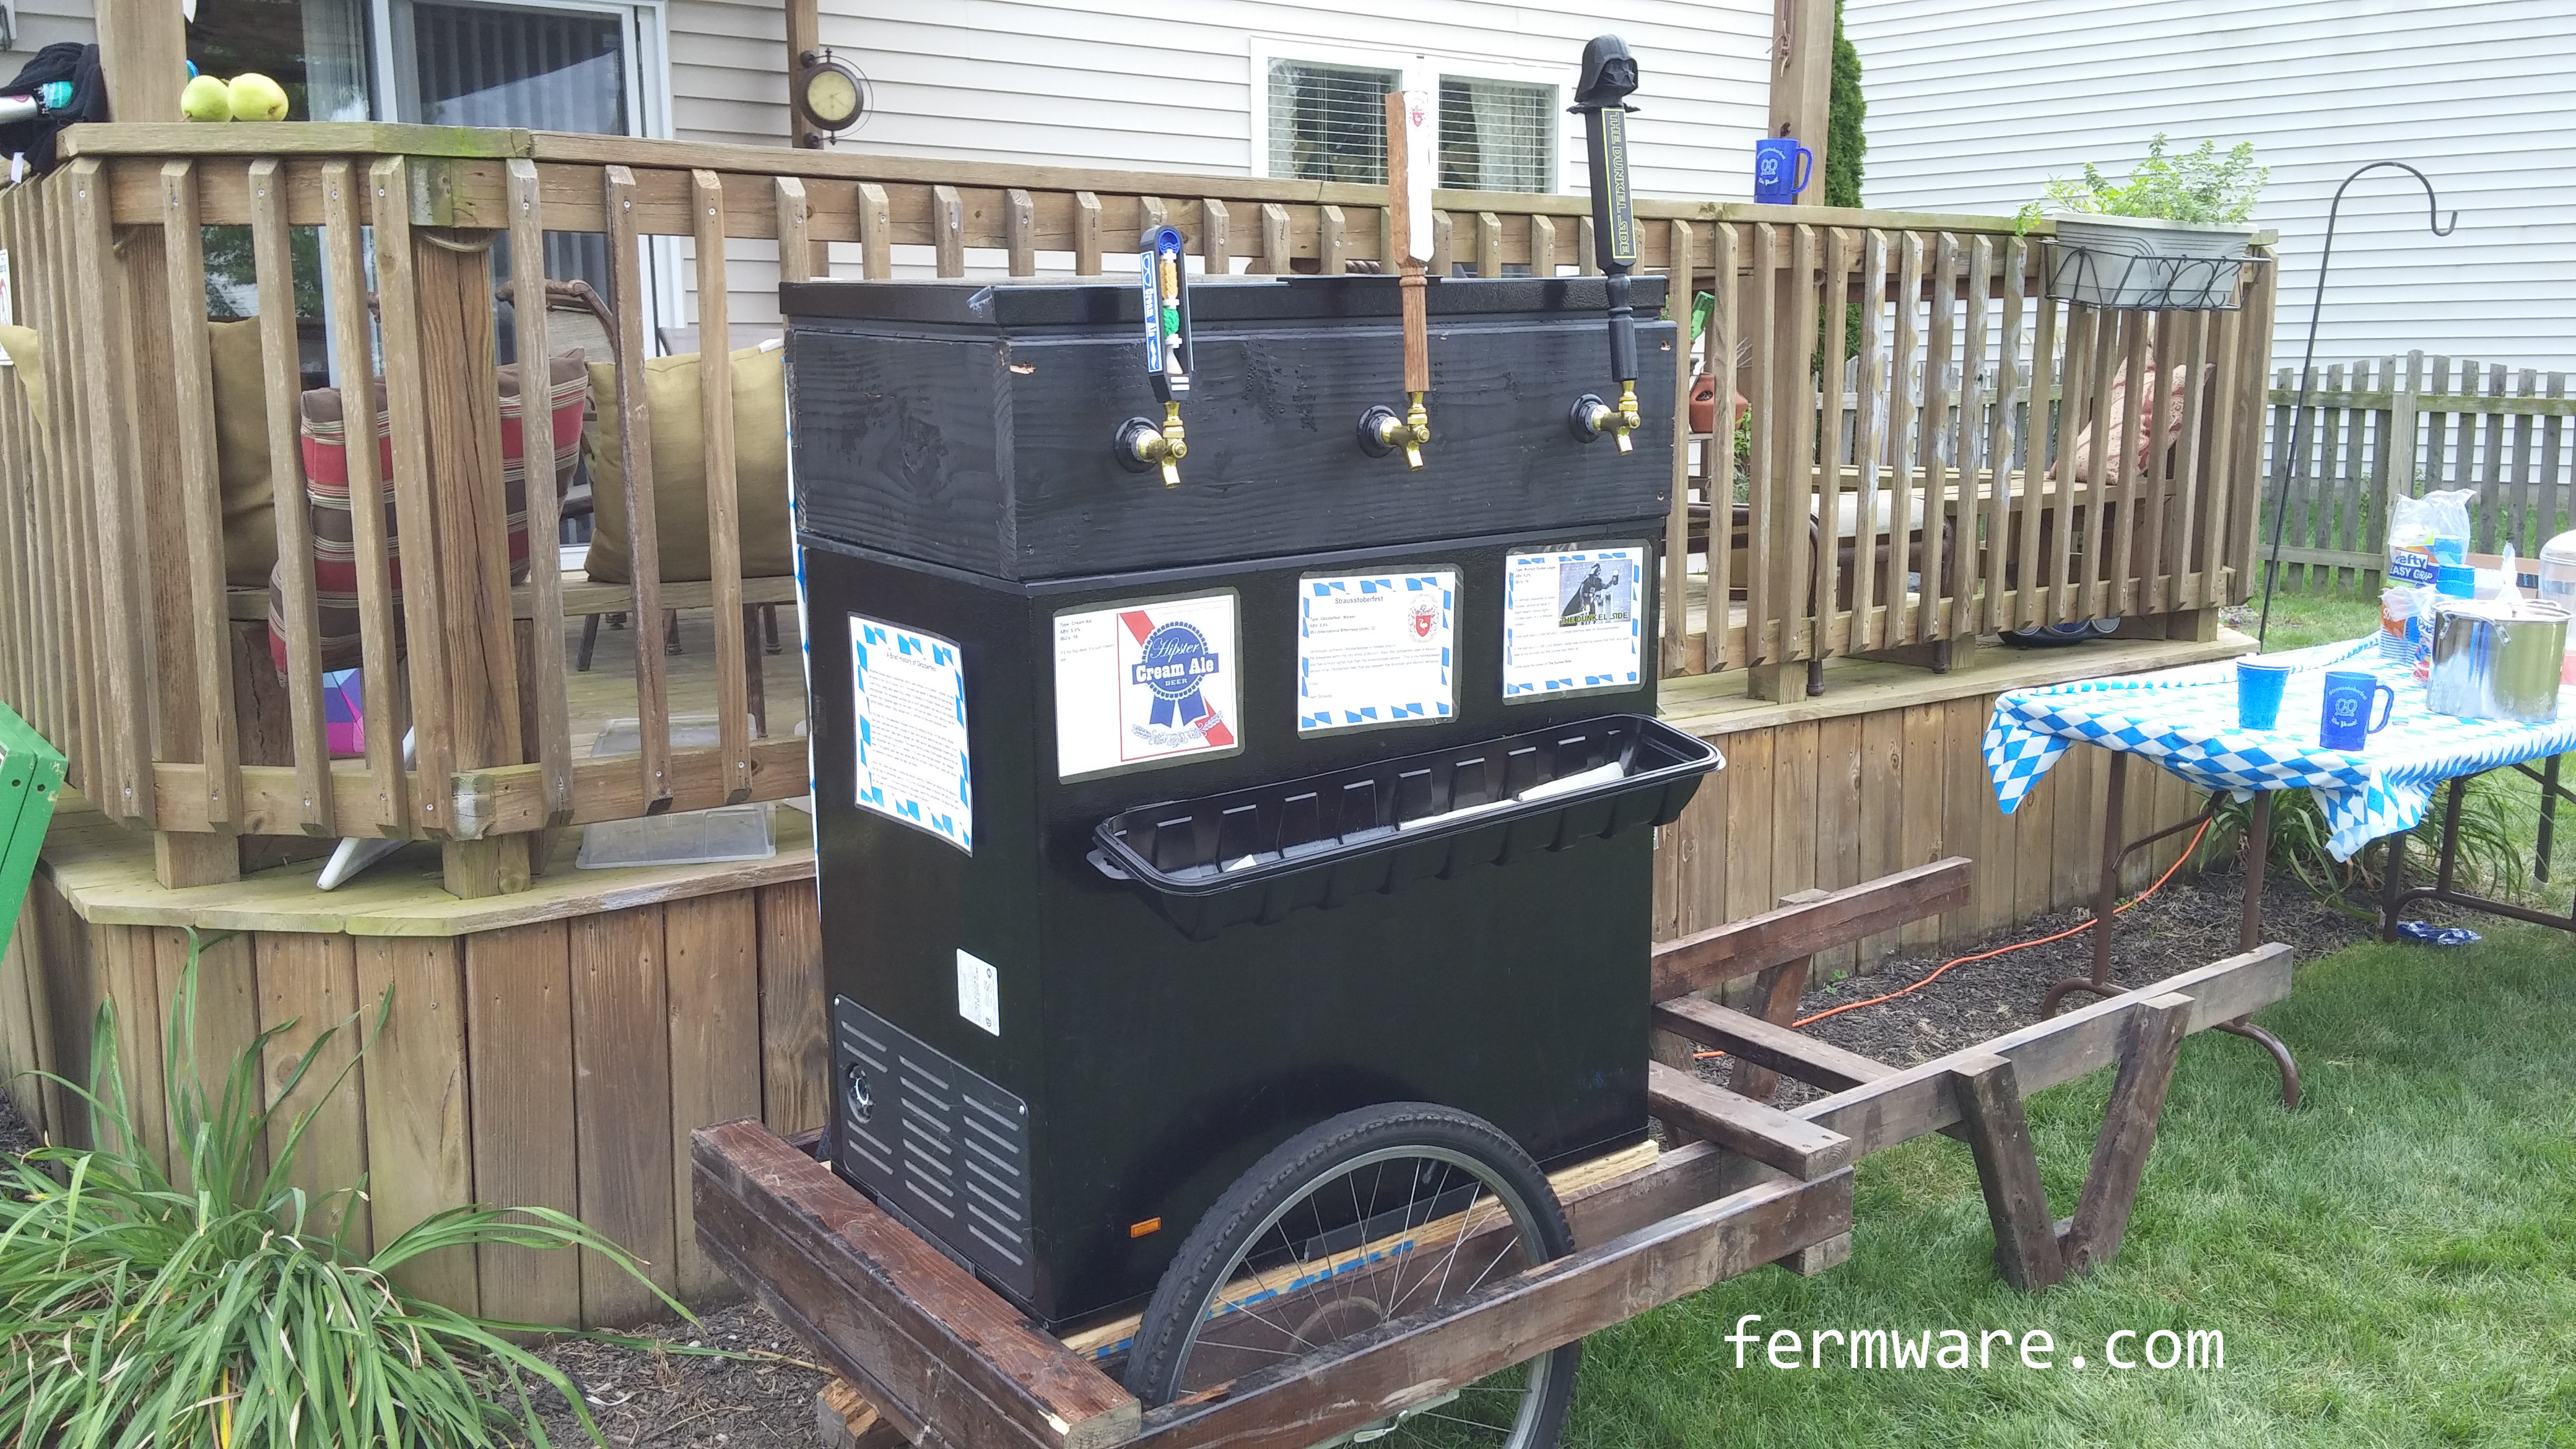
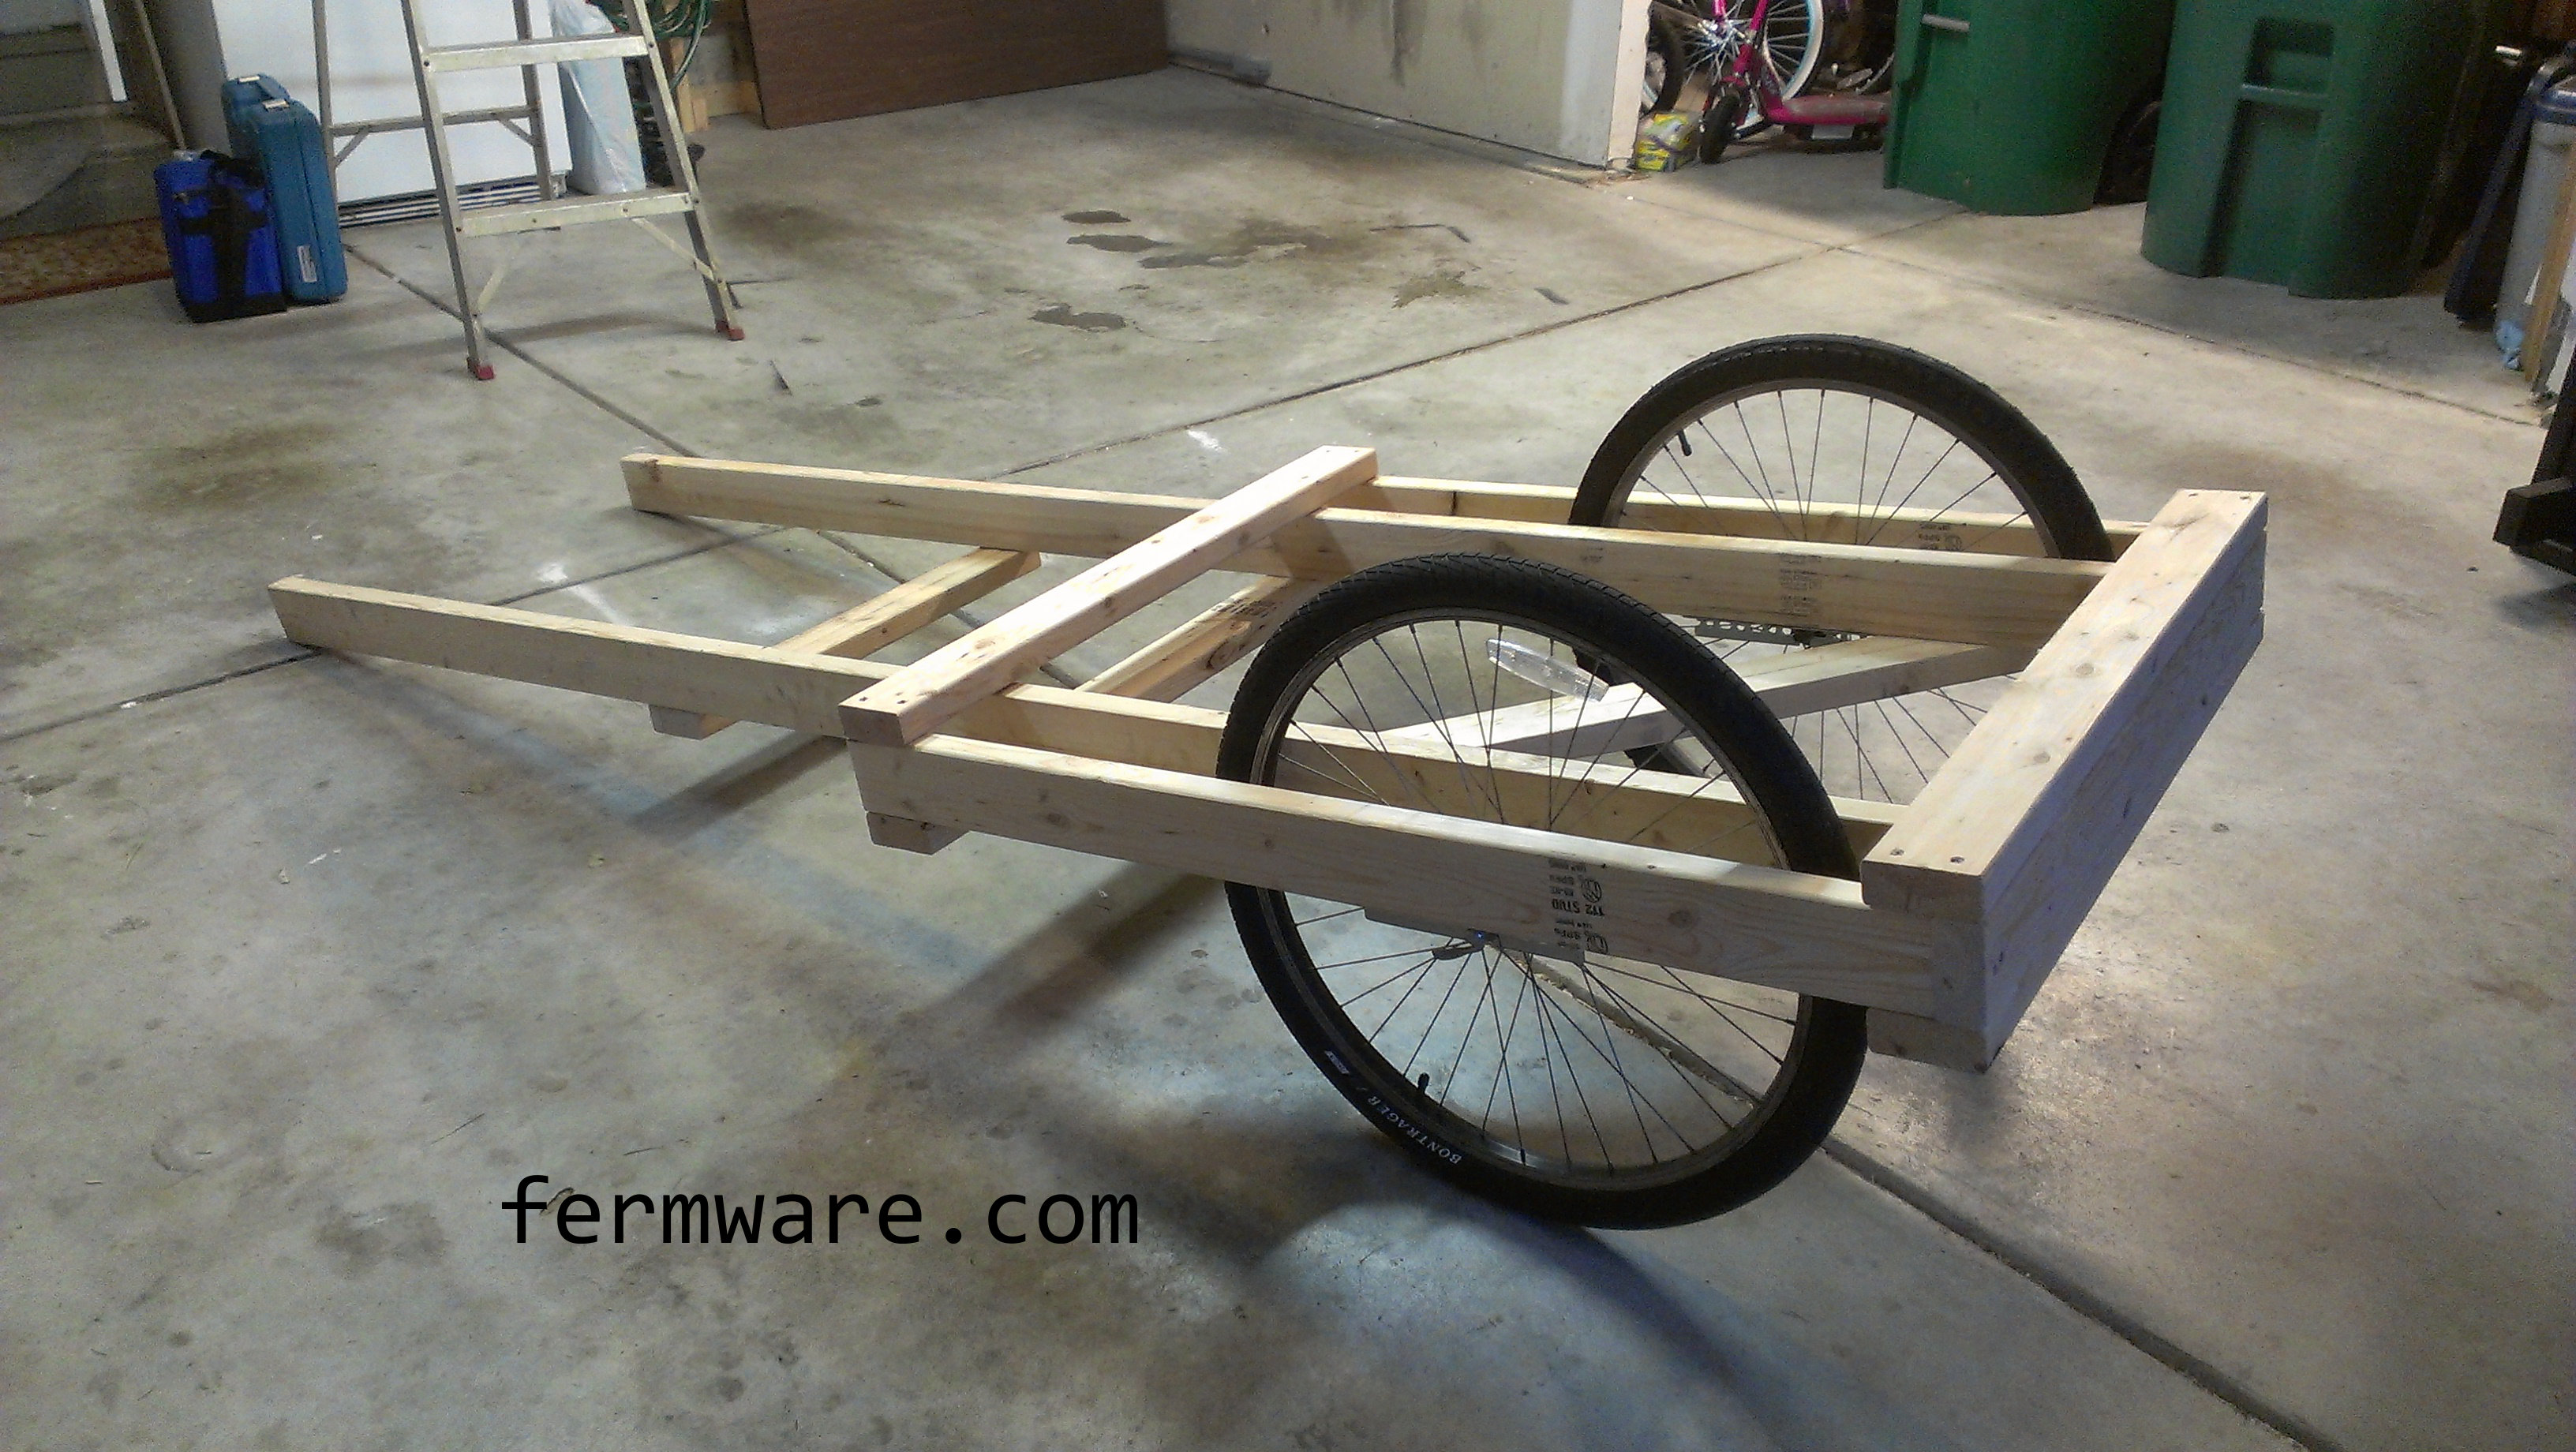
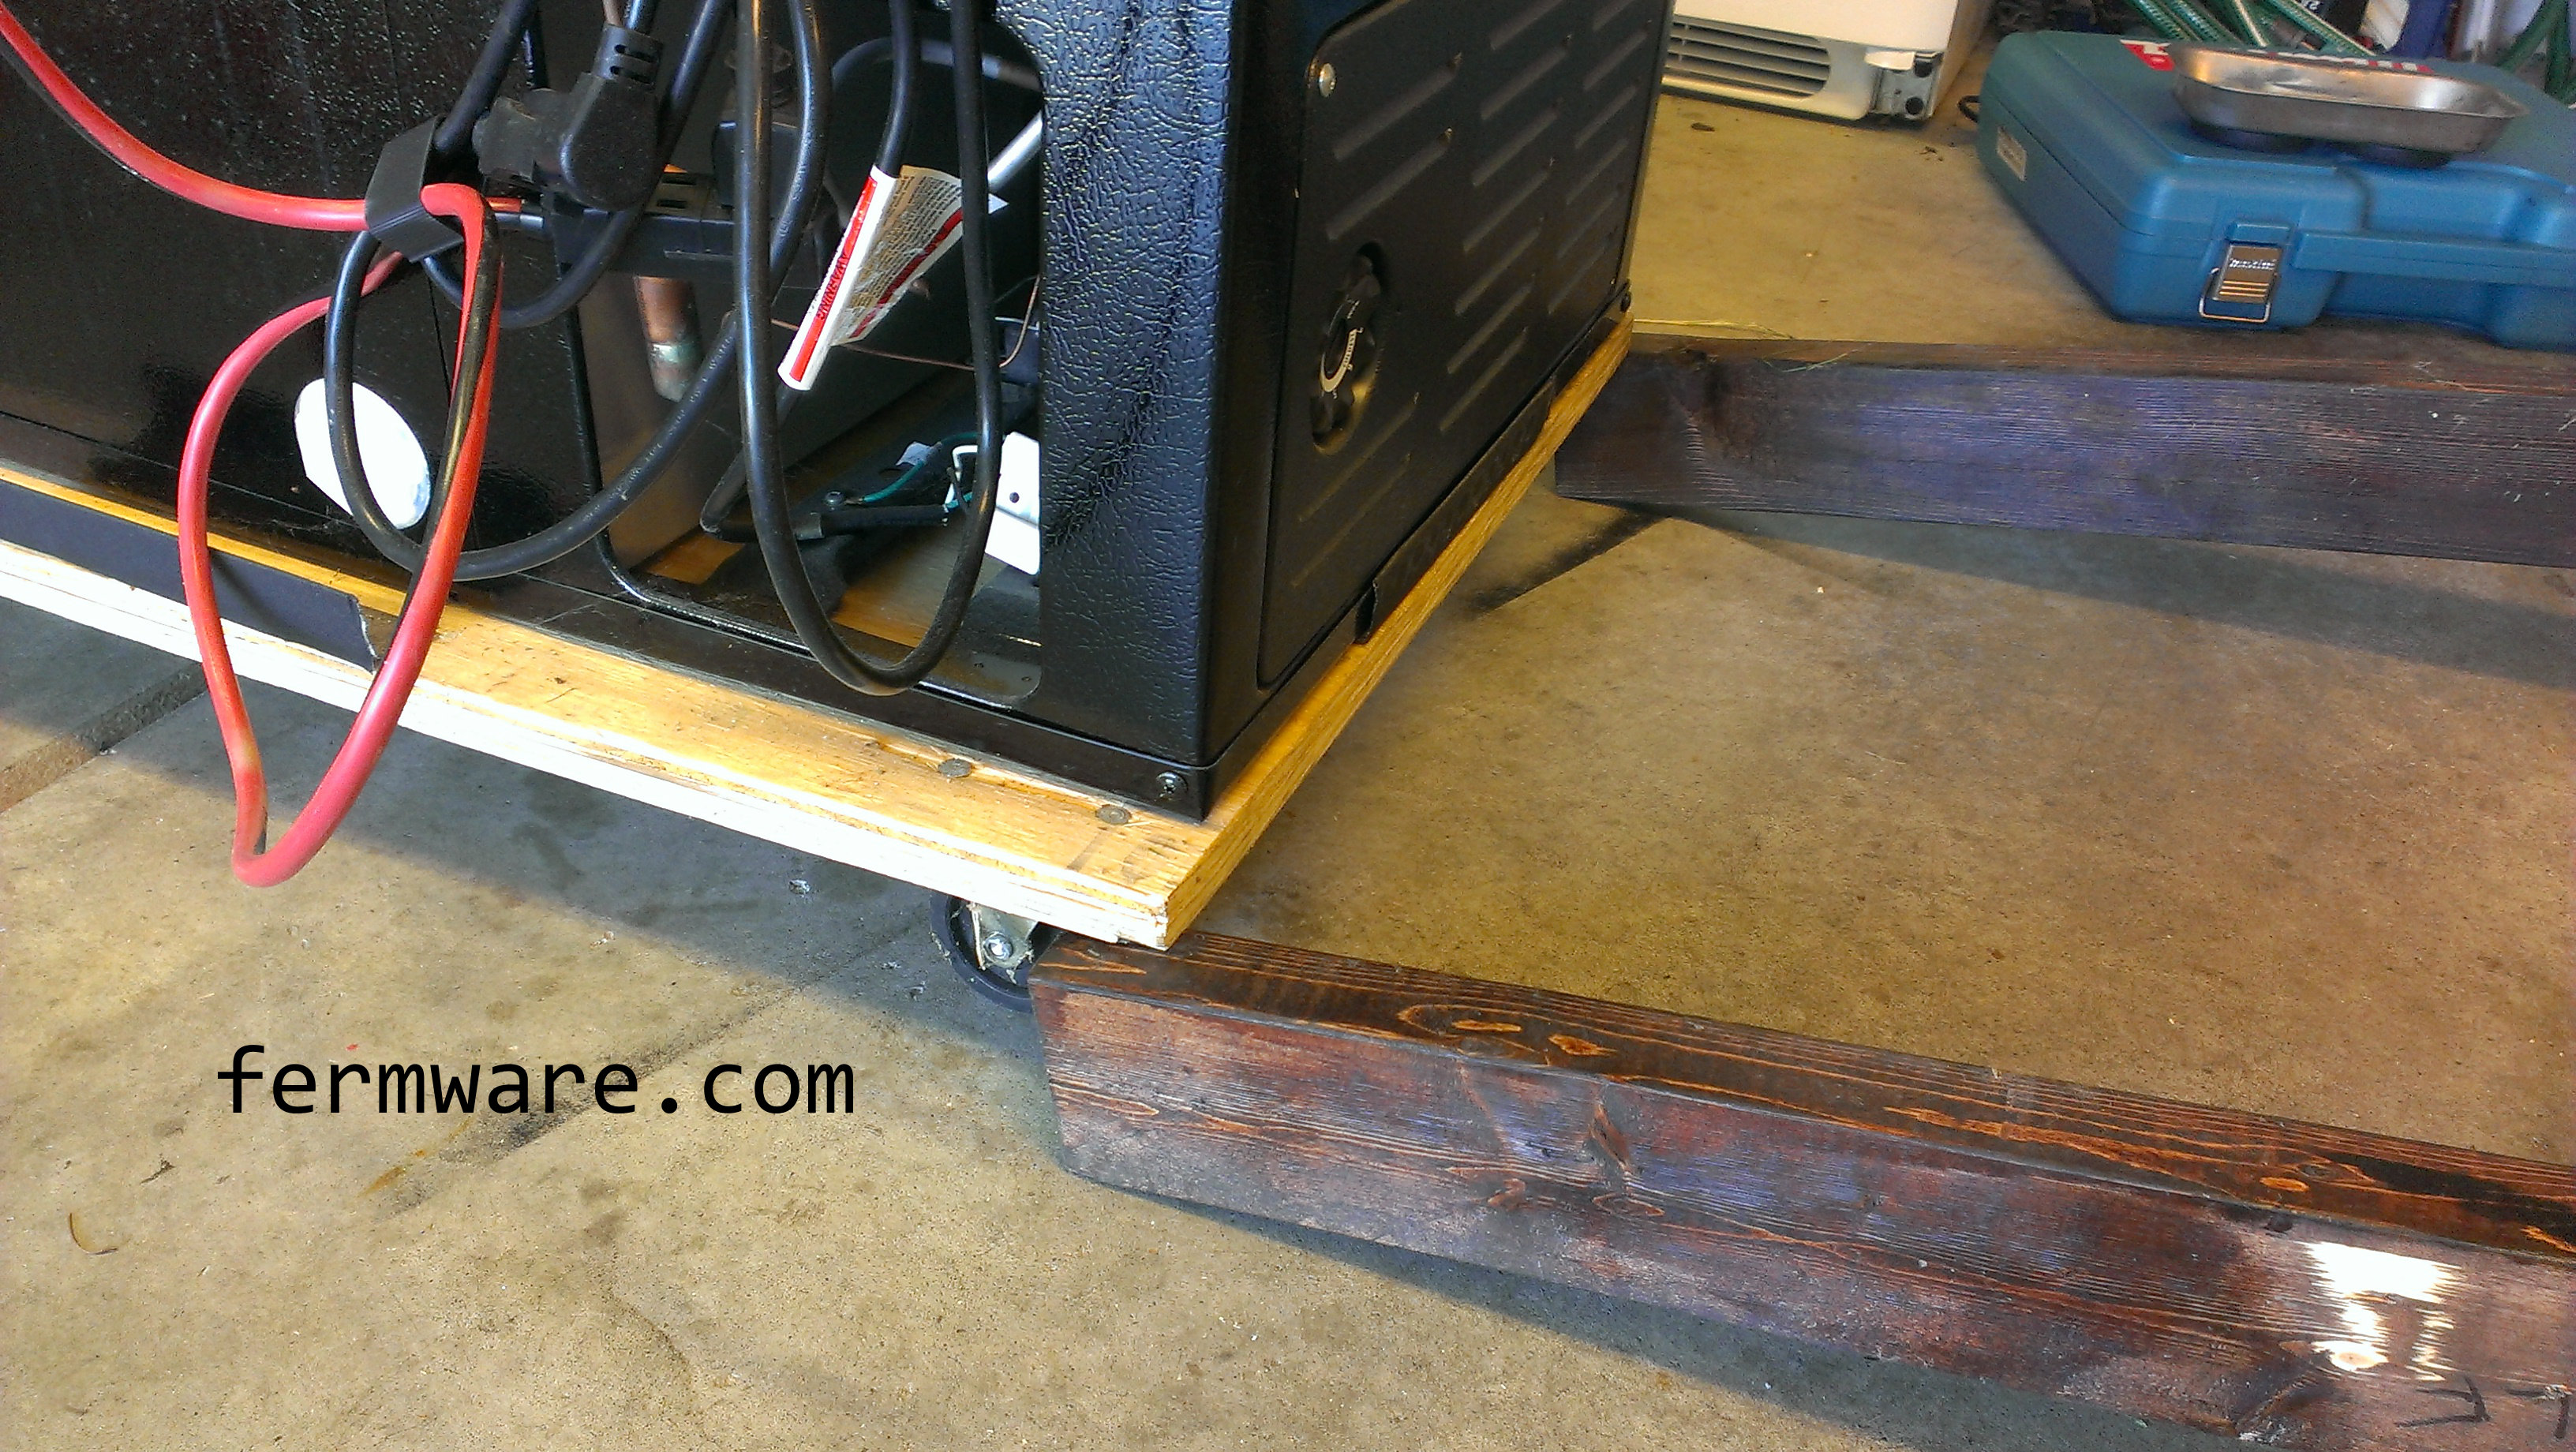
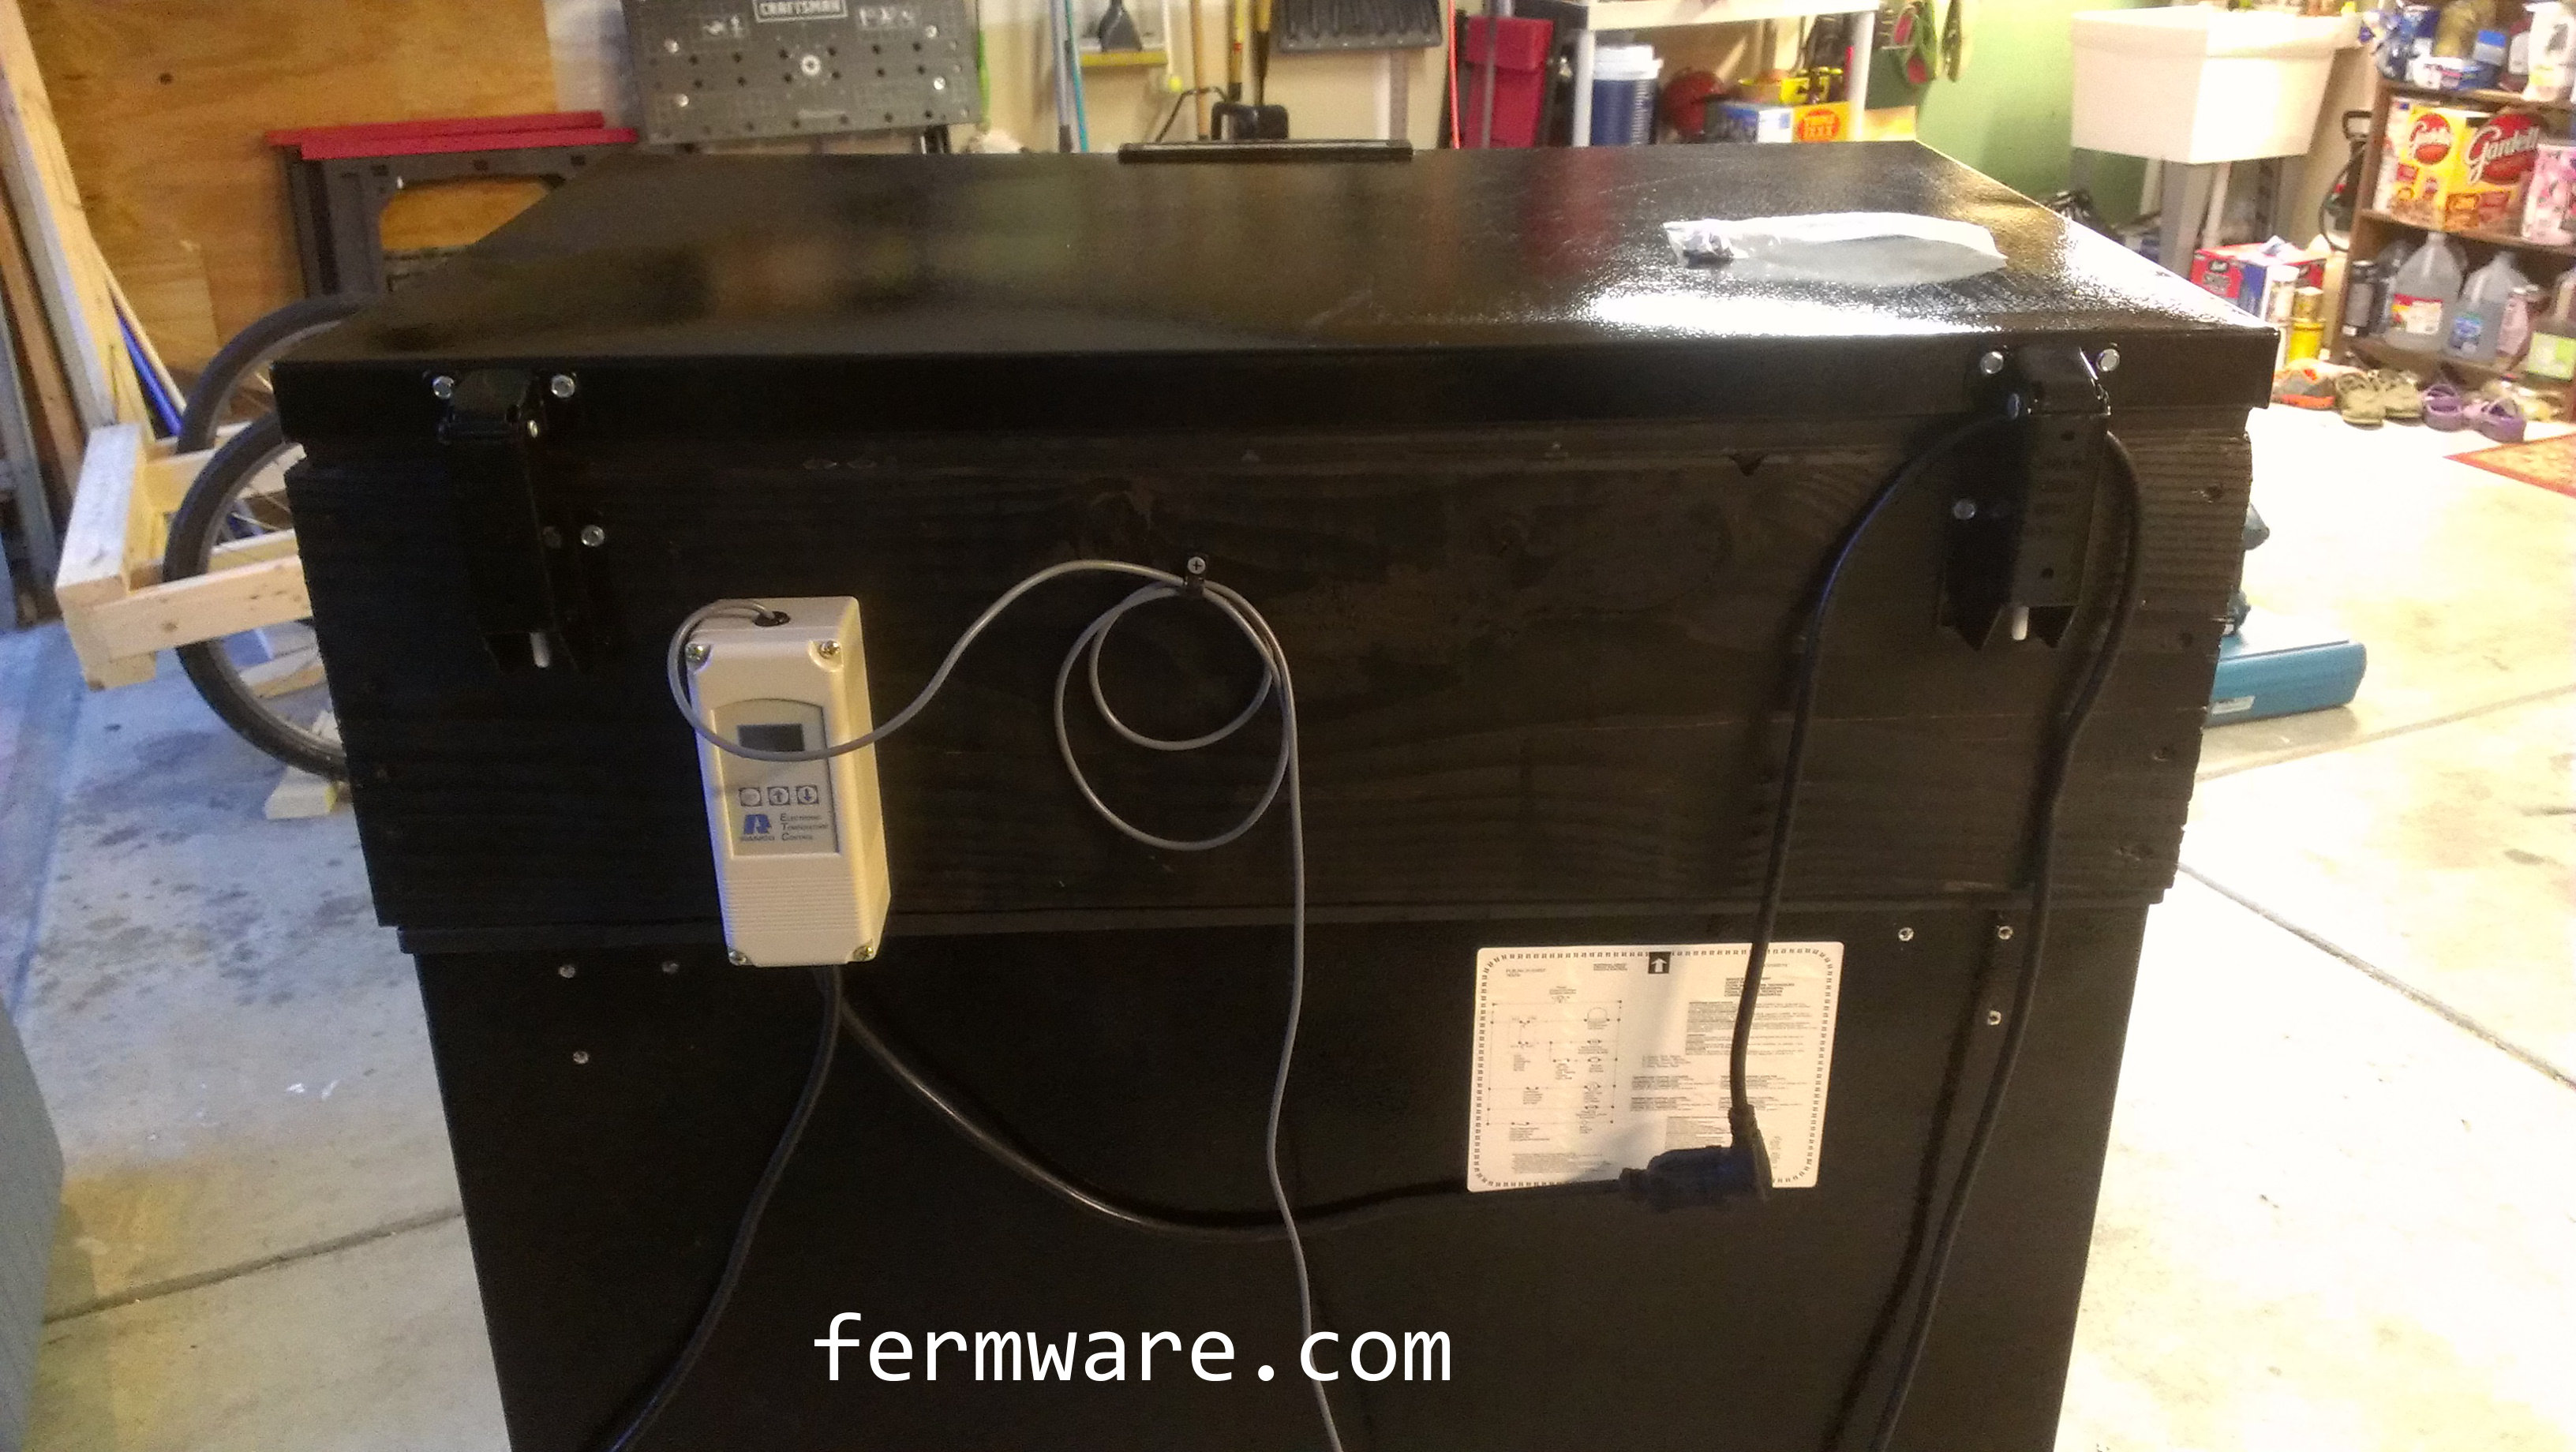
Keezer cart…Check
New faucet system…Check
Method to actuate said faucet system…DOH!!!!
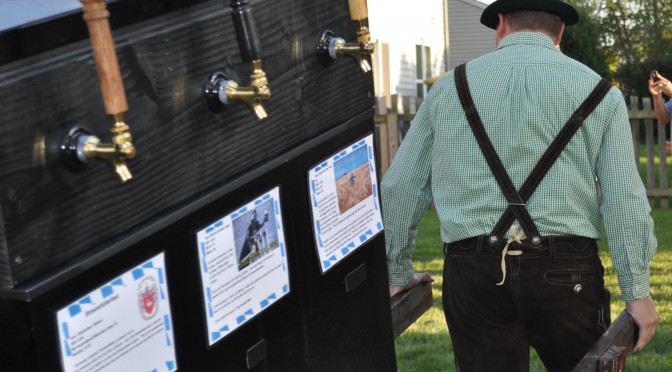
A weekend of brewing followed by 9+ weeks of TLC and lagering of your Oktoberfest beer. This needed some representation. A couple pairs of vice-grips were not going to work in this situation.
Difficulty: 
Time Required:
Once you have collected all of the supplies, about an hour max. More if you are also going to paint and design your own labels.
Affiliate Links
Cost:
Less than $10 for two tap handles
Required:
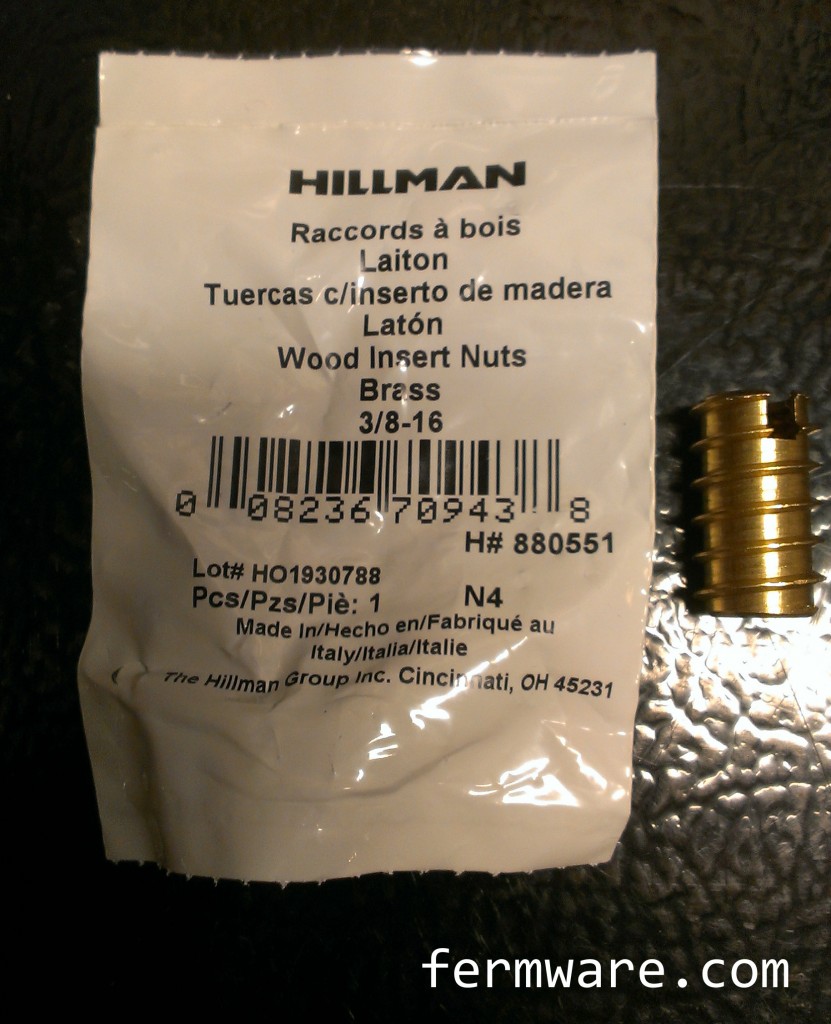
3/8″-16 Brass threaded inserts

1x wooden staircase spindle
Tools:
Chop saw or miter saw
Some sort of vice or clamping system
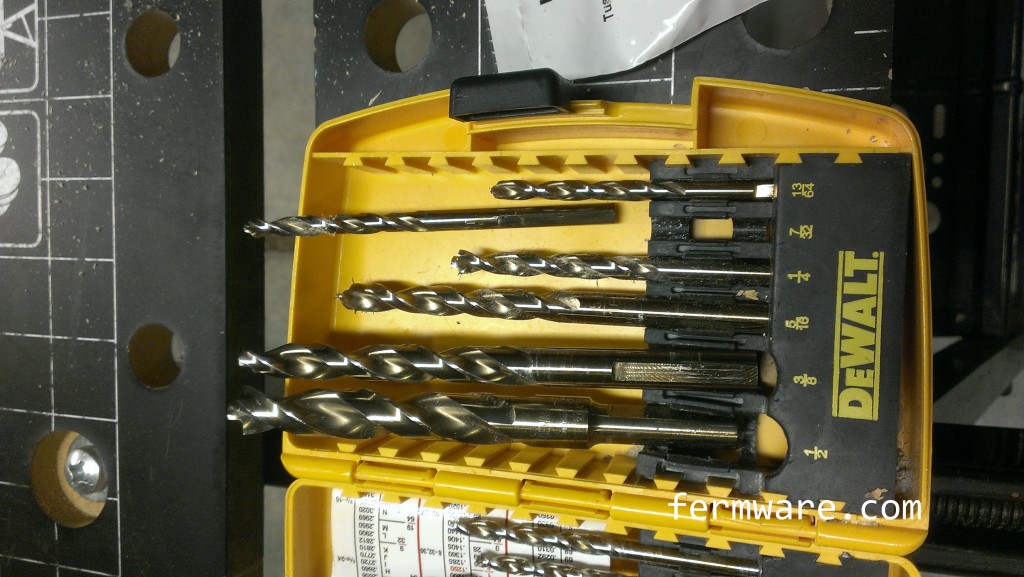
Hand drill and drill bits up to 1/2″
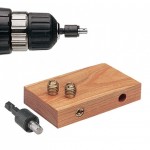
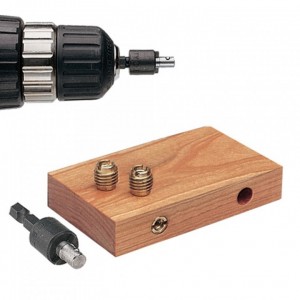
Insertion tool (optional if you plan ahead, not an option if only have days). Make sure you get the 3/8″-16 version. As of 5/31/14, the price was $10.99 at Rockler.
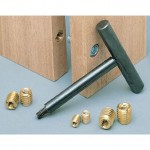
Or there are T-handle designs
Alternately, you could use a 3/8″-16 threaded bolt and two corresponding nuts, which I also didn’t have on hand at the time of build. If you are doing these often, I would get a tool. If not, maybe make the call yourself on how MacGyver you want to get.
How it’s made:
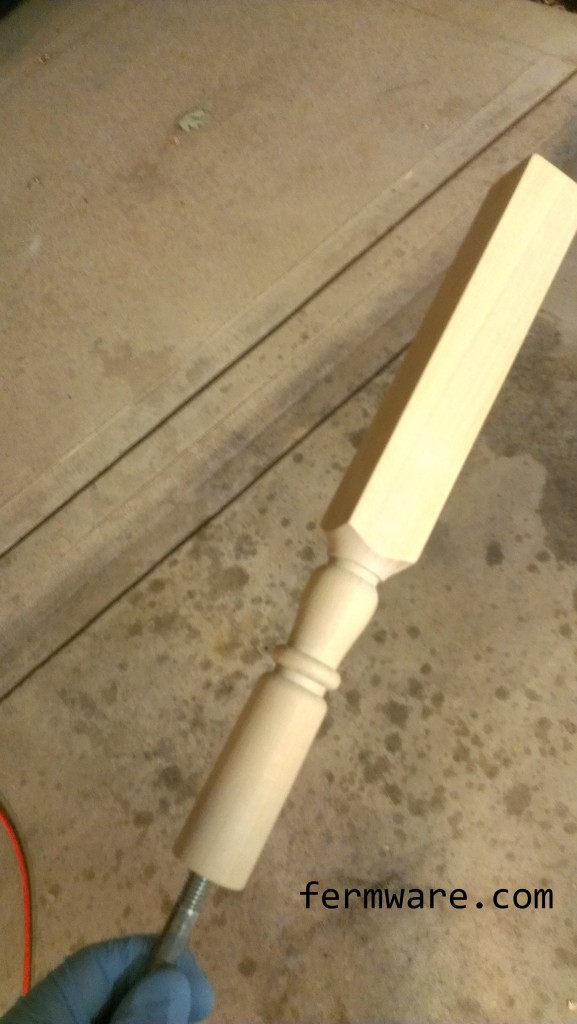
Cut handles to length
First, you need to cut off the little nubbin on the end of your spindle (if applicable).
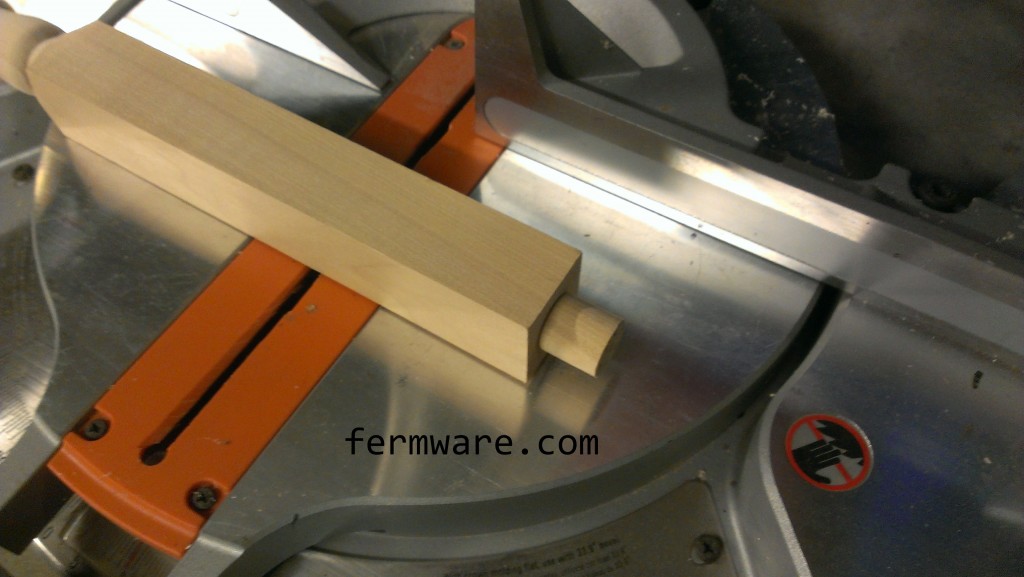
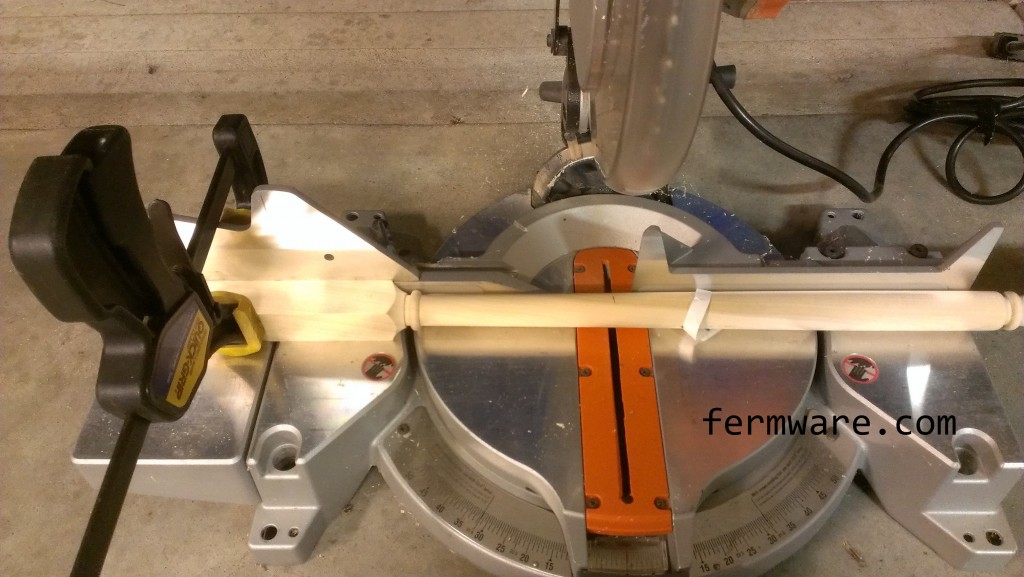
Then, decide how long you want your tap handles to be and cut each of the fancy ends off of the spindle to your desired length. Try to cut perpendicular to the spindles axis. I used a quick clamp to hold it to my miter saw (basically because I had misplaced the super handy integrated clamp that went with the saw).
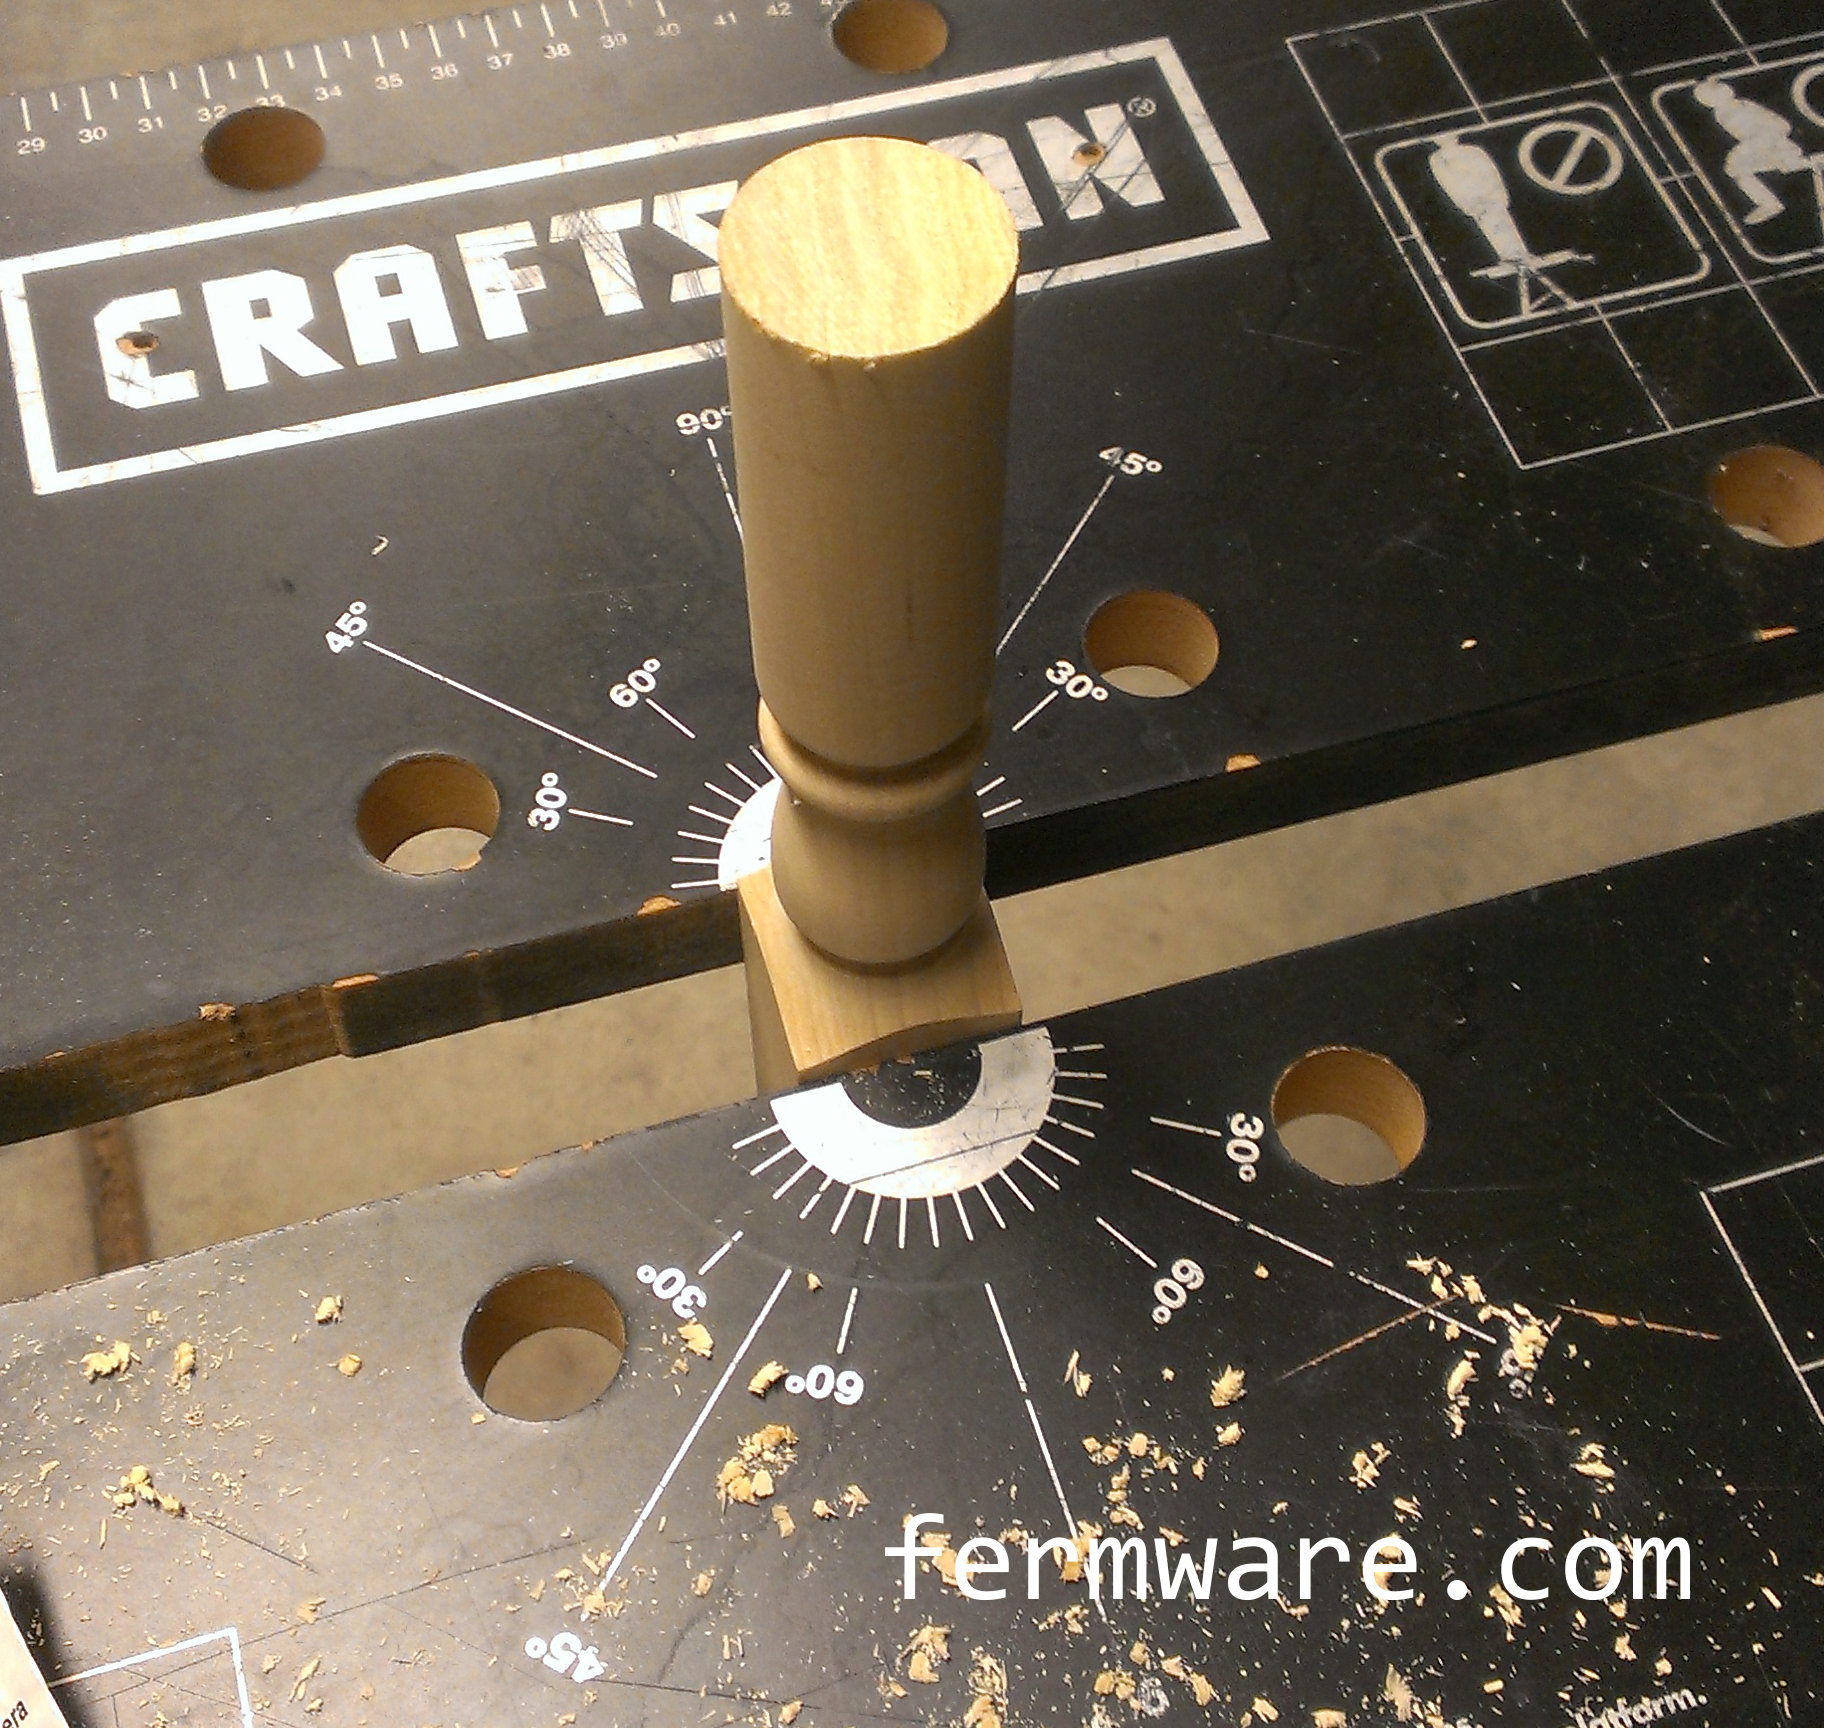
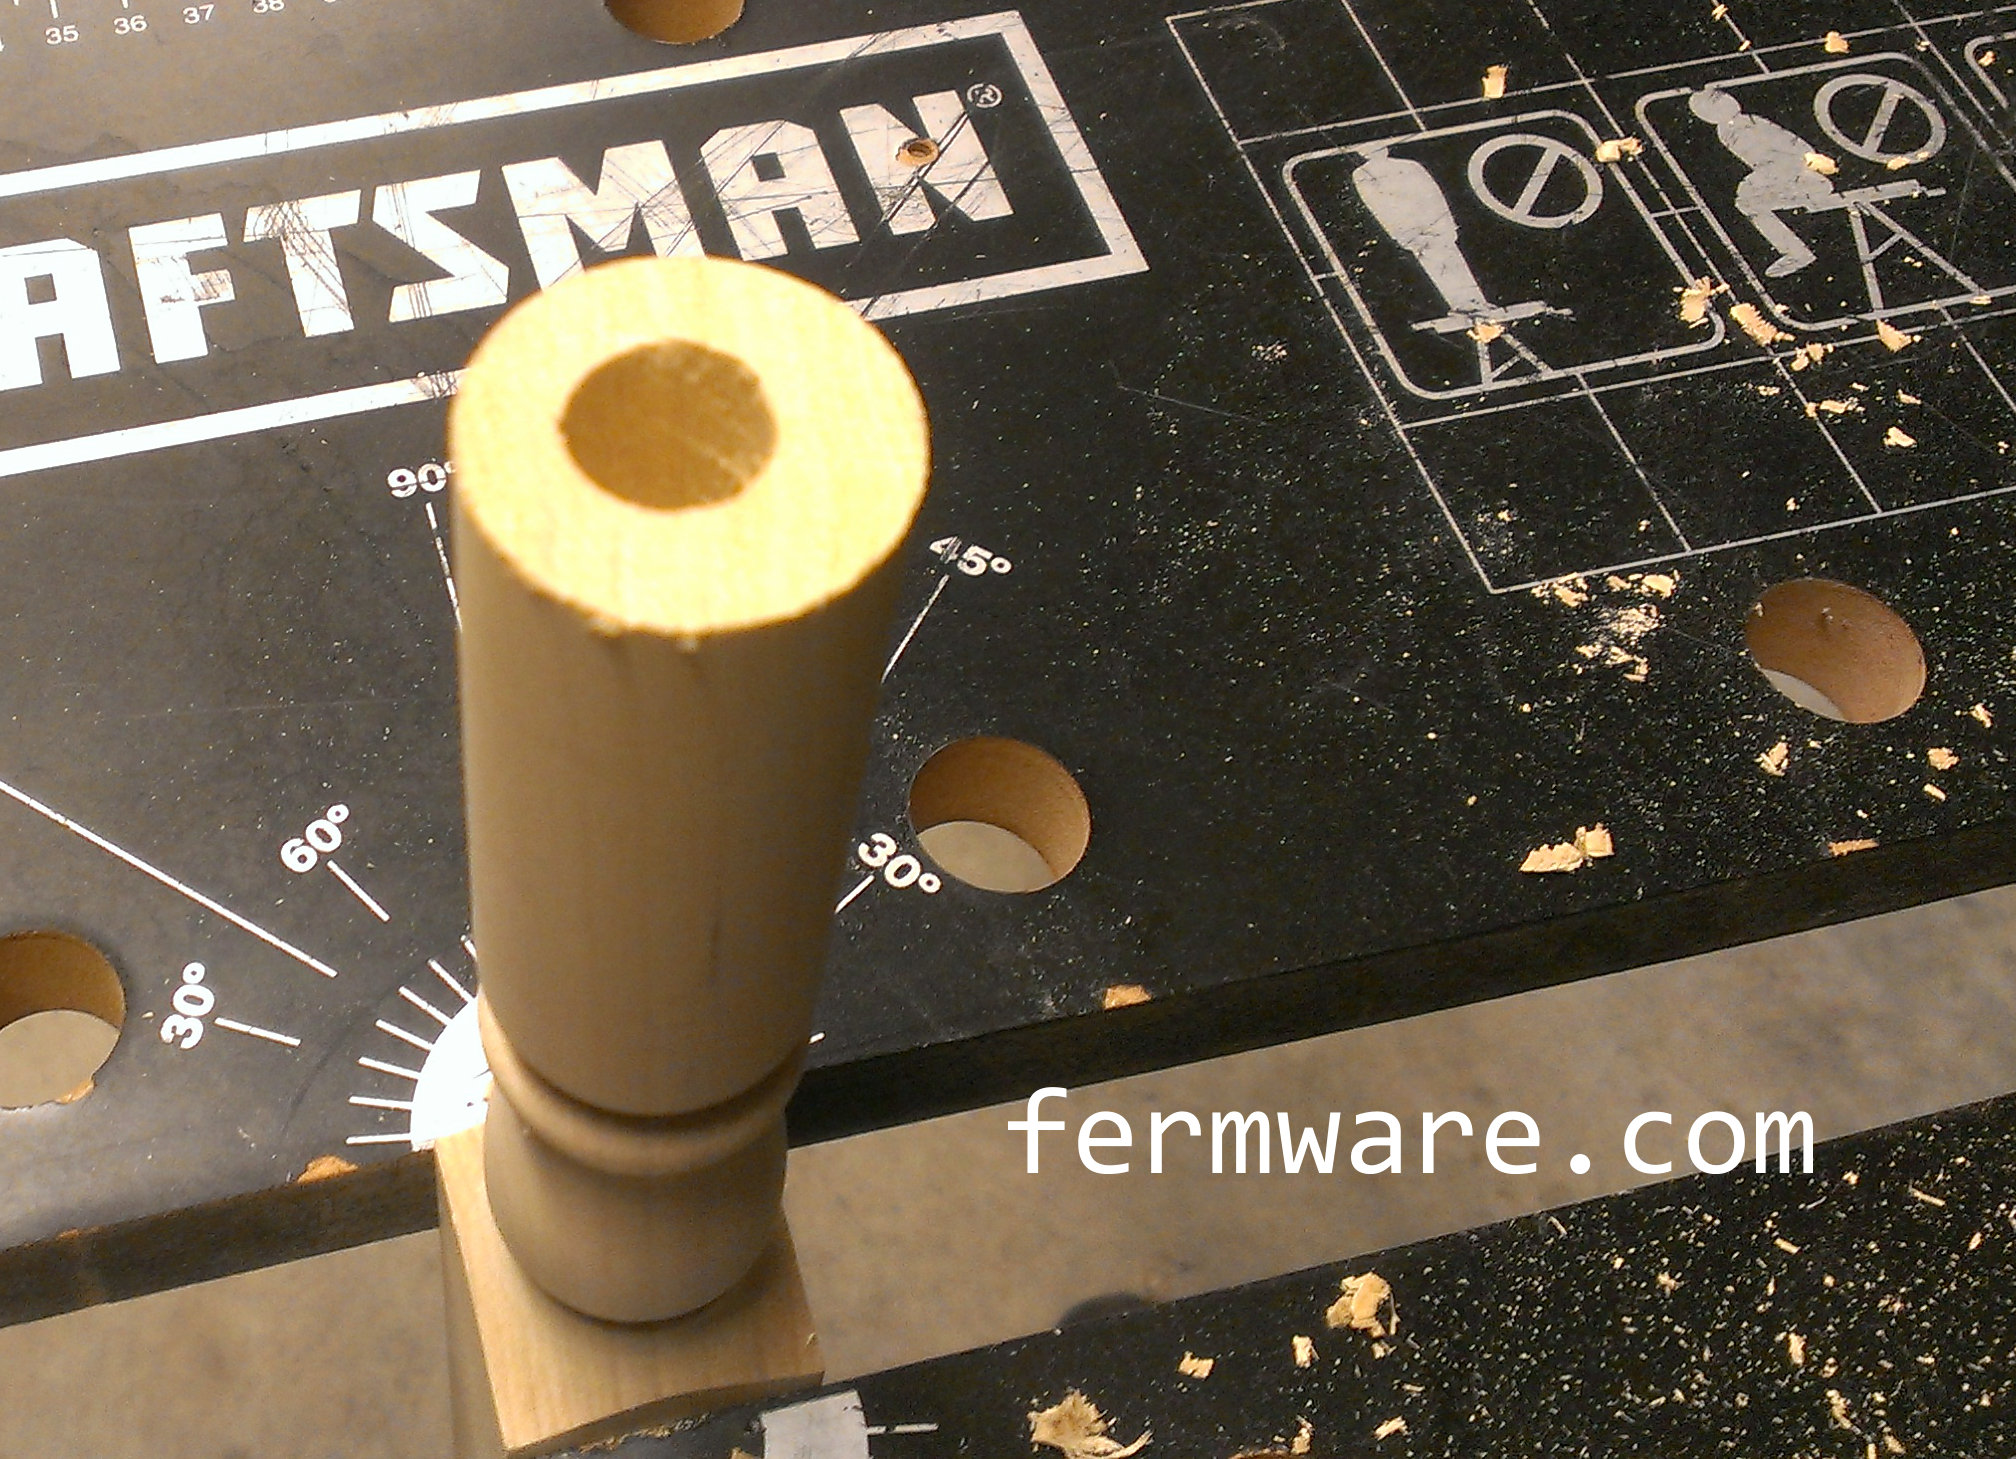
Drill holes
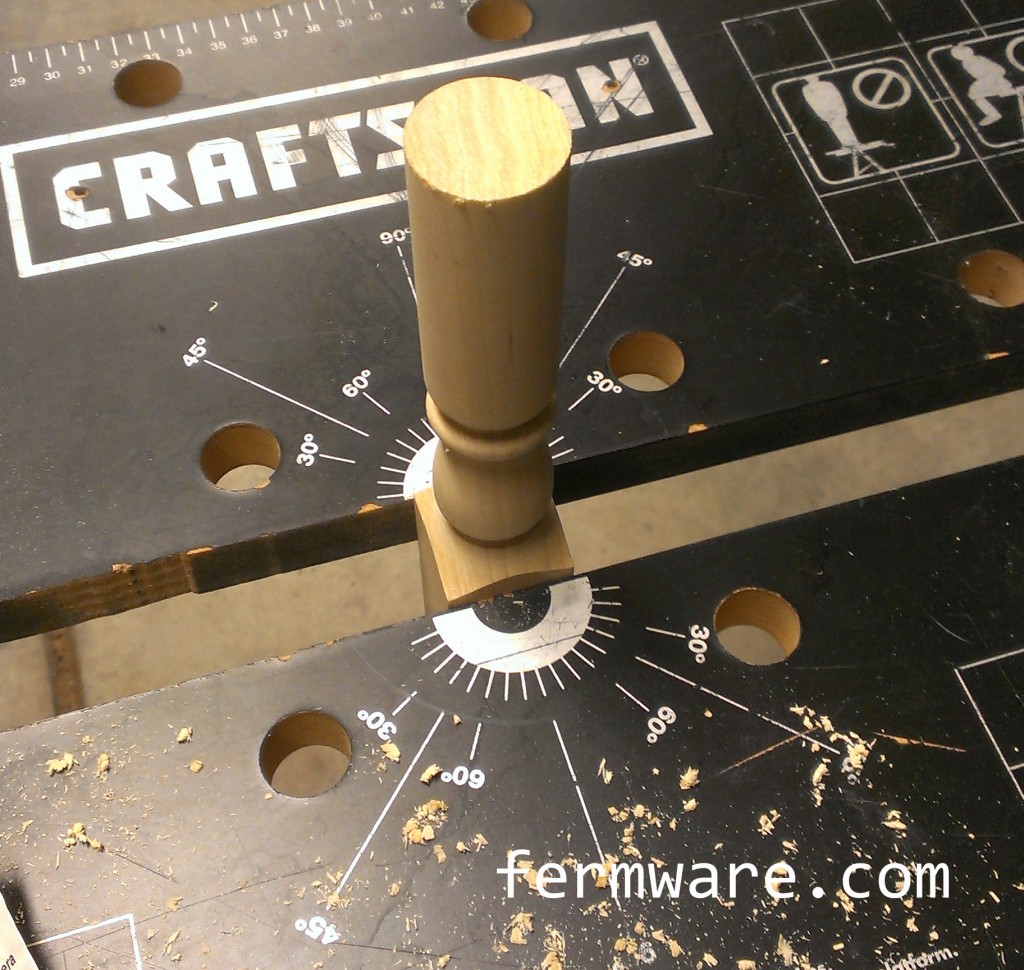
Using your vice or whatever clamping system you fancy, get your tap handle secured for drilling. If you are seriously cool and have a lathe or a drill press, go for it. I tried a hole drilling jig, but the problem is that the spindles do not have nice constant diameter sections, which made squaring up the jig virtually impossible.
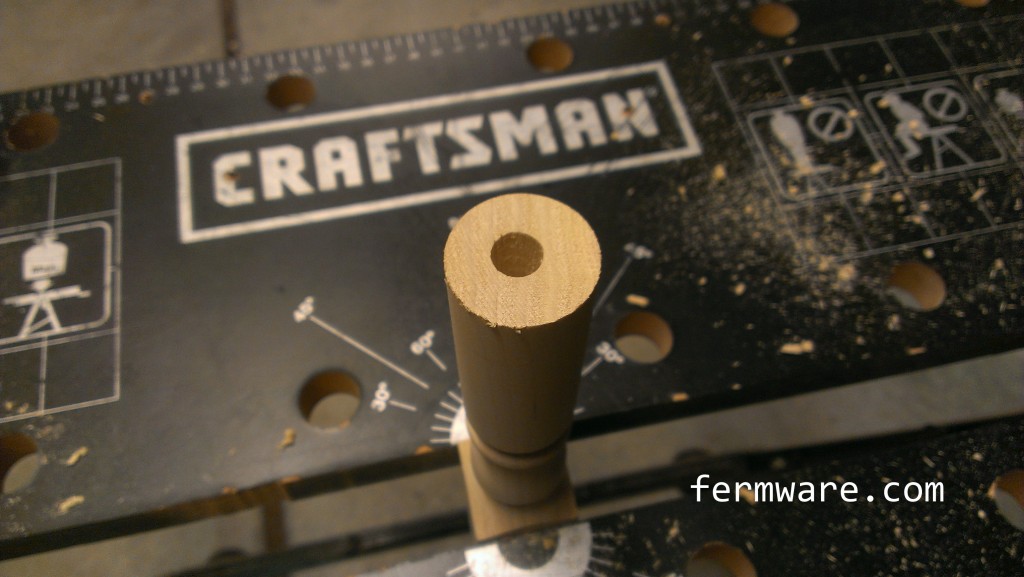
Drill progressively larger holes in the bottom end of the tap handle to work your way up to a 1/2″ hole. If you have the means, I highly suggest you don’t drill off center as I have obviously done in these pictures.

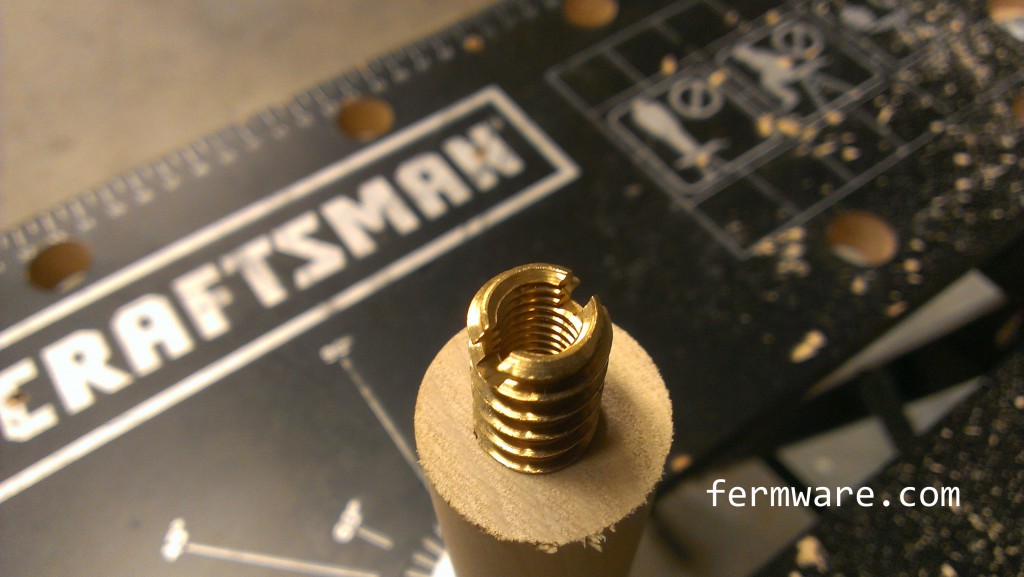
Install the insert

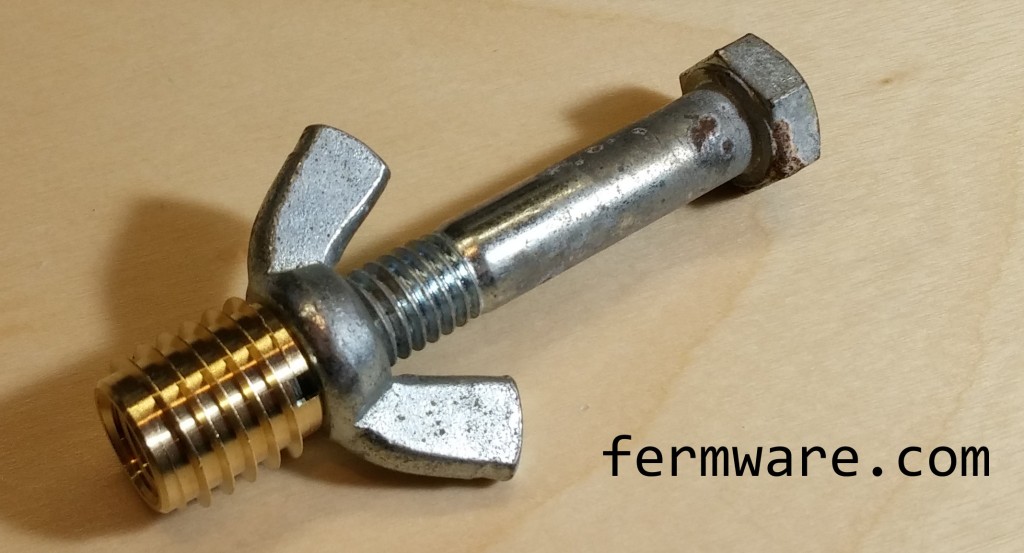
November 2, 2014 update: You’ll see further down alternate methods to install the insert. This picture directly below shows my most recent “tool-less” method. I use a standard 3/8-16 bolt along with a wing nut. You thread the wing nut onto the bolt as shown, then also thread the brass insert almost fully onto the bolt. Then tighten the wingnut to the brass insert. You can then use this assembly to thread the insert into the tap handle. When the brass insert is fully installed, just undo the wing nut and unthread the bolt.
Here is the “proper” method below:
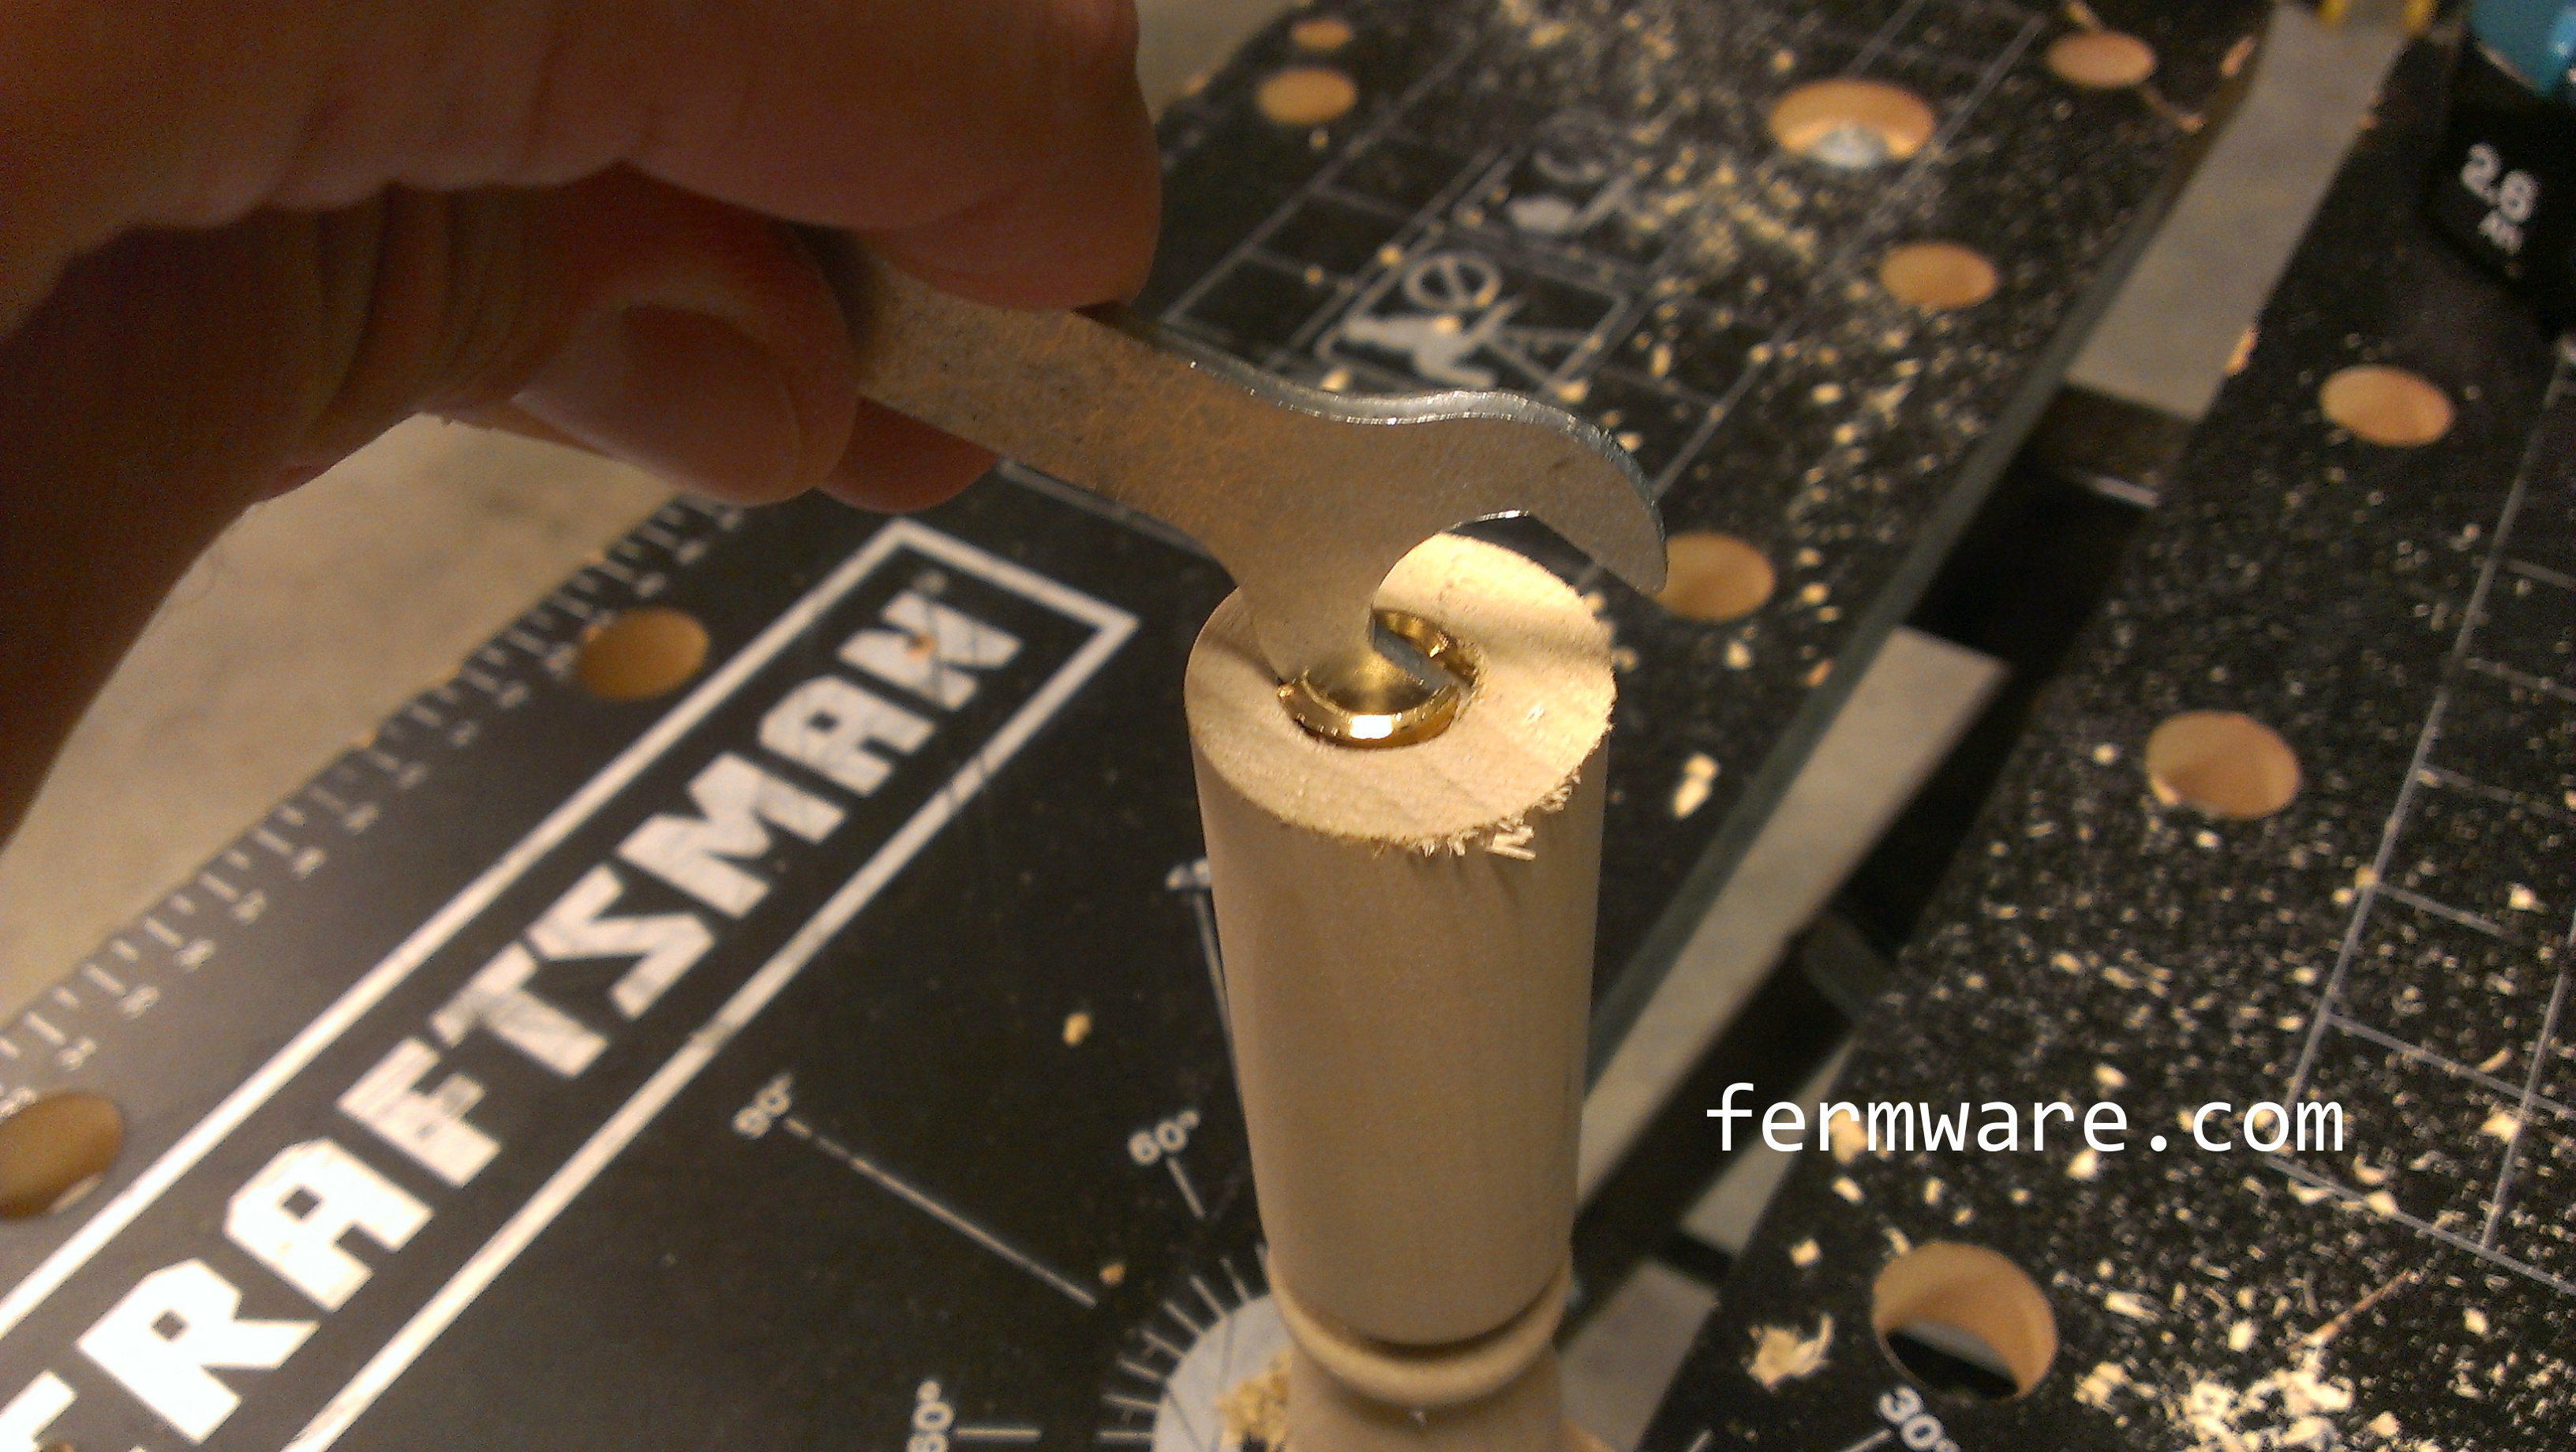
My initial MacGuyver method:
I don’t know how this worked out, but I needed something that would fit in the slot and help me screw the insert in. I ended up using a cheapie wrench that came with some sort of put-it-together-yourself furniture.
These are hard to get started straight, so do your best. Usually they pull themselves straight after the first full thread or two. If not, you may want to back it out and start again.

NOTE: This is NOT the proper way to do this. I just made do with what I had. If you plan ahead, get an insertion tool or use the bolt method I mentioned above.
Getting the insert flush with the bottom takes a little extra “ingenuity”.

Finishing
Alright, so it’s functional at this point and you could go ahead and use it. If you want to make it a little more presentable, you could sand and paint it and add labels. For painting, I just used a 3/8″-16 bolt I had and used it as a handle while I spray painted. You can also stain as I did on some other tap handles. Before you apply your labels, I would suggest threading the tap handles onto the faucets and determine which orientation is best for not looking crooked. If you drilled the holes by hand this is imperative. If you drilled using a method that is guaranteed straight, proceed at will.
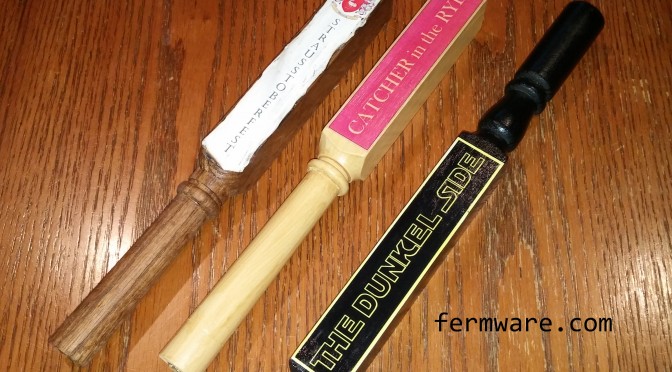
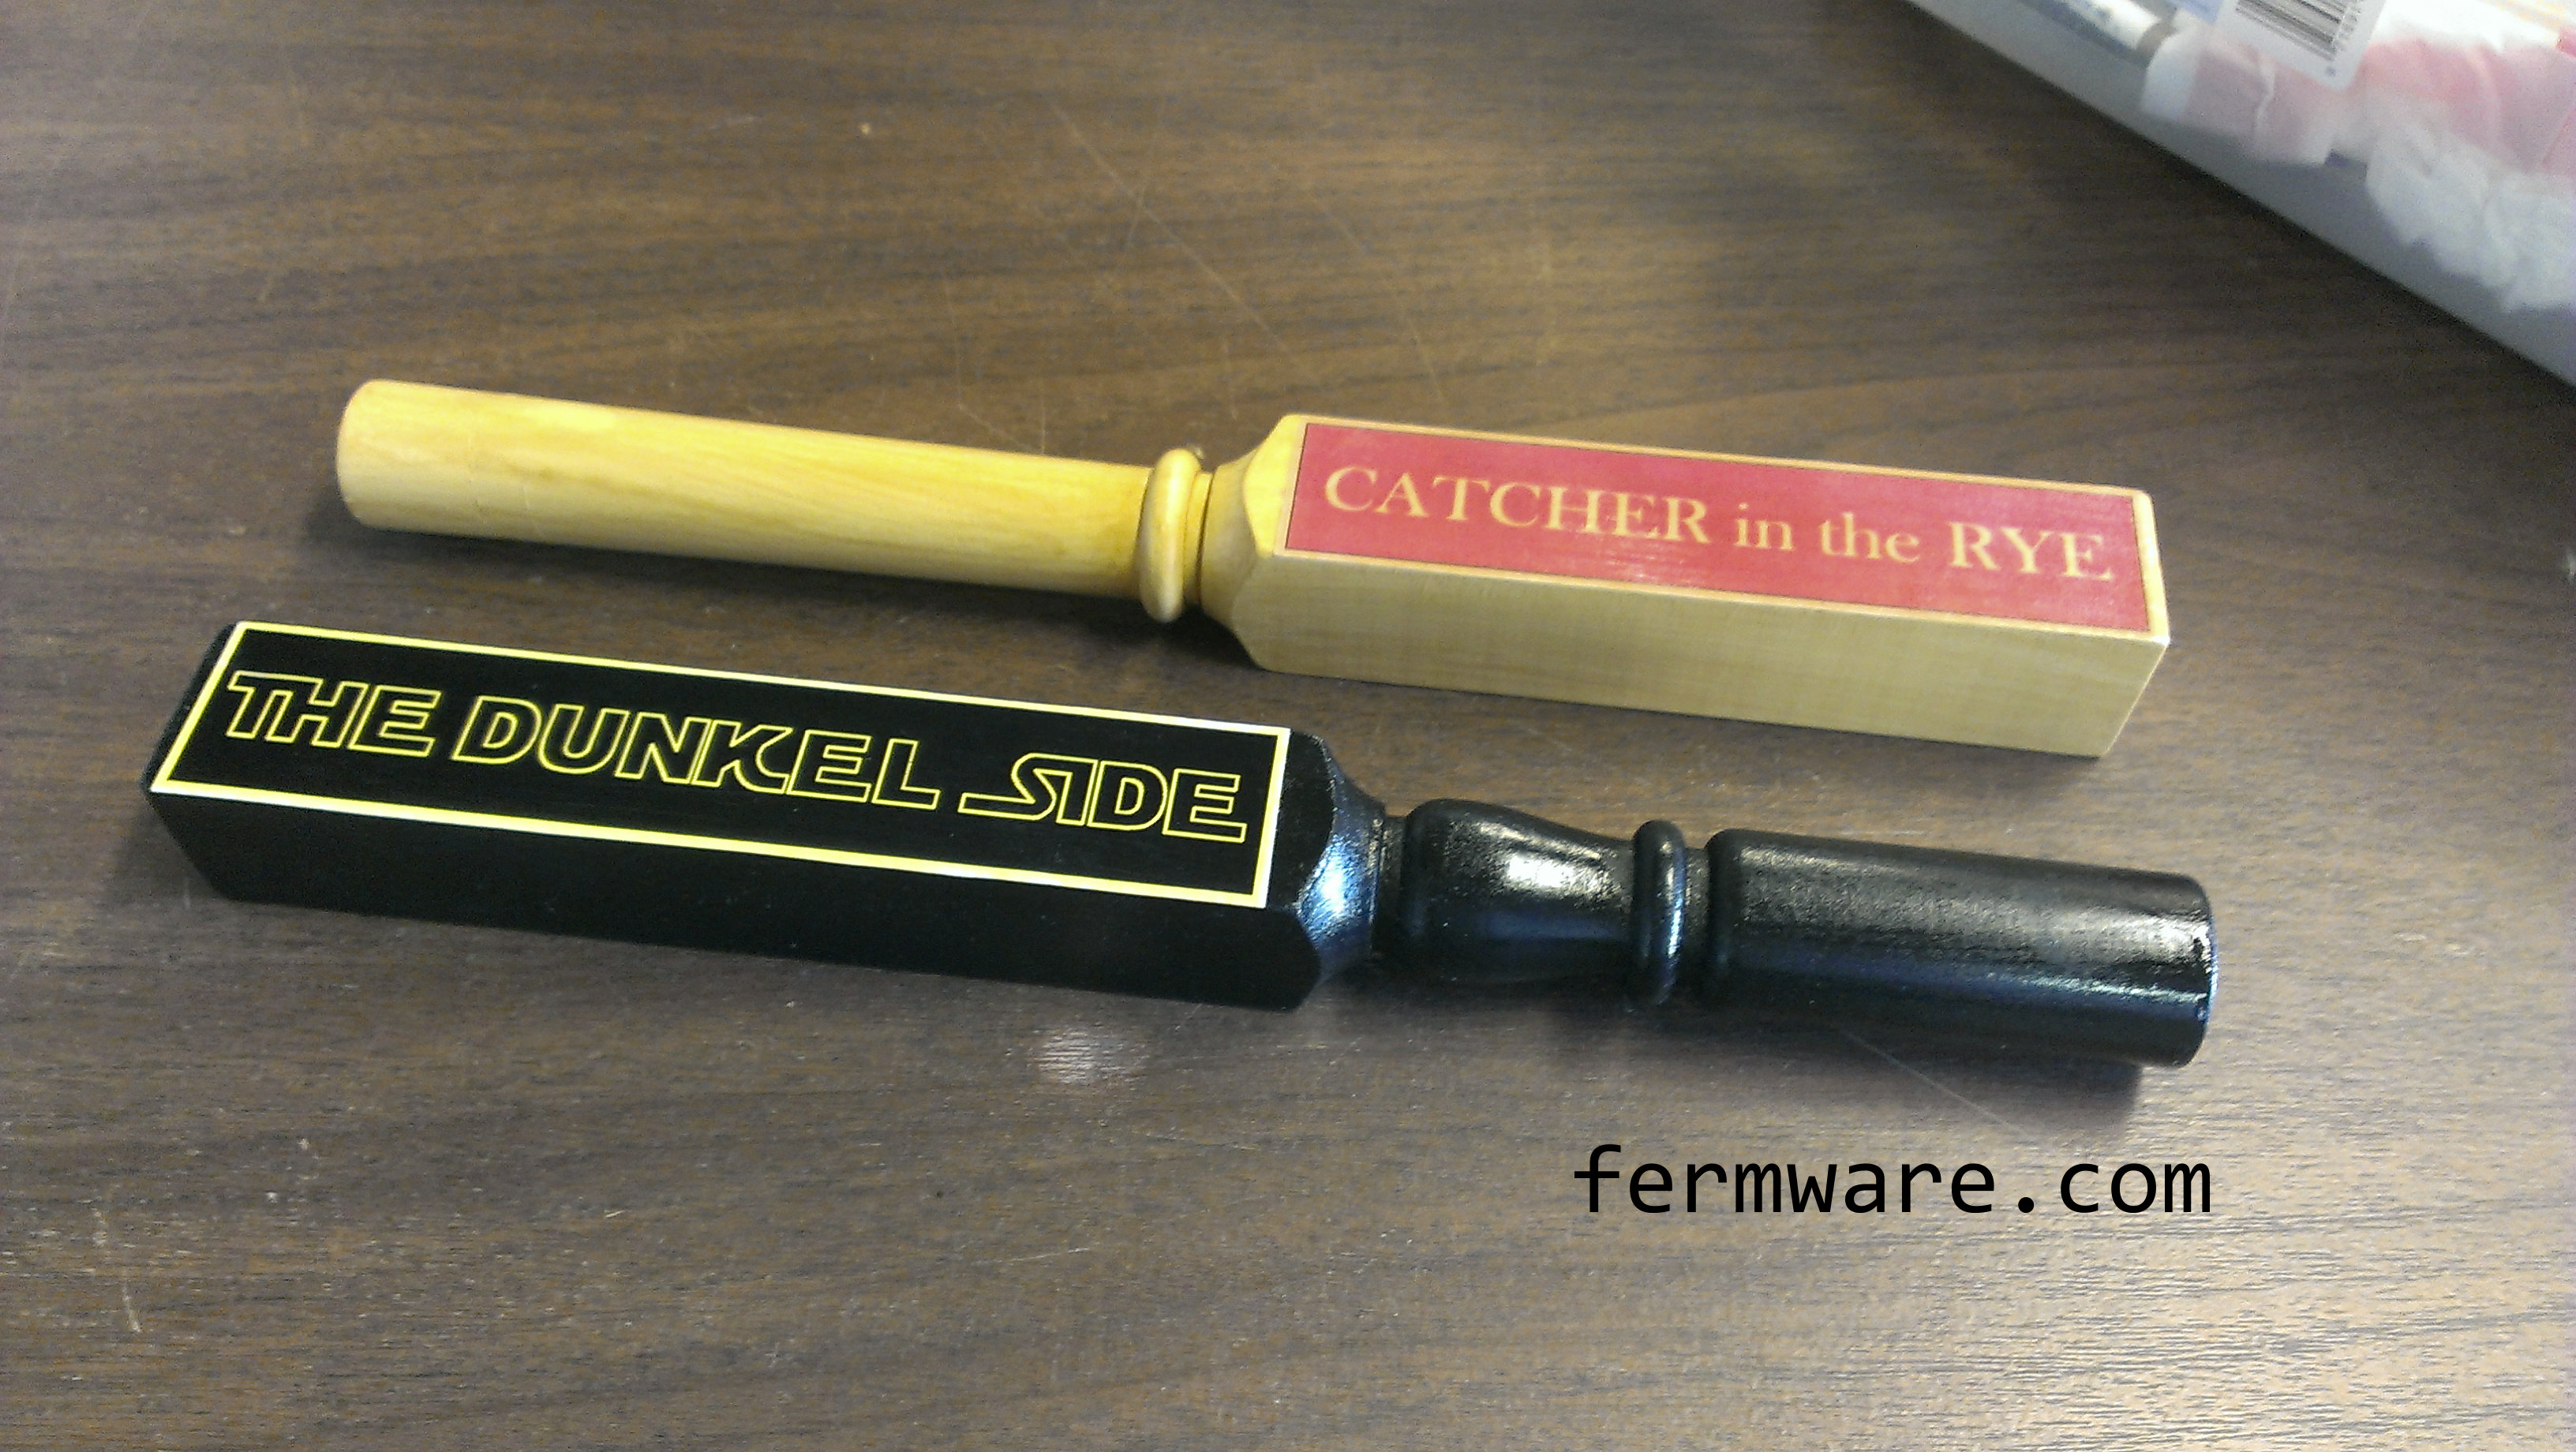
The first year, I designed some labels and my crafty wife stained the handles, did the burned edge treatment on the labels and sealed them with some mod podge.


These are my painted versions for my Dunkel and Rye PA.

There you have it folks. Super easy tap handles.