After my previous post Mash Tun Insulation Comparisons there was some discussion online and in forums surrounding the lack of air gap between the outer layer of Reflectix and the kettle in my testing. As an engineer, I’d like to think that my test methodology is 100% comprehensive. Also as an engineer, I’m always willing to accept that I might be wrong and the best way to do that is to attempt to prove that I am wrong.
Nerd Alert!
Warning, the material in this post could get a bit nerdy.

Difficulty: 
Easy for you
Time Required:
Just a read for you fortunately. It took me about a week to perform the experiments.
Affiliate Links
Any links in this post or on this website may link to affiliates, which compensate this website for purchases. All links are provided to help the reader locate items mentioned or used in the post. As an Amazon Associate I earn from qualifying purchases.Background:
As stated, this is an addendum to the previous post Mash Tun Insulation Comparisons comparing various insulation methods.
If you would like to read the comprehensive test of all insulation methods, check out this post: Mash Tun Insulation Comparisons – Complete
Additional Insulation methods to test:
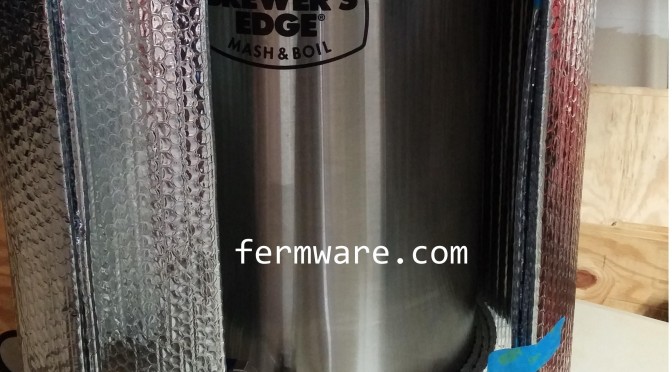
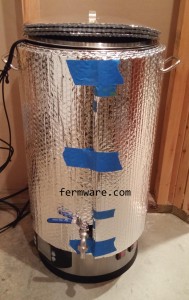
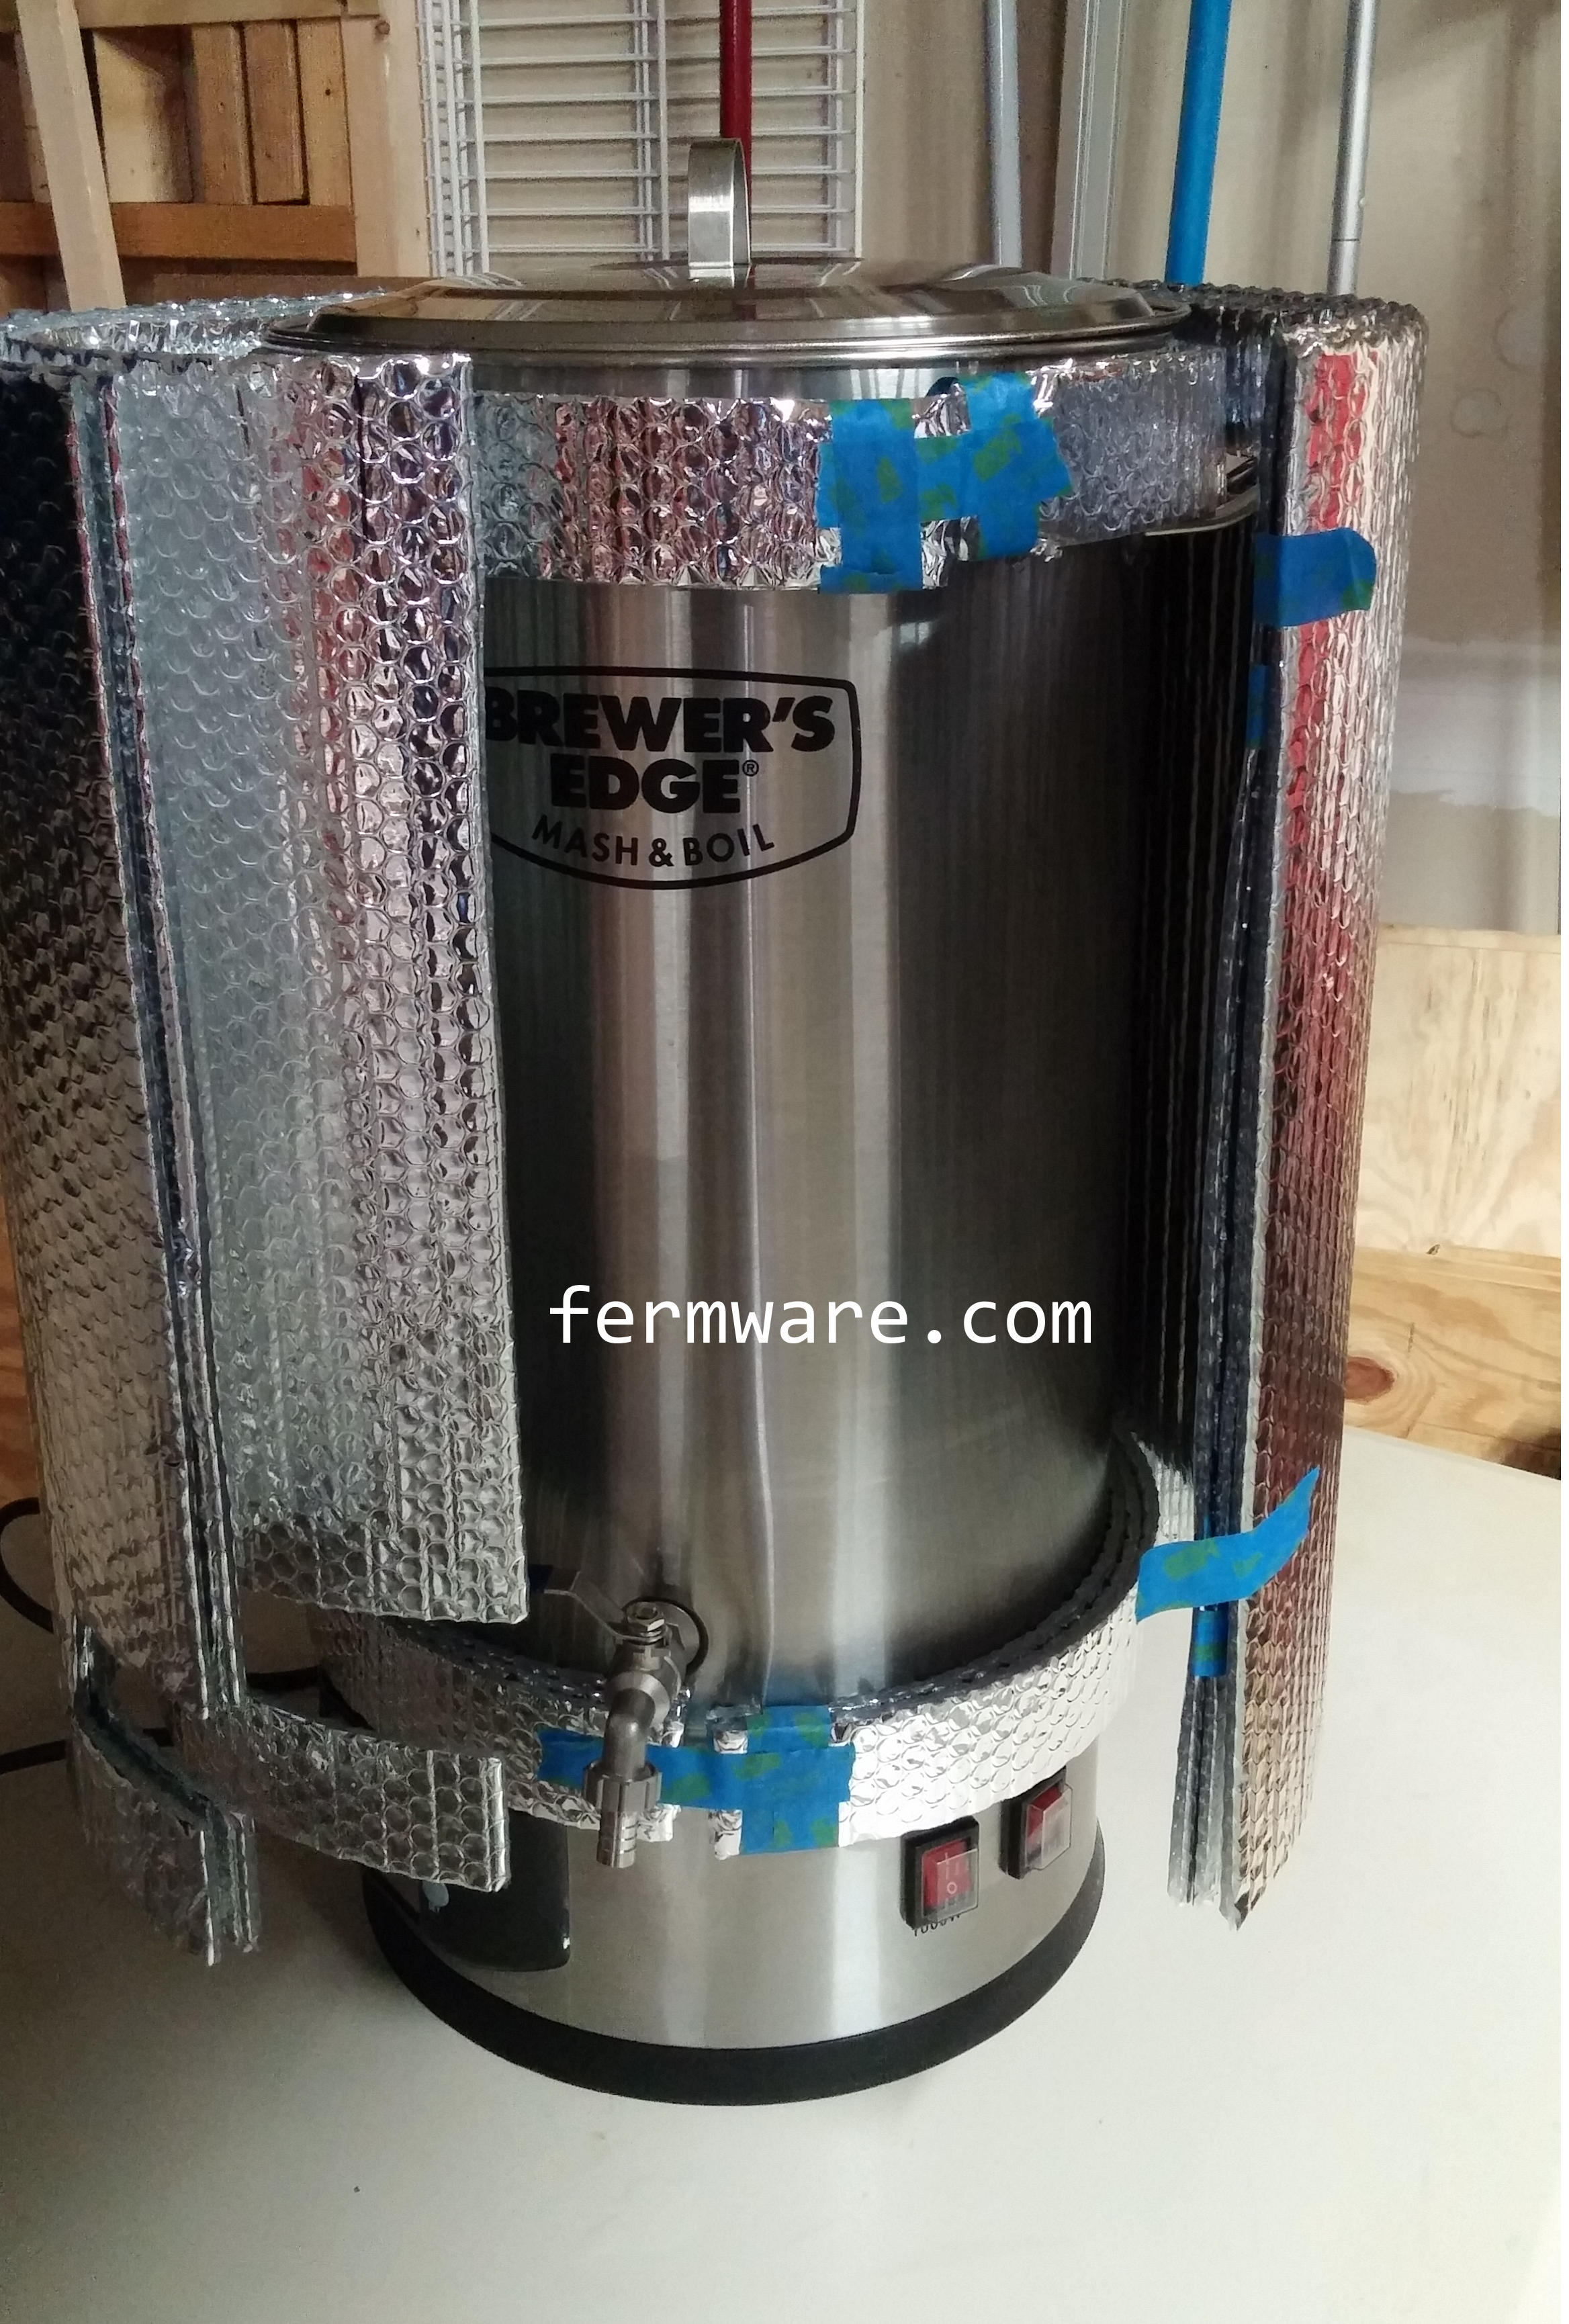
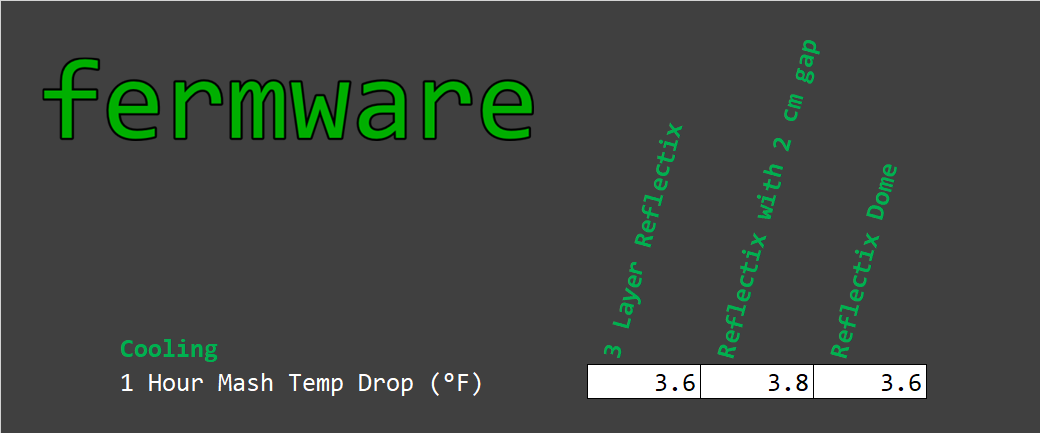
Baseline – 3 Layers of Reflectix
- Repeat of previous data, but establishing this as the baseline
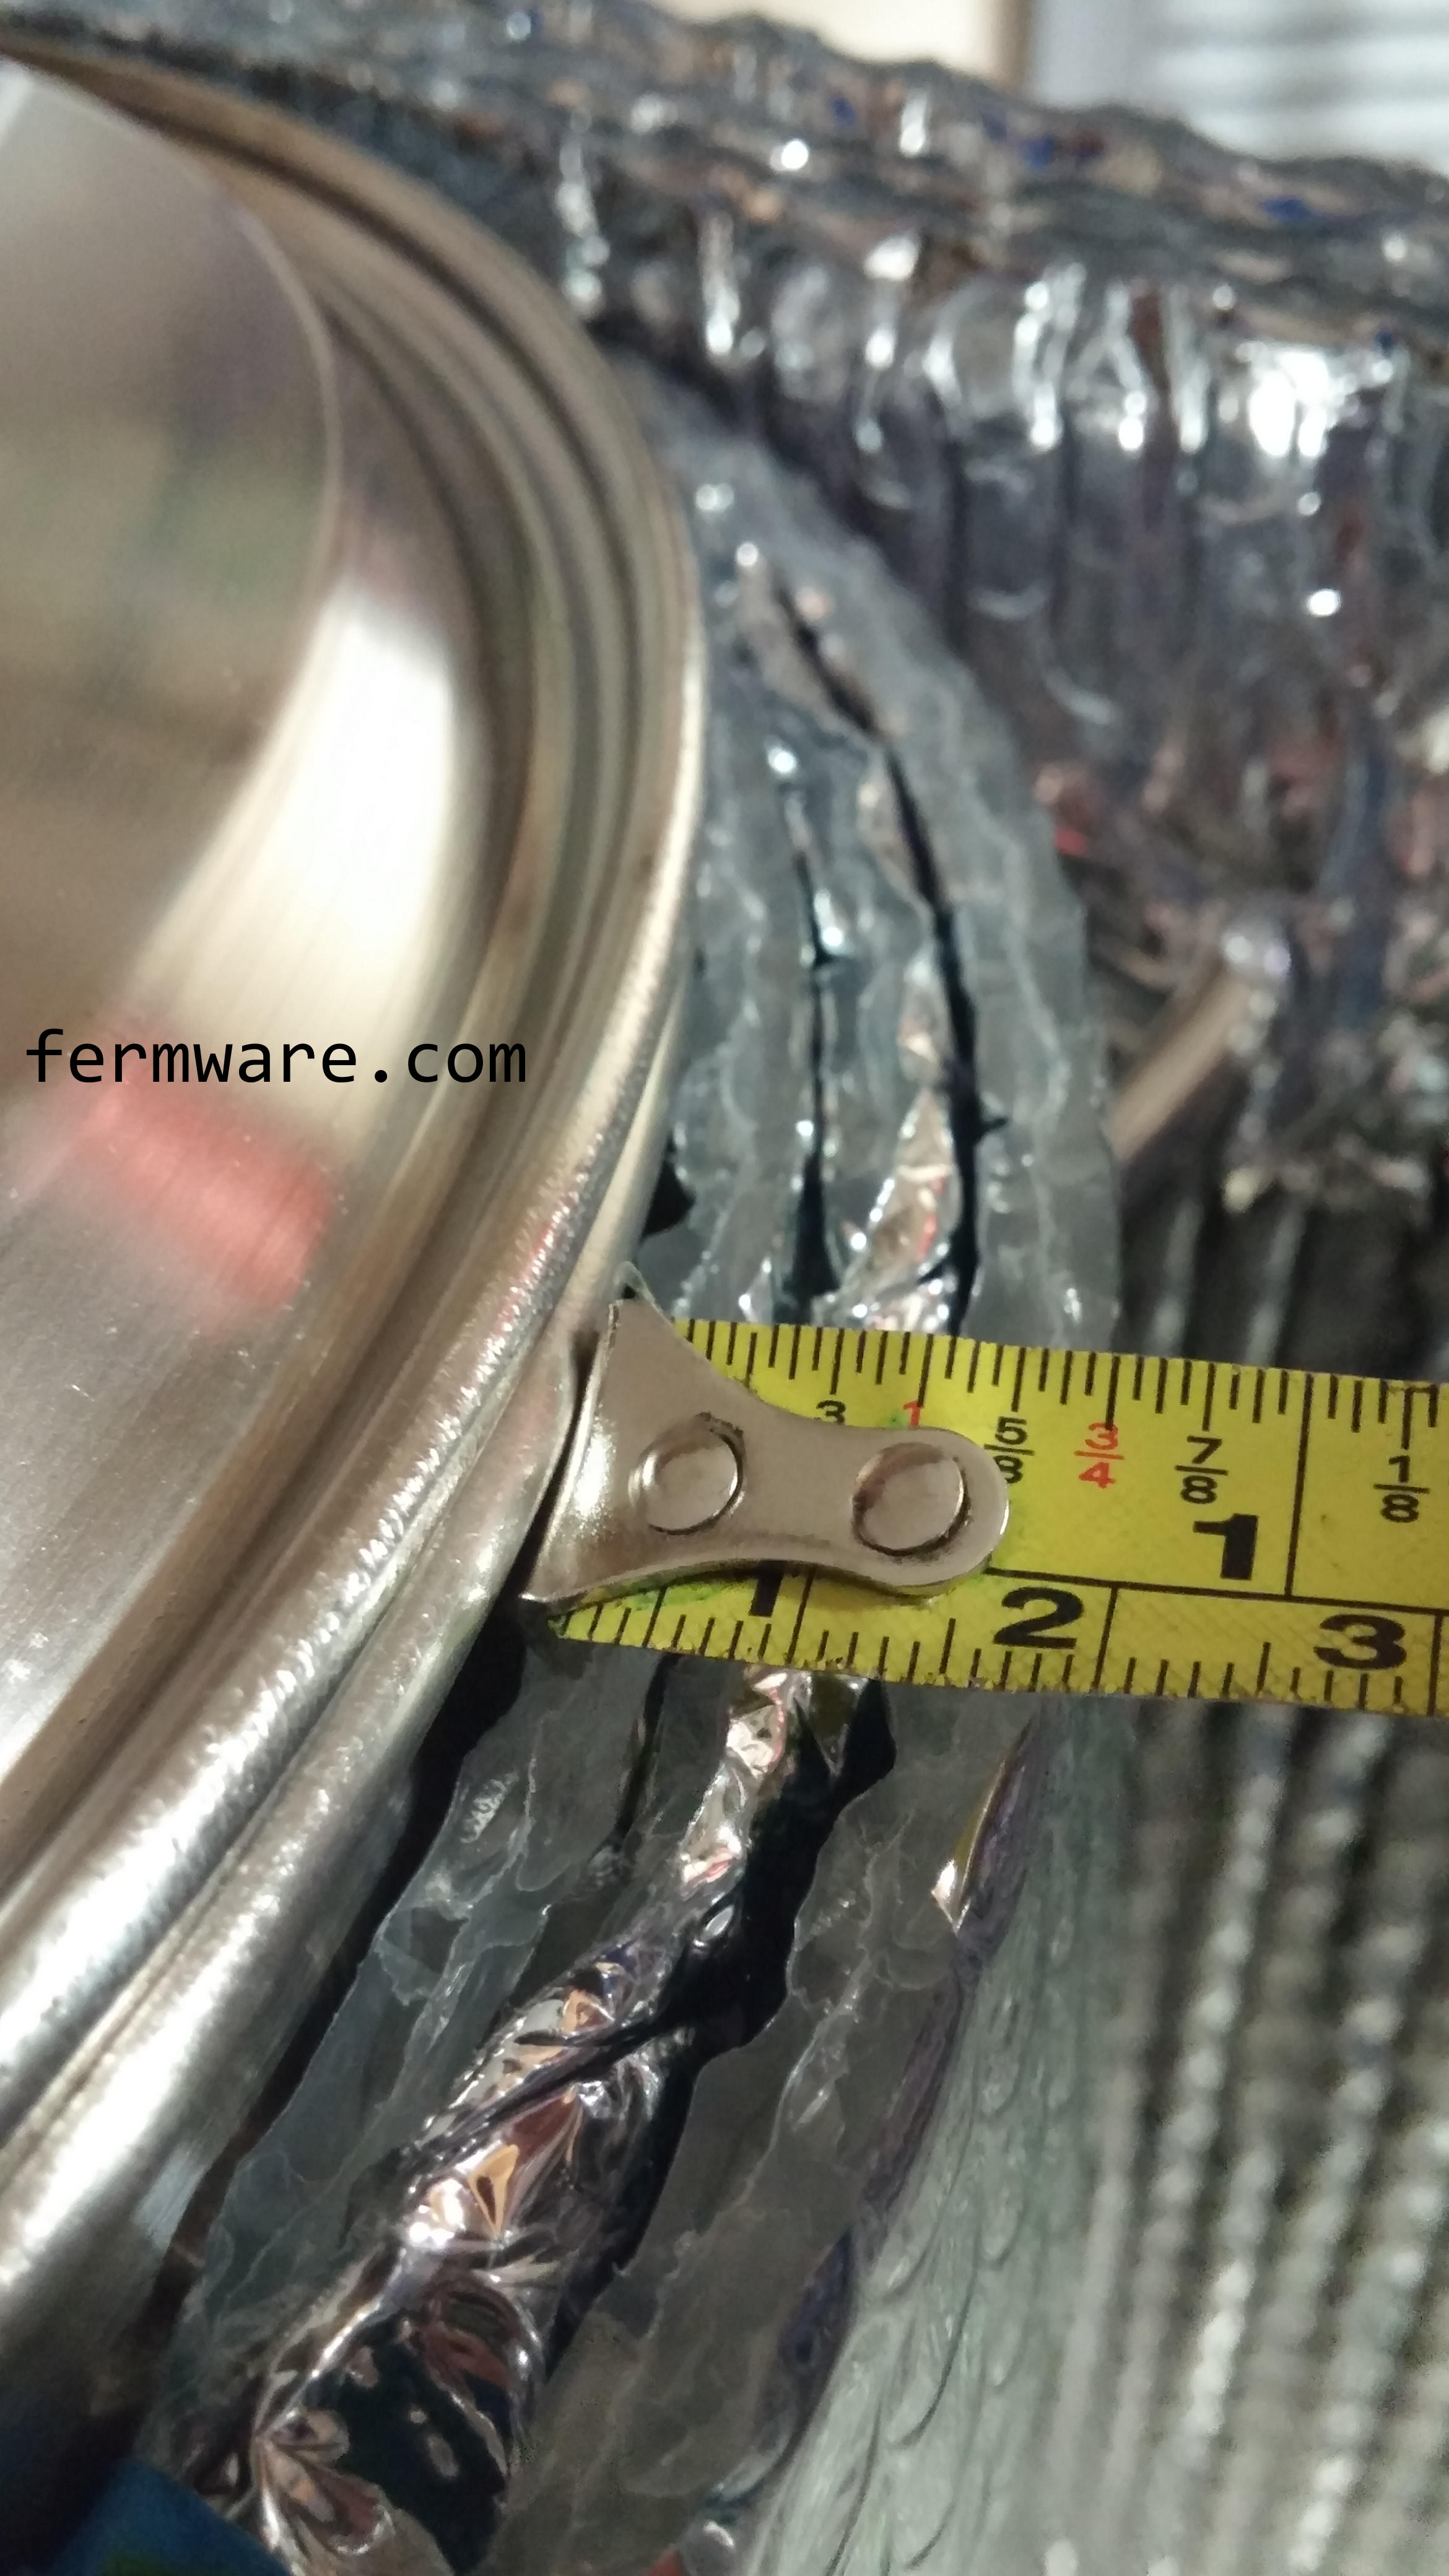
Reflectix with 2 cm gap
- The Reflectix website recommends the gap to consist of 3 layers of the bubble insulation
- https://www.reflectixinc.com/applications/diy/water-heater/
- I actually created 2 rings (top and bottom) composed of 3 layers of Reflectix that were 2 cm wide
- Then I used the 3 layer baseline Reflectix jacket wrapped around it.

Reflectix “Dome”
- Having thought of the sleeping bag winning out big time, I wondered if it was due to the superiority of the sleeping back insulation properties or the fact that with that test, the entire kettle was surrounded (top and sides) with the sleeping bag. Whereas, with the other insulation methods, there was a gap for practicality purposes between the lid insulation and the wall insulation. I questioned whether this open gap was allowing more heat to escape.
- I constructed a dome that encapsulated the entire kettle. The diameter was about 18″ (about 2.5″ air gap to the kettle surface) and the height was 28″.

Setup and Test Methodology (Identical to the last time) :
I have not modified the Mash & Boil in any way. I just used the unit in stock condition and let the temperature controller do it’s thing to get the water up to temperature. I used exactly 6 gallons of RO water for the experiment.
The kettle was placed in my basement storage room, which maintained a consistent 65 degF throughout the testing.
I had 3 temperature probes in the kettle. One at 1″ from the bottom, then another 6″ up and another 12″ up. This was a nice spread for 6 gallons of water. In reporting temperatures in this experiment I am only using the temperature sensor at the 6″ height. The other sensors were a proof of concept for some future testing I plan to carry out. I did see some stratification in the temperatures over time as the water cooled, but for consistency, I chose the 6″ probe.
To start the each test, I topped off to 6 gallons and set the Mash & Boil to 215 degF and let it ramp up. As soon as the system was boiling, I turned it off and unplugged it from the wall. Temperature measurements were taken approximately every minute. I allowed the temperatures to cool to somewhere around 100 degF or as long as I could stand it. Absolutely no stirring or opening of the lid occurred during the cool down.
The critical stage in the test was when the water cooled to 155 degF. At that point, marker would be taken and then compared to the temperature exactly 60 minutes later. This would be indicative of a typical mash temperature and the relative temperature loss during the mash. Yes there will be different thermal capacities of a water/grist mix, so to reduce the experiment to just the insulation, straight RO water was used.
Results:
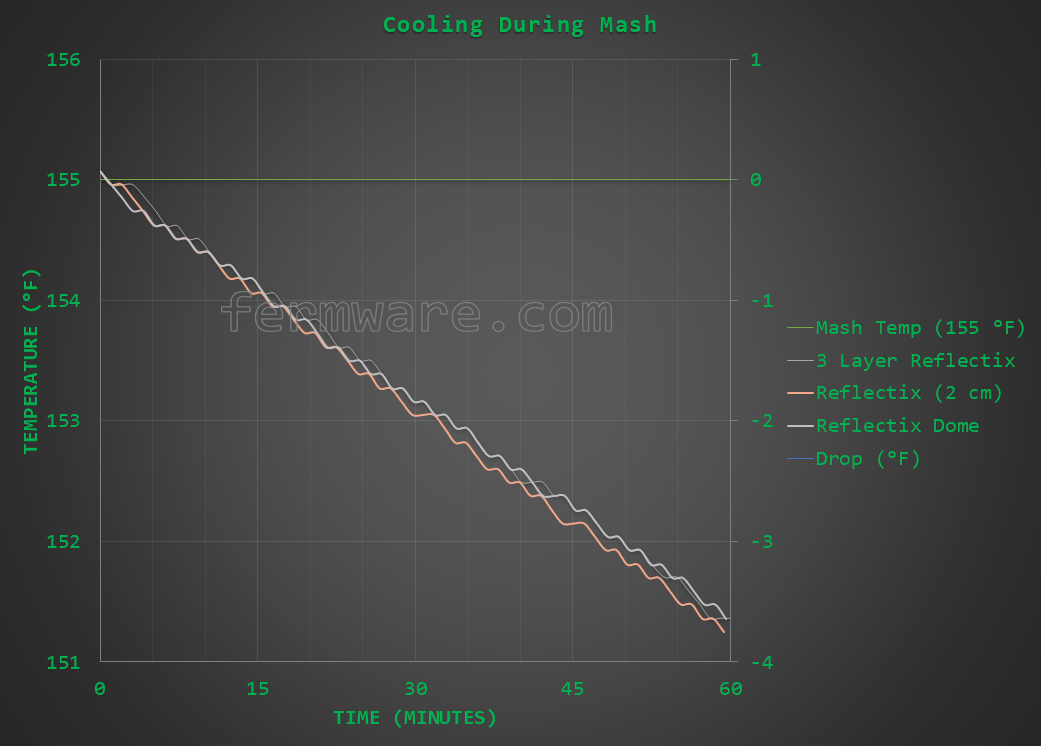
I normalized the cool down datasets so that the start time (t=0) was the same for each configuration at 200 degF. As a visual reference aid, I placed a line at 155 degF to see what the curves look like near mash temperatures. You can see that the 3 Reflectix configurations are quite close, but the recommended gap of 3 layers (2 cm) appears to be the worst of the configurations.

This small table places numerical values on the temperature drops through a simulated mash temperature window. I calculated these temperature drops by taking the very last data point that was greater than 155 degF. Then I grabbed the next data point that was +60 minutes from that initial point. The values shown are then the differences between those two temperatures.
To glean even more from the data, I plotted the 3 different configurations only through the mash temperature window. I normalized these curves so that the start time (t=0) was the same for each configuration at 155 degF The left axis shows the actual temperature reading, while the right axis shows the temperature drop, relative to the 155 degF starting reference temperature. I also placed a helper line at 155 degF.
If you are to accept the belief that most of the conversion is done within the first 15 minutes of the mash, all of the Reflectix configurations drop by less than 1 degree.
Discussion:
The extended time plots do show the dome to be the best, followed by the 3 full layers and lastly the 2 cm gap.
I am surprised that the recommended method from Reflectix was slightly worse than the full 3 layers. I’ve struggled to come up with a reason, but I think it would require more thought and analysis than I feel like spending on it.
It appears that when choosing Reflectix, that you almost can’t go wrong with any of the 3 methods as far as mashing goes. Due to the 0.2 degF difference in temperature drop between the 3 different methods during the simulated mash time, I’d almost call it a tie. However if you want to pull other factors in, depending on your preference, I can add some additional points.
3 Layer Reflectix:
Definitely adds the most material, but is what I had already made, so for me, that’s what I’m sticking with. Plus I just felt that without the spacer rings, there would be less material to snag on something else.
Reflectix with 3 layer gap:
Probably the least amount of material needed and arguably the same performance as the other 2 options.
Reflectix Dome:
Also a lower amount of material, but for storage, if you want to maintain the shape, it is quite bulky. I would caution against this method if you have electronics or moisture sensitive gauges integrated with your kettle. When using this dome, it gets quite steamy in there and moisture could find a way into the electronics enclosure or gauge.