Category Archives: Level 3

Level 3 difficulty

Mein Bierwagen Part 2 – Building the Frame

This post will present the basic plans to construct the wooden frame of the Bierwagen.

Difficulty: level_3

This project just requires some basic building skills, but you might need some help getting the keezer onto the Bierwagen.

Posts for this Project:

Part 1: Introduction
Part 2: Building of the frame (this post)
Part 3: Bicycle wheel attachment
Part 4: Getting the keezer onto the Bierwagen
Part 5: Keezer collar
Part 6: Storage of the Bierwagen

Affiliate Links

Helpful Tools:

Circular Saw or Miter Saw
Drill or Impact Drill

Materials Needed:

  • (qty 6) 2×4 x 96″ boards
  • drywall/deck screws (2.5″ is perfect for most of the joints where you have two 2×4’s side-by-side (3″ total thickness at that point)

Overview:

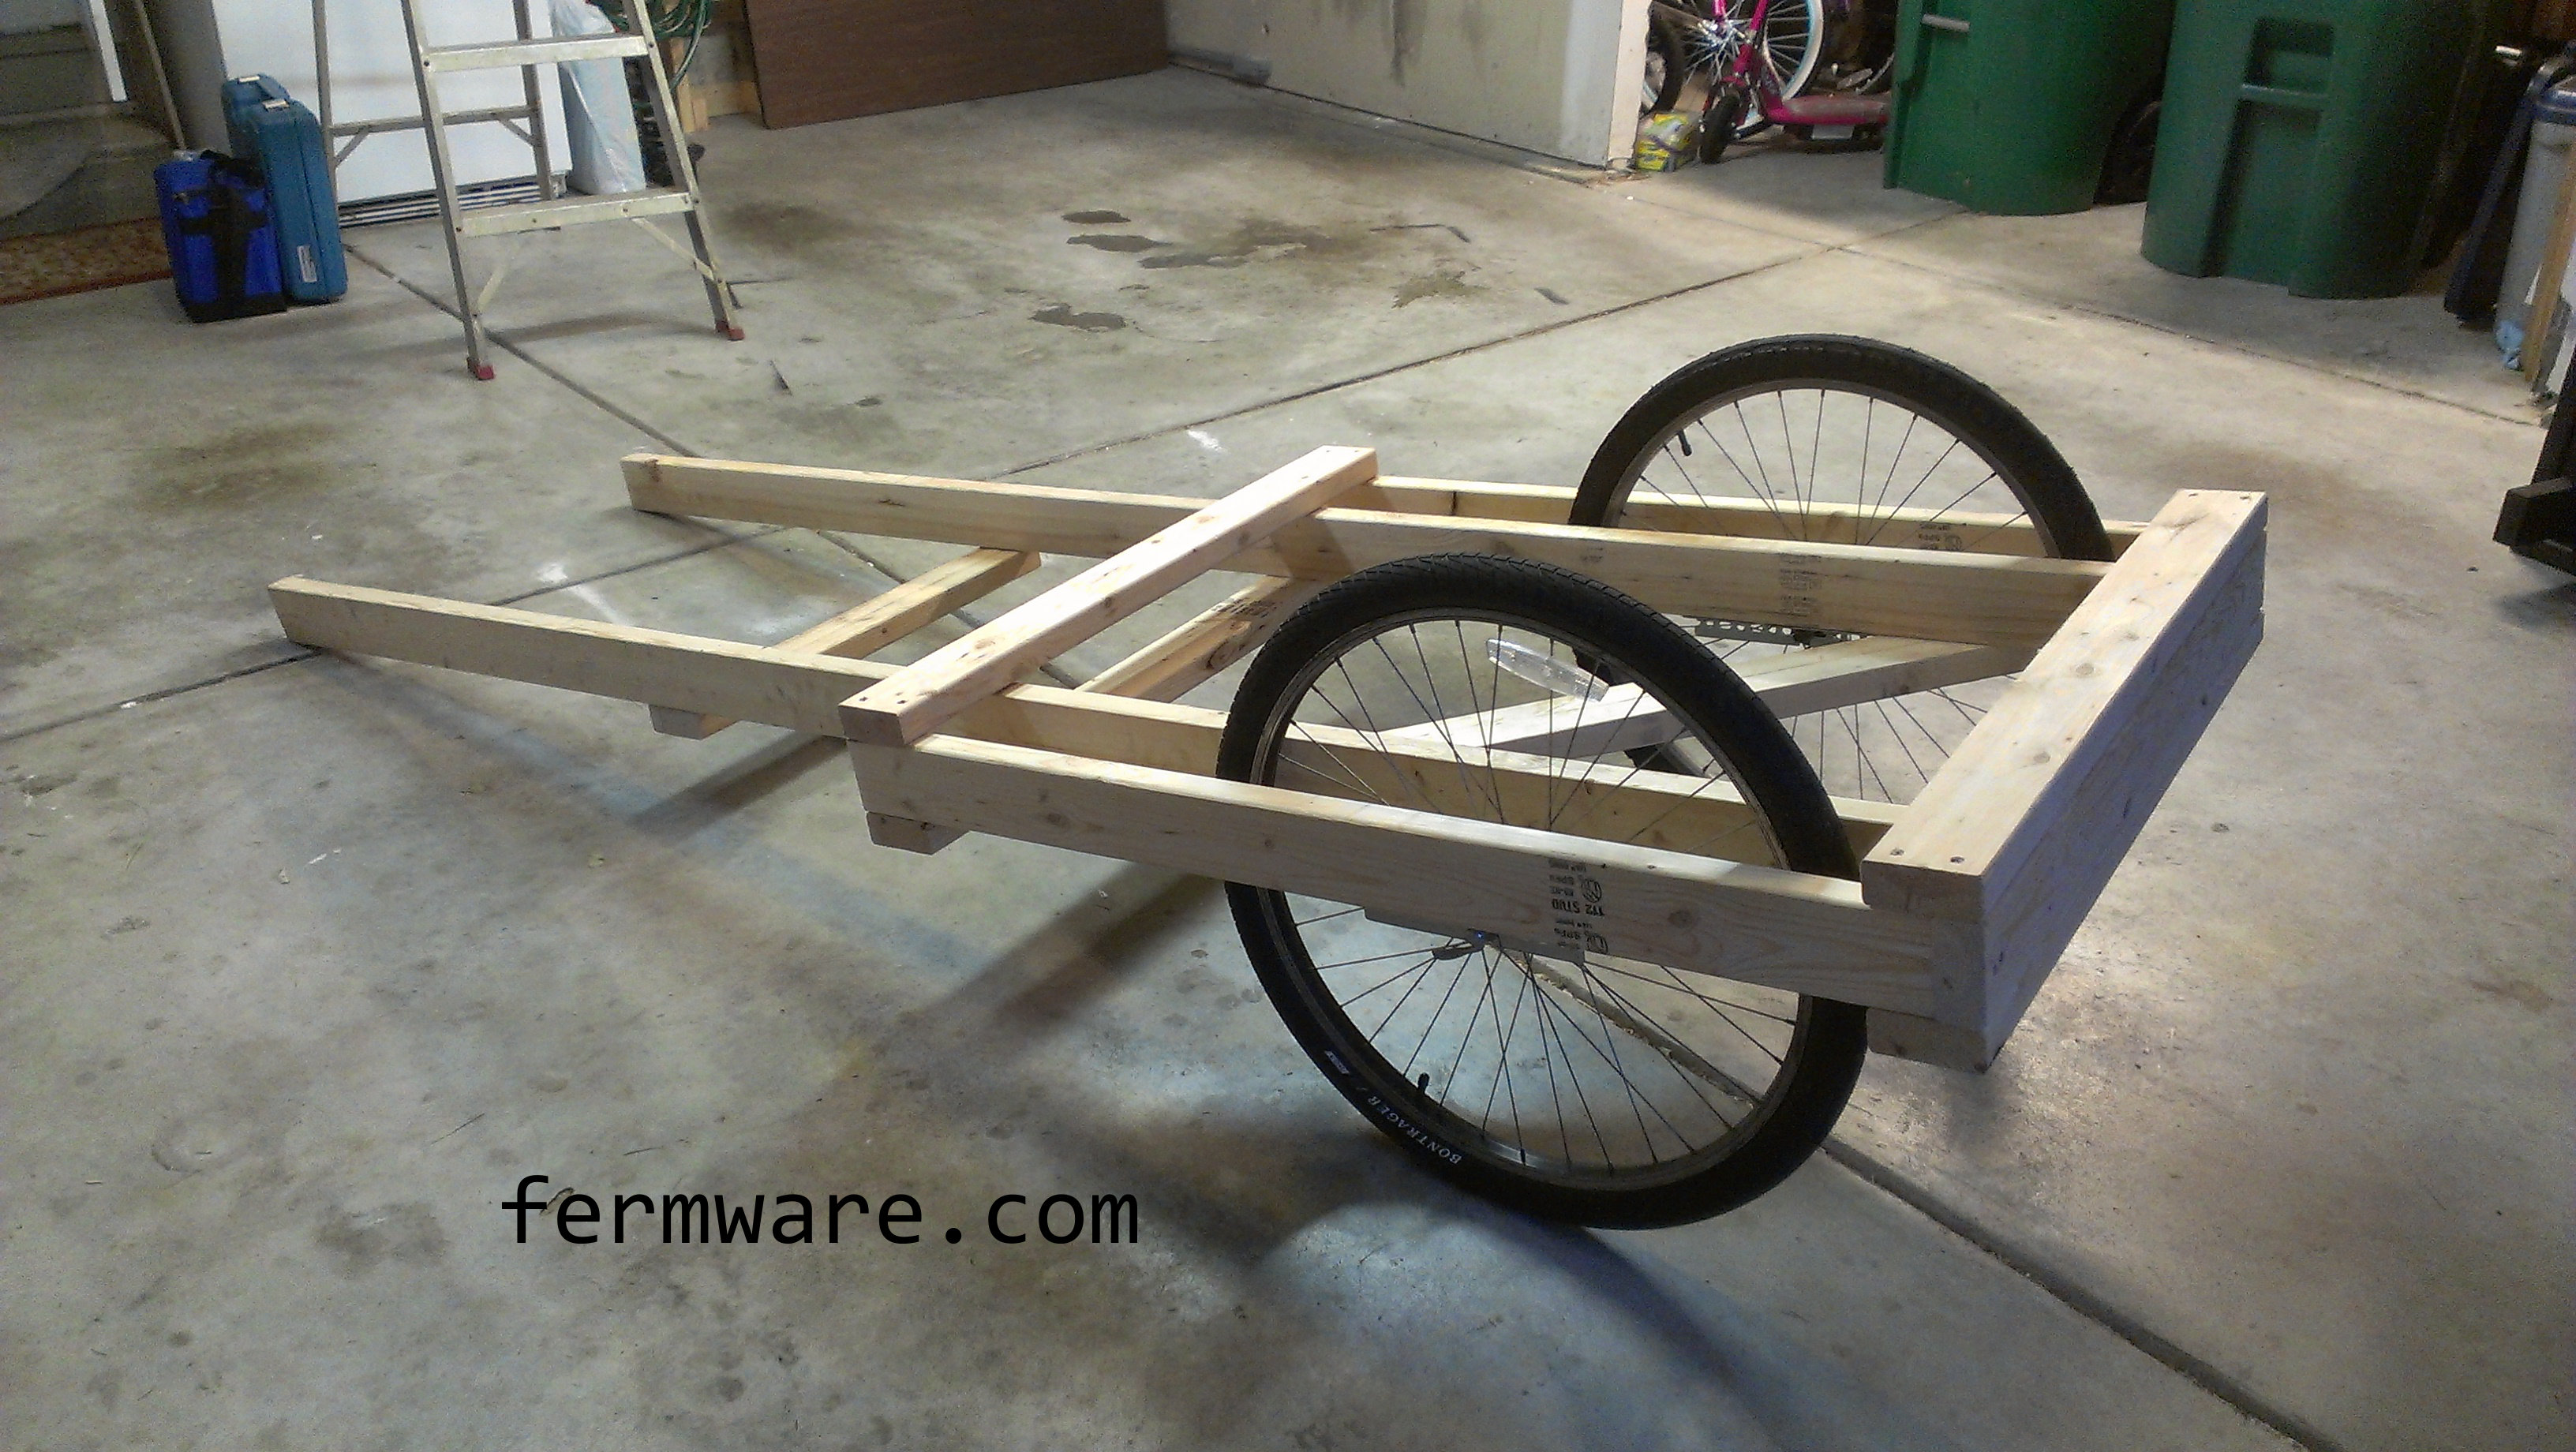
Here are a few views of the cart (without support legs attached) for reference.

015-2 - Front 3_4 View

015-2 - Rear 3_4 view

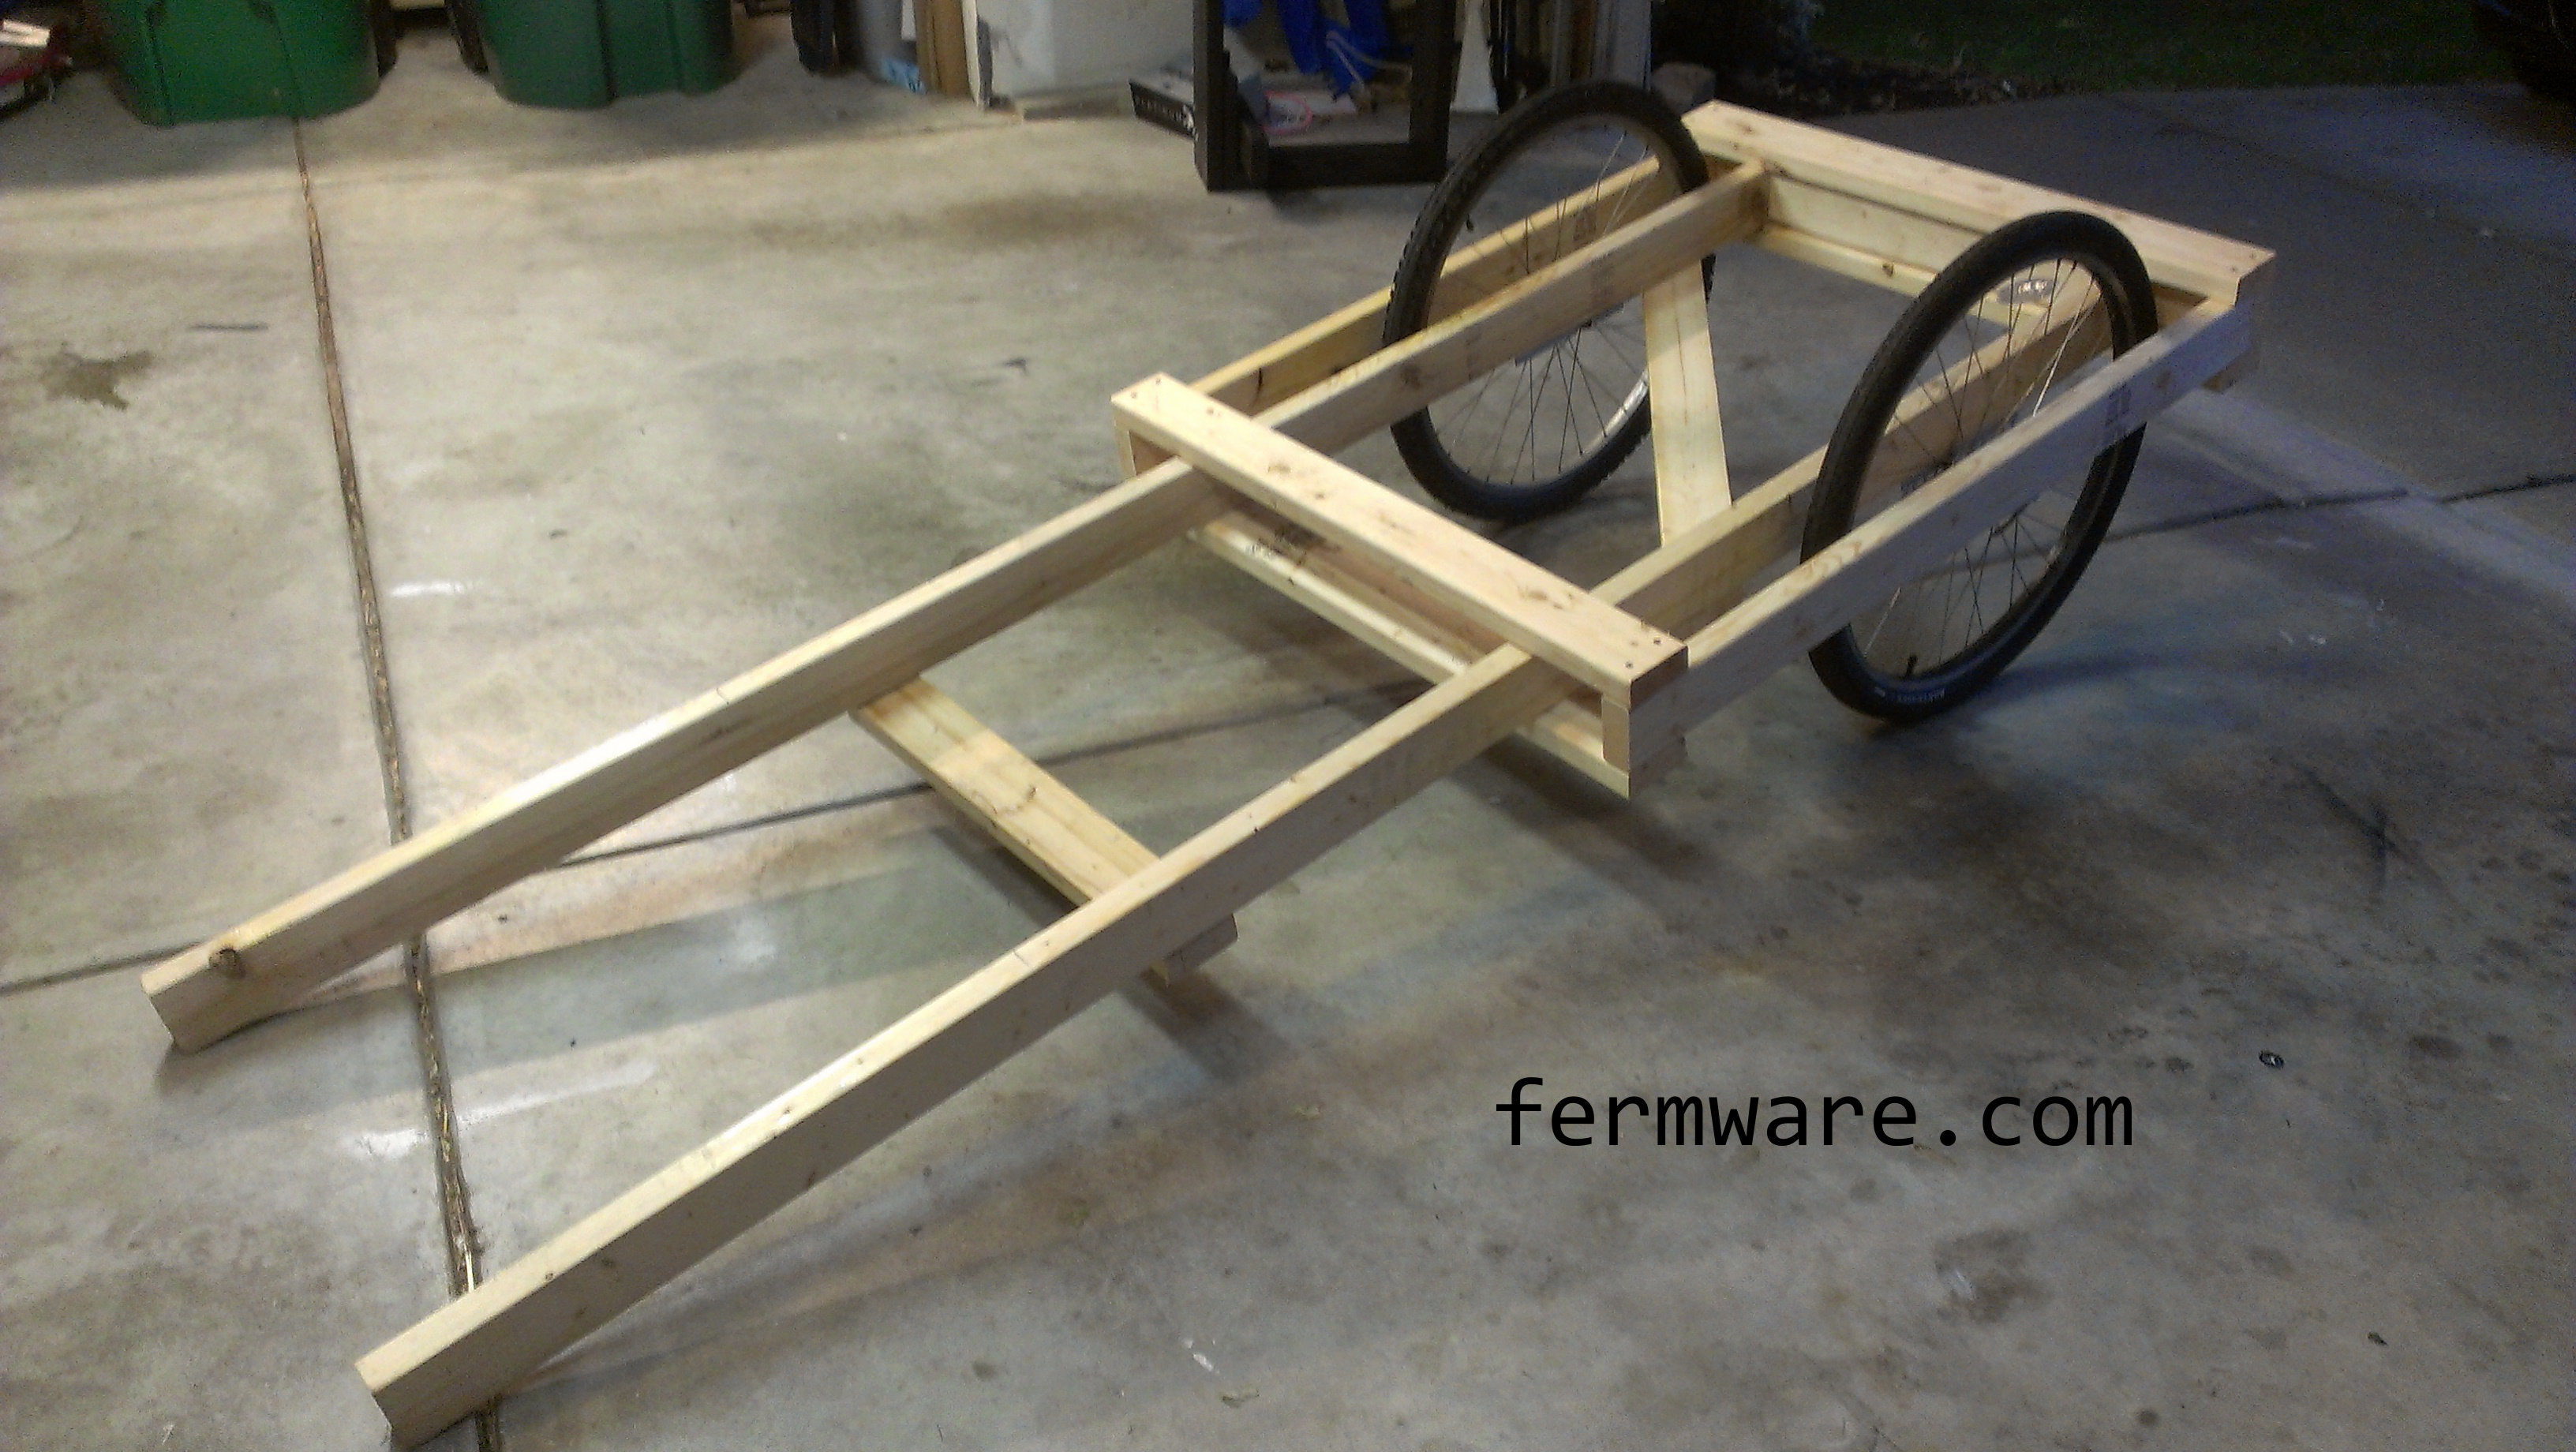
This is the cart flipped over so you can see the attachments for the wheels.  The fabrication of those will be in a subsequent post.

015-2 - Back View

Construction:

I’m not going to do a step by step, since the pictures and following information should be sufficient for most readers taking on this task.

Design:

Below is the top view of the cart with only the major dimensions shown.  I had several constraints when designing the cart.  As I mentioned in the first post, it will be rolled out for a grand unveiling at our party.  It had a few obstacles to navigate during it’s trip from the garage to the back yard.

  • It must fit through our gate
  • It must be able to navigate large bumps (edge of driveway and protruding tree roots in the grass)
  • Quick disassembly and assembly for storage under our deck during the other 364 days of the year
  • Utilize our bike tires
  • Integrated ramp system for easy loading/unloading of my keezer dolly
  • It needed to be sturdy enough to stand on that I could switch over kegs during the party
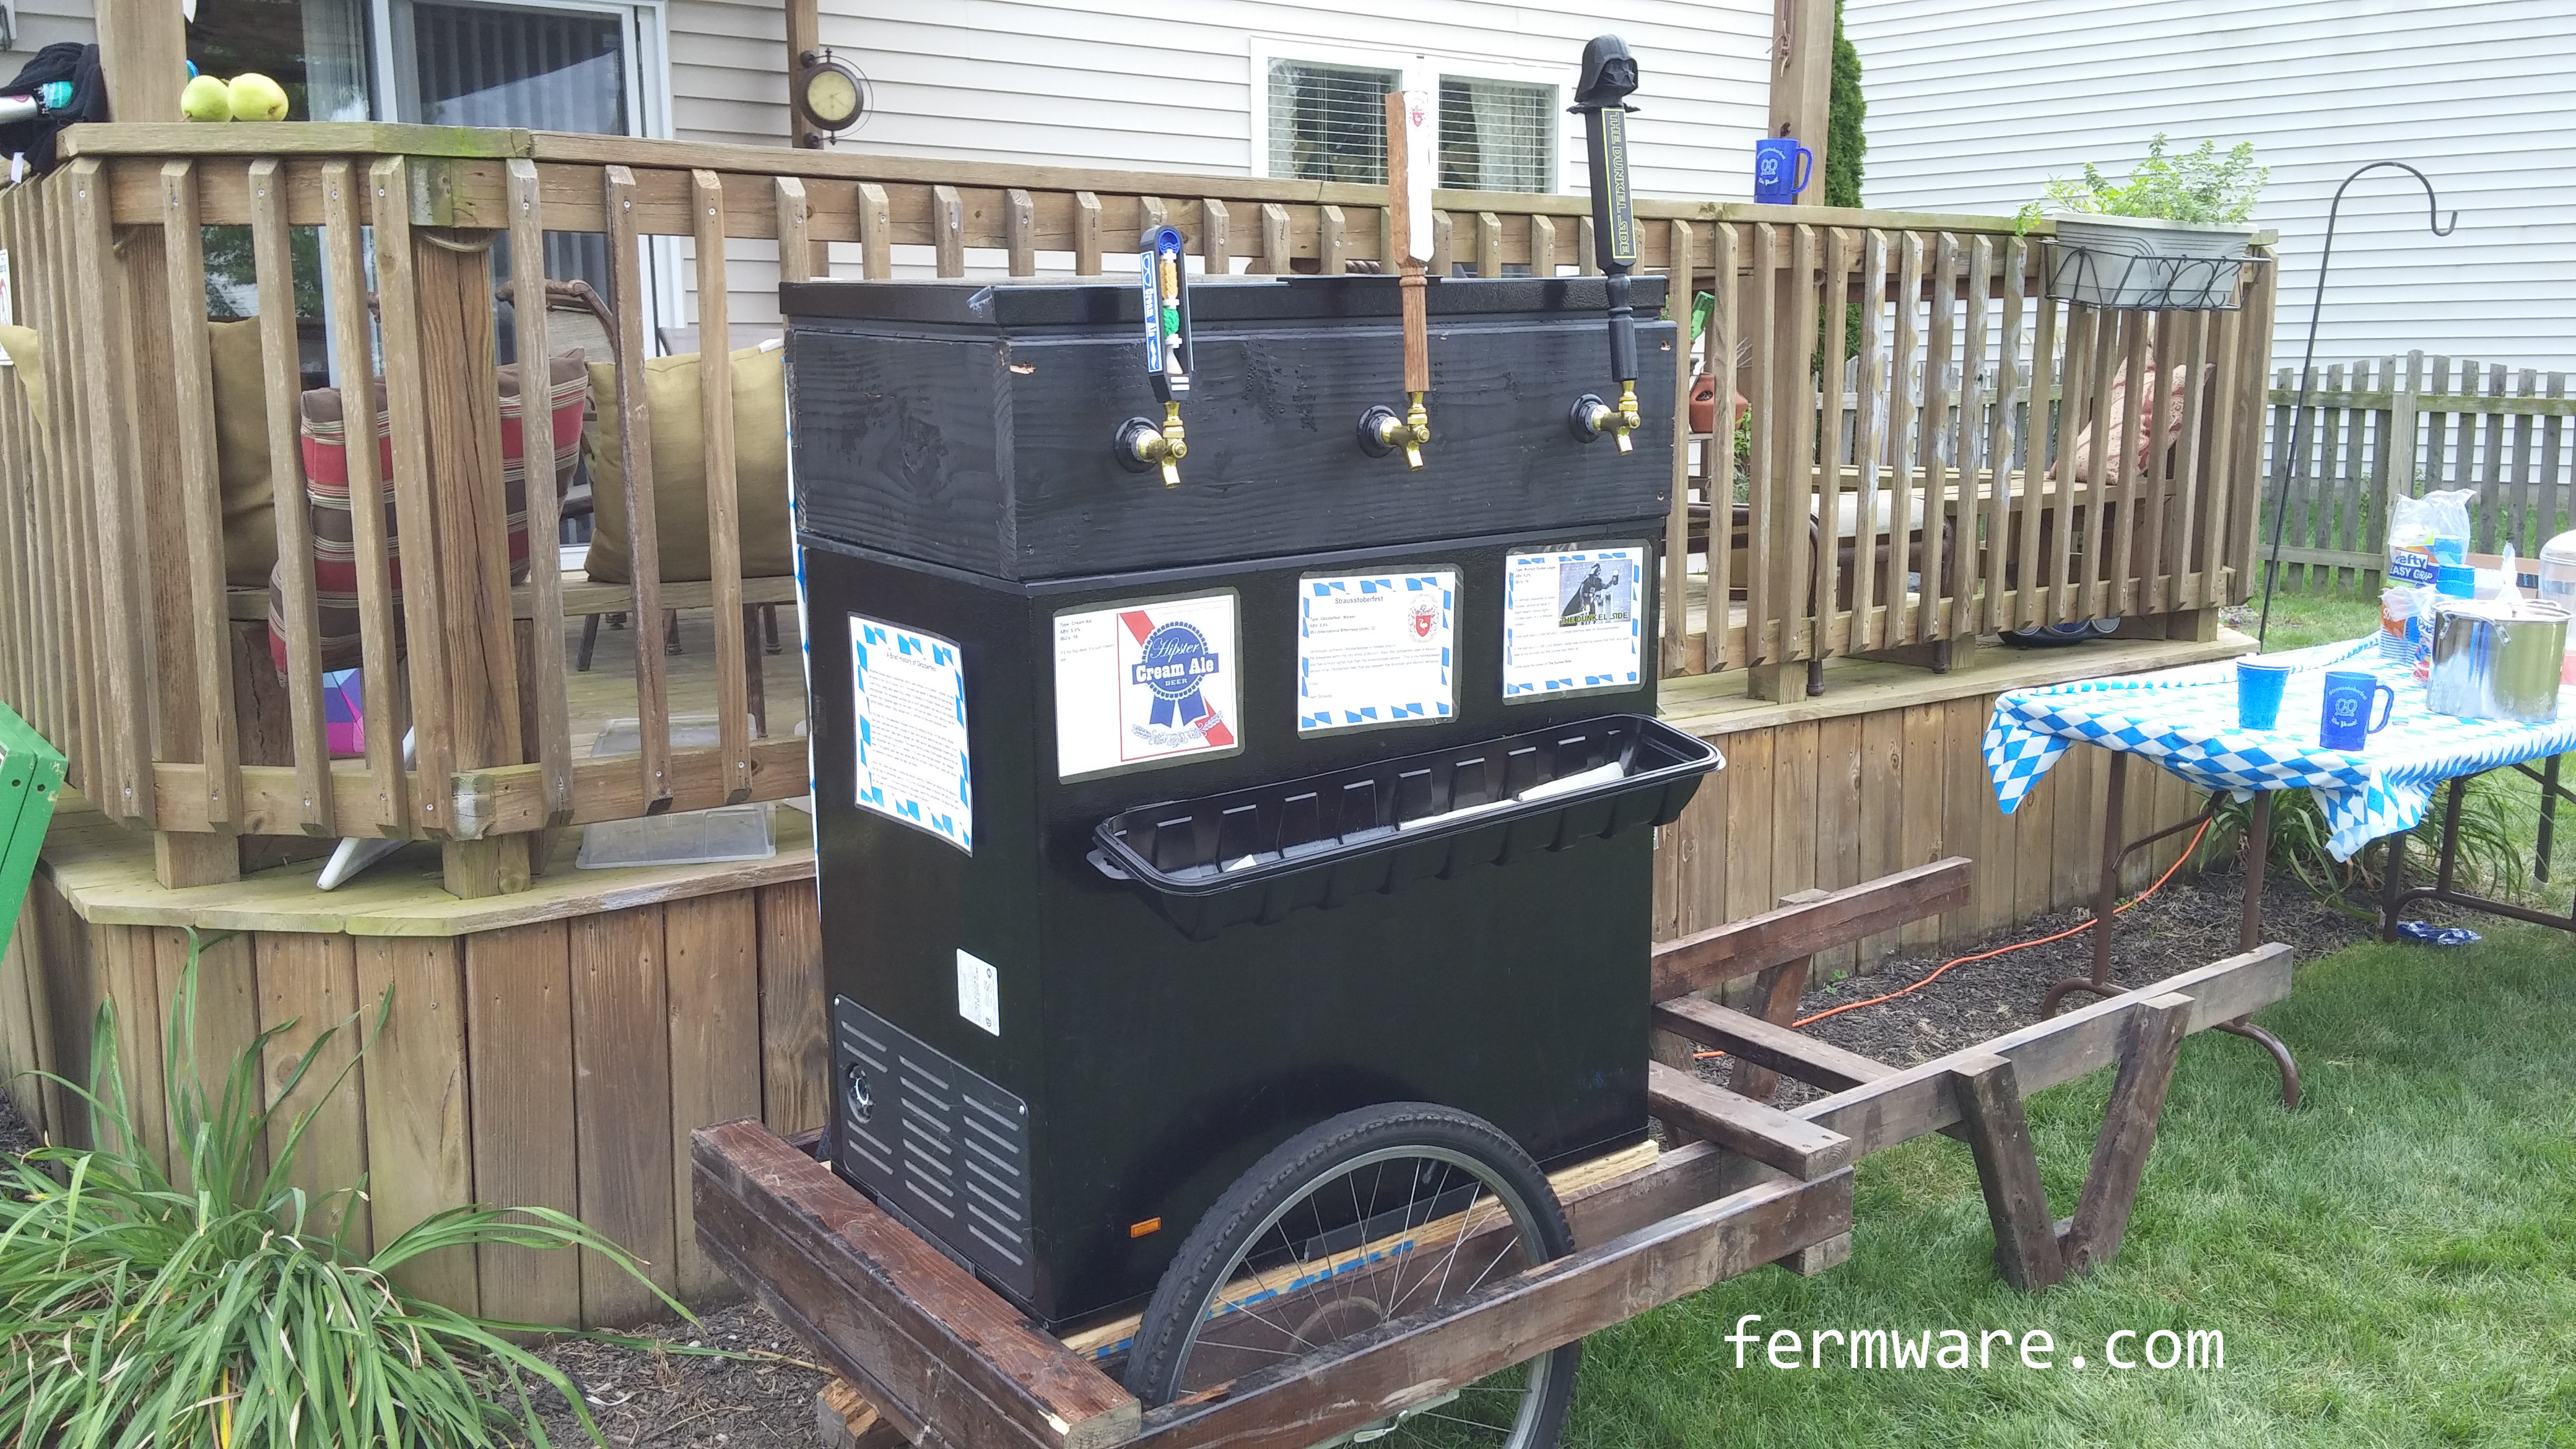
  • The weight of the keezer must be carefully balanced so that the Bierwagen does not tip when set to rest, yet far enough back that lifting from the front is easy.

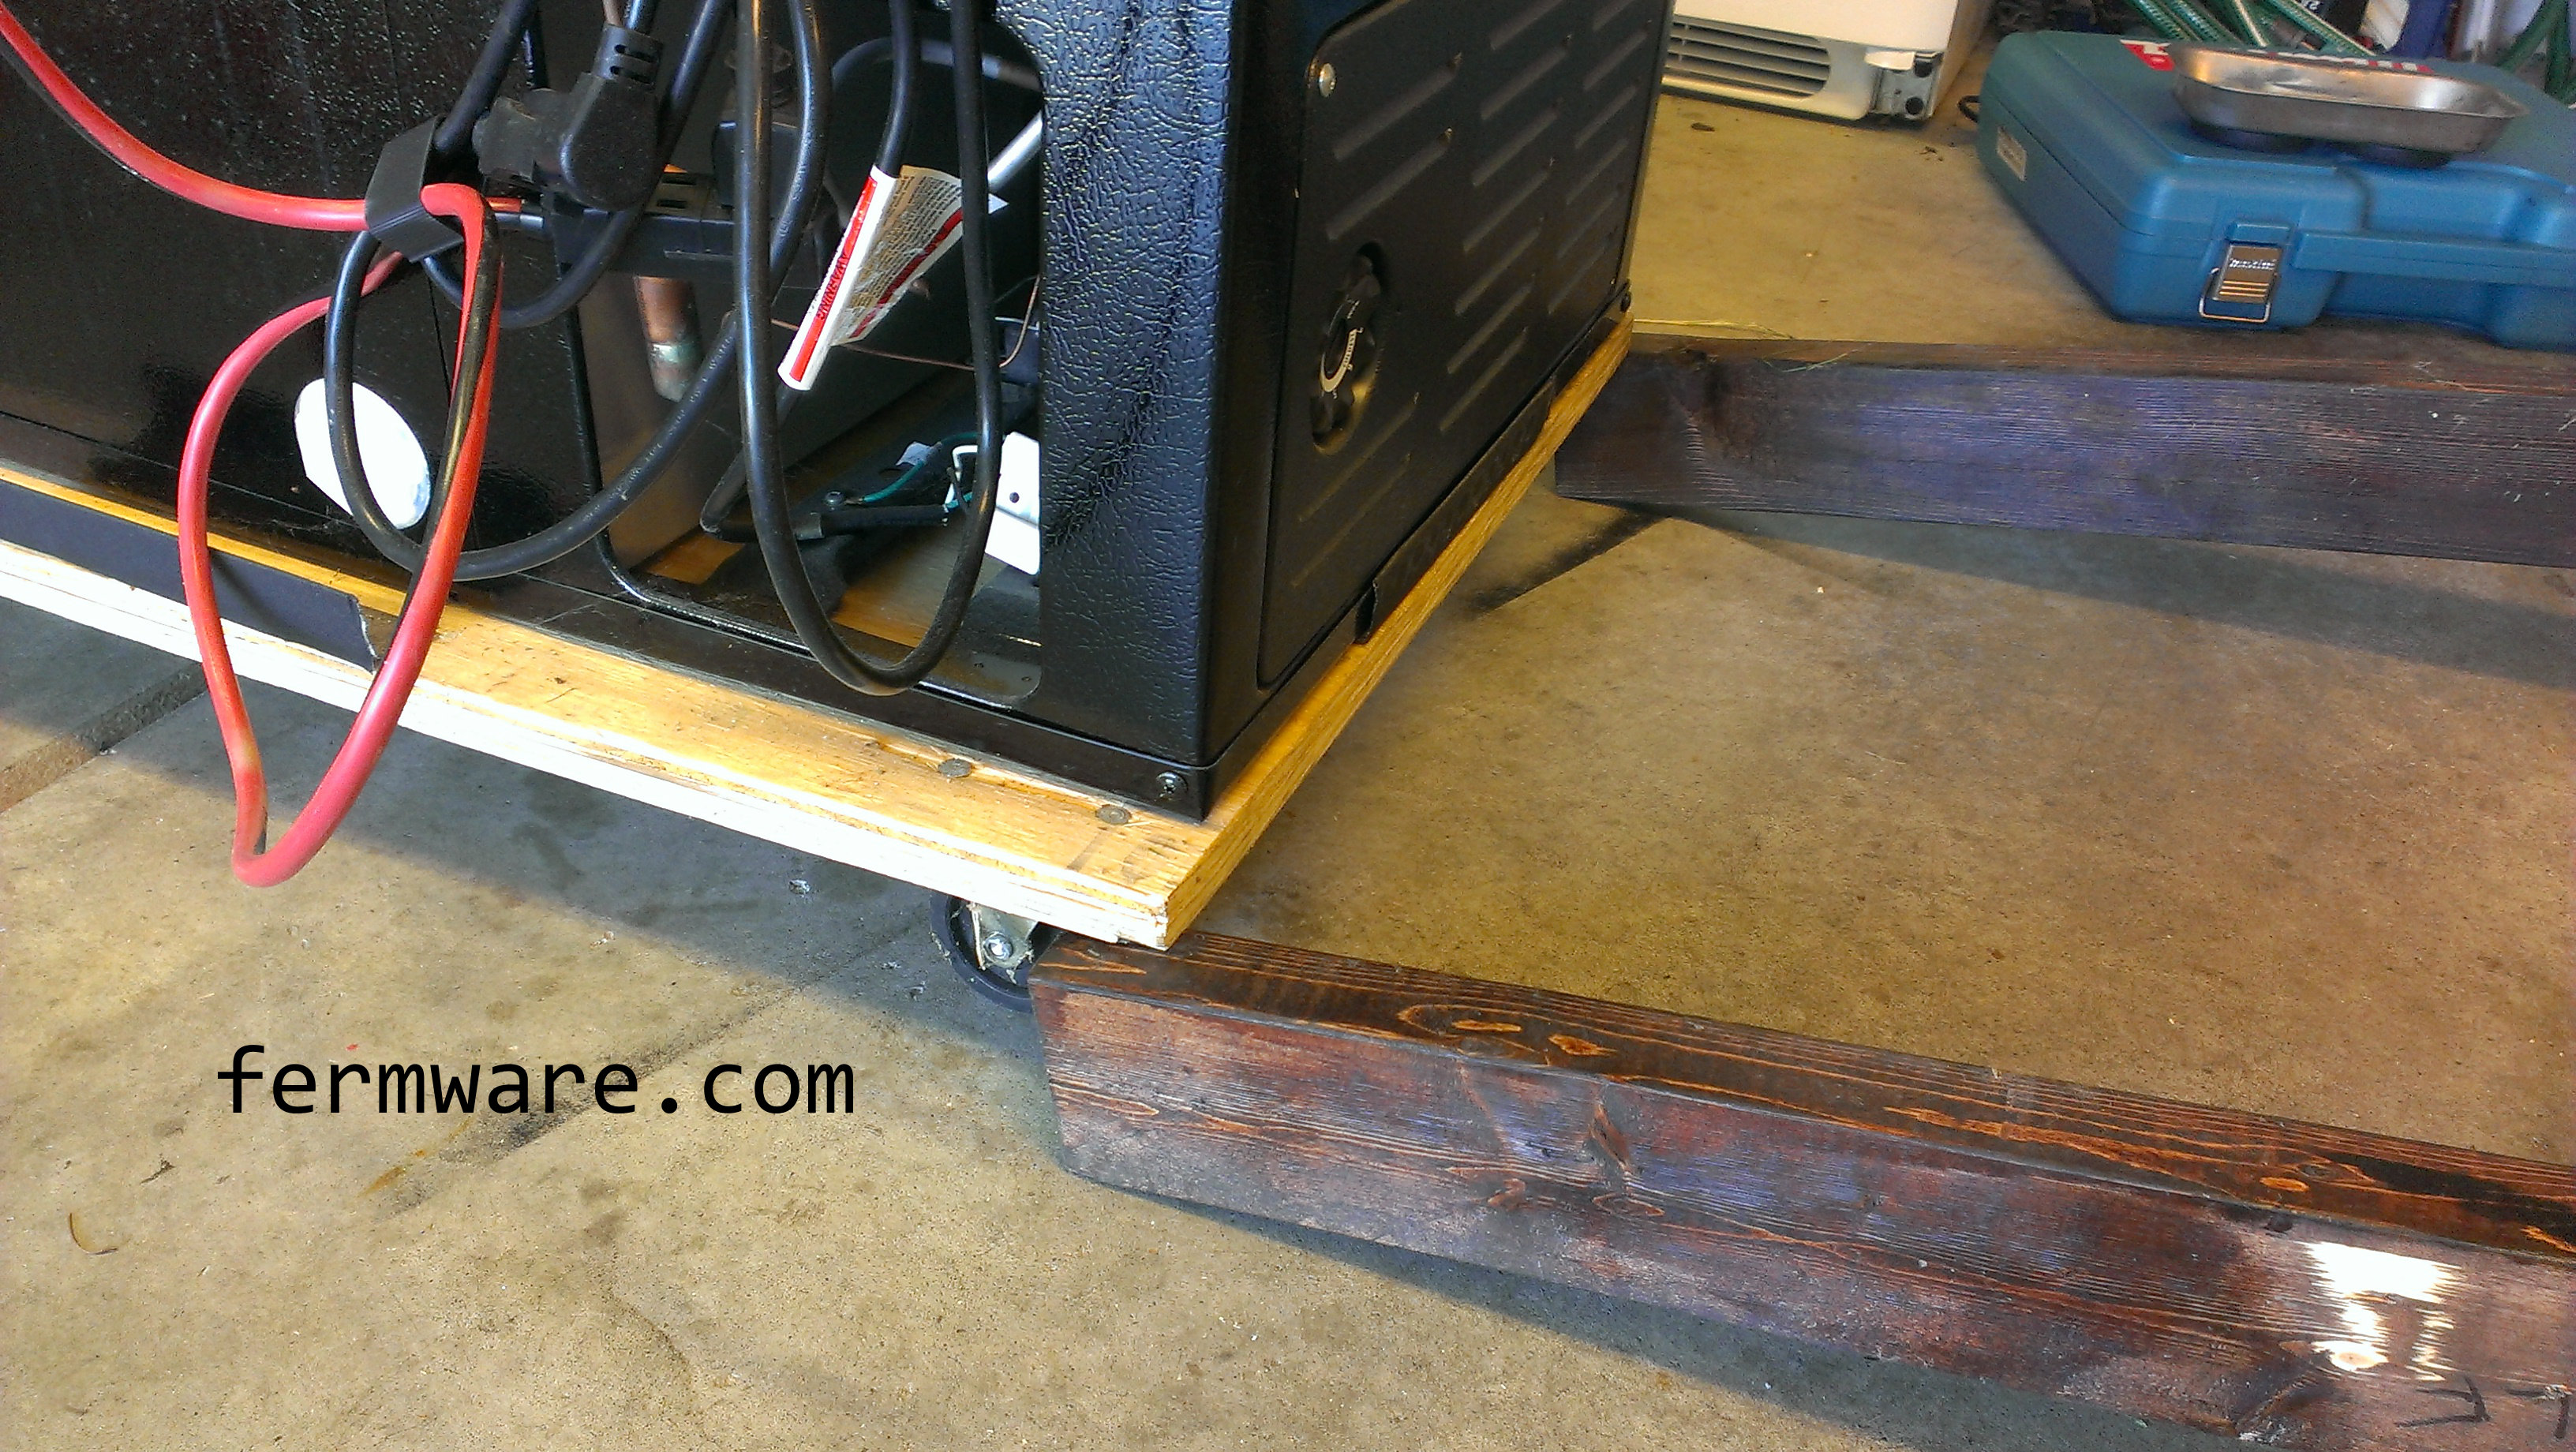
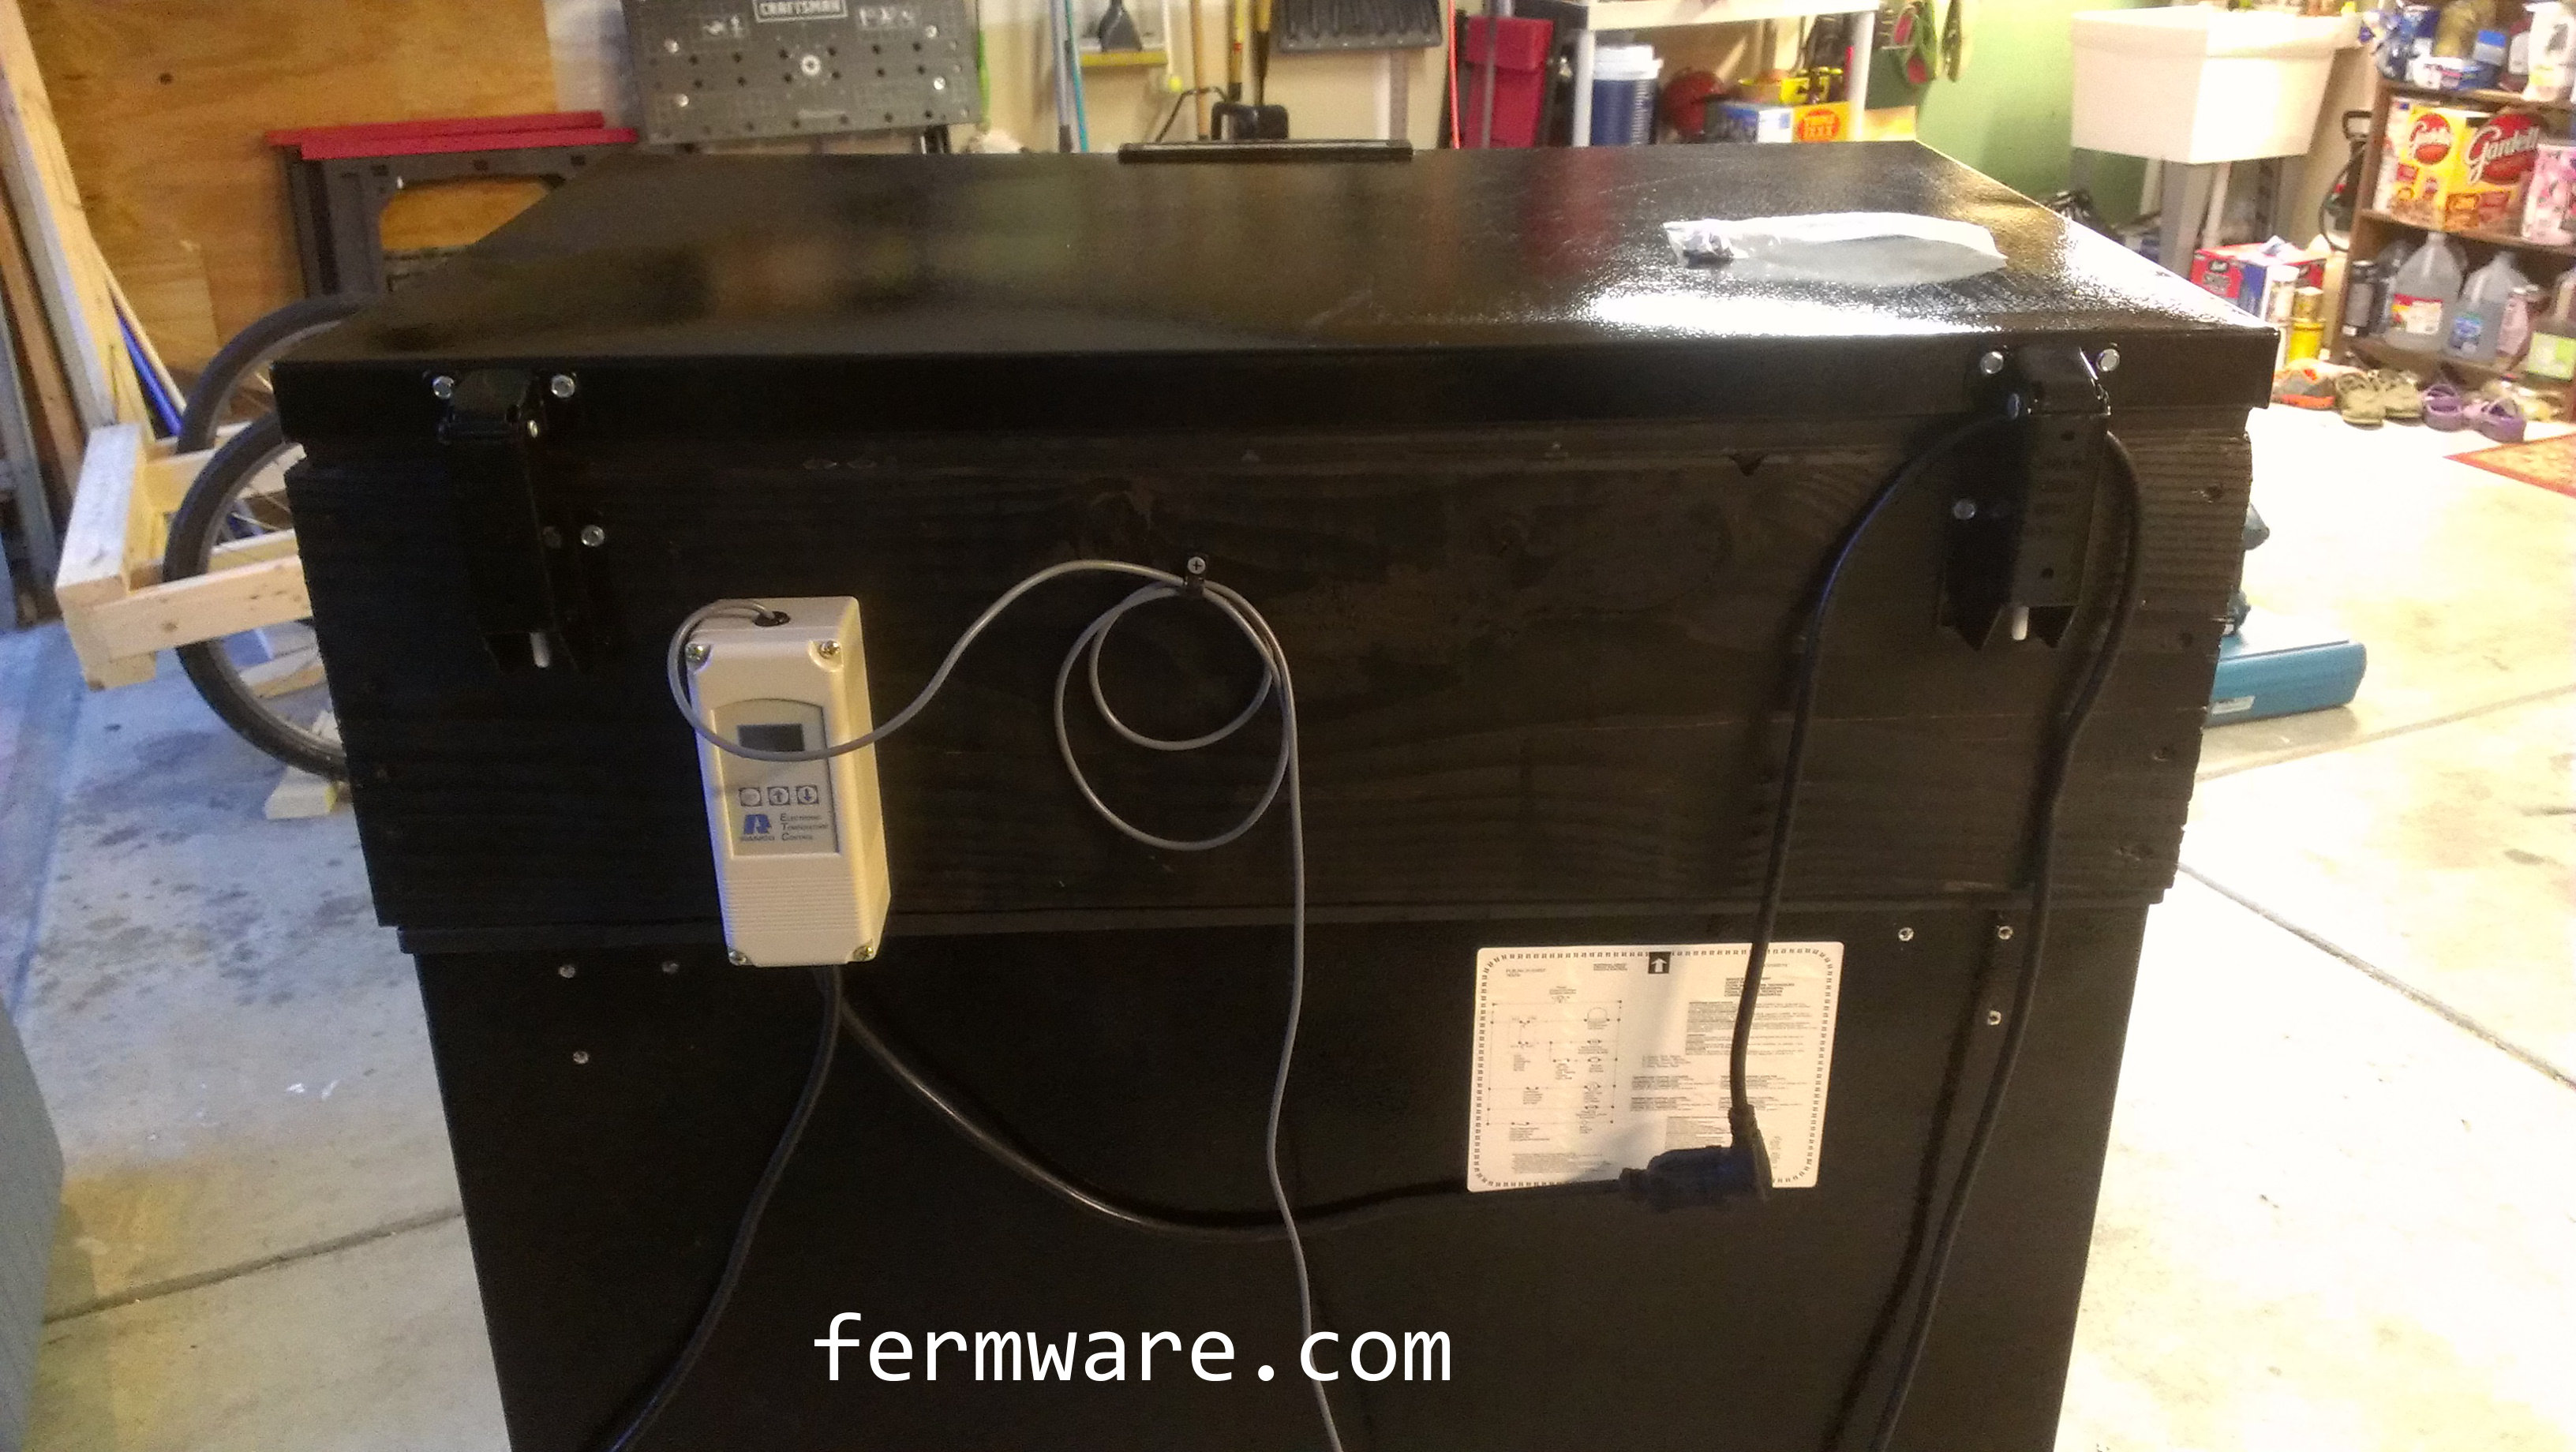
You can see the profile of the keezer dolly on the top view to show that it is sufficiently in front of the axle line to prevent tipping.  You’ll see in the loading/unloading post how it slides up the “ramp” to be set in place.  I added an extra 1/4″ clearance to the outer edges of the casters so that they would not rub on the frame rails when moving.  I also had to add about 4″ of clearance for the bike wheels.  The Bierwagen is probably overbuilt and pretty heavy to lift, but it serves it’s purpose that one day of the year where it counts!

015-2 - Top_View

The side view shows all of the other major dimensions and locations of the boards.  Again, you can see how the center of the keezer dolly is between the bicycle wheel axles and the legs.  When changing kegs over during the party it is important to stand between the keezer and the legs.  This will also prevent tipping.  You’ll see on the post where the keezer is getting loaded onto the “ramp”, that the standard 3.5″ height of a 2×4 is just low enough to get my keezer dolly up onto, but if you need a little more clearance, you could put an optional cut into the end to get you what you need.

015-2 - Side_View

REMEMBER, IMPORTANT TO AVOID TIPPING!!!!!!:

  • MAKE SURE THE WEIGHT (CENTER OF GRAVITY, CENTER OF MASS, ETC) OF THE KEEZER IS BETWEEN THE WHEEL AXLE LINE AND THE FEET
  • MAKE SURE YOU STAND BETWEEN THE KEEZER AND THE LEGS WHEN MESSING AROUND INSIDE THE KEEZER OR WITH THE KEEZER

Cut list:

Below is the cut list if your Bierwagen ends up matching mine.  I was able to build my cart from a quantity of six, 2x4x96″ studs.  The color coding is consistent with the downloadable guide.

The legs and cross-member supports required mitered ends.  The lengths shown are for the full-length board that you will then trim the angles in the boards.

015-2 - Cut_List

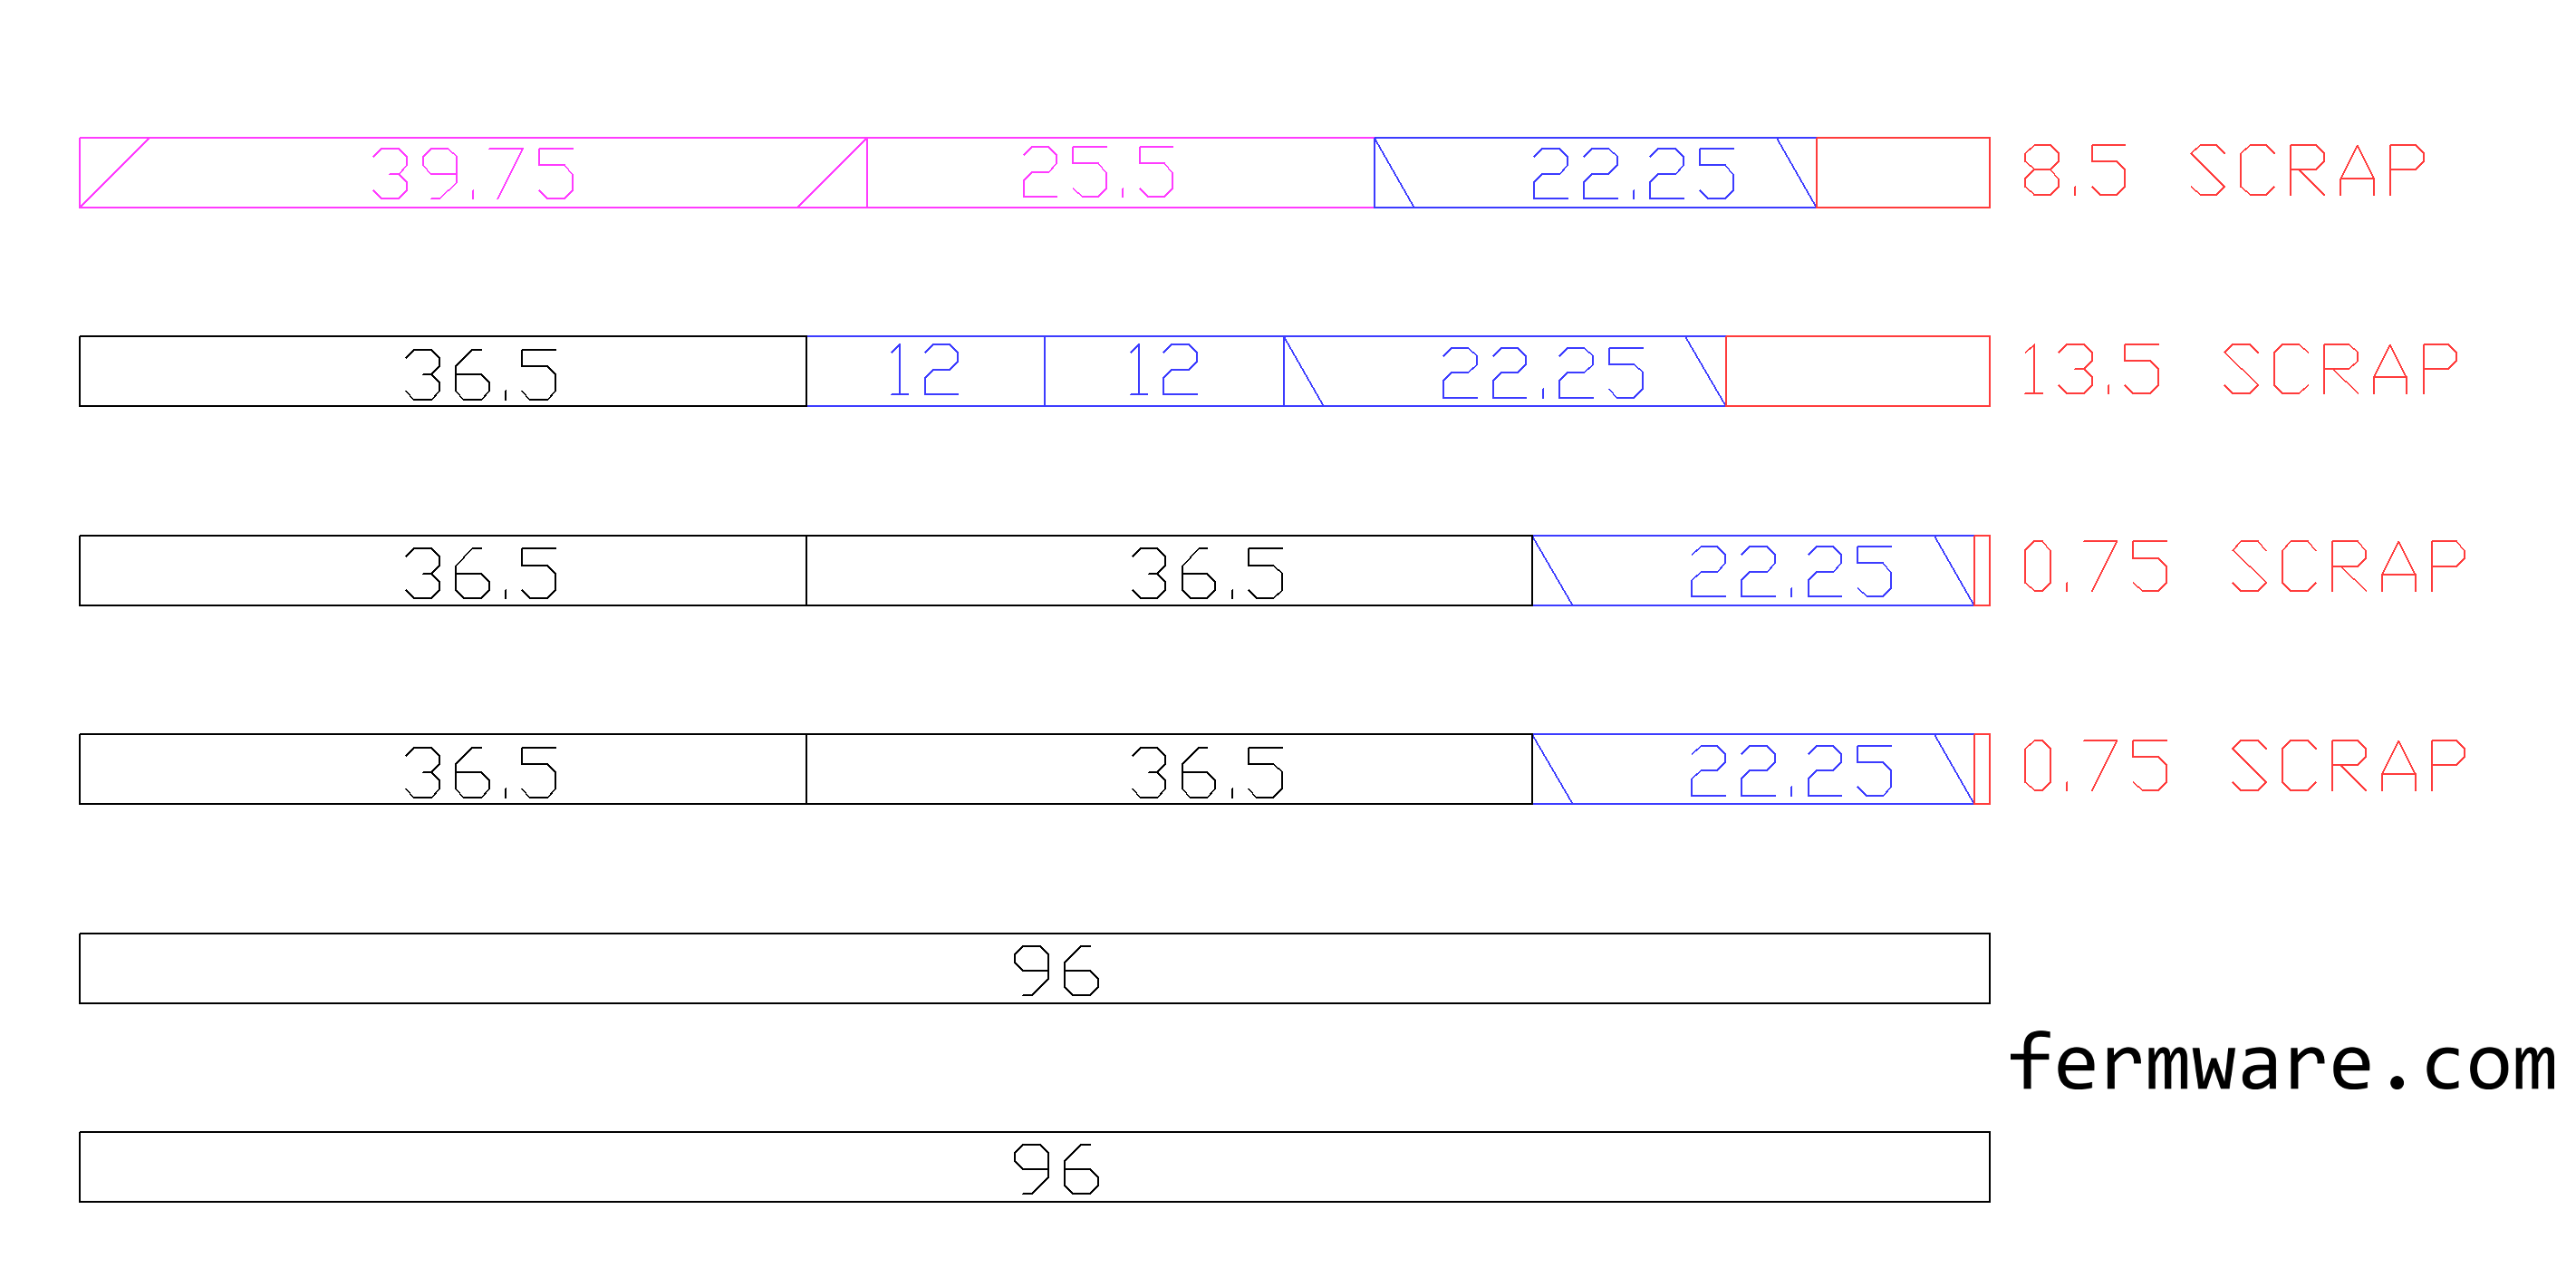
Of course, your keezer is most likely a different size and you may not even have a keezer dolly, so take my plans and modify them to suit your needs.  The cut list is in an ideal world, so you may have to buy an extra 2×4 or if you are like me, you’ve always got some on hand for whatever needs may pop up.

Download the Detail Prints for Frame and Cut List by subscribing:

Creative Commons License
This work is licensed under a Creative Commons Attribution-NonCommercial-ShareAlike 3.0 Unported License.

By clicking on the download, you agree to the terms of this license and to be added to the awesome fermware.com subscriber list. Don’t worry, you won’t receive a bunch of trub in your inbox.

[purchase_link id=”2107″ style=”button” color=”green” text=”Download Mein Bierwagen Cut List”]

Up next…

Bicycle wheel attachment

Posts for this Project:

Part 1: Introduction
Part 2: Building of the frame (this post)
Part 3: Bicycle wheel attachment
Part 4: Getting the keezer onto the Bierwagen
Part 5: Keezer collar
Part 6: Storage of the Bierwagen


Mein Bierwagen

My wife and I throw our annual Strausstoberfest party every year on the last Saturday in September.  This occurs during the traditional Oktoberfest celebration.  Oktoberfest is synonymous with beer, awesome food and a certain amount of over the top pomp and circumstance.  For the last part, I decided that the beer I’ve spent the last 2+ months caring for MUST have a grand entrance.

Difficulty: level_3

This project just requires some basic building skills, but you might need some help getting the keezer onto the Bierwagen.

Time Required:

An afternoon for the build of the cart.  Longer if you want to paint or stain it.

Posts for this Project:

Part 1: Introduction (this post)
Part 2: Building of the frame
Part 3: Bicycle wheel attachment
Part 4: Getting the keezer onto the Bierwagen
Part 5: Keezer collar
Part 6: Storage of the Bierwagen

Affiliate Links

Overview:

Here I am rolling out the Bierwagen.  Notice the tap handles I made in the post Super Easy Tap Handles.

015-1 Roll out the Bierwagen

Here I am “tapping the keg” with my son looking on.  o’zapft is!

015-1 Tapping the Bier

Here is a 2015 update.  I’ve got my Hipster Cream Ale WBHY 3D printed tap handle as well as a 3D printed Darth Vader bust added to my Super Easy Tap Handles.

015-Strausstoberfest 2015 Bierwagen

The “rolling chassis”.  It uses the front wheels from my bike and my wife’s bike.  We don’t use them much in the fall, so why not be resourceful and use them?

015-1 Rolling chassis

The Bierwagen works in concert with my Keezer Dolly.

015-1 Keezer dolly onto Bierwagen

Nothing too novel here, just another keezer collar and my Ranco temperature controller mounted on back.

015-1 Ranco mounted on back

Stay tuned for my updates on the build for this project.

Up next…

Building of the frame


Homer Hopper Part 6 – Final Assembly

Homer Hopper Part 6 – Final Assembly

Difficulty: level_1

Time Required:

One morning or afternoon (For the entire project)

Background:

This is part 6 in the series documenting how to create your own Homer Hopper.  If you haven’t seen the introduction yet, please check it out.  In this post, we’ll be finishing up with the assembly of all components and fitting the hopper assembly into the bucket.

Posts for this project:

Introduction
Part 2: Bucket Modifications
Part 3: Wooden Base
Part 4: Mill Box
Part 5: Funnel Panels
Part 6: Final Assembly (This post)
Part 7: CAD Drawings

Affiliate Links

Tools required:

*You’ll want a bench top unit so you can hold the hopper assembly with both hands while you shape it to fit in the bucket.

Material recommended:

You’ll need all of the pieces you’ve built thus far and the bolts and washers mentioned in the introduction post

  • 4x 1/4-20 x 0.75″ length stainless socket head cap screws or hex head
  • 4x washers for 1/4″ bolts ($1-$5 for screws and washers depending on where you shop) *You don’t have to use stainless for the screws or washers, I just got stainless so they didn’t rust while being stored outside in the garage.

007a-Homer Hopper - Components

How to do it:

007b-Homer Hopper - front view

Go ahead and orient the bucket on the base.

007a-Homer Hopper - View 4

Then install the mill with the driveshaft sticking out the side window (obviously).

007c-Homer_Hopper_base_with_c-sink

007c-Homer_Hopper_hopper_base_no_c-sink

Then, secure the mill with the bolts going through the wooden base and bucket.  Since your holes probably aren’t precision located, get each bolt started in each hole, then tighten them up.

Shape the hopper panels

007f-Homer_hopper_shaping

Keep dropping the hopper assembly into the bucket while sanding more material off of the tips of the panels until you get a nice fit.  The angle will be almost perpendicular to the base, but with a slight draft.

007f-Homer_hopper_panel_fit

Once you have a nice fit with the panels, it’s time to start shaping the mill box to fit in the bucket.  The bottom of the bucket has a radius all the way around the bottom, so you’ll need to shape the bottom corners until you can get it all to sit flat.

007e-Homer_hopper_grain_shield_fitted

Your finished corners should look something like the picture above.

007f-Homer_hopper_base_seated

Keep shaping until the entire assembly sits completely flat on the bottom of the bucket.

Final steps

007f-Homer_hopper_glue_grain_shield

The last steps are to glue the seams in between the hopper panels (as in one of the above photos) and to glue the grain shield in place.

Wait for all glue to dry!!!!

The last thing you want is for wet glue to drip into your valuable grain mill or get into your grain.

Up next…

CAD drawings and closure

Missed a post?

Introduction
Part 2: Bucket Modifications
Part 3: Wooden Base
Part 4: Mill Box
Part 5: Funnel Panels
Part 6: Final Assembly (This post)
Part 7: CAD Drawings

Thanks for your interest in this project!