Brew In A Bag? More like Beer In A Bag! This is like the countertop kegerator. And the thing is, that isn’t the coolest thing about the SYNEK. What is so cool, is that they have brought focus to a new way to package beer. They call it “the ultimate growler”.
I first found out about this at the 2014 American Homebrewers Association National Homebrewers Conference. At the time of this posting, their SYNEK Kickstarter campaign has about a week left.
Difficulty: 
Time Required:
Just keep reading.
Affiliate Links
Cost:
$299
SYNEK Draft System
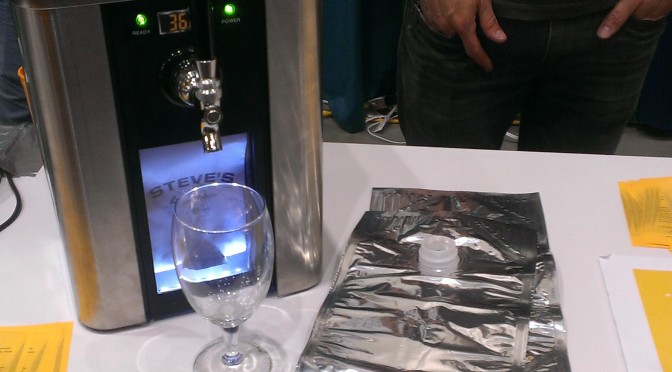
The best way to describe it is like box wine. If you’ve ever bought some and taken apart the box to find the bag inside, you’ll know what I’m talking about. I’m not ashamed to say that I still do buy it, because there actually is good box wine. I’m an ultra-beersnob, but I’m fine with the Two Buck Chuck (or Three Buck, depending on where you live).
Anyway, back on subject. The premise is that anyone from homebrewers on up to professional breweries will be able to use the new packaging. It’s one of those ideas that was waiting to happen, since all the technology was there. I like the fact that with growlers, you can go to most any brewery and bring home the deliciousness. The bad thing is that once you open them, you need to drink the beer within a few days or it goes flat. Unless you are using some sort of carbonation cap (I’ve got a method, which I’ll have a post on soon). In any case, glass is not an ideal material for holding pressure.
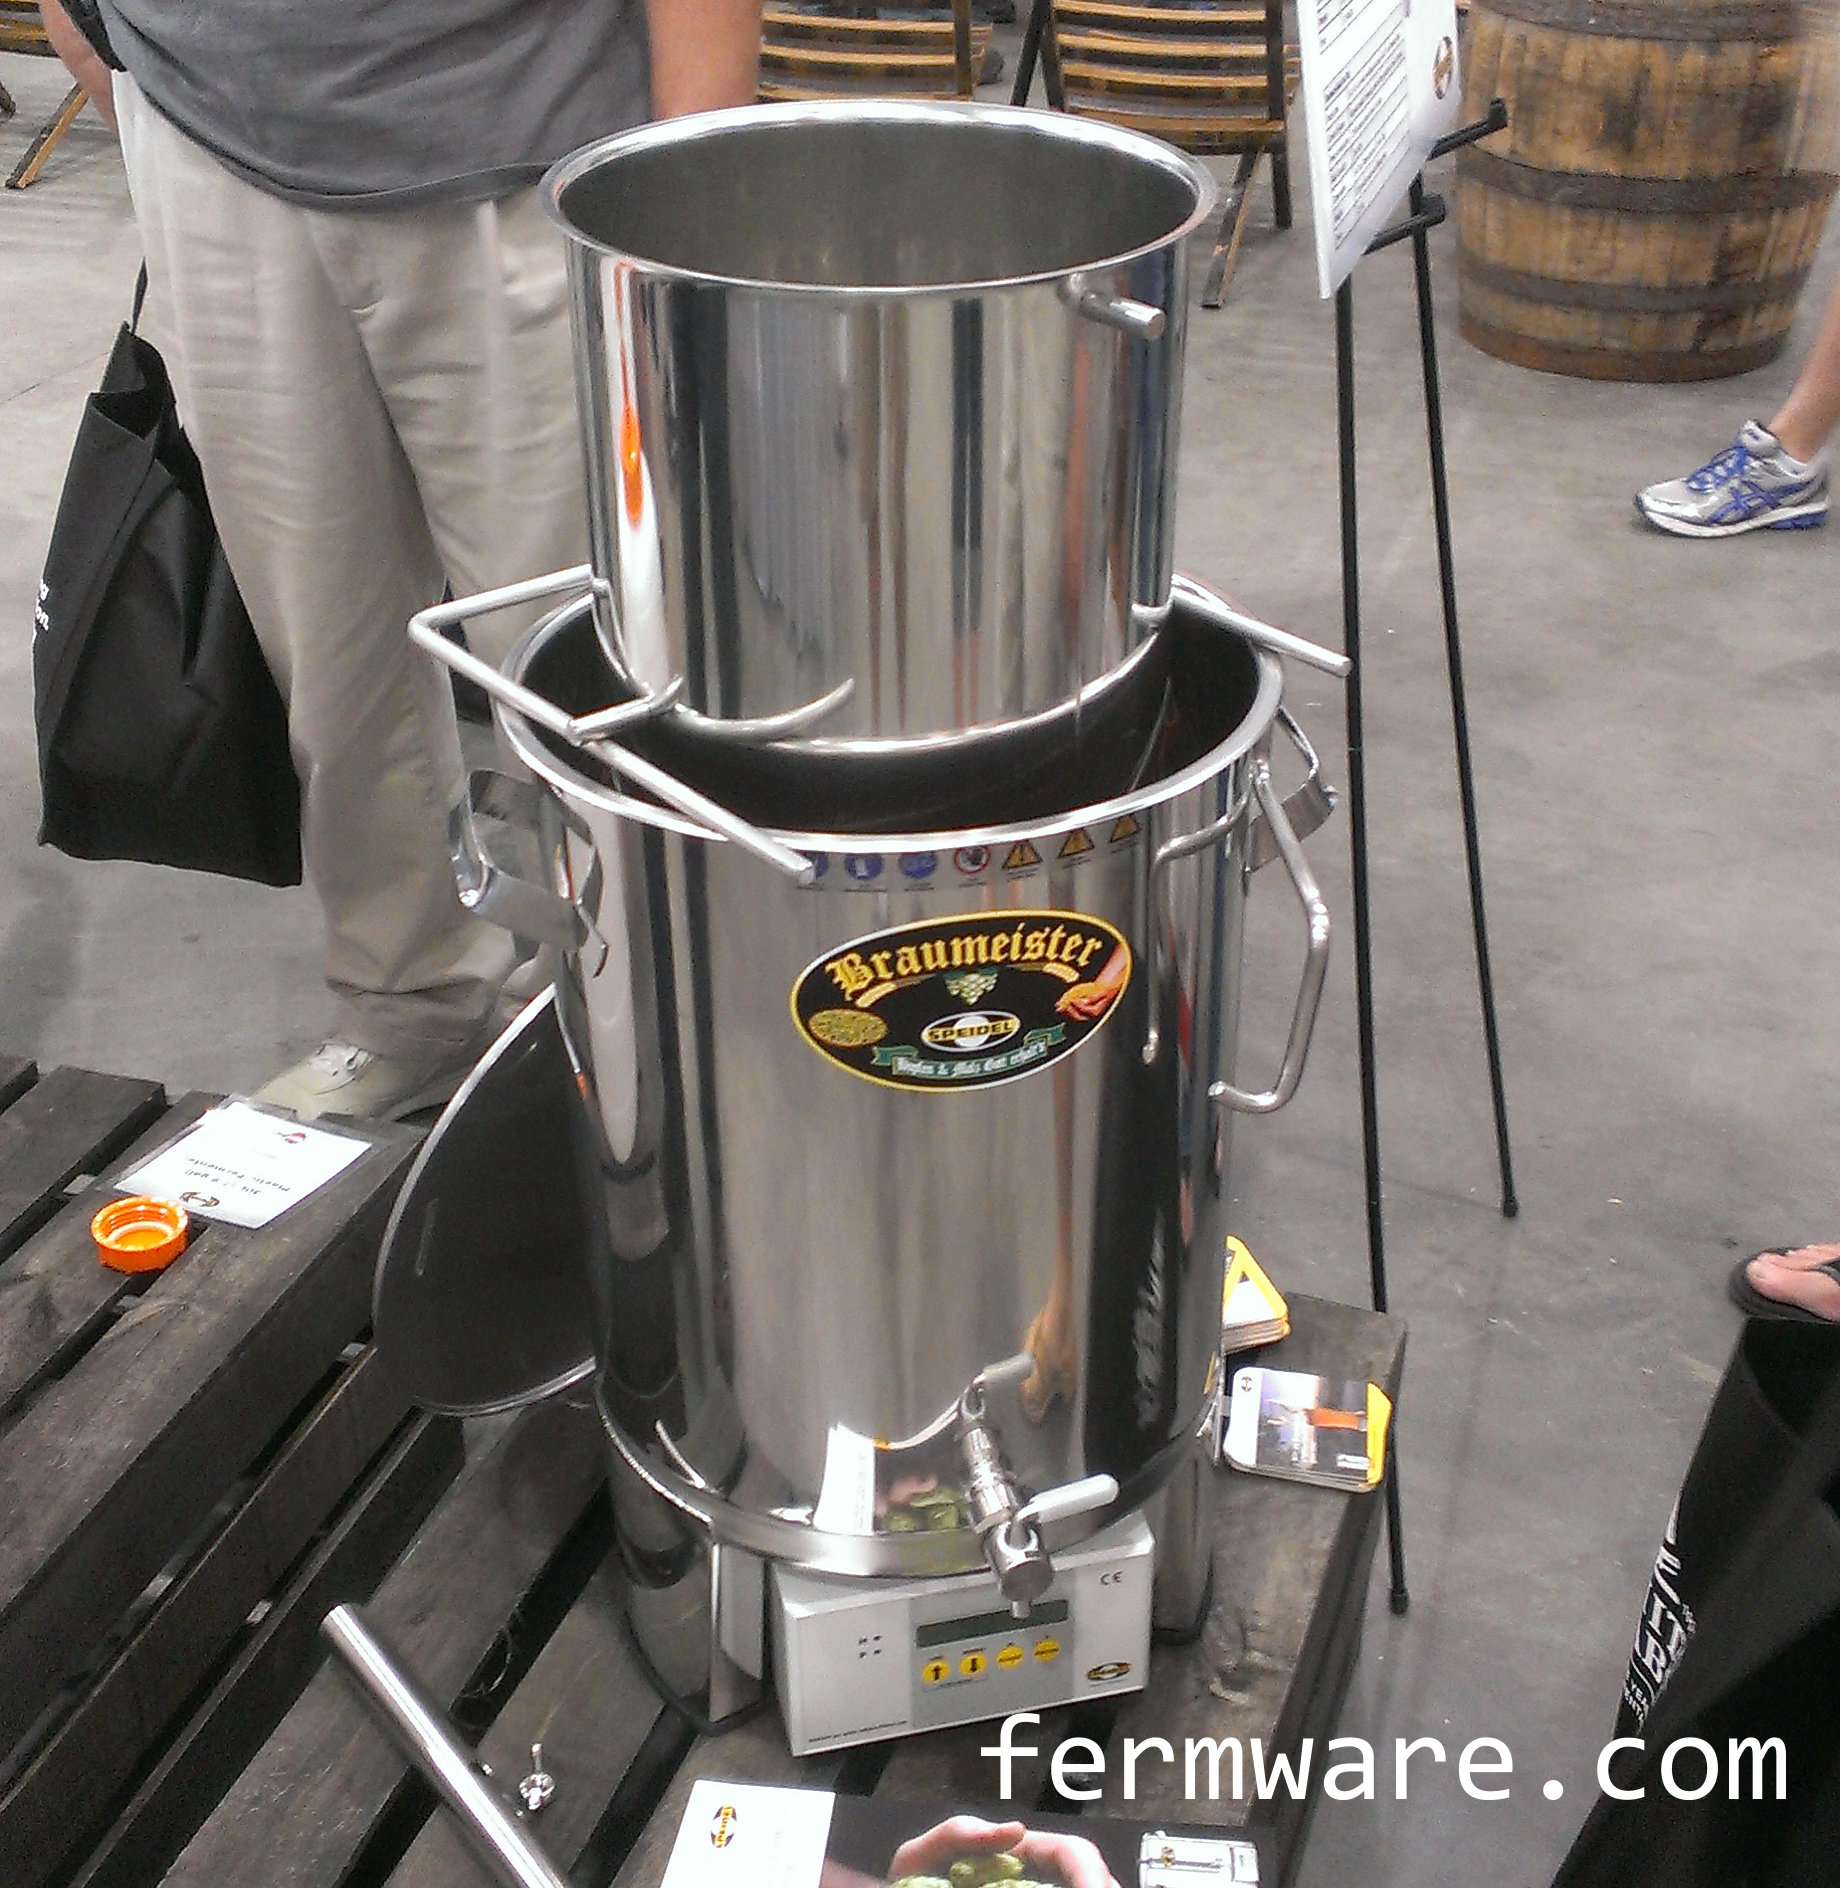
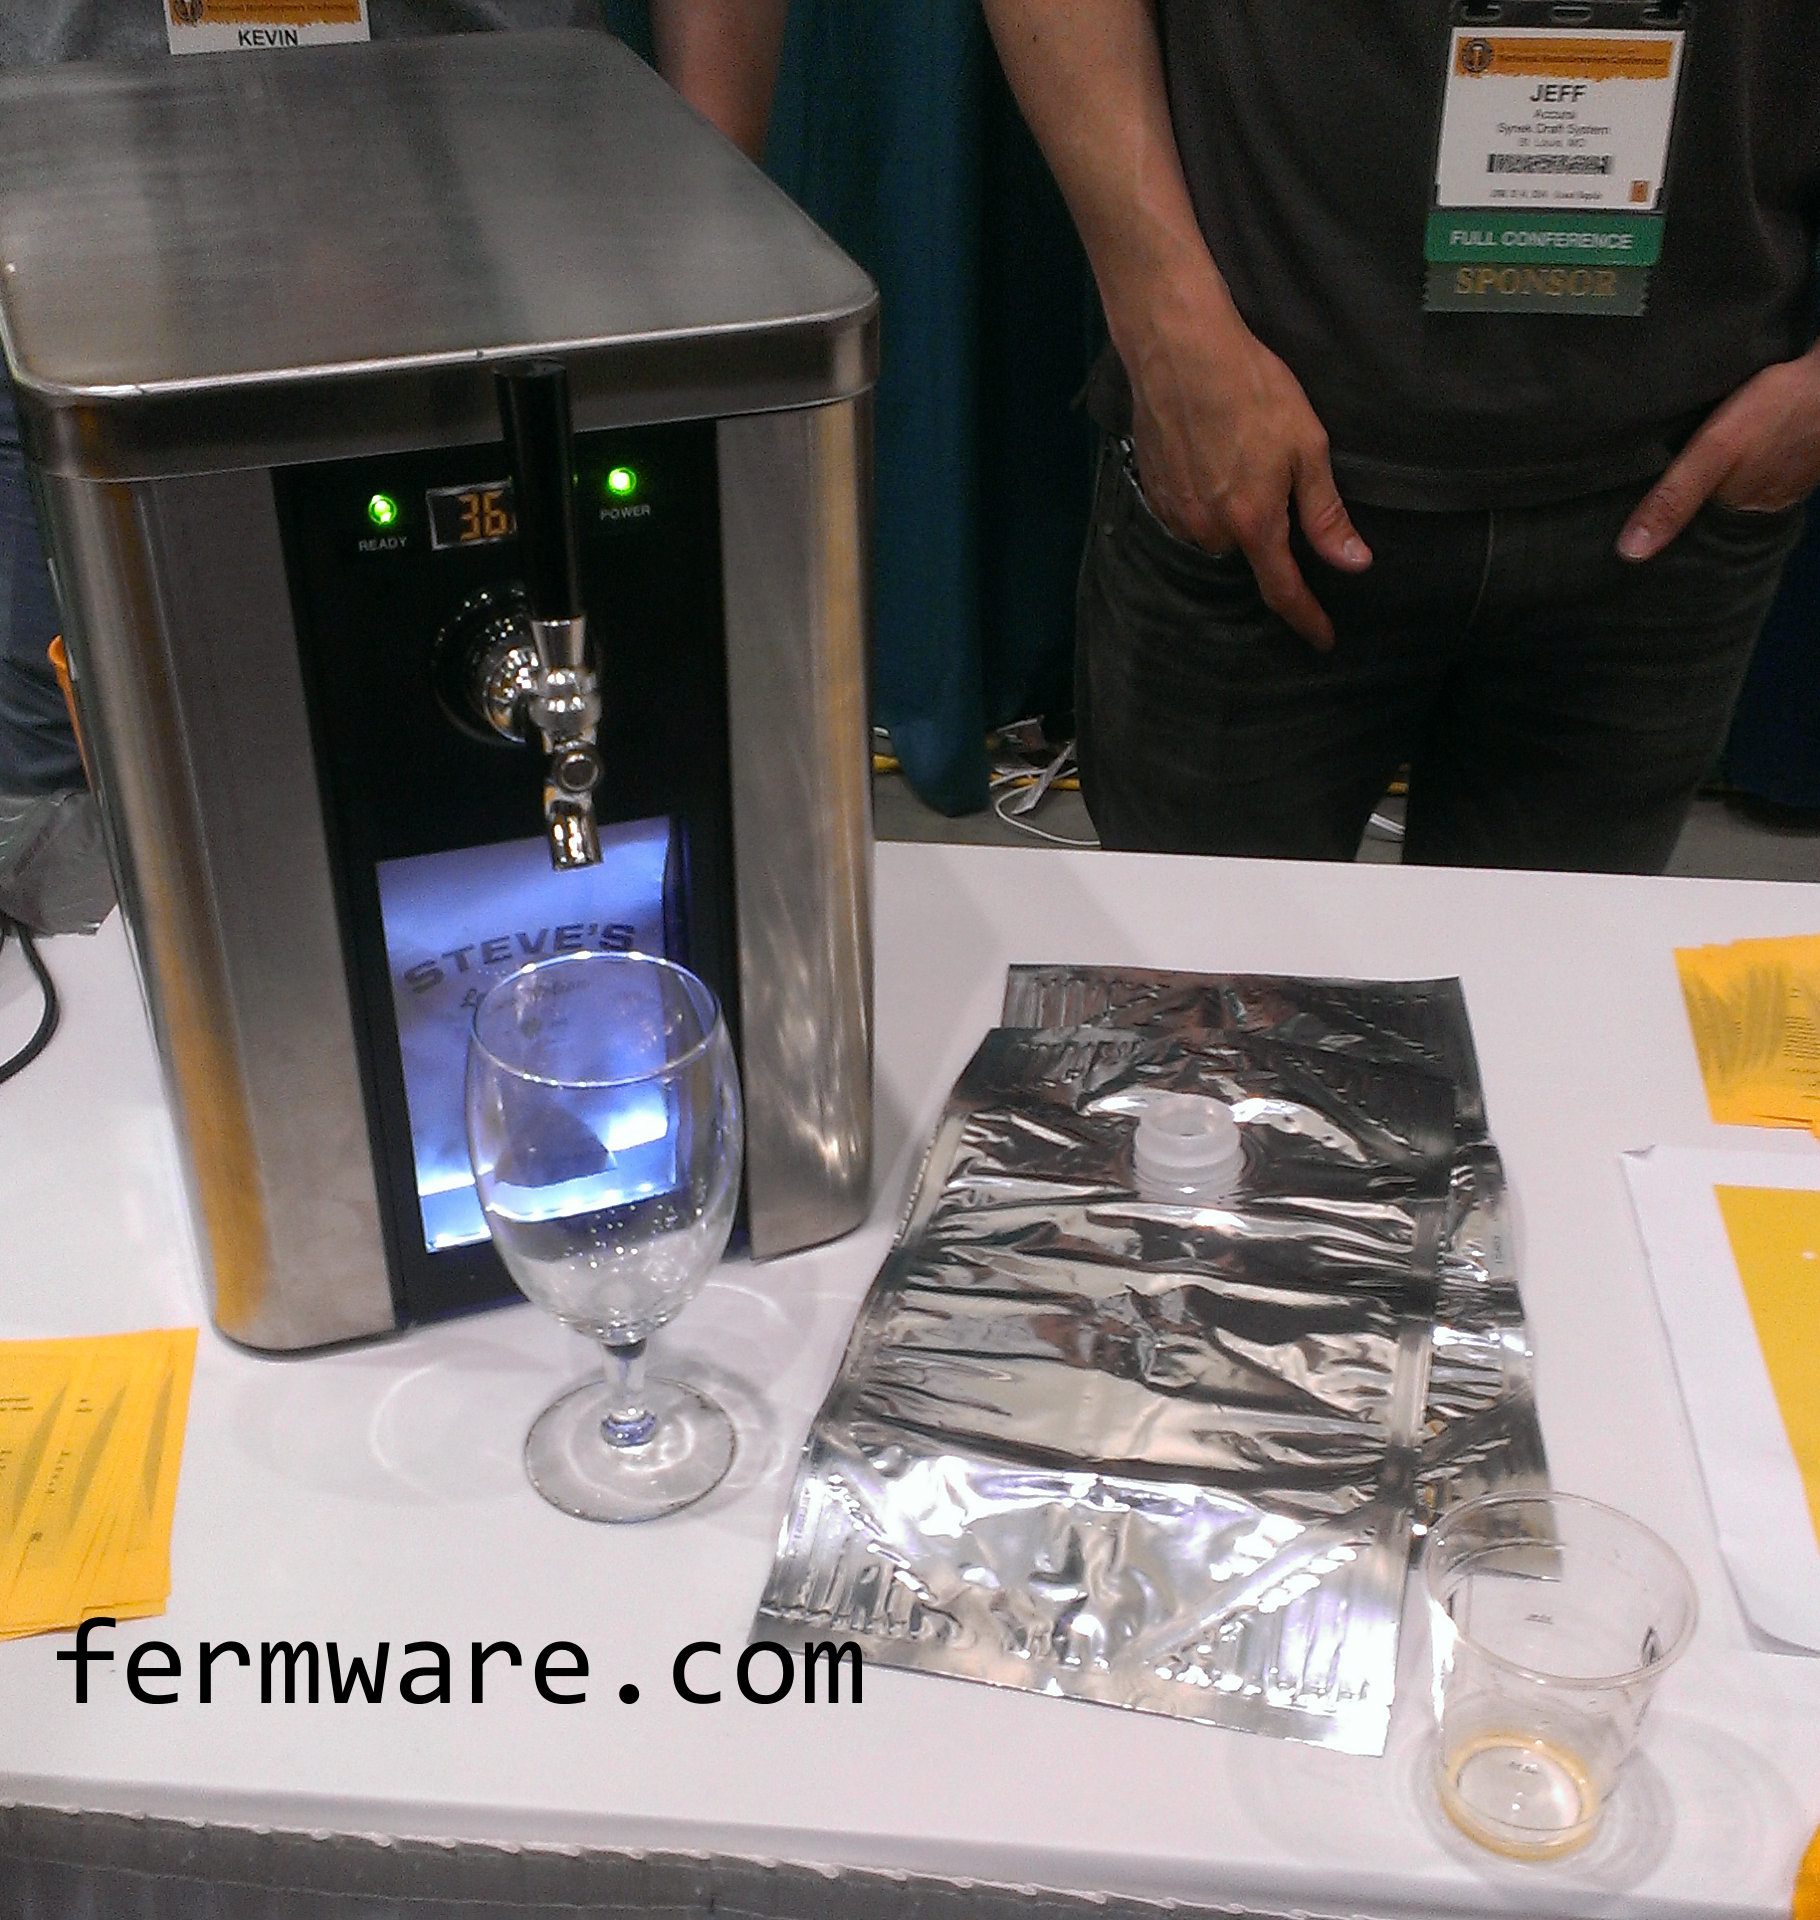
I talked for a while with Steve Young, the founder for quite a while at the Homebrew Expo. He’s the guy in the videos on their site. You really have to watch the videos at the SYNEK Kickstarter page. It can do more justice than me writing about it.
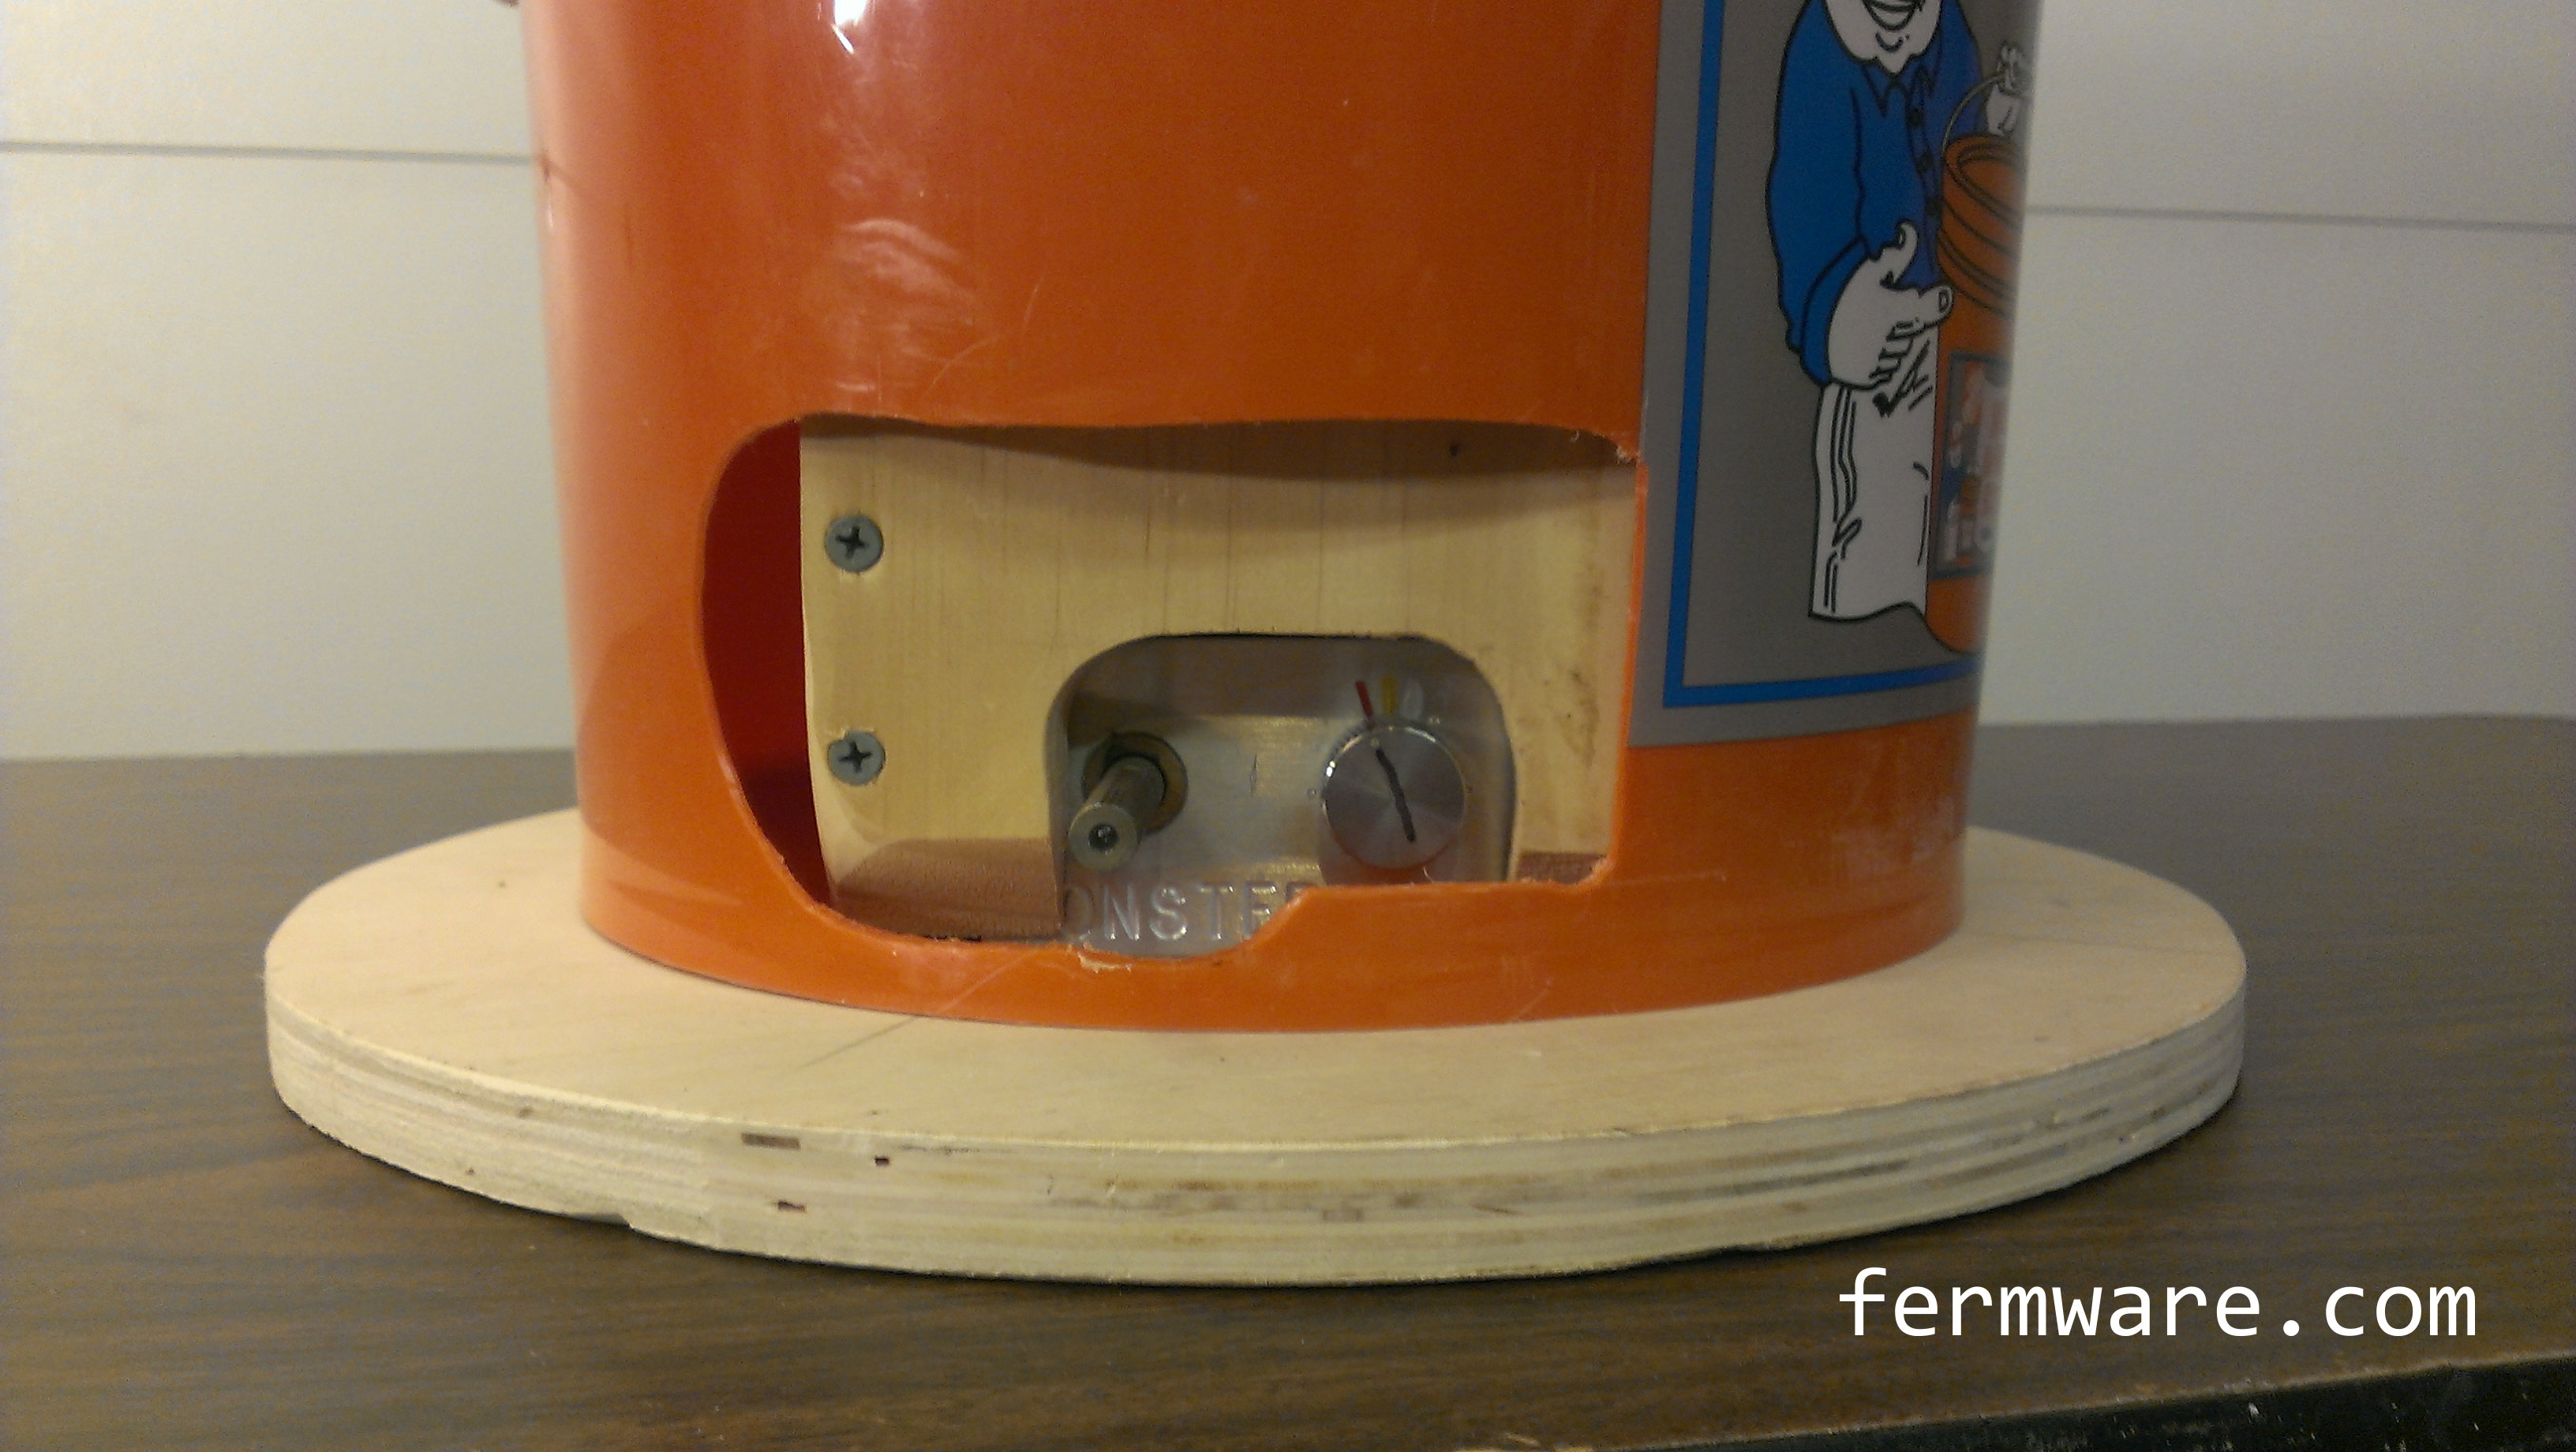
The unit shown in the pictures was merely a non-functional demo unit, but the way Steve explained it, I don’t see any huge technical challenges.
Some more details of the packaging from Michael Werner (Strategic Director):
The cartridge is the first ever flexible packaging that can withstand carbonated beverages. It is patent-pending and meets all standards and expectations for consumables. It holds 128 fl oz and can be filled anyway you need. Under the right conditions (speaking to homebrewers), you can even force-carbonate, prime, ferment, etc. inside. Last, we insure a 30-day shelf life after the first pour. We have designed it to completely avoid air contamination during and after filling. If carried out properly, we don’t see why a cartridge wouldn’t maintain carbonation and quality for as long or longer than bottles and cans (4-6 months). This allows for storing and aging consumable liquids in SYNEK cartridges.
Sounds cool to me!
Here are some of the videos they posted:
http://www.youtube.com/watch?v=KEbMcimdFno
https://www.youtube.com/watch?v=m6GoiWGQPbQ
https://www.youtube.com/watch?v=e9cqkvlb5Yc
Here are some of the breweries they have ready to distribute using their packaging:

I myself am planning on acquiring an early unit, or at least one of the bags, to run it through it’s paces. For purely scientific reasons….