Difficulty: 
This project requires a few inexpensive special tools, but will most likely take an entire weekend, lots of improvisation, some thorough cleaning and the cost of the fridge takes it to level 4.
Posts for this Project:
Part 1: Introduction
Part 2: Clean up
Part 3: Disassembly
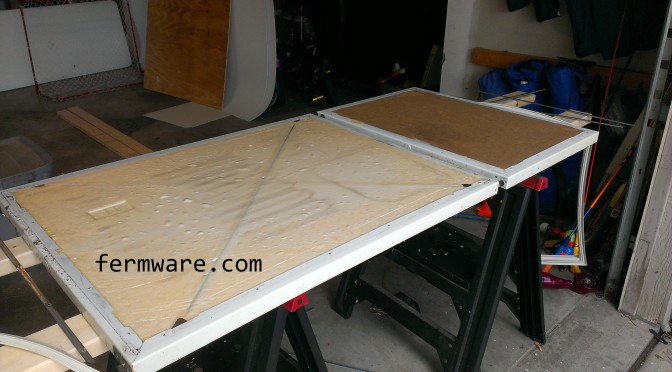
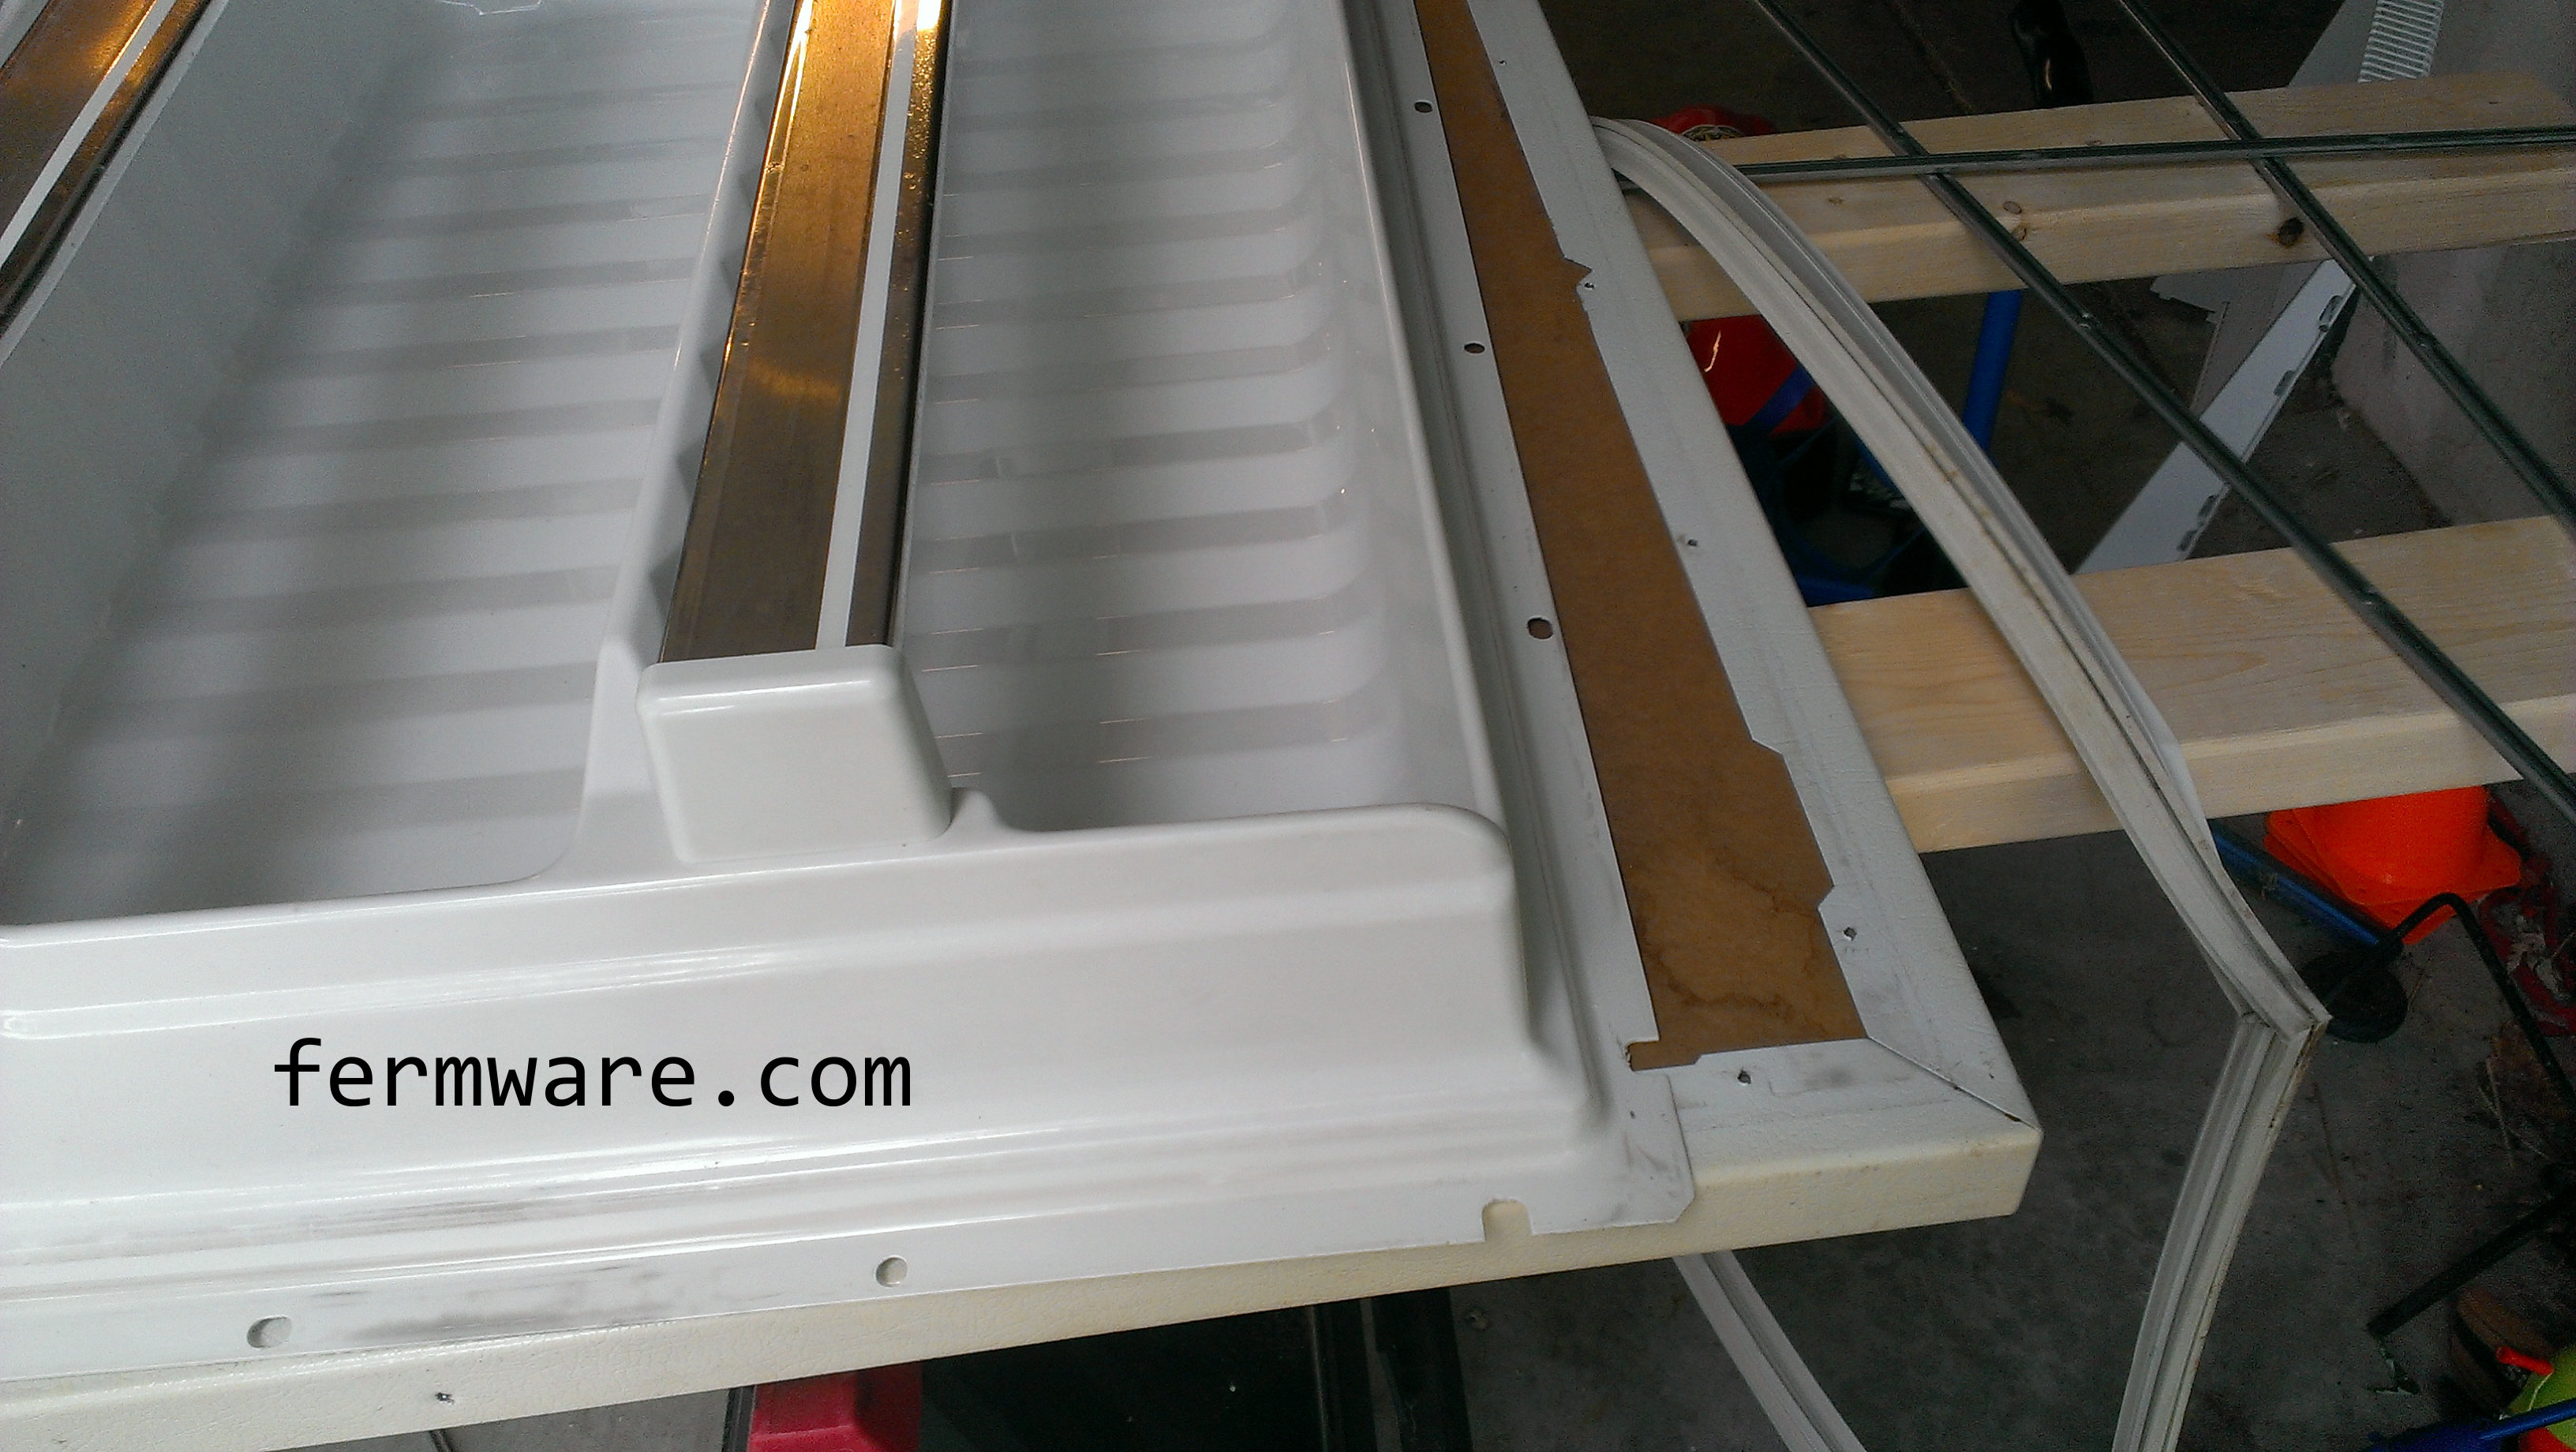
Part 4: Door modification
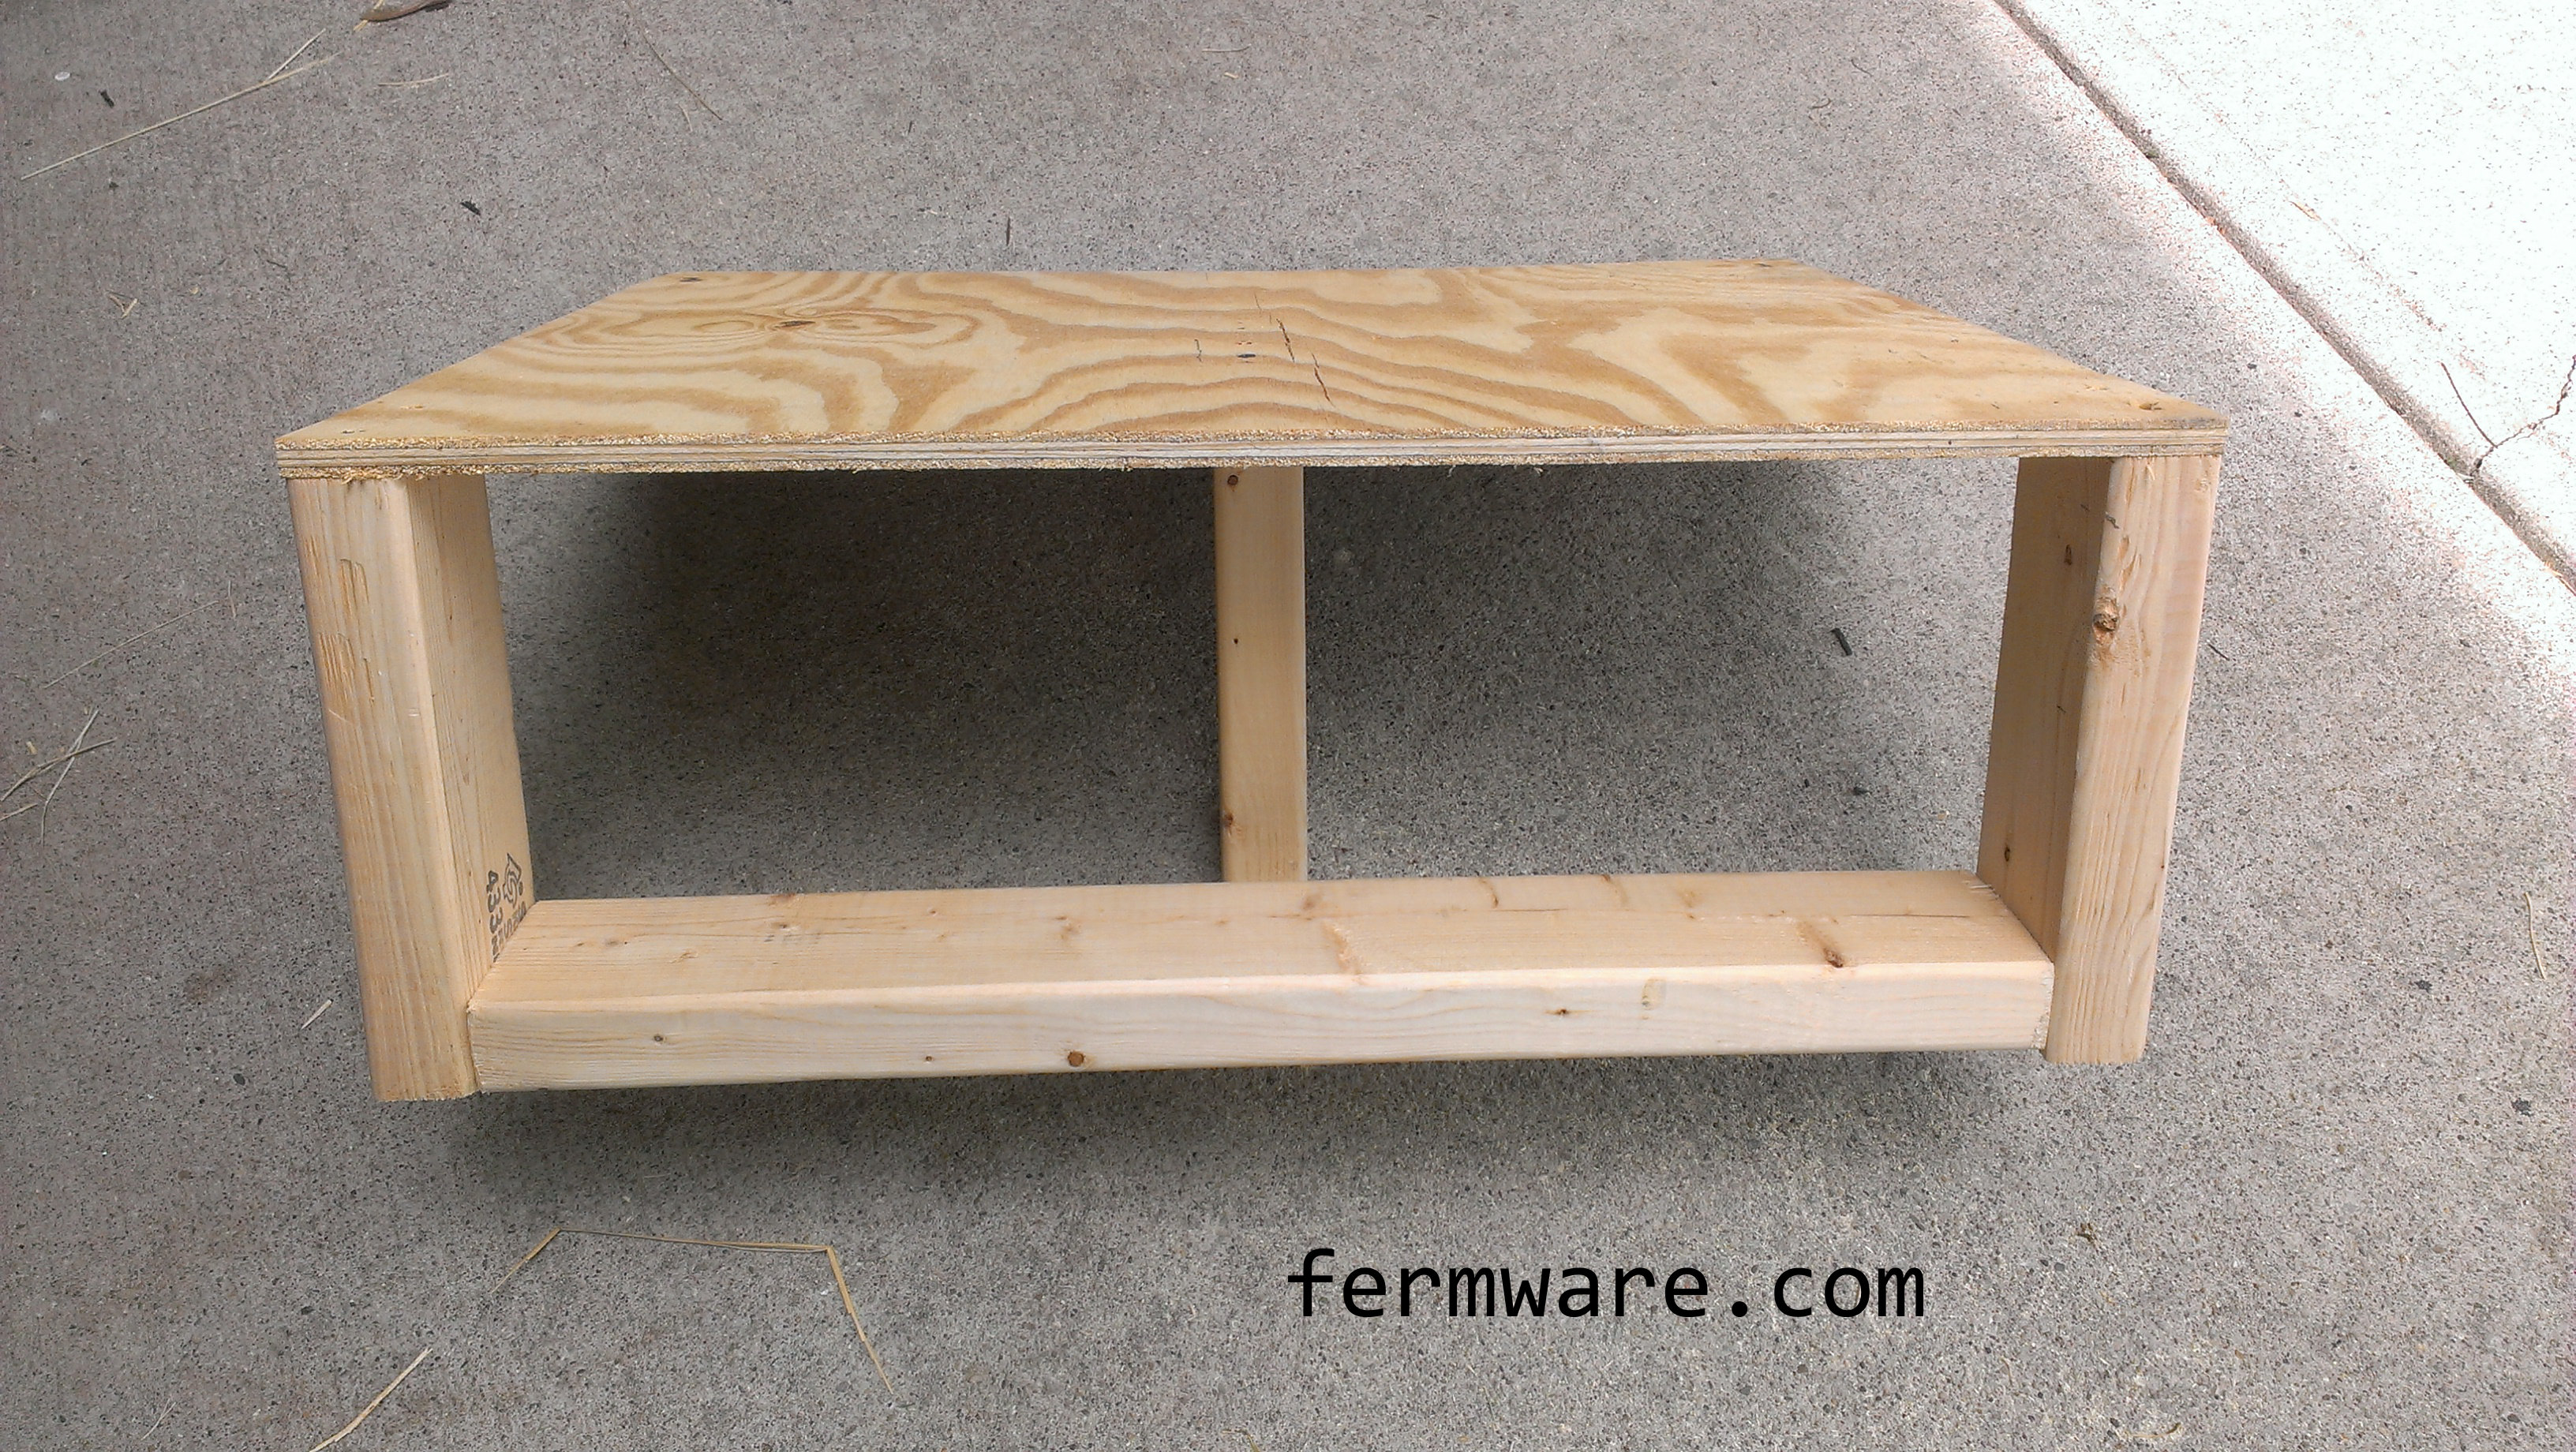
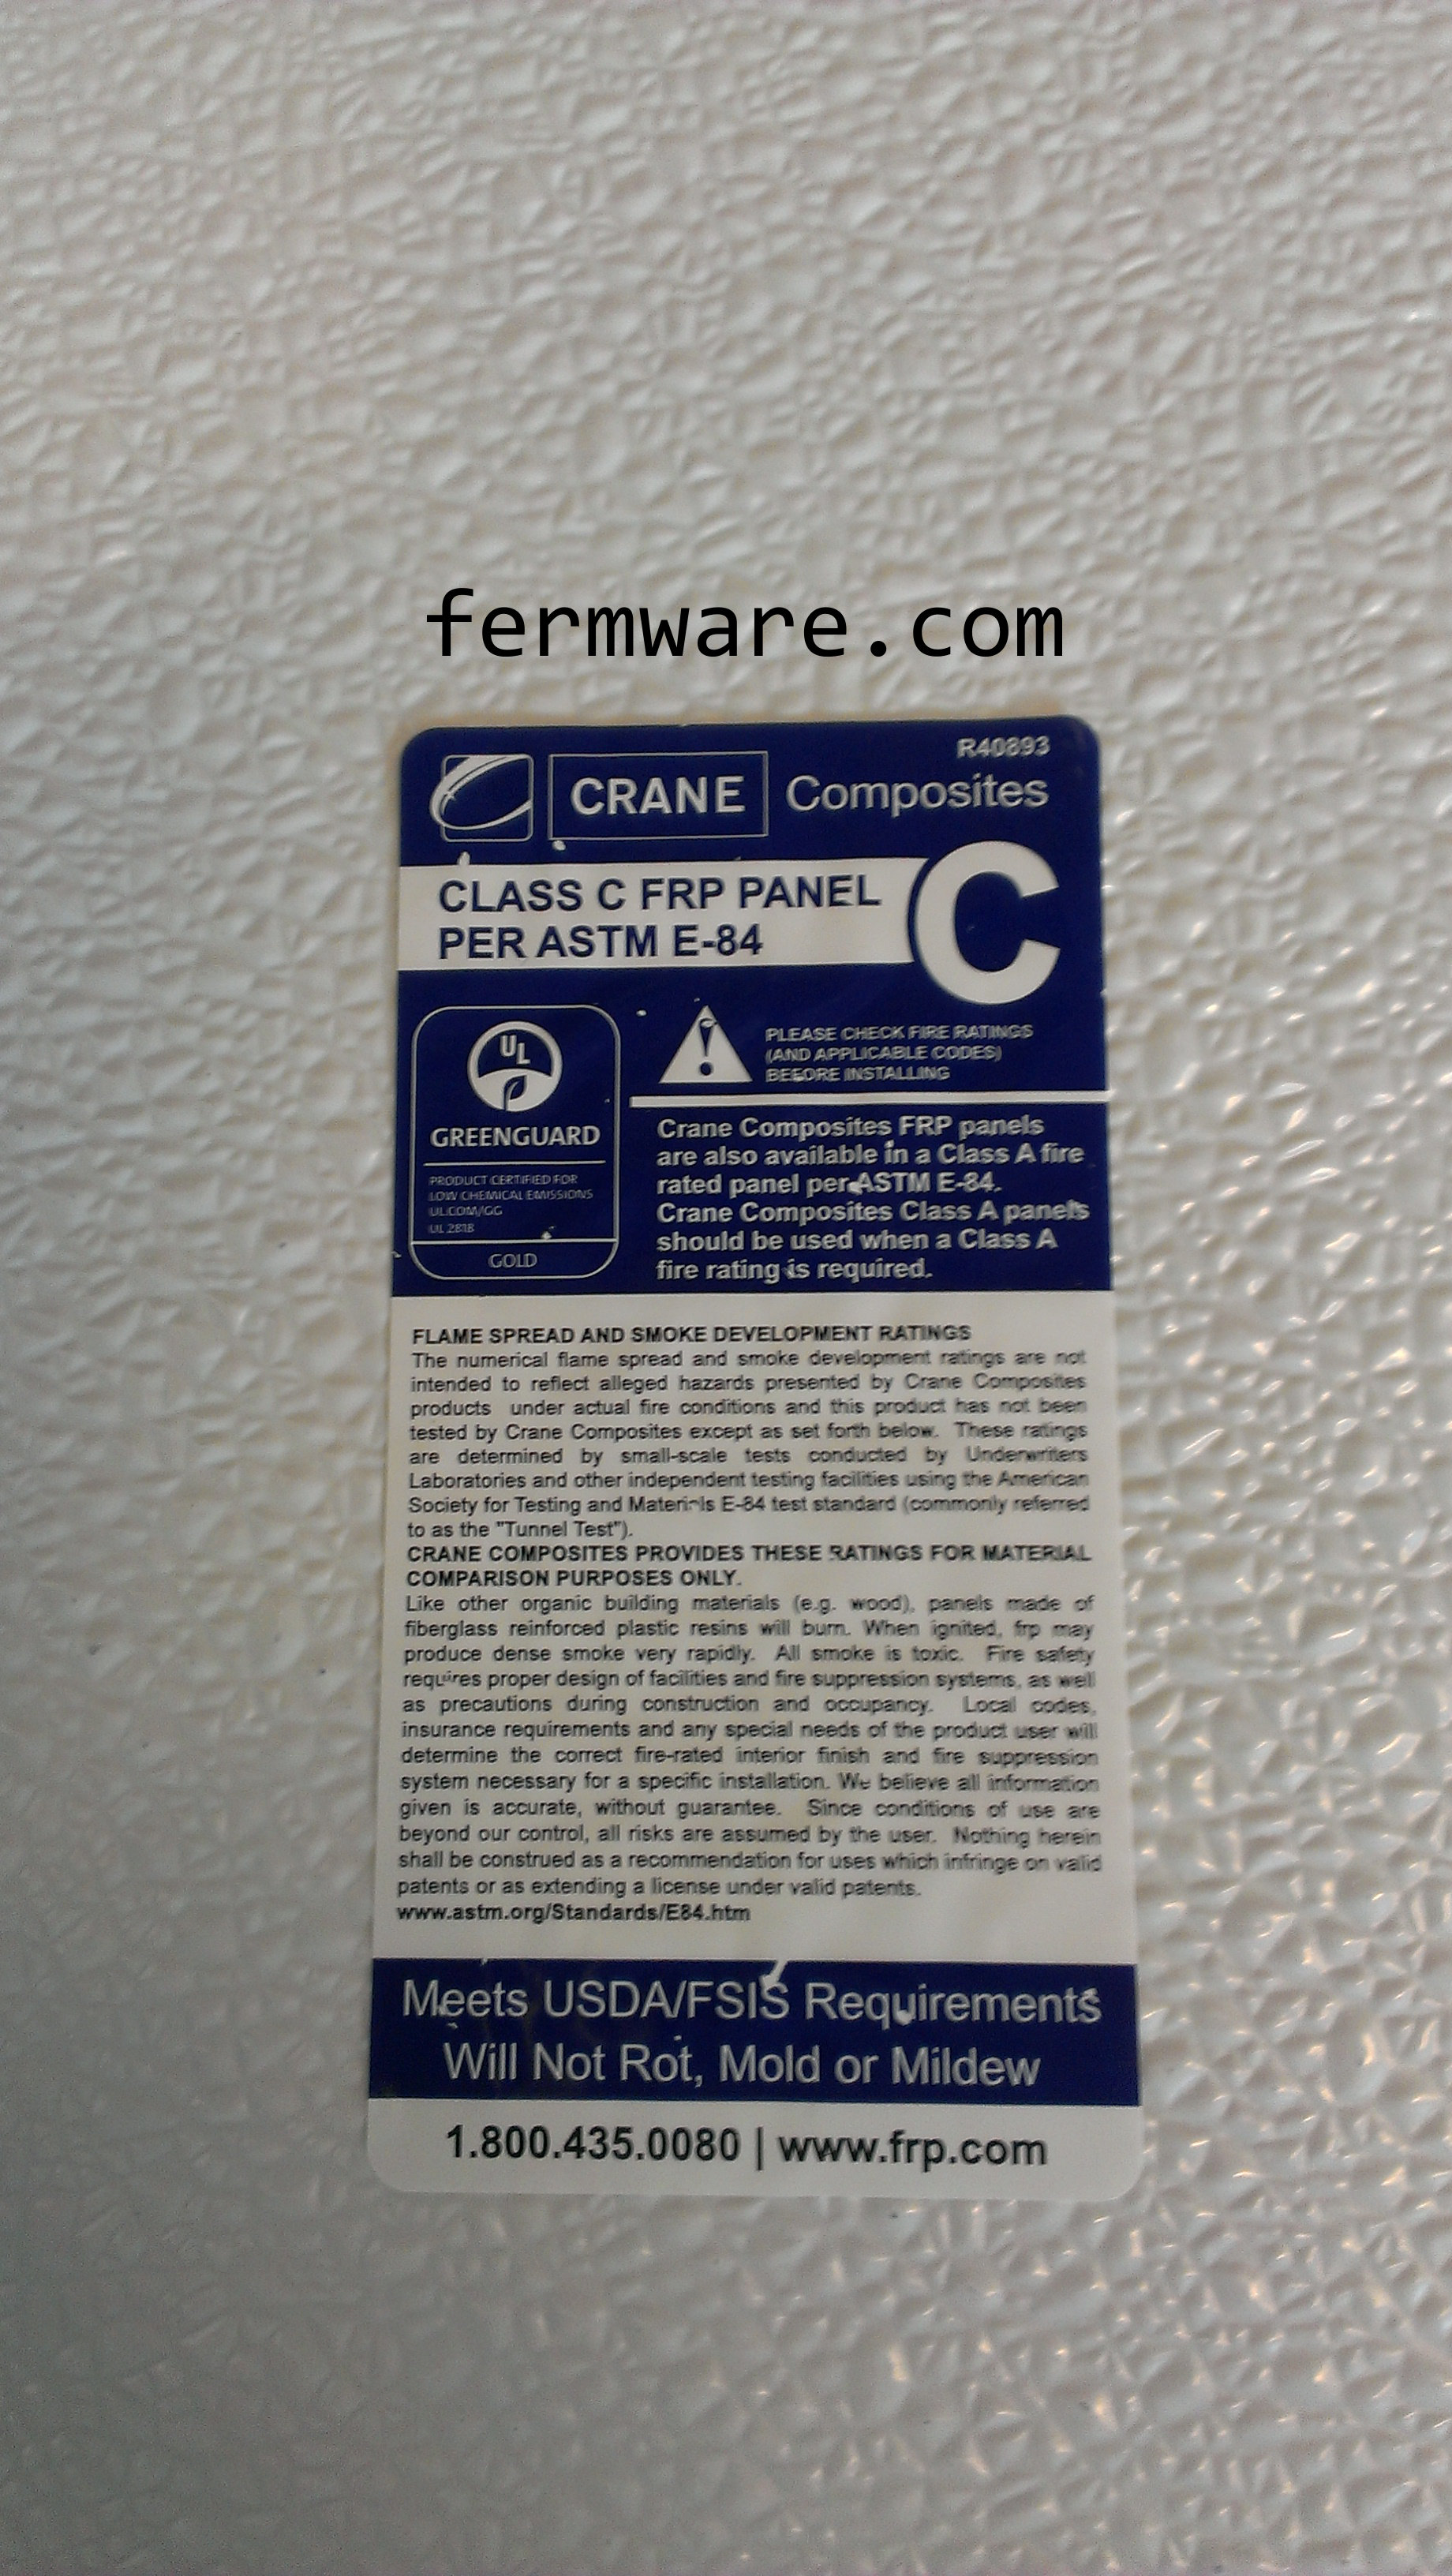
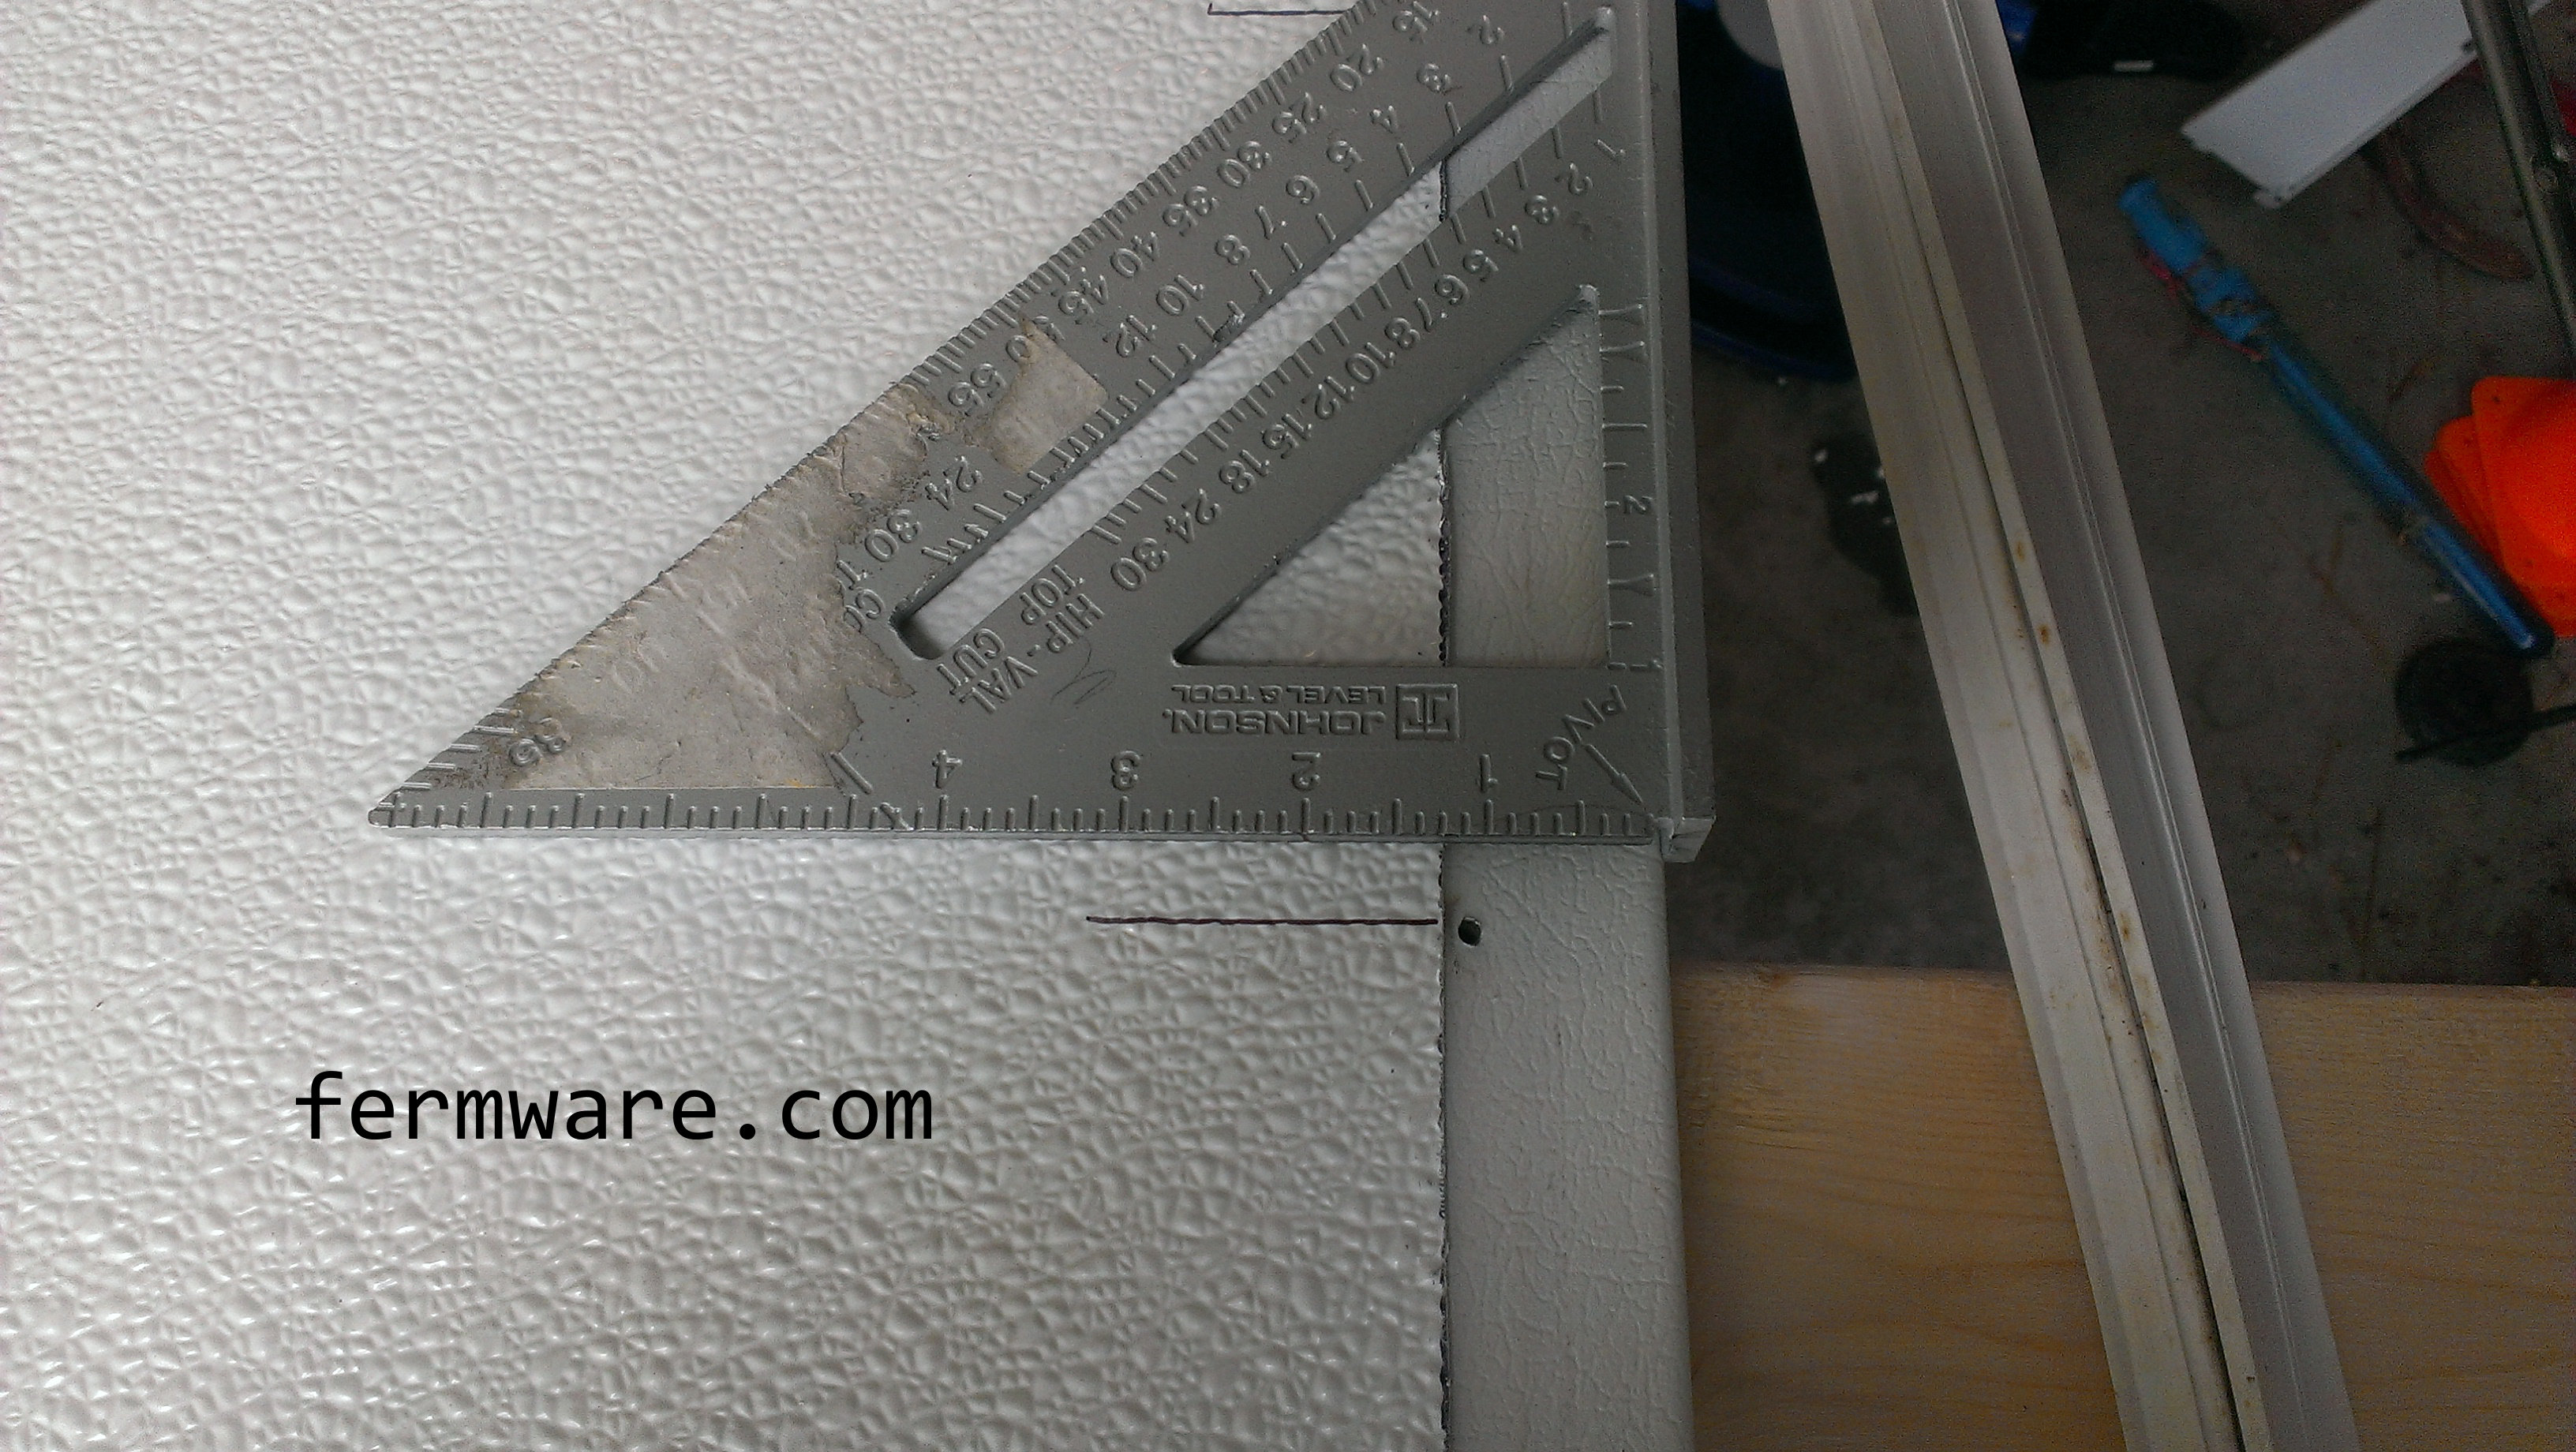
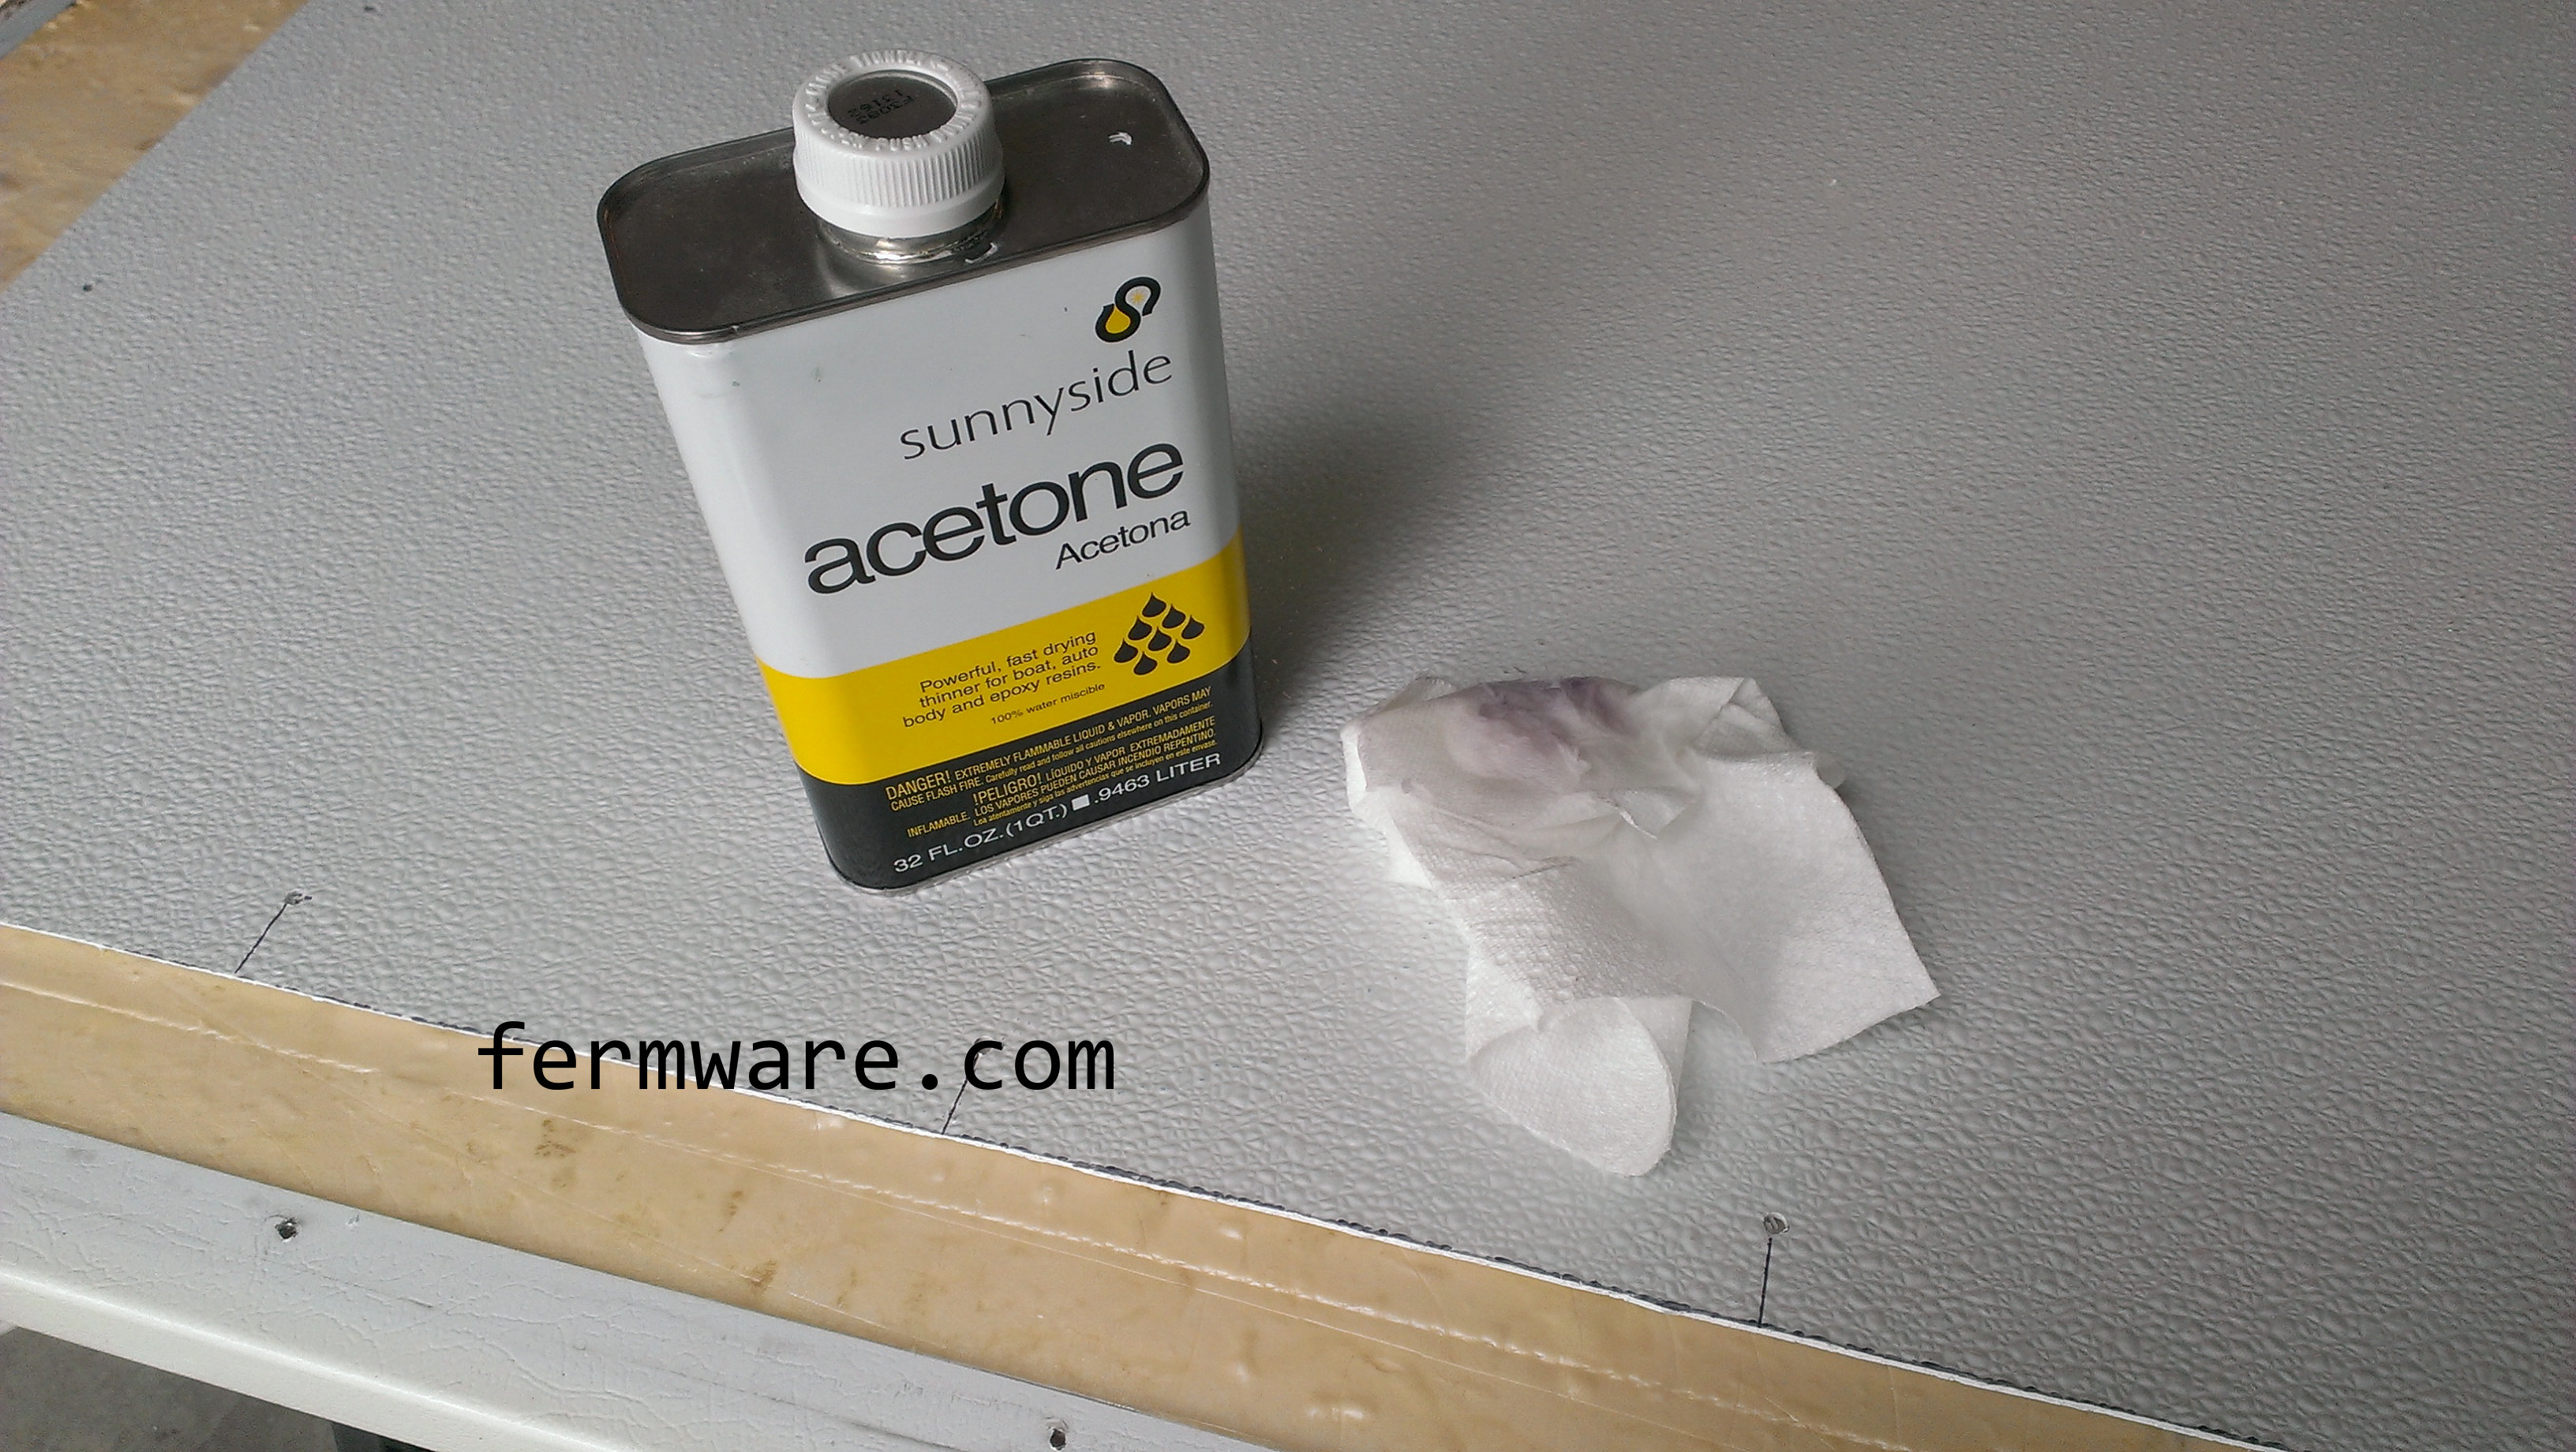
Part 5: Shelf building
Part 6: Finishing up and other observations (this post)
Affiliate Links
Pros and Cons of other setups I’ve seen:
A/C units to cool down a fermentation chamber
I had serious reservations about the ability of a window air conditioner to maintain 34 degF in a cabinet of sufficient size in the middle of summer, let alone have enough capacity to lower the temperature of your fermenting beer at any reasonable speed
Dorm fridge powered fermentation chamber
I know this seems to be all the rage with fermentation chambers, but again, I didn’t see how it would be able to handle the cooling needs of a chamber of the size that I needed.
Gutting a full size fridge and re-installing those components in a customer insulated chamber
This was my “ultimate” plan from the beginning, but when I planned out the costs of the wood, the insulation and the FRP panels to line the inside, I was close to double or tripel (see what I did there) the cost of the fridge itself. I then had the realization that if I found a fridge large enough, the capacity of the freezer alone would be enough to serve my needs.
Temperature Controller:
A temperature controller is a MUST for any fermentation cabinet. My first controller for my keezer was the Ranco ETC-111000 single stage temperature controller. I’ll have a post about my wiring at some point.
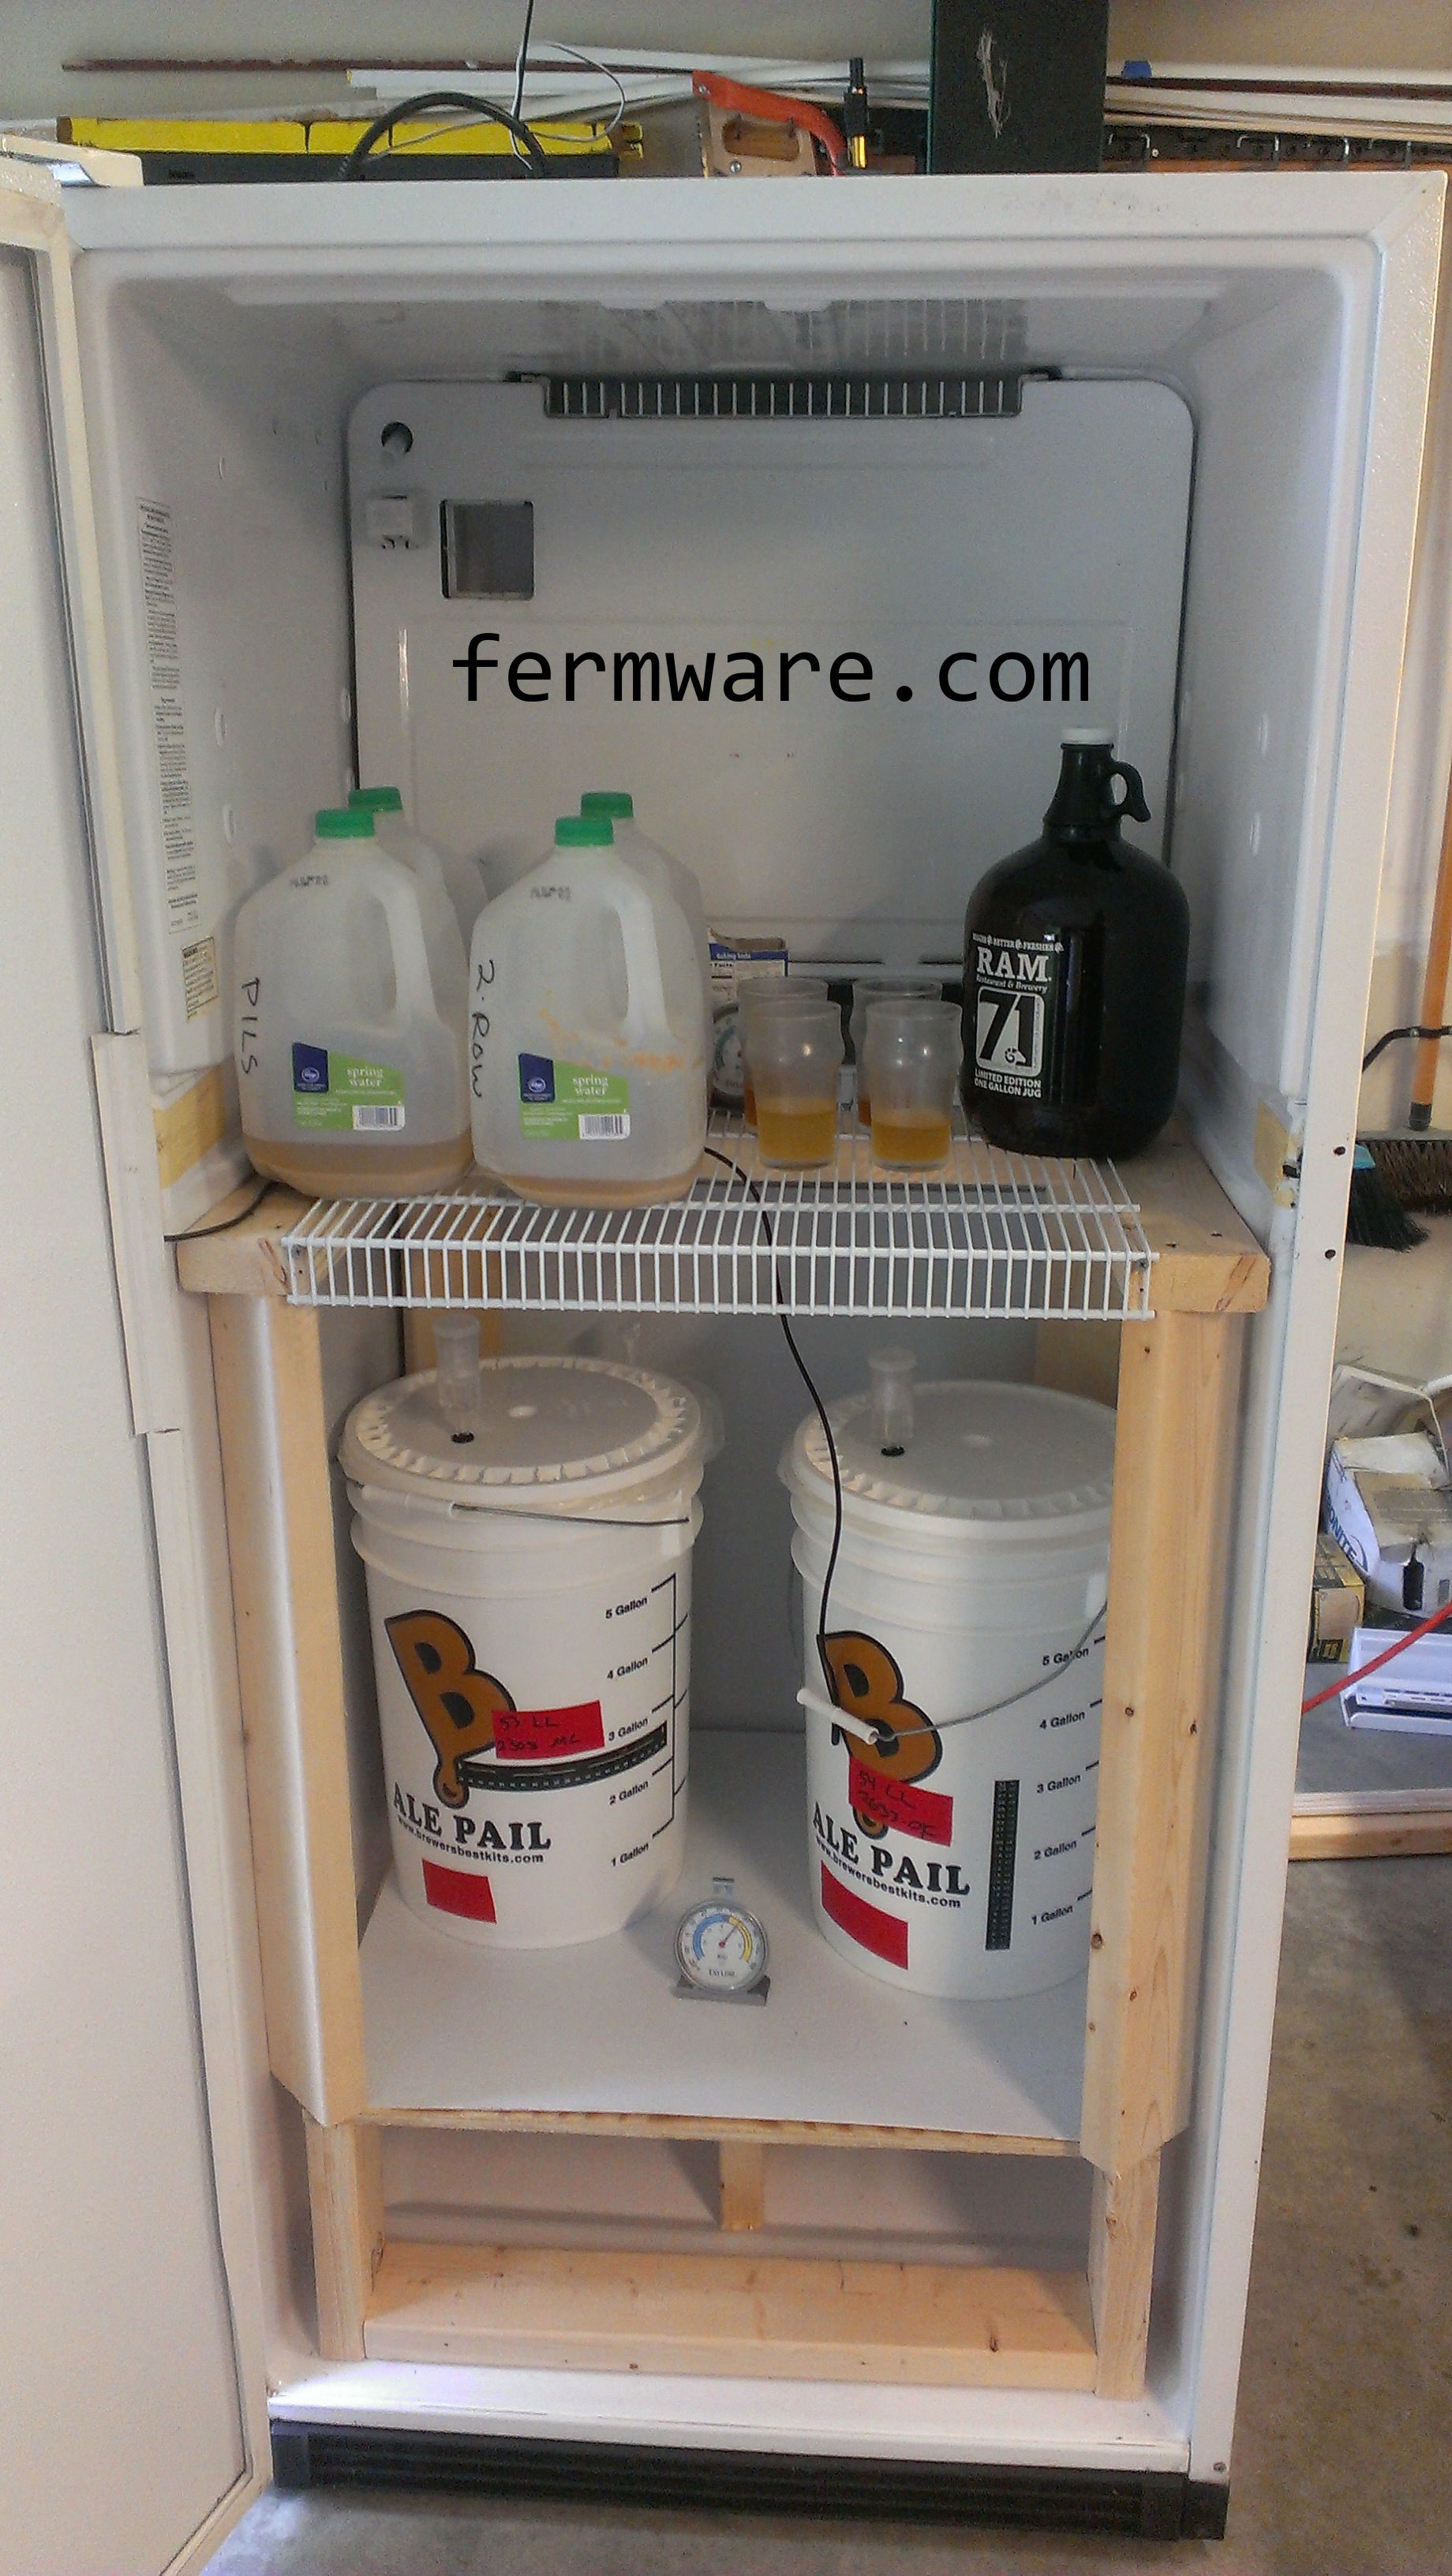
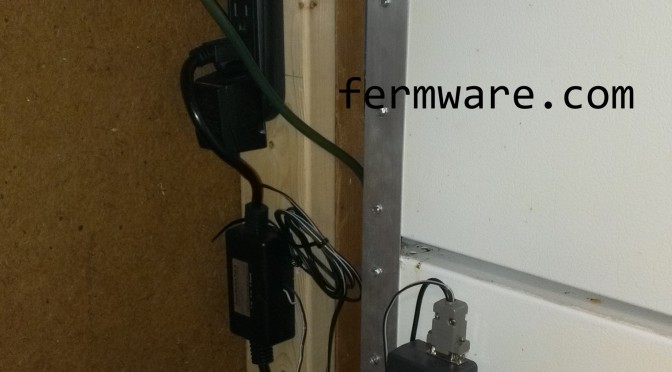
There are plenty of options out there. For this lagering fridge as well as my other two converted dorm fridges, I actually made a simple Arduino based temperature controller. There isn’t really anything novel about them, except that I wanted the challenge of designing my own system. Below is a picture of the controller setup I’ve got on this lagering cabinet that I just built. Basically the Arduino controller has a temperature probe inside the fridge to detect temperature and it cycles the fridge on and off through a relay box to maintain temperature. The display on the box shows 3434. It’s my simplified way of showing a setpoint of 34 degF and a cabinet temperature of 34 degF.

Google search for Arduino Temperature Controller
I do however have a Raspberry Pi and am looking at going to the BrewPi setup or some derivative. I really geek out on that stuff and it gets me really excited when I think about that possibility. Here are some good links:
Home Brew Talk thread on using all the BrewPi code, but a standard Arduino
Small Tip for the Newbie
If you are new to temperature control, note that for best results, you need to set your fridge or freezer to maximum cold and let the temperature controller do the rest. All of these temperature controllers basically power cycle the fridge/freezer on or off to control the temperature.
How to move a fridge from point A to point B:
You’ll hear many times that you can’t lay a fridge on it’s back or it will ruin the compressor. This is half-true. You can lay a fridge on it’s back to transport it, BUT when you get it to your house, you just need to get it upright so that the compressor fluid drains back into the compressor before it is powered on again. I generally just get it to my garage, get it upright again and let it sit overnight. I’ve done this 4 times with no dead fridges.
As an FYI, we’ve got a 2005 Honda Odyssey and with the middle seats taken out and the back seats folded into the floor, it has fit all 4 of those fridges inside with the tailgate all the way closed. If you have a trailer, more power to you.
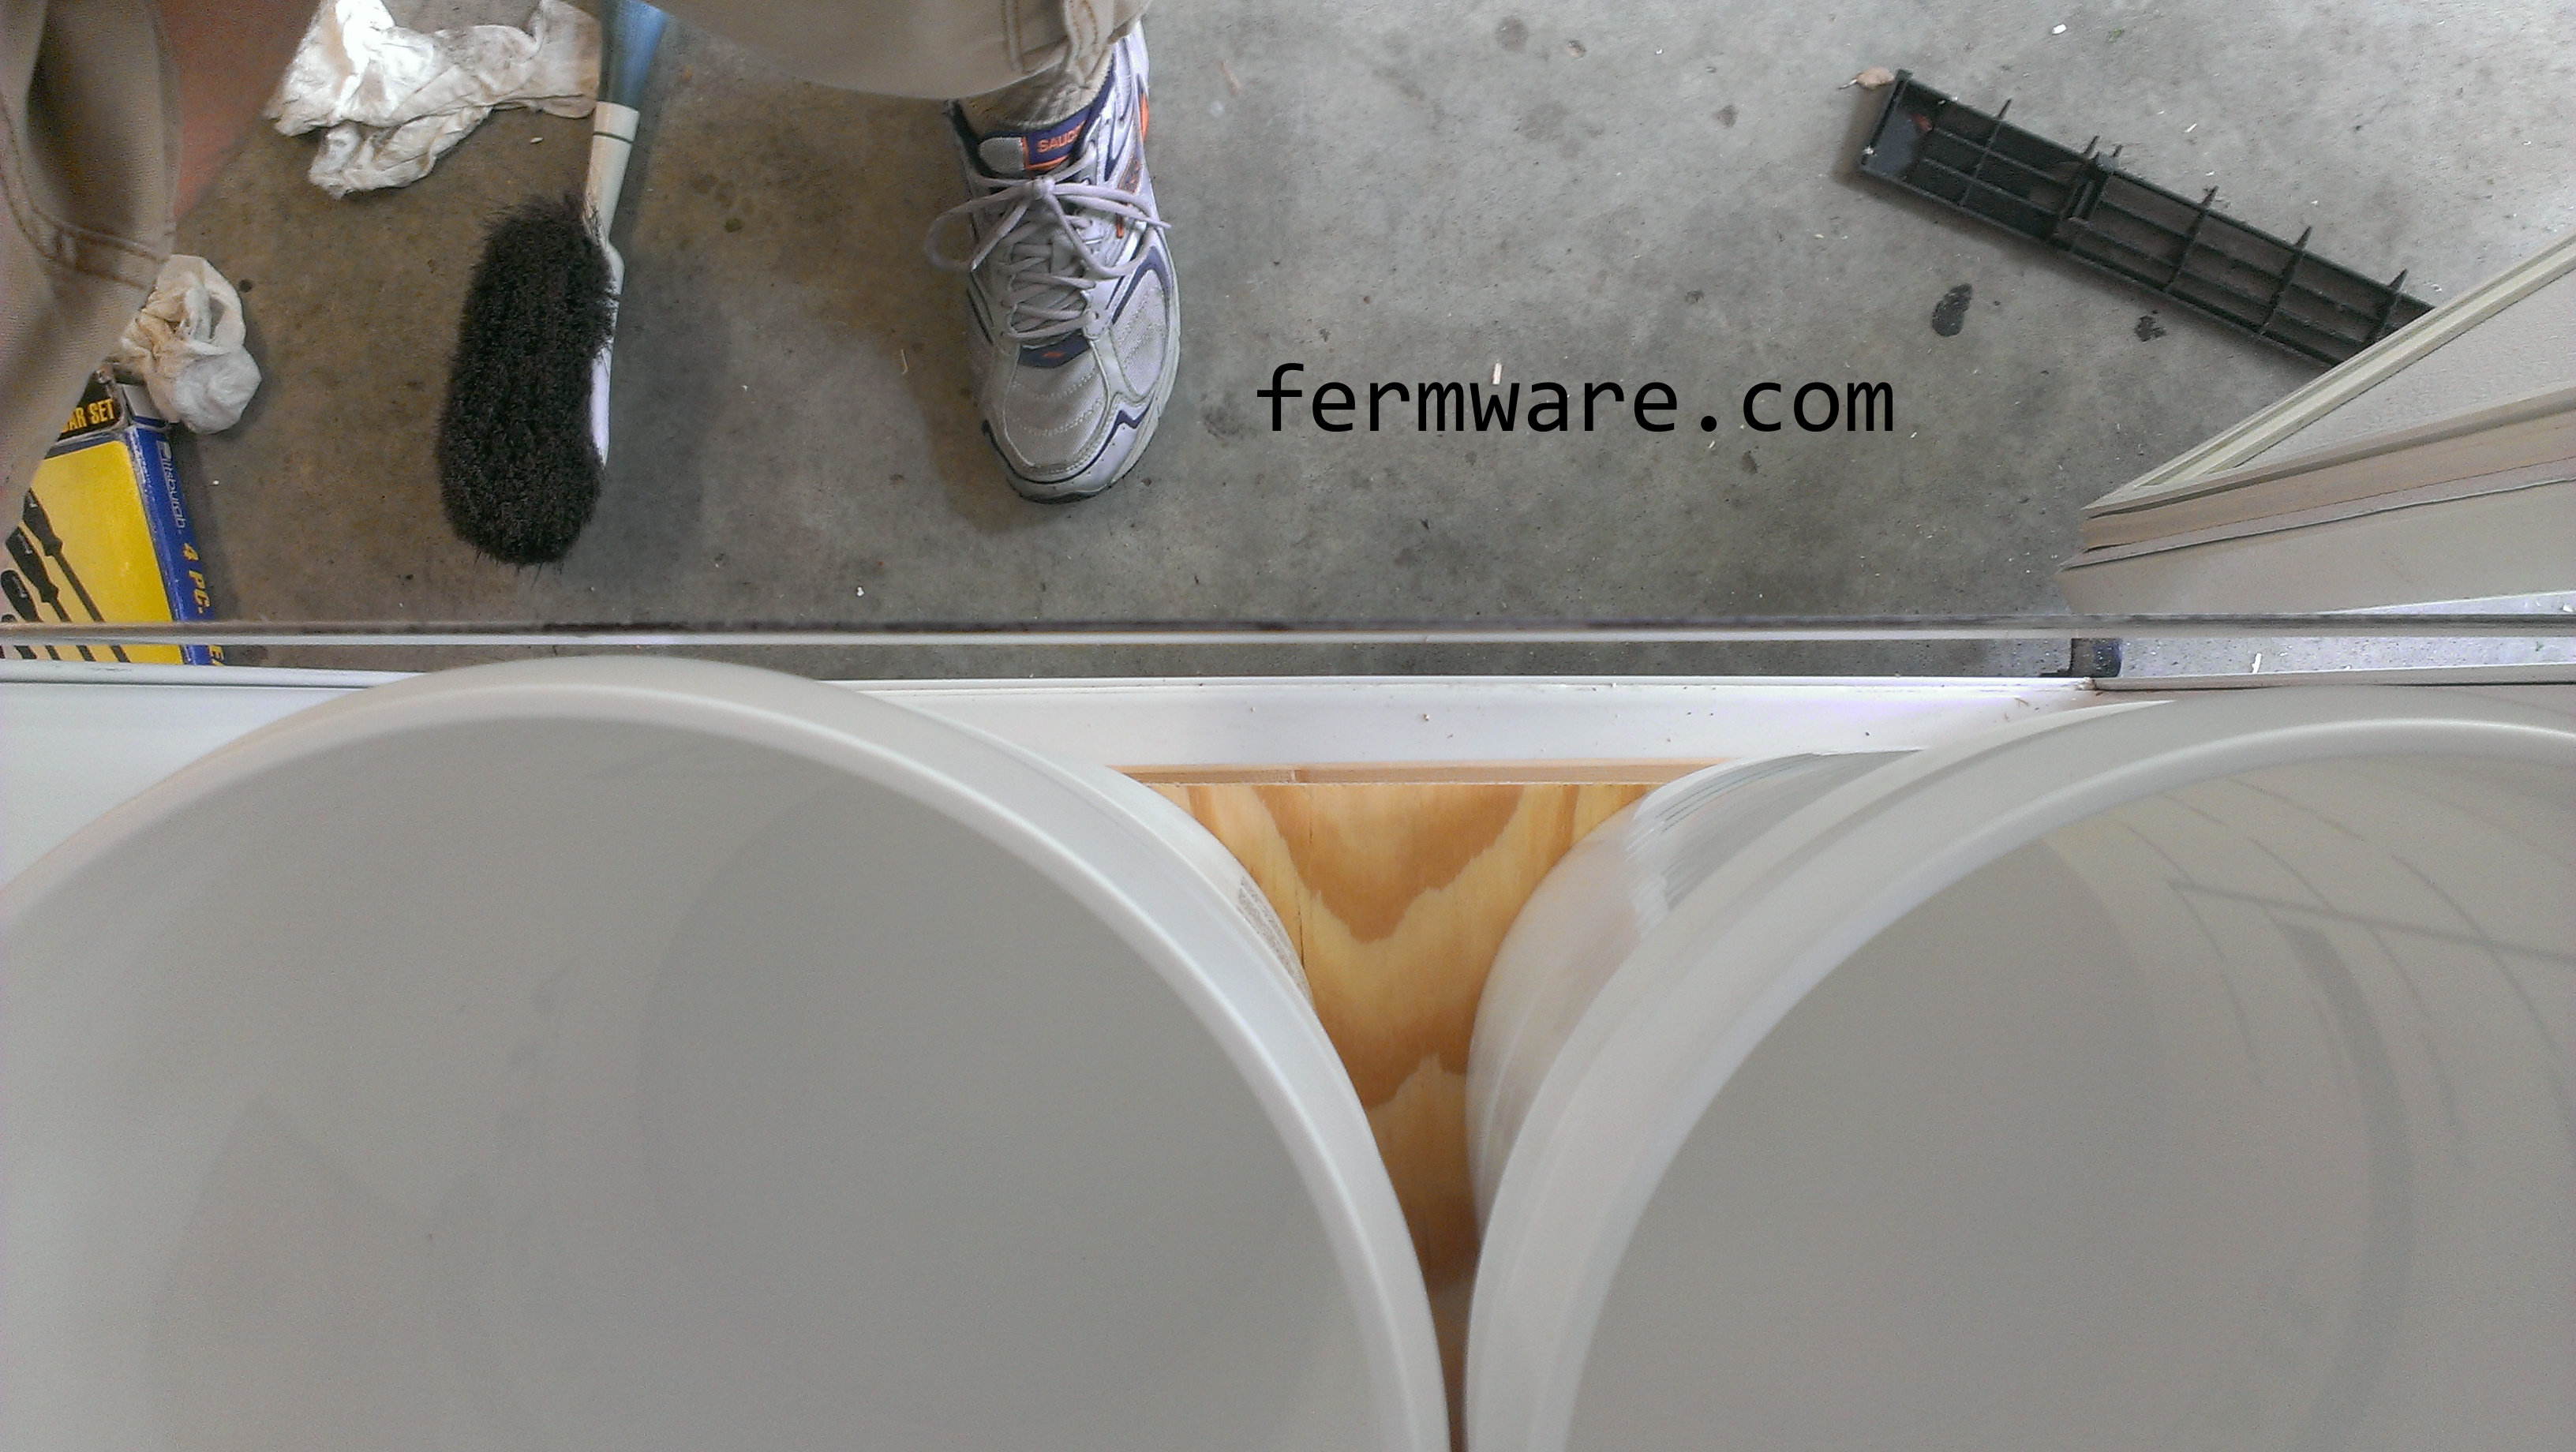
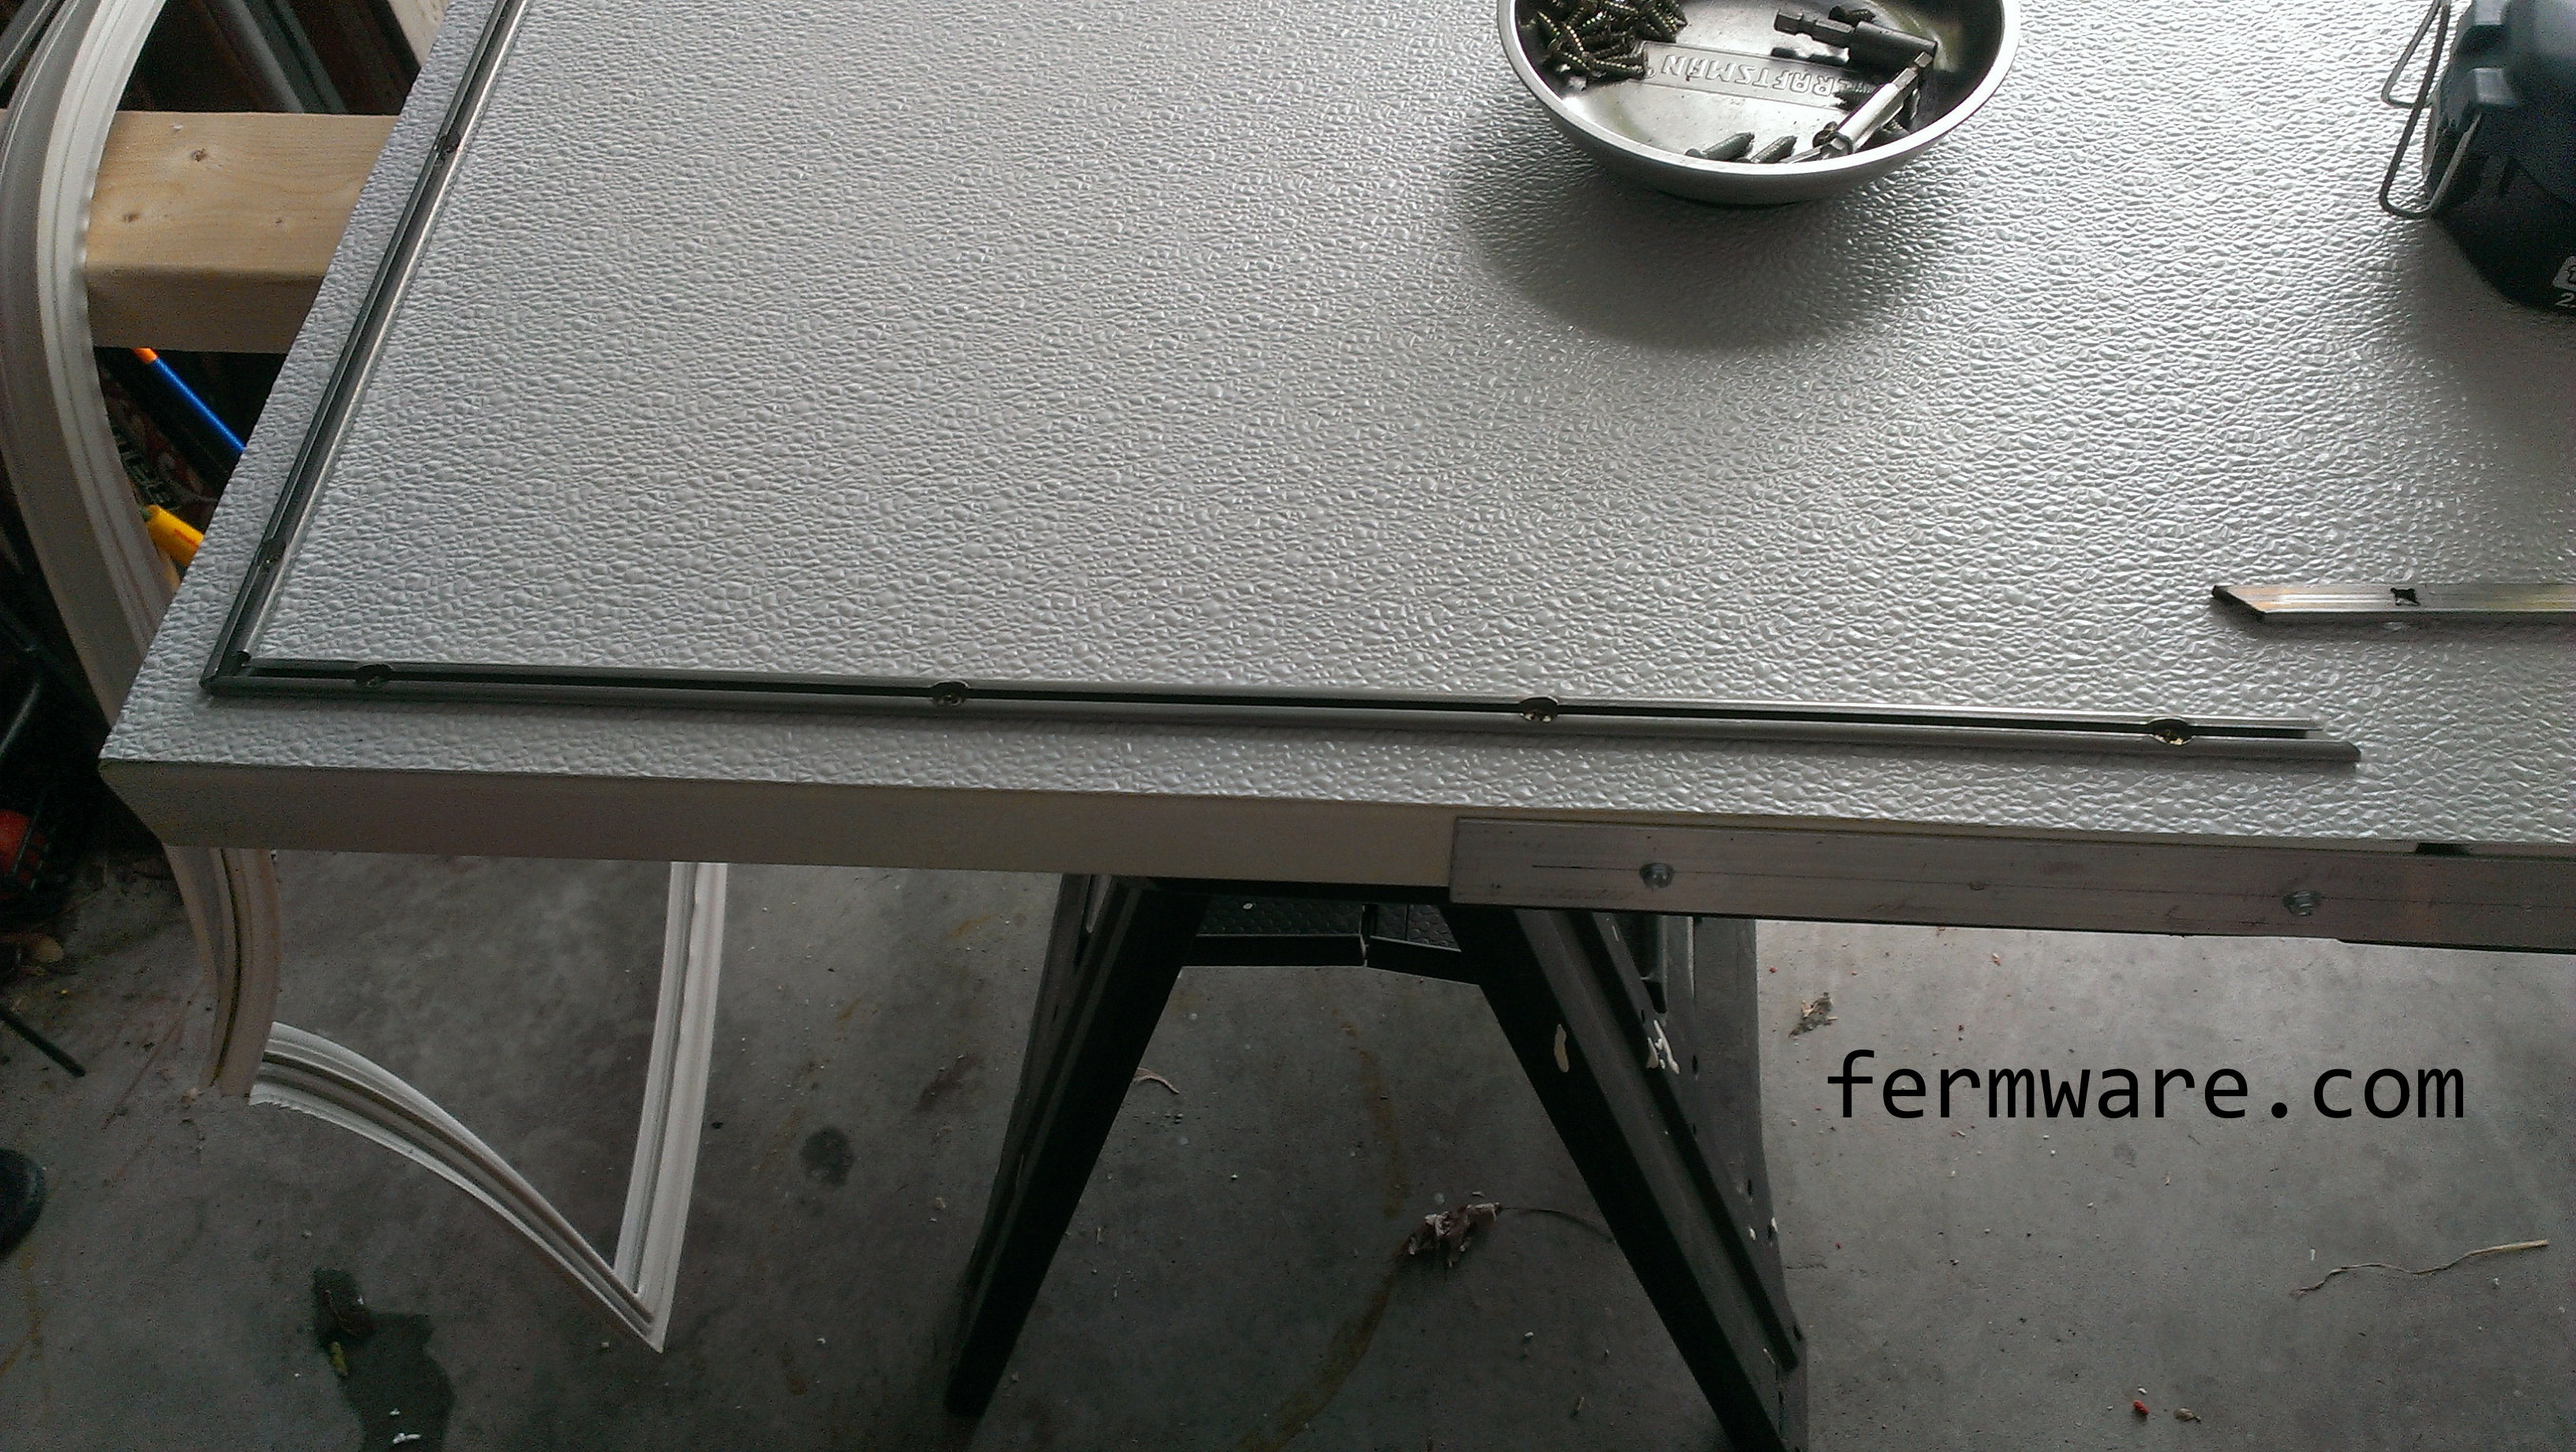
Oh, another important tip. Remove all of the shelves from the fridge before laying it on it’s side. All of those things are meant for gravity to hold them in place and when you put the fridge on it’s back, they all usually fall out of their slots.
What I tried to do with another fridge (drilling FAIL):
I was always under the impression that every important mechanical component was either at the back or underneath. I was proven wrong one time when attempting to install a draw catch latch to a fridge. I started drilling the pilot hole in the side of the fridge for the screws and the psssssssshhhhhh of the magic refrigerant came blowing out. RIP fridge.
Simplified explanation of how a refrigerator works:
A refrigerator is simply a mechanical system that removes heat from an insulated cabinet. That’s as far as I’m going with that.
You may also hear someone tell you that a refrigerator won’t work in a garage. The reason behind this is that when the ambient temperature gets below the internal temperature of the freezer or close to it, the temperature difference gets closer to zero (T_ambient – T_freezer). An A/C compressor or refrigerator compressor system relies on a temperature difference to function, so if you take away this difference, it won’t function properly.
Having said that, we live in central Indiana and have 3 refrigerators and one deep freezer in our garage. We only have a problem with our primary overflow fridge with the ice maker in deep winter, where it doesn’t produce enough ice. Except during long cold spells (where it can get close to freezing), our garage is usually about 55 degrees in the areas directly adjacent to a living space and in our bump out (furthest away) it is maybe low 40’s.
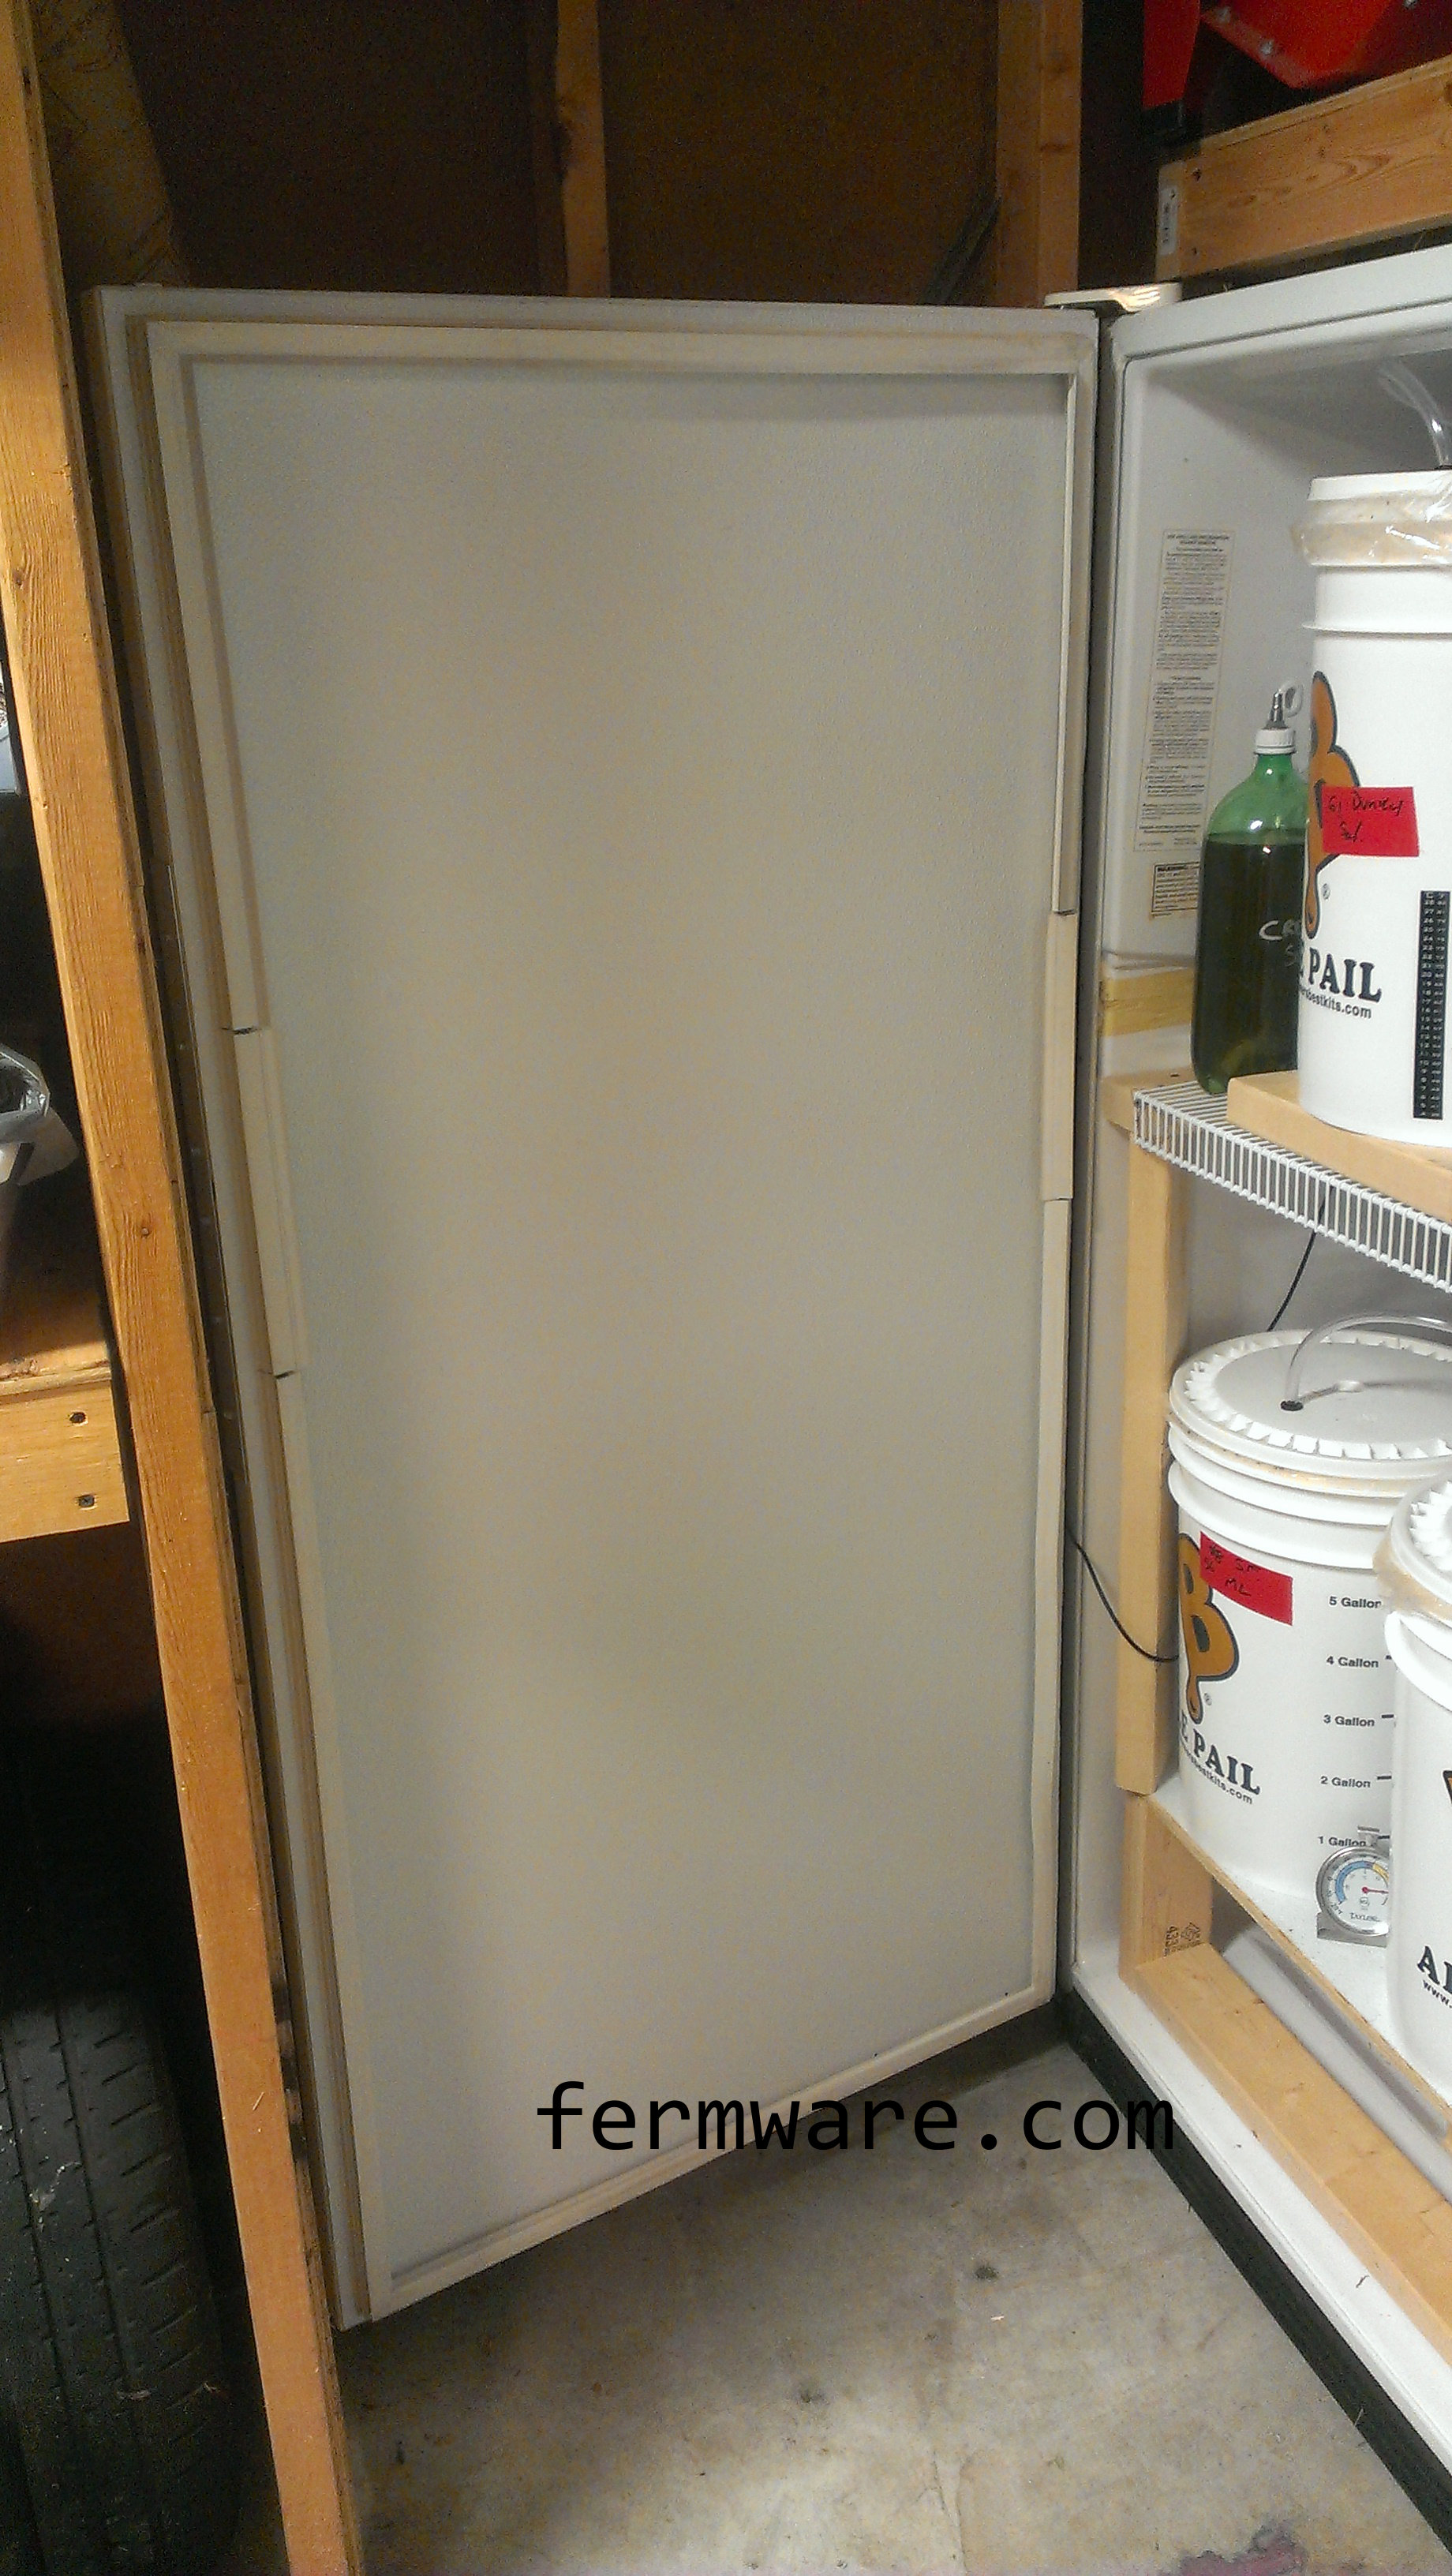
The more unknown part is that almost all top and bottom refrigerators are essentially a freezer on top that does all the work and bleeds cold air to the refrigerator compartment. If you get to tearing one apart, you’ll see this. Also if you’ve ever had a fridge with weak magnetic seals, you may notice that when you slam one of the doors, the other one pops open. That’s because they are linked.
That’s all folks…Thanks for reading!
Posts for this Project:
Part 1: Introduction
Part 2: Clean up
Part 3: Disassembly
Part 4: Door modification
Part 5: Shelf building
Part 6: Finishing up and other observations (This post)