It is a hard truth that you will lose some temperature during your mash. In my desire to go electric, I recently purchased the BREWER’S EDGE® MASH & BOIL from William’s Brewing. Without actually even having brewed a batch of beer on it yet, I already got to work figuring out how to insulate it. I tested various insulation methods on the Mash & Boil, but the relative comparisons should be valid on any mash tun. A post with a better review of the Mash & Boil and my reasoning for wanting to go electric will come at a later date.
Nerd Alert!
Warning, the material in this post could get a bit nerdy.

Difficulty: 
Time Required:
Affiliate Links
Background:
After my first post (part I) there was some discussion online and in forums surrounding the lack of air gap between the outer layer of Reflectix and the kettle in my testing. As an engineer, I’d like to think that my test methodology is 100% comprehensive. Also as an engineer, I’m always willing to accept that I might be wrong and the best way to do that is to attempt to prove that I am wrong. I then ran variations of the Reflectix configuration only and posted them in (part II).
This post is a combination of (part I) and (part II) so that one can get all the information at once. If you wish to read them as well, go ahead, but ALL the information from both posts has been combined here. If future testing is taken on, this post will be updated and serve as the master record.
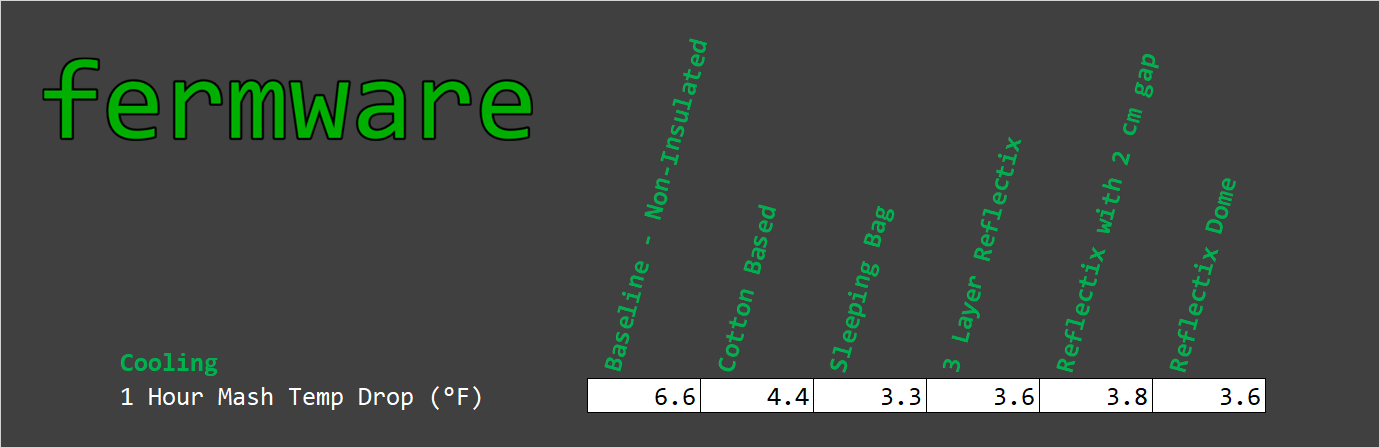
Insulation methods to test:
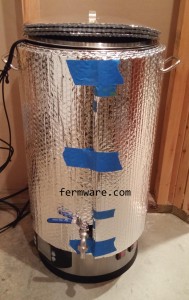
Baseline – Stock BREWER’S EDGE® MASH & BOIL kettle
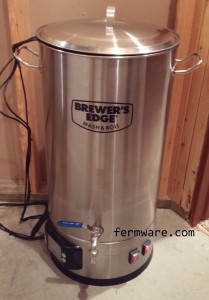
- Described as double wall stainless construction
- Pros: you don’t have do do anything
- Cons: Hypothesis is that this will be the worst performer
Duck brand, cotton enhanced (Non-fiberglass)
- Was about $20 when I originally bought it and that is about the going rate at your local hardware store
- This was the insulation wrap from my 62Q Bayou Classic kettle
- Pros: Fairly inexpensive, relatively easy to find and no special handing required
- Cons: A bit dusty when cutting and not as tidy as the Reflectix
Sleeping Bag:
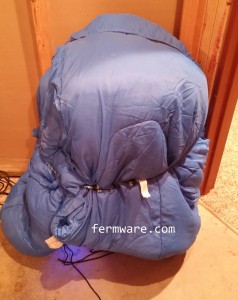
- No link, as these have been in my family for a LONG time
- Pros: super quick and most people have them on hand
- Cons: If you somehow damage it for brewing, you’ll probably get in trouble with your family
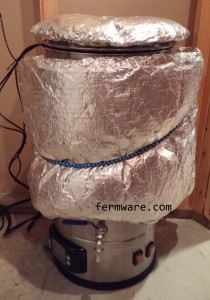
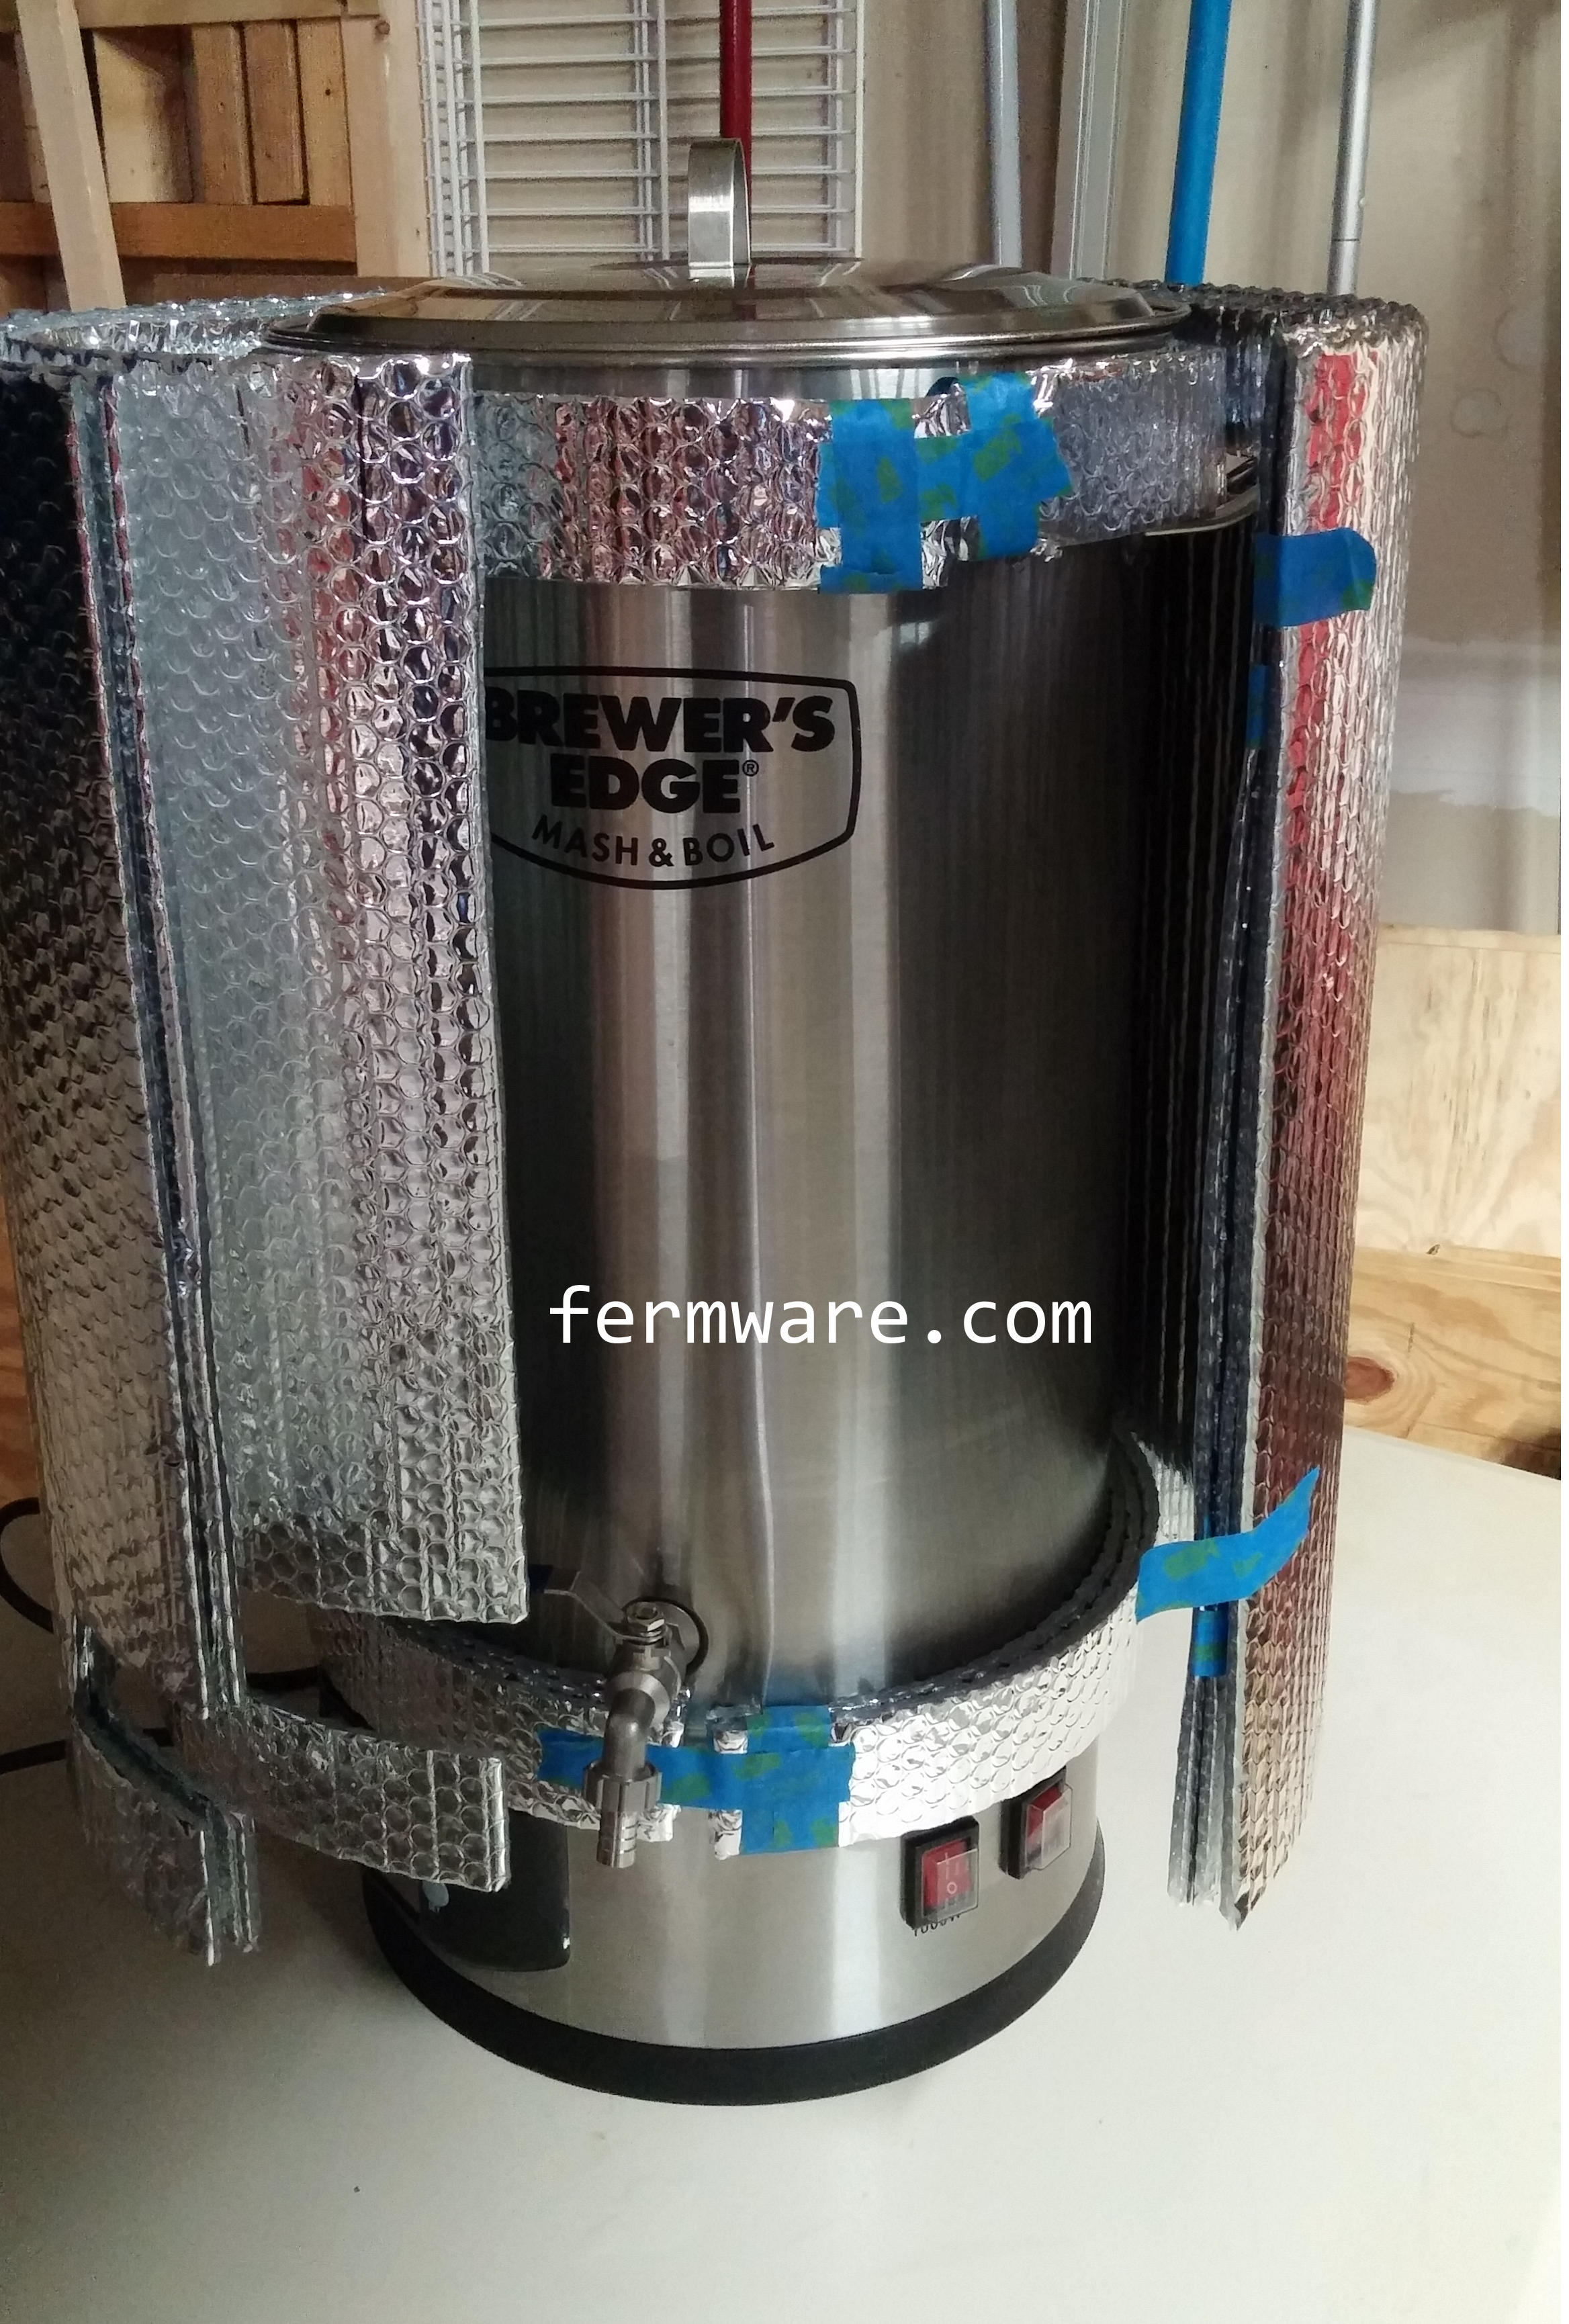
3 Layers of Reflectix
- It cost me $27 for a 25 foot roll at my local hardware store and is enough for 2 kettles worth
- 3 layers from the lip of the kettle to the top of the control box
- 3 layers loosely fit on the lid
- Pros: Easy to work with, clean look
- Cons: Really requires a semi-custom fit for it to perform well
- I’ll have a future post with cut dimensions so you can make your own
Reflectix with 2 cm gap
- The Reflectix website recommends the gap to consist of 3 layers of the bubble insulation
- https://www.reflectixinc.com/applications/diy/water-heater/
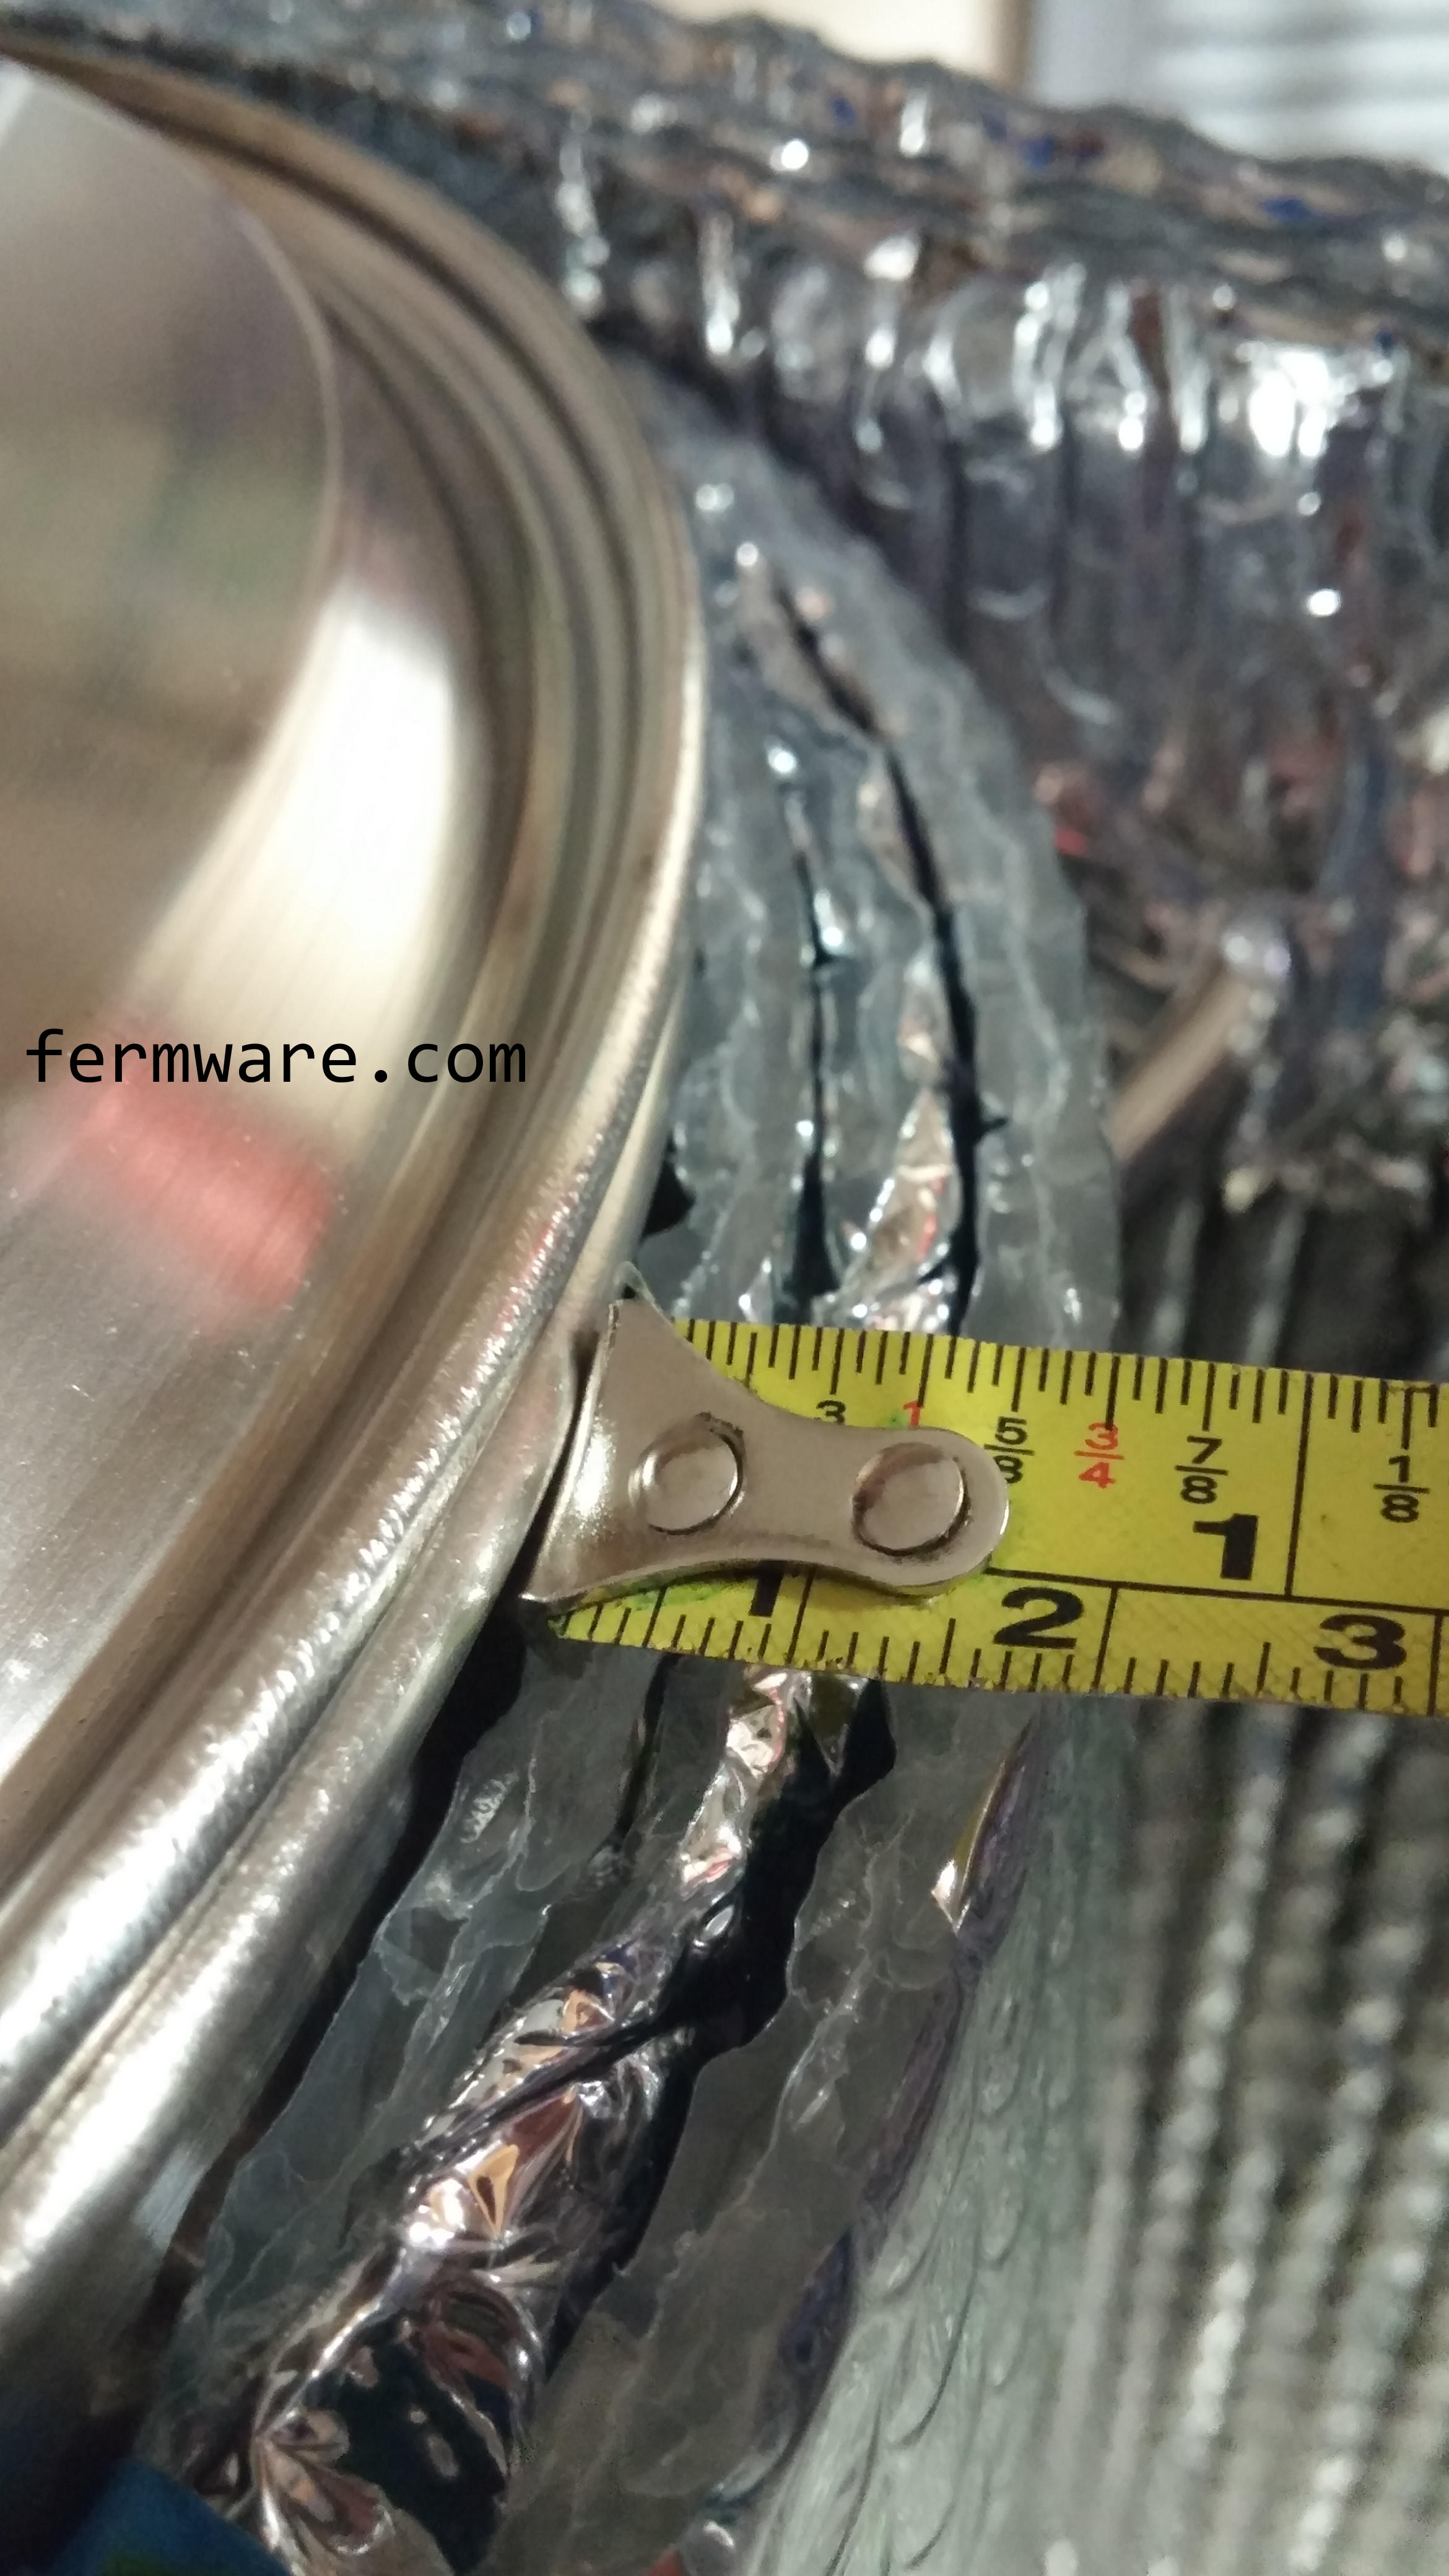
- I actually created 2 rings (top and bottom) composed of 3 layers of Reflectix that were 2 cm wide
- Then I used the 3 layer baseline Reflectix jacket wrapped around it.

Reflectix “Dome”
- Having thought of the sleeping bag winning out big time, I wondered if it was due to the superiority of the sleeping back insulation properties or the fact that with that test, the entire kettle was surrounded (top and sides) with the sleeping bag. Whereas, with the other insulation methods, there was a gap for practicality purposes between the lid insulation and the wall insulation. I questioned whether this open gap was allowing more heat to escape.
- I constructed a dome that encapsulated the entire kettle. The diameter was about 18″ (about 2.5″ air gap to the kettle surface) and the height was 28″.

Other methods considered (since I have seen them used), but not tested
- Fiberglass water heater insulation (I don’t want fiberglass anywhere near my beer)
- Single and double layers of Reflectix to understand the impact
- Custom molded expanding foam mold
- Red-Hooded sweatshirt
Setup and Test Methodology (Identical to the last time) :
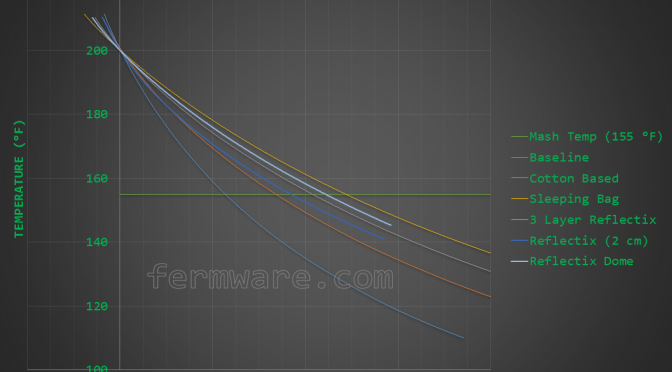
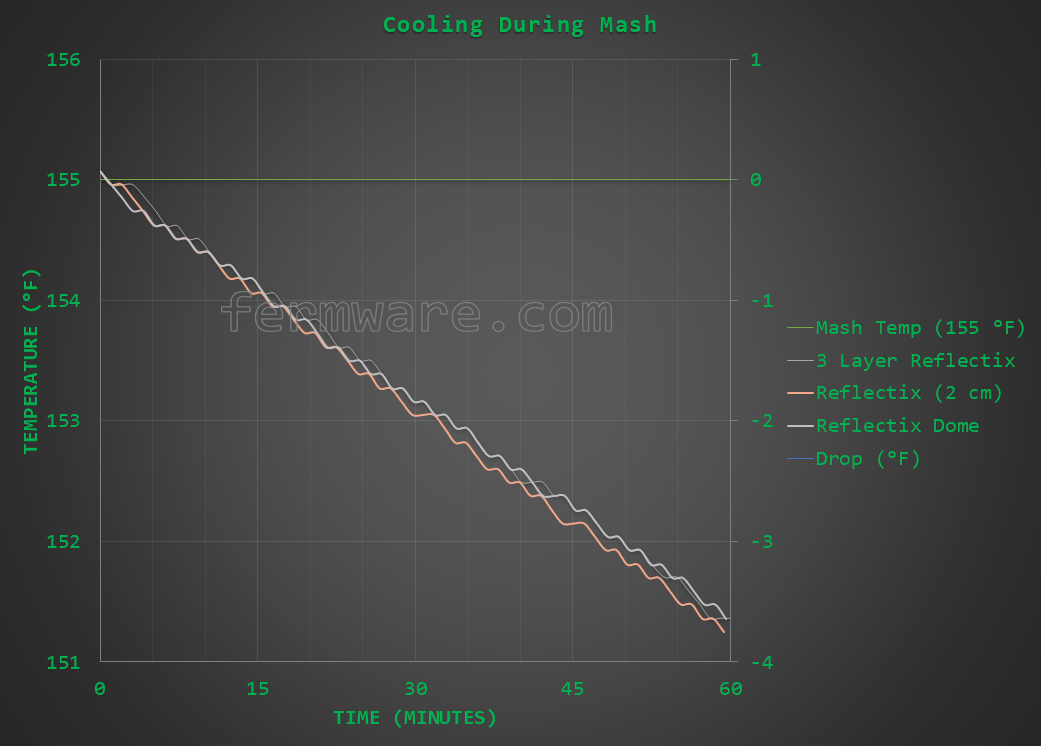
Results:
Reflectix only shown below


Reflectix only shown below
Discussion:
Differences in Reflectix configurations
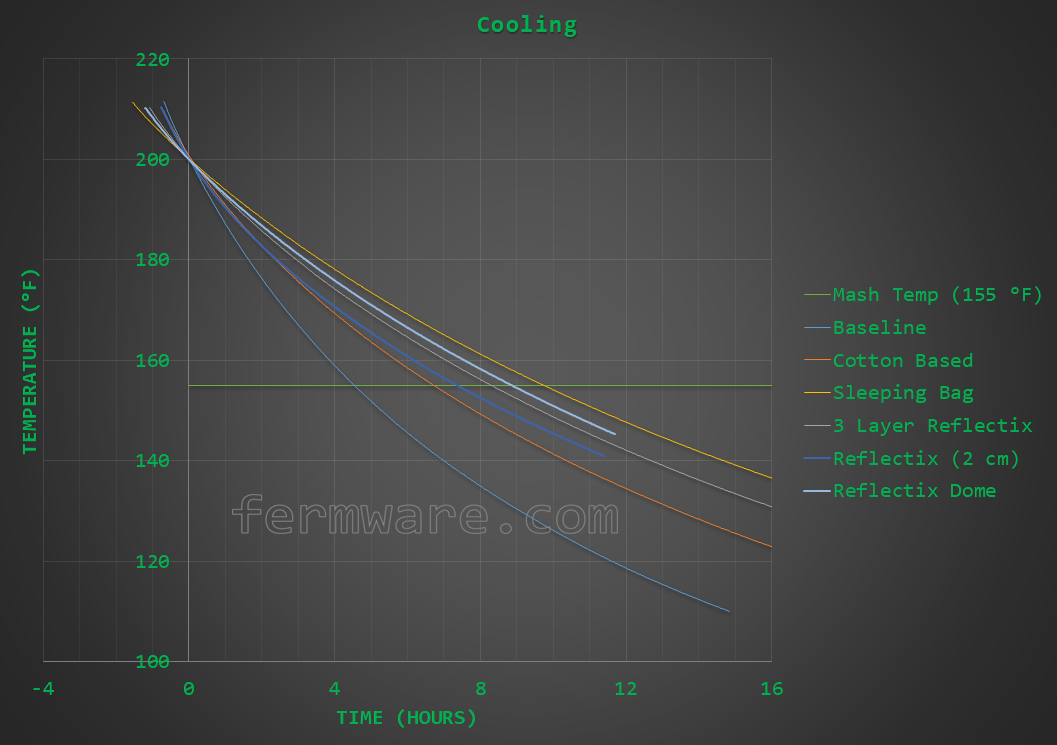
The extended time plots do show the dome to be the best, followed by the 3 full layers and lastly the 2 cm gap.
I am surprised that the recommended method from Reflectix was slightly worse than the full 3 layers. I’ve struggled to come up with a reason, but I think it would require more thought and analysis than I feel like spending on it. Precisely why I just tested and reported the results.
Conclusion:
There is something to the gap and whether it is just plain air or air encapsulated in bubble wrap, it is as effective as air naturally is.
I’m not suggesting that I do the testing, but I’d be willing to be that if you simply took a bunch of mylar balloons and created a dome as I did (or re-created the other methods), you’d get a similar result. Nothing particularly special about the materials involved, just the application.