(NO SPOILERS HERE, DON’T WORRY!!)
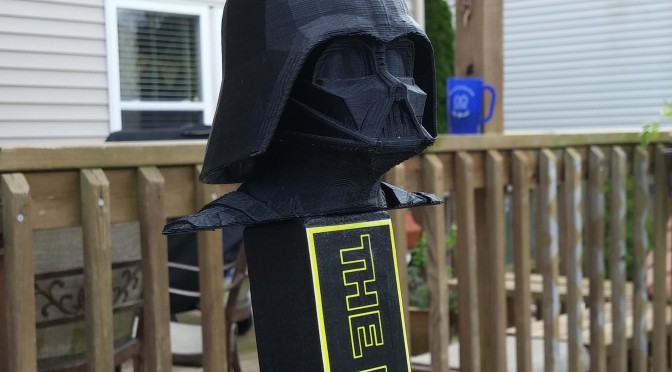
In honor of the long awaited release of Star Wars: Episode VII The Force Awakens I’m showcasing my Darth Vader Tap Handle.
Difficulty: 
Due to the investment in a 3D printer and the amount of time it takes to get one dialed in and making parts, this one gets a high difficulty rating.
You also must posses some CAD design skills to generate the required files to send to the 3D printer.
Time Required:
This one was fairly easy, but printing time was about 6 hours total.
Affiliate Links
Required:
- Existing tap handle
- Tap handle topper (In my case the Darth Vader bust)
- 1/4″ wooden dowel rod
- About a 1 to 1.5″ length
- Glue
- Super glue is best
- It works well with the ABS plastic and the wood
- 3D printer
3D Printer
Ever since I first saw my first rapid prototyping machine in college and then to a greater extent, seeing that this technology was nearly affordable for a DIY person like me, I’ve had a child-like fascination with these awesome machines. It may sound goofy, but I’ve got the same level of amazement that I did when my Dad bought our first computer in the early ’80s and I was able to type my name and have it appear on our television.
I got the Flashforge Creator and I am very happy with it. It had the right balance of cost, dual-extruders, reliability, non-proprietary filament and has required me to do a little bit of tinkering that has allowed me to better understand the capabilities 3D printers.
Great Fermentations
Celebrate by brewing the Milleniale Falcon beer kit from Great Fermentations. Today only (December 18th, 2015) is a special 38% off deal. No promo code needed for the deal; just add the kits to your cart and go! Click the link below to see the list of eligible light and dark side beer kits!

Process
It is really simple, once you have your handle and the topper printed. I just used a 1/4″ dowel rod to attach the topper to the tap handle. Drill a 1/4″ pilot hole in the top of the tap handle.
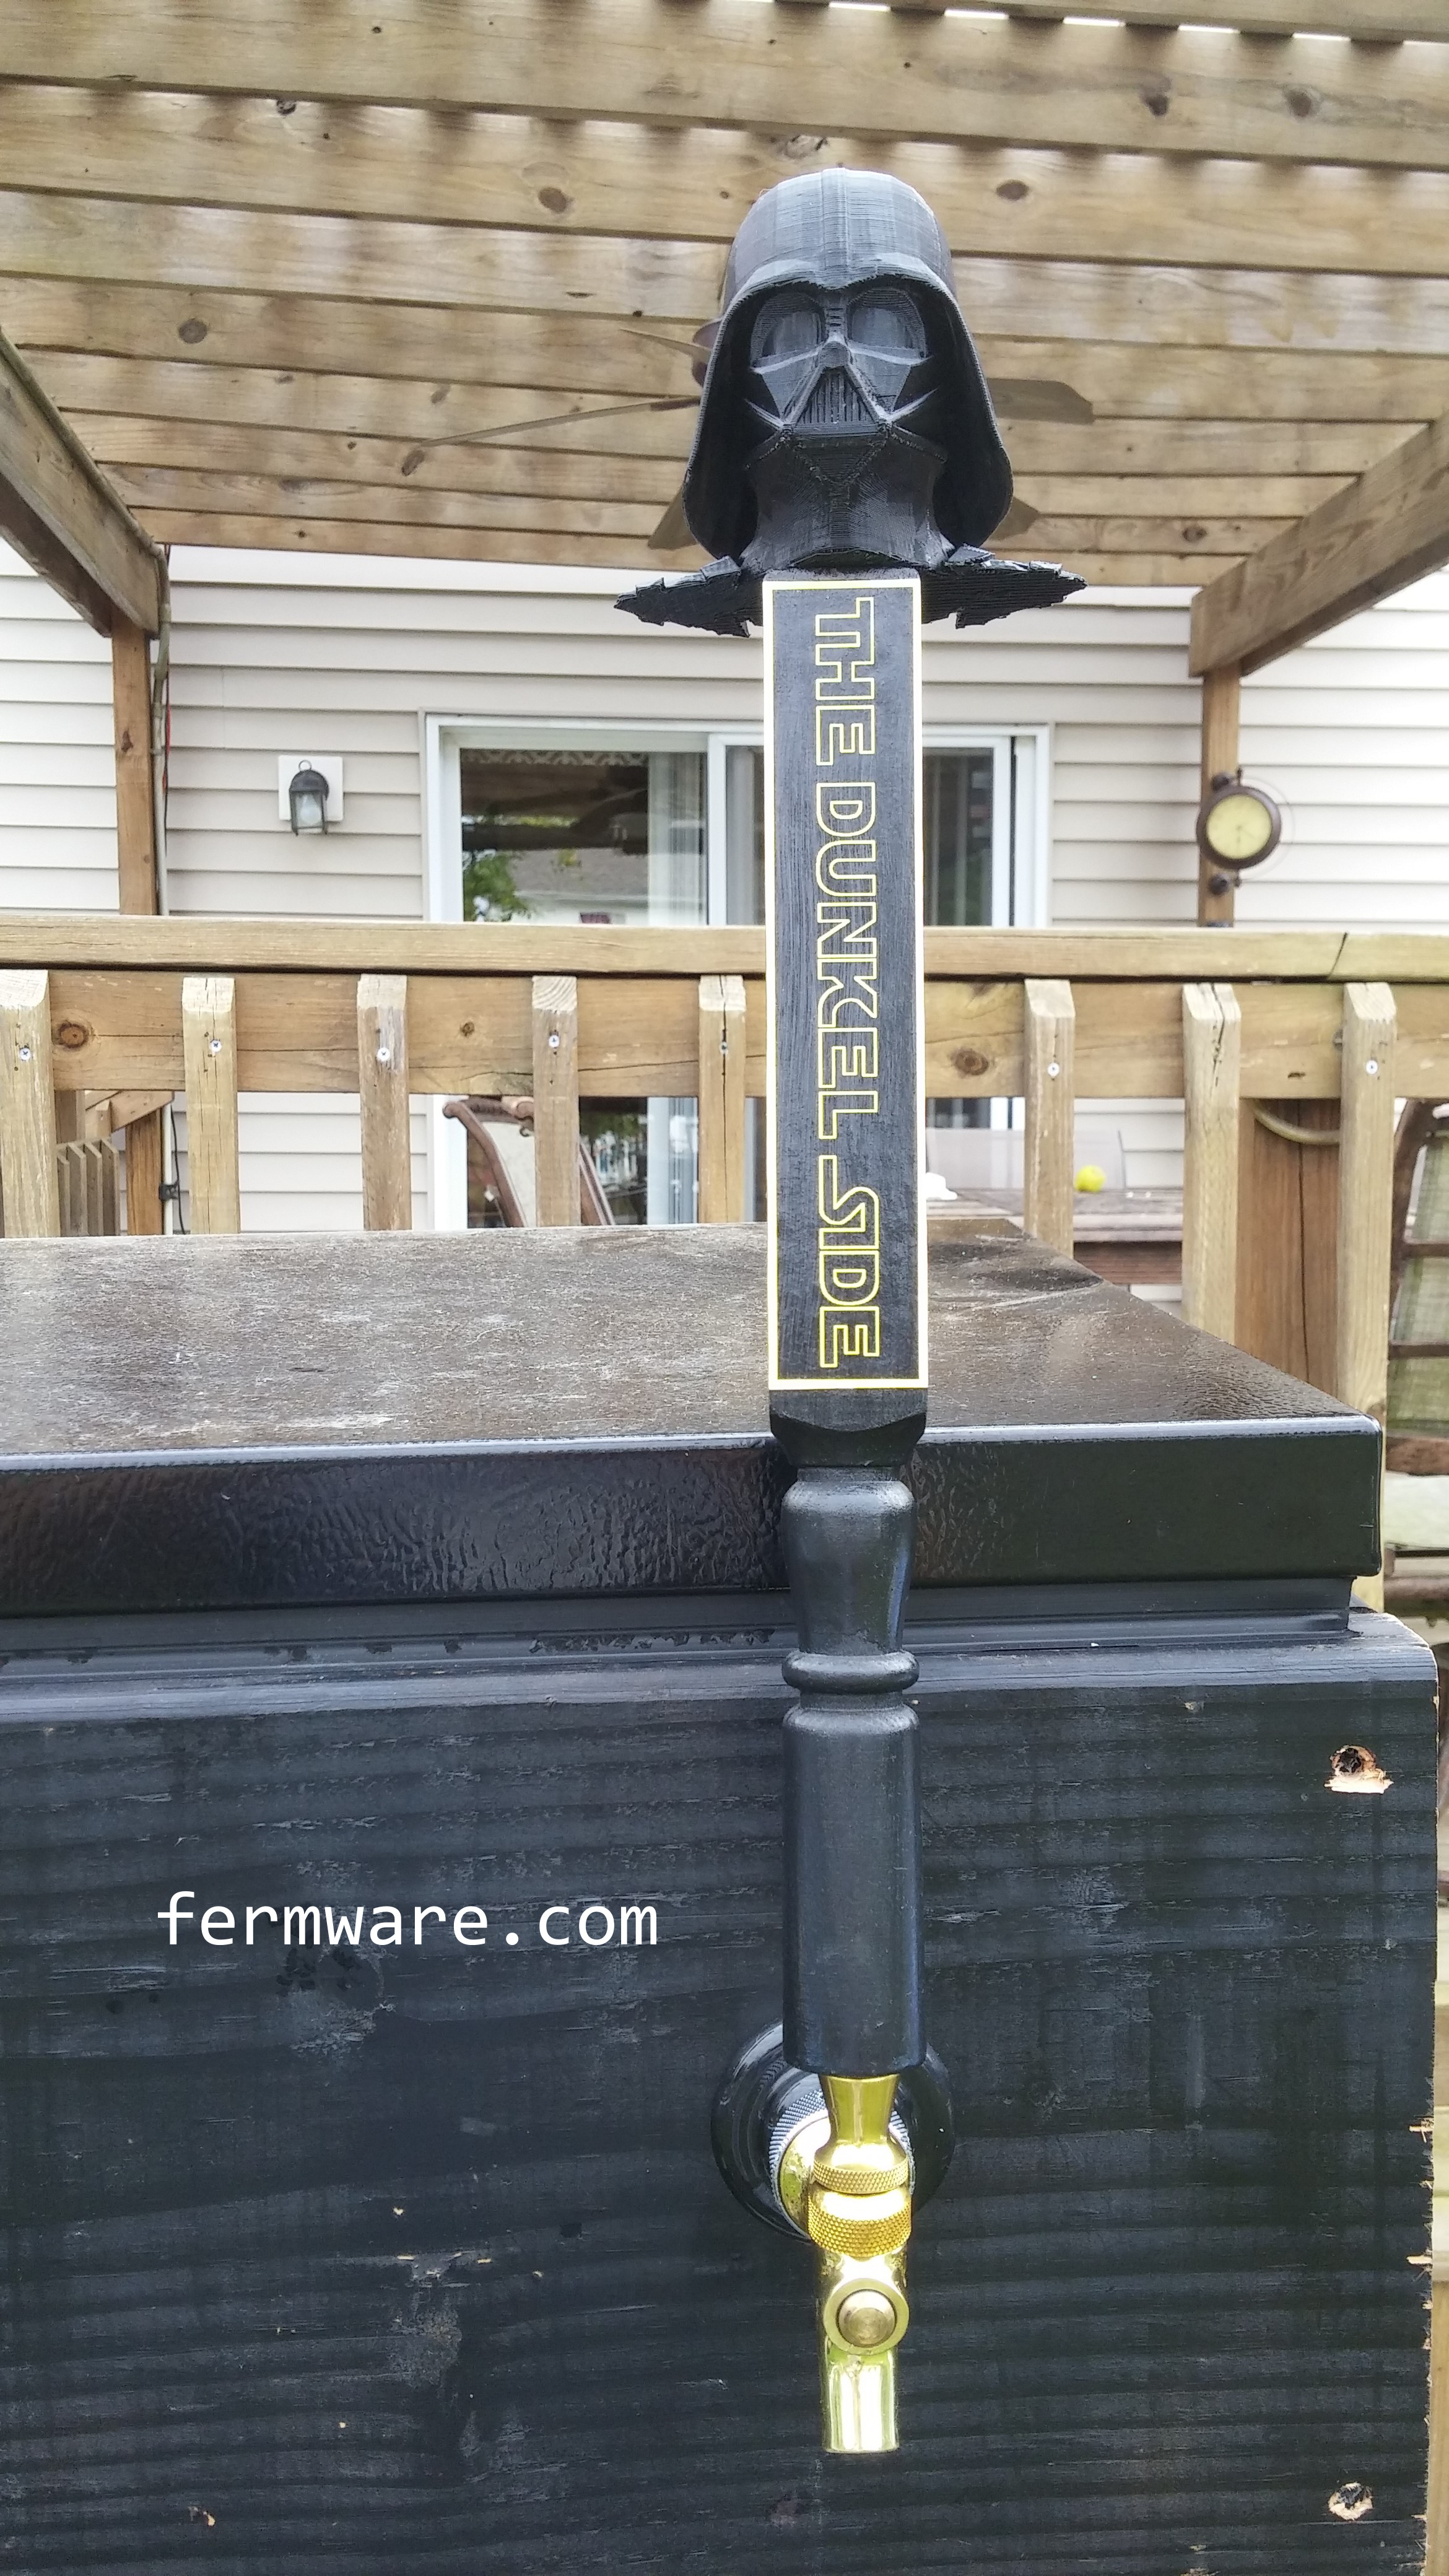
Text creation for tap handle
At the time, I couldn’t find a font that looked similar to the Star Wars font, nor could I find a font generator, but now there are a few out there. Here is one for example:
Tap Handle Creation
Just follow my guide for Super Easy Tap Handles
Darth Vader Bust
If you have a 3D printer and want to print one yourself, go to Thingiverse to download the STL files and build your own.
Darth Vader Tap Handle Topper on Thingiverse
Don’t have a Thingiverse account?
If you don’t have a Thingiverse account or have no interest in creating one, you can download the CAD files by subscribing using the form below:

This work is licensed under a Creative Commons Attribution-NonCommercial-ShareAlike 3.0 Unported License.
By clicking on the download, you agree to the terms of this license and to be added to the awesome fermware.com subscriber list. Don’t worry, you won’t receive a bunch of trub in your inbox.
[lab_subscriber_download_form download_id=26]
