It’s a cheesy title, but I couldn’t help it. Many of you have seen the post on my 3D Printed Tap Handles and I’ve gotten an overwhelming amount of interest, which is precisely the reason I have not posted anything new in about a month. In this post, I’m going to show my 3D printed Hop Cone Christmas Light Covers.
Difficulty: 
Due to the investment in a 3D printer and the amount of time it takes to get one dialed in and making parts, this one gets a high difficulty rating.
You also must posses some CAD design skills to generate the required files to send to the 3D printer.
Time Required:
For the print time only, my virtual hop farm takes about 8 hours to grow. Much quicker than real hops.
Affiliate Links
Any links in this post or on this website may link to affiliates, which compensate this website for purchases. All links are provided to help the reader locate items mentioned or used in the post. As an Amazon Associate I earn from qualifying purchases.Cost:
$300 to $3000 depending on how nice of a printer you want to get.
Required:
A 3D printer
Background
Recently, my printer has been running as much as the ideas in my head. Having a 3D printer lets your imagination run wild and here I’m going to show you my latest brewing related creation, Hop Cone Christmas Light Covers.
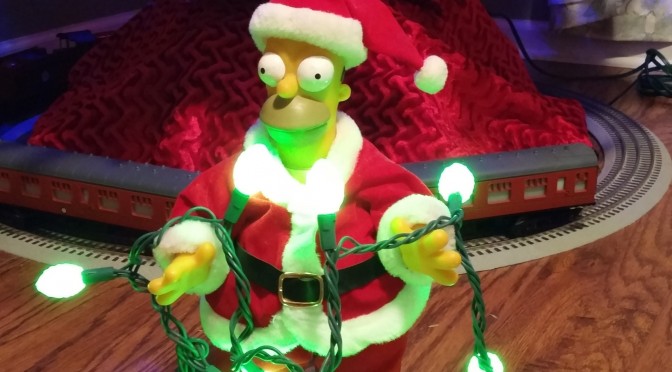
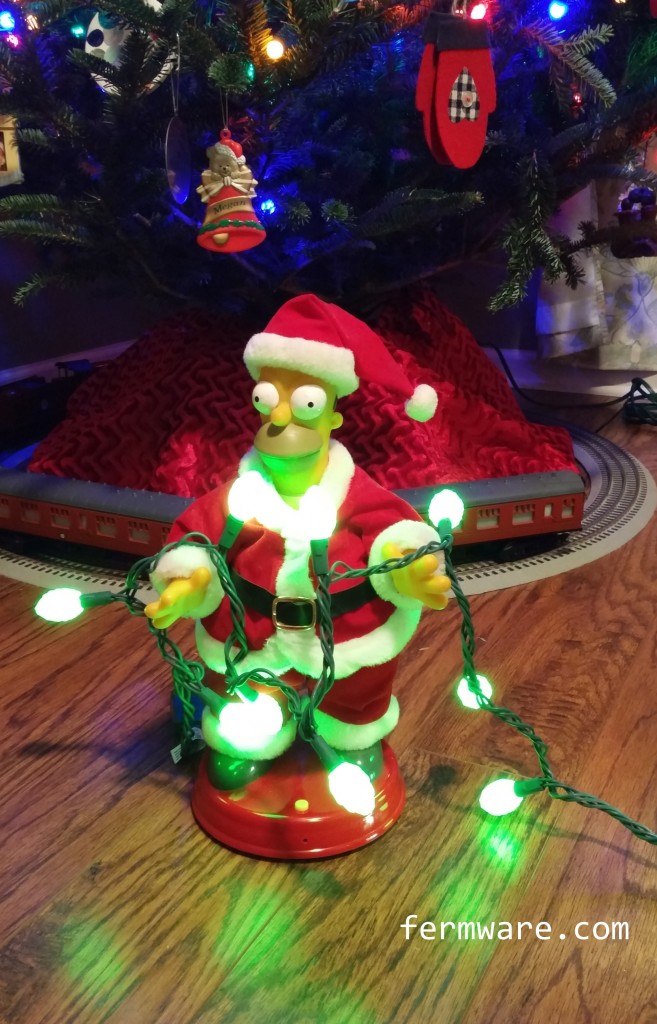
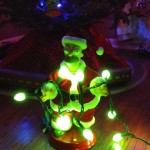
Yes, that’s my Homer Santa Claus. It was a gift from a great friend many years ago and I still look forward to getting it out every year. The camera failed to do the color justice when the lights are lit, but they glow a pretty standard green.
My latest revision to the 3D printed WBHY Tap Handles was printing translucent filament over some standard gold filament to create a flask that looks more like what you have when making starters on your stir plate.
With that checked off on my wish list, I thought it would be awesome if I could make some slip on covers for Christmas lights that looked like hop cones. Then beer nerds everywhere will have a way to decorate their kegerator, keezer, bar, brewing area or even your beer Advent calendar.
Assembly and Design
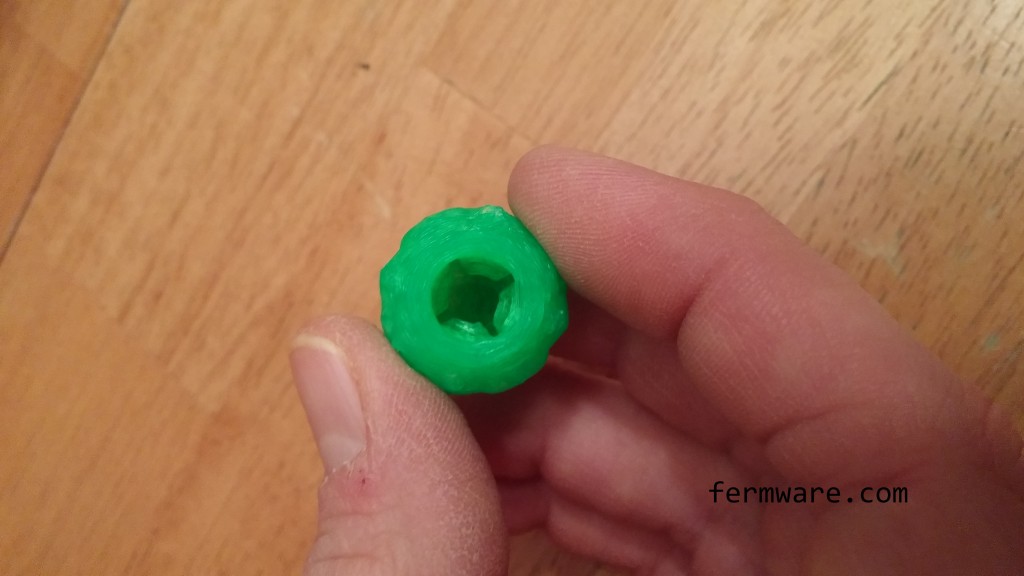
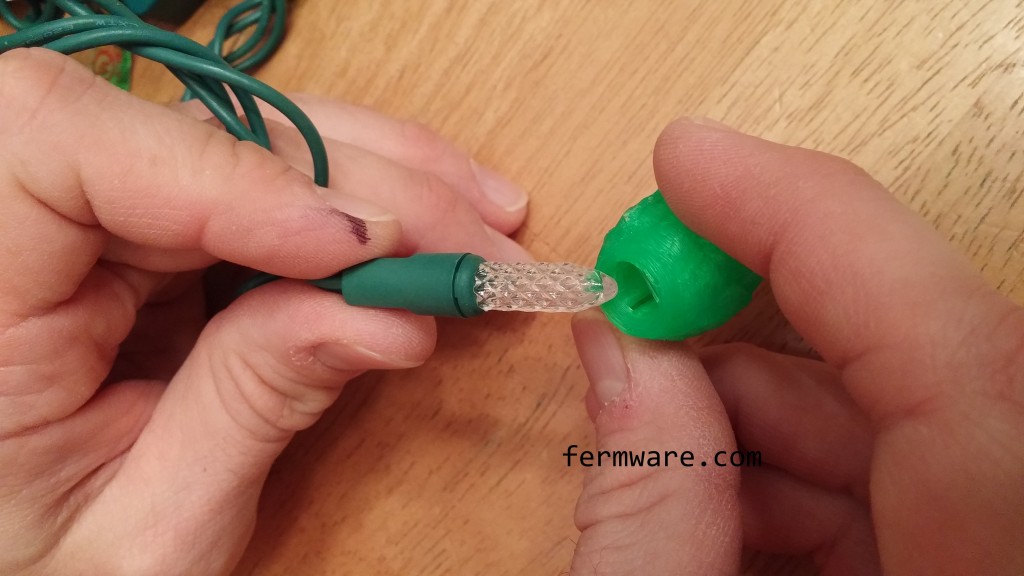
I started with the hop model I made for the tap handles, then hollowed it out and through a few iterations, I got the proper internal tabs to slide right over standard Christmas lights.
Pretty simple really!
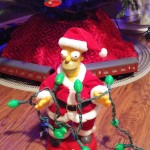
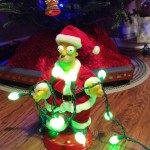
Here are some shots of the lights in different states with Homer modeling them.
In the light with the hop lights turned off
In the light with the hop lights turned on
In the dark with the hop lights turned on
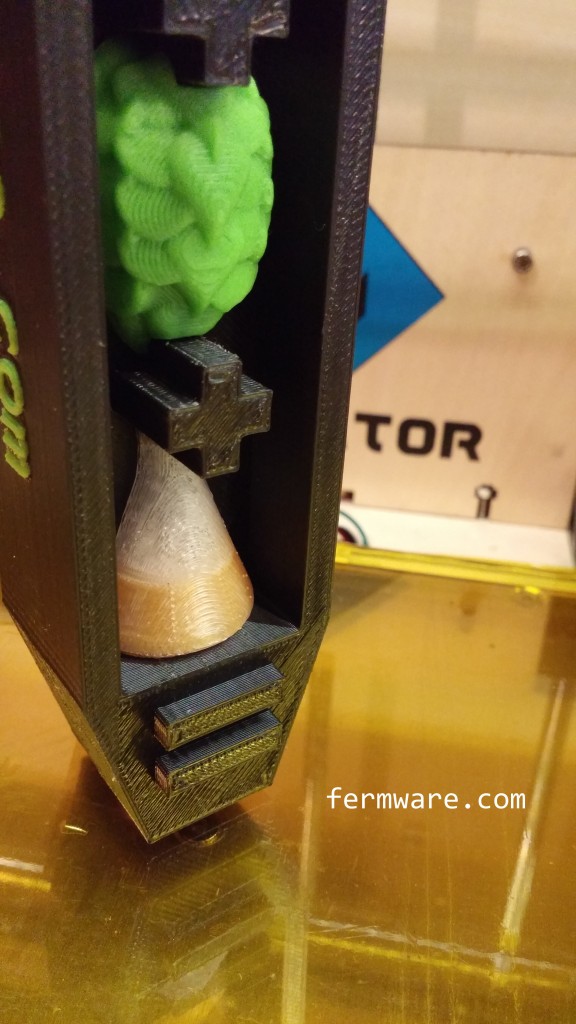
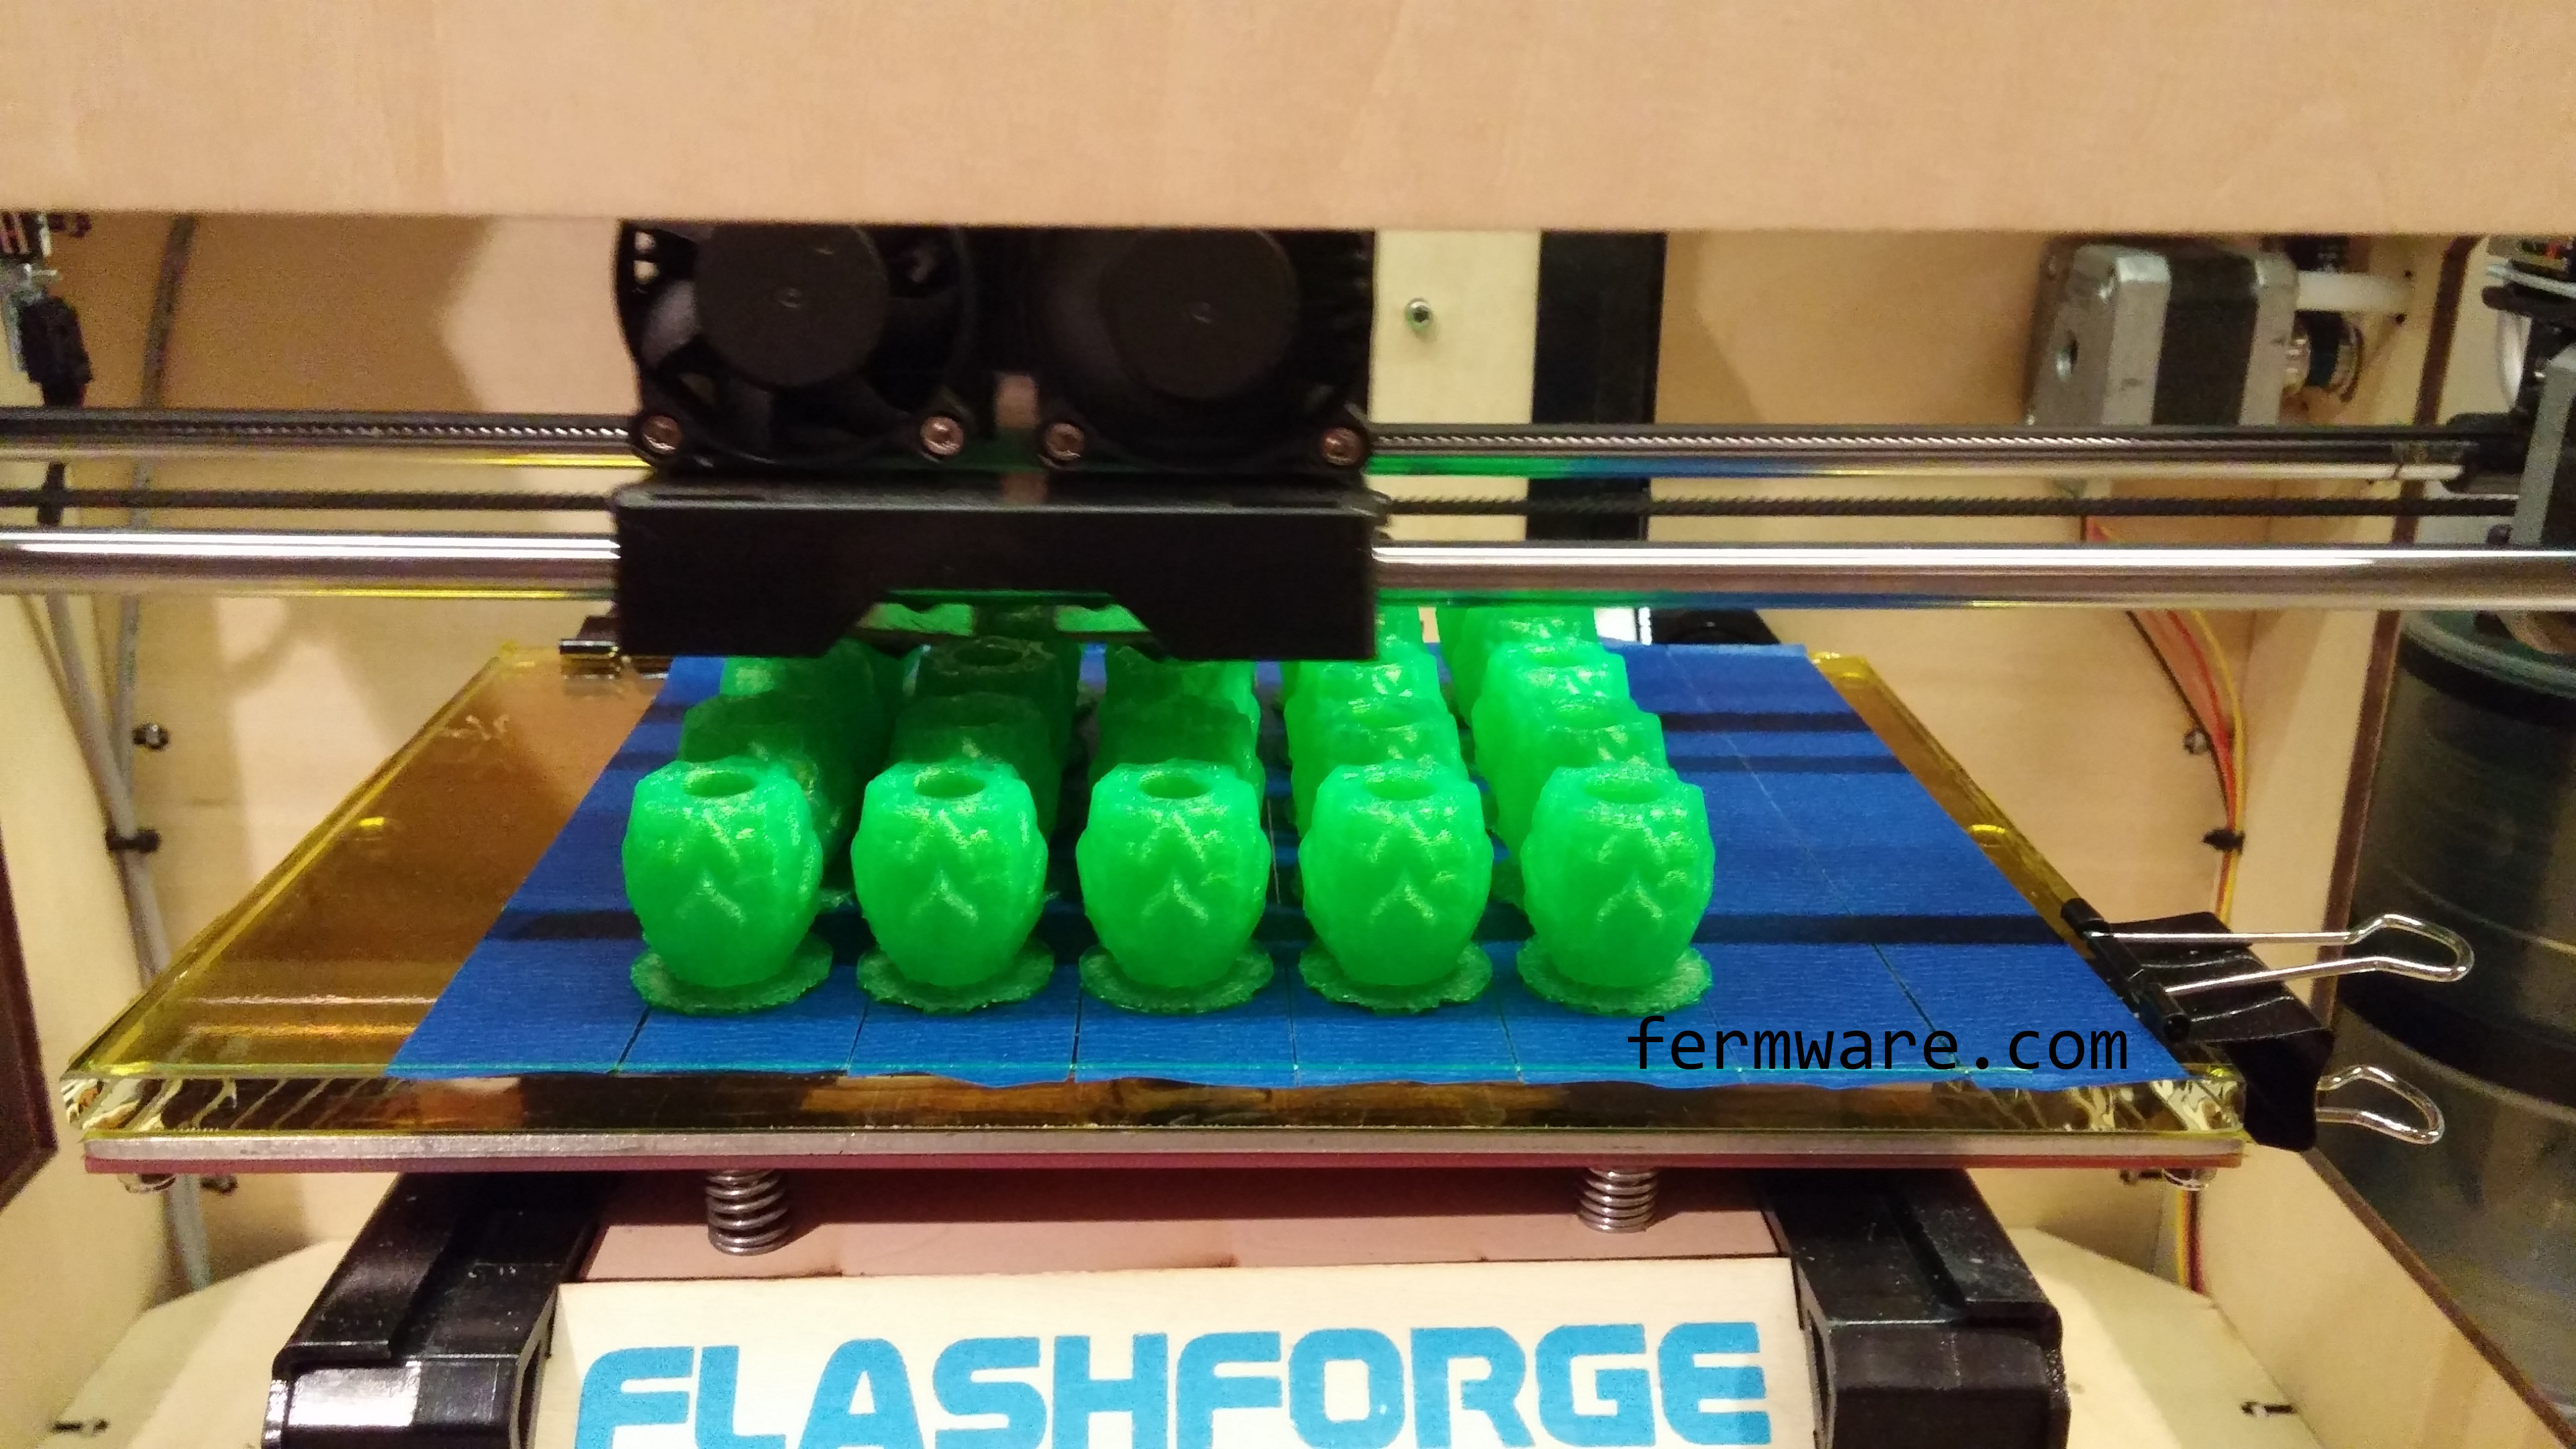
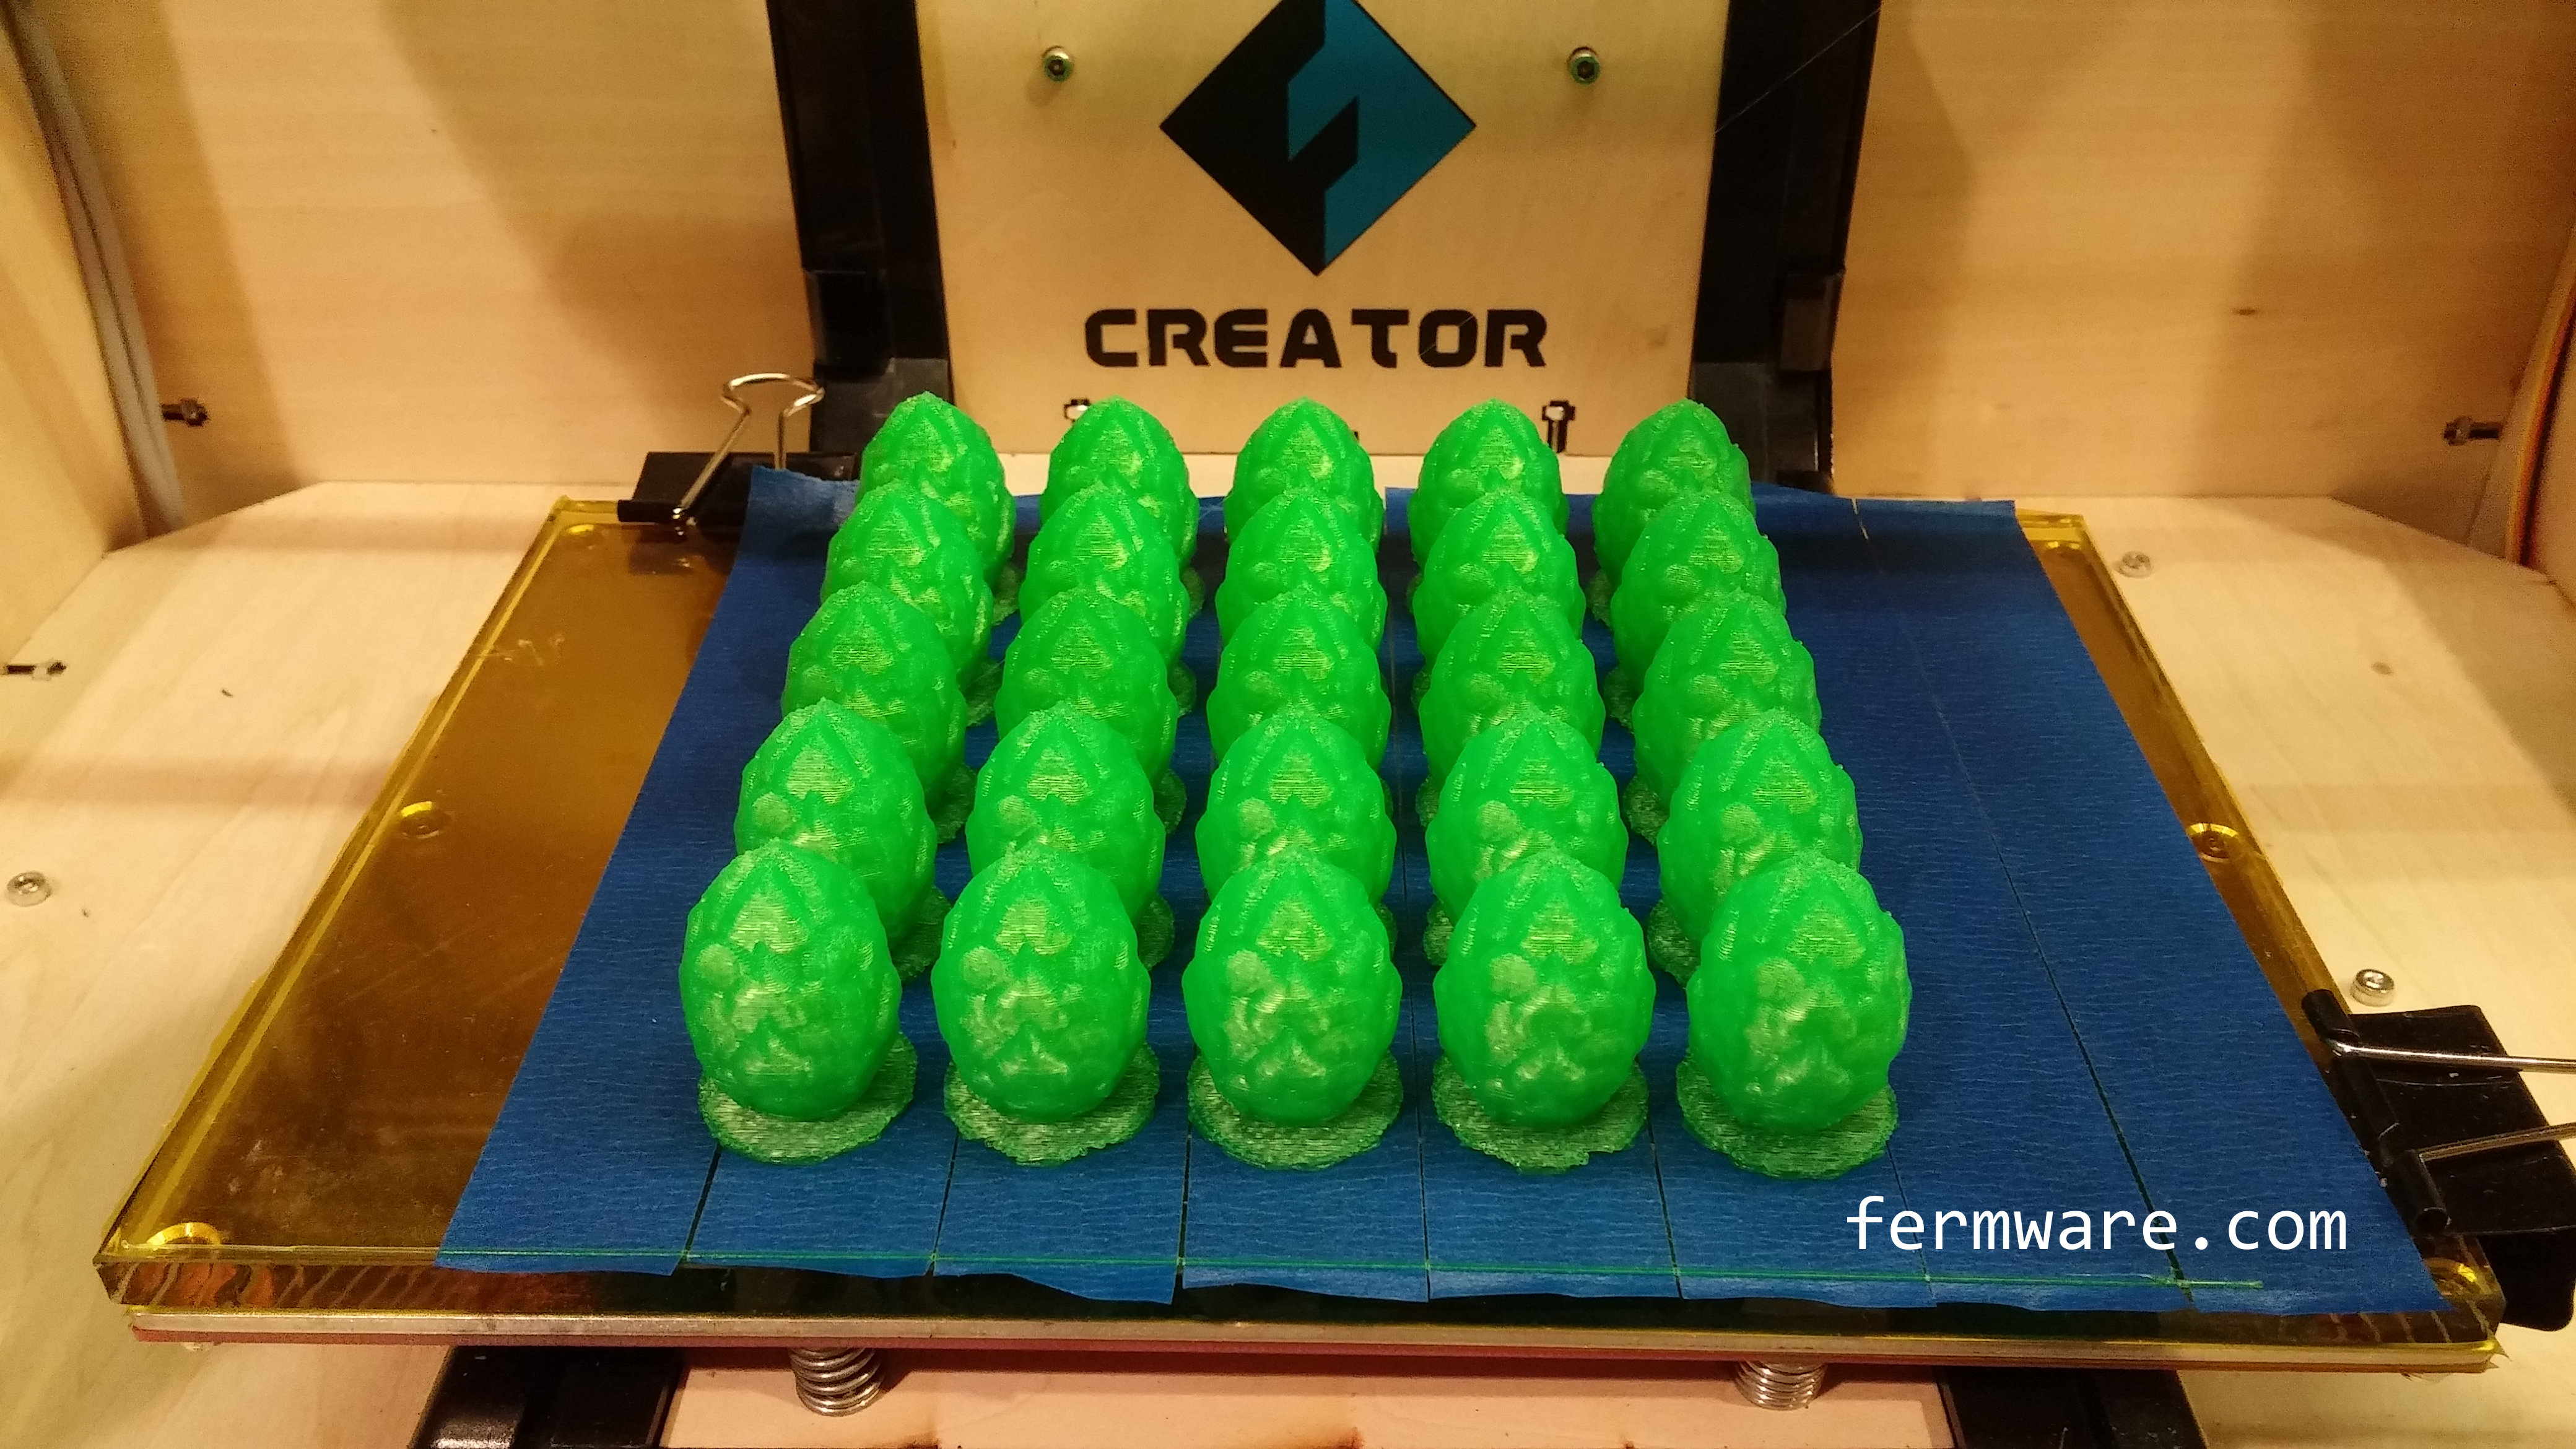
Growing the hops
Don’t you wish you’d get this kind of yield overnight?
The material is a translucent green PLA. I started with the basic recommendation of blue painters tape, but experimented and I can now just print right on the Kapton tape. I’ll try to be bold next and print without the raft.
A WORD OF CAUTION!
I would recommend only using these on LED lights. Standard incandescent lights do put off heat and I have NO idea what will happen after long term usage on those lights. PLA melts at lower temperatures and could damage the lights or the lights themselves might overhead and burn your house down. LED lights on the other hand, put off very little heat. That’s one of the reason’s they are so efficient!
Want to build your own?
Here is the Thingiverse link so you can download and print your own.
http://www.thingiverse.com/thing:595362
Don’t have a printer and want to buy some?
I’m offering a printing service for those that don’t have a 3D printer and would like a to add these hop covers to their own lights.
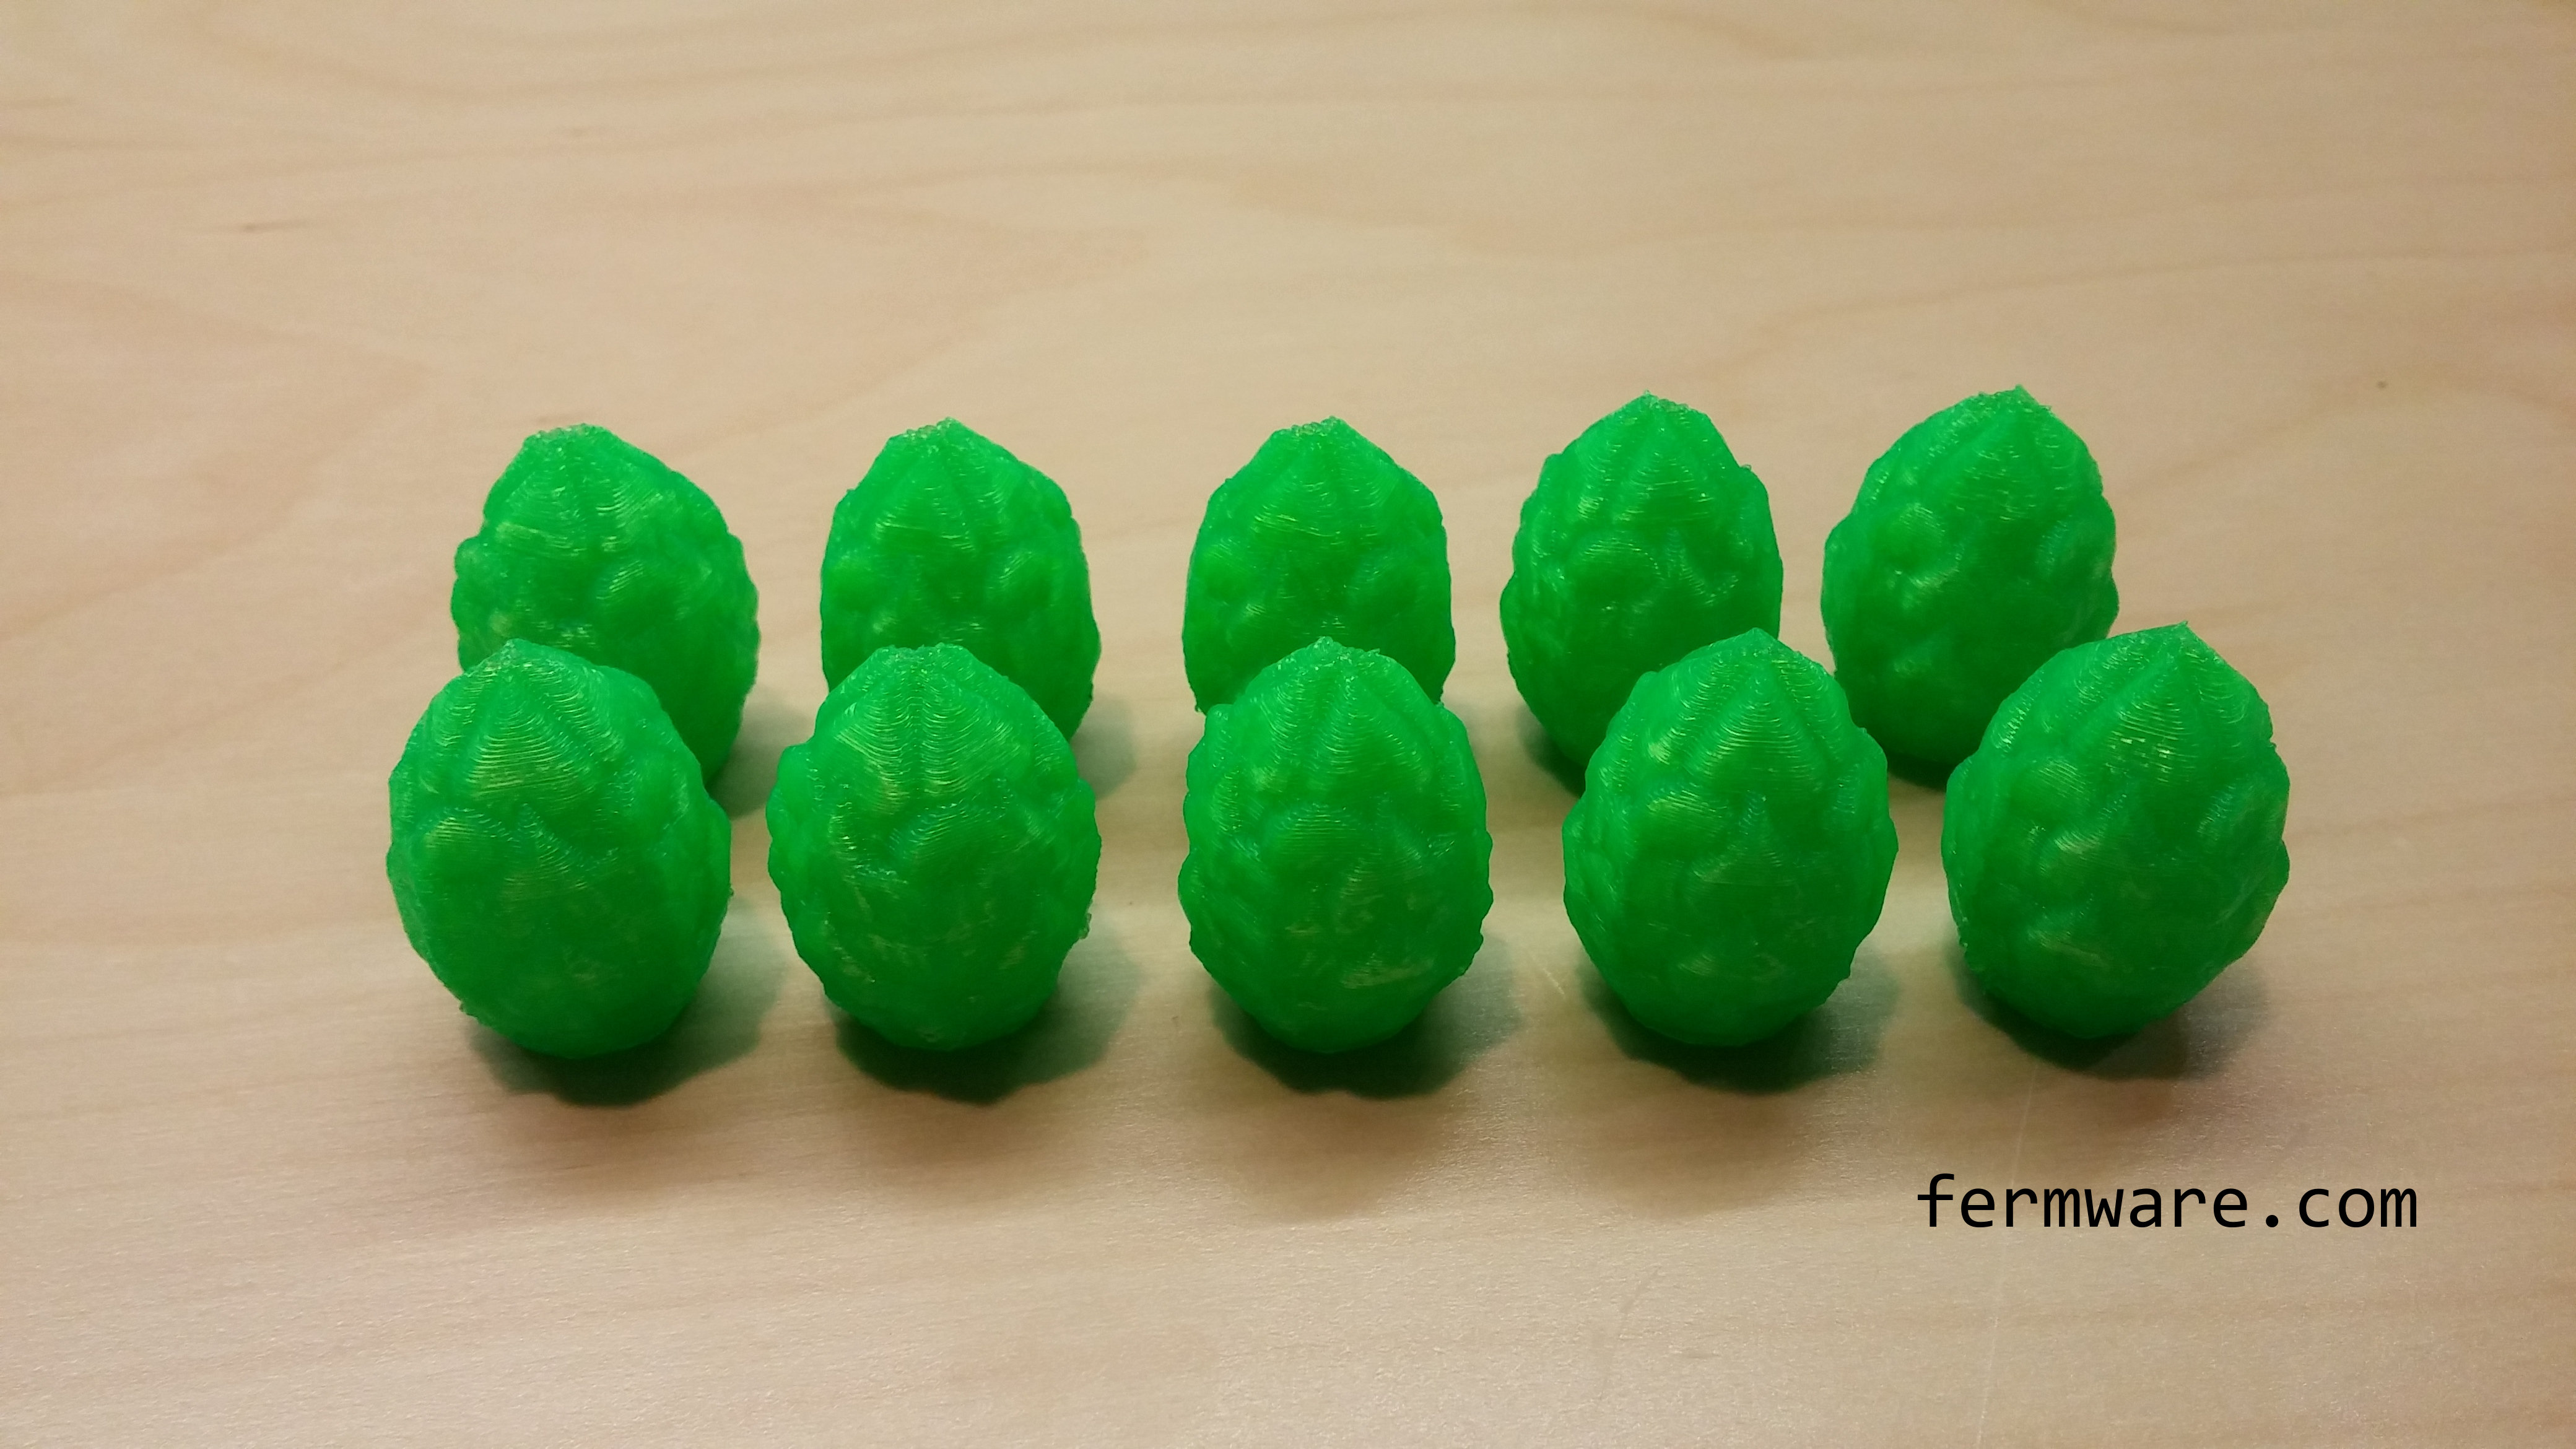
Everyone should understand what cosmetic quality one should expect from a 3D printed part and the pictures on this post I feel, do a sufficient job of it. I will not do any finishing work on the hop lights. I feel that the as-printed look is part of the charm of these parts.
Lead time from the date of order could be up to three weeks. I realize most people will want them while their Christmas decorations are still up, so I’ll be going flat out to get them to everyone ASAP. If you have a drop dead date to receive them, give me an entire week’s notice and I’ll let you know how my schedule is looking. Do NOT order unless you are fine with the standard lead time or you’ve gotten confirmation from me on delivery.
Use the links below to purchase via PayPal. Shipping to the US only at this price. If you live outside the US, contact me through the contact link in the top menu bar of the site.
IMPORTANT: YOU MUST SUPPLY YOUR OWN LIGHTS! THIS IS FOR THE LIGHT COVERS ONLY!!!
ALSO, I’ve only made available the covers for the most popular 7mm diameter “crystal” LED lights. I tried these on a few different brands of lights. These lights also seem to go by the size “M5”. I’ve almost got the mounting for the smooth skinny LED lights (5mm diameter) worked out. Although not recommended, the 5mm version will fit the standard incandescent Christmas lights that everyone had up until LED lights became the rage.
Those 2 are the only sizes I plan to release.


Hi,
I’m trying to print a set right now as we speak. Would you be able to share your print settings (speed, temp, infill %, etc)? It’d be a huge help as I try and dial in my print. Thanks!
Josh,
I used translucent PLA. I don’t recall the exact settings, but it would have been my standard for PLA, which would be 190 degC for the PLA and 70 degC for the bed.
Infill would be about 25% and speeds in Makerware at 70/120. 0.27mm layer height.
Eric
Hi, is it possible to get the original hop file you mentioned without the hole so I can customize it for my needs?
The link to the file on Thingiverse is in the post.