Category Archives: Level 4

Level 4 difficulty

Update on 3D Printed Tap Handles

First round of prototypes sold out!

Check the original 3D Printed Tap Handles thread for current info.  I will be offering more at the normal price at the same time that STL files are available for download.

This is a quick post for all of the followers of this site to let them know that I now have a link on the first post for the 3D Printed Tap Handles that allows the purchase of a printed tap handle.

Affiliate Links

Want to buy one?

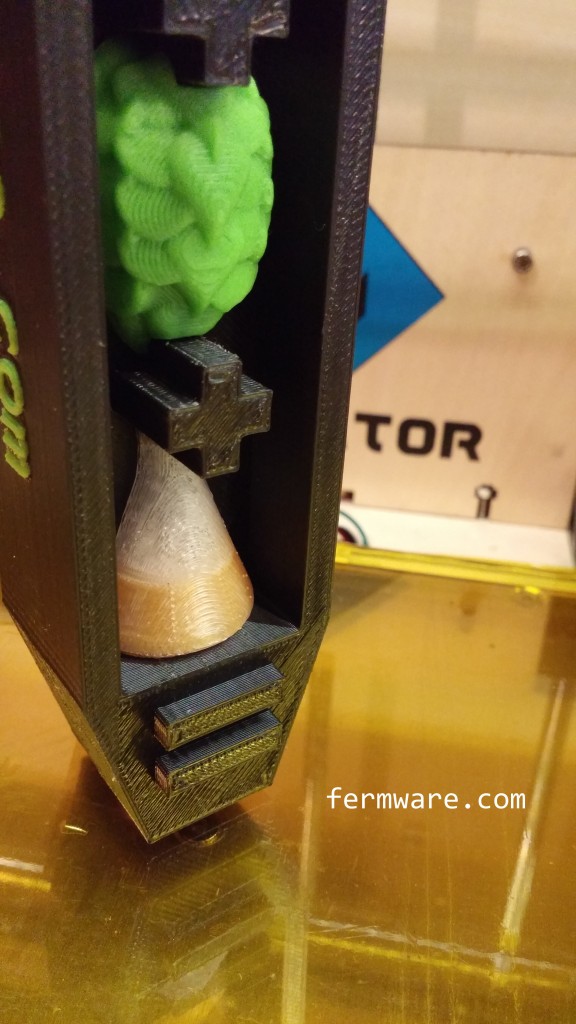
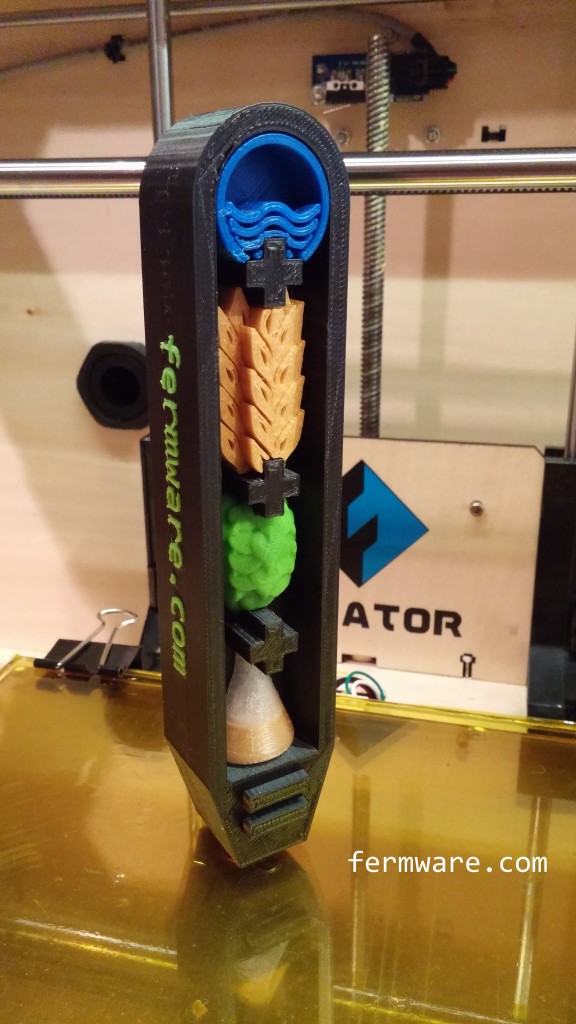
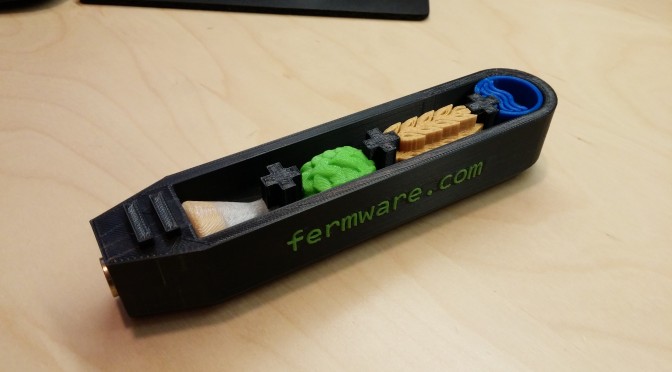
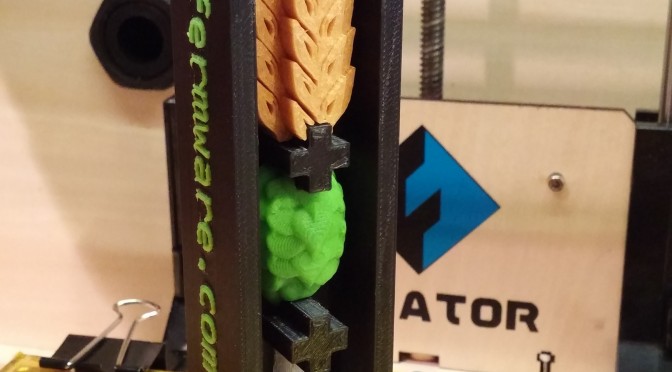
I’m starting with a limited run of 10 prototype level tap handles for $35 (including priority USPS shipping) as pictured at the bottom of this post.  Everyone should understand what cosmetic quality one should expect from a 3D printed part and the pictures on this post I feel do a sufficient job of it.  I will also offer as an added benefit for these first prototype tap handles, customized text on the side, instead of the fermware.com logo.  It looks like approximately 18 characters would fit.  I would of course let you approve a rendering first.  If you want a real logo, I can’t guarantee it will come out ok, but I can try.  The text I’ve got on the tap handle now, is about the smallest I would want to go and have it look nice.

Lead time from the date of order could be up to two weeks.

If feedback is positive, I’ll offer more for sale at a higher price that better reflects the work put into these tap handles.  Further down the line, I will offer the STL files for free for those that have their own 3D printers.

Us the link below to purchase via PayPal.  Shipping to the US only at this price.  If you live outside the US, contact me through the contact link in the top menu bar of the site.

3D Printed Tap Handles

Have you always had that idea, but just didn’t know how to make it or didn’t have the funds to purchase an entire machine shop?

Well with recent advances in rapid prototyping technology and the expiration of some key patents, the availability of so-called 3D printers has exploded.

In this post, I’ll show you how I put mine to good use for my beer dispensing by designing and printing a tap handle.

Difficulty: level_5

Due to the investment in a 3D printer and the amount of time it takes to get one dialed in and making parts, this one gets a high difficulty rating.

You also must posses some CAD design skills to generate the required files to send to the 3D printer.

Time Required:

I can’t really put a time on this one.  It’s really a labor of love.

For the print time only, this particular handle took about 11 hours of print time.

Affiliate Links

Cost:

$300 to $3000 depending on how nice of a printer you want to get.

Required:

3D Printer

Ever since I first saw my first rapid prototyping machine in college and then to a greater extent, seeing that this technology was nearly affordable for a DIY person like me, I’ve had a child-like fascination with these awesome machines.  It may sound goofy, but I’ve got the same level of amazement that I did when my Dad bought our first computer in the early ’80s and I was able to type my name and have it appear on our television.

I got the Flashforge Creator and I am very happy with it.  It had the right balance of cost, dual-extruders, reliability, non-proprietary filament and has required me to do a little bit of tinkering that has allowed me to better understand the capabilities 3D printers.

CAD Software

I use SolidWorks, but there are plenty of different paid packages as well as some free ones.  I won’t even begin to list them here, but some good research will turn up what you want.

Designing:

To print something, you must first have some sort of solid model.  I had the idea that I would make something that would be extremely difficult to make out of wood, metal or other material.  The beer geek in me also thought to go with the theme of beer ingredients.

Water + Barley + Hops + Yeast = Beer (the beer being real beer dispensing from the faucet)
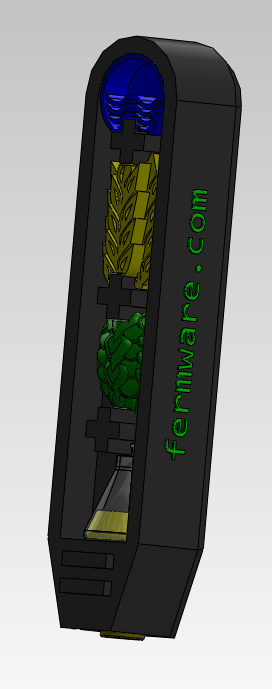
 

016-WBHY_v3 CAD

Printing:

This was mid-process in printing my first version of the tap handle.  I wasn’t confident that I could print the logo in the handle in a different color at the same time.  I printed a separate plaque that I would glue on later.  I was still learning and I still learn something new every time I use the thing.
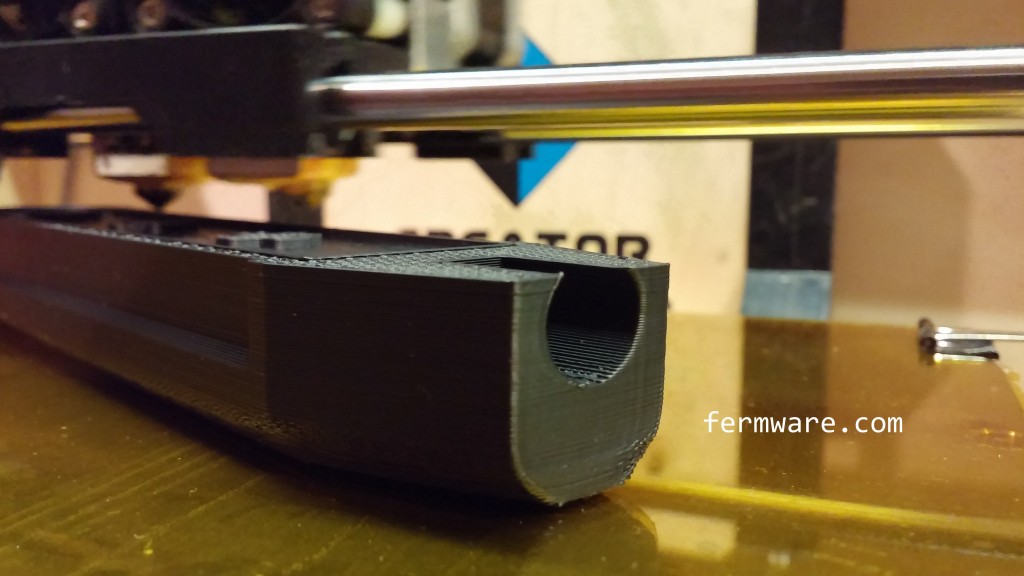
016-WBHY_v1 getting printed

This is my second version where I was able to successfully print the letters vertically.
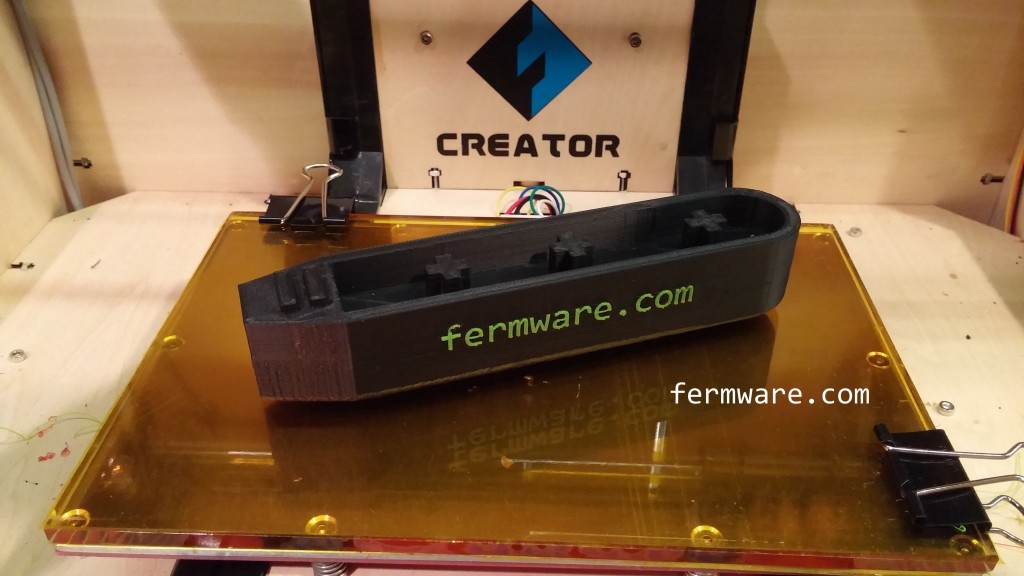
016 - Handle on print bed

I had to print the other parts separately and glue them in later.
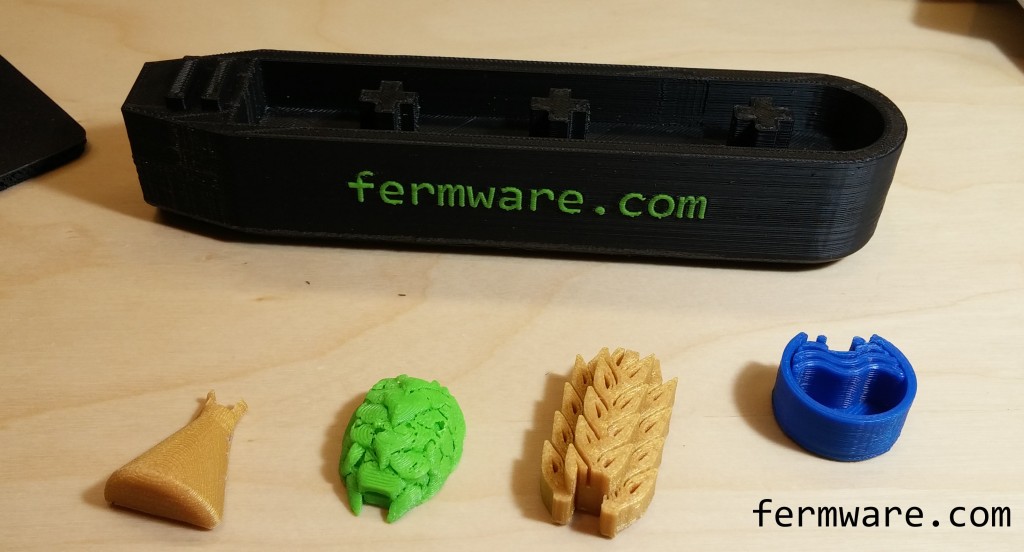
016 - ready to glue

016 - WBHY Handle v3 - yeast flask

Version 3 is shown above.  I experimented with clear filament and was able to make a yeast starter flask instead of the boring one color flask.  All WBHY tap handles will have the this flask from now on.  I was also able to remove the gaps in the hop cone.  That looks much better now too.

3D printers are awesome, but they are still far away from being able to print everything usable.  I chose to use press-in inserts for the threading.

1. I didn’t think that the plastic threads would be durable enough

2. I didn’t think that the threads would be dimensionally correct

016 - brass insert

Here is my first version that I used for our Strausstoberfest party.

016-WBHY_v1 3_4 view

Whats next?

Your imagination is the limit…..

Want to build one?

The intention in making these files downloadable and free is for people to make this themselves or modify/improve the design to suit them.

Go to Thingiverse to download the STL files and build your own.

http://www.thingiverse.com/thing:542537

Don’t have a Thingiverse account?

If you don’t have a Thingiverse account or have no interest in creating one, you can download the CAD files & Templates by subscribing using the form below:
Creative Commons License
This work is licensed under a Creative Commons Attribution-NonCommercial-ShareAlike 3.0 Unported License.

By clicking on the download, you agree to the terms of this license and to be added to the awesome fermware.com subscriber list. Don’t worry, you won’t receive a bunch of trub in your inbox.
[lab_subscriber_download_form download_id=25]

If you are interested in this for commercial purposes (i.e. you want to make money on my effort), I’m flattered, but please contact me first.

Don’t have a printer and want to buy one?

I’m offering a printing and assembly service for $47 (including free shipping) for those that don’t have a 3D printer and would like a tap handle.

Everyone should understand what cosmetic quality one should expect from a 3D printed part and the pictures on this post I feel, do a sufficient job of it.  I will not do any finishing work on the tap handles.  I feel that the as-printed look is part of the charm of these parts.

I can offer customized text.  It looks like approximately 18 characters would fit.  I would of course let you approve a rendering first.  The text I’ve got on the tap handle now, is about the smallest I would want to go and have it look nice.

If you have a custom logo or artwork you want on a tap handle, the best thing to have is CAD friendly file formats such as DXF, DWG or some other native CAD file format.
I can accept a certain amount of customization (colors, fonts or wording), but for anything beyond that, please contact me for a custom quote.

I can now also customize the color of the plus and equal symbols.

My preferred logo/text method on the sides is now plaques as shown below.  They print much better and also allow two color logos.

016-customer - Linkenbrau

If you want ideas, check out my Gallery of Customer 3D Printed Tap Handles showing some of the tap handles already made for customers.

I also take custom orders, such as the kombucha tap handle I did for Pekoe Kombucha Bar in Toronto, ON.

Lead time from the date of order could be up to three weeks.

Use the link below to purchase for $47 via PayPal.  Shipping to the US only at this price.  If you live outside the US, contact me through the contact link in the top menu bar of the site.

Buy Now Button

016 - WBHY Handle v3

Refrigerator Conversion Part 6 – Finishing up and other observations

Here are some final thoughts on my refrigerator conversion and other related observations.
If you missed the first post, start here: Part 1: Introduction
That post has a run down of most of the materials, tools and supplies needed for this project.

Difficulty: level_4

This project requires a few inexpensive special tools, but will most likely take an entire weekend, lots of improvisation, some thorough cleaning and the cost of the fridge takes it to level 4.

Posts for this Project:

Part 1: Introduction
Part 2: Clean up
Part 3: Disassembly
Part 4: Door modification
Part 5: Shelf building
Part 6: Finishing up and other observations (this post)

Affiliate Links

Pros and Cons of other setups I’ve seen:

A/C units to cool down a fermentation chamber

I had serious reservations about the ability of a window air conditioner to maintain 34 degF in a cabinet of sufficient size in the middle of summer, let alone have enough capacity to lower the temperature of your fermenting beer at any reasonable speed

Dorm fridge powered fermentation chamber

I know this seems to be all the rage with fermentation chambers, but again, I didn’t see how it would be able to handle the cooling needs of a chamber of the size that I needed.

Gutting a full size fridge and re-installing those components in a customer insulated chamber

This was my “ultimate” plan from the beginning, but when I planned out the costs of the wood, the insulation and the FRP panels to line the inside, I was close to double or tripel (see what I did there) the cost of the fridge itself.  I then had the realization that if I found a fridge large enough, the capacity of the freezer alone would be enough to serve my needs.

Temperature Controller:

A temperature controller is a MUST for any fermentation cabinet.  My first controller for my keezer was the Ranco ETC-111000 single stage temperature controller.  I’ll have a post about my wiring at some point.

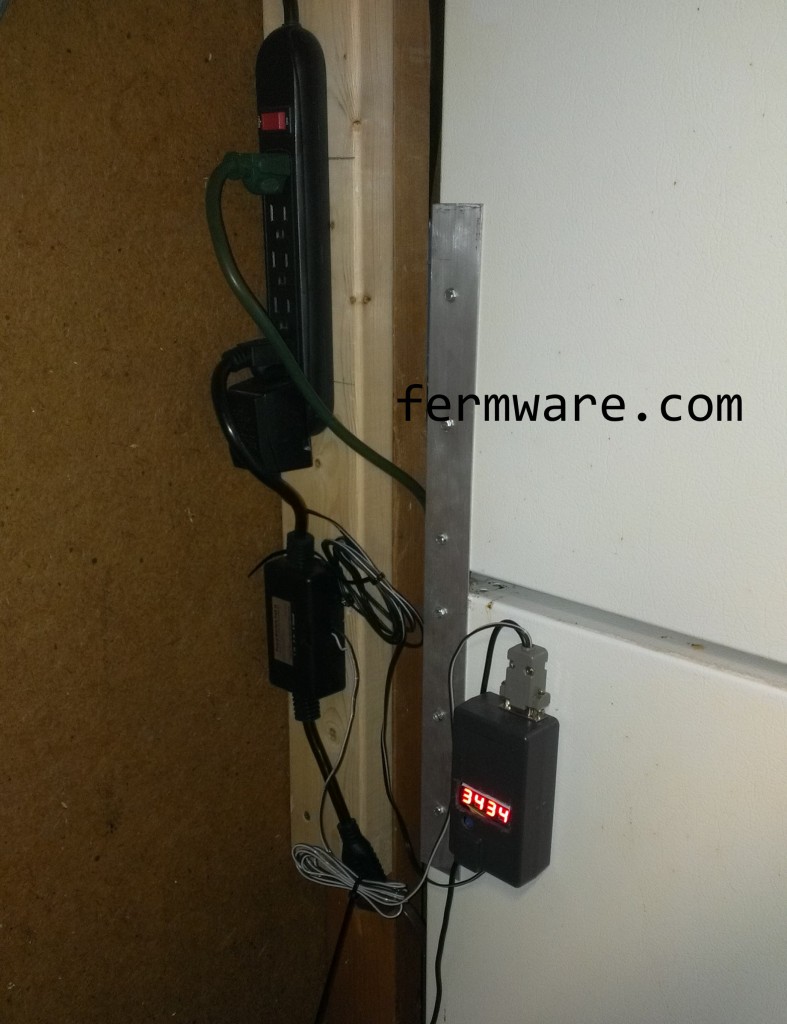
There are plenty of options out there.  For this lagering fridge as well as my other two converted dorm fridges, I actually made a simple Arduino based temperature controller.  There isn’t really anything novel about them, except that I wanted the challenge of designing my own system.  Below is a picture of the controller setup I’ve got on this lagering cabinet that I just built.  Basically the Arduino controller has a temperature probe inside the fridge to detect temperature and it cycles the fridge on and off through a relay box to maintain temperature.  The display on the box shows 3434.  It’s my simplified way of showing a setpoint of 34 degF and a cabinet temperature of 34 degF.

012 - Temperature Controller

Google search for Arduino Temperature Controller


I do however have a Raspberry Pi and am looking at going to the BrewPi setup or some derivative.  I really geek out on that stuff and it gets me really excited when I think about that possibility.  Here are some good links:

Official BrewPi

Home Brew Talk thread on using all the BrewPi code, but a standard Arduino

Small Tip for the Newbie

If you are new to temperature control, note that for best results, you need to set your fridge or freezer to maximum cold and let the temperature controller do the rest.  All of these temperature controllers basically power cycle the fridge/freezer on or off to control the temperature.

How to move a fridge from point A to point B:

You’ll hear many times that you can’t lay a fridge on it’s back or it will ruin the compressor.  This is half-true.  You can lay a fridge on it’s back to transport it, BUT when you get it to your house, you just need to get it upright so that the compressor fluid drains back into the compressor before it is powered on again.  I generally just get it to my garage, get it upright again and let it sit overnight.  I’ve done this 4 times with no dead fridges.

As an FYI, we’ve got a 2005 Honda Odyssey and with the middle seats taken out and the back seats folded into the floor, it has fit all 4 of those fridges inside with the tailgate all the way closed.  If you have a trailer, more power to you.

Oh, another important tip.  Remove all of the shelves from the fridge before laying it on it’s side.  All of those things are meant for gravity to hold them in place and when you put the fridge on it’s back, they all usually fall out of their slots.

What I tried to do with another fridge (drilling FAIL):

I was always under the impression that every important mechanical component was either at the back or underneath.  I was proven wrong one time when attempting to install a draw catch latch to a fridge.  I started drilling the pilot hole in the side of the fridge for the screws and the psssssssshhhhhh of the magic refrigerant came blowing out.  RIP fridge.

Simplified explanation of how a refrigerator works:

A refrigerator is simply a mechanical system that removes heat from an insulated cabinet.  That’s as far as I’m going with that.

You may also hear someone tell you that a refrigerator won’t work in a garage.  The reason behind this is that when the ambient temperature gets below the internal temperature of the freezer or close to it, the temperature difference gets closer to zero (T_ambient – T_freezer).  An A/C compressor or refrigerator compressor system relies on a temperature difference to function, so if you take away this difference, it won’t function properly.

Having said that, we live in central Indiana and have 3 refrigerators and one deep freezer in our garage.  We only have a problem with our primary overflow fridge with the ice maker in deep winter, where it doesn’t produce enough ice.  Except during long cold spells (where it can get close to freezing), our garage is usually about 55 degrees in the areas directly adjacent to a living space and in our bump out (furthest away) it is maybe low 40’s.

The more unknown part is that almost all top and bottom refrigerators are essentially a freezer on top that does all the work and bleeds cold air to the refrigerator compartment.  If you get to tearing one apart, you’ll see this.  Also if you’ve ever had a fridge with weak magnetic seals, you may notice that when you slam one of the doors, the other one pops open.  That’s because they are linked.

That’s all folks…Thanks for reading!