This is part 2 in the series documenting how to create your own Homer Hopper. If you haven’t seen the introduction yet, please check it out. In this post, we’ll be cutting the required openings in the bucket.
Jig saw or oscillating tool
Drill with 3/16″ drill bit, maybe a 3/8″ or 1/2″ for starter holes for saw
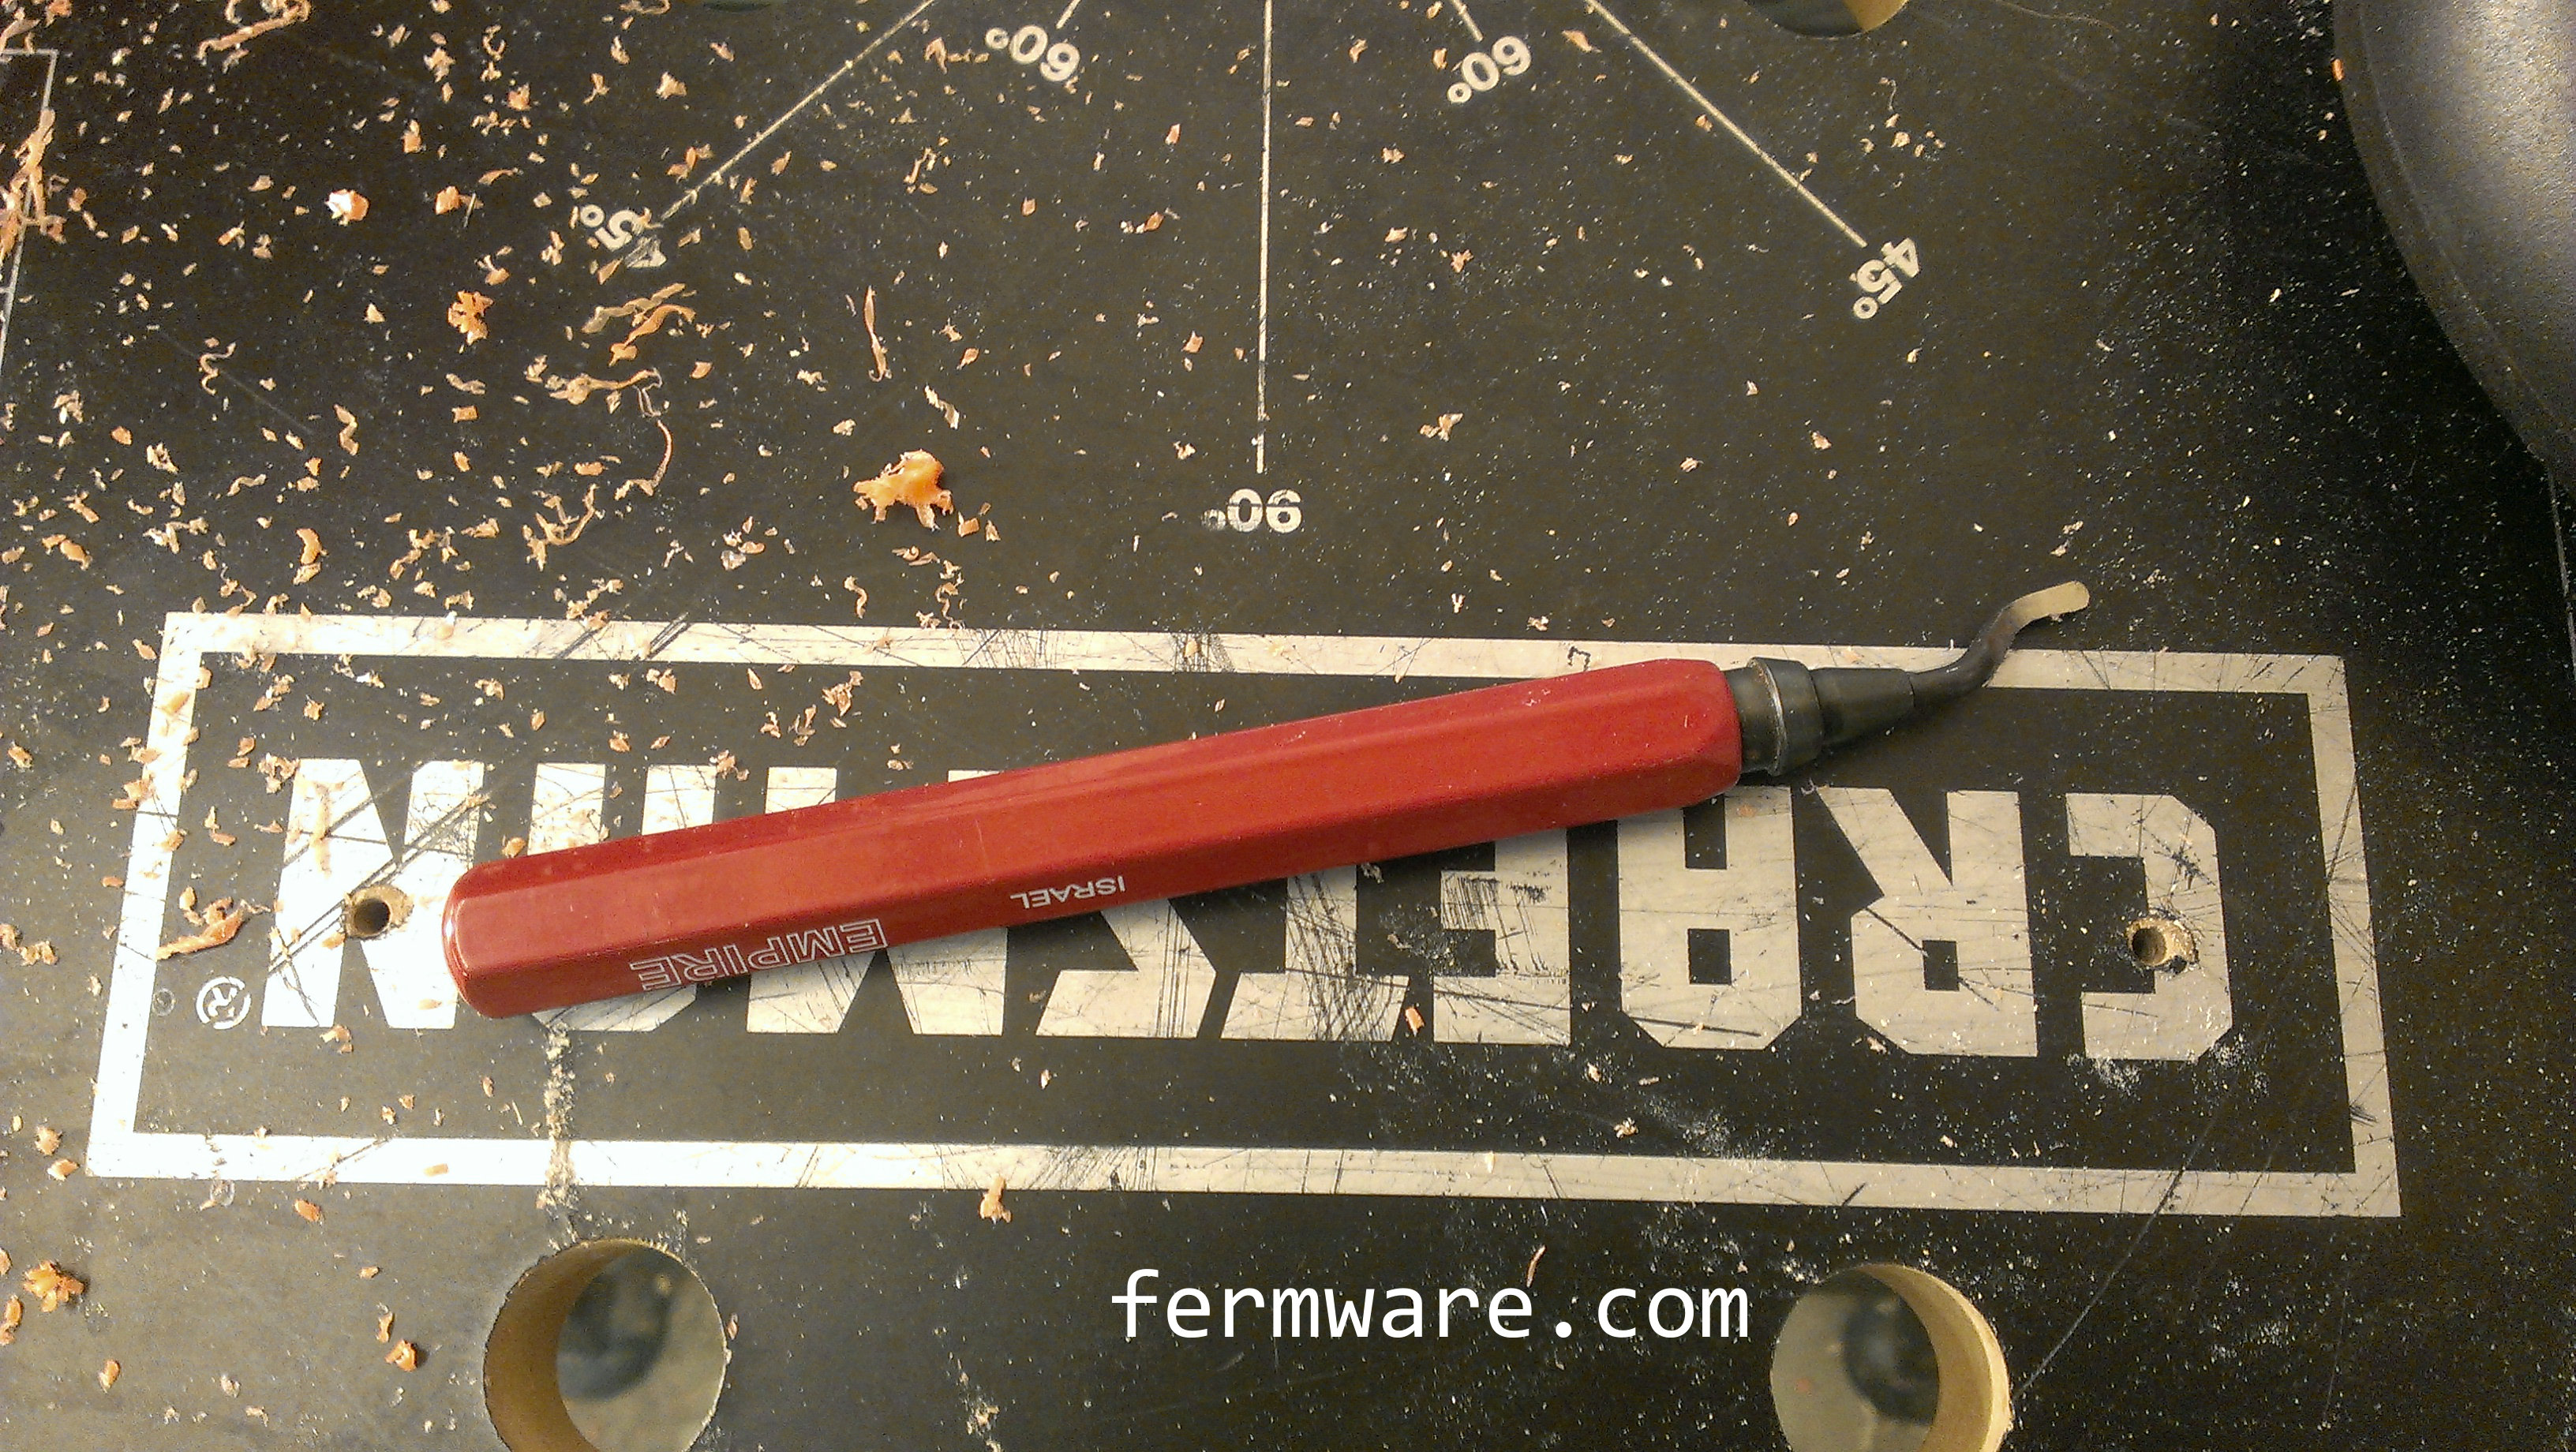
Deburring tool (optional)
Transfer punch (optional)
*All of the drawings and templates will be relocated to a final location after all of the posts are complete.
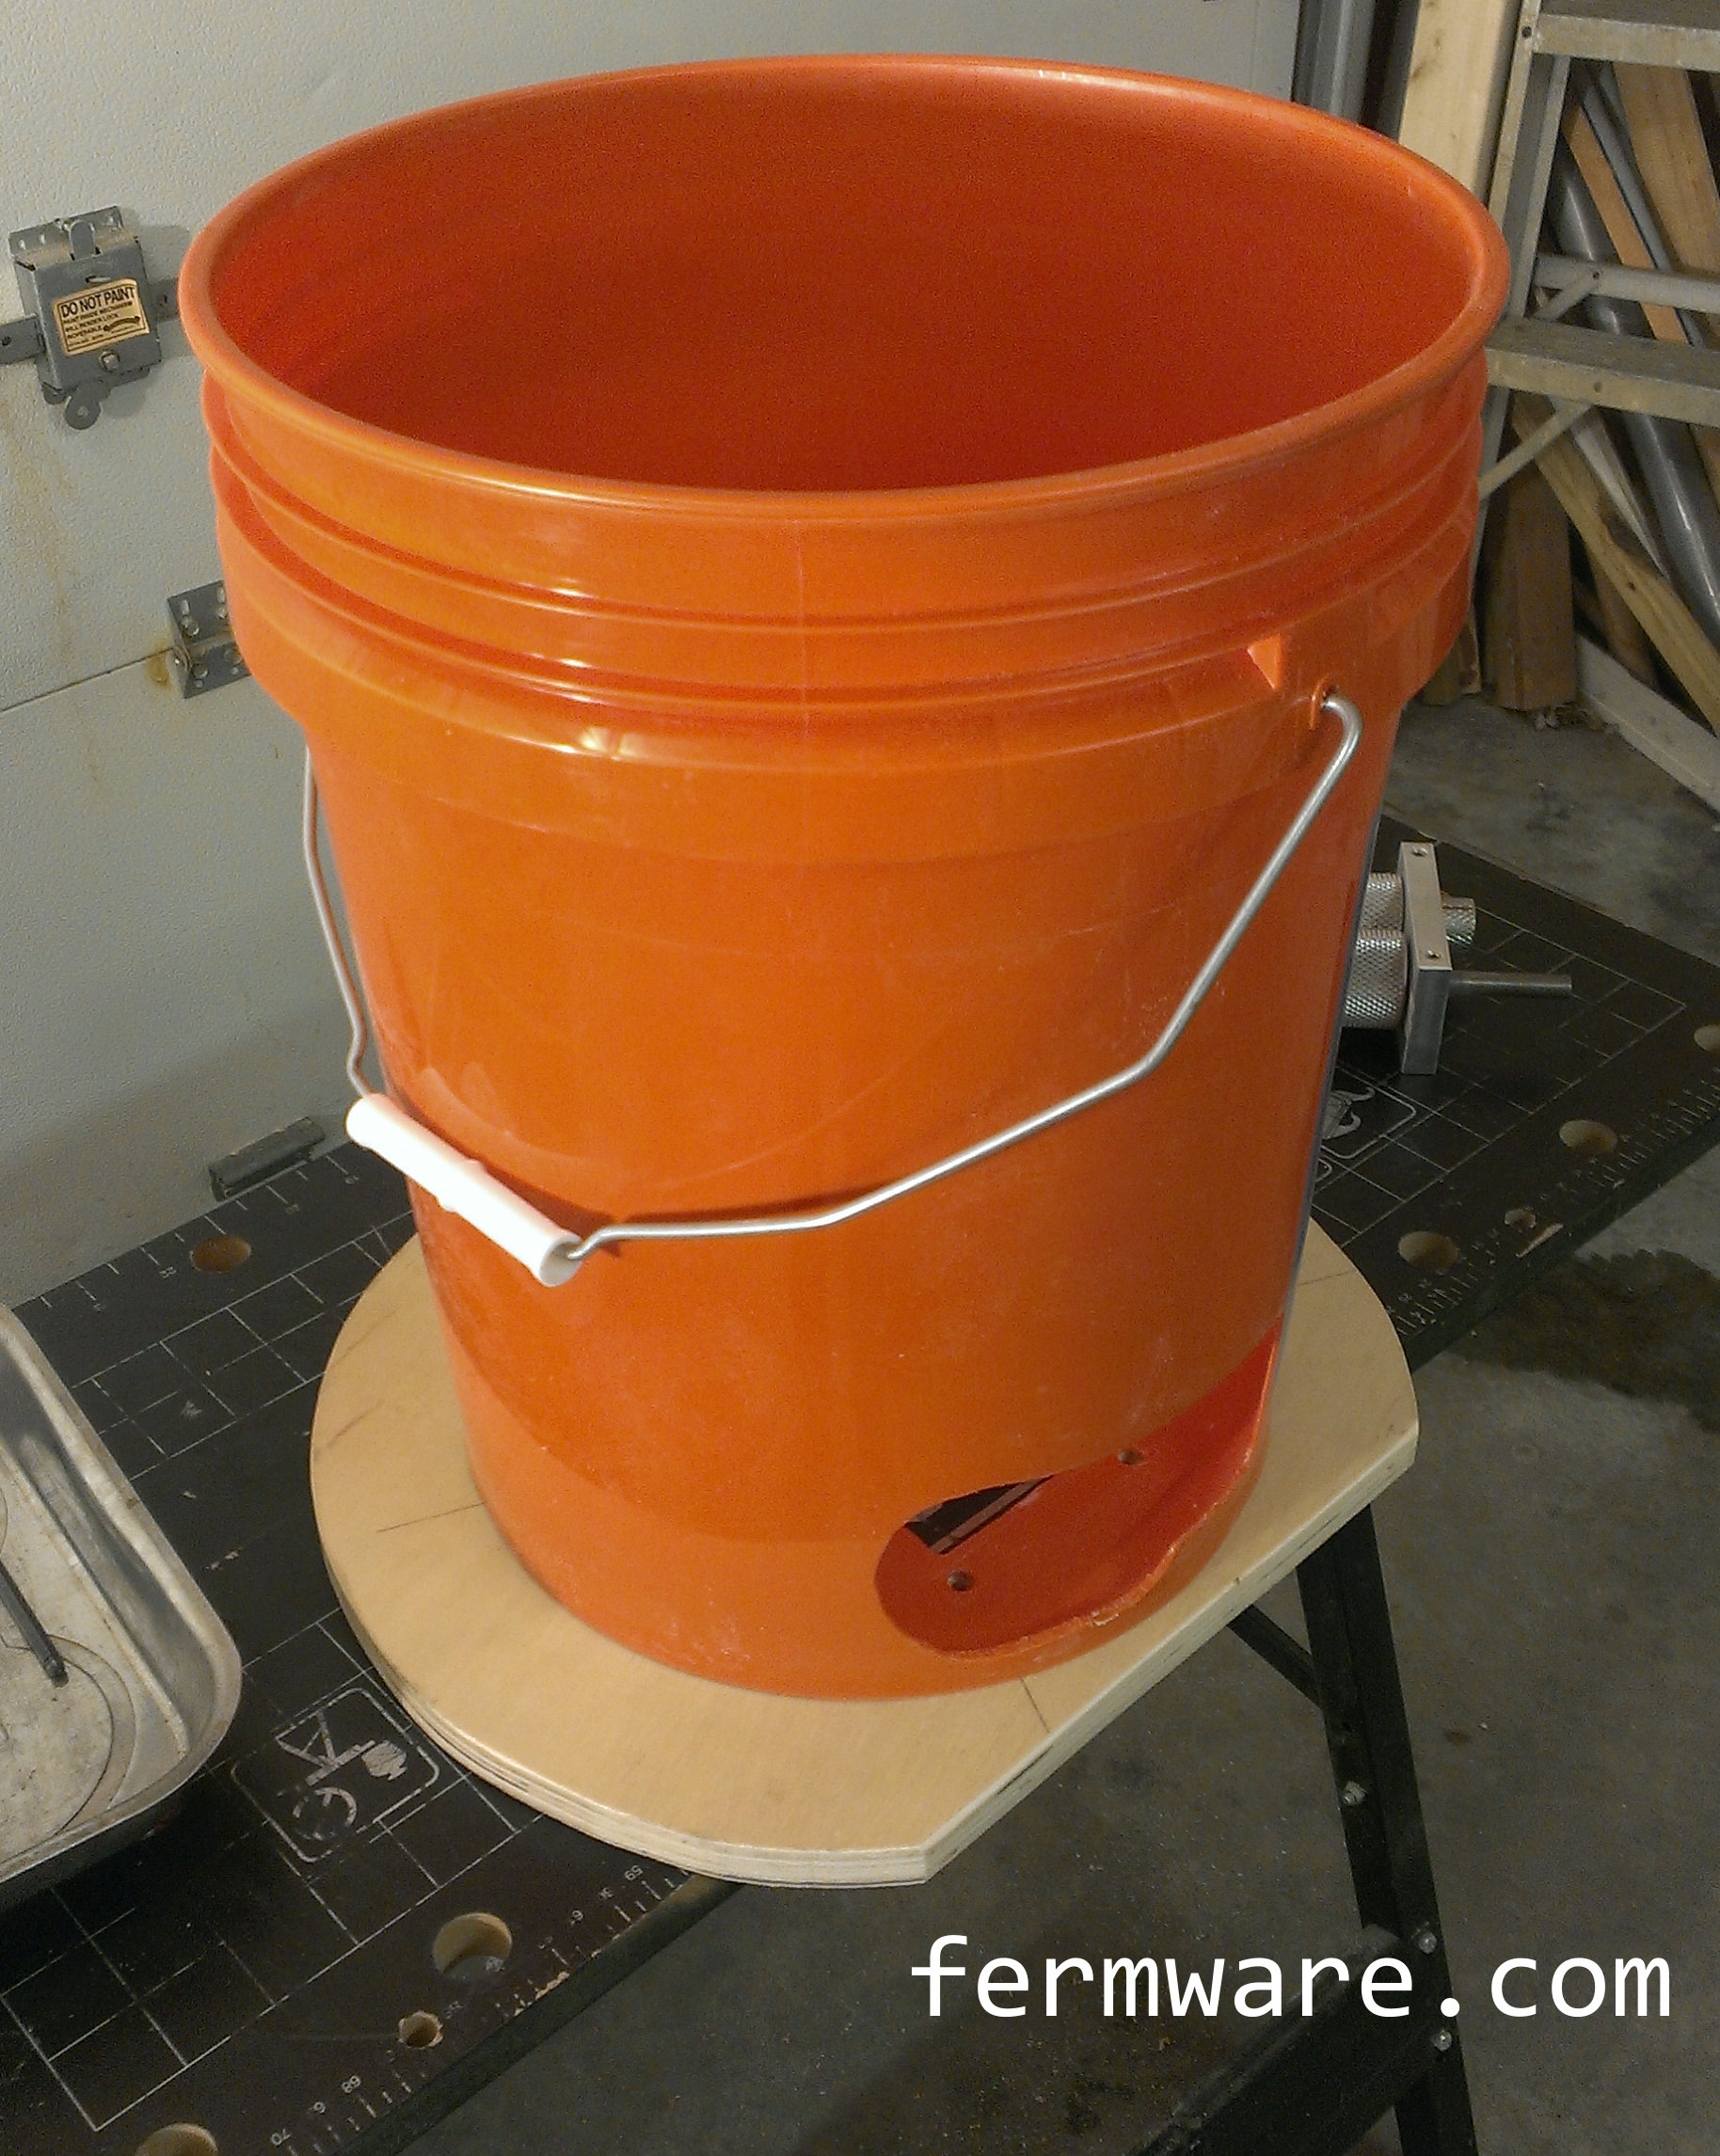
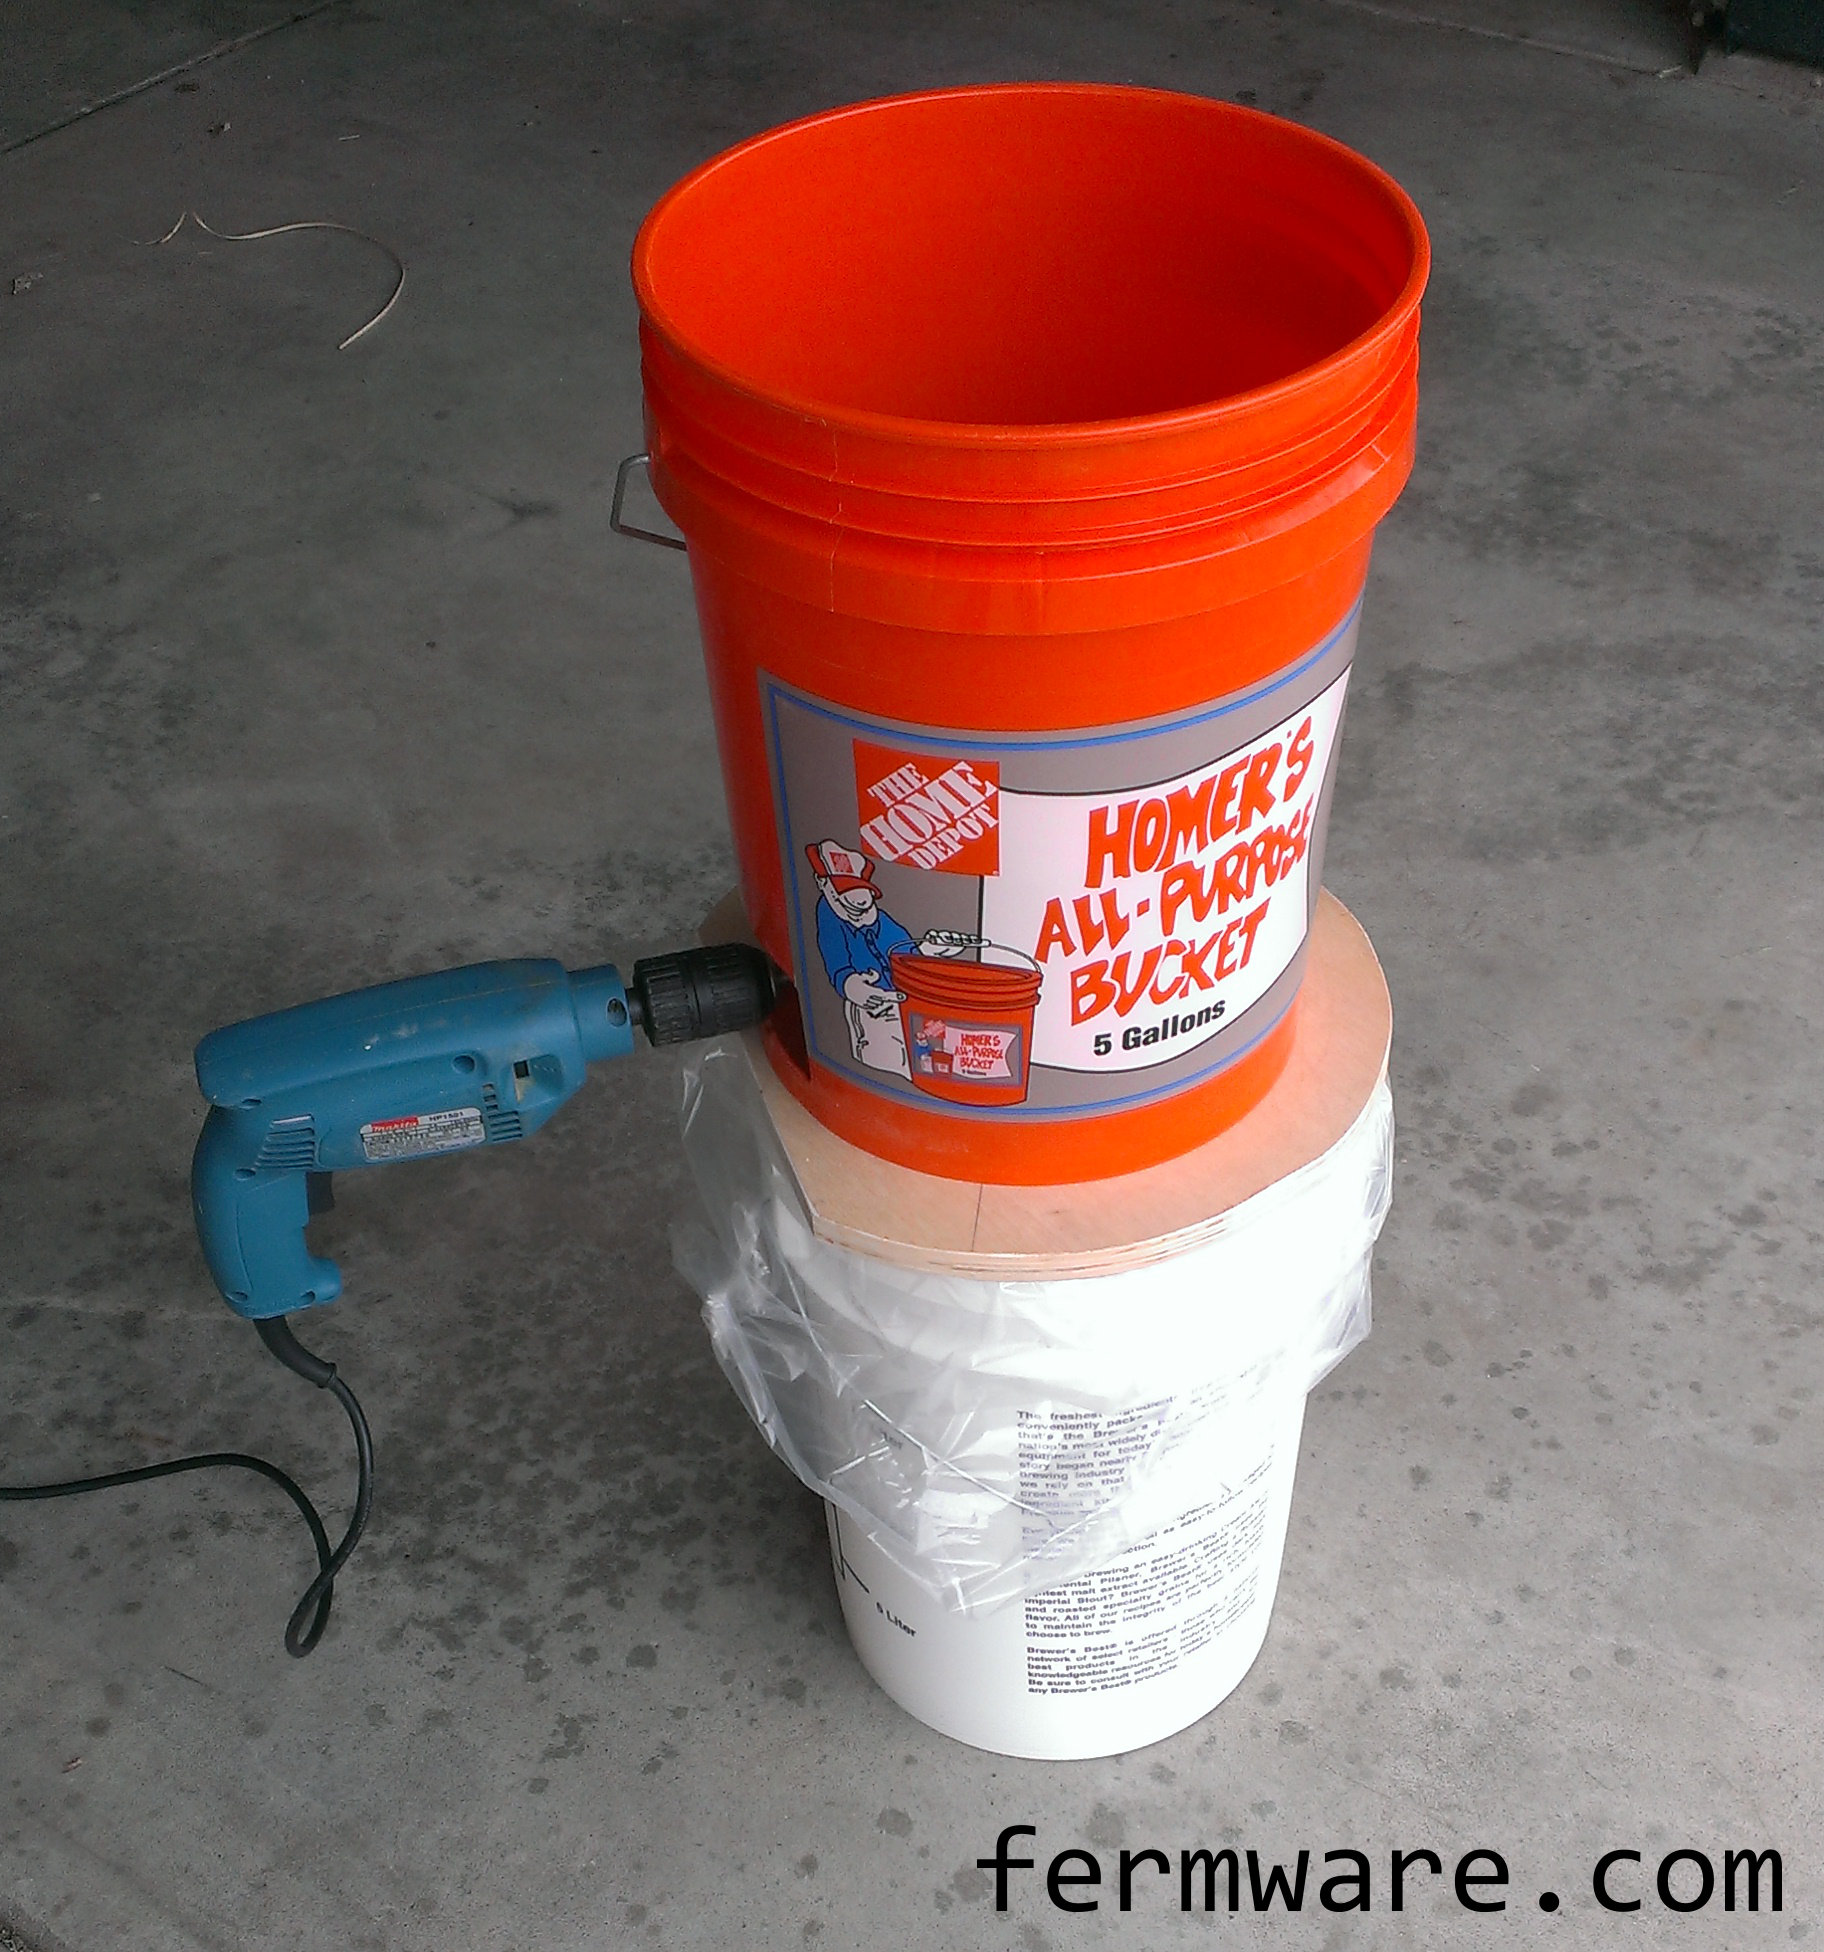
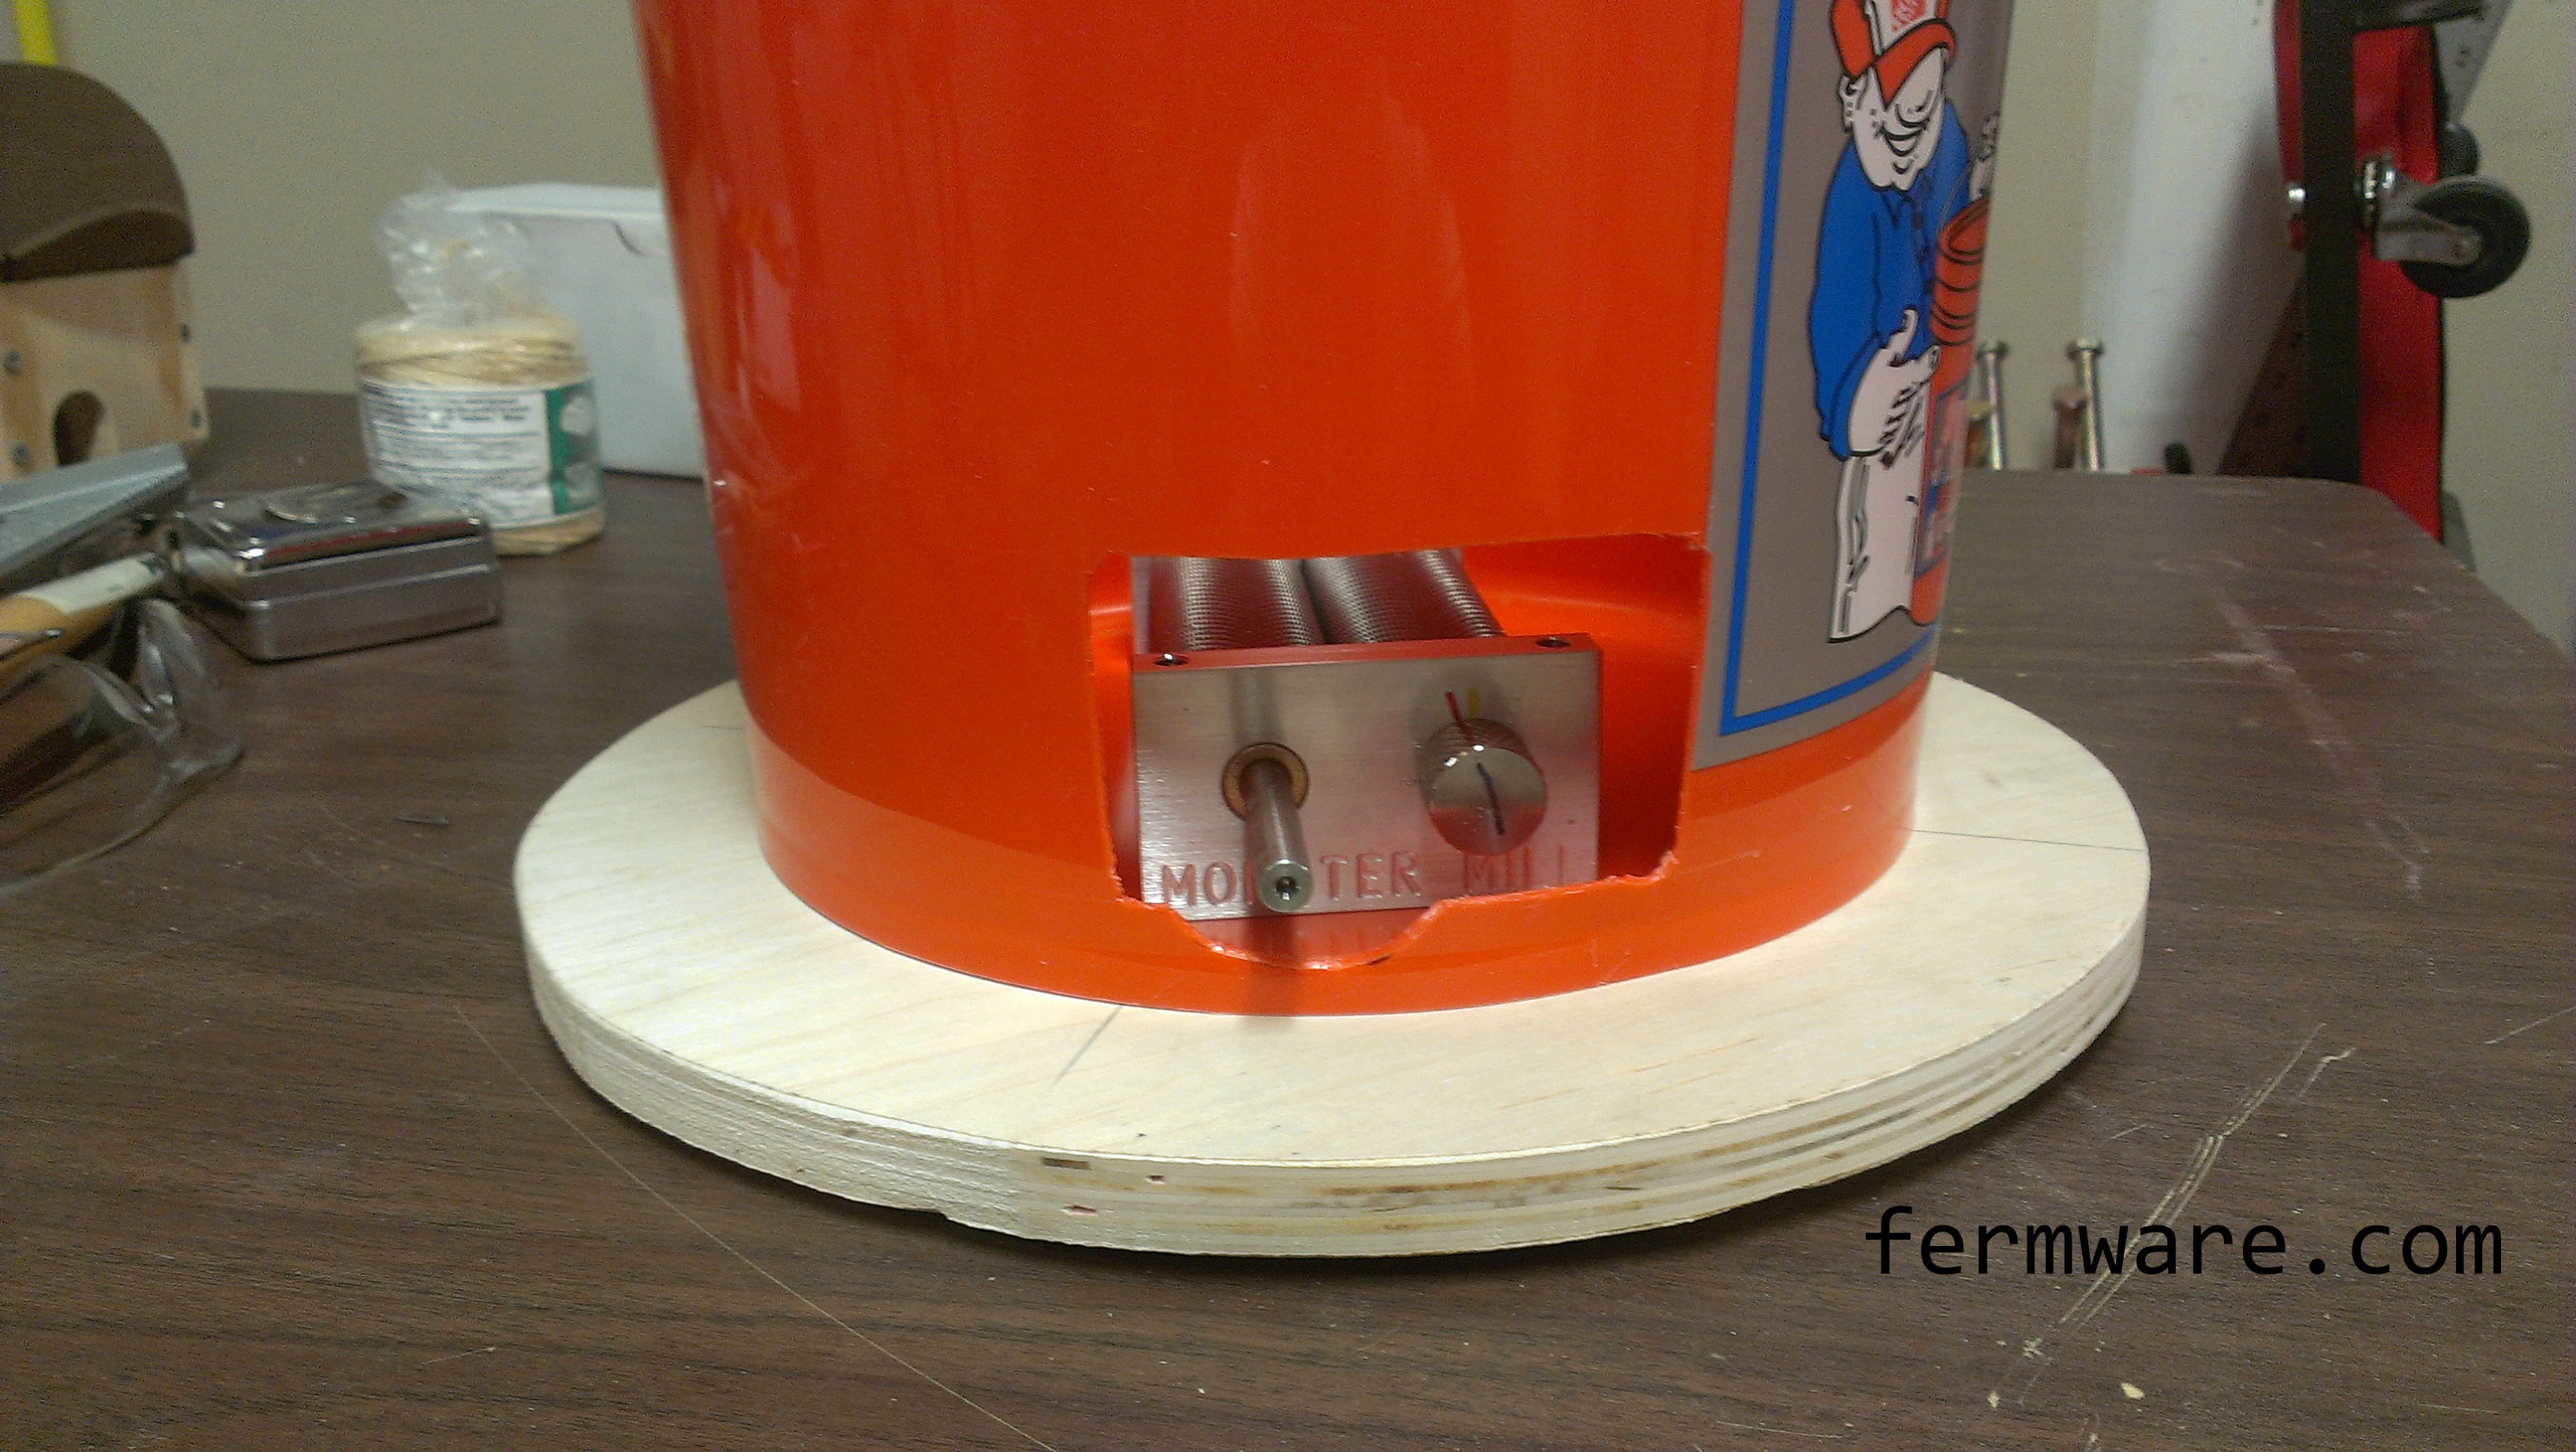
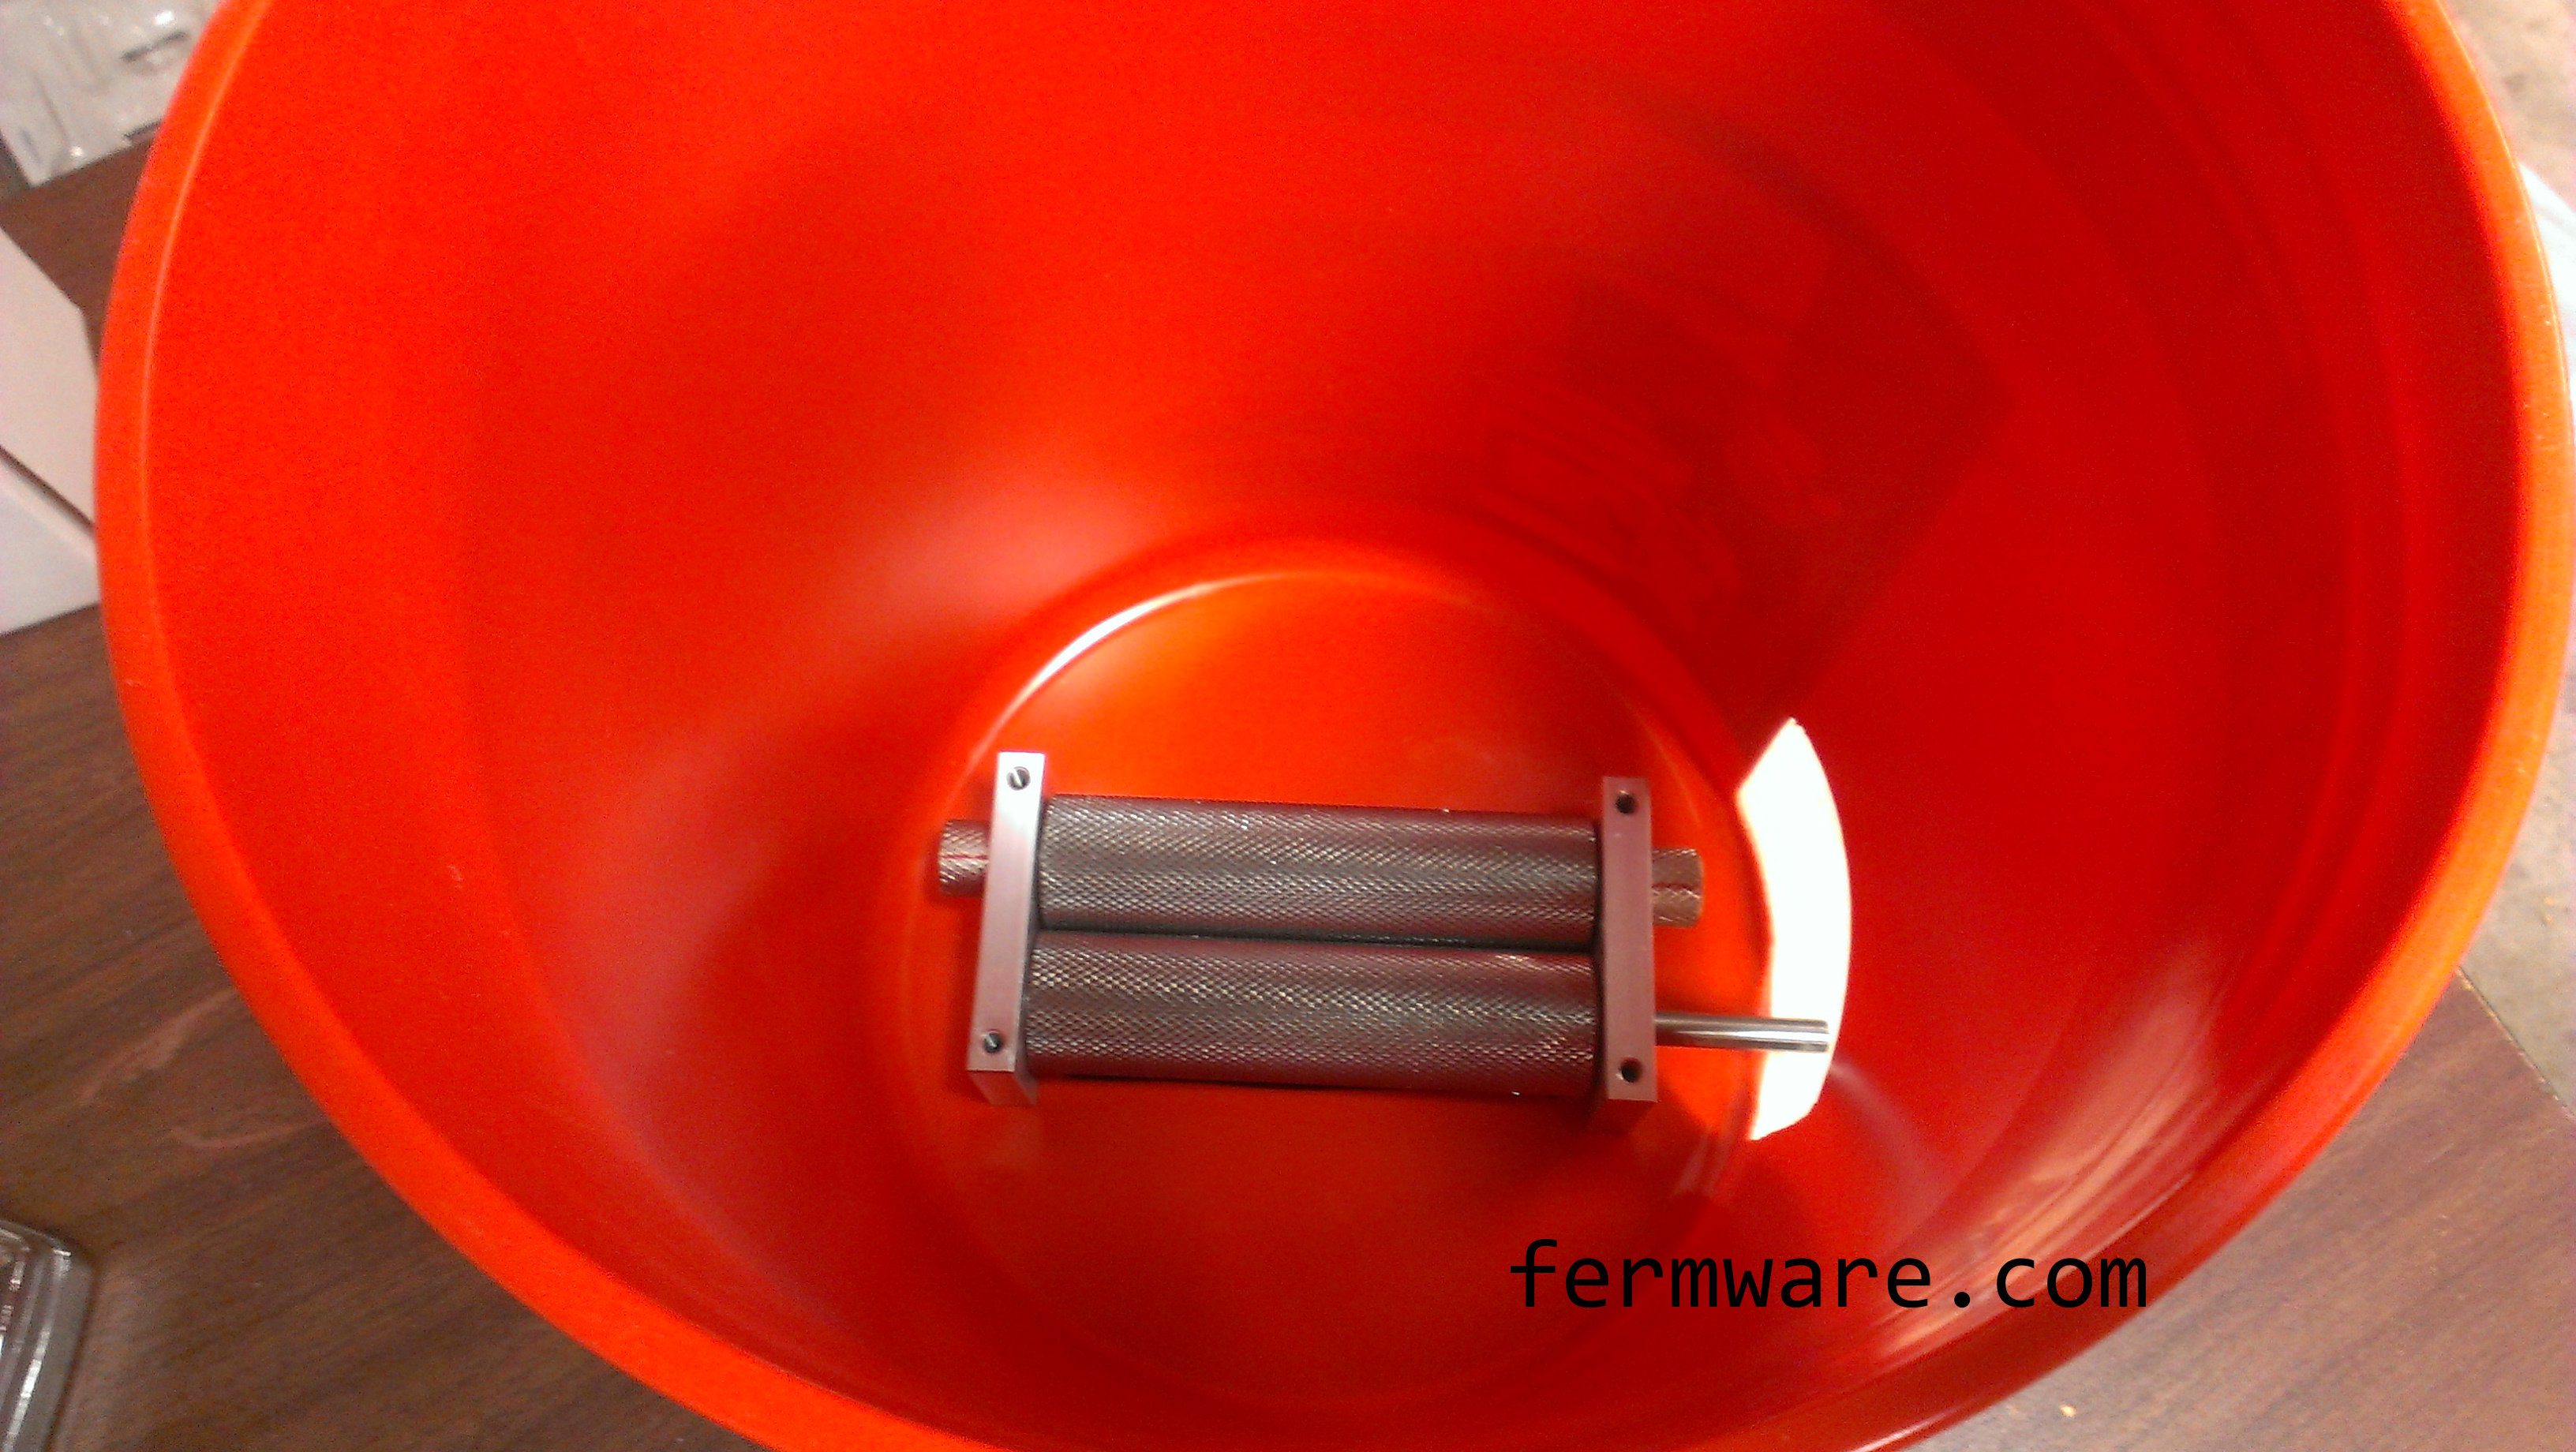
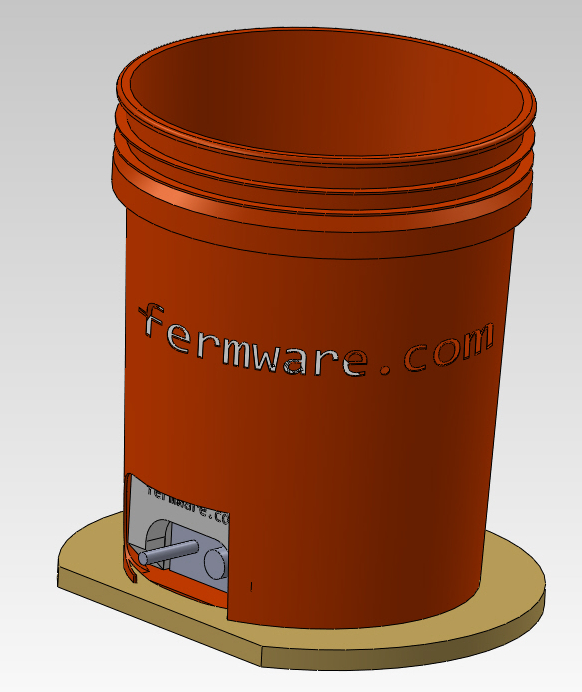
What we’re building here:
Video of the process:
COMING SOON!
How to do it:
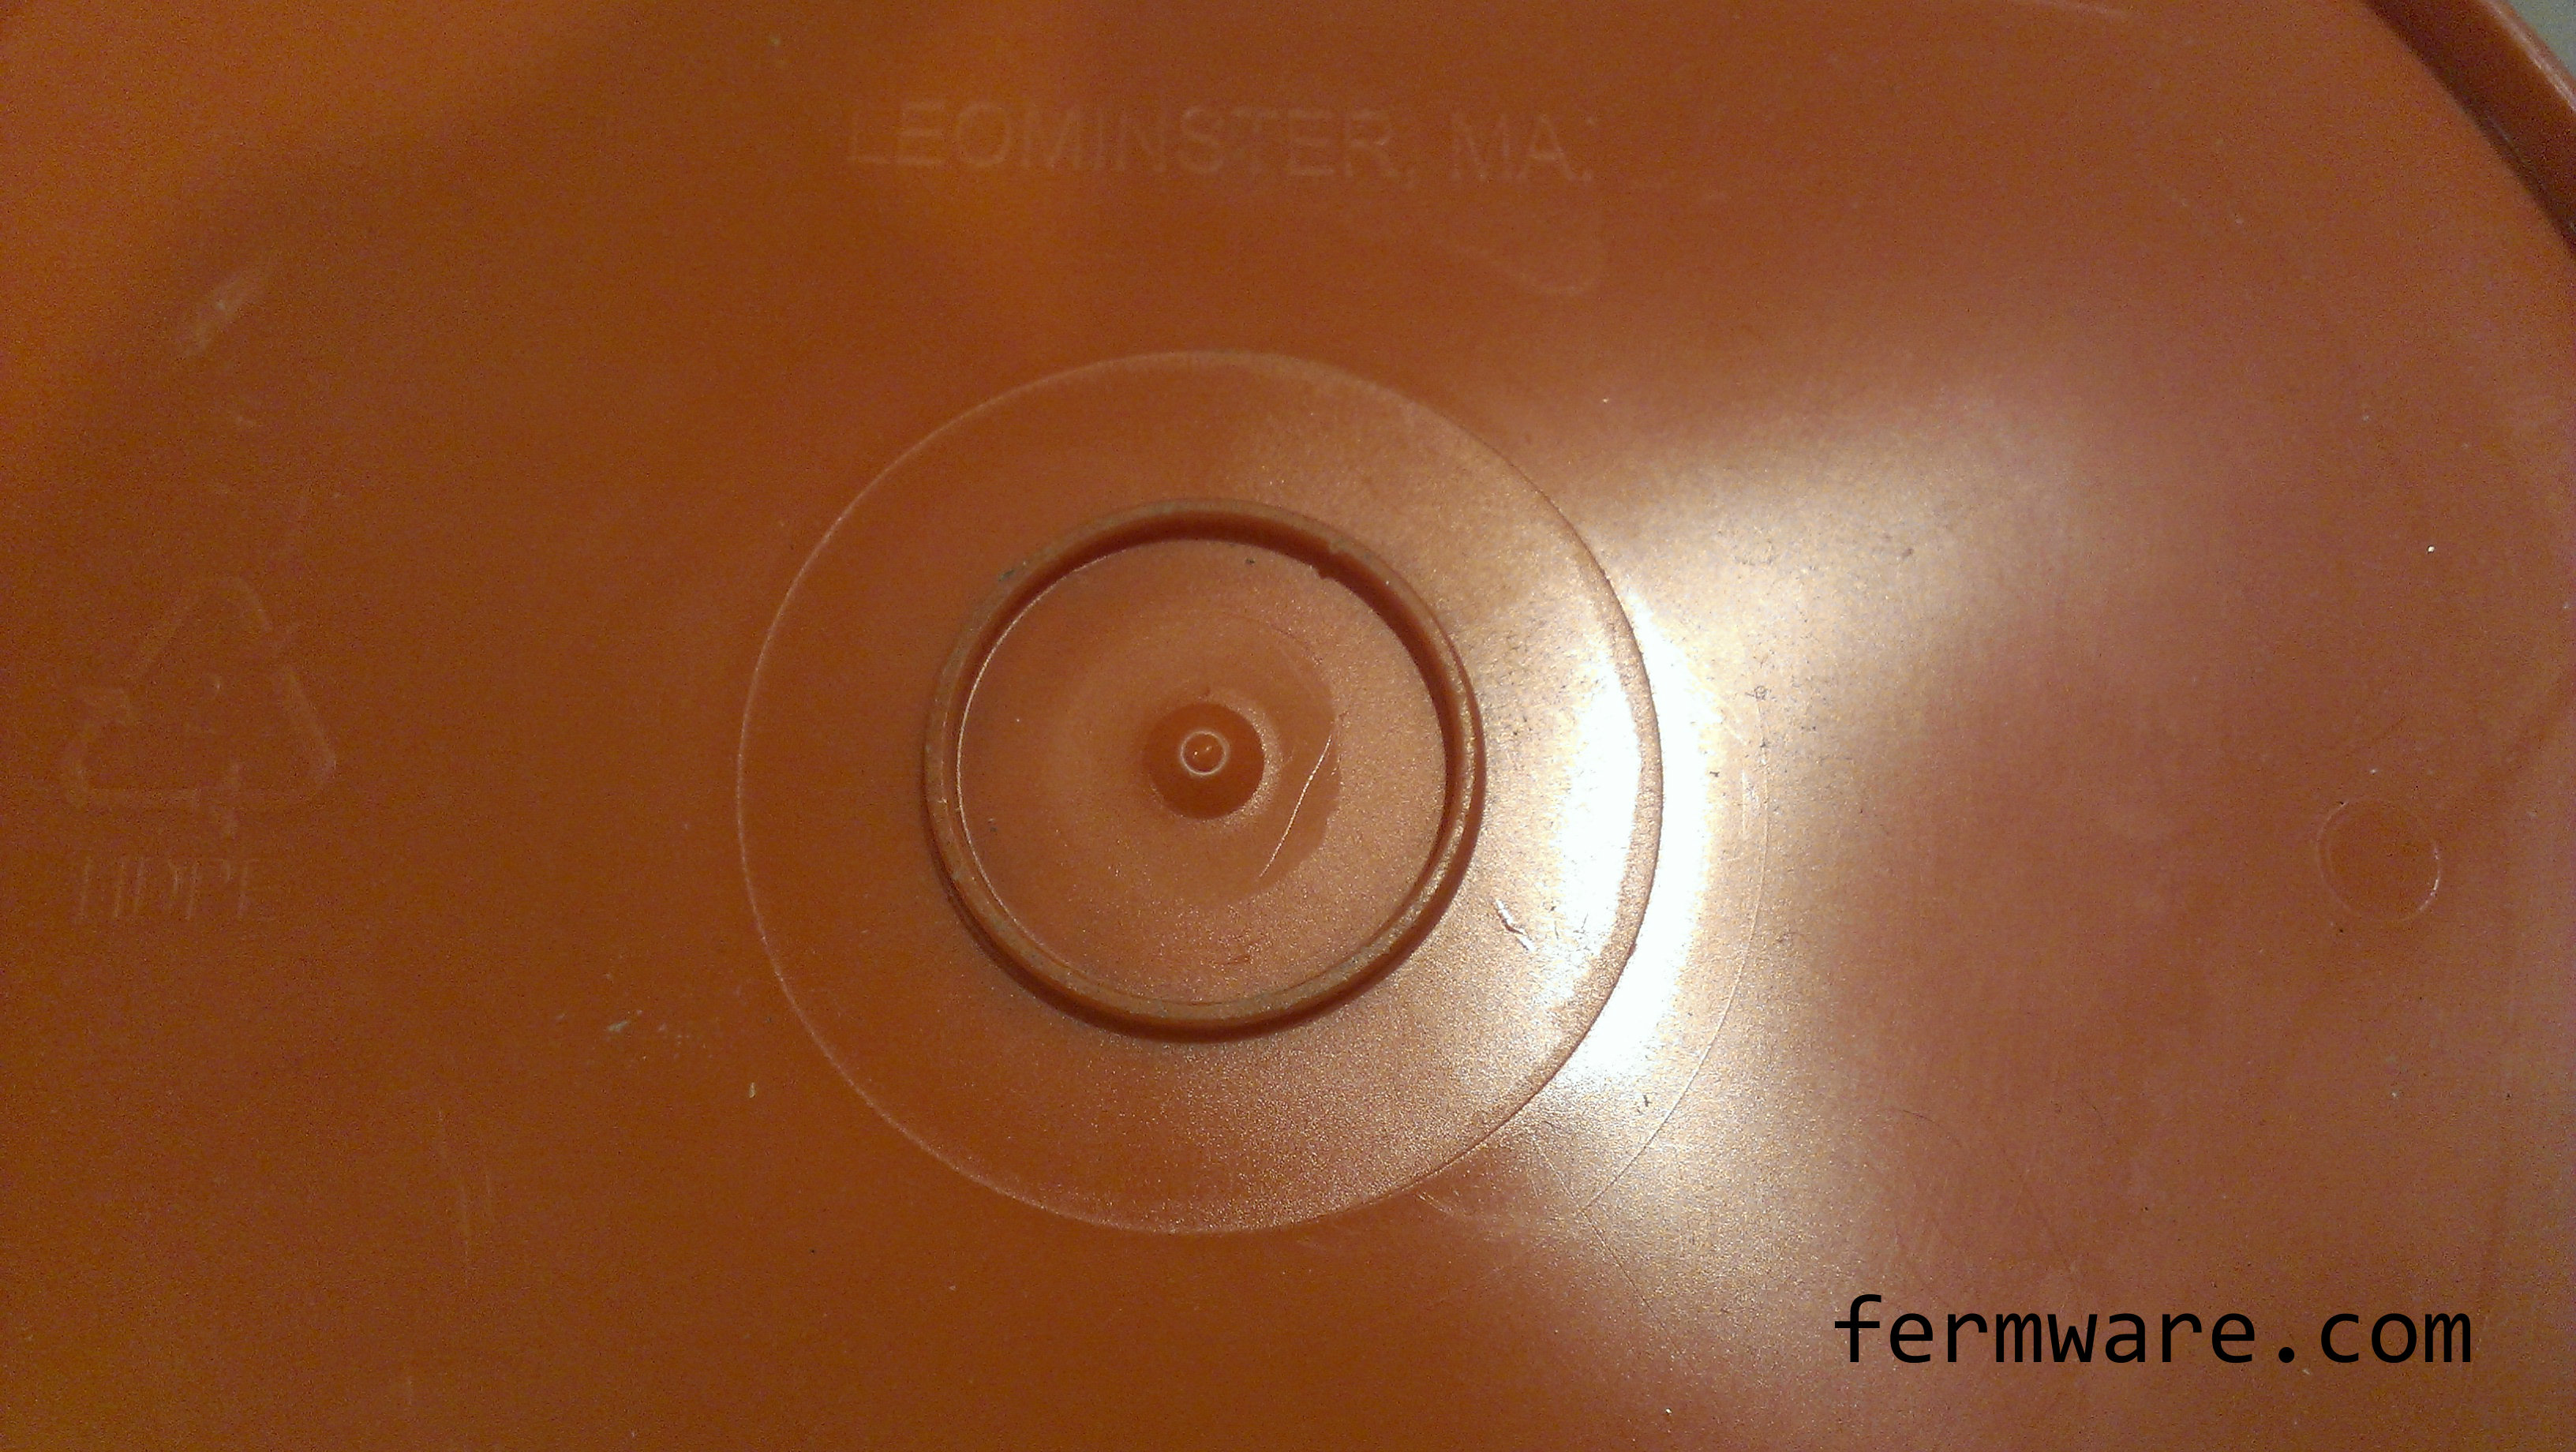
First, print out the window template. You’ll want to cut out the very center in order to line it up with the center on the bottom of the bucket.
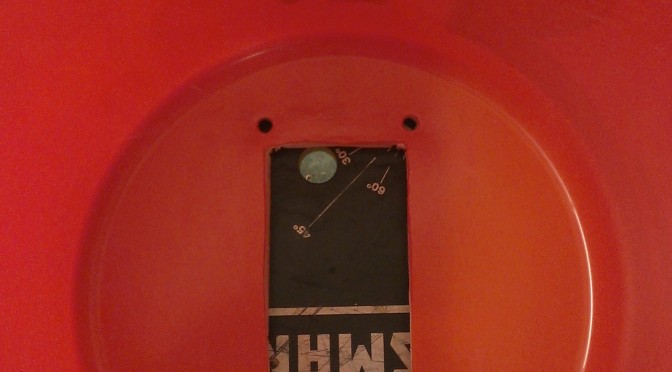
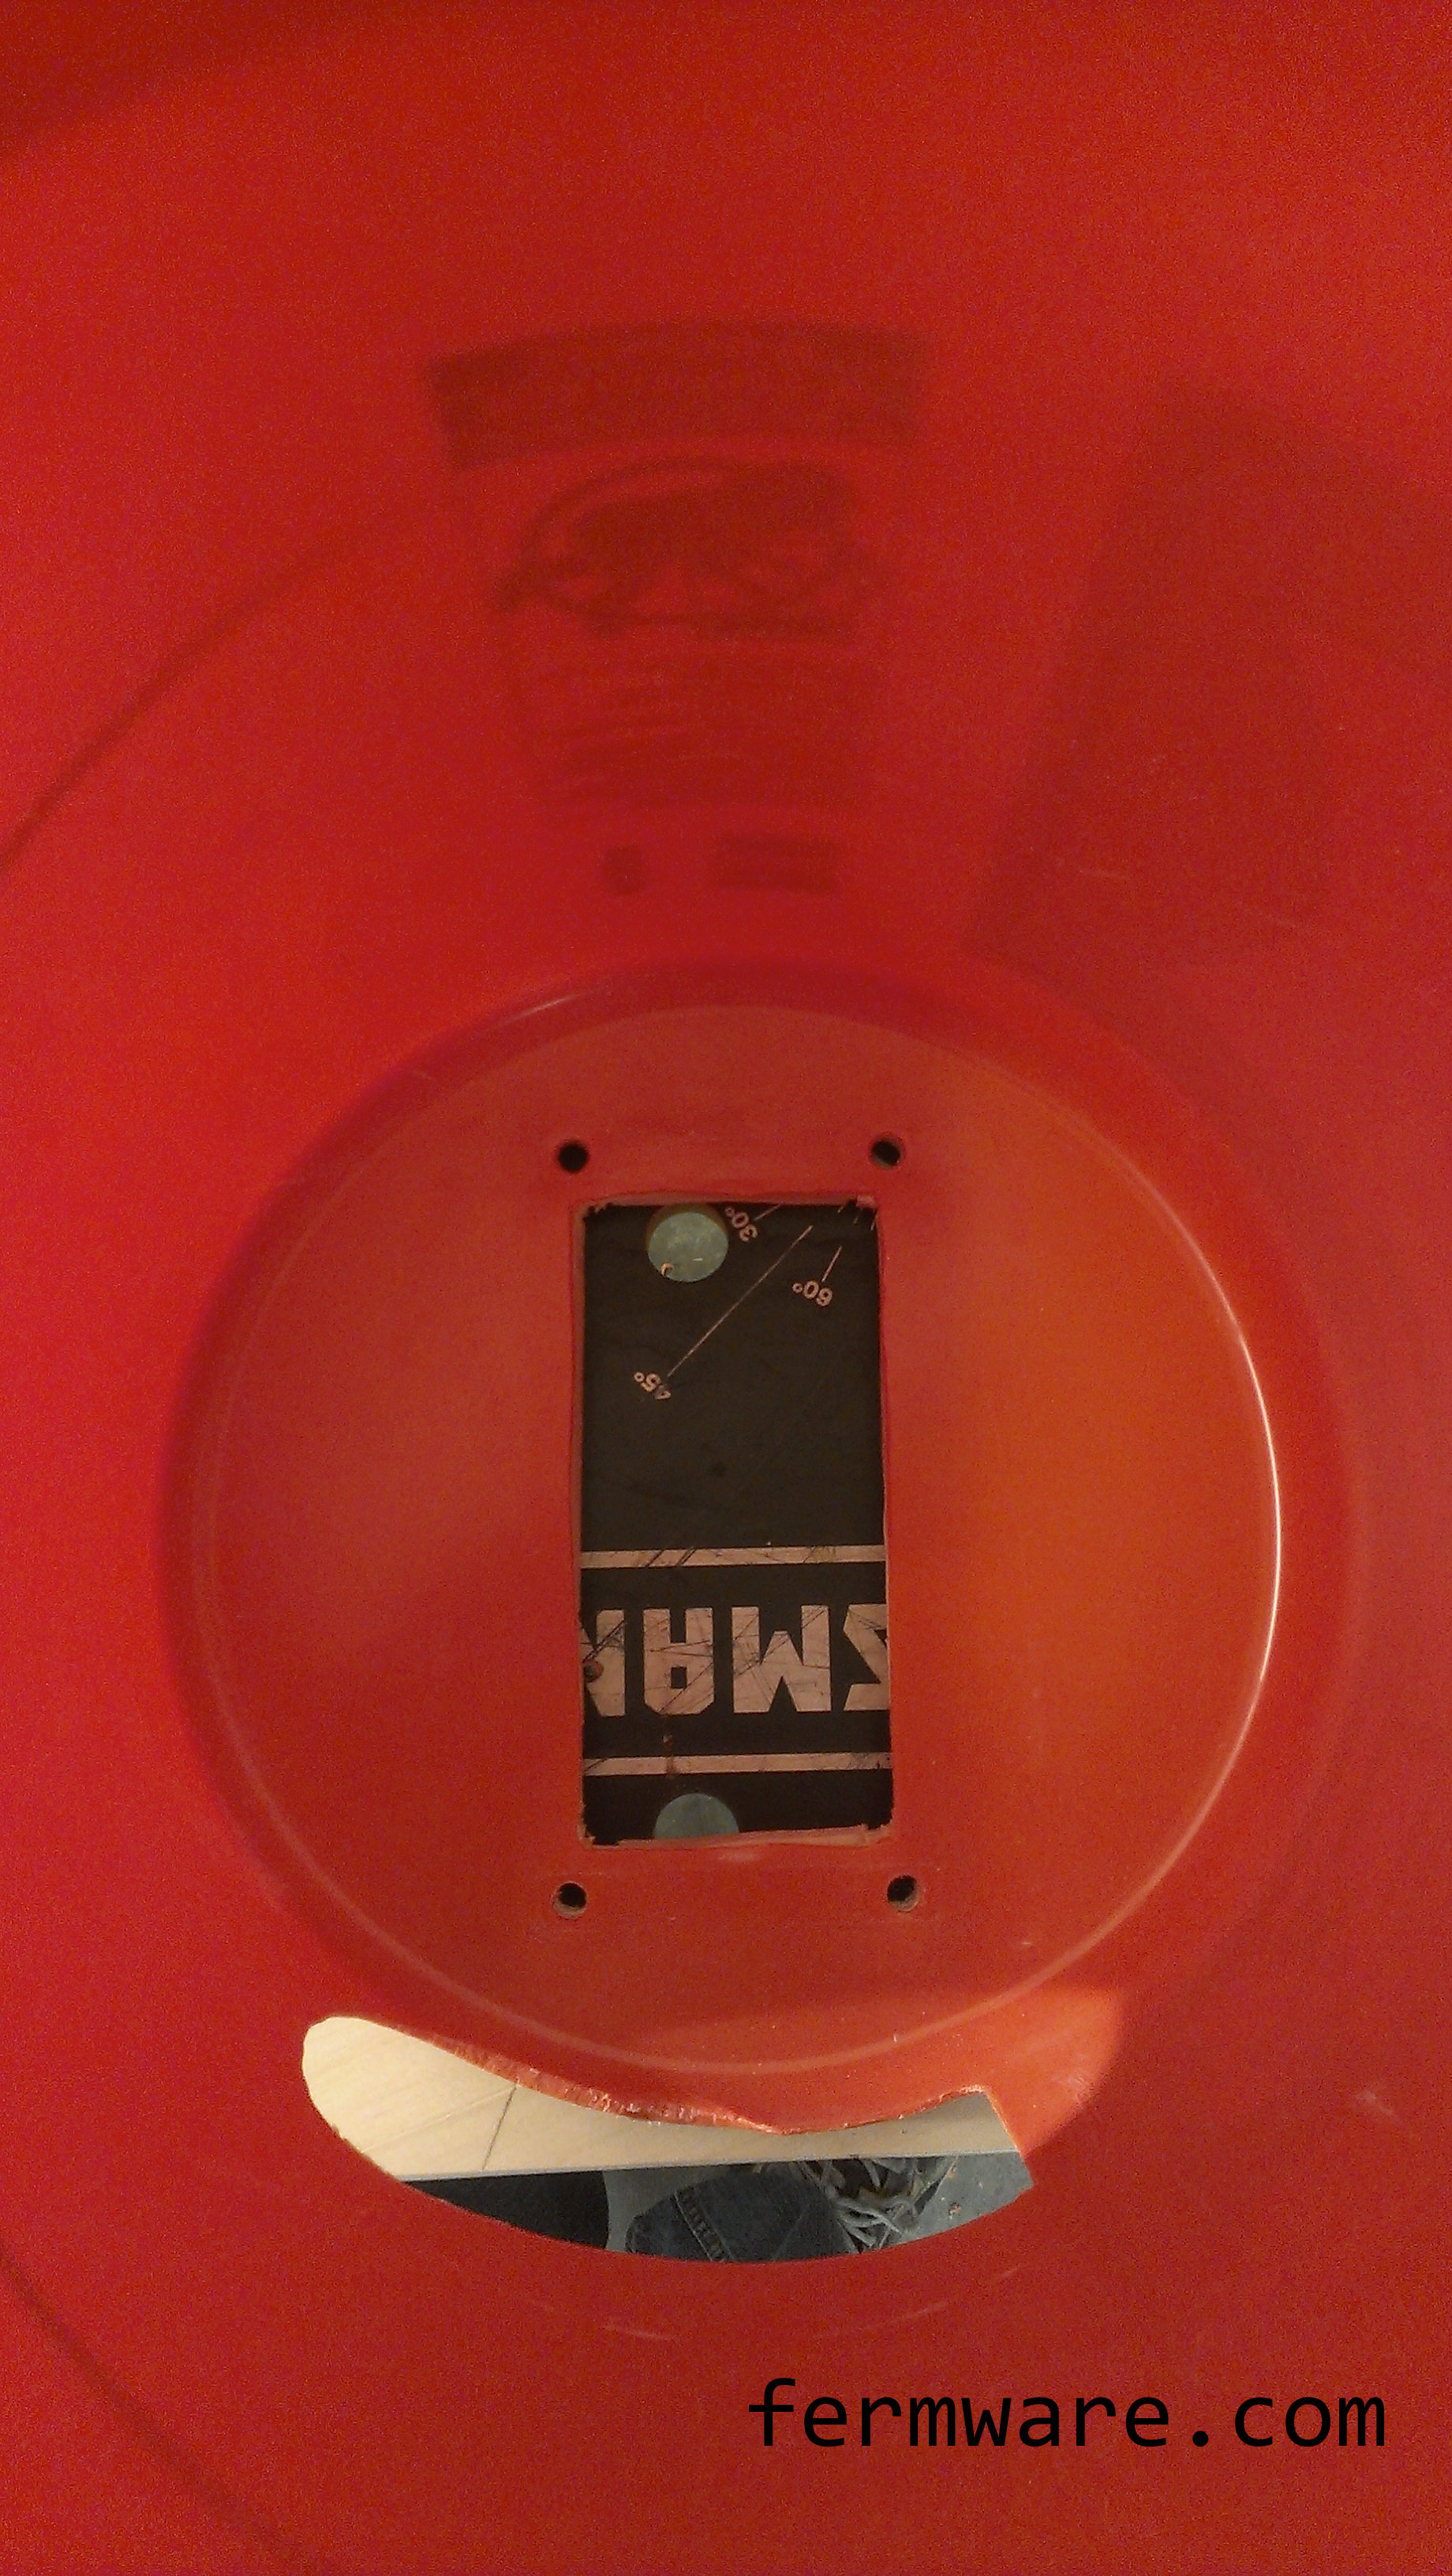
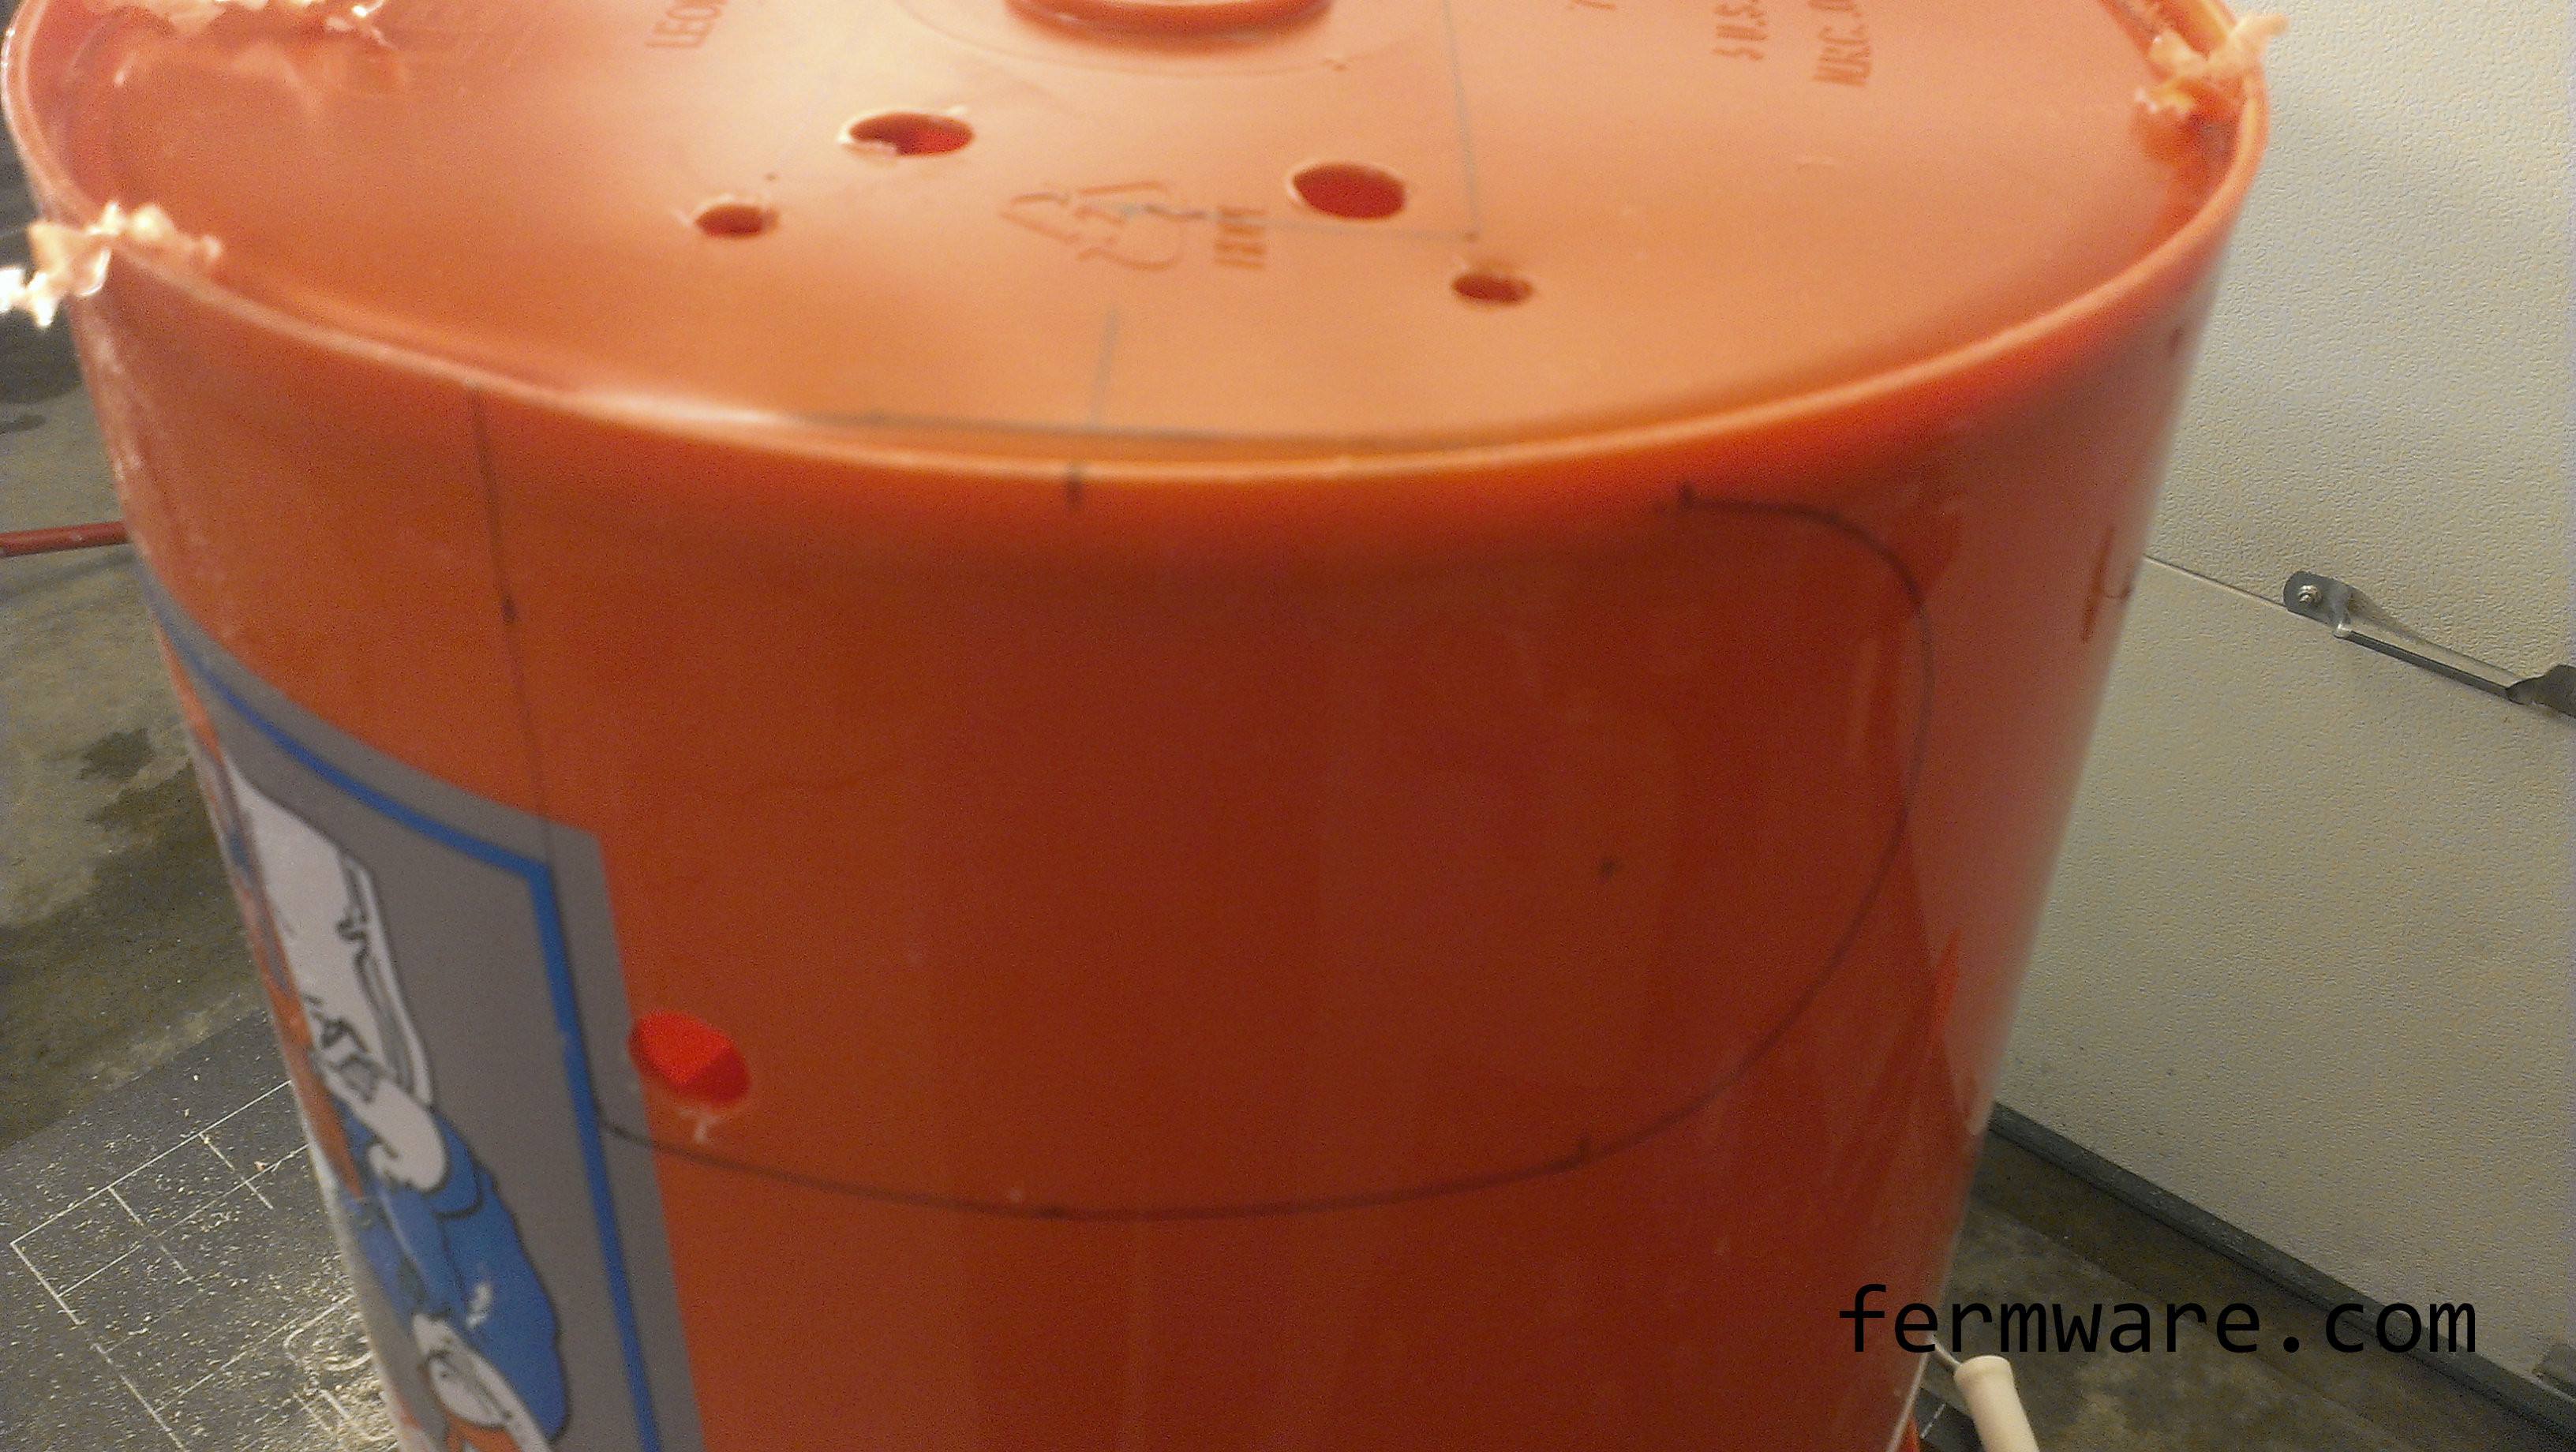
If you have a transfer punch, you know what to do. If you don’t, just transfer the pattern to the bottom of the bucket in order to be able to cut out the large rectangular window and drill the 4 holes.
You’ll want to make sure that you align the side window with the window on the bottom of the bucket. As you can see, I’ve traced all the lines out with a permanent marker.
Just inside of the lines, I’ve drilled some larger holes that are big enough to get the blade of my jigsaw through the plastic to get started.
Mark out the side window and drill a starter hole here as well.
Once you’ve got all your holes marked, go ahead and start cutting.
A WORD OF CAUTION!:
Cutting this bucket with a jigsaw is not exactly fun, safe or appropriate. Be extremely careful and keep your hand away from the blade at all times. If you have a way to secure the bucket while you are cutting, please do so. Alternately, you may have some other better way to cut the bucket.
When you are done, you can use a deburring tool to clean up all of the edges you cut and drilled.
If you are brewing all-grain and want to gain consistency with your efficiency and want to save money in the long run, you should be milling your own grain (assuming you are buying some grains in bulk). Most grain mills can be purchased without a hopper, which in my opinion is a good thing, because I was not satisfied with most of the hopper designs I have seen.
Less than $20 in materials for the hopper assembly. The cost will most likely be less, especially since you probably have scraps of material around your garage that can be used. You’ll also need some mounting hardware that is readily available.
Components:
Home Depot Homer Bucket (approx $3)
You may want a lid, which will set you back another $1-2
5/8″ plywood, big enough for 14″ diameter. You can go thinner or thicker. Use scrap wood or find a 24″x24″ square for maybe $10 at the hardware store. I used some nice birch, but only because I had it around.
4x 1/4-20 x 0.75″ length stainless socket head cap screws or hex head
4x washers for 1/4″ bolts ($1-$5 for screws and washers depending on where you shop) *You don’t have to use stainless for the screws or washers, I just got stainless so they didn’t rust while being stored outside in the garage.
2x 1/4-20 x 1/2″ long Cup Point Set Screws (to replace the thumb screws on the Monster Mill).
Of course you are probably pretty thrifty, so review the steps laid out and you may have a preference for another tool to get each task done!
Discussion:
This is a guide to my hopper design using the Monster Mill MM-2 and an Home Depot orange Homer’s bucket. The MM-2 is a great mill, but I did make a few easy modifications that I’ll cover in another post**. This concept could be applied to other mills, but the design would obviously change a little.
I thought I could cover this project in just one post, but it has become clear that it will be a multi-post instruction guide. I will keep this as the master post to keep modifying and add links to the subsequent posts as they are available. The final post will include a package of downloadable CAD files that can be printed and used as cut-out templates.
**Please note: Monster Brewing now has a version 2.0 of the MM-2 that partially addresses some of the modifications that I had made to mine. If you don’t have version 2.0, you’ll want to replace the thumb screws with the set screws I mentioned in the components.
Here are the advantages of this hopper:
Uses a commonly available bucket
When you are done, you can put a lid on the bucket and have it all self-contained
Low dust design while milling
Design utilizes the entire roller area, instead of just a small section like with funnel based hoppers
With the mill inside the bucket, it allows the bucket to sit flat and gives more stability
Allows for using a power drill to drive it
Holds an entire grain bill for most 5 gallon batches (19-20 lbs)
Mills that grain in just under 2 minutes*
Low cost
No shaking involved to get grain to rollers
How it works:
Get a fermenting bucket or another HD/Lowe’s bucket as the receiving bucket
Place hopper assembly on top of the bucket and connect your drill*
Pour grain into the hopper and get milling
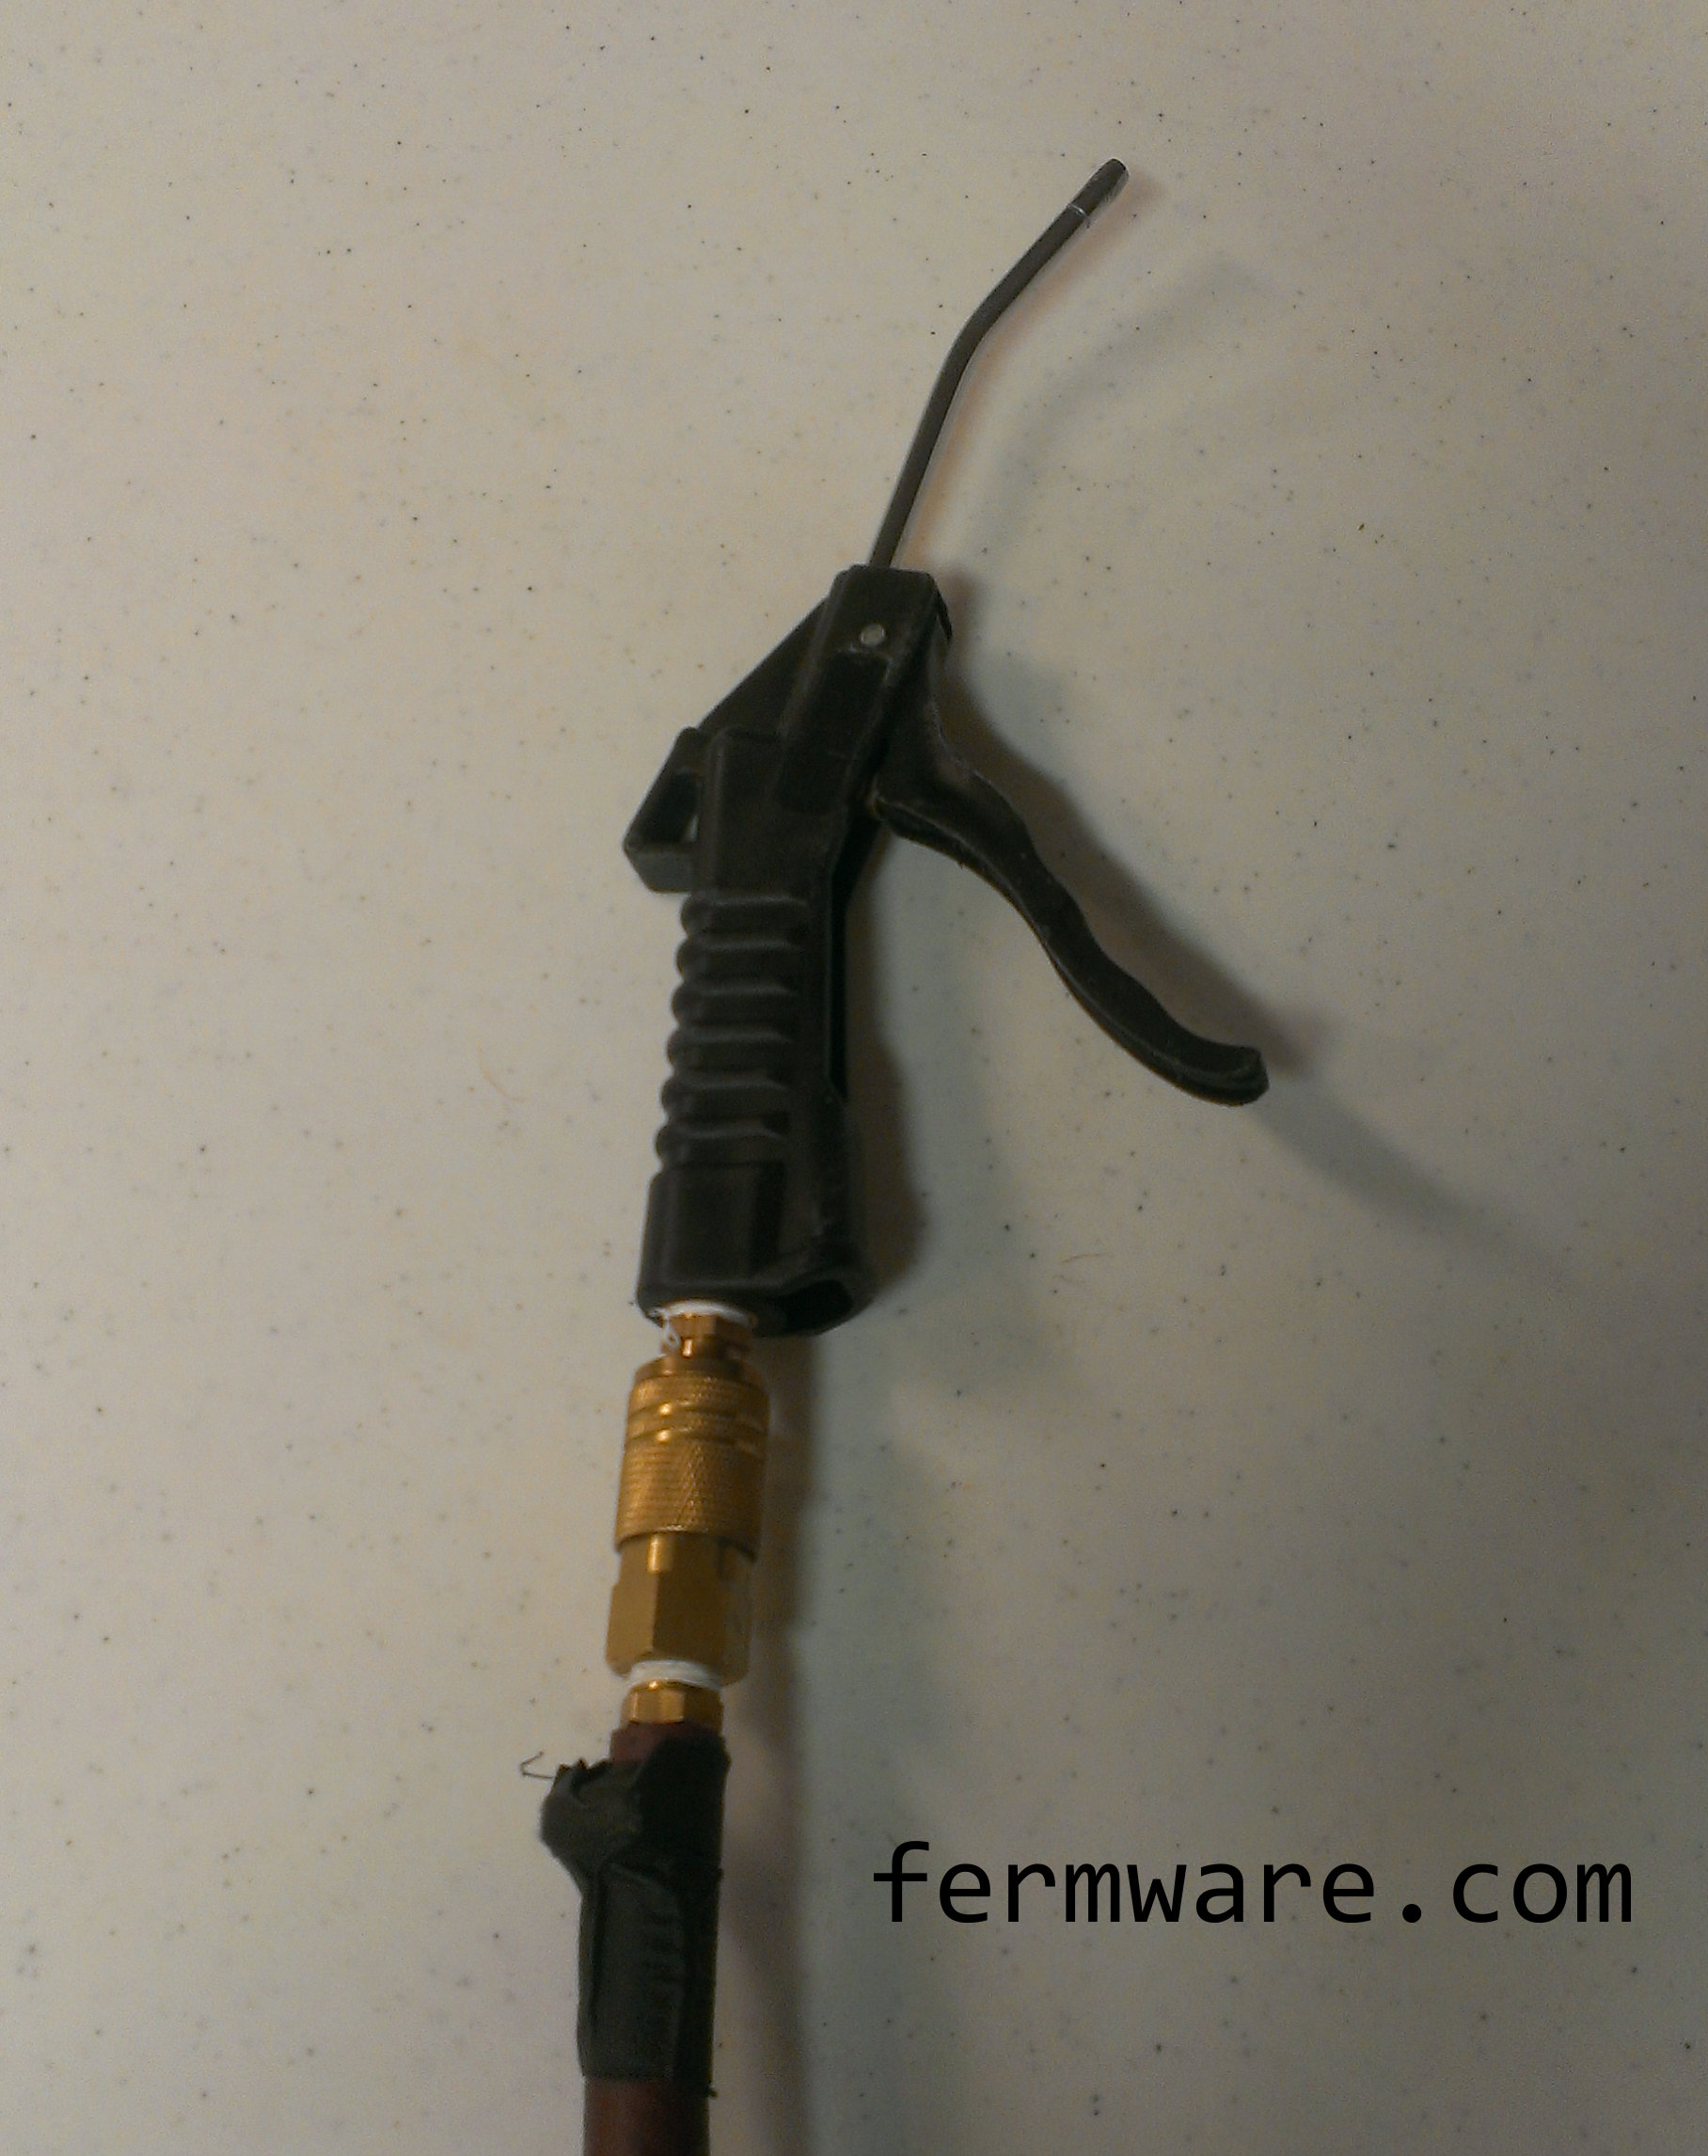
For clean up, I usually just use my shop air and blow all of the dust and uncrushed grain out. OUTSIDE OF COURSE! AND CLOSE YOUR EYES!
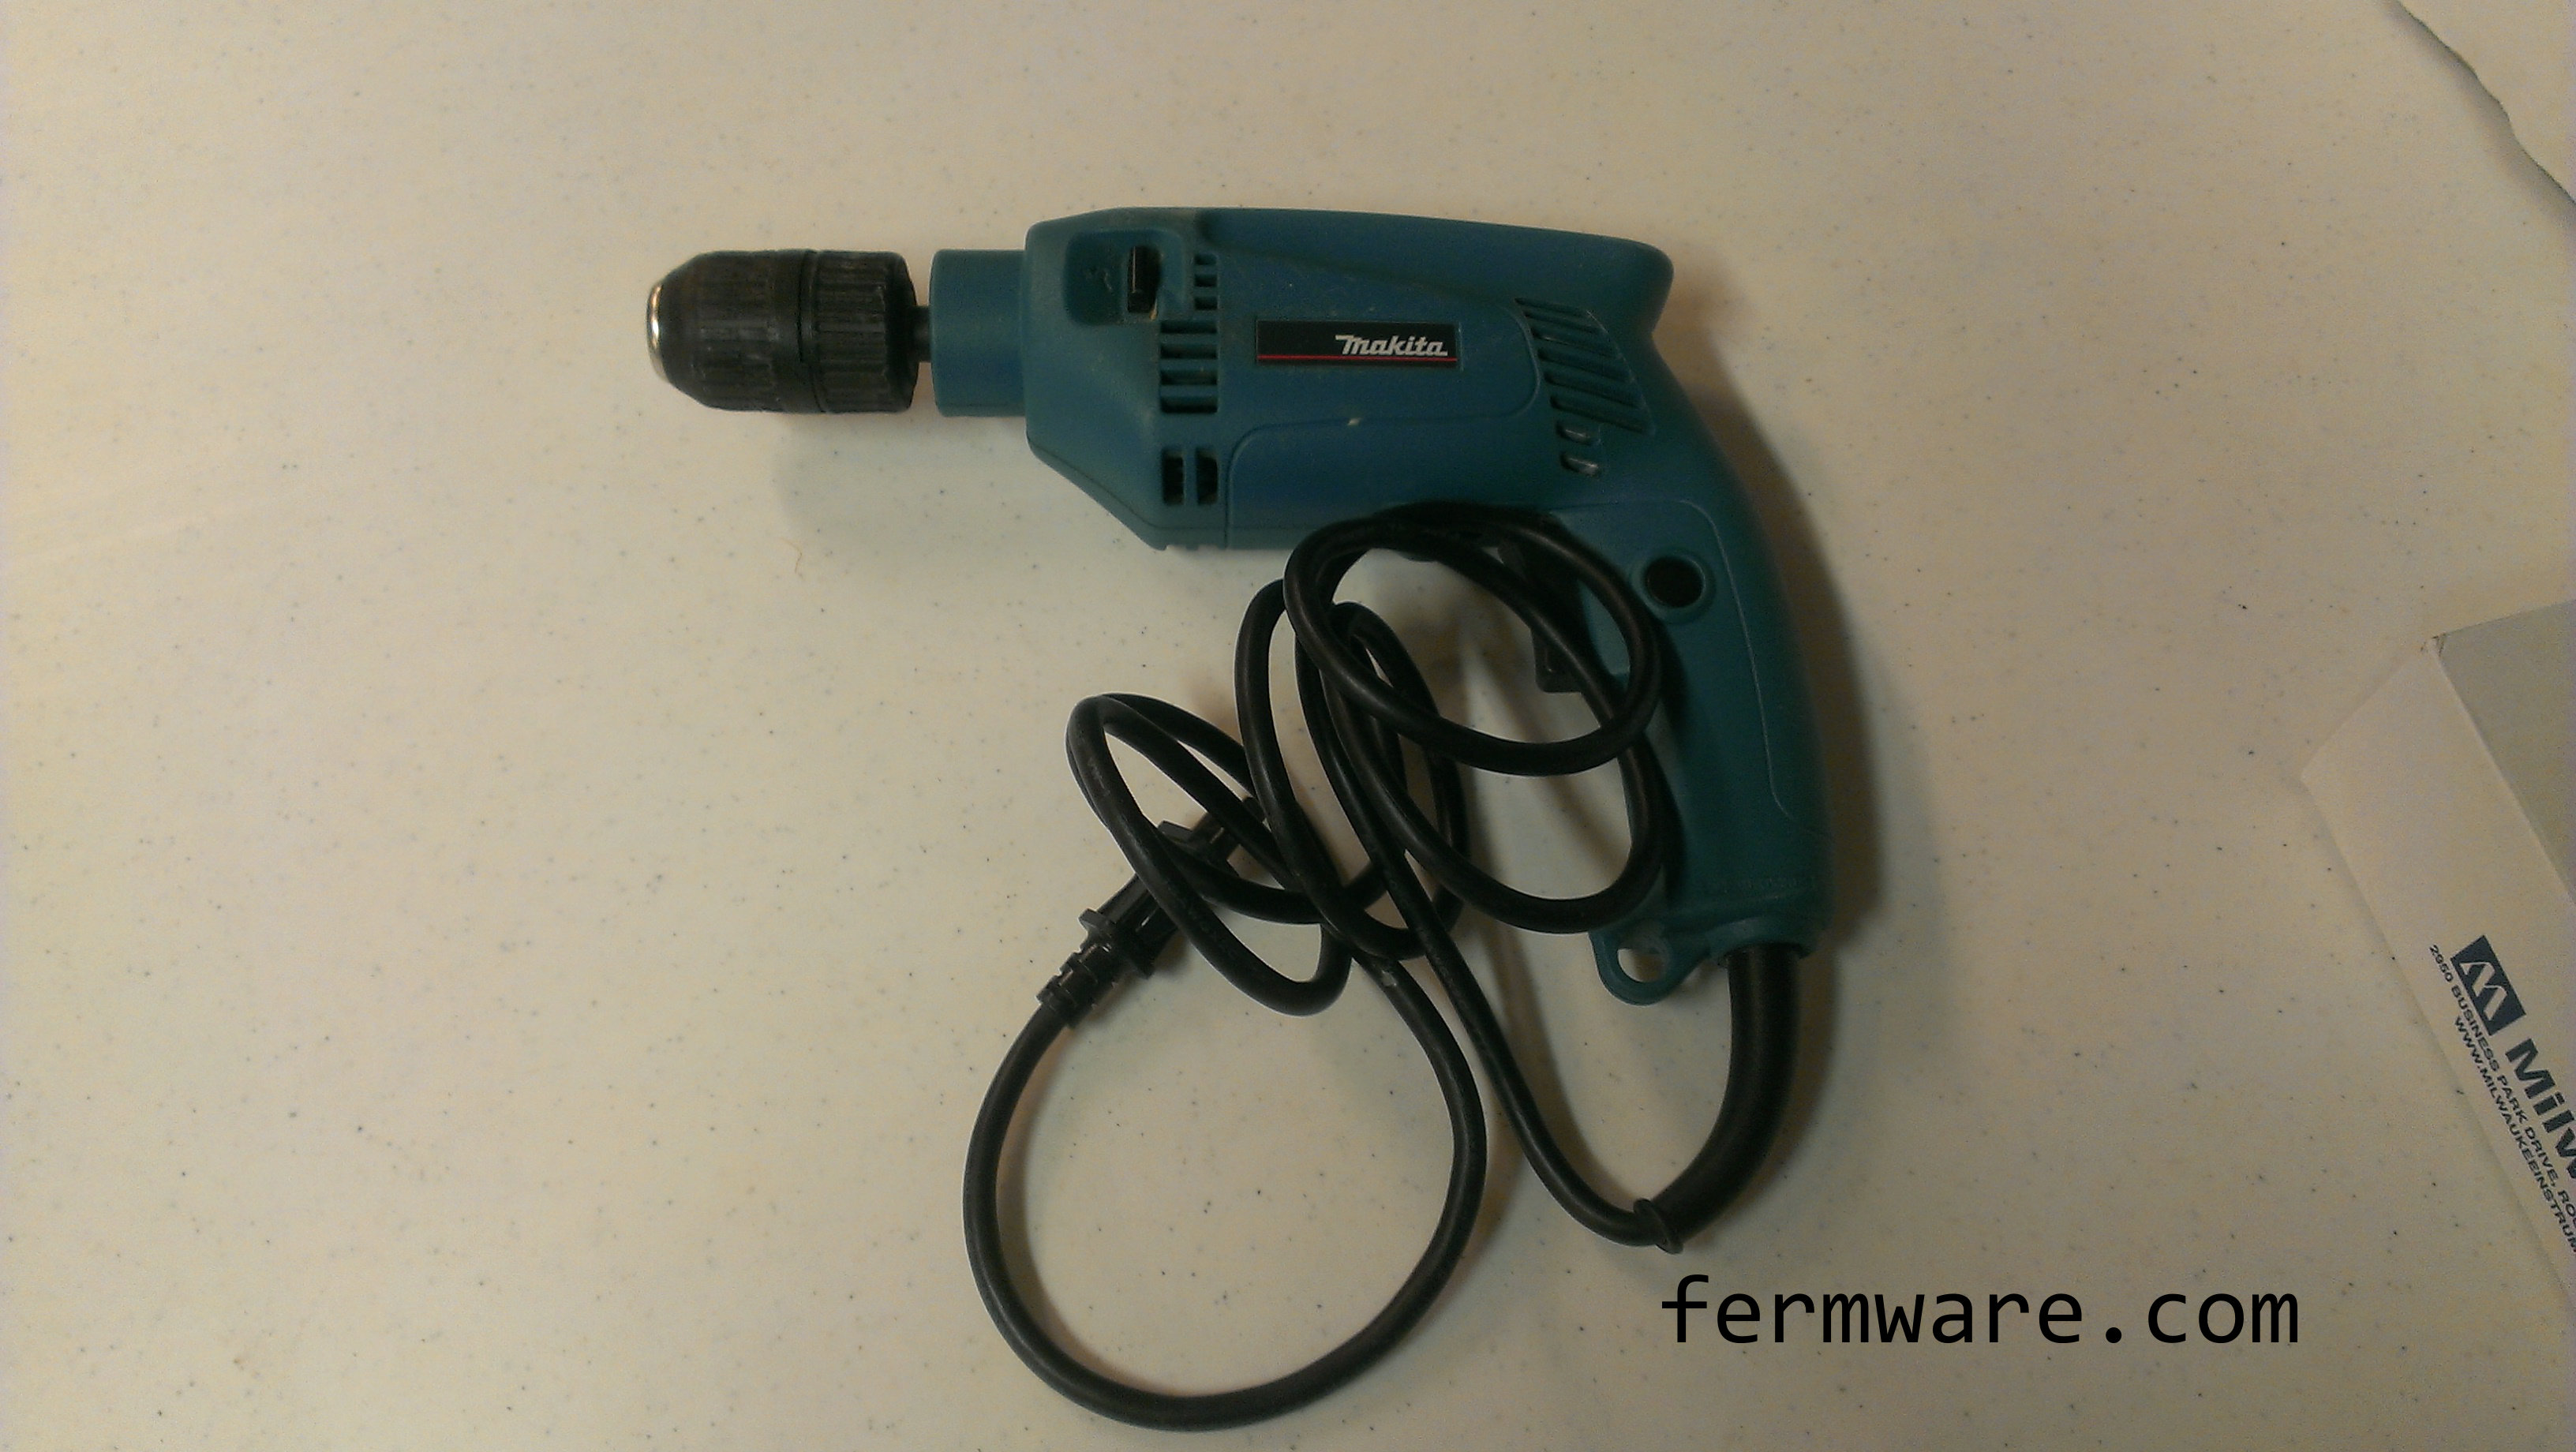
*Drill Power:
I personally chose a corded drill due to the higher torque they generally have. My only corded drill however was a Makita hammer drill and it is definitely overkill, but I used it on normal drill mode. DO NOT USE HAMMER DRILL MODE! The speed of this drill is pretty fast, so when I mill, I pretty much have to modulate it to the lowest speed possible. I can’t tell you exactly what that speed is in RPM, but it is the slowest I can go without stalling the motor.
Action Sequence:
Here is my Homer Hopper in action. This particular batch was for my Rye PA and consisted of 17.66 pounds which took 94 seconds (5.3 seconds / pound)
Since I utilize the BIAB technique and don’t have to worry about stuck sparges, I use a smaller gap of 0.035″.
Cleanup of the hopper is simple. Especially if you have compressed air.
I’ll be breaking the construction into a few posts:
All files have a 2″x2″ square on the print so that when you print out on paper, you can measure to make sure your printer was printing to scale and at the correct aspect ratio.
The intention in making these files downloadable and free is for people to make this themselves or modify/improve the design to suit them.
This download is available through the Creative Commons Attribution-Non-Commercial license.
If you are interested in this for commercial purposes (i.e. you want to make money on my effort), I’m flattered, but please contact me first.
Be excellent to everyone!
Click on the download icon to agree to these terms and enjoy!
As long as it takes you to tear off a piece of tape and write on it
Background:
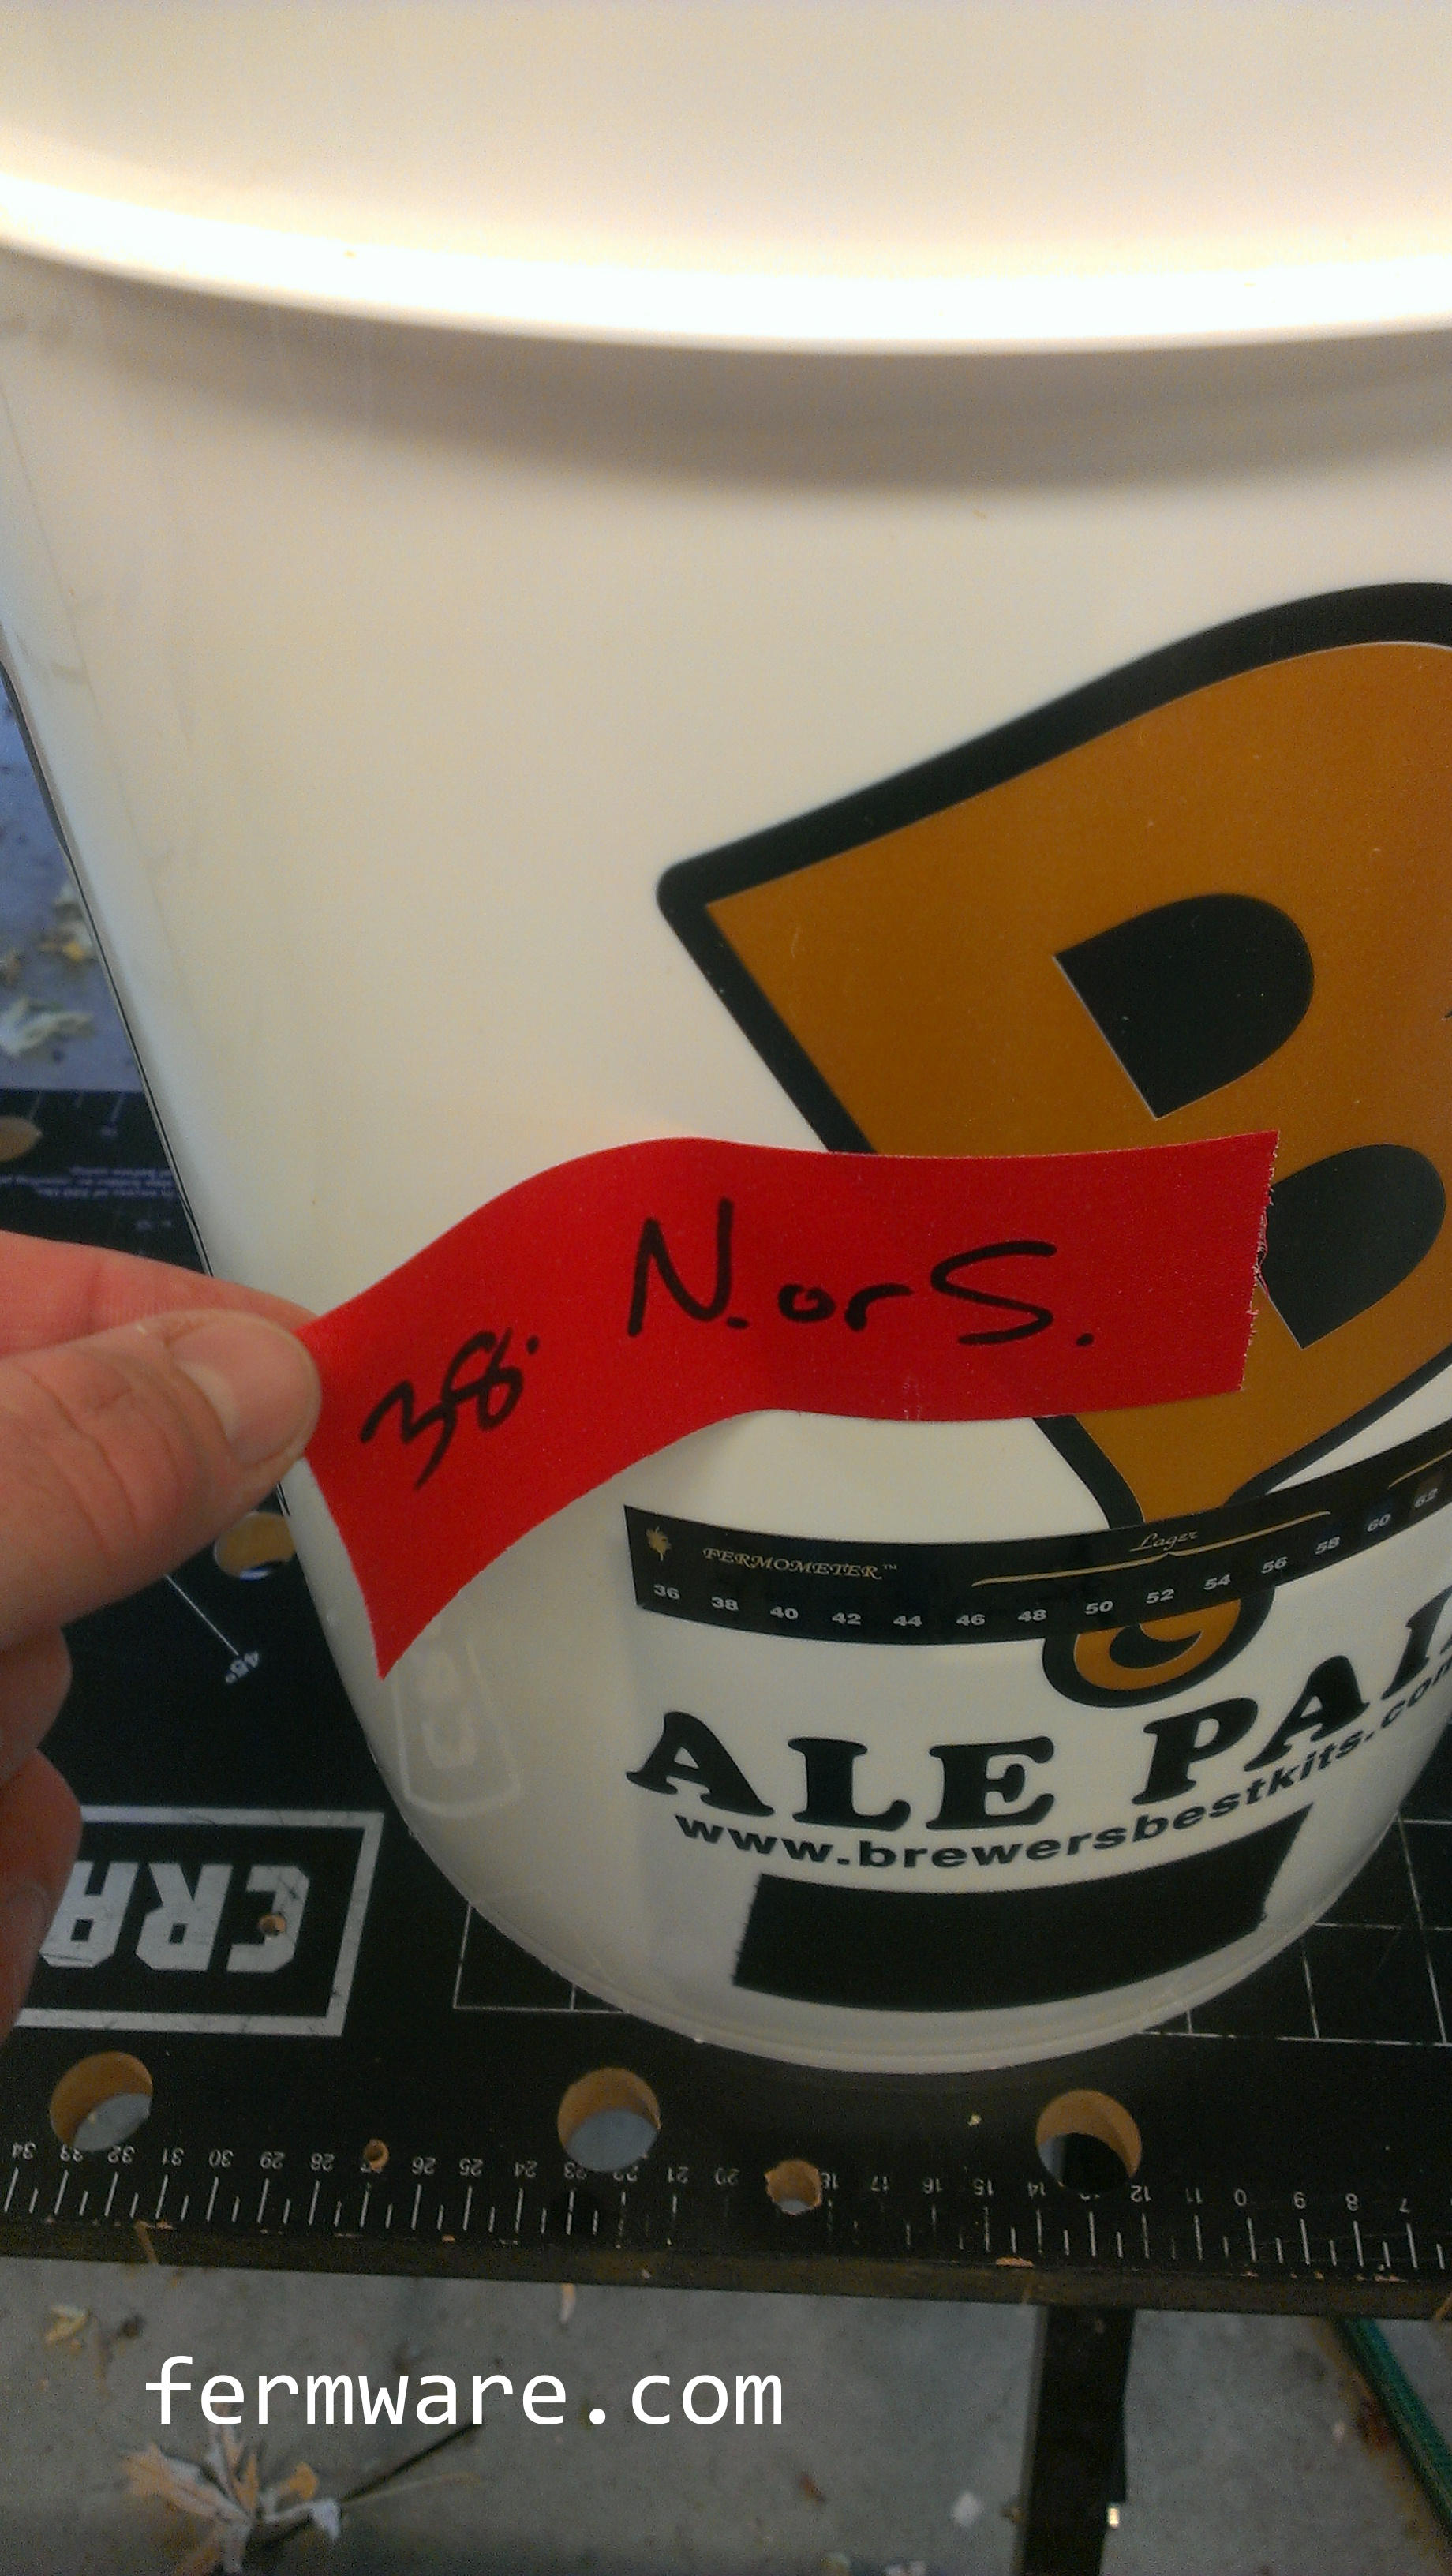
This is my method of keeping track of what is what by labeling my fermenting buckets that allows you to re-use the label when you transfer to a secondary then your keg.
*”mile an-hour” is the colloquial way to pronounce “miles per hour”
I was first introduced to this tape when I started working in IndyCar racing as a DAG (Data Acquisition Guy). When setting up the pits and timing stands, we would use it to tape down the various cords we would need to run along the ground so that people wouldn’t trip over them. It is a cloth-like tape that can be easily torn by hand and comes in different colors. The best thing about it though is that after sitting outside for 3 days in the sun, when you pull it off, it doesn’t leave the sticky residue that you get with duct tape, electrical tape, masking tape, etc.
It got it’s name from gaffer’s in the entertainment industry using it for pretty much the same purpose. You can also see it on NASCAR racecars when they go out for qualifying. They tape off the grille and other inlets when they do a qualifying run to reduce aerodynamic drag, at the expense of cooling.
Where to buy Gaffer’s tape:
Amazon
Hardware store
Racers supply store (most variety of color and best price)
Music store (the instrument kind, not the CD kind. If those still exist??)
*It’s typically about 3x the cost of duct tape, but in my opinion, much more useful. And keep in mind that sometimes, it the rolls have a lot more length of tape on them than duct tape or masking tape rolls.
Process:
Straightforward really…
Peel off a piece of tape, stick it on the fermenter and write on it with a marker.
Be careful however, the tape doesn’t absorb the marker fluid immediately and if you wipe across it, it could get on your fingers.
“N. or S.” is my Christmas Ale, Naughty or Spice. Cheesy name, but tasty brew! It should be carbonated in time for Thanksgiving! 38 is the batch number. Just a habit of mine and how I name them in my brewing software.
Peel off and re-apply
When transferring from your primary to your secondary, just peel off and re-apply to the secondary.
*Apply to a room temperature vessel. If you try to apply it to something cold, it most likely has condensation on it and the tape will not stick
No unsightly residue
“Can’t see the line, can you Russ?”
Keg labels
Same thing when transferring to your keg.
Visible enough in your keezer
**I do sometimes just write on the top of the keg with a Sharpie and wipe if off with acetone when I am cleaning the keg