This is part 2 in the series documenting how to create your own Homer Hopper. If you haven’t seen the introduction yet, please check it out. In this post, we’ll be cutting the required openings in the bucket.
Jig saw or oscillating tool
Drill with 3/16″ drill bit, maybe a 3/8″ or 1/2″ for starter holes for saw
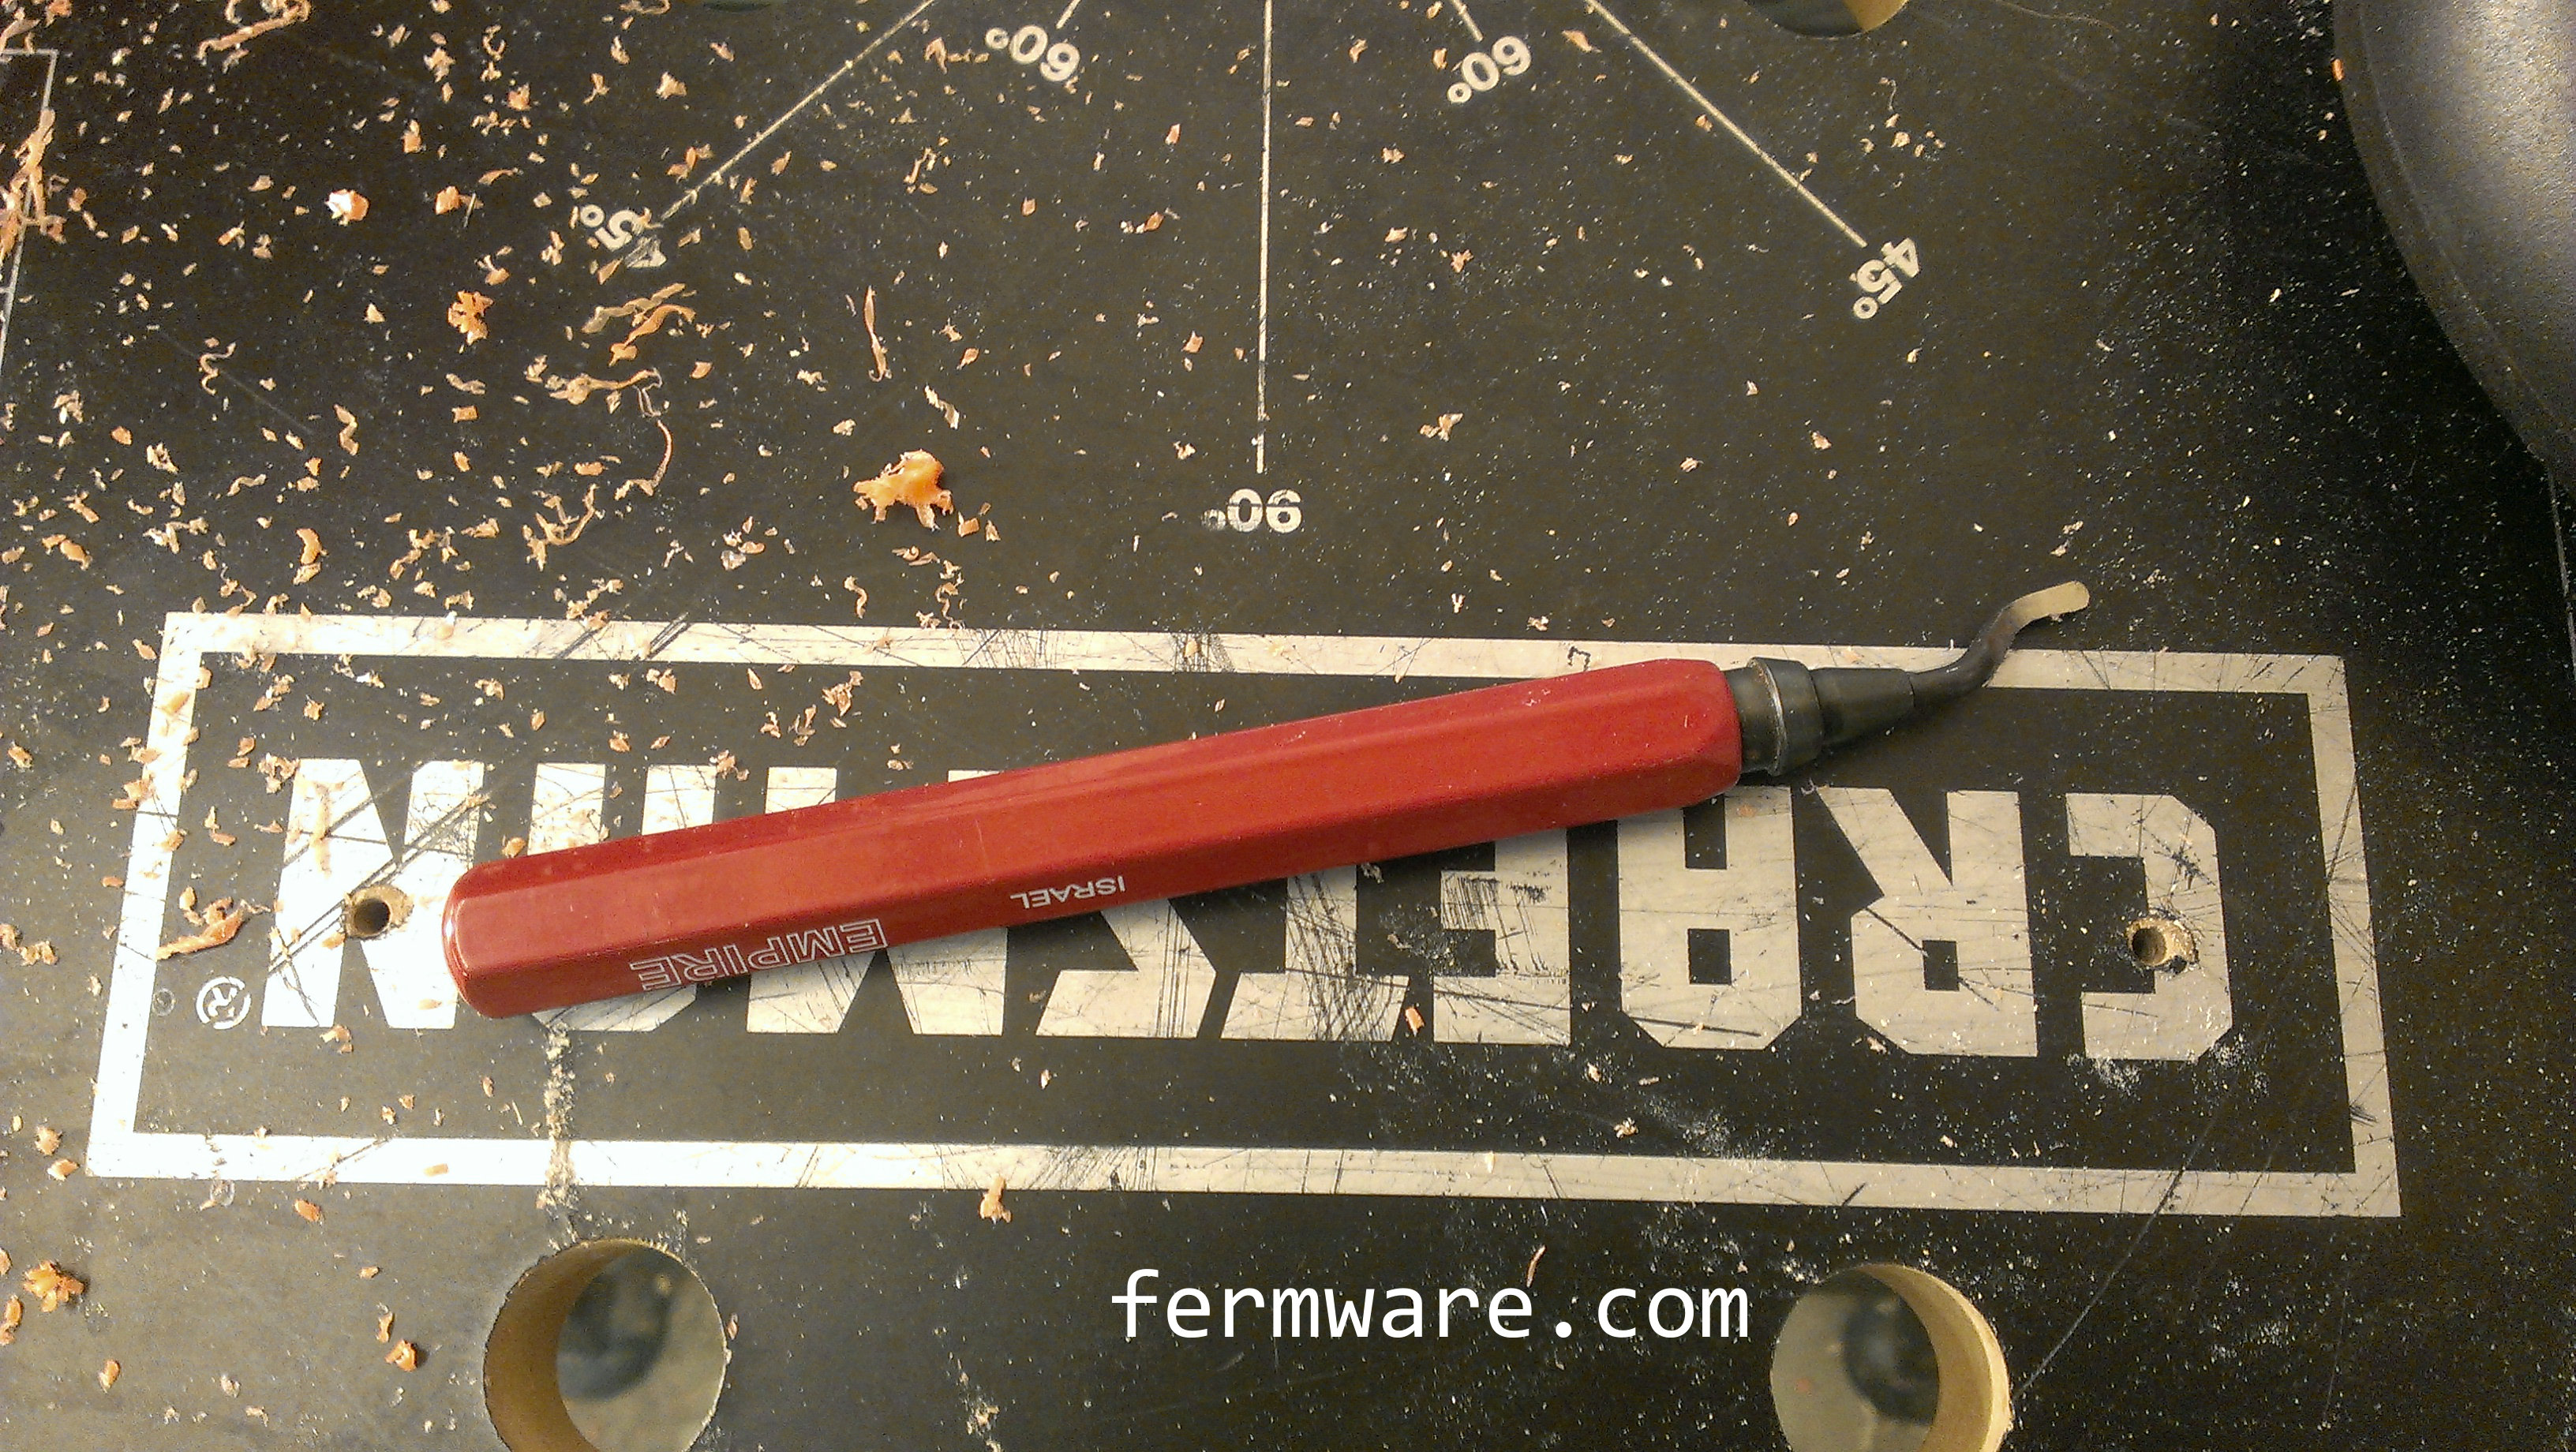
Deburring tool (optional)
Transfer punch (optional)
*All of the drawings and templates will be relocated to a final location after all of the posts are complete.
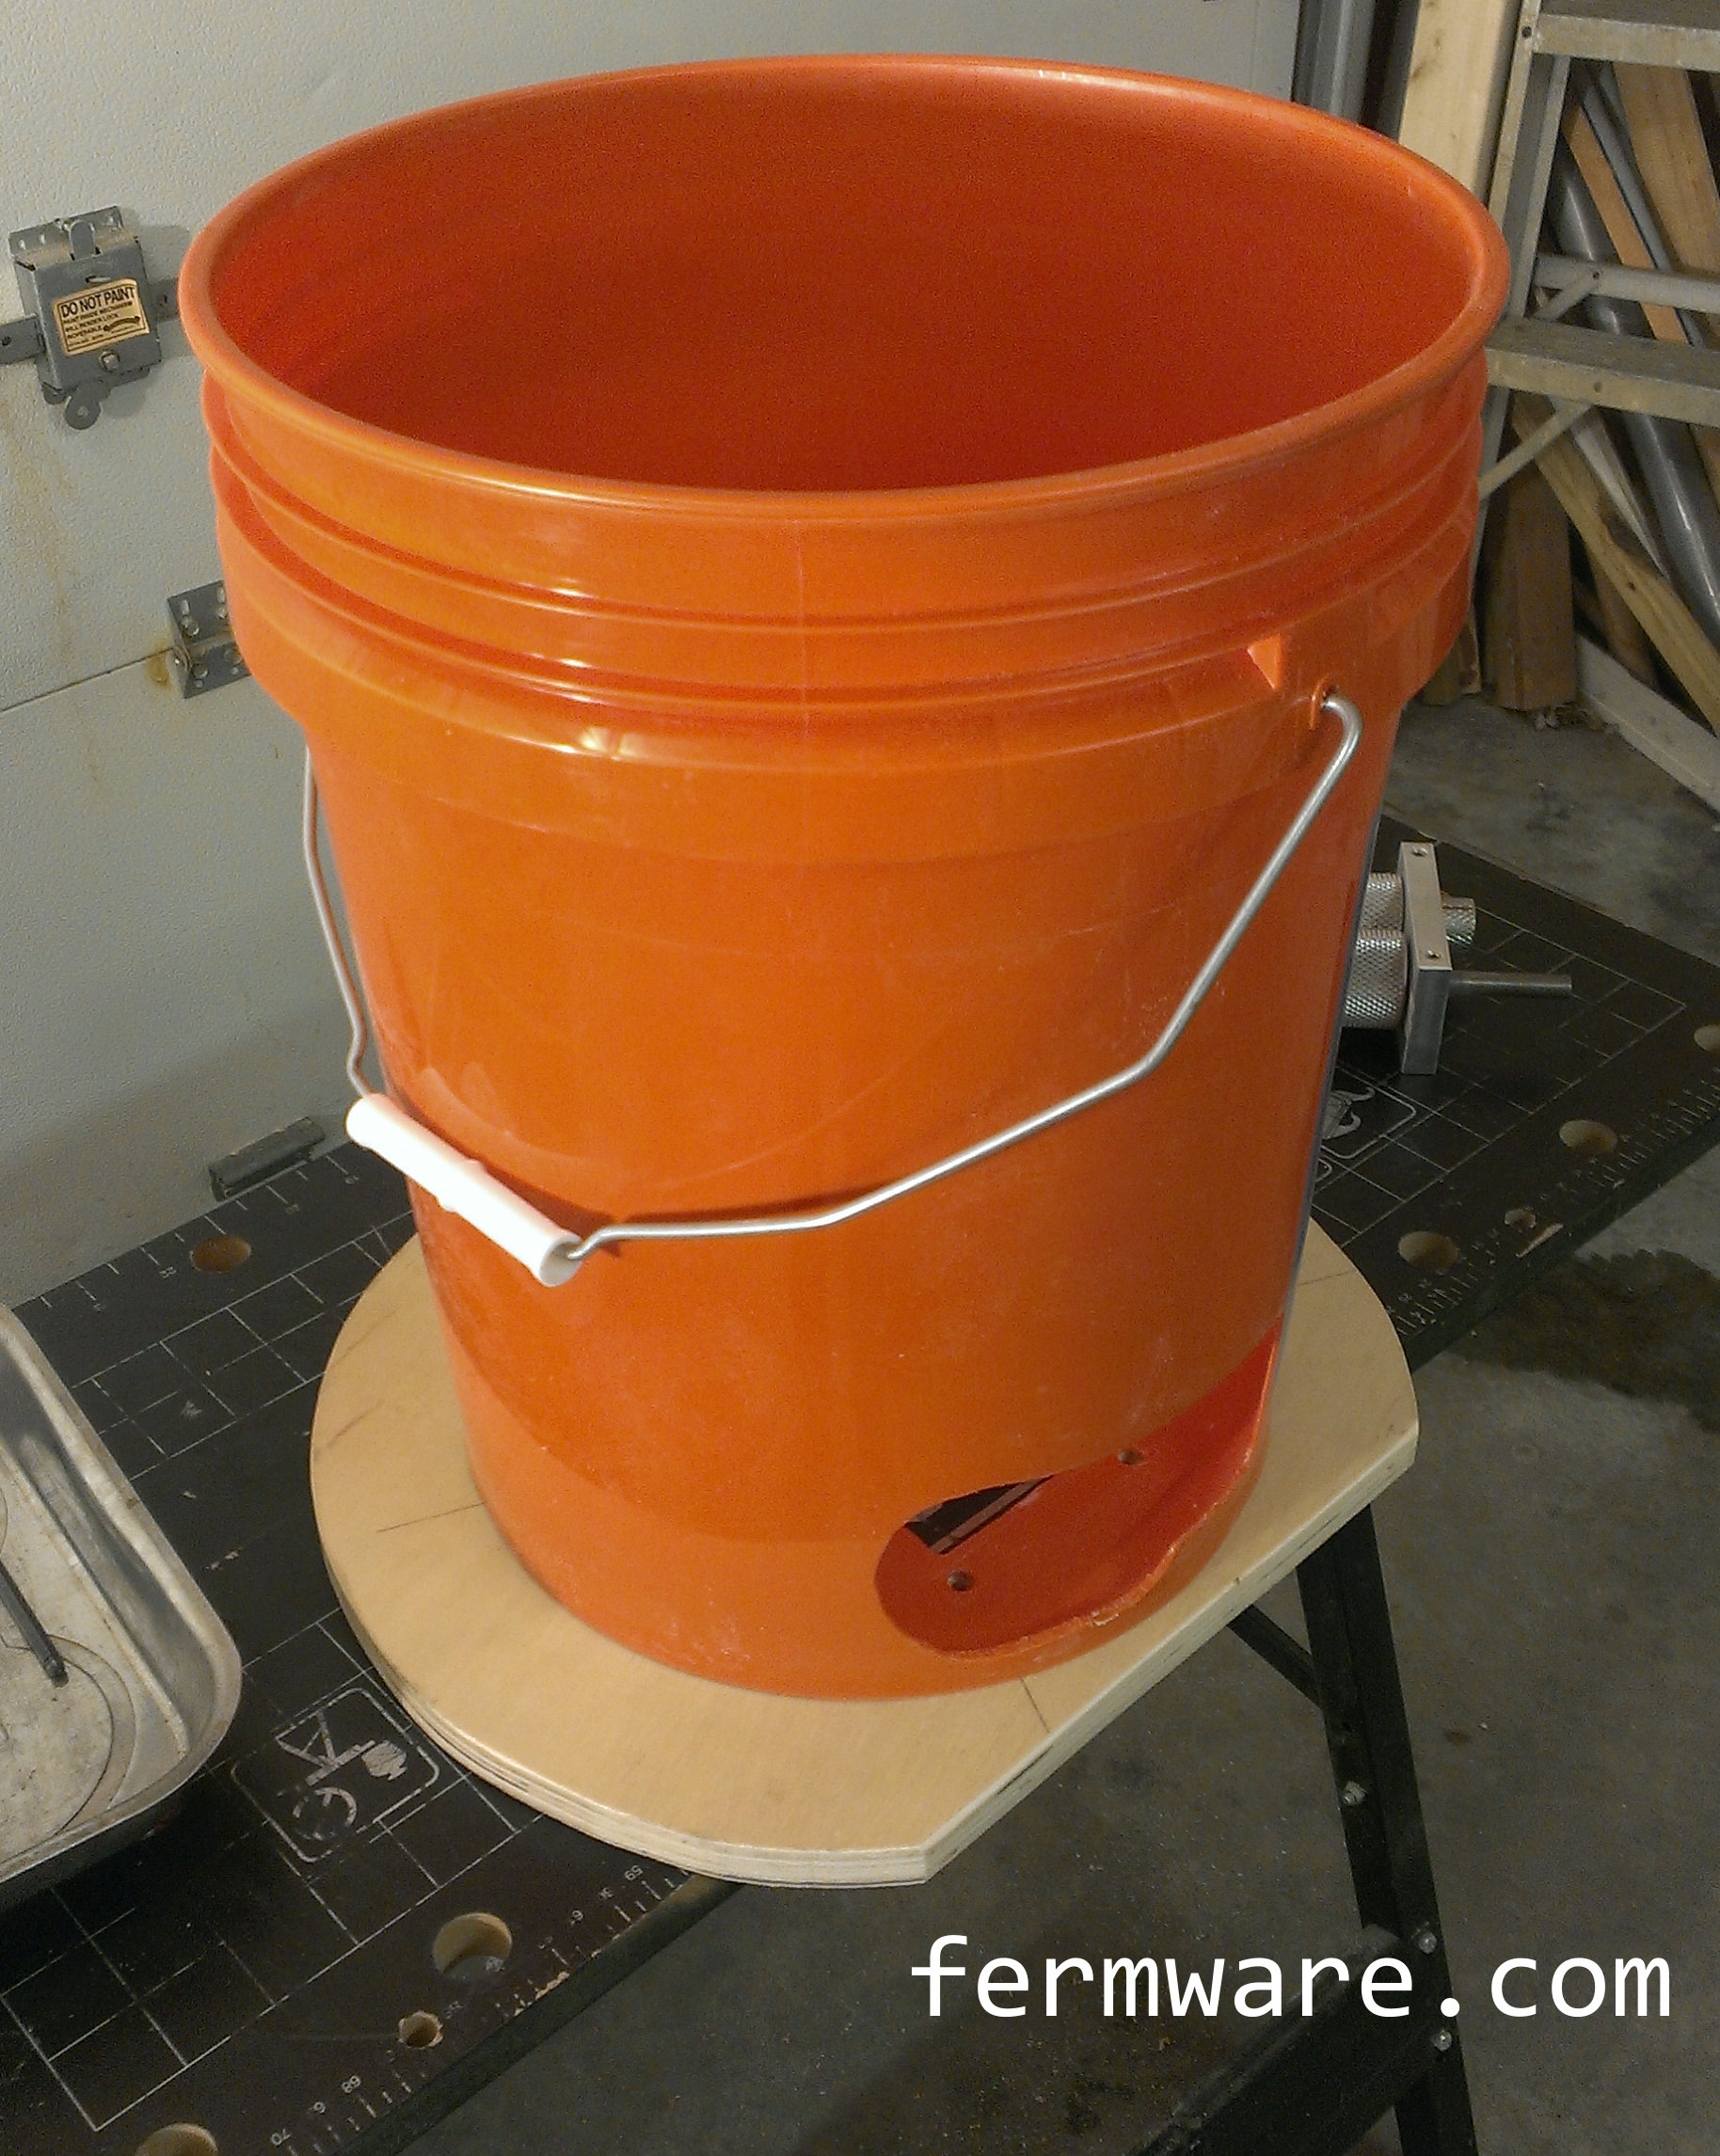
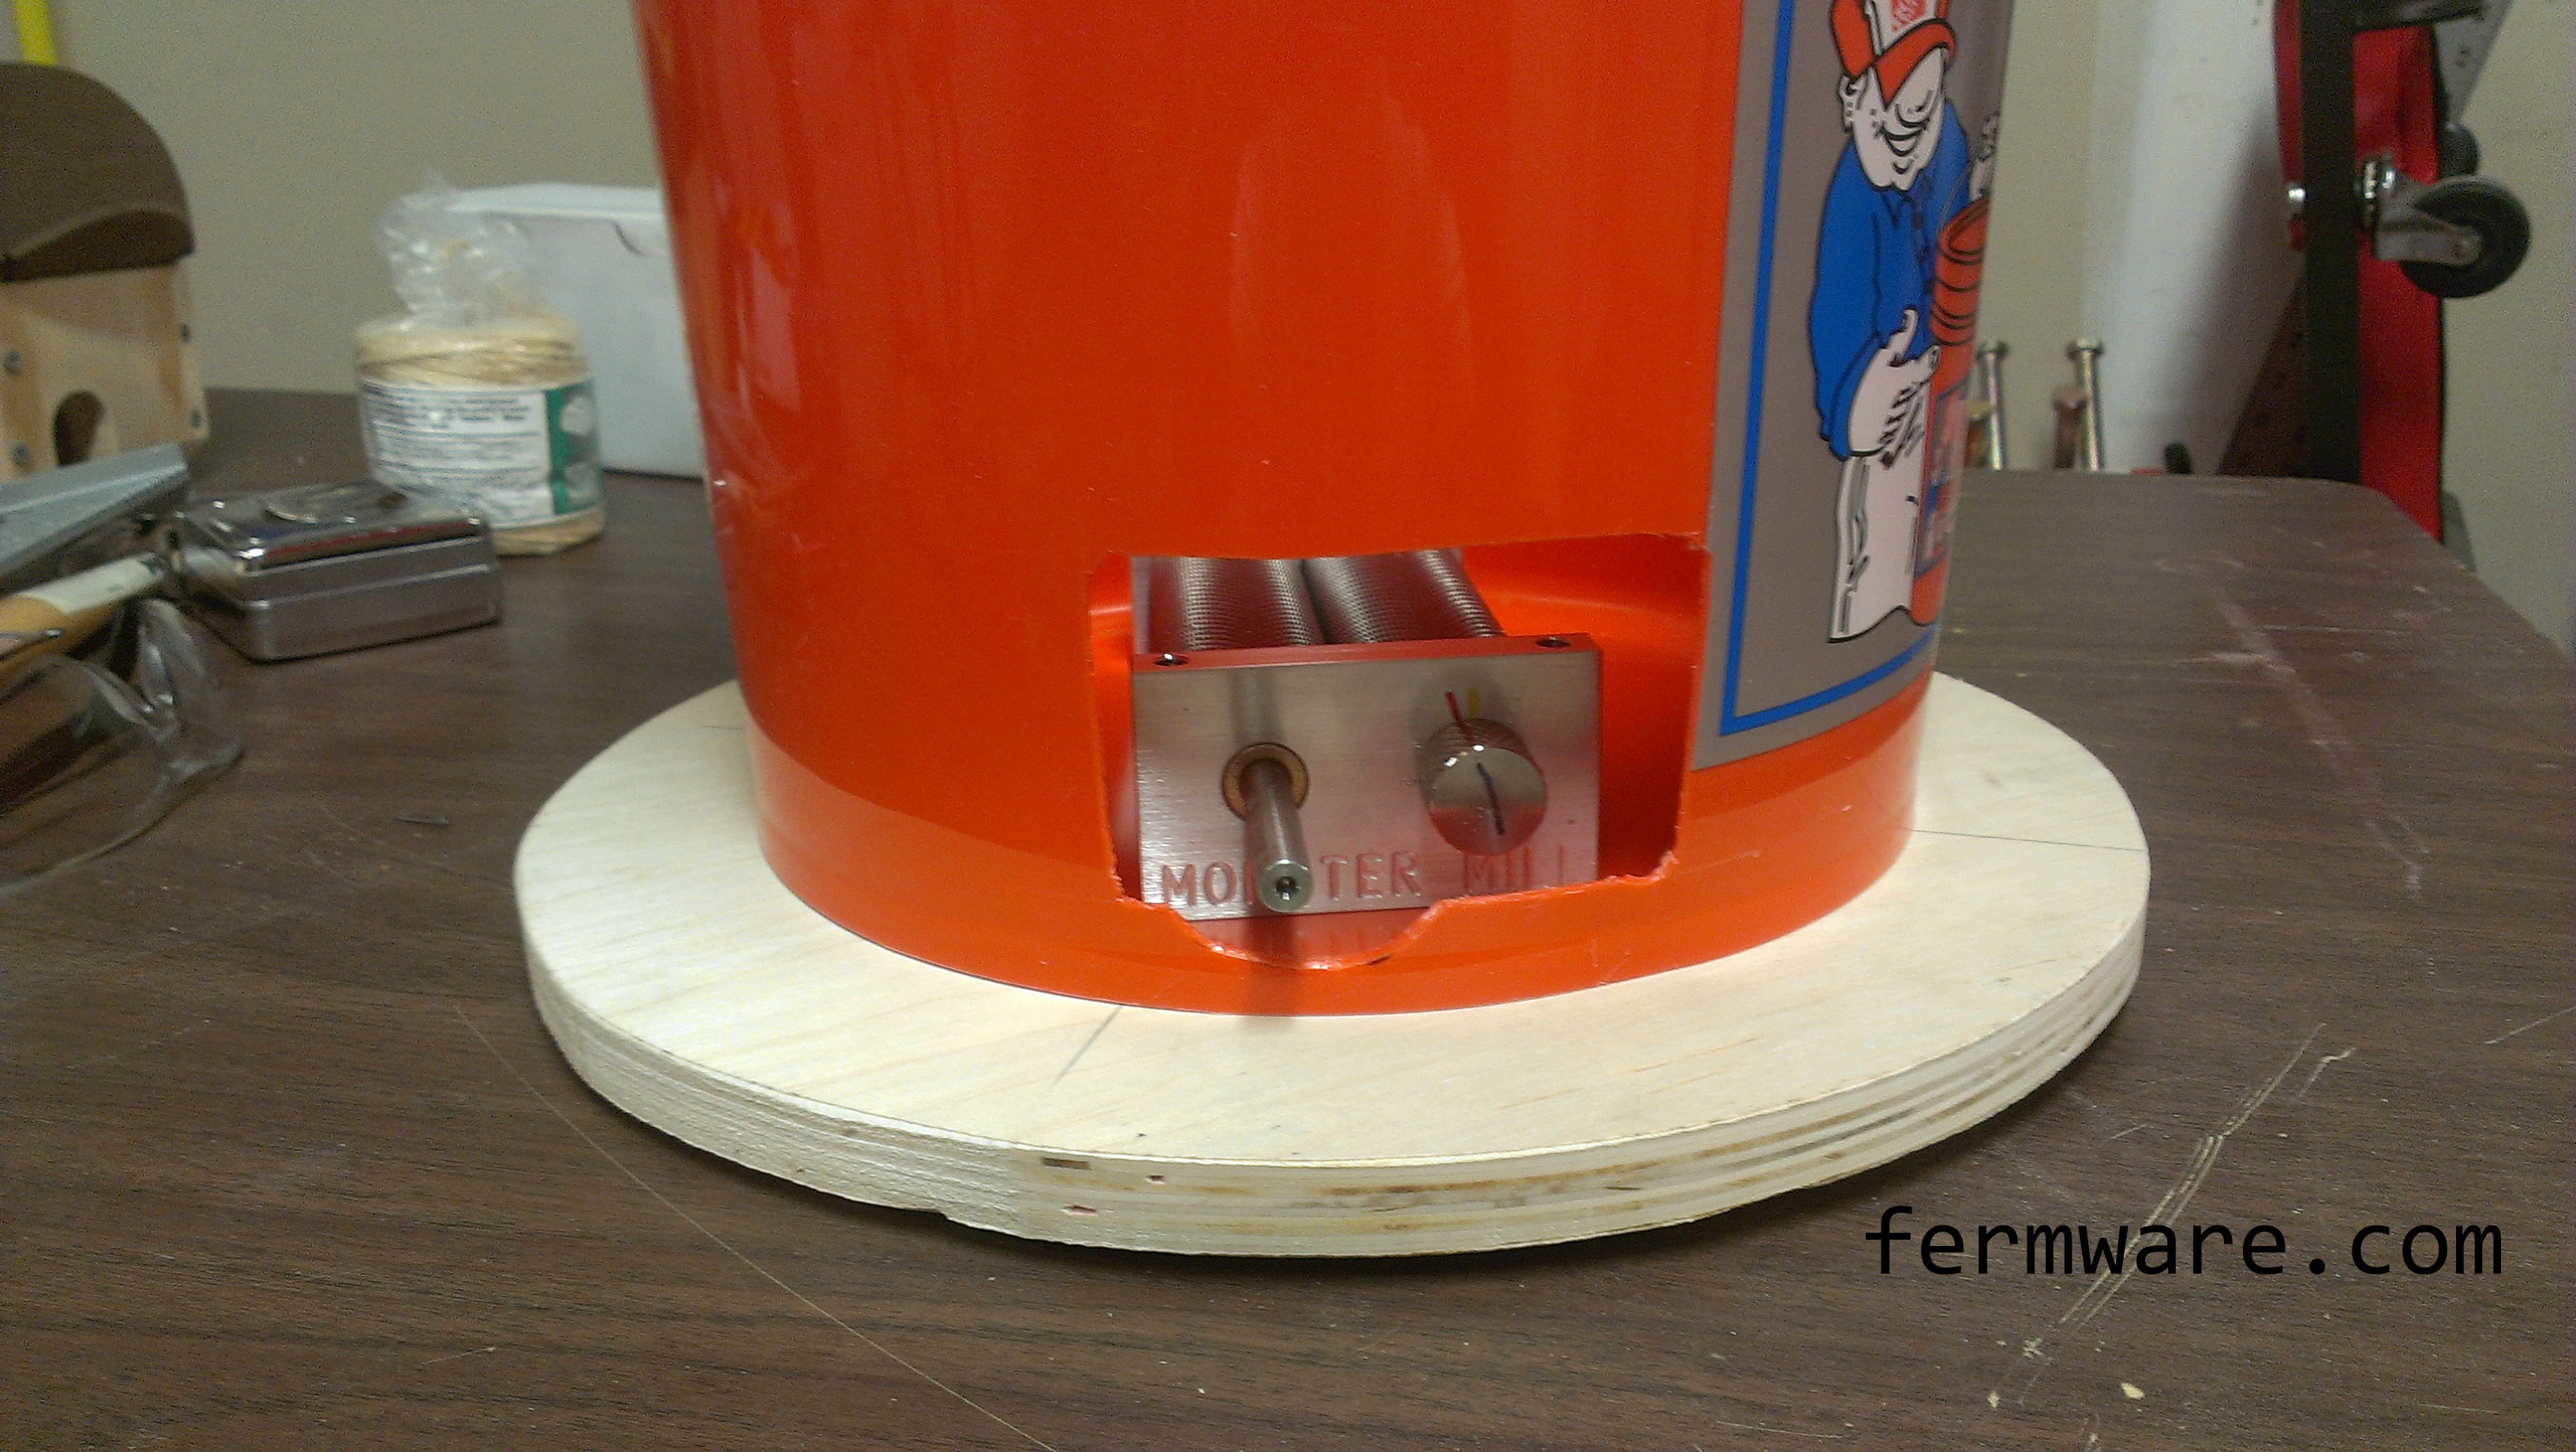
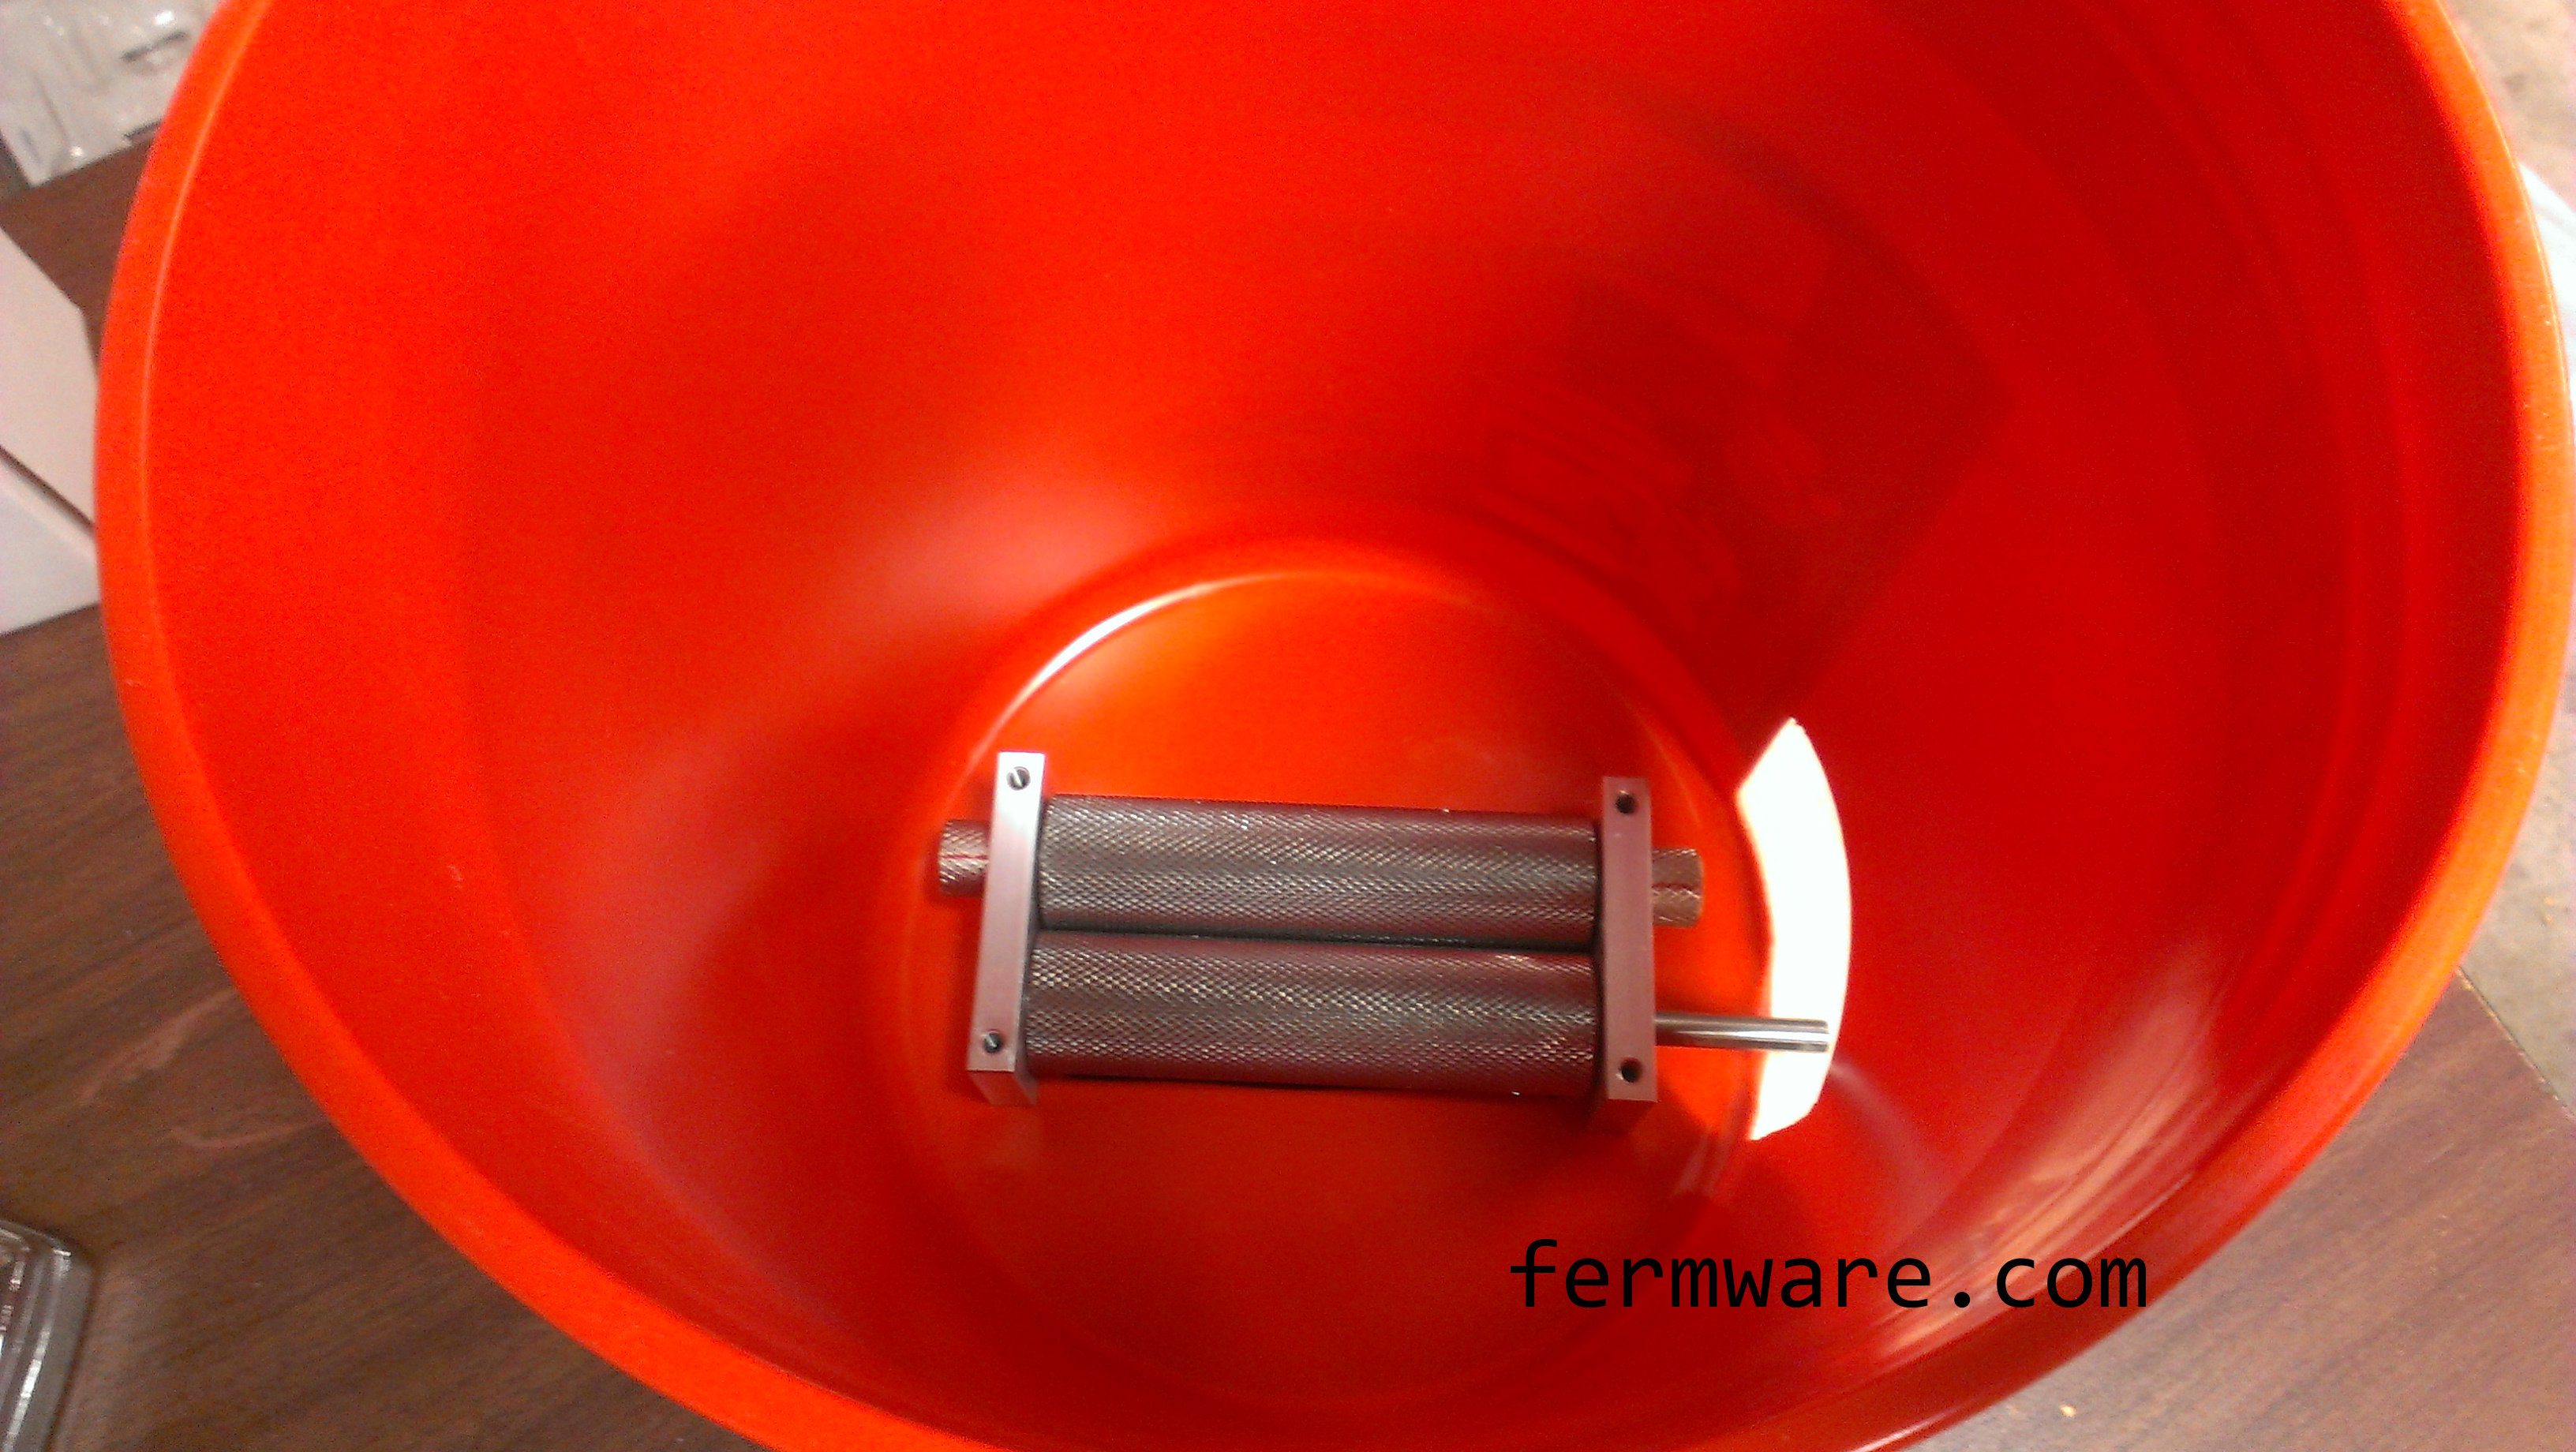
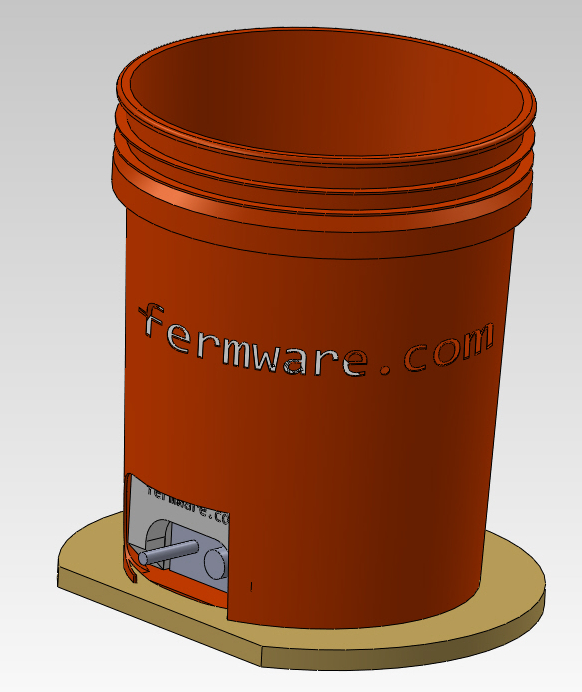
What we’re building here:
Video of the process:
COMING SOON!
How to do it:
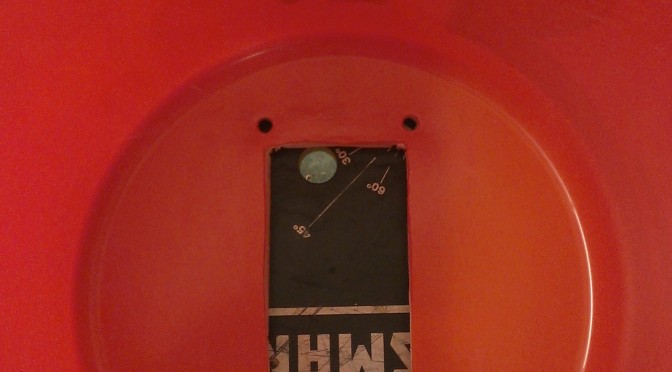
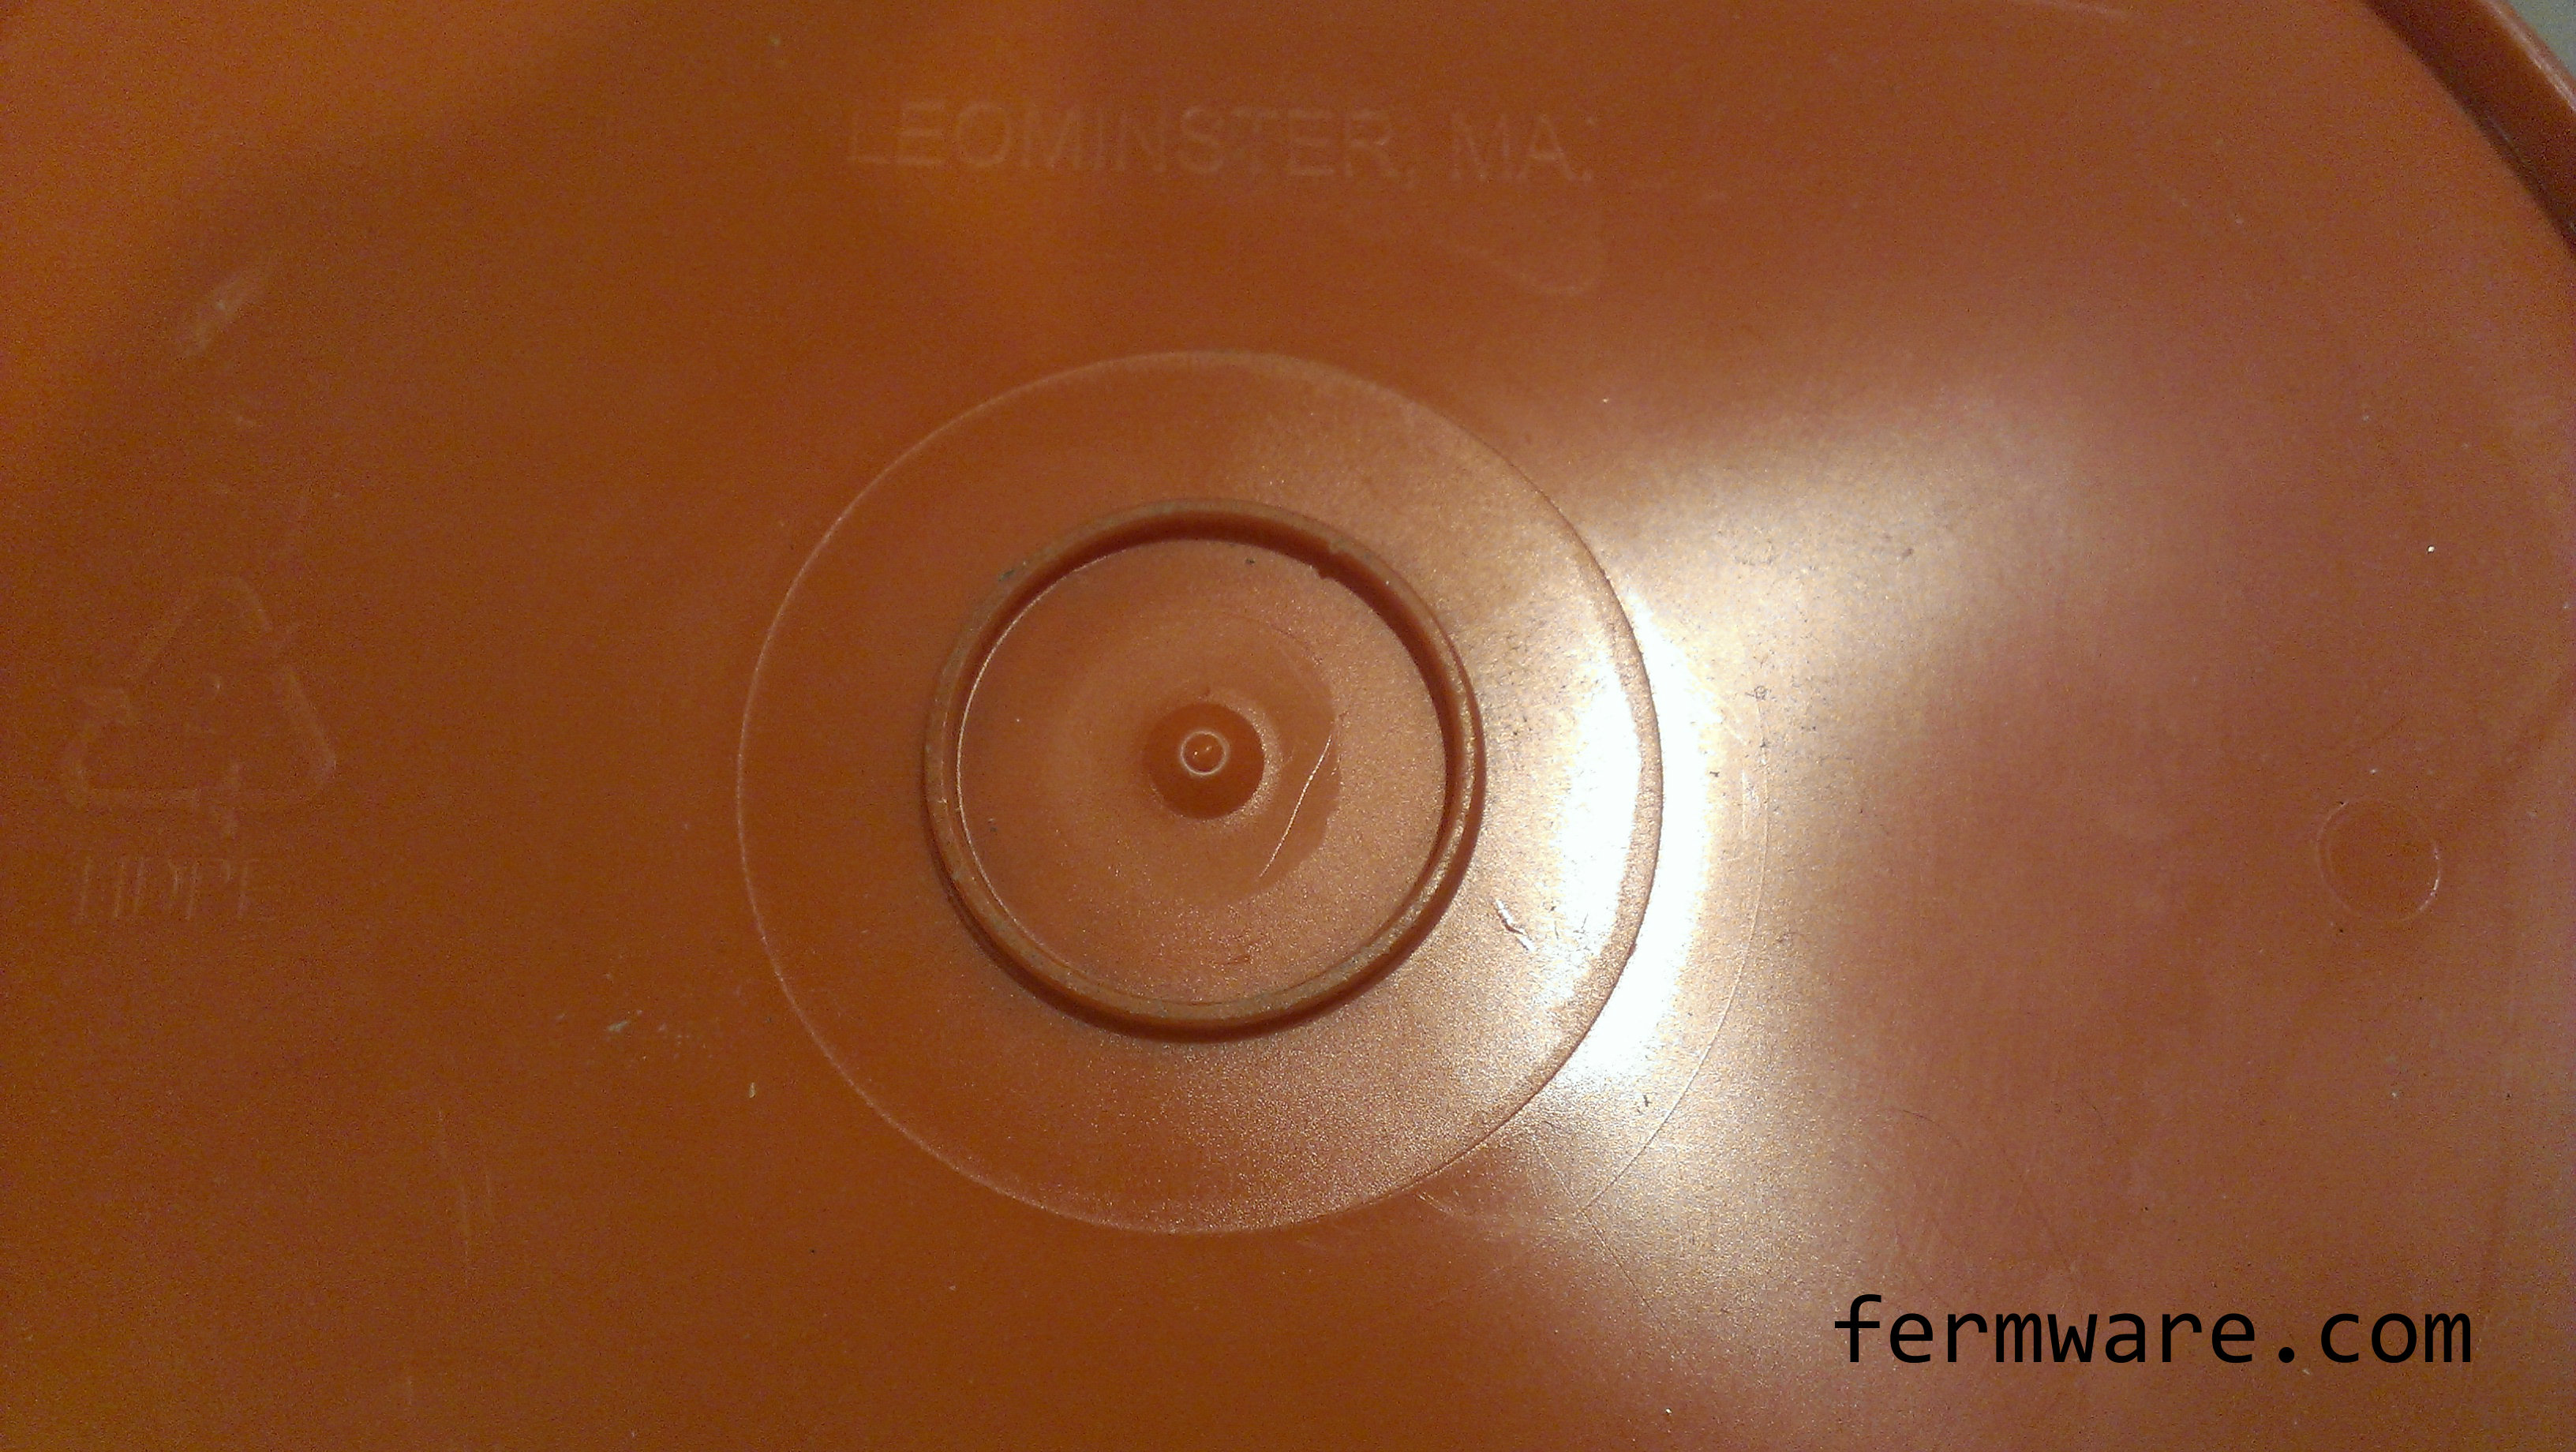
First, print out the window template. You’ll want to cut out the very center in order to line it up with the center on the bottom of the bucket.
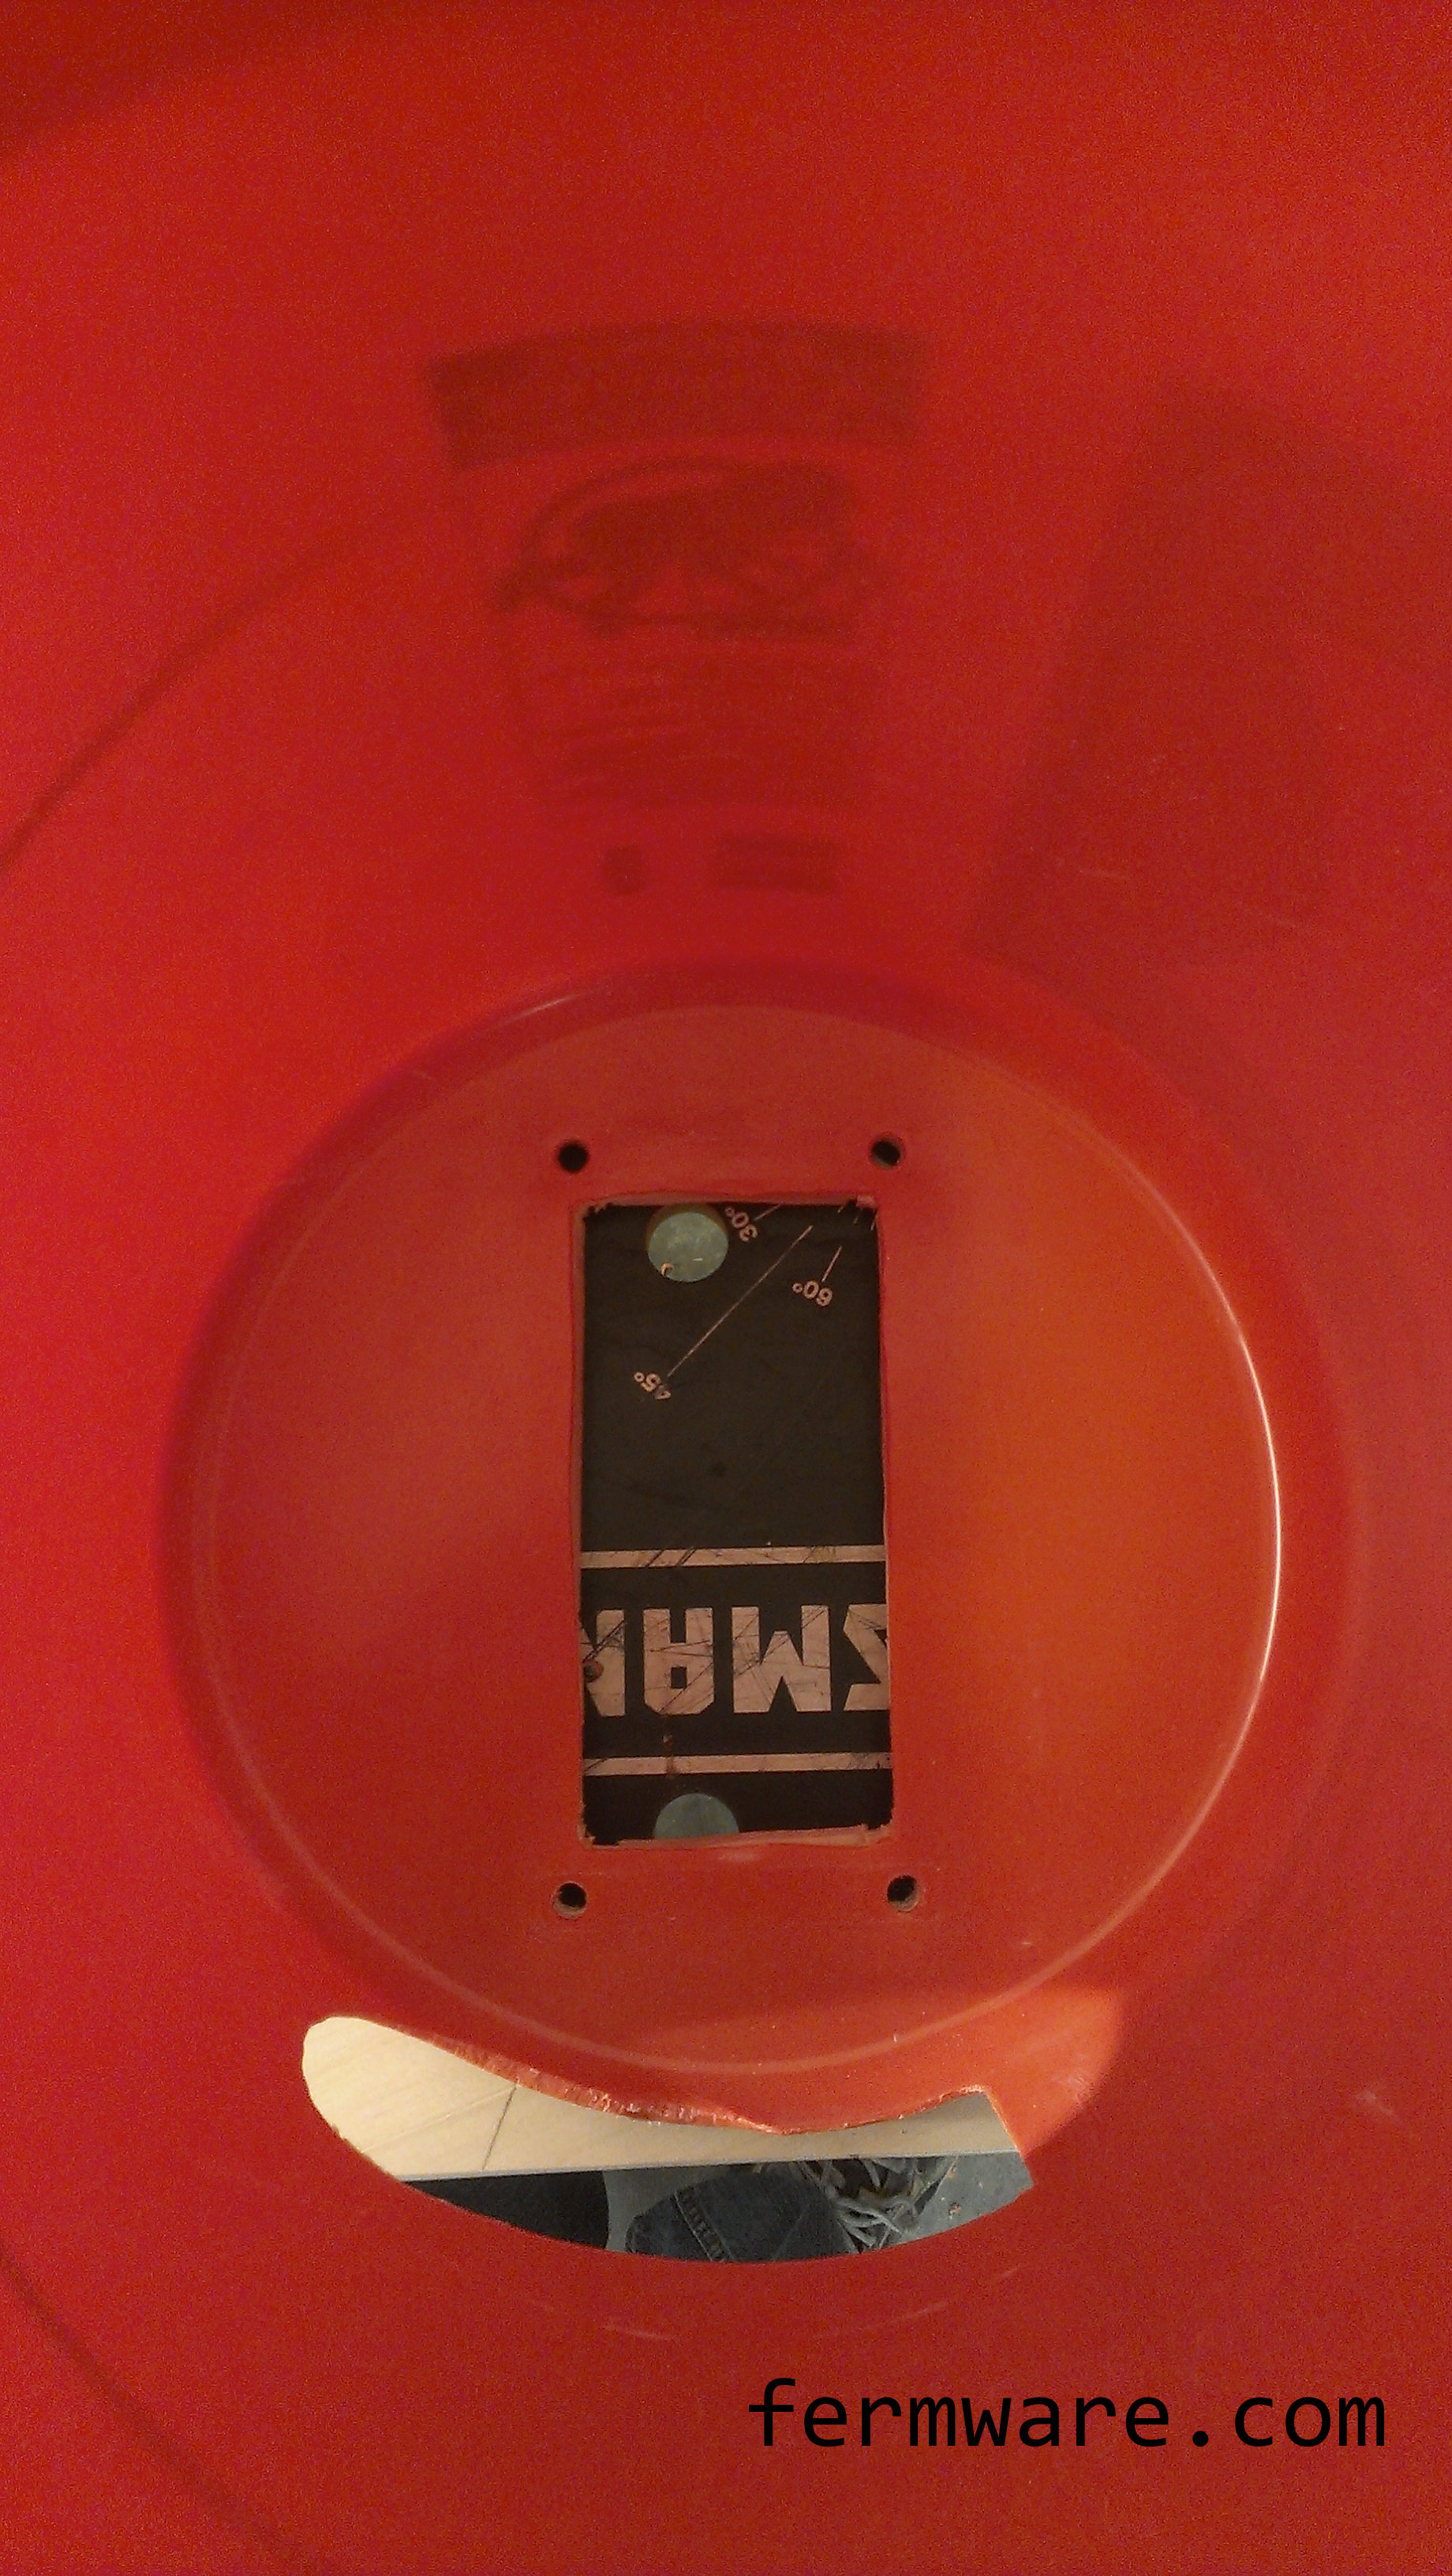
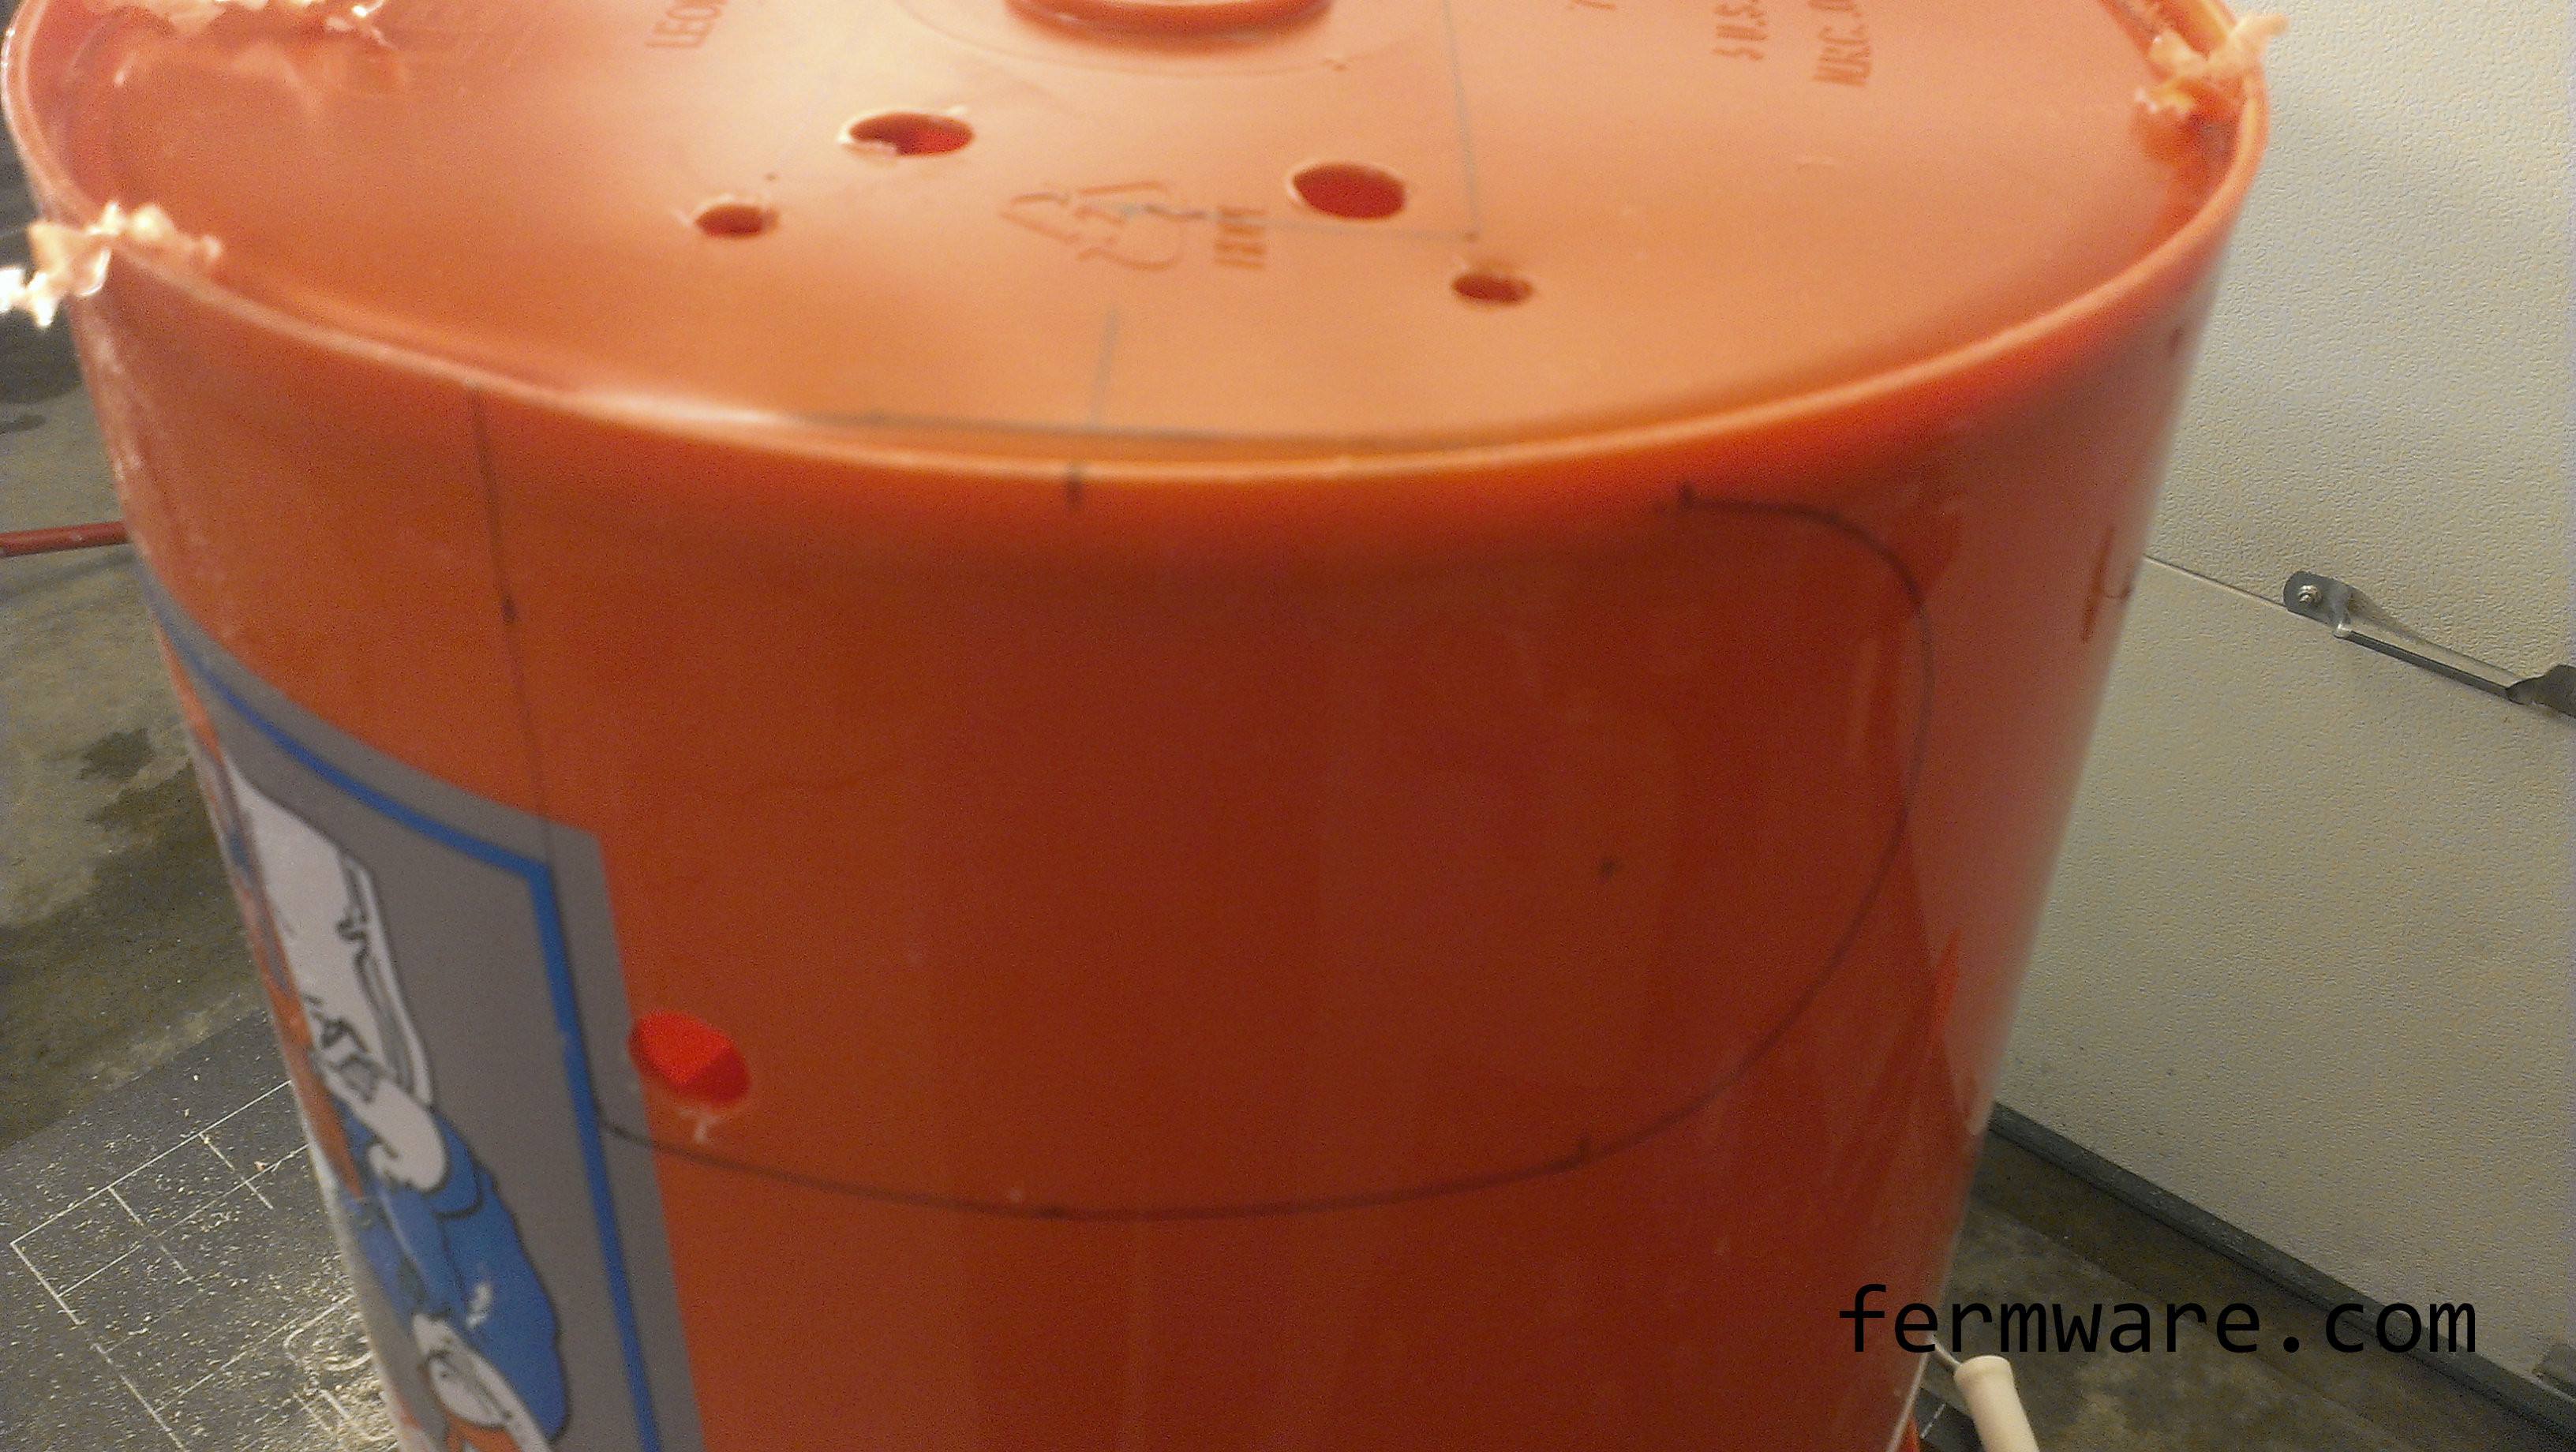
If you have a transfer punch, you know what to do. If you don’t, just transfer the pattern to the bottom of the bucket in order to be able to cut out the large rectangular window and drill the 4 holes.
You’ll want to make sure that you align the side window with the window on the bottom of the bucket. As you can see, I’ve traced all the lines out with a permanent marker.
Just inside of the lines, I’ve drilled some larger holes that are big enough to get the blade of my jigsaw through the plastic to get started.
Mark out the side window and drill a starter hole here as well.
Once you’ve got all your holes marked, go ahead and start cutting.
A WORD OF CAUTION!:
Cutting this bucket with a jigsaw is not exactly fun, safe or appropriate. Be extremely careful and keep your hand away from the blade at all times. If you have a way to secure the bucket while you are cutting, please do so. Alternately, you may have some other better way to cut the bucket.
When you are done, you can use a deburring tool to clean up all of the edges you cut and drilled.
If you are brewing all-grain and want to gain consistency with your efficiency and want to save money in the long run, you should be milling your own grain (assuming you are buying some grains in bulk). Most grain mills can be purchased without a hopper, which in my opinion is a good thing, because I was not satisfied with most of the hopper designs I have seen.
Less than $20 in materials for the hopper assembly. The cost will most likely be less, especially since you probably have scraps of material around your garage that can be used. You’ll also need some mounting hardware that is readily available.
Components:
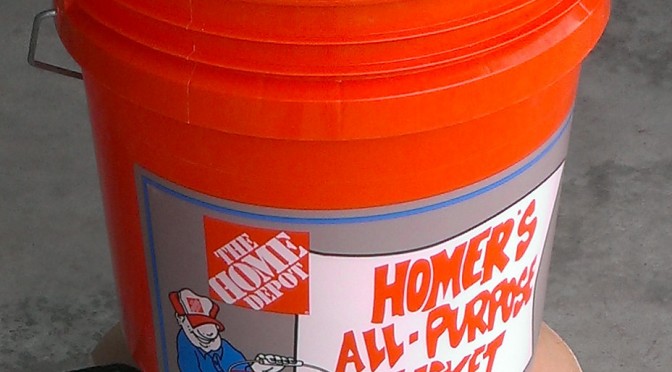
Home Depot Homer Bucket (approx $3)
You may want a lid, which will set you back another $1-2
5/8″ plywood, big enough for 14″ diameter. You can go thinner or thicker. Use scrap wood or find a 24″x24″ square for maybe $10 at the hardware store. I used some nice birch, but only because I had it around.
4x 1/4-20 x 0.75″ length stainless socket head cap screws or hex head
4x washers for 1/4″ bolts ($1-$5 for screws and washers depending on where you shop) *You don’t have to use stainless for the screws or washers, I just got stainless so they didn’t rust while being stored outside in the garage.
2x 1/4-20 x 1/2″ long Cup Point Set Screws (to replace the thumb screws on the Monster Mill).
Of course you are probably pretty thrifty, so review the steps laid out and you may have a preference for another tool to get each task done!
Discussion:
This is a guide to my hopper design using the Monster Mill MM-2 and an Home Depot orange Homer’s bucket. The MM-2 is a great mill, but I did make a few easy modifications that I’ll cover in another post**. This concept could be applied to other mills, but the design would obviously change a little.
I thought I could cover this project in just one post, but it has become clear that it will be a multi-post instruction guide. I will keep this as the master post to keep modifying and add links to the subsequent posts as they are available. The final post will include a package of downloadable CAD files that can be printed and used as cut-out templates.
**Please note: Monster Brewing now has a version 2.0 of the MM-2 that partially addresses some of the modifications that I had made to mine. If you don’t have version 2.0, you’ll want to replace the thumb screws with the set screws I mentioned in the components.
Here are the advantages of this hopper:
Uses a commonly available bucket
When you are done, you can put a lid on the bucket and have it all self-contained
Low dust design while milling
Design utilizes the entire roller area, instead of just a small section like with funnel based hoppers
With the mill inside the bucket, it allows the bucket to sit flat and gives more stability
Allows for using a power drill to drive it
Holds an entire grain bill for most 5 gallon batches (19-20 lbs)
Mills that grain in just under 2 minutes*
Low cost
No shaking involved to get grain to rollers
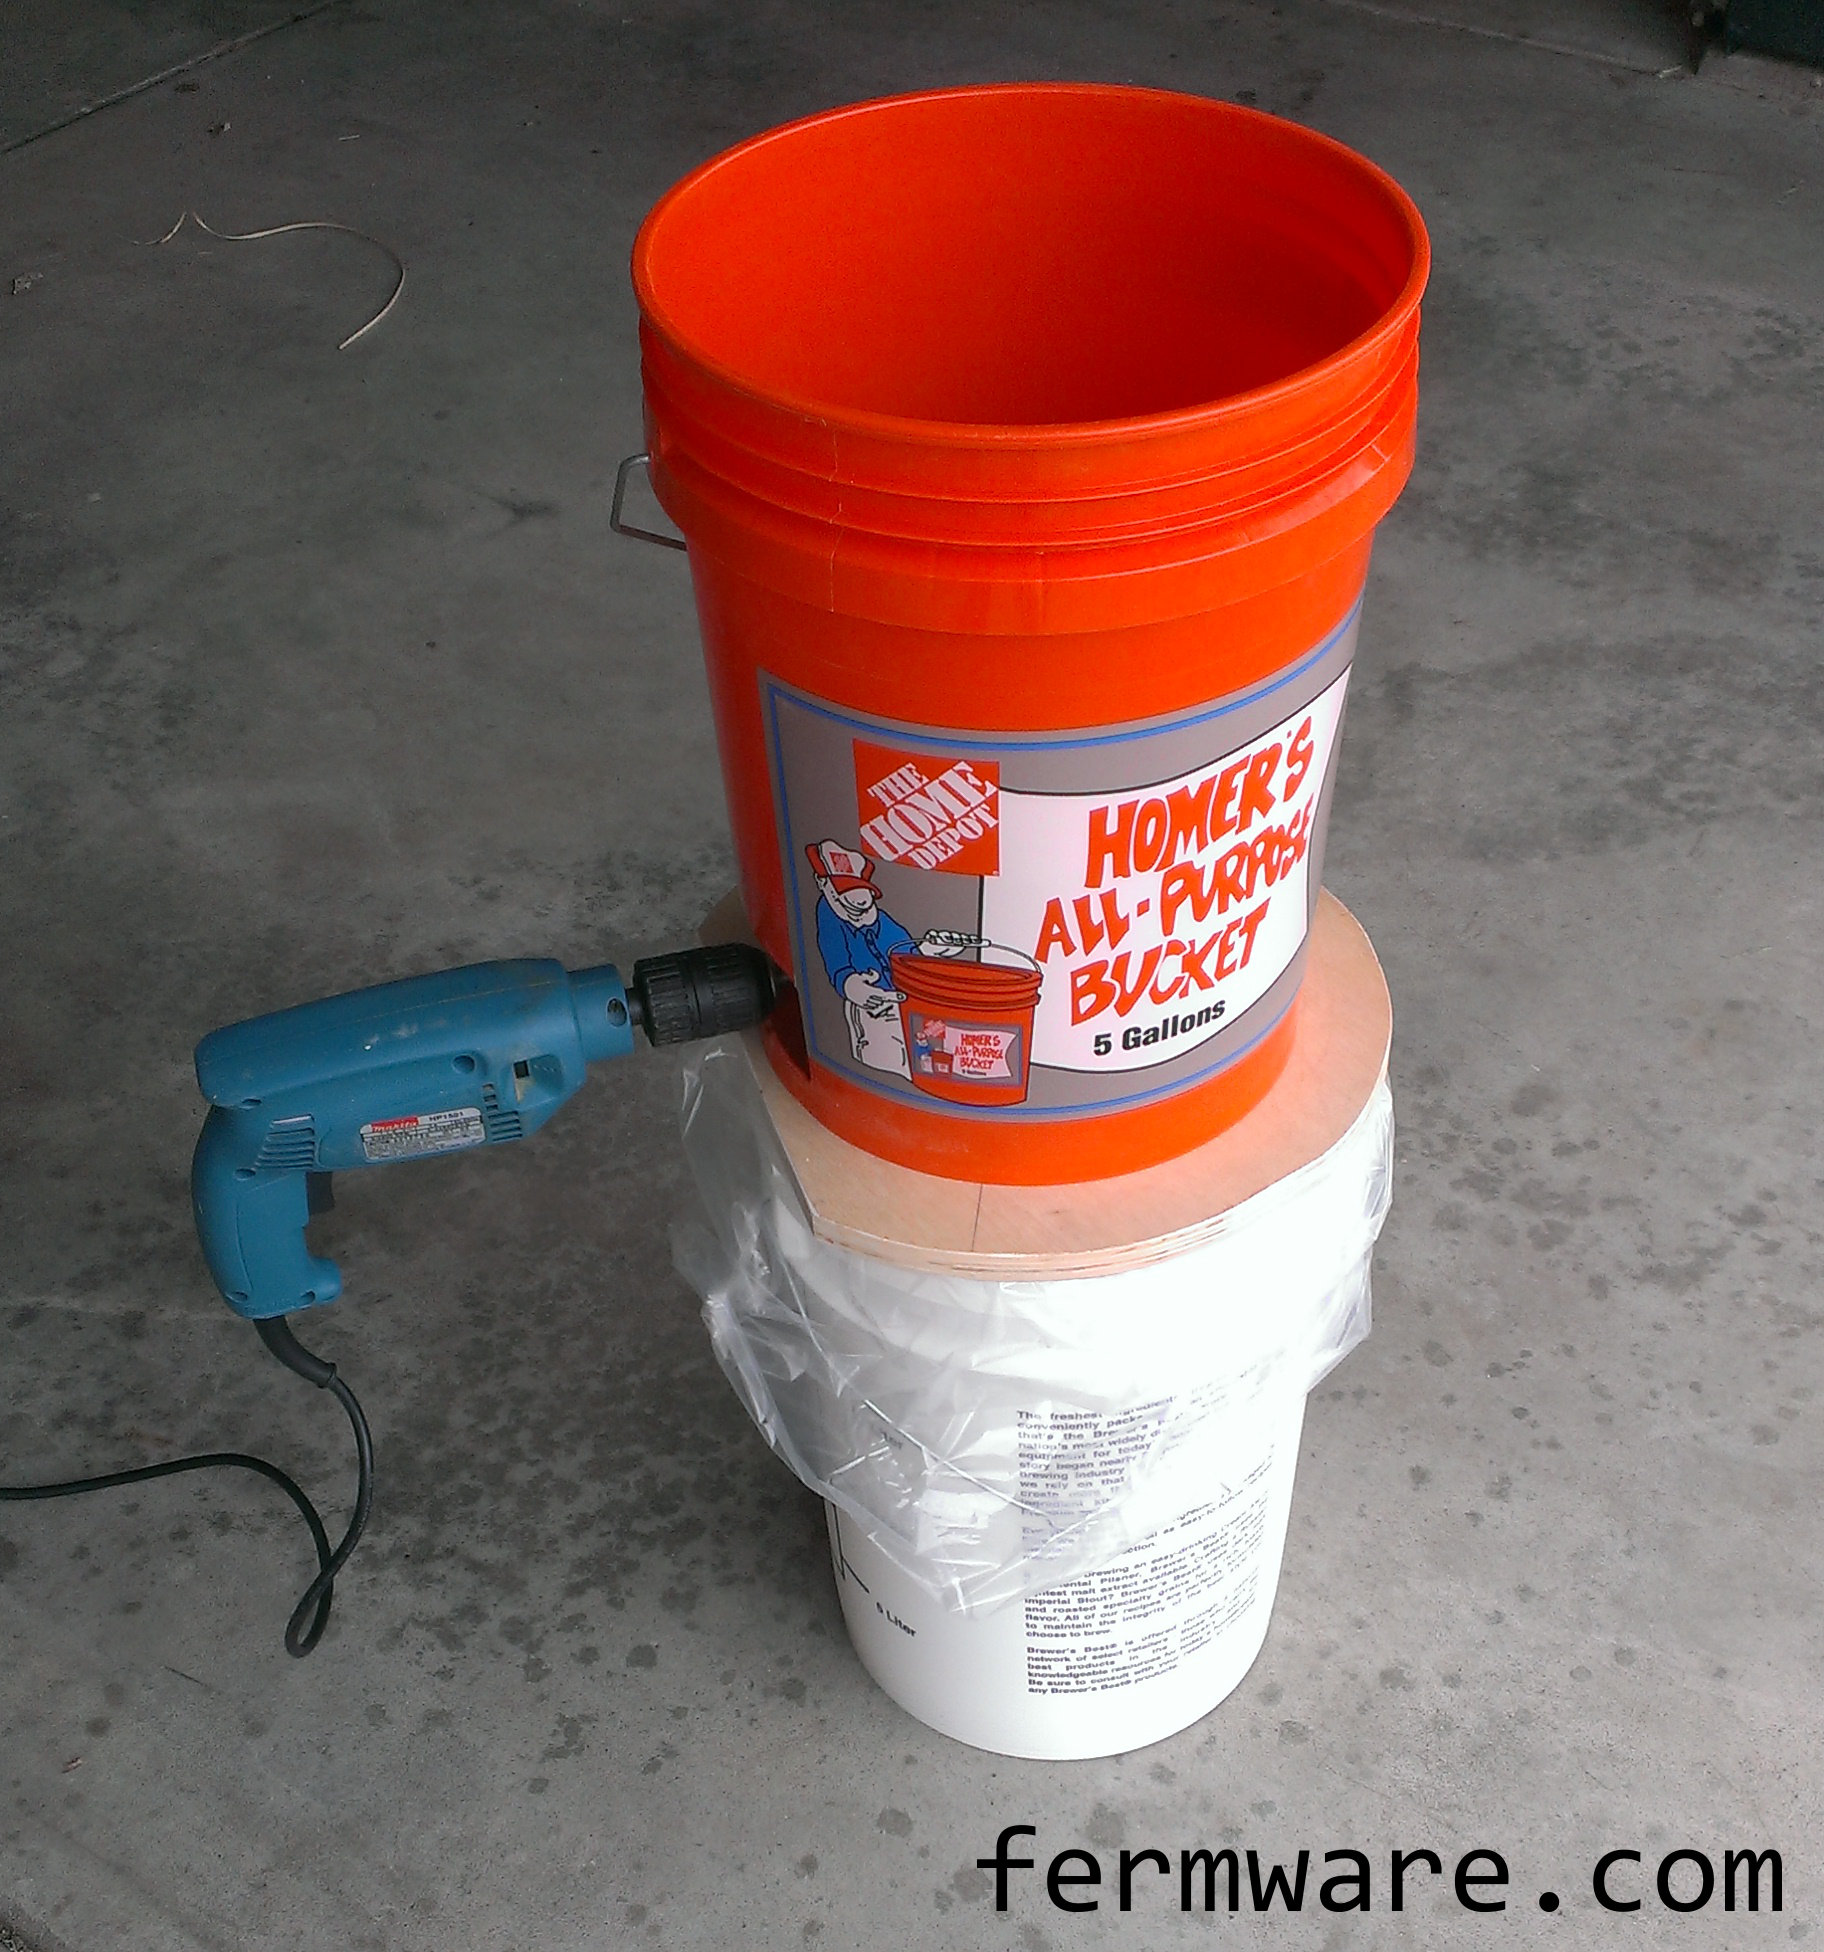
How it works:
Get a fermenting bucket or another HD/Lowe’s bucket as the receiving bucket
Place hopper assembly on top of the bucket and connect your drill*
Pour grain into the hopper and get milling
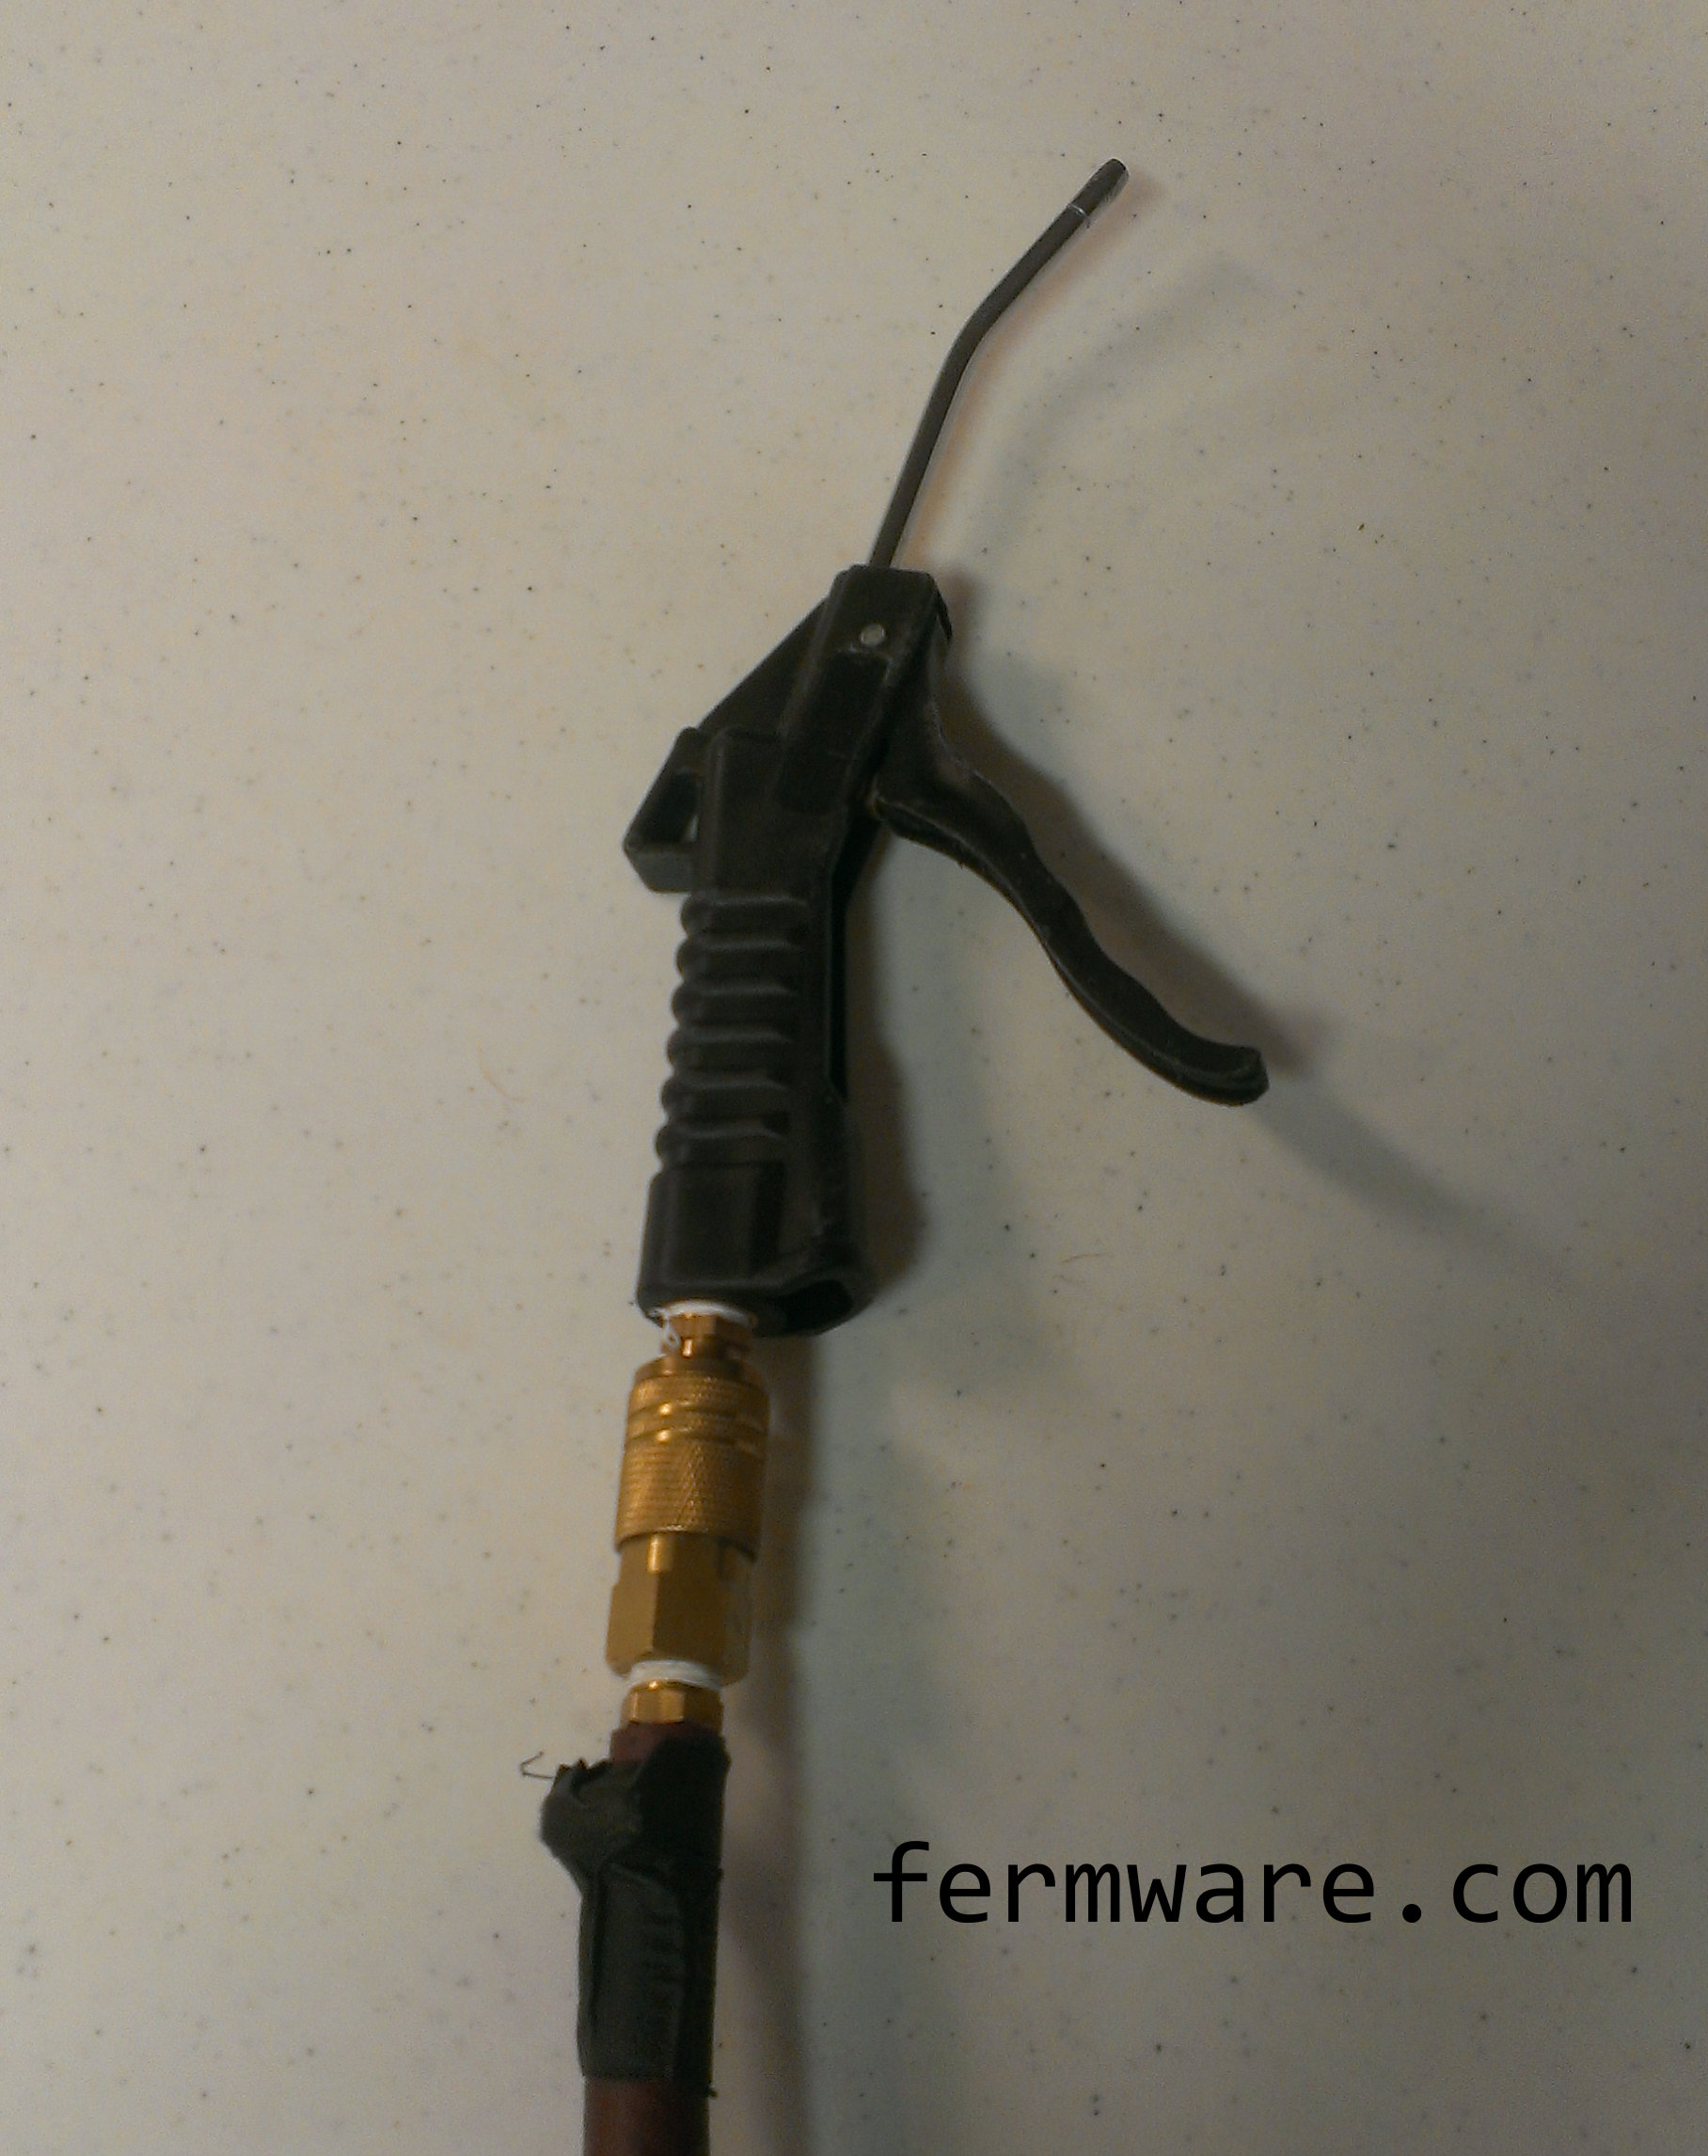
For clean up, I usually just use my shop air and blow all of the dust and uncrushed grain out. OUTSIDE OF COURSE! AND CLOSE YOUR EYES!
*Drill Power:
I personally chose a corded drill due to the higher torque they generally have. My only corded drill however was a Makita hammer drill and it is definitely overkill, but I used it on normal drill mode. DO NOT USE HAMMER DRILL MODE! The speed of this drill is pretty fast, so when I mill, I pretty much have to modulate it to the lowest speed possible. I can’t tell you exactly what that speed is in RPM, but it is the slowest I can go without stalling the motor.
Action Sequence:
Here is my Homer Hopper in action. This particular batch was for my Rye PA and consisted of 17.66 pounds which took 94 seconds (5.3 seconds / pound)
Since I utilize the BIAB technique and don’t have to worry about stuck sparges, I use a smaller gap of 0.035″.
Cleanup of the hopper is simple. Especially if you have compressed air.
I’ll be breaking the construction into a few posts:
All files have a 2″x2″ square on the print so that when you print out on paper, you can measure to make sure your printer was printing to scale and at the correct aspect ratio.
The intention in making these files downloadable and free is for people to make this themselves or modify/improve the design to suit them.
This download is available through the Creative Commons Attribution-Non-Commercial license.
If you are interested in this for commercial purposes (i.e. you want to make money on my effort), I’m flattered, but please contact me first.
Be excellent to everyone!
Click on the download icon to agree to these terms and enjoy!
Back in November, I had the opportunity to see John Palmer give a seminar on water at Great Fermentations. He was essentially on tour to promote his new book he co-authored with Colin Kaminski simply called, Water. So the day I went to the seminar, there were tornado warnings. As I write this, all water outside is in the form of ice. Hopefully we’re at the tail end of the “Polar Vortex”. A theme of things spinning, kind of like your head when you learn about water.
This isn’t a review of the book, or an in depth look at the chemistry of water, but just some of my musings on the importance of water in brewing. Water has to be one of the most intimidating, mysterious, confusing and scientific parts of brewing. To the beginning brewer, learning about it could confuse them enough that they think they’ll never brew good beer.
As you would imagine, at the start of his presentation I was completely engaged in what he was saying. He had some entertaining slides correlating Lego superheros to certain elements of water. I was understanding what he was throwing down. I saw some charts and graphs that I understood, as any self-respecting engineer should. Then we got to the chemistry balancing equations. That’s when my eyes start to gloss over. I’m reminded of the time in college when my wife (then girlfriend) said to me”your math is hard, it has letters”. She was with me at the seminar and was following for a while and then got lost. I never really enjoyed chemical formulas and electron counting and balancing equations.
So is understanding water necessary? Yes!
Is being a amateur chemist a requirement? No!
Is there an in-between that will get me producing good beer with minimal knowledge? Yes!
First order of business is to simplify the intimidation out of the whole water thing.
In my opinion, this should be your priority level as you progress.
Starting out (Extract recipes):
Just go with tap water or water from the grocery store (see note at the end of this section). I always went with Ice Mountain spring water, simply because I could actually taste a difference in waters and I liked it the best. During this stage, I was always on the hunt for the water to go on sale. For some reason, the online ads for my local grocery stores would not mention when it was on sale, nor were the sales on water the same at each location. My benchmark price was $1/gallon, so if I saw it for that price, I was essentially clearing the shelves like some mad extreme couponer. When I was really lucky, I would find the 2.5 gallon containers on sale and reduce the amount of plastic I was discarding each brew session. I’ve never used just straight tap water, but I’ve tasted beers from people who’ve made beer with unadulterated city tap water and never had any complaints. DO NOT however use softened water.
At this stage, don’t worry about treating the water. Just brew and try to work on all of your other techniques.
*Recent reading/listening I have been doing indicates that with extract brewing, you might actually be better off with reverse osmosis (RO) or distilled water. The theory is that the maltster making the extract has already created the proper water profile. When the extract is concentrated, the water goes away, but the minerals are still there, so when you are adding it to your water, you are then getting those minerals in your brewing water. This is backed up in a recent BeerSmith podcast with Colin Kaminsky and John Palmer.
Beer Brewing Water with John Palmer and Colin Kaminski – BeerSmith Podcast #70
Intermediate (Extract with steeping grains or all-grain):
This is where you want, at minimum, some sort of pH adjustment. I use and recommend food-grade phosphoric acid. Your LHBS should have it available, typically in 75-85% strength (ie 75% acid, 25% water). I get it in a 4 fl.oz. container, which at an average of approximately 1 tsp per 5 gallon batch, it is good for about 24 batches. FYI, I’m still learning and tuning my adjustments. The much maligned colorpfast strips should suit you just fine at this stage. Unless you just want to spring for the electronic pH meter. As much as I love the gadgets, I opted for the strips first and have only recently purchased a pH meter.
Some details that emerged as I got more into water adjustments:
Yes the colorphast strips are off by some amount (reports up to 0.3 pH) and the judging of color feels like you are being subjective, but they served me well and in my experience are very close to the digital pH meter.
The most accepted method is to measure the pH of the mash about 20 minutes after dough-in, but remarkably, the amount of acid I was adding was within some small percentage of what I was adding when I was (incorrectly) measuring pH with the room temp water before heating up to strike temp. Oh, well. Dumb luck, considering I now know that your malt bill works in conjunction with the water chemistry to alter pH.
I am currently into evaluating different water chemistry spreadsheets to see which ones are most accurate at prediction. Some of them say if you don’t know the pH of your water, just assume a pH of 8. I got a fancy electronic pH meter to tell me that my water was 7.95.
Oh, get a small sample of the mash water and cool it down before you measure the mash pH. Unless you are using the strips, which in my usage, seem unaffected by temperature.
Advanced:
This is where you will be making changes that only people beyond your friends and family will notice the difference. I’m talking about beer judges and those with the refined tastes. I once heard Gordon Strong say on a podcast about water that water chemistry is the difference between a 30 and a 40 in competitions. I do not feel I am at this stage yet, but what I keep telling myself is that pH adjustment alone is 75% of what matters in water adjustment. In another podcast Jamil Zainasheff made a comment that after all of his work in understanding water, he was unsure which component of water adjustment was the most effective and wondered if it was mostly the pH adjustment. If you do get to this stage, salts and other water additions are necessary to eek the last bit of perfection out of your recipes and really highlight your ingredients.
Conclusion:
To paraphrase something John Palmer said at the water seminar: Just like how salt, pepper and other spices really bring out the flavor in foods, the same can be said about the additions and adjustments to brewing water.
I am currently experimenting with the various software spreadsheets available to add the theoretical adjustment ingredients and be done with it. I’m hopeful this is doable and I will be checking back in with this theory at some point. Of course you still want to measure again to make sure your additions had the intended effect, but it would be nice to have a predictable method. In the BeerSmith podcast referenced above, Colin Kaminski even notes that he has it down well enough that he’ll make the adjustments to the water before hand and knows what to expect. If it doesn’t turn out like he preferred, he brews again and essentially renames the alternate batch as a different beer.
I’ll go over water reports, filtering, measuring and adjusting water and review various software tools used to predict adjustments in future posts.